Posted on

Beginner Photography: Multiple Exposures

Hey y’all! As you may know, Tony and Chelsea are away for a few weeks, leading a photo trip in Thailand. We don’t have a live show this week, so I decided to try a photography project: multiple exposures. If you’ve never done it before, or just need a refresher, watch this great video Chelsea made on two different methods:

I decided I would try both ways and see which worked better. I’m using an Olympus E-M10, which has the capability to do the process in-camera. So this is what you need to do in preparation:

  • choose a subject and a relevant overlay image
  • have your subject backlit to make a silhouette
  • photograph your subject, then photograph your overlay image to show through the dark parts of your silhouette

I tend to shoot opportunistically. I spotted my cat sitting in the window and thought he’d make the perfect subject. An easily recognizable shape and ready-made backlighting. Unfortunately cats aren’t the most obliging models. The window he was in front of was a bit busy, which complicated the image. I decided to shoot his food as the overlaying image. Here’s how it turned out:


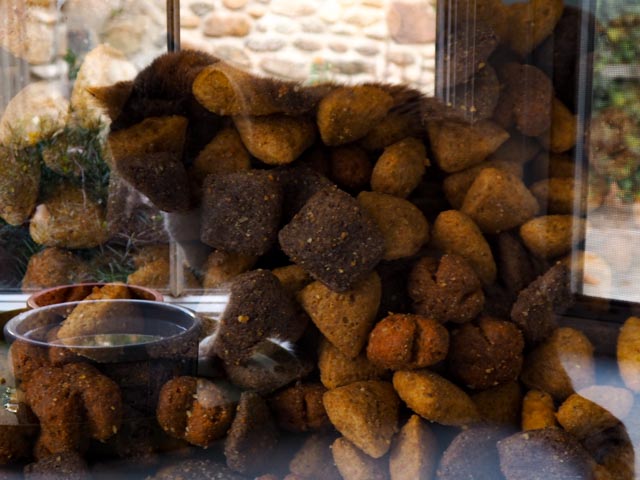
I like how it fades to all food at the bottom, but the window frame, yard, and food bowls made the shot more complicated than I’d like.

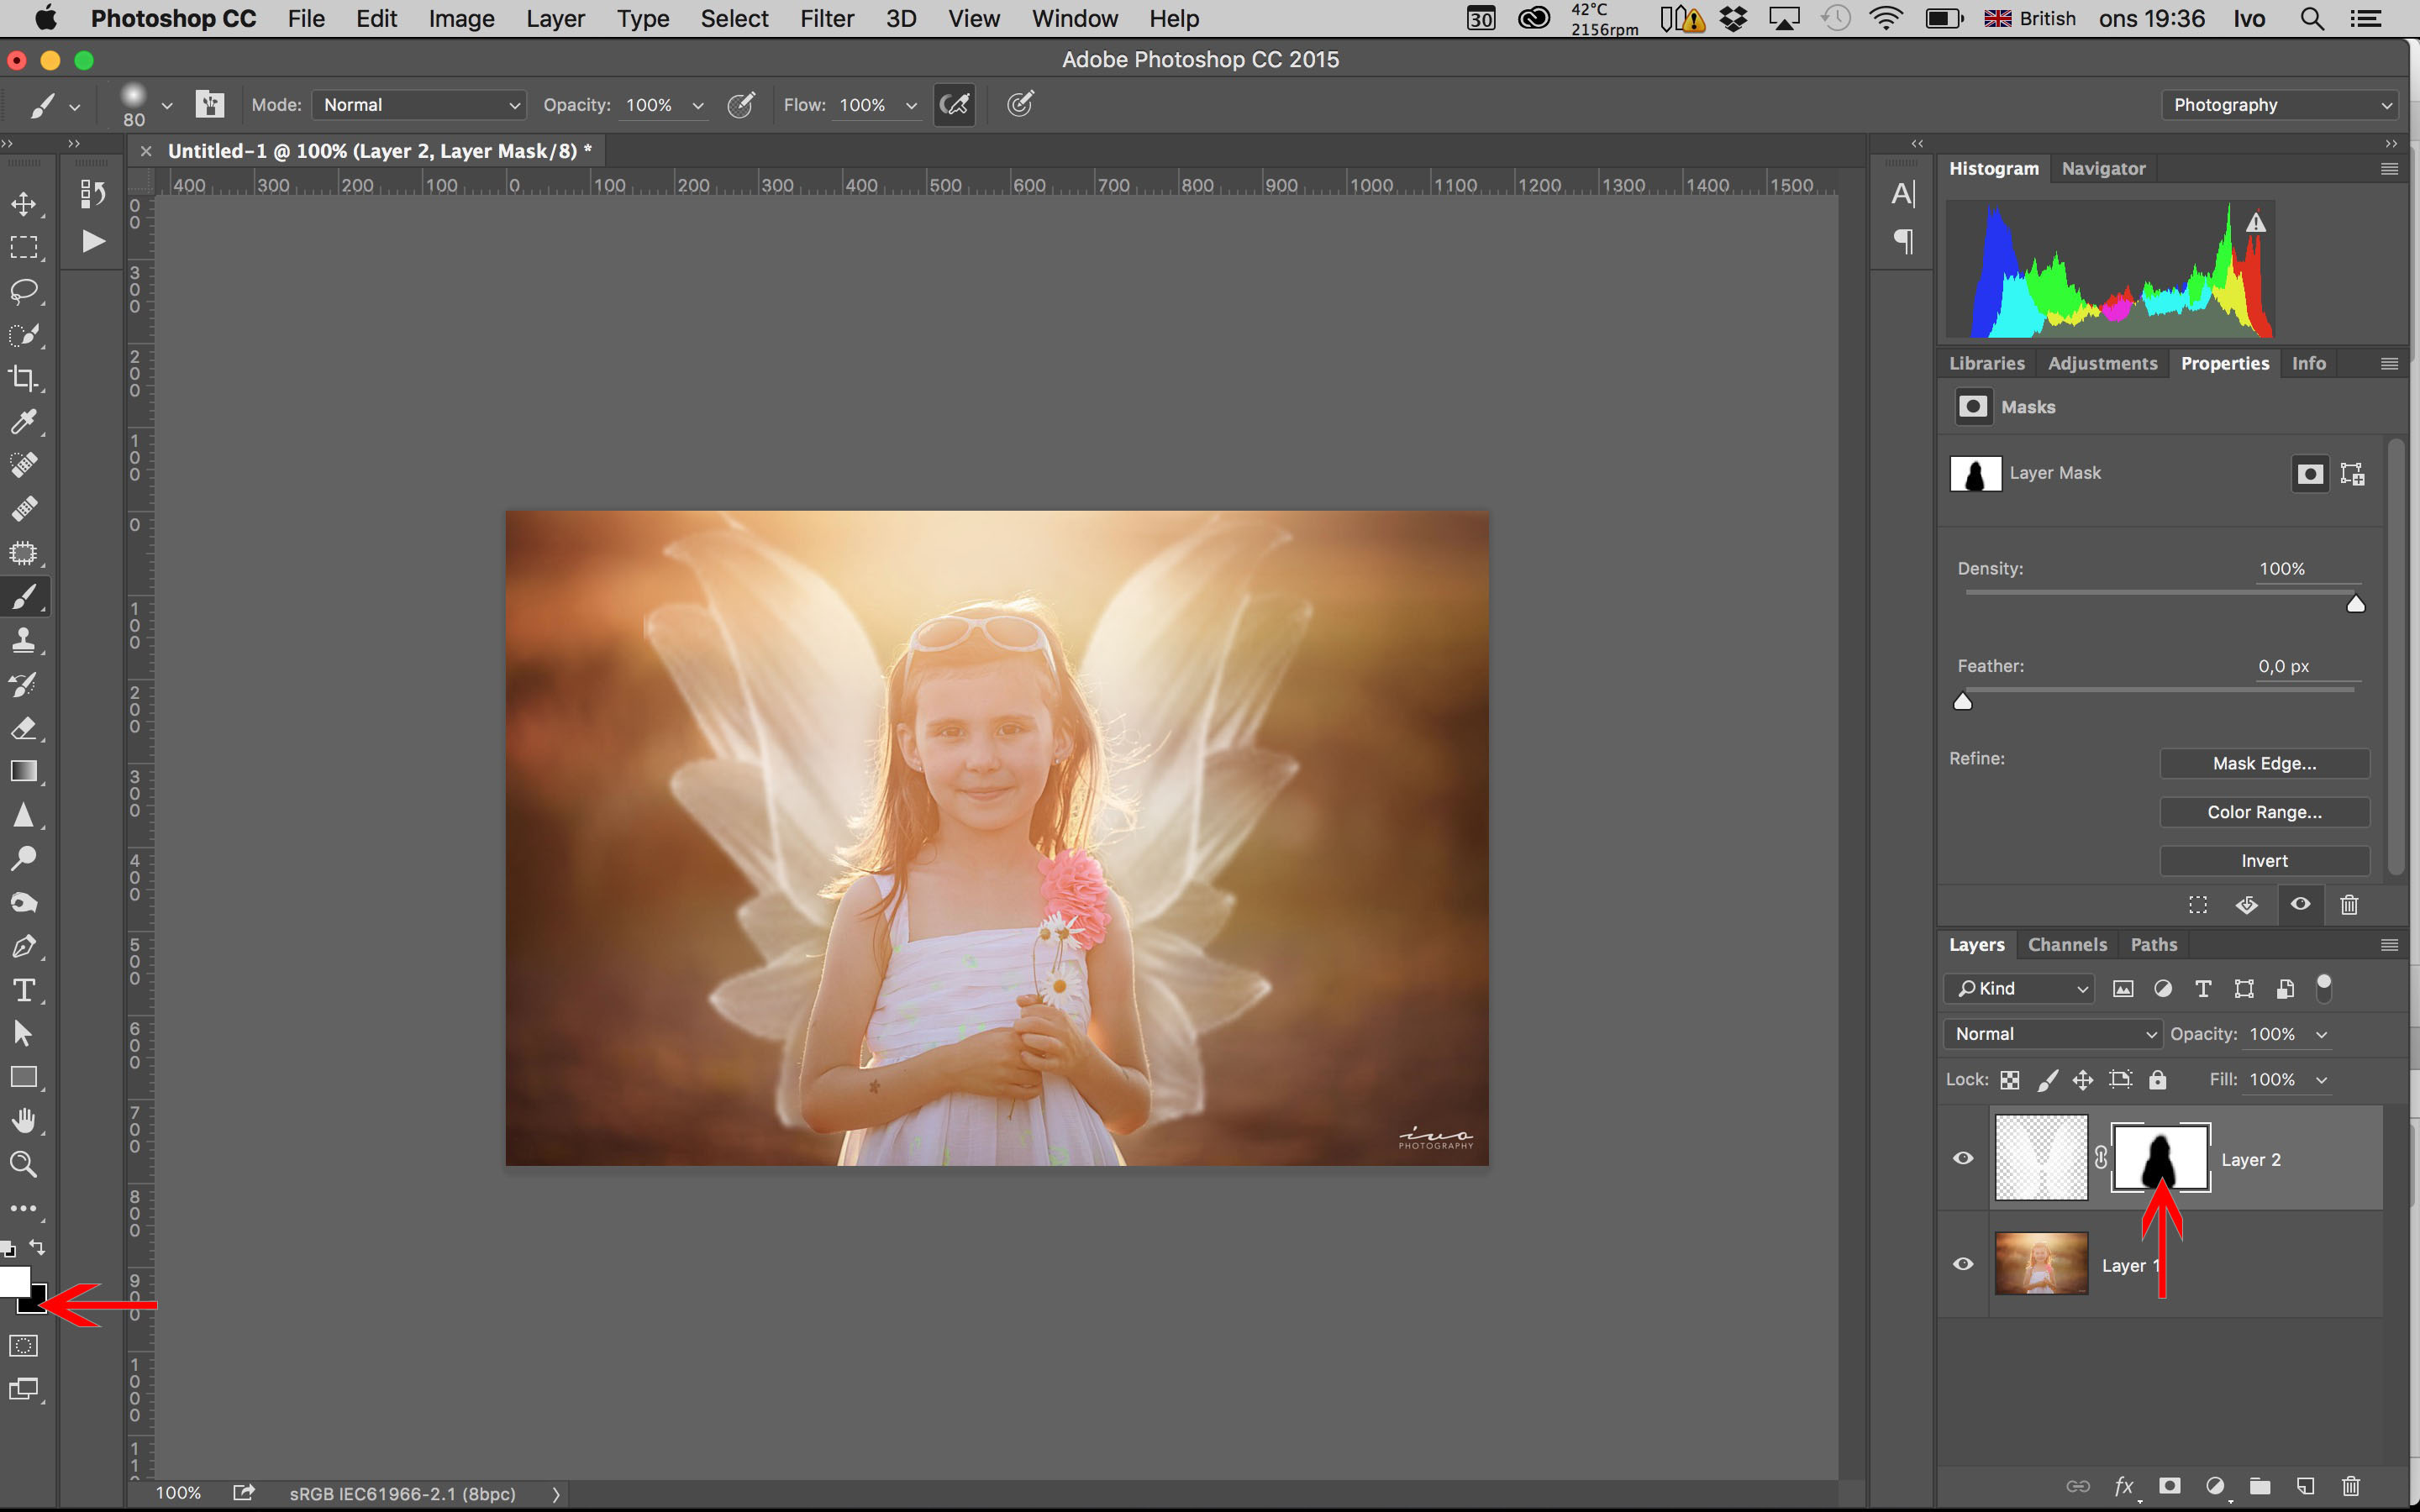
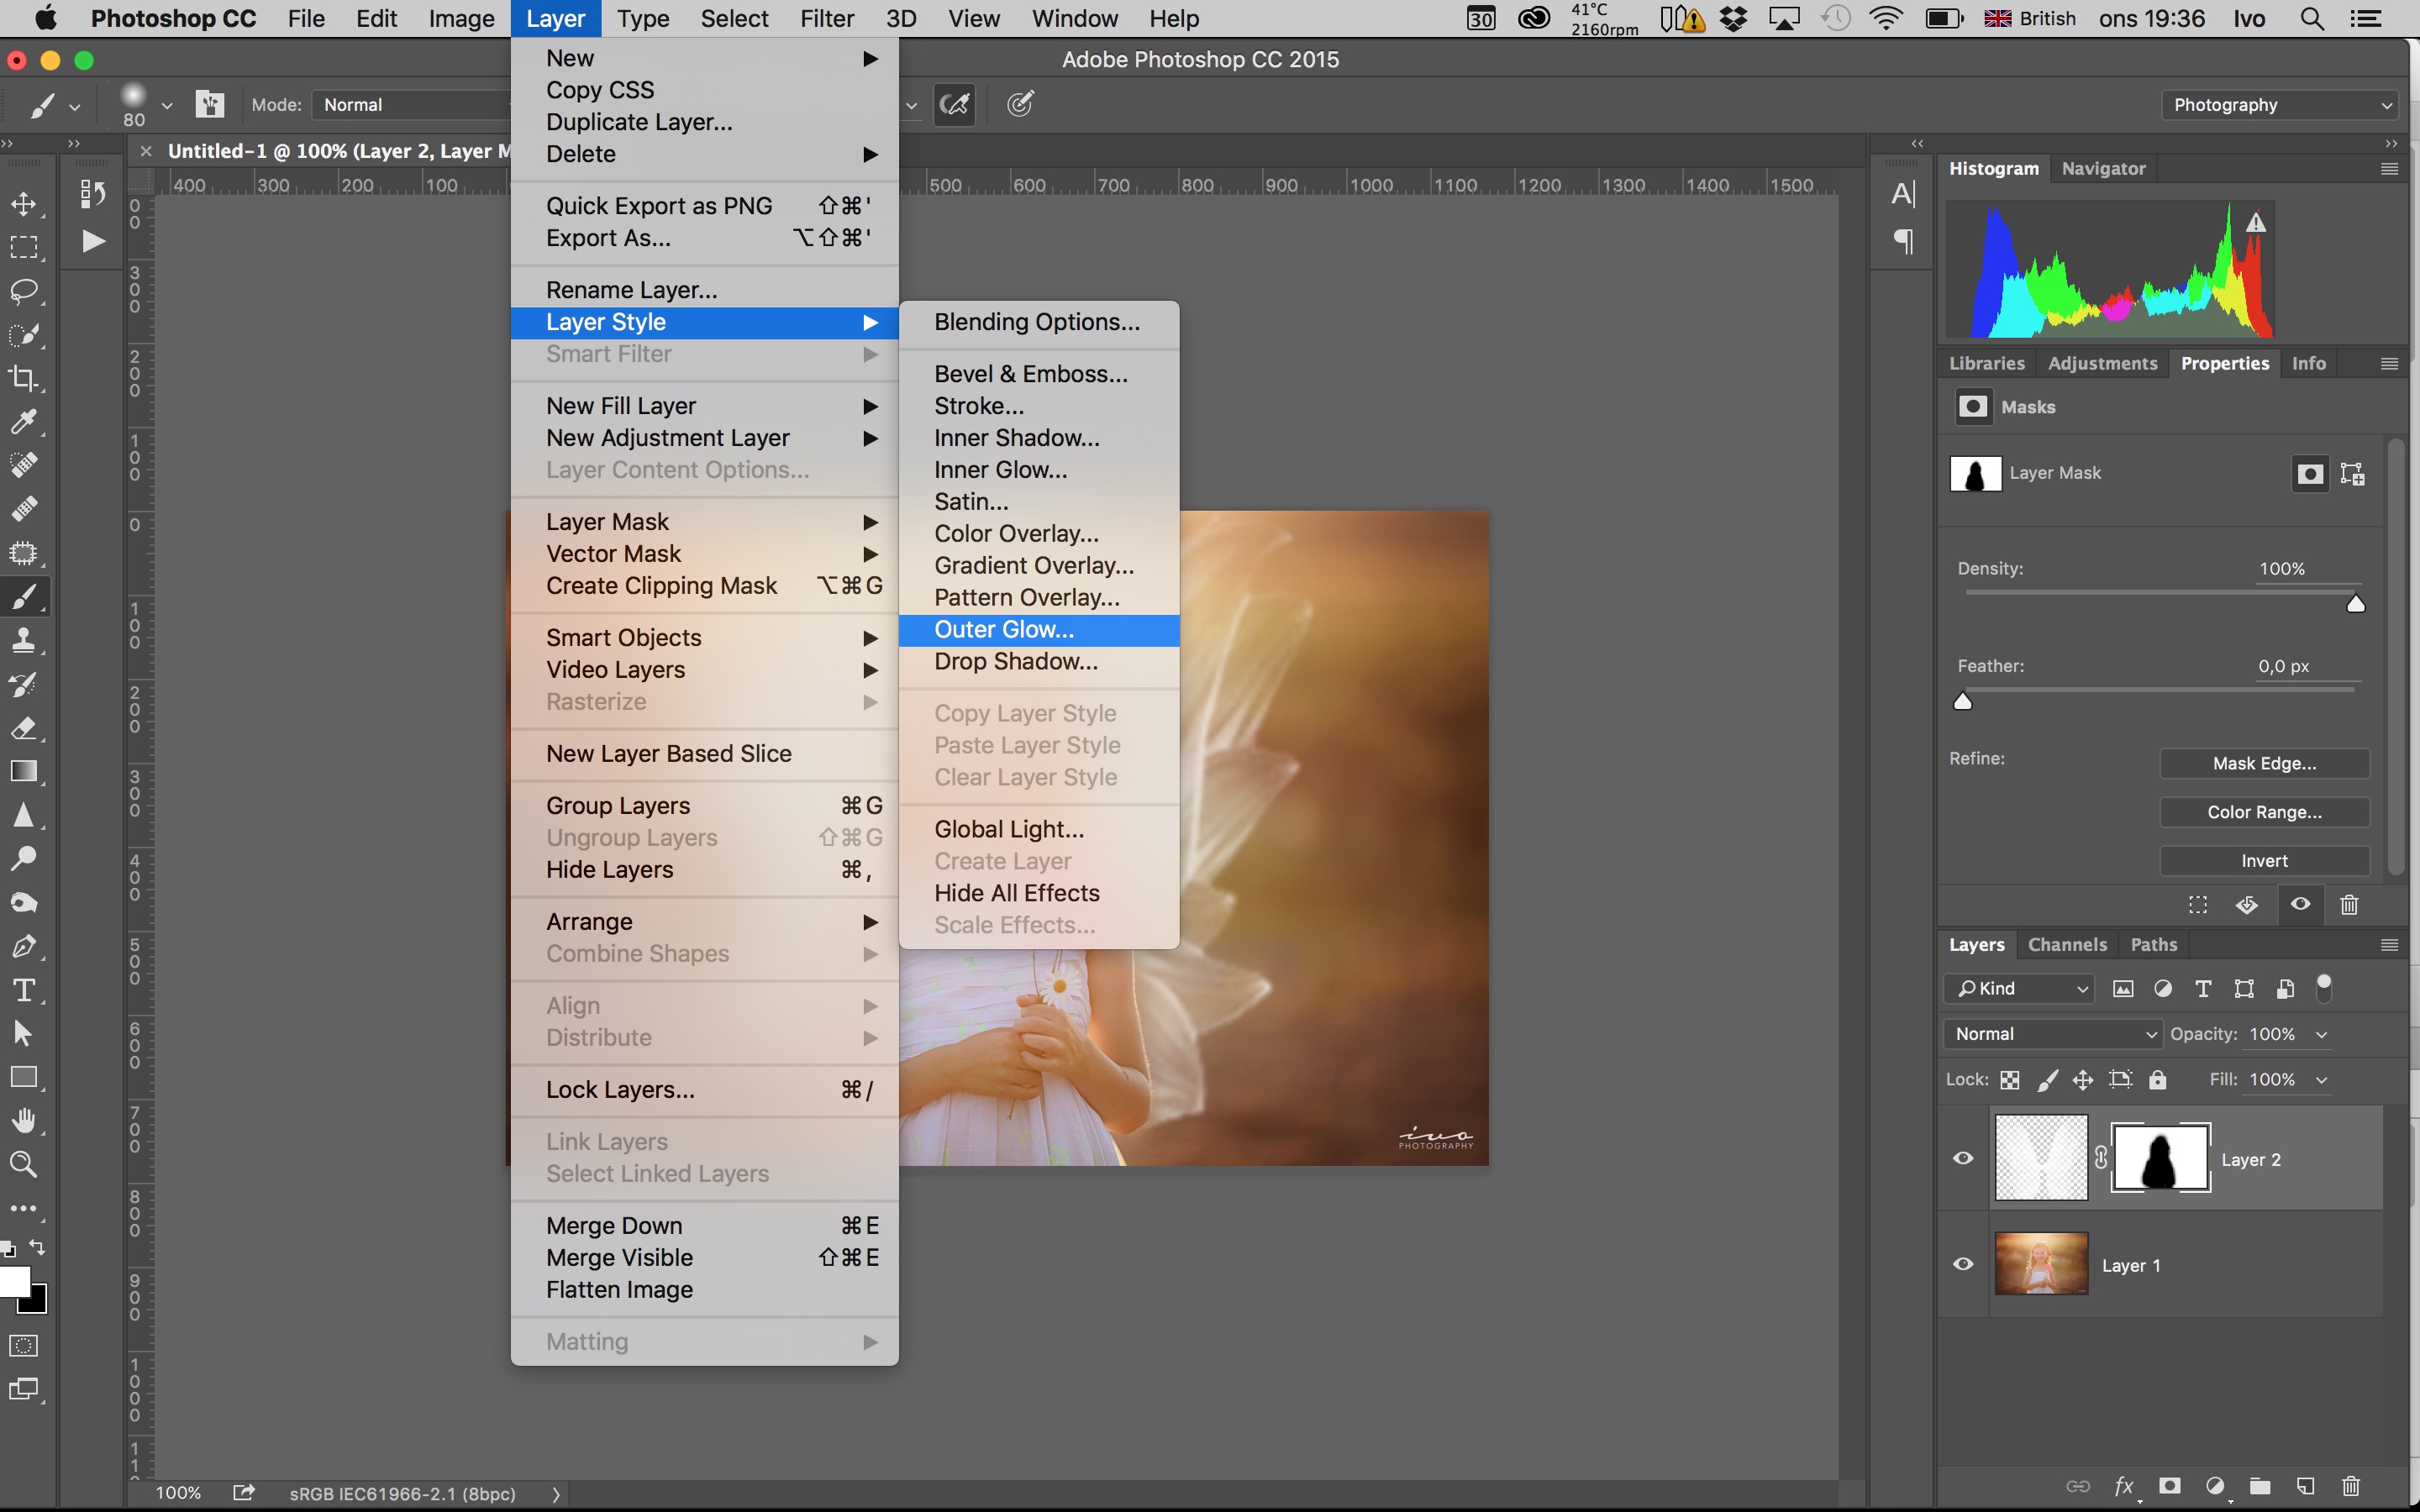
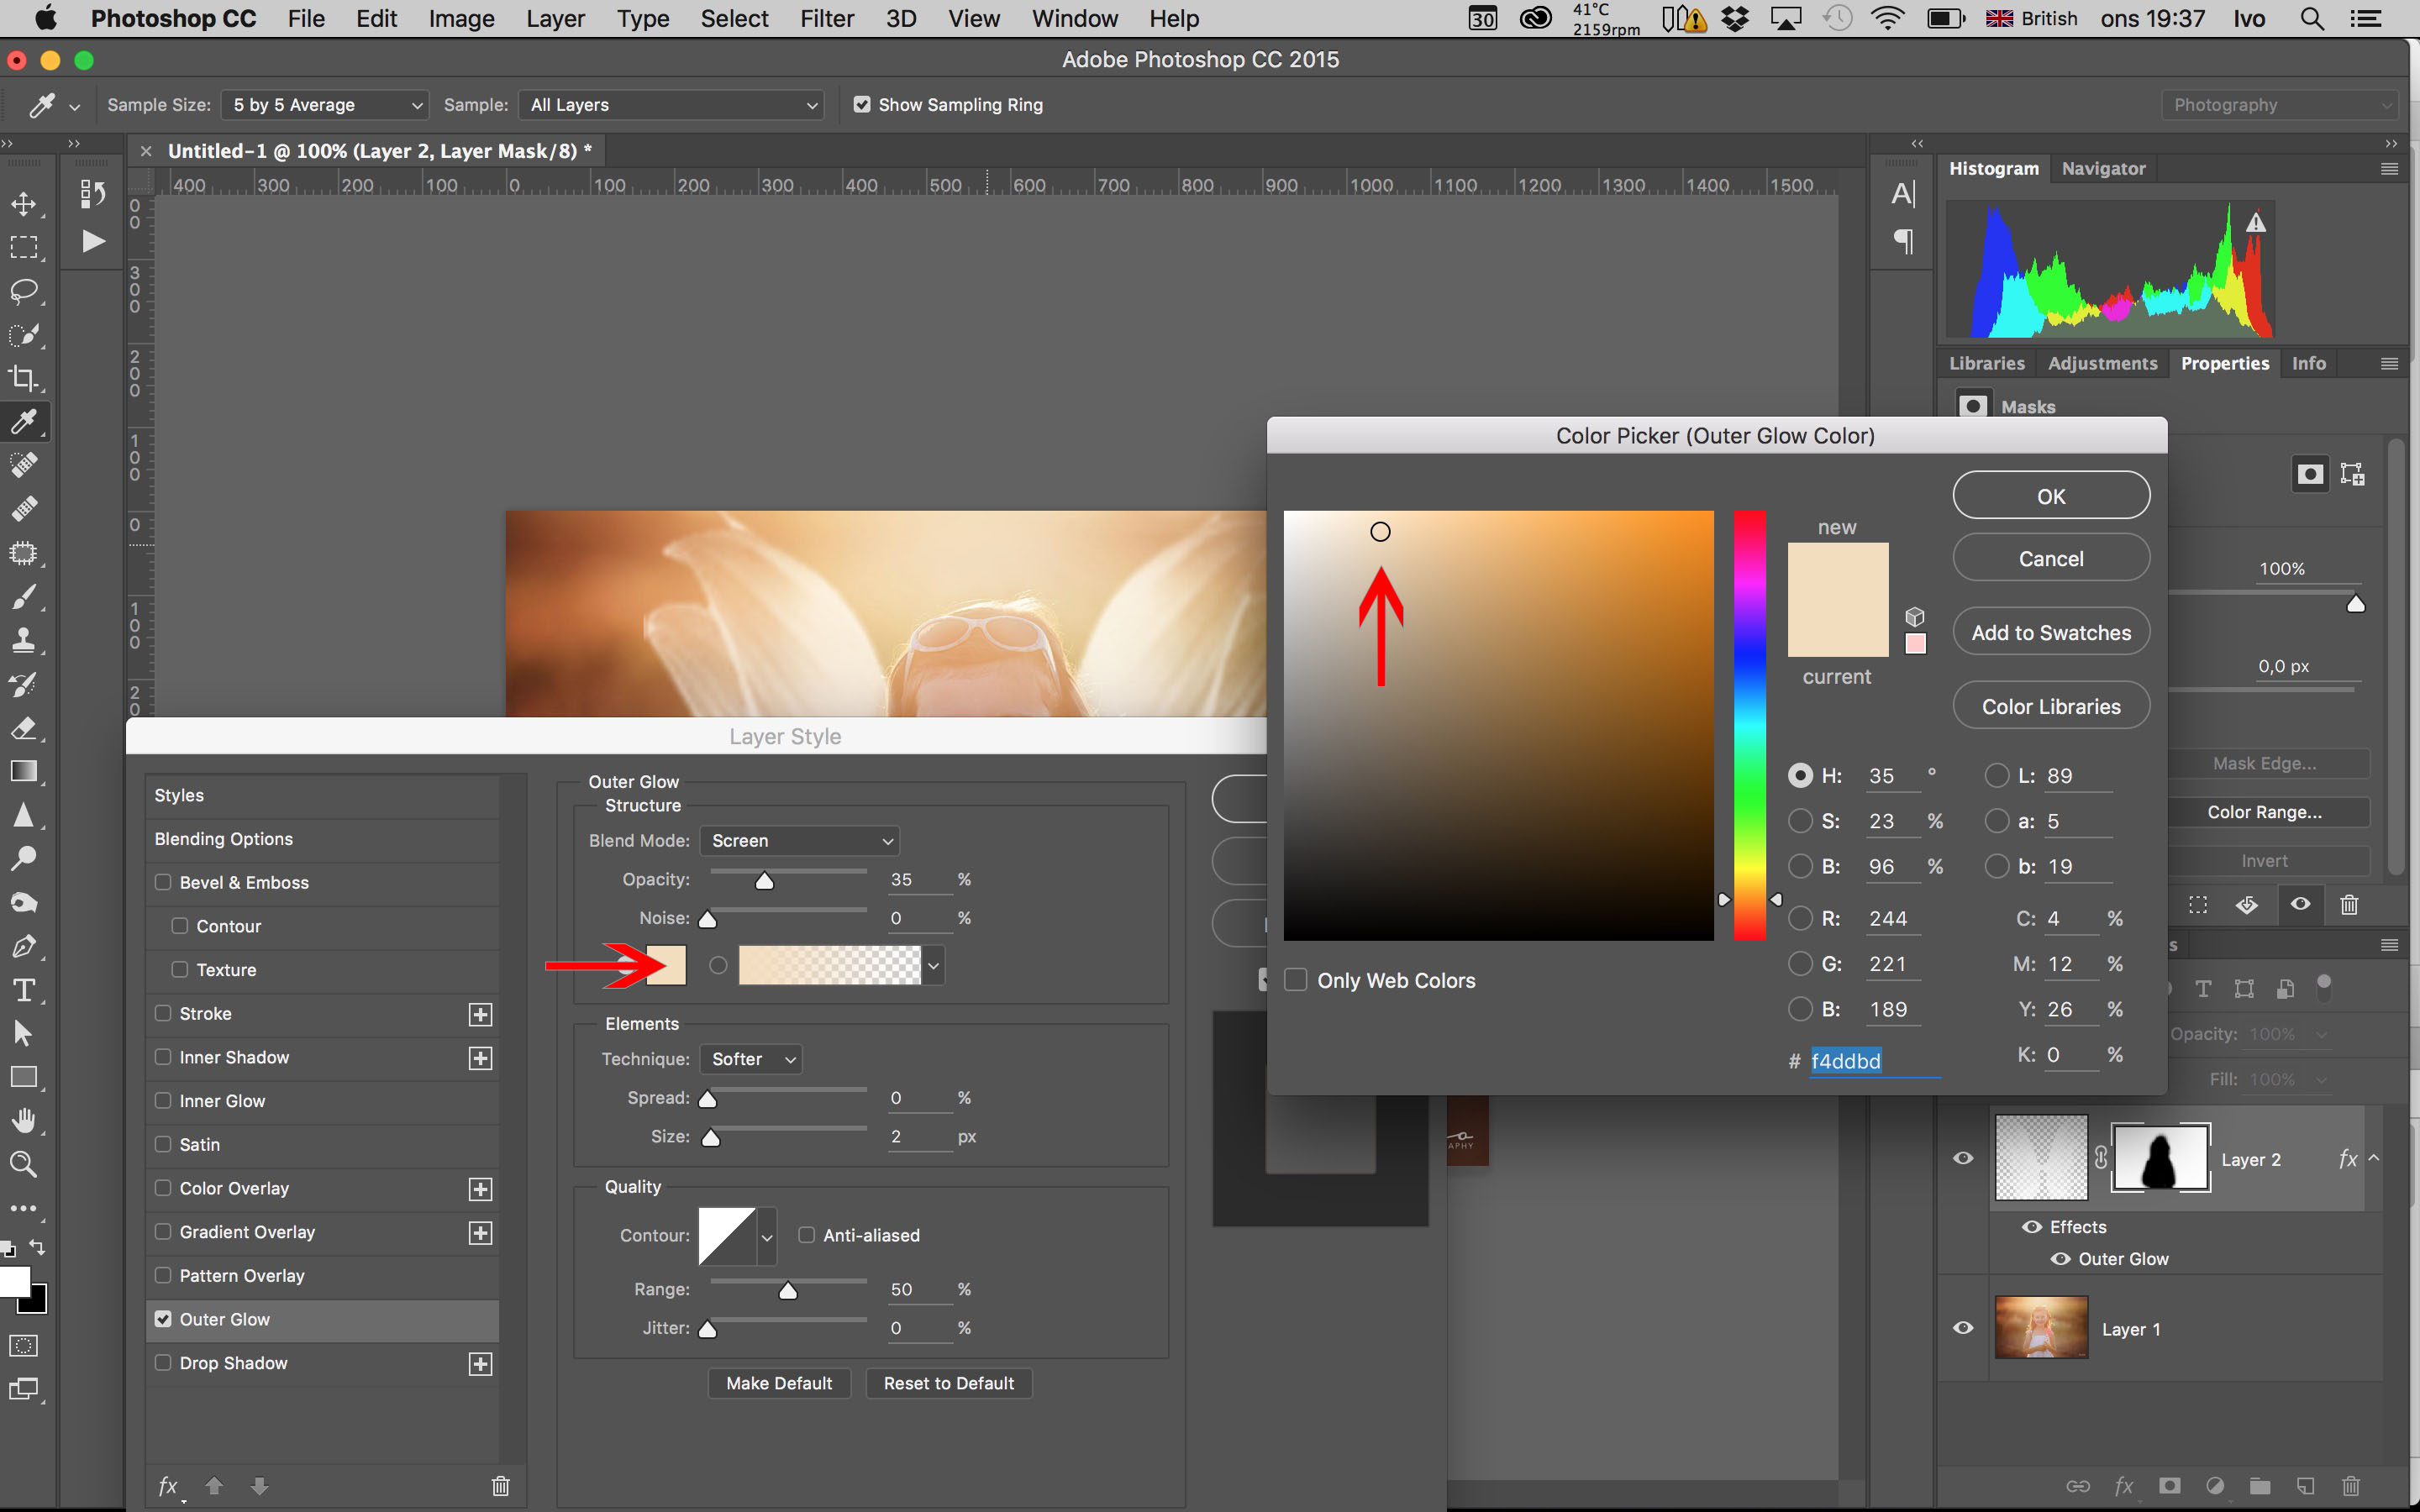
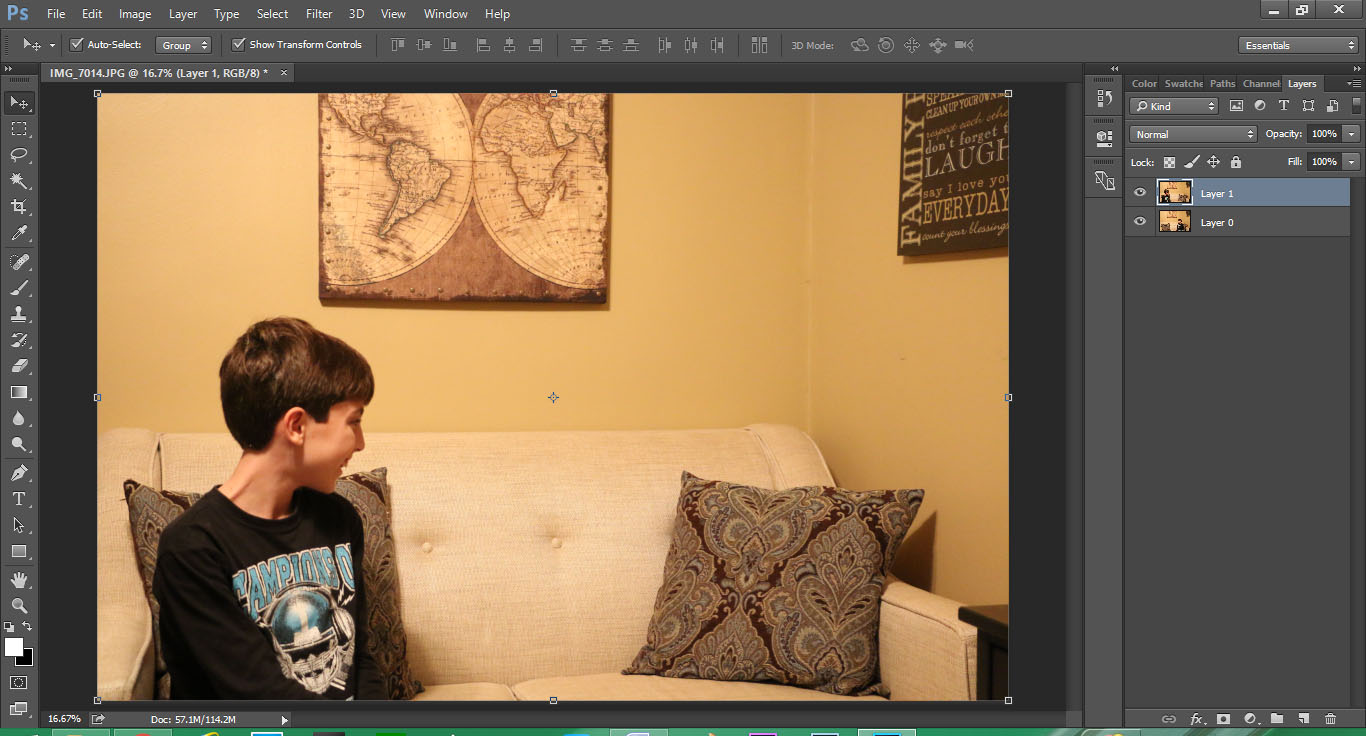
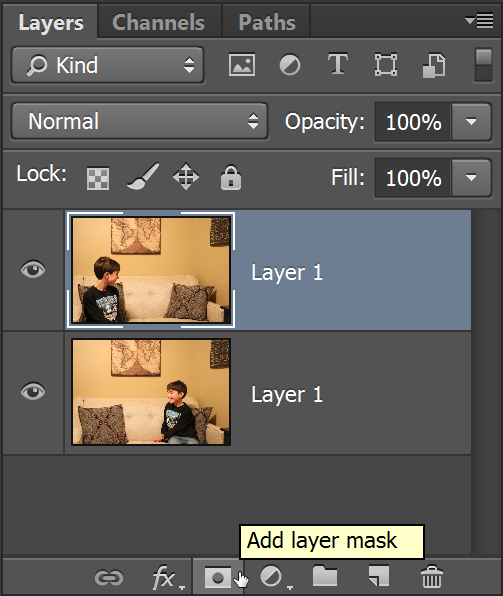
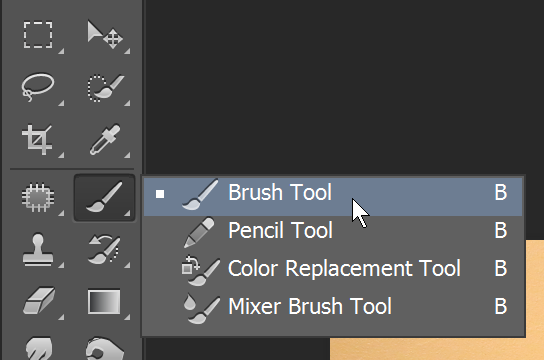
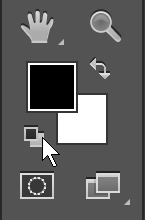
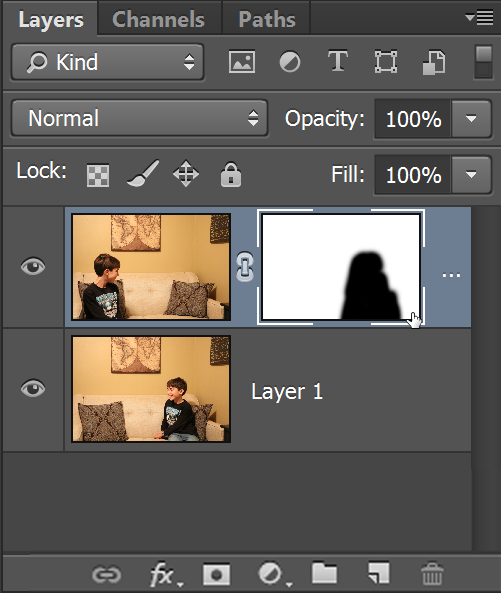
I got a few more shots like that, none particularly successful. Franklin D. Catsevelt needs some coaching. So next I followed him around and shot him while in front of a different window. I used Chelsea’s method in the above video to make a multiple exposure in Photoshop. This time the background was still a bit busy, so I used the magnetic lasso tool to select him and add him onto a blank, white background before completing the process. 

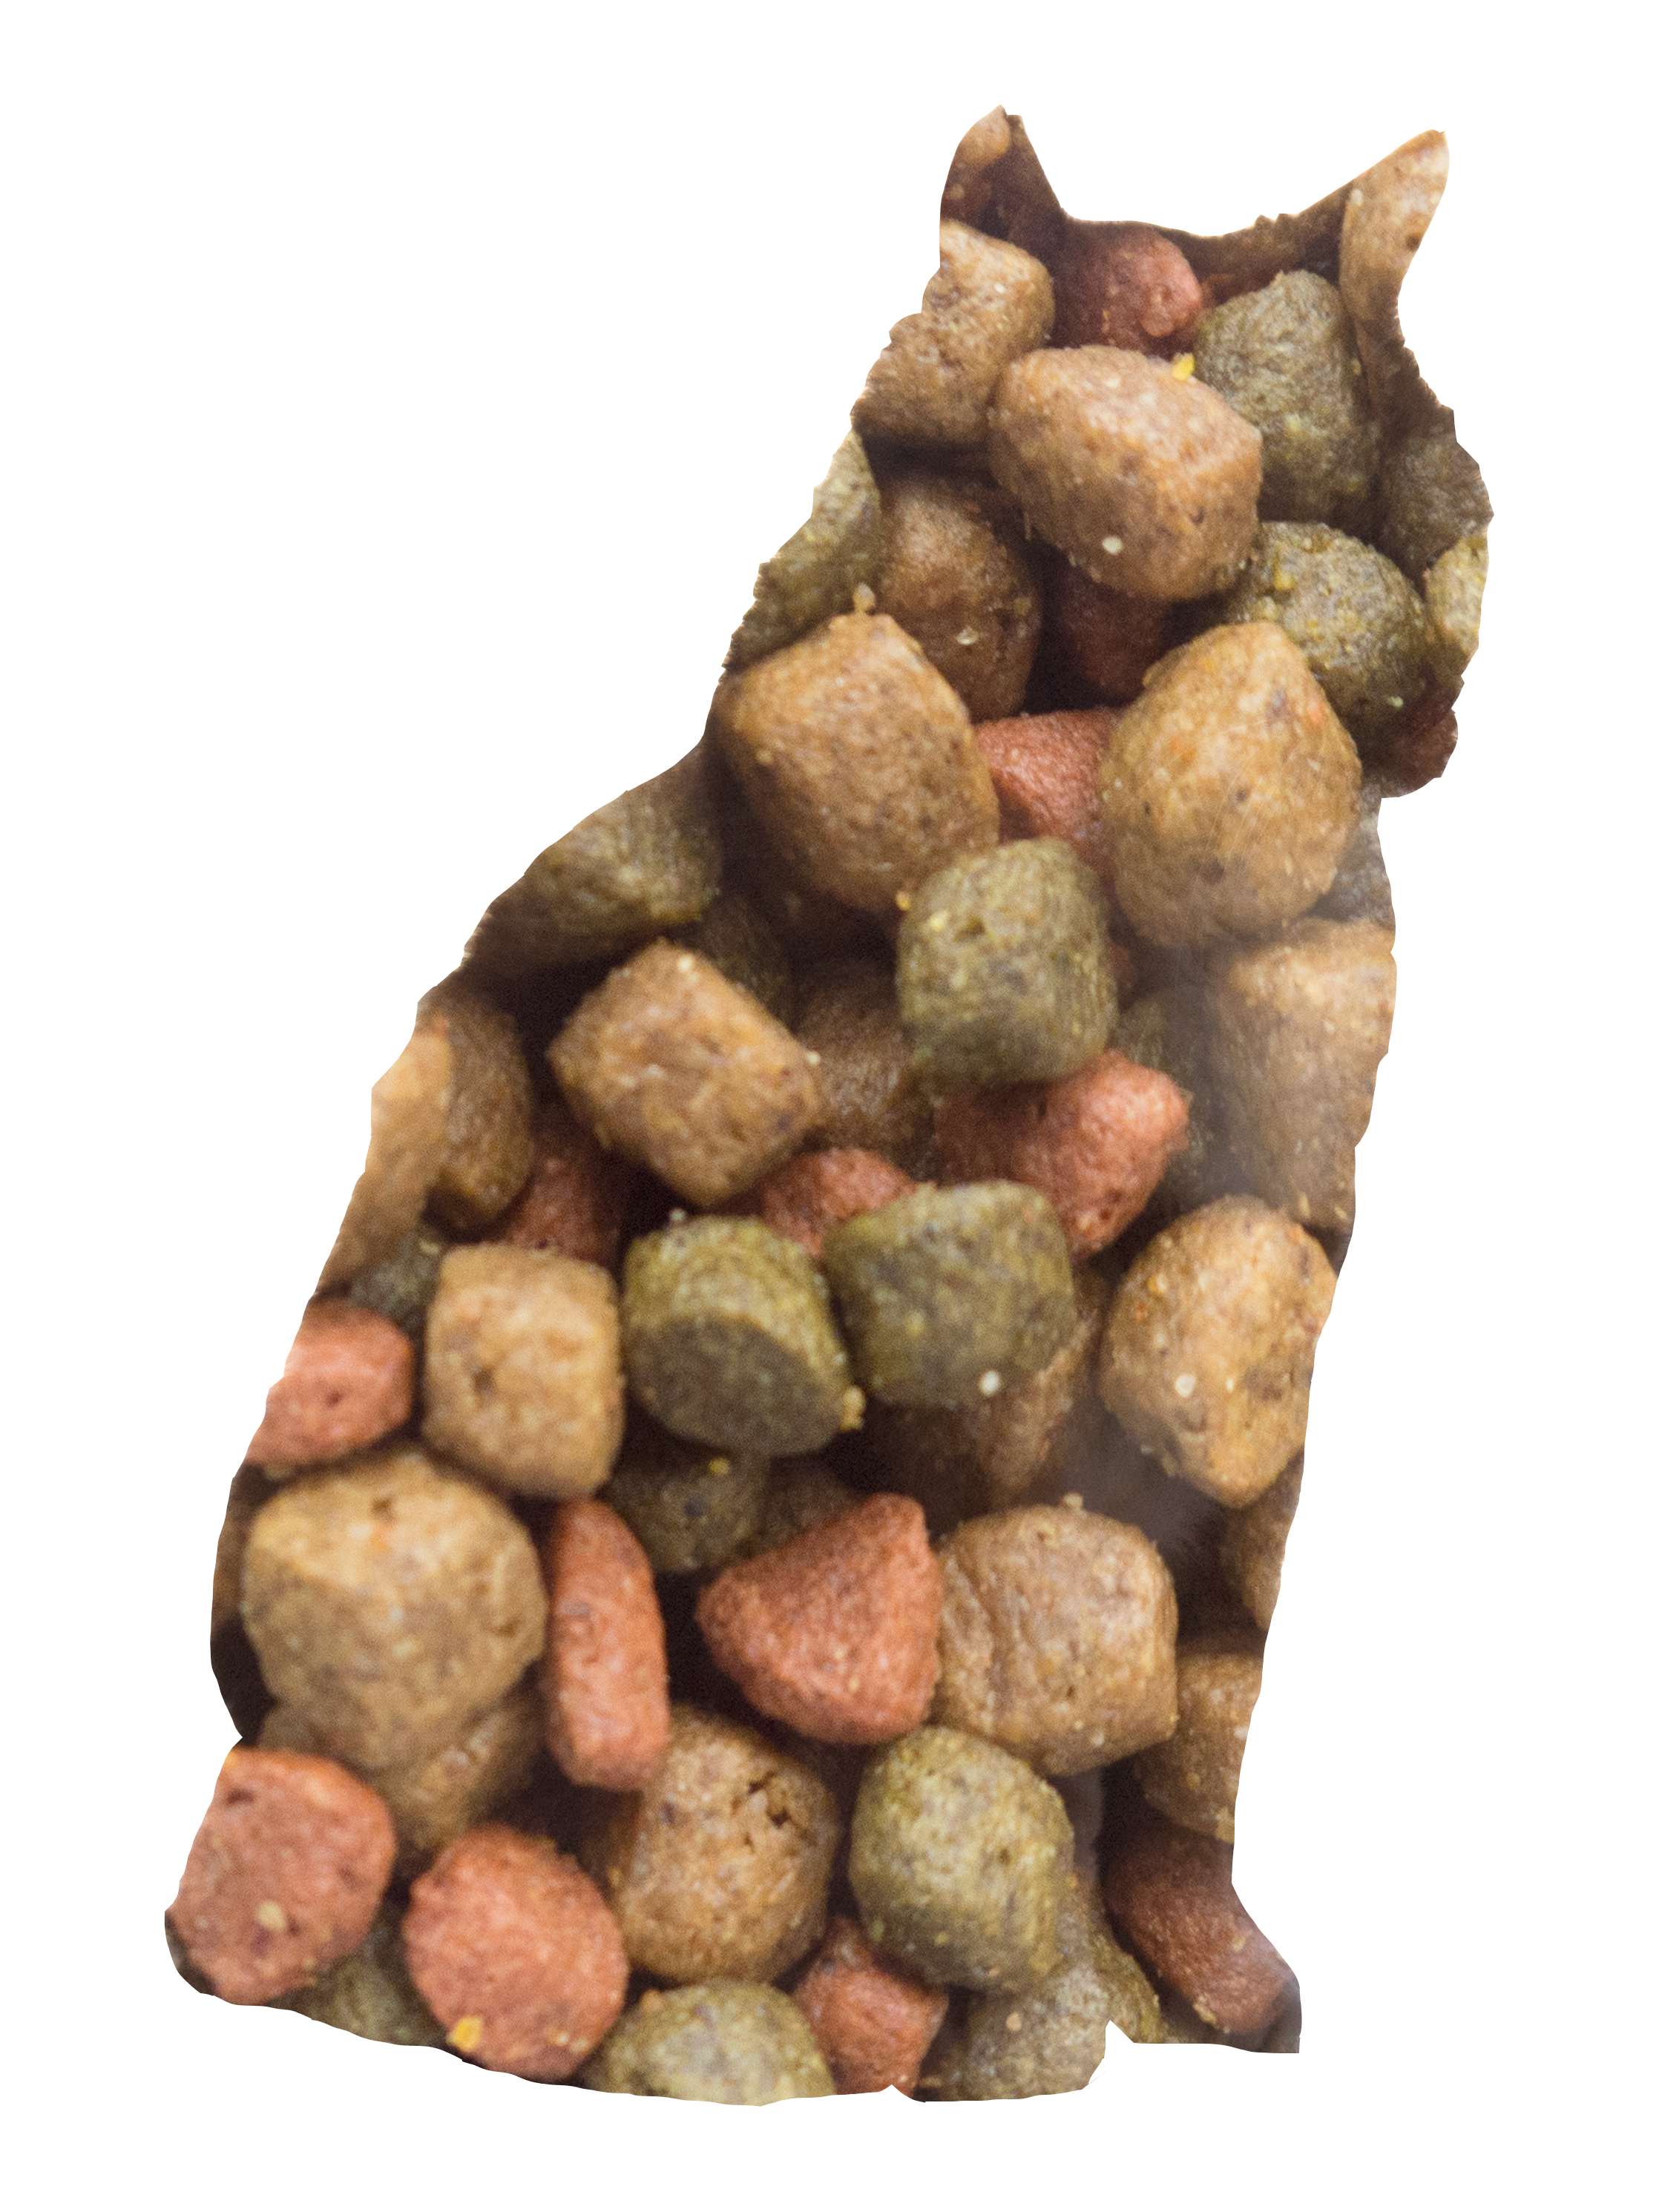
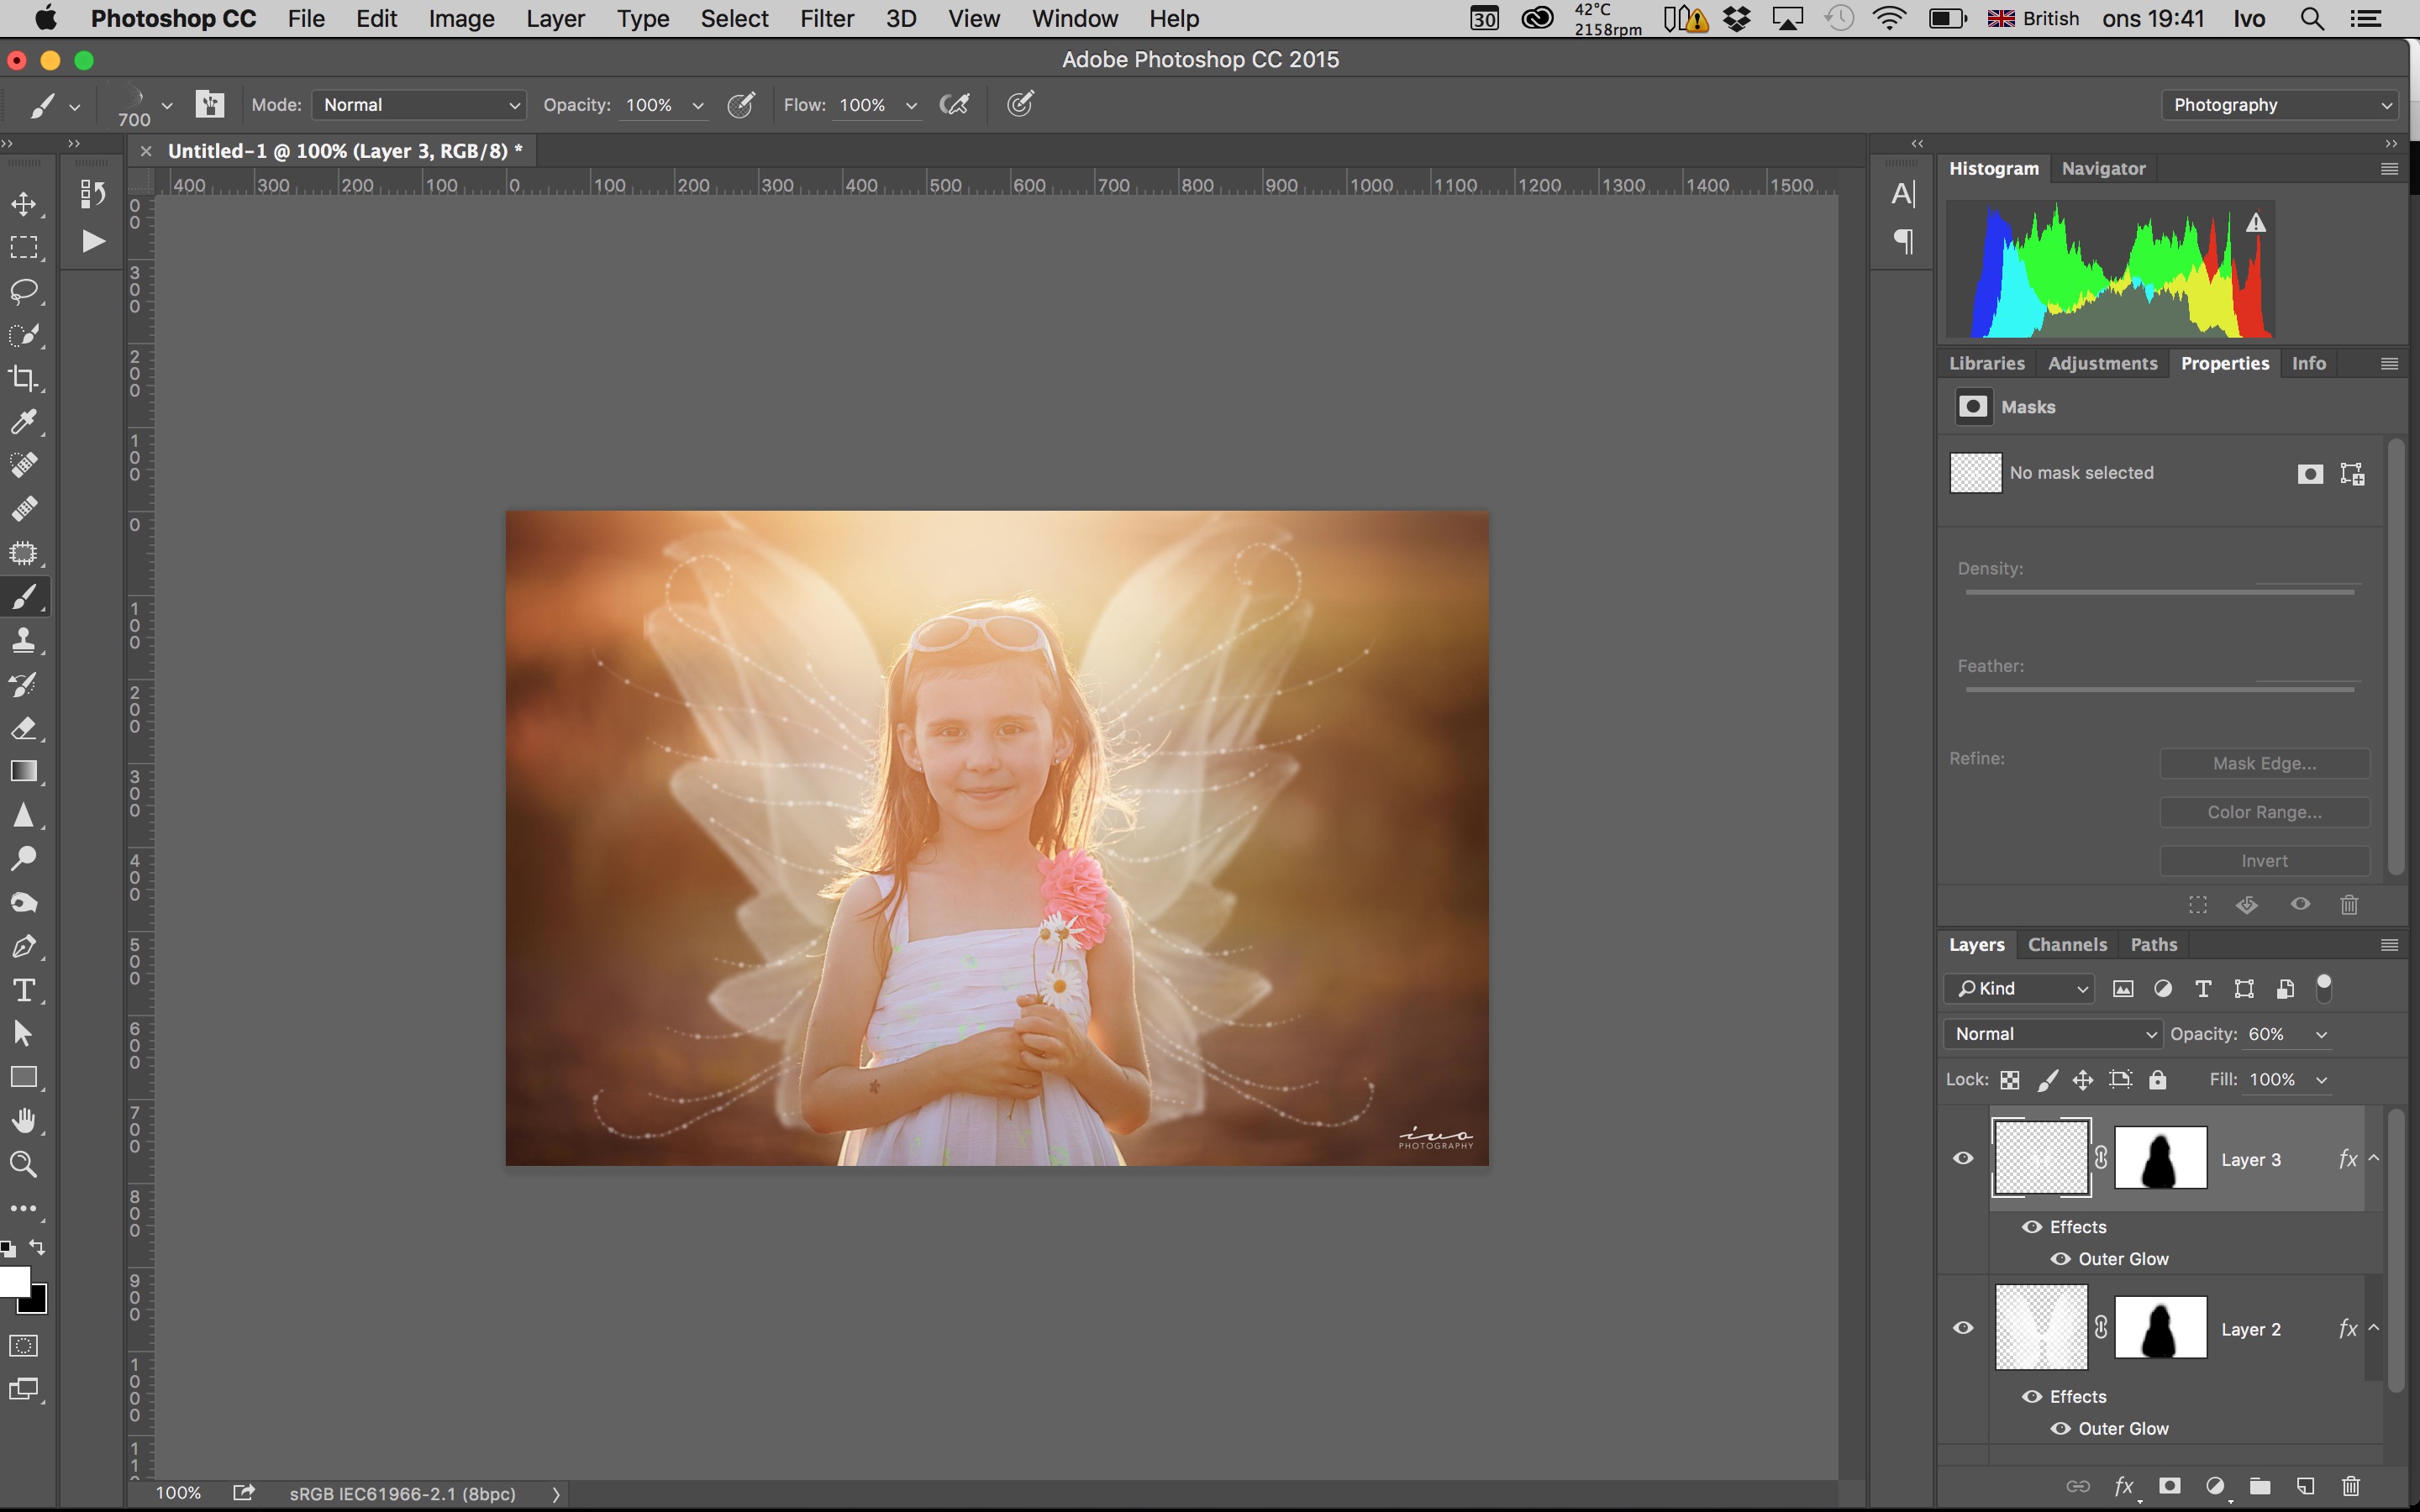
The edges could use some cleaning up, but that far exceeds my Photoshop skills.

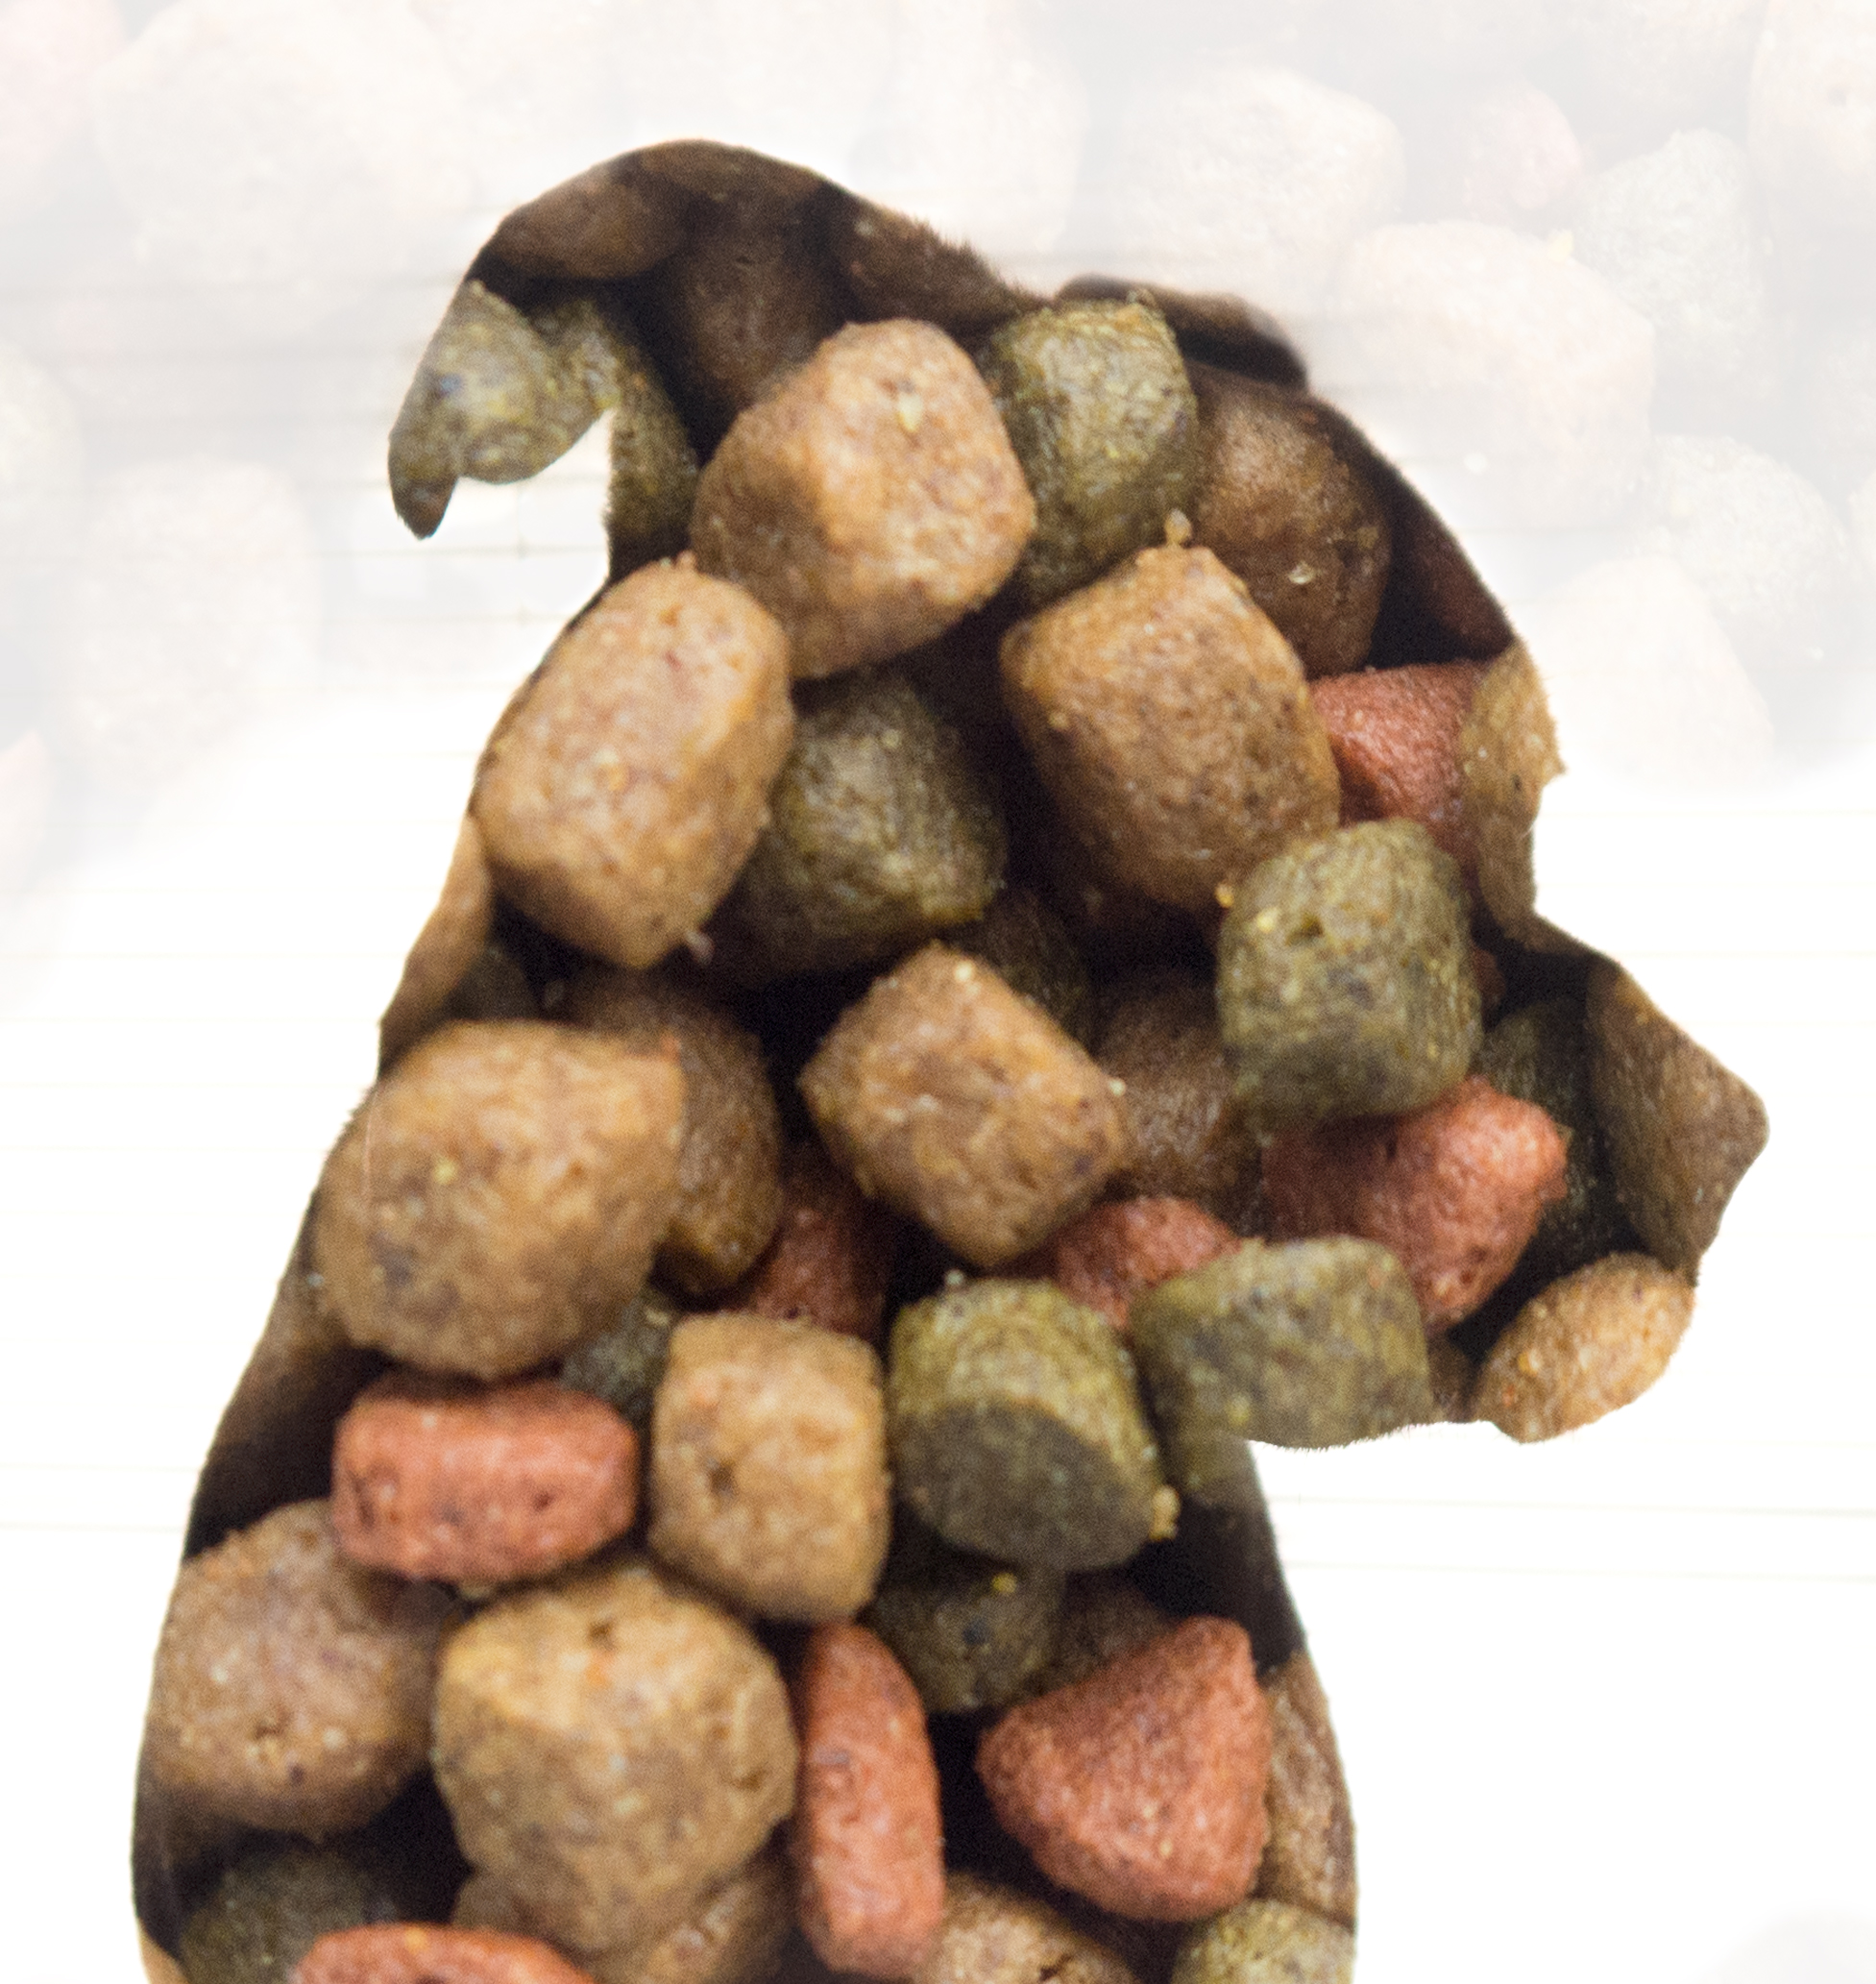
And finally, I got a shot of my beloved dog, Hungry Hungry Hippo. He was sitting nicely on the radiator cover in our front window. The blinds were closed behind him, give a cleaner backdrop than the images of the cat. I did some work to clean up the lines of the blinds before overlaying the food shot.

I think this is my most successful of the three.


And there you have it! My first attempts at multiple exposures. This was a really fun project, I think I’ll try it again with more reasonable models so I can control the background better.

Posted on

Live Show Recap: Photoshop My Photo!

Live show recap is back! This week Tony and Chelsea tackled Photoshopping your photos. Like what you see? Pre-order our book on Photoshop while it’s still super cheap! 

Chelsea made me laugh uncontrollably more than once this episode. 

We start off with some news:

  • Canon’s stock closet at the Olympics is bonkers
  • Tony bought an old Nikon F on eBay after they talked about the history of Nikon on the podcast

Now for Chit-Chat! Chelsea’s favorite part of the show where we give undue attention to people who bad-mouth us on the internet! And Smaakjeks making great jokes. This week is all nice stuff though!

  • old time-y shit talking
  • Tony’s beautiful voice
  • poo audio
  • Tony predicting the future
  • being called badass mutha*******
  • Chelsea trying to back TheCameraStoreTV into saying they love her

Don’t rank us against our friends! 

Ok, we start working on your photos here. We don’t go through a ton because the process is a bit more labor intensive this week. But watch, you might learn something! I’ll highlight some of our favorites below:

  • a man and his dog in ‘Nam
  • baby bear! Duplicate it. Dent it’s head.
  • slug removal

Let’s go to me for some of your questions:

  • what to do in Photoshop versus Lightroom, what’s your workflow between the two? Basic editing in Lightroom first, more advanced, detailed editing in PS.
  • Tif files, what are they good for?
  • how to name your photo business and domain? I say use your name, carry business cards. Chelsea says use alliteration or rhyming to have a memorable name.

Let’s look at Abi’s portfolio! Lovely shots, just add some more info on your prints. She’s one of ours, Tony, you can’t have her.

Back into your photos:

Chelsea threatened to murder Tony when she’s sick up updating the books

  • so… Chelsea says this bird is poisonous and then goes into how she constantly explains to Tony the plot of Home Alone when he falls asleep during any show or movie. This is my favorite thing ever.
  • Chelsea shows you how to edit out logos for stock photography, lazily
  • “what is that liquid?” “the other one is clearly urine”
  • oof, portrait editing with dappled light

Back over to me for some questions:

  • shameless plug for my blog coming back! Follow me as I learn photography finally.
  • rumors about the upcoming 5D Mark IV? Nope!
  • upgrading wildlife gear? We dunno, tell us what you’ve got.
  • shooting portraits under heavy rain? Go inside. If not that, capture the movement of the rain and light it well, use waterproof makeup, style for the weather. Cover your camera, obvs. Use storytelling.
  • next week! Matt Granger will be on the show reviewing portraits. Also, you can catch T&C at Photokina next month!

Tony jumps in with an edit of our nation’s phallus.

  • “your feet are too big, bird!
  • “Tony, it’s us!”
  • lovely shot, odd colors

Let’s talk about tablets! Chelsea loves her Wacom, Tony hates editing on tablets, he’s a mouse man. “I can do anything with a mouse, I’m a mouse master.”

Let’s get another question and comment from our friend Kyle Wolfe before we head out:

  • could you average multiple photos to even out camera shake? No, but good idea!
  • use a specific link on your business card that shows you how many people access your site from the cards directly! Or a QR code. You can use a site like bit.ly.


That’s all, folks! Join us next week with Matt Granger to review your portraits! And look out for my blog on portraits this Thursday. 


Posted on

Dodging and Burning in Portrait Photography

Dodging and burning (“D&B”) is the process of adding light or shadow to parts of a photo to create contrast and emphasis. Put simply, when you “dodge” you are increasing exposure to that part of the photo and when you “burn” you are reducing the exposure. These names come from the physical darkroom process, but for today’s example I will do my D&B on Photoshop, and I will assume you have basic knowledge of Photoshop layers and masking for the purpose of this tutorial (if not, you can see Chelsea’s tutorial here.) There are many other editing programs that support D&B, including Lightroom. The most important thing to remember when you are dodging or burning is to keep it subtle and work with the natural highlights and shadows that already exist in the image. Done correctly, D&B is an easy way to make a portrait more life-like and impactful.

Continue reading Dodging and Burning in Portrait Photography

Posted on

How to Overlay Fairy Wings in Photoshop

fairy-wings-olivia

As the father of 3 beautiful kids I can tell you that kids LOVE a good story. My daughter Olivia is absolutely wild about fairies, princesses and all things magical. She often runs around dressed in her favorite Tinker Bell fairy dress with tiny little wings attached to the back, proudly showing it off to anyone and everyone willing to engage in a game of magical creatures and dance. So one day I thought, wouldn’t it be great to capture a golden hour portrait of her and paint on her some cute fairy wings using Photoshop? I had seen it done before online and set about making it happen.

Imagine the delight and joy on her little face when I showed her the finished photo and printed it out for her! So if you are parent who would like to do something similar for one of your kids or perhaps you are a photographer who wants to try something new when shooting family portraits with kids, then have a look at this short video tutorial. I hope that you find it helpful. The tutorial covers a simple technique on using brushes and layer masking to add a fairy wings effect to an existing photo.

Step 1 – open image and create new layer

Step 1

Open the image you wish to use in Photoshop. Tip: images with simple background work best.
Click the “Create a new layer” button in the bottom right of Photoshop (see red arrow)

Step 2 – choose the right brush

Step 2Press (B) on your keyboard to select the brush tool. Then press on the brush selection drop down menu at the top right (see red arrow) and choose the fairy brush wings which you wish to use.

Step 3 – paint the wings

Step 3

With the fairy wings brush selected, adjust the size of the brush by using ([) bracket keys (]) of your keyboard to suit the size of your canvas, then using a white mask at 100% opacity you paint the fairy wings on to Layer 2. Press (V) to move and position the wings so they sit symmetrically over the person. Press Cmd + T (on Apple) or Ctrl + T on (PC) to resize the wings if needed.

Step 4 – adding a layer mask

Step 4

Chose a soft round brush at 100% opacity, select black color mask, click the layer mask to the right of Layer 2 and using the brush mask directly over the subject to remove and mask off the wings from the person’s face, arms and body. Remember that when you mask, black hides things and white reveals them. The beauty of using masking as opposed to the eraser tool is that this method is non destructive and can be reversed at any time.

Step 5 – add layer glow

Step 5

For some added whimsical effect you can go to the top menus and click on
Layer -> Layer Style -> Outer Glow

Using the eye dropper tools choose a soft light color for the glow effect. Using a color already present in the image helps you blend things better.

Choose glow color

Step 6 – add more 

Step 7

Repeating the same methods outlined in steps 2-5 you can create even more layers of additional wings, glitter or other magical fairy effects to complete your image.

Finally

Save and export your finished masterpiece as a high resolution JPEG for printing or uploading to social media. Remember that for best results on Facebook you need to Save for Web as 100% quality JPEG with the sRGB color space selected and exported at 2048px on the longest edge of the image.

The fairy_wings_brushes were created by Obsidian Dawn (www.obsidiandawn.com) and are available as a free download from a great creative resources website called Deviant Art where many artists post their Photoshop brushes for others to use.

I hope you enjoyed the video and I’m looking forward to seeing the photos you produce using this method.

Posted on

How to Turn Your Simple Pictures Into Art

SpaceStationNaples
This was originally a shot of some girders from a parking garage overhang.

The Philosophy

I won’t take too long with this since my last post was all about artistic vision and philosophical ramblings. This post is meant more as a tutorial. However, there are a few things I would like to share here. Sometimes, my goal when I am out and about shooting is to capture something other than abstract ideas. That is, I may be out with the goal of doing some self portraits or a few landscapes at the beach. However, the light or weather refuses to cooperate. Sometimes, I lose the mood. Whatever the case may be, I feel that if I am out there with my camera, I need to find something to shoot so I can use the photos as a sort of “bank” I can draw from whenever I need to. I have thousands of images on my computer that I can turn to whenever I am in a creative “rut” because of this. (I am the photographic equivalent of those poor folks on the show ‘Hoarding : Buried Alive’ lol.)  I shoot tons of “throw-away” images that, later on, prove to be very useful in creating some very interesting and at times, award-winning images. I take shots of geometric patterns, shadows, and architecture. When I am taking these shots, I try to keep in mind that they will be used to create an image that will look FAR different from the image my camera captured. They don’t look like much out of the camera, but hopefully the tutorial below will help make your photos look like a work of art 🙂

Continue reading How to Turn Your Simple Pictures Into Art

Posted on

Self-Portraits: How a Selfie Can Improve Your Portraits

Sarah-Bowman-Photography-Northrup-Photo-14logo

It’s always frustrating when you have an idea but either don’t have a handy subject, are too shy to ask, or are just really impatient and want to try it ASAP! This is why self-portraiture is such a great option. Another good reason would be If you are interested in trying a few new techniques but aren’t confident with how it may turn out.

Continue reading Self-Portraits: How a Selfie Can Improve Your Portraits

Posted on

Multiplicity: How to Clone Yourself in Photoshop

Adobe Photoshop is a great tool to edit your photos. I like to use it as a creative way to edit photos and alter them. My first project in Photoshop was a fun one: making clones of myself.

Taking the Pictures

To make clones of yourself, put your camera on a tripod and take multiple pictures of yourself in different spots within the same scene. If your camera has a timer (shown next), start the timer, and then move in front of the camera so it takes a picture of you.

Choose a different pose for each picture. you can take pictures and then move in front of the camera before the shutter clicks. try to make your “characters” look like they’re interacting with each other by their facial expressions. Click the below images to download them so you can try it yourself!

IMG_7014 IMG_7013

Opening the Pictures as Layers

If you want to edit the same files as me, you can download them above. Open the files in Photoshop as layers, with one on top of the other. You can open multiple pictures as layers by selecting File | Scripts | Load Files Into Stack. You’ll see your photos as multiple layers within a single picture, as shown next. You can use more than two pictures.

Screenshot 3

Using Layer Masks to Show Parts of Each Picture

Right now, the top layer is completely hiding the lower layer. We can use a layer mask to hide parts of the top layer, allowing the lower layer to show through. If you’re not familiar with layer masks, watch this video:

First, select the top layer and then click the Add Layer Mask button, shown next.

Now, select the Brush tool. You’ll use the Brush tool to paint black inside the layer mask, hiding parts of the top picture.

Set your foreground color to black, as shown next. The foreground color controls the color the brush paints.

Now, select the layer mask and paint black within it. You can press the [ and ] keys on your keyboard to make your brush bigger or smaller. Every part of the layer mask that you paint black will hide that part of the top layer. To show the clone of myself on the lower layer, I painted black over that part of the picture. You don’t have to be exact!

PS ScreenGrab

Here is my final clone photo! Pretty cool! If you want to see the final PSD file, you can download it here and edit it. Thanks for reading! Keep shooting!

Cloning Example JPG

Here’s a video Chelsea made that uses some of the same techniques: