Using my magical “color overlay” technique to add ‘gritty pop’ to your images
I get many questions regarding my work, in particular how I edit my photos to make them ‘pop out’ at the viewer. I have many ways of editing depending on how I want the finished image to look. It’s kinda hard for me to discuss all of them here, since I have so many techniques and I really don’t follow a formulaic approach. The technique I will discuss here, however, is one that I use quite often. It’s something I stumbled upon by trial and error, and playing around with blend modes in Photoshop. I call it “Color Overlay,” named so because of the mystical, magical blend mode used. OK, it’s not mystical. Nor magical. But a spotted Unicorn did assist me in creating this post. Here goes nothing.
Step 1:
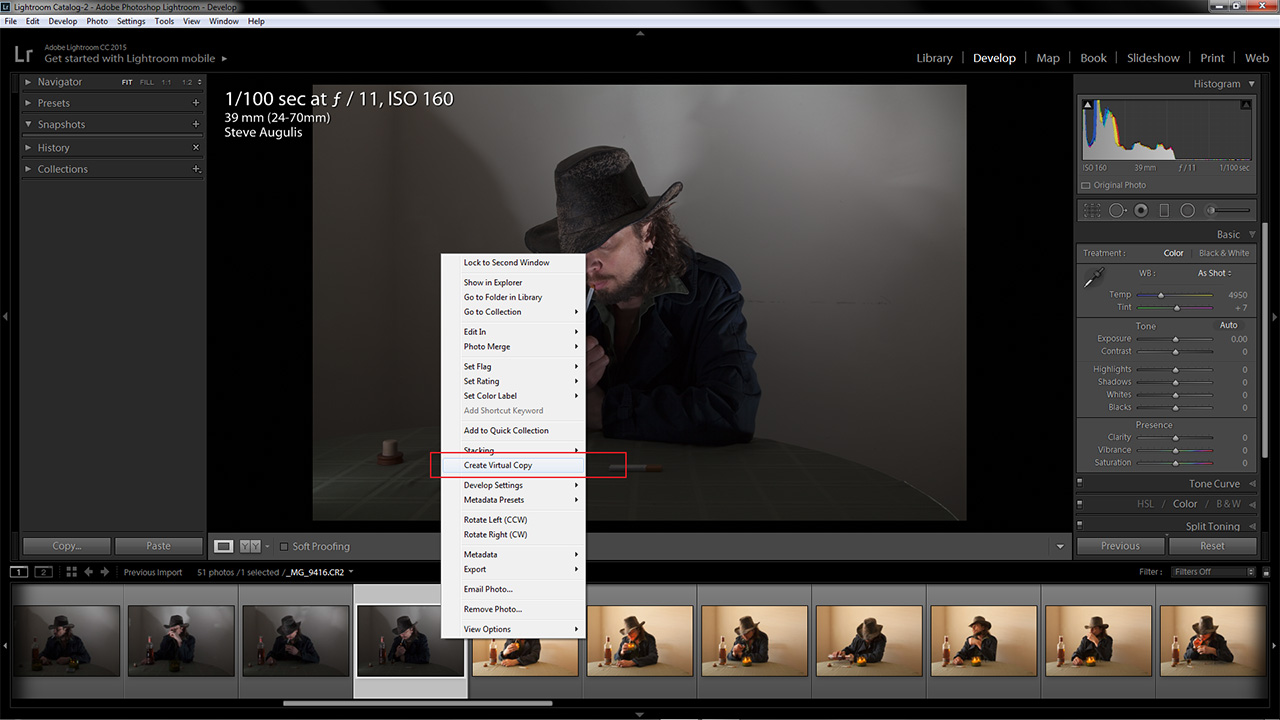
I like to start in Lightroom because I prefer the tools there for basic photo editing. This entire technique can certainly be done all in Photoshop, but then I wouldn’t look so fancy as I bounce between programs. Makes me seem smarter than I am. I digress. Open up your image in Lightroom and make a virtual copy. We are going to create a color and black & white version of the same image, so we need 2 to work with. See the screenshot below.
Step 2:
Next, I create the color version by adding a special Tee Gar blend of original herbs and spices. This is a trade secret! Colonel Sanders ain’t got nothin on me! No one is allowed to know my settings, and I will take them to my grave. Oh…well I guess the screenshot below will give you an idea. So much for trade secrets. Anyway… I try to get the basics done here, with a bit more saturation and less clarity. This will be acting as the color portion in the final product, and as you will see the black and white version will be the “clarity hammer.”

Step 3:
Now go to your ‘virtual copy’ in Lightroom and use the black and white settings to create a high clarity, intense monotone version of the same image. Again, the screenshot below gives away my spicy slider secrets. Curse you, screenshots! Did someone say shots? BRB tequila break….OK. You are going for something with a lot more punch than the color version. Now open up both images in Photoshop into a single document in separate layers. If you’re bringing them in from Lightroom select them both, right click and select ‘edit in,’ then ‘open as layers in Photoshop.’ See the purty screenshot below.
 Step 4:
Now for the real magic. Everyone get out the fairy dust which was supplied to you at the beginning of class. If you didn’t get any, you weren’t paying attention and will have to stay for detention and do it later. For now, pair up with someone who has some and pay attention this time. And please don’t snort any. Once in Photoshop, be sure that the color version of your image is above the black & white one. THEN–wait for it–change the blend mode of the color copy to ‘color’! Bet you didn’t see that one coming! Screenshot below has many answers. Look at it. Stare at it. Be drawn into its soul as you succumb to its dark magic…. Oh umm I also like to add some adjustment layers to tweak the look of the image. Changing the opacity of the B&W layer also determines how much ‘grit and pop’ it will have. If the effect is too strong, lower the opacity. Duh.
 Done!
Done!
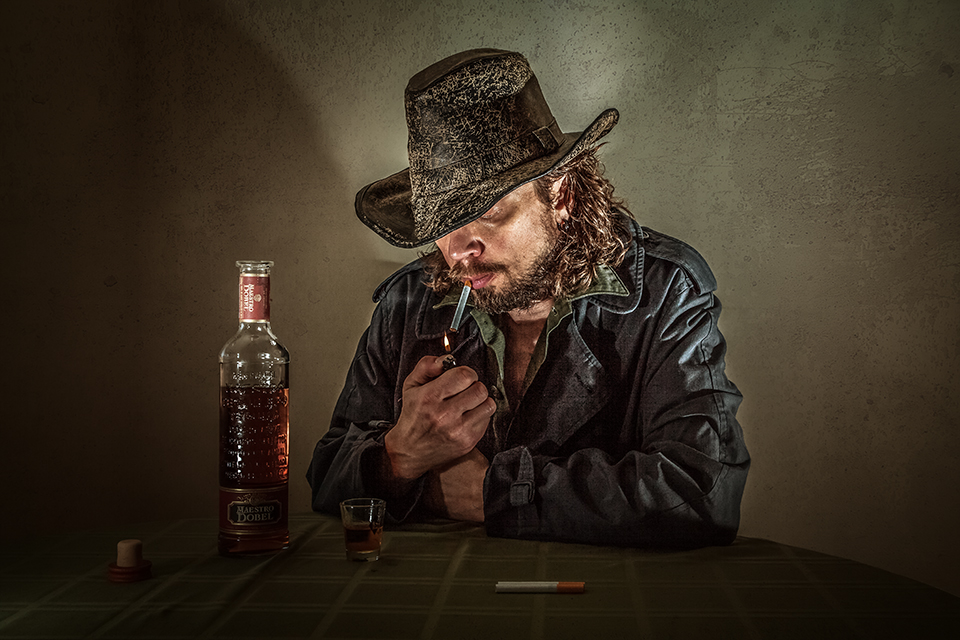
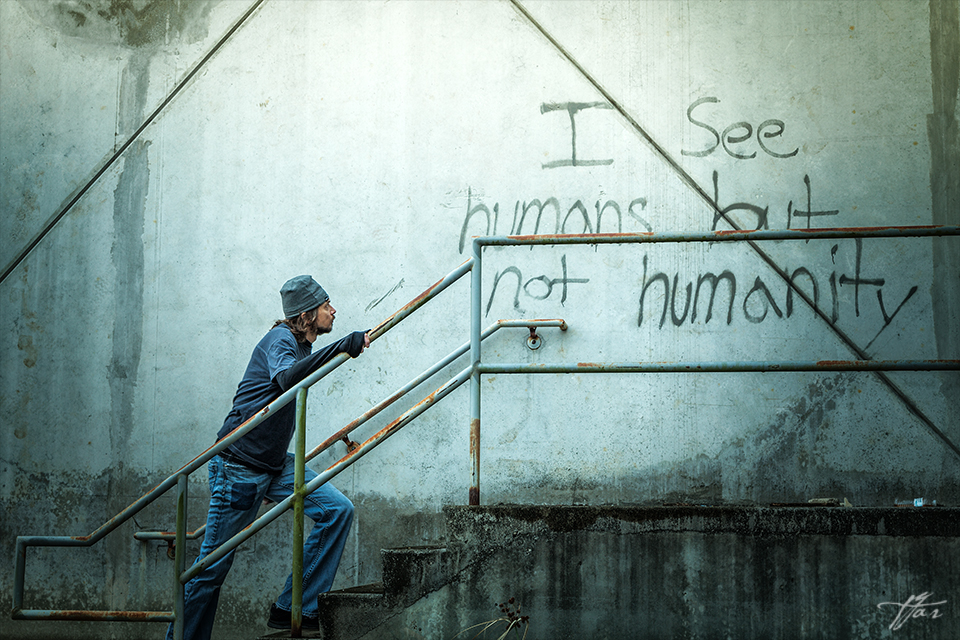
Hopefully this was of some use to you. Remember this is art and there really are no rules here, just use your eyes to determine what you think is right. This was merely a technique I stumbled upon by doing just that. If you prefer a video version I have one on my Youtube page here. Below is the before and after of the image I worked on (I ended up adjusting the colors to a more ‘warm’ look) and a few more examples of images that were created using this very technique. ‘Til next time boys and girls, this is your Uncle Tee saying “Experiment, and do it while you have some tequila!”


Read Teegar’s previous posts here: https://northrup.photo/author/teegar/