Posted on

Beginner Photography: Street

Hey folks! This week’s topic is street photography, which I love. I’m really excited to have Gisele Duprez on the live show. She’s an incredible street photographer and a good friend of our crew. You can see a blog that Gisele wrote for us a while back here.

You can also see my first post on street photography here, which, frankly is better than this one. San Francisco served for some great shots. But to be fair, I was shooting over a whole weekend. This week I just went out for a few hours. My family went with me down to Kelly Drive, which is a lovely jogging/biking trail along the river in Philadelphia. It was a nice day and there were a lot of people out. I didn’t want to capture joggers and bikers though, as that’s where I’d shot for my sports blog previously.

There are a lot of challenges to street photography, but many of them are self-imposed. It’s scary to photograph strangers! I have the tendency to never get close enough, which can cause me to miss focus and include too much busyness in the background. When shooting street photography, you want to look for interactions between people. To zone in on a moment in the midst of a lot of unfocused chaos. But what you’ll see a lot of is people on their phones, or determinedly zipping through a crowd. It can take a lot of shots to find something worth seeing.

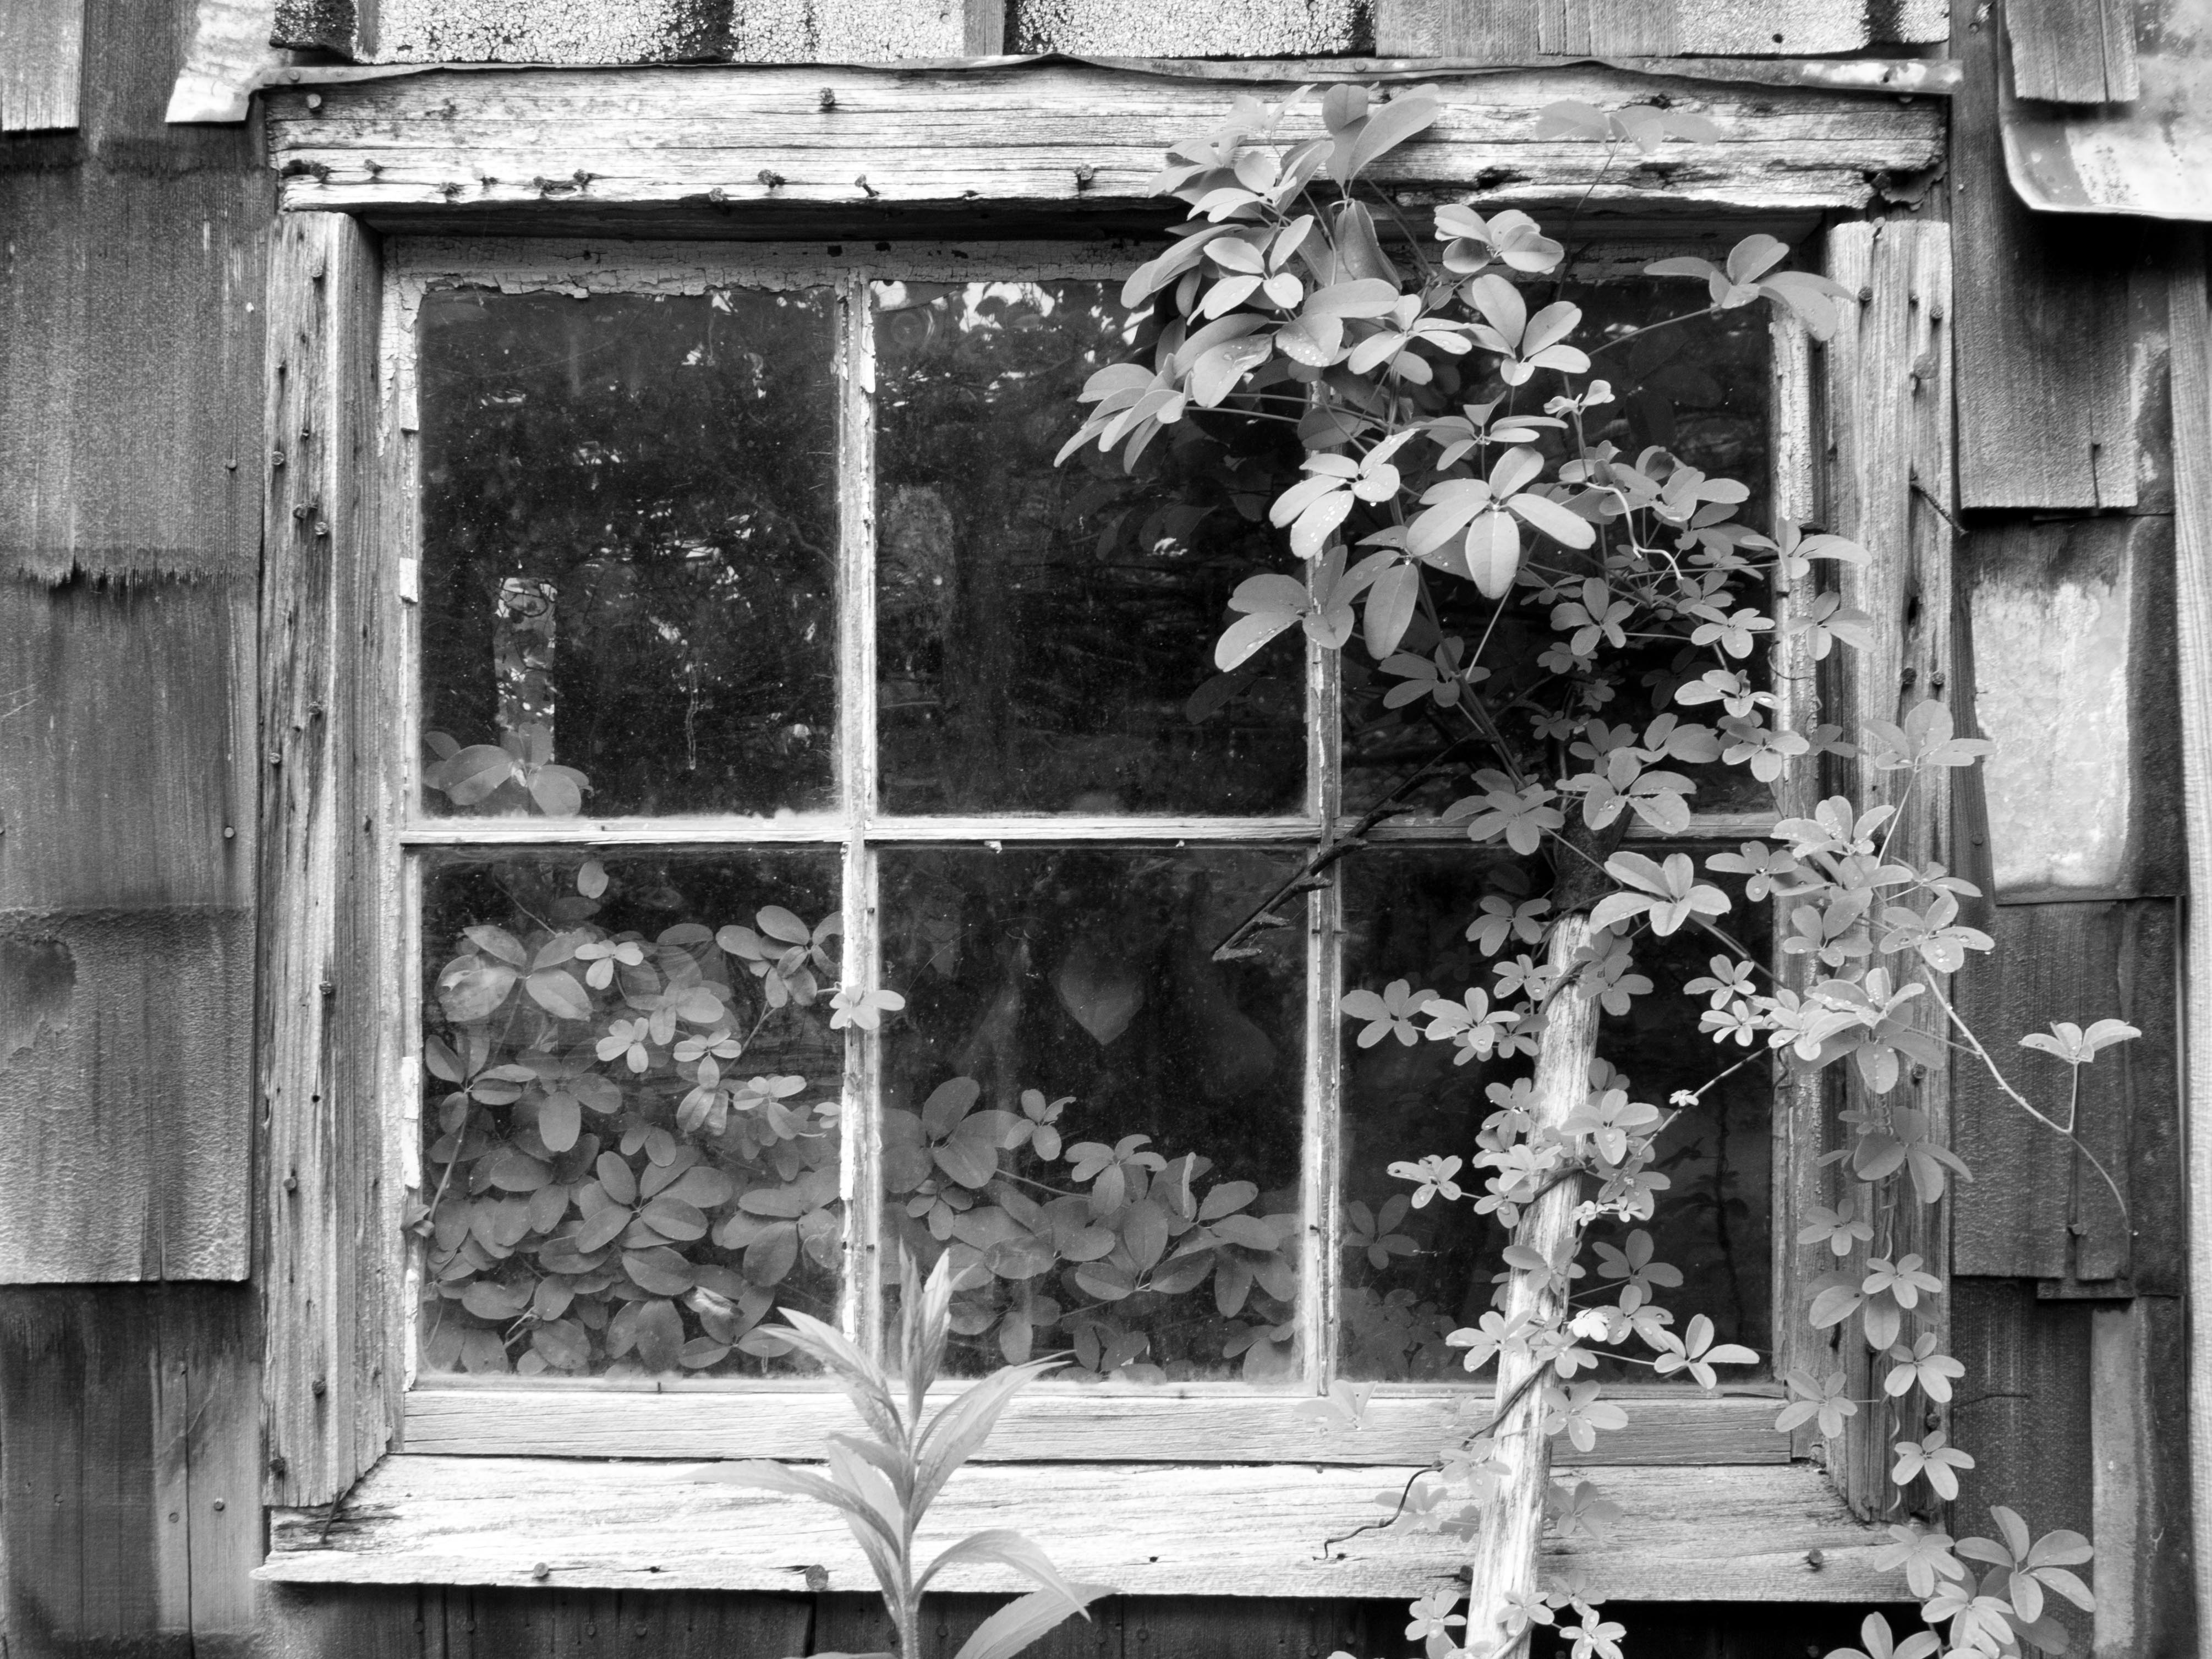
Technically, here are some tips. Using a smaller camera with a movable screen on the back is great. You can hold your camera down and pull out the screen which can disguise where you are pointing your camera and whether or not you’re even shooting. Holding the camera to your eye is certainly more conspicuous. I choose to shoot on aperture priority at a low to moderate f/stop so that I have some leeway on my focus. I almost always convert my shots to black and white in post to eliminate distractions which inevitably exist in street photography. Here’s a helpful video from Chelsea on the subject:
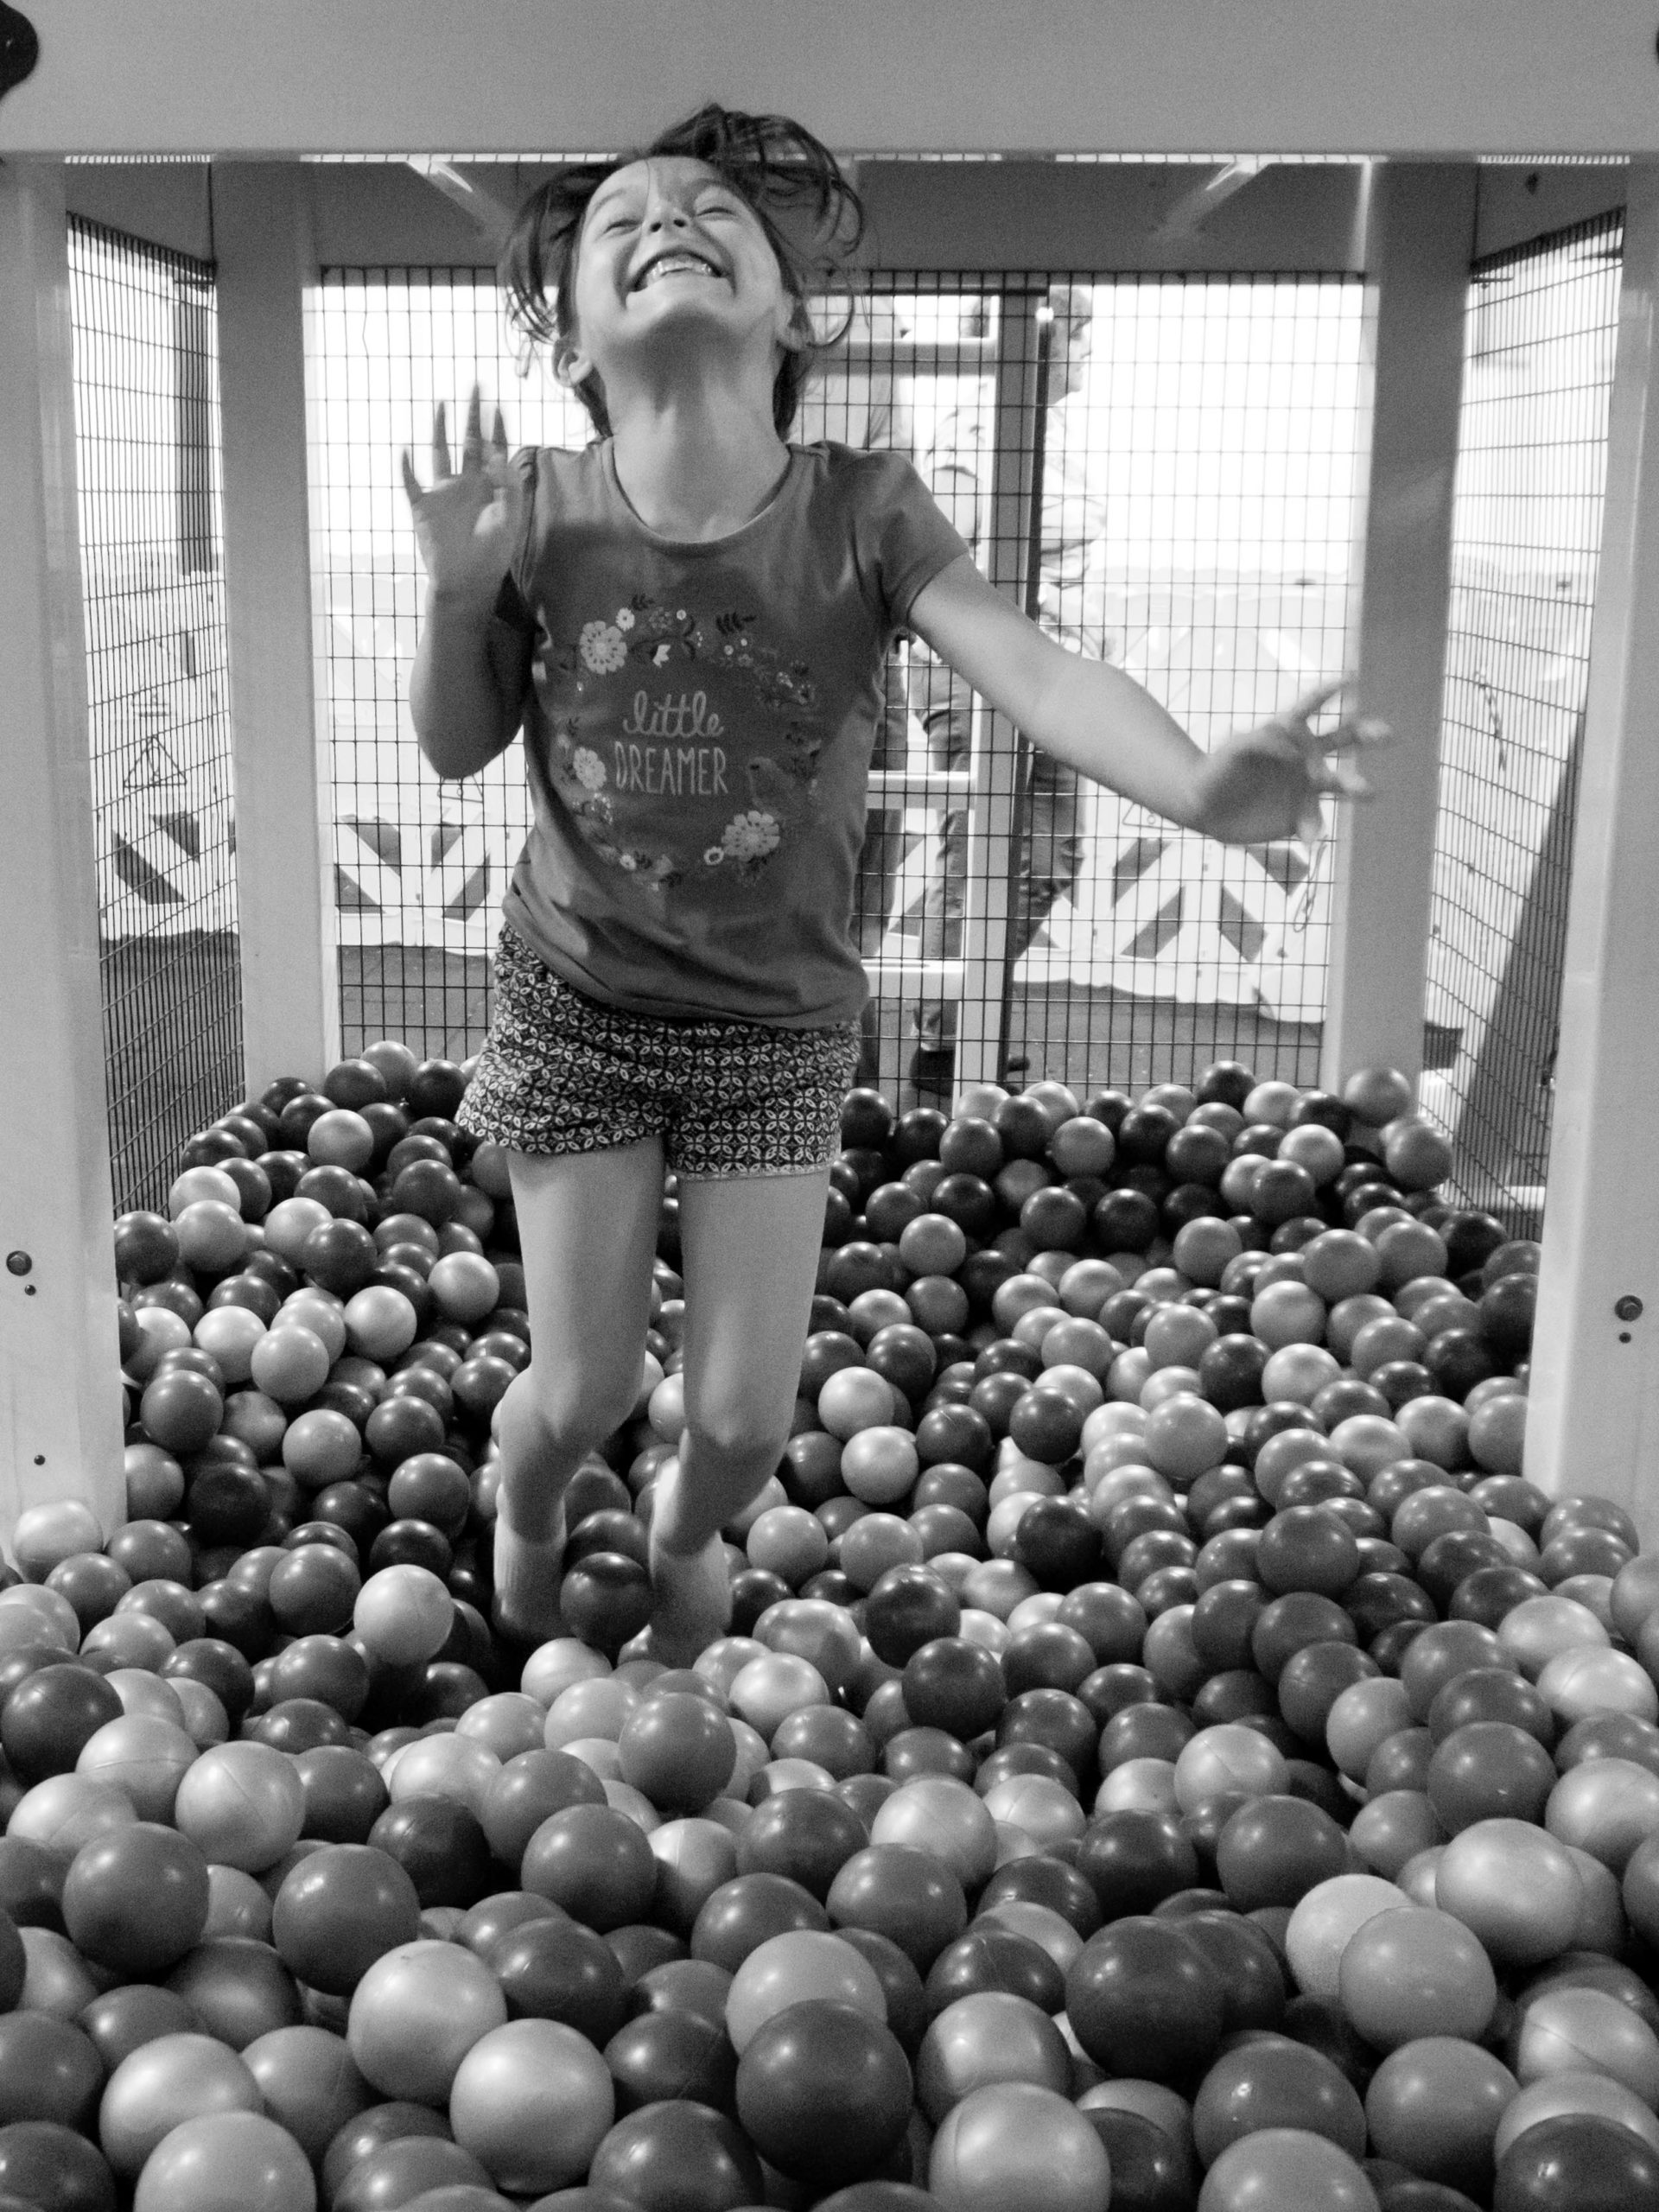
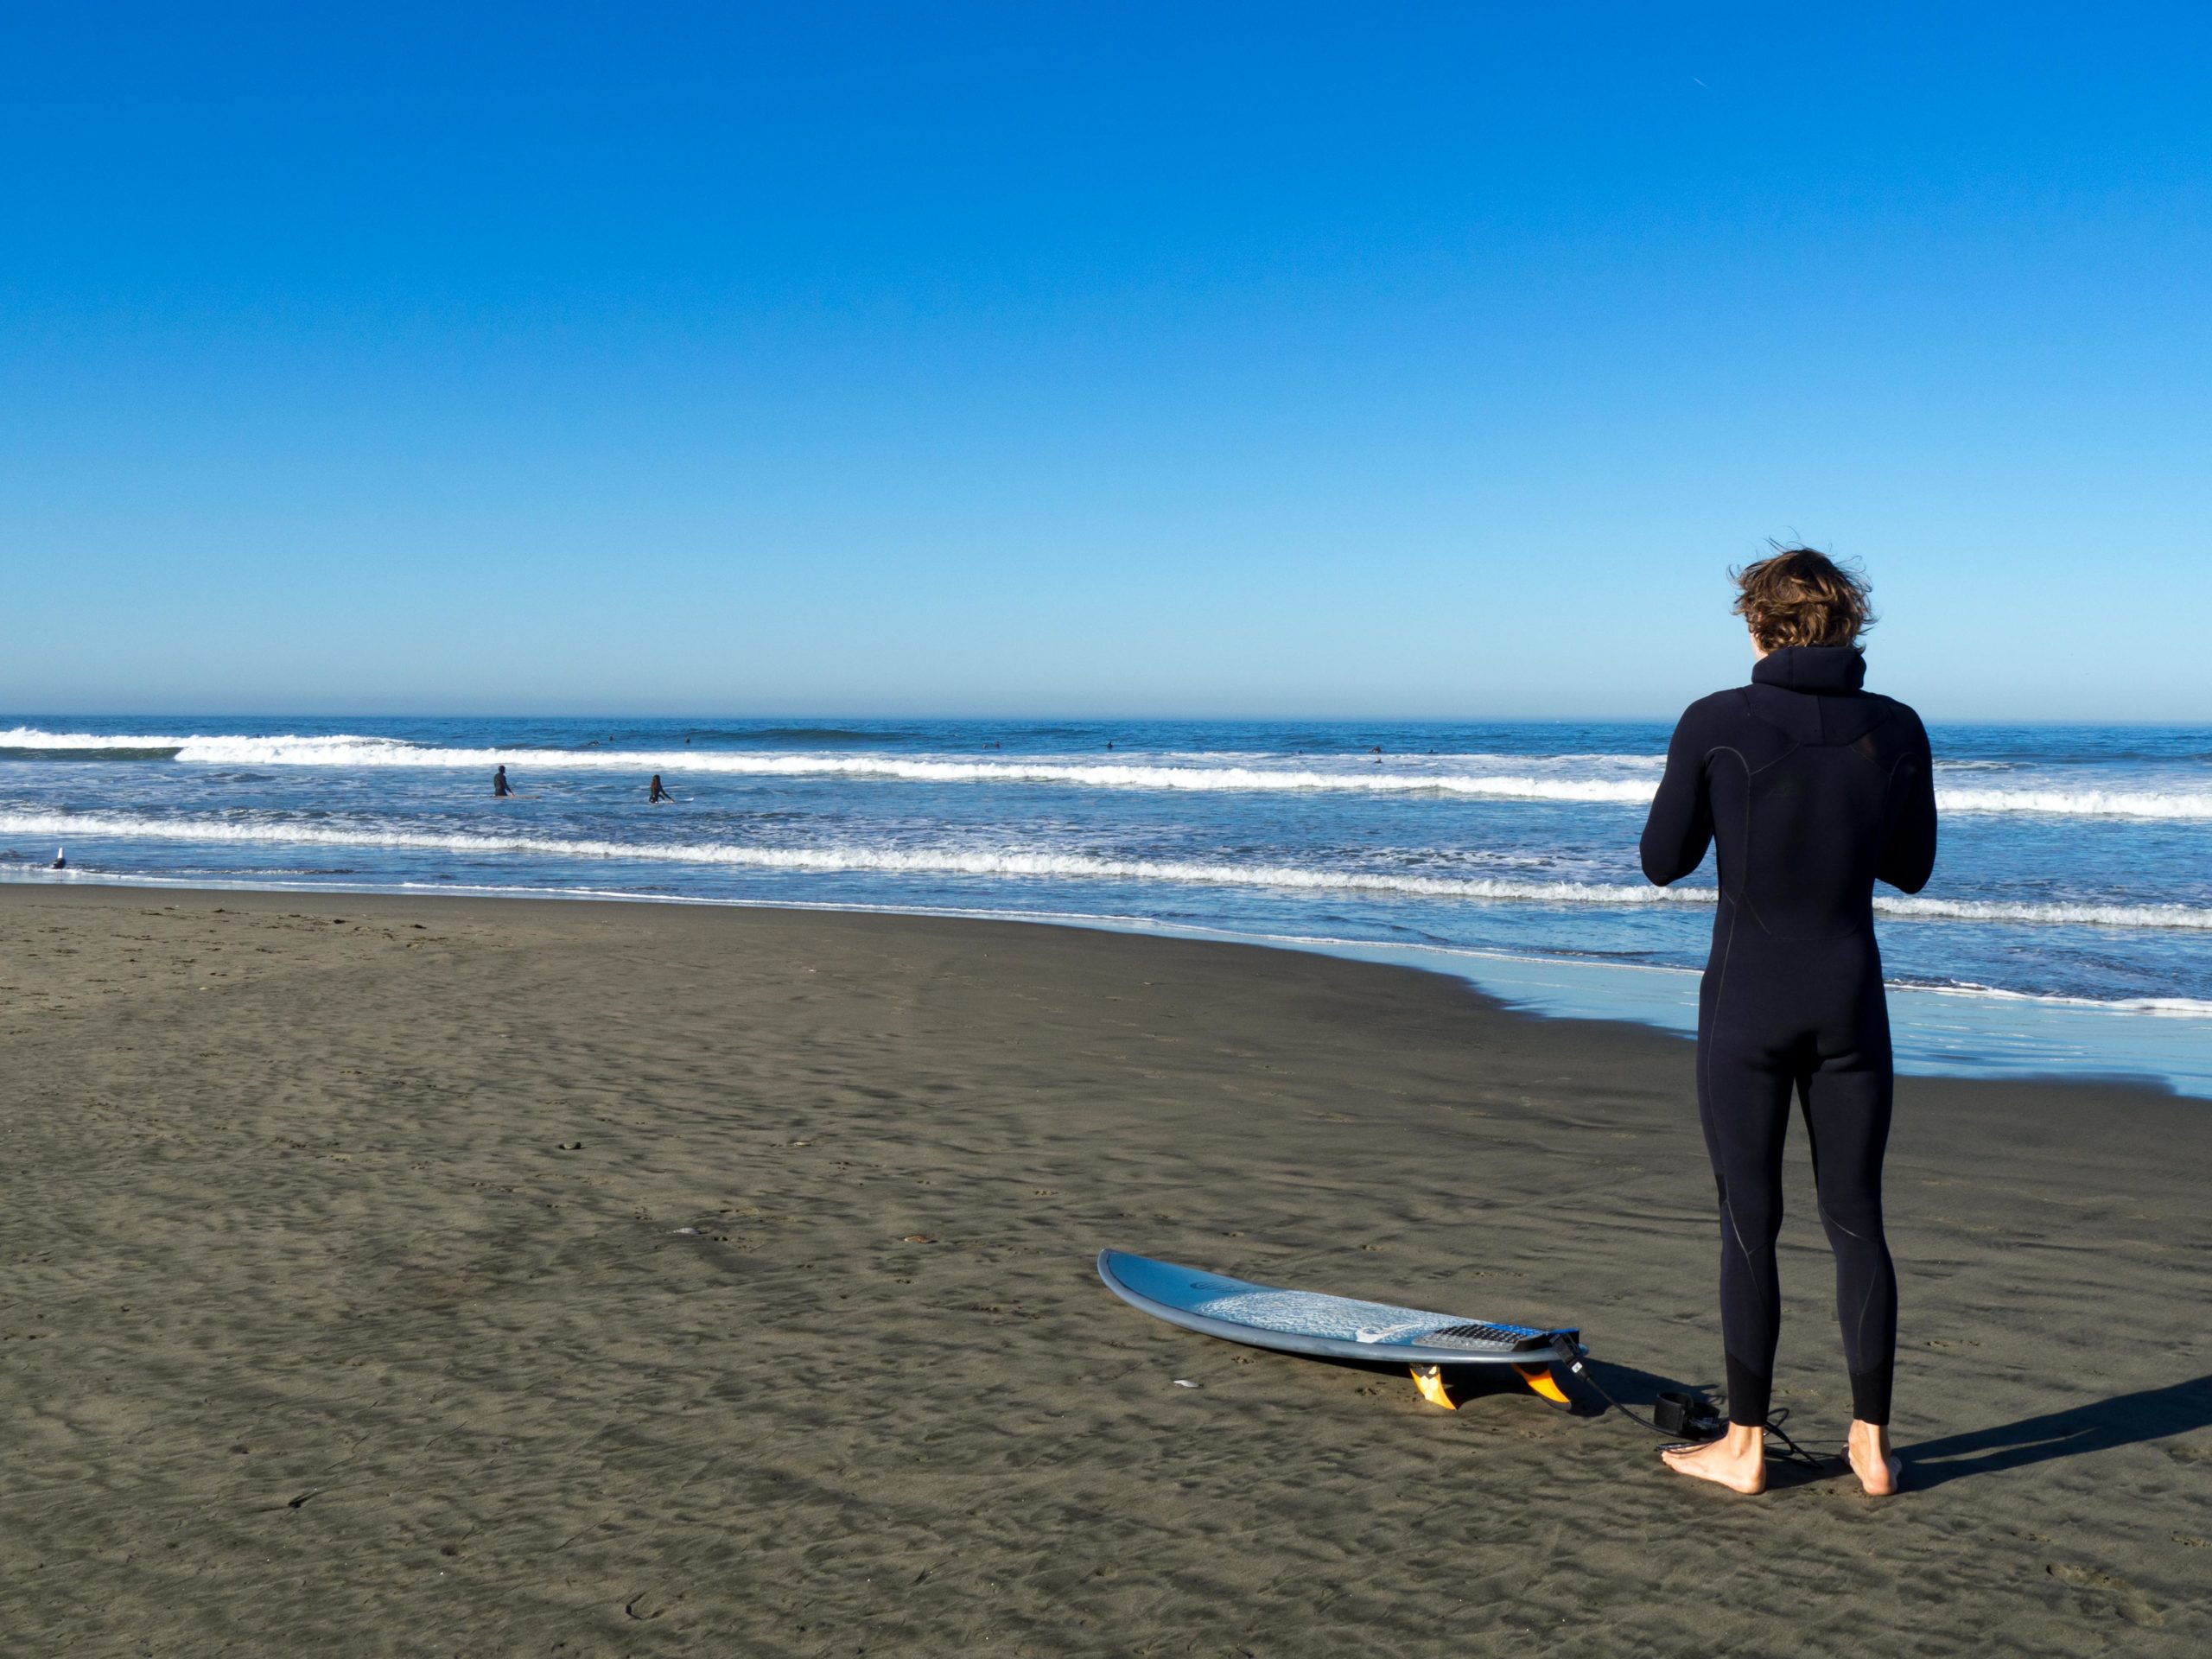
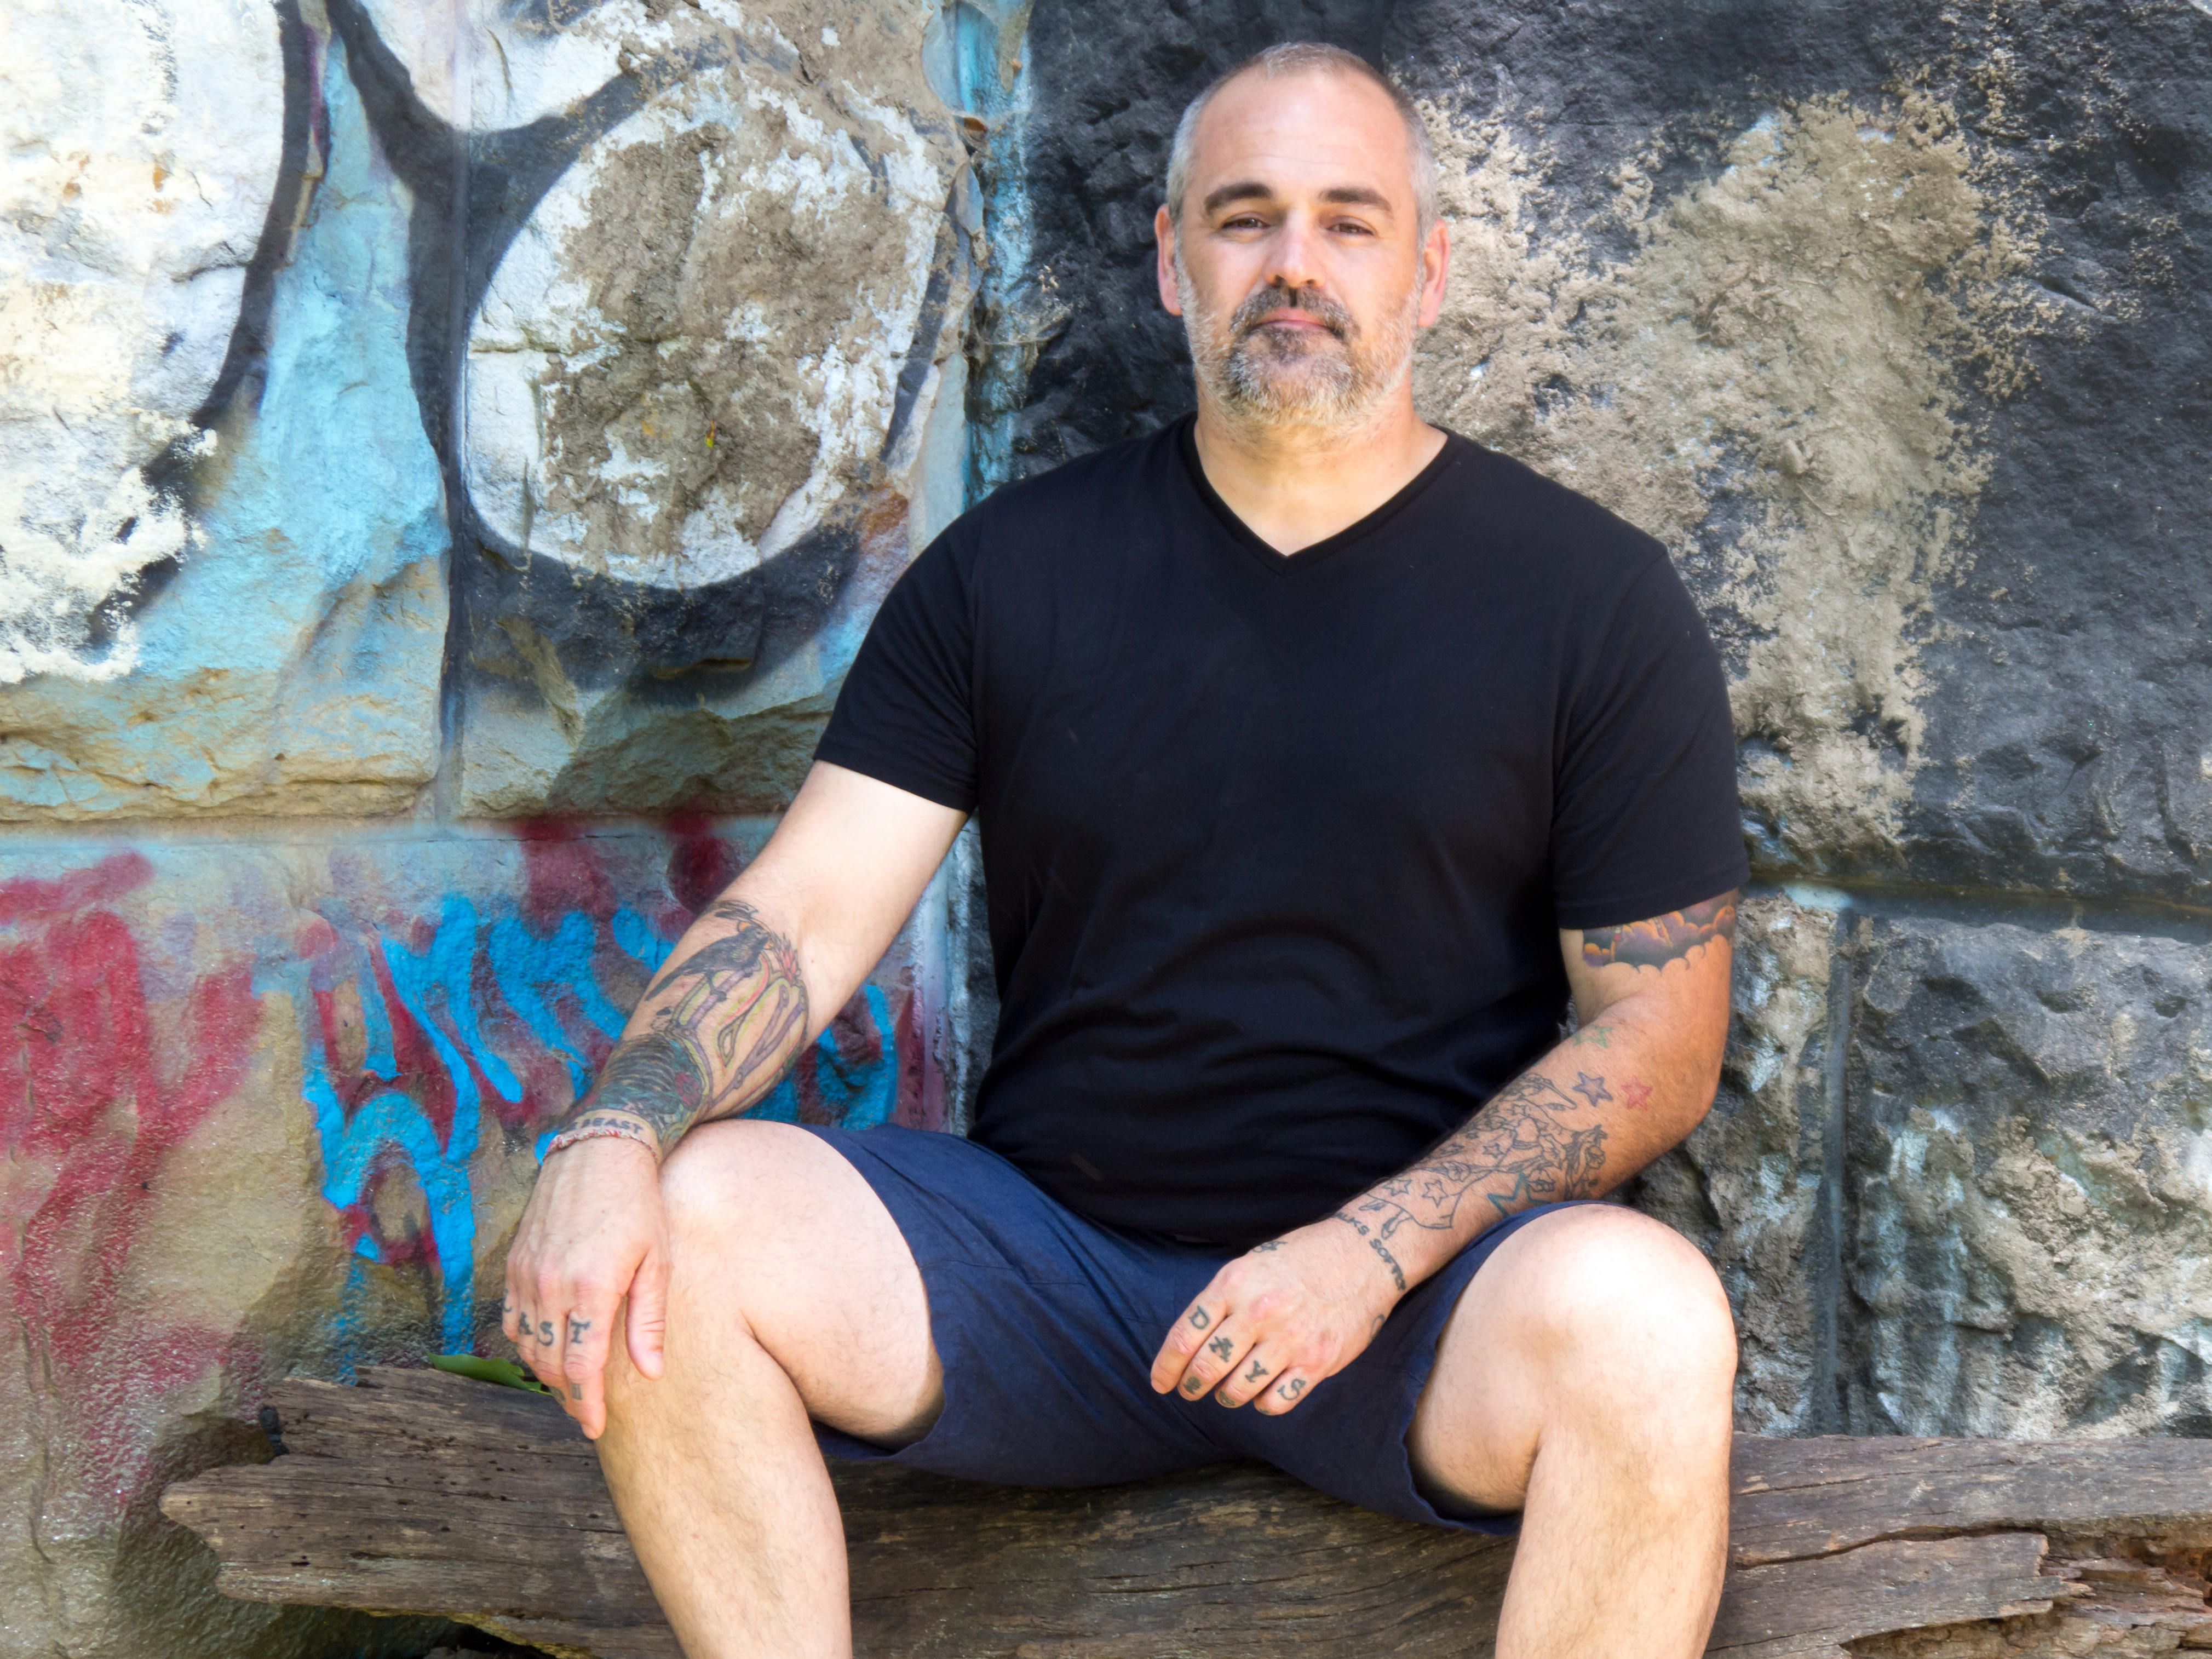
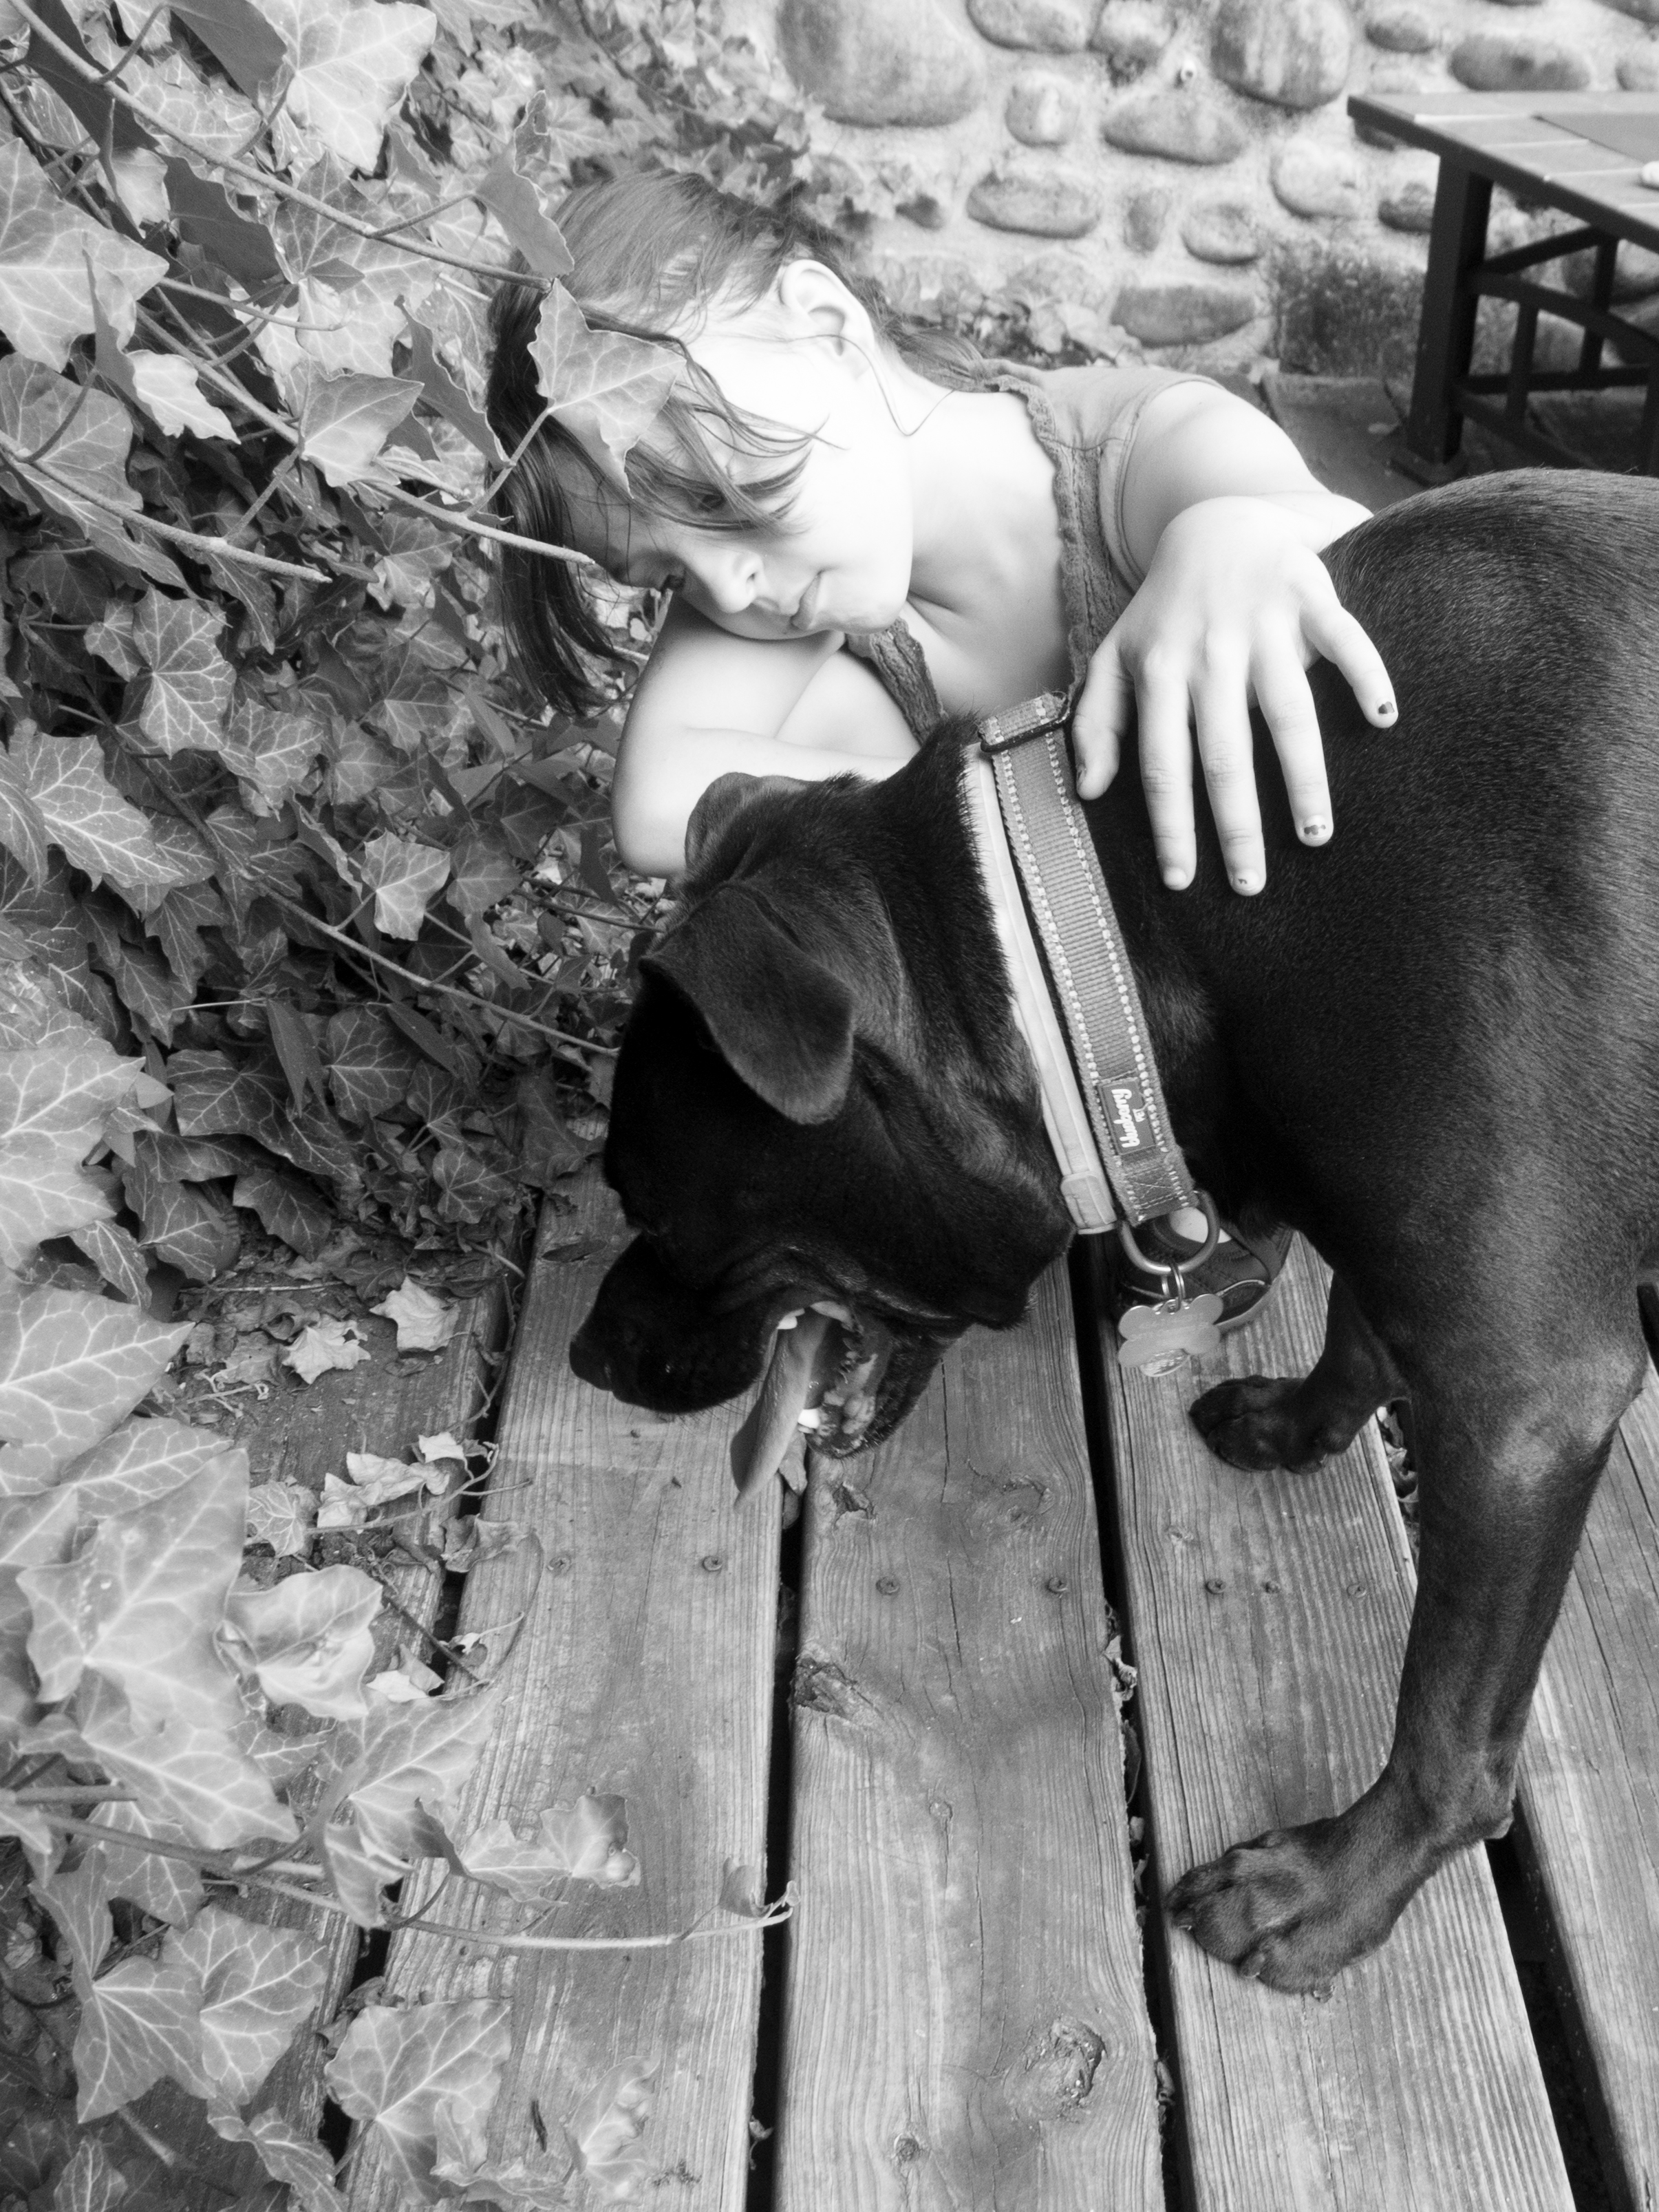
Here’s what I got:

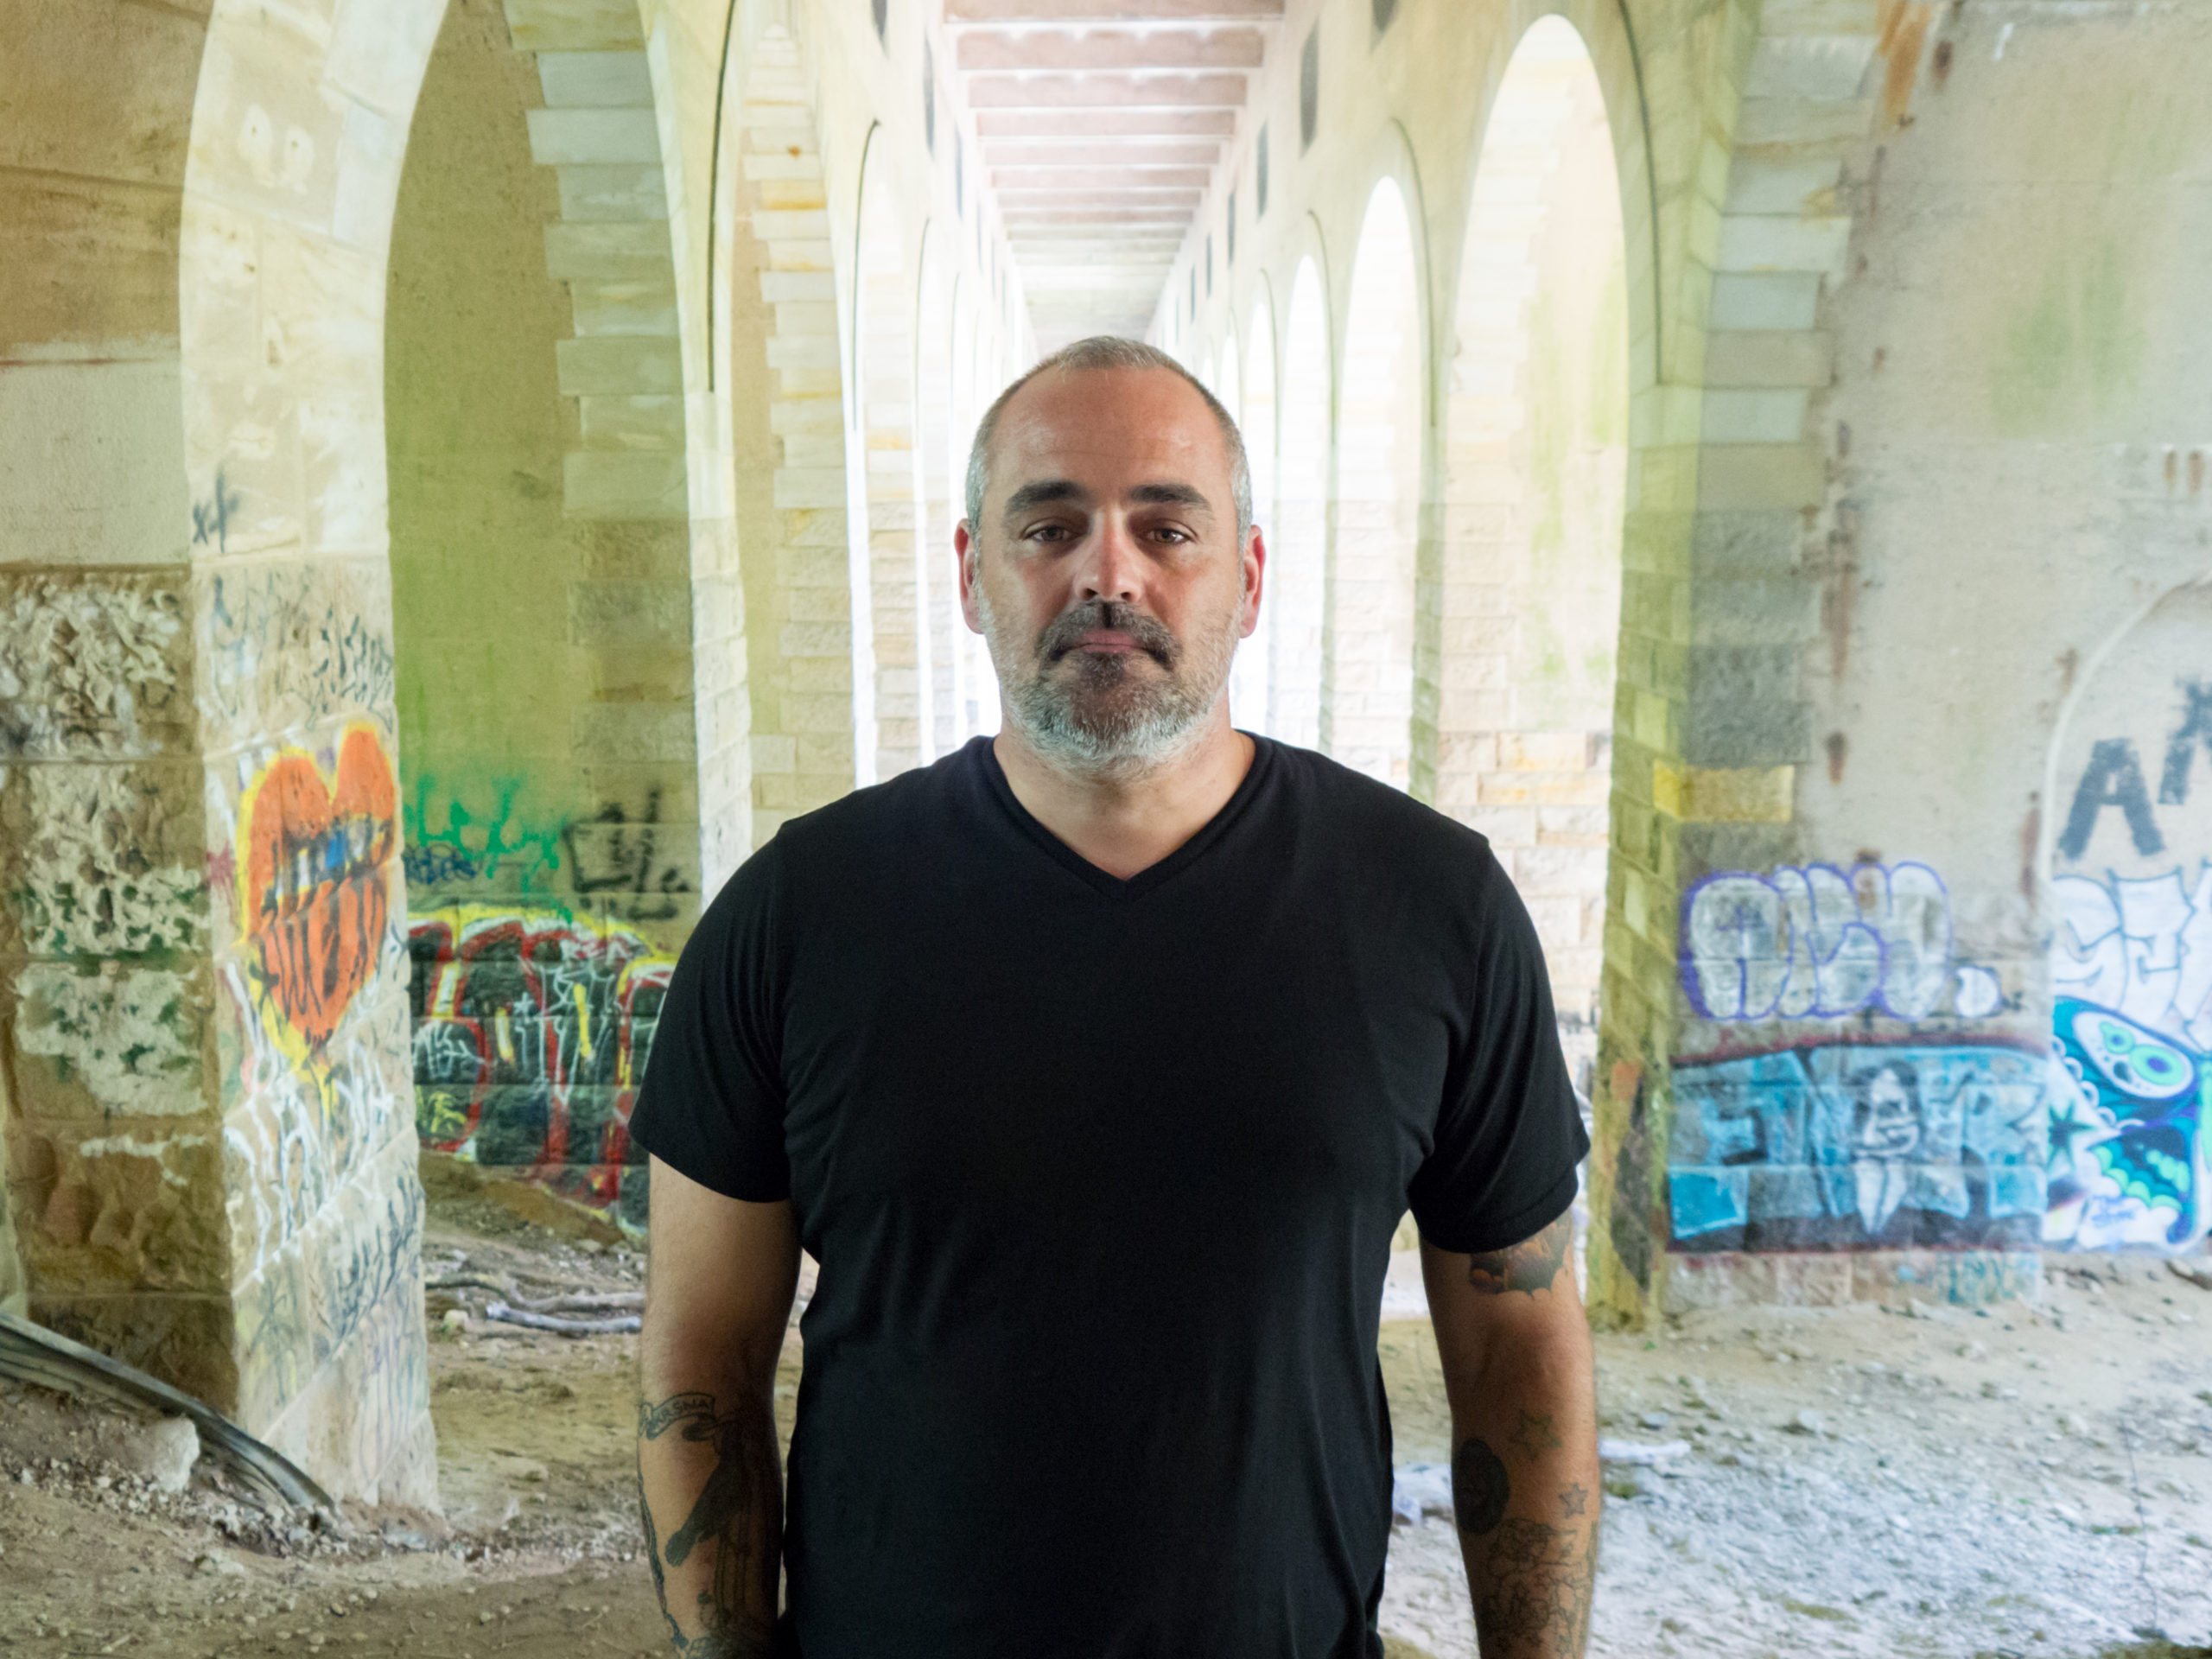
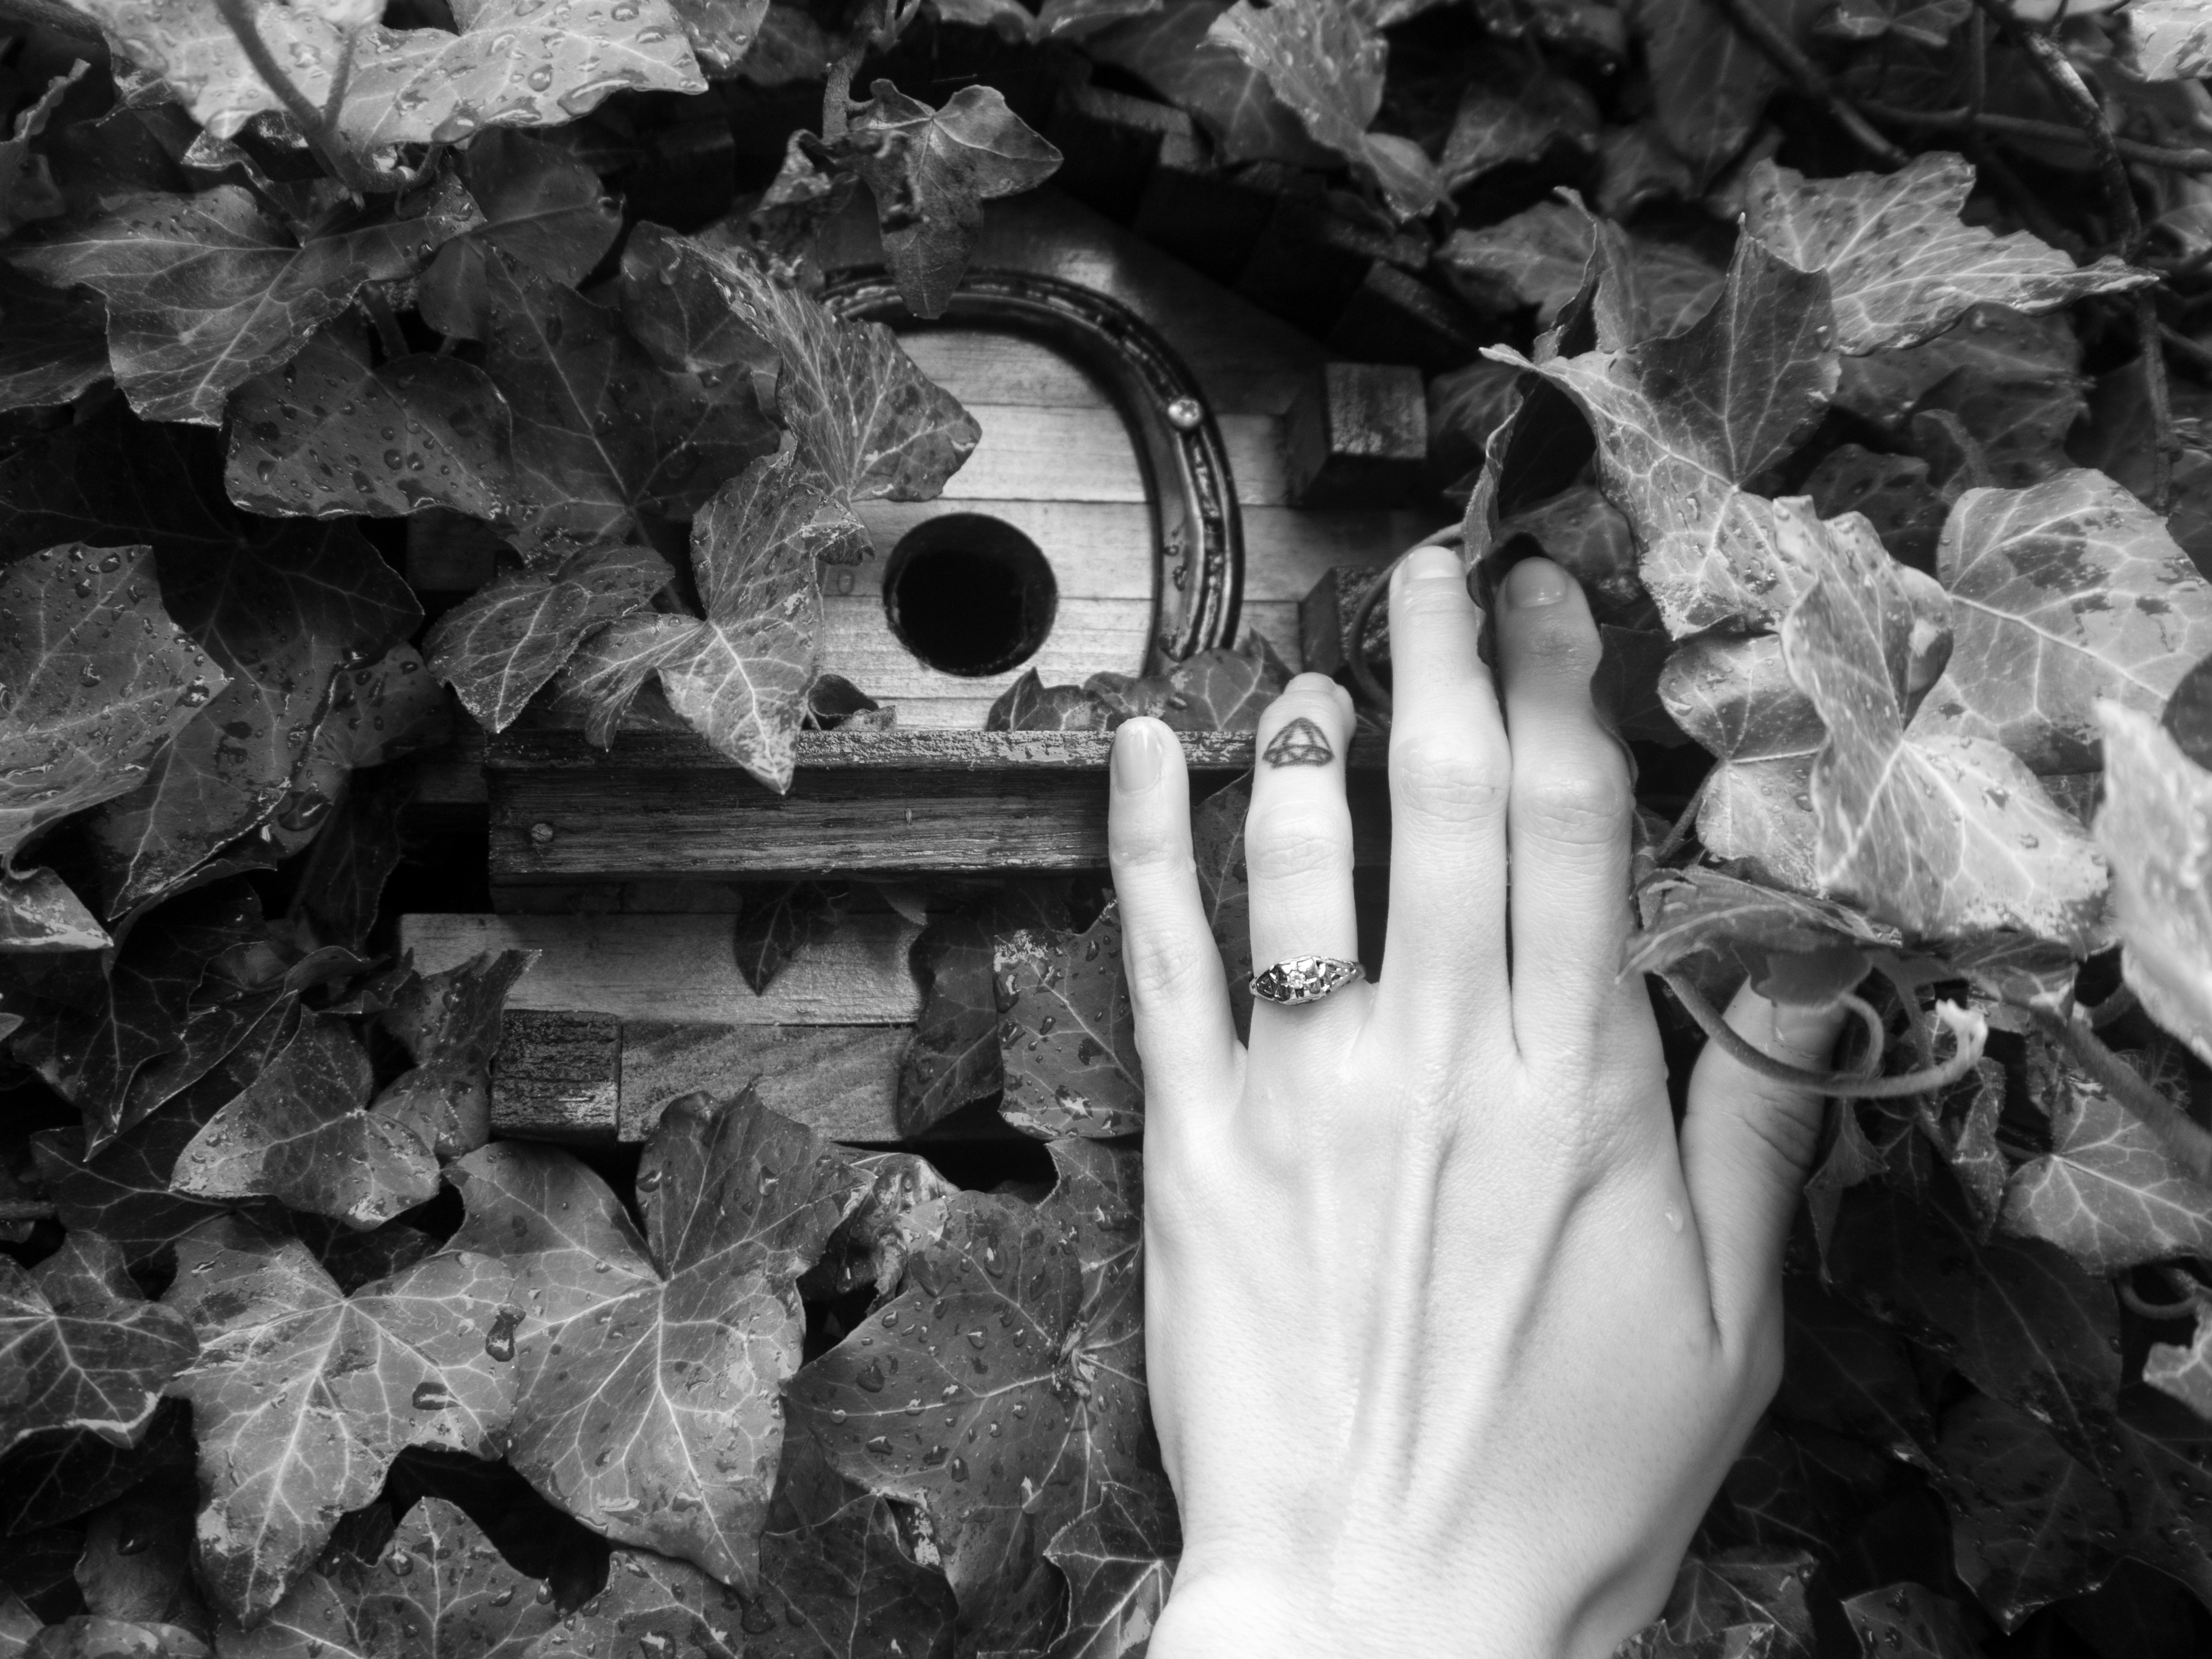
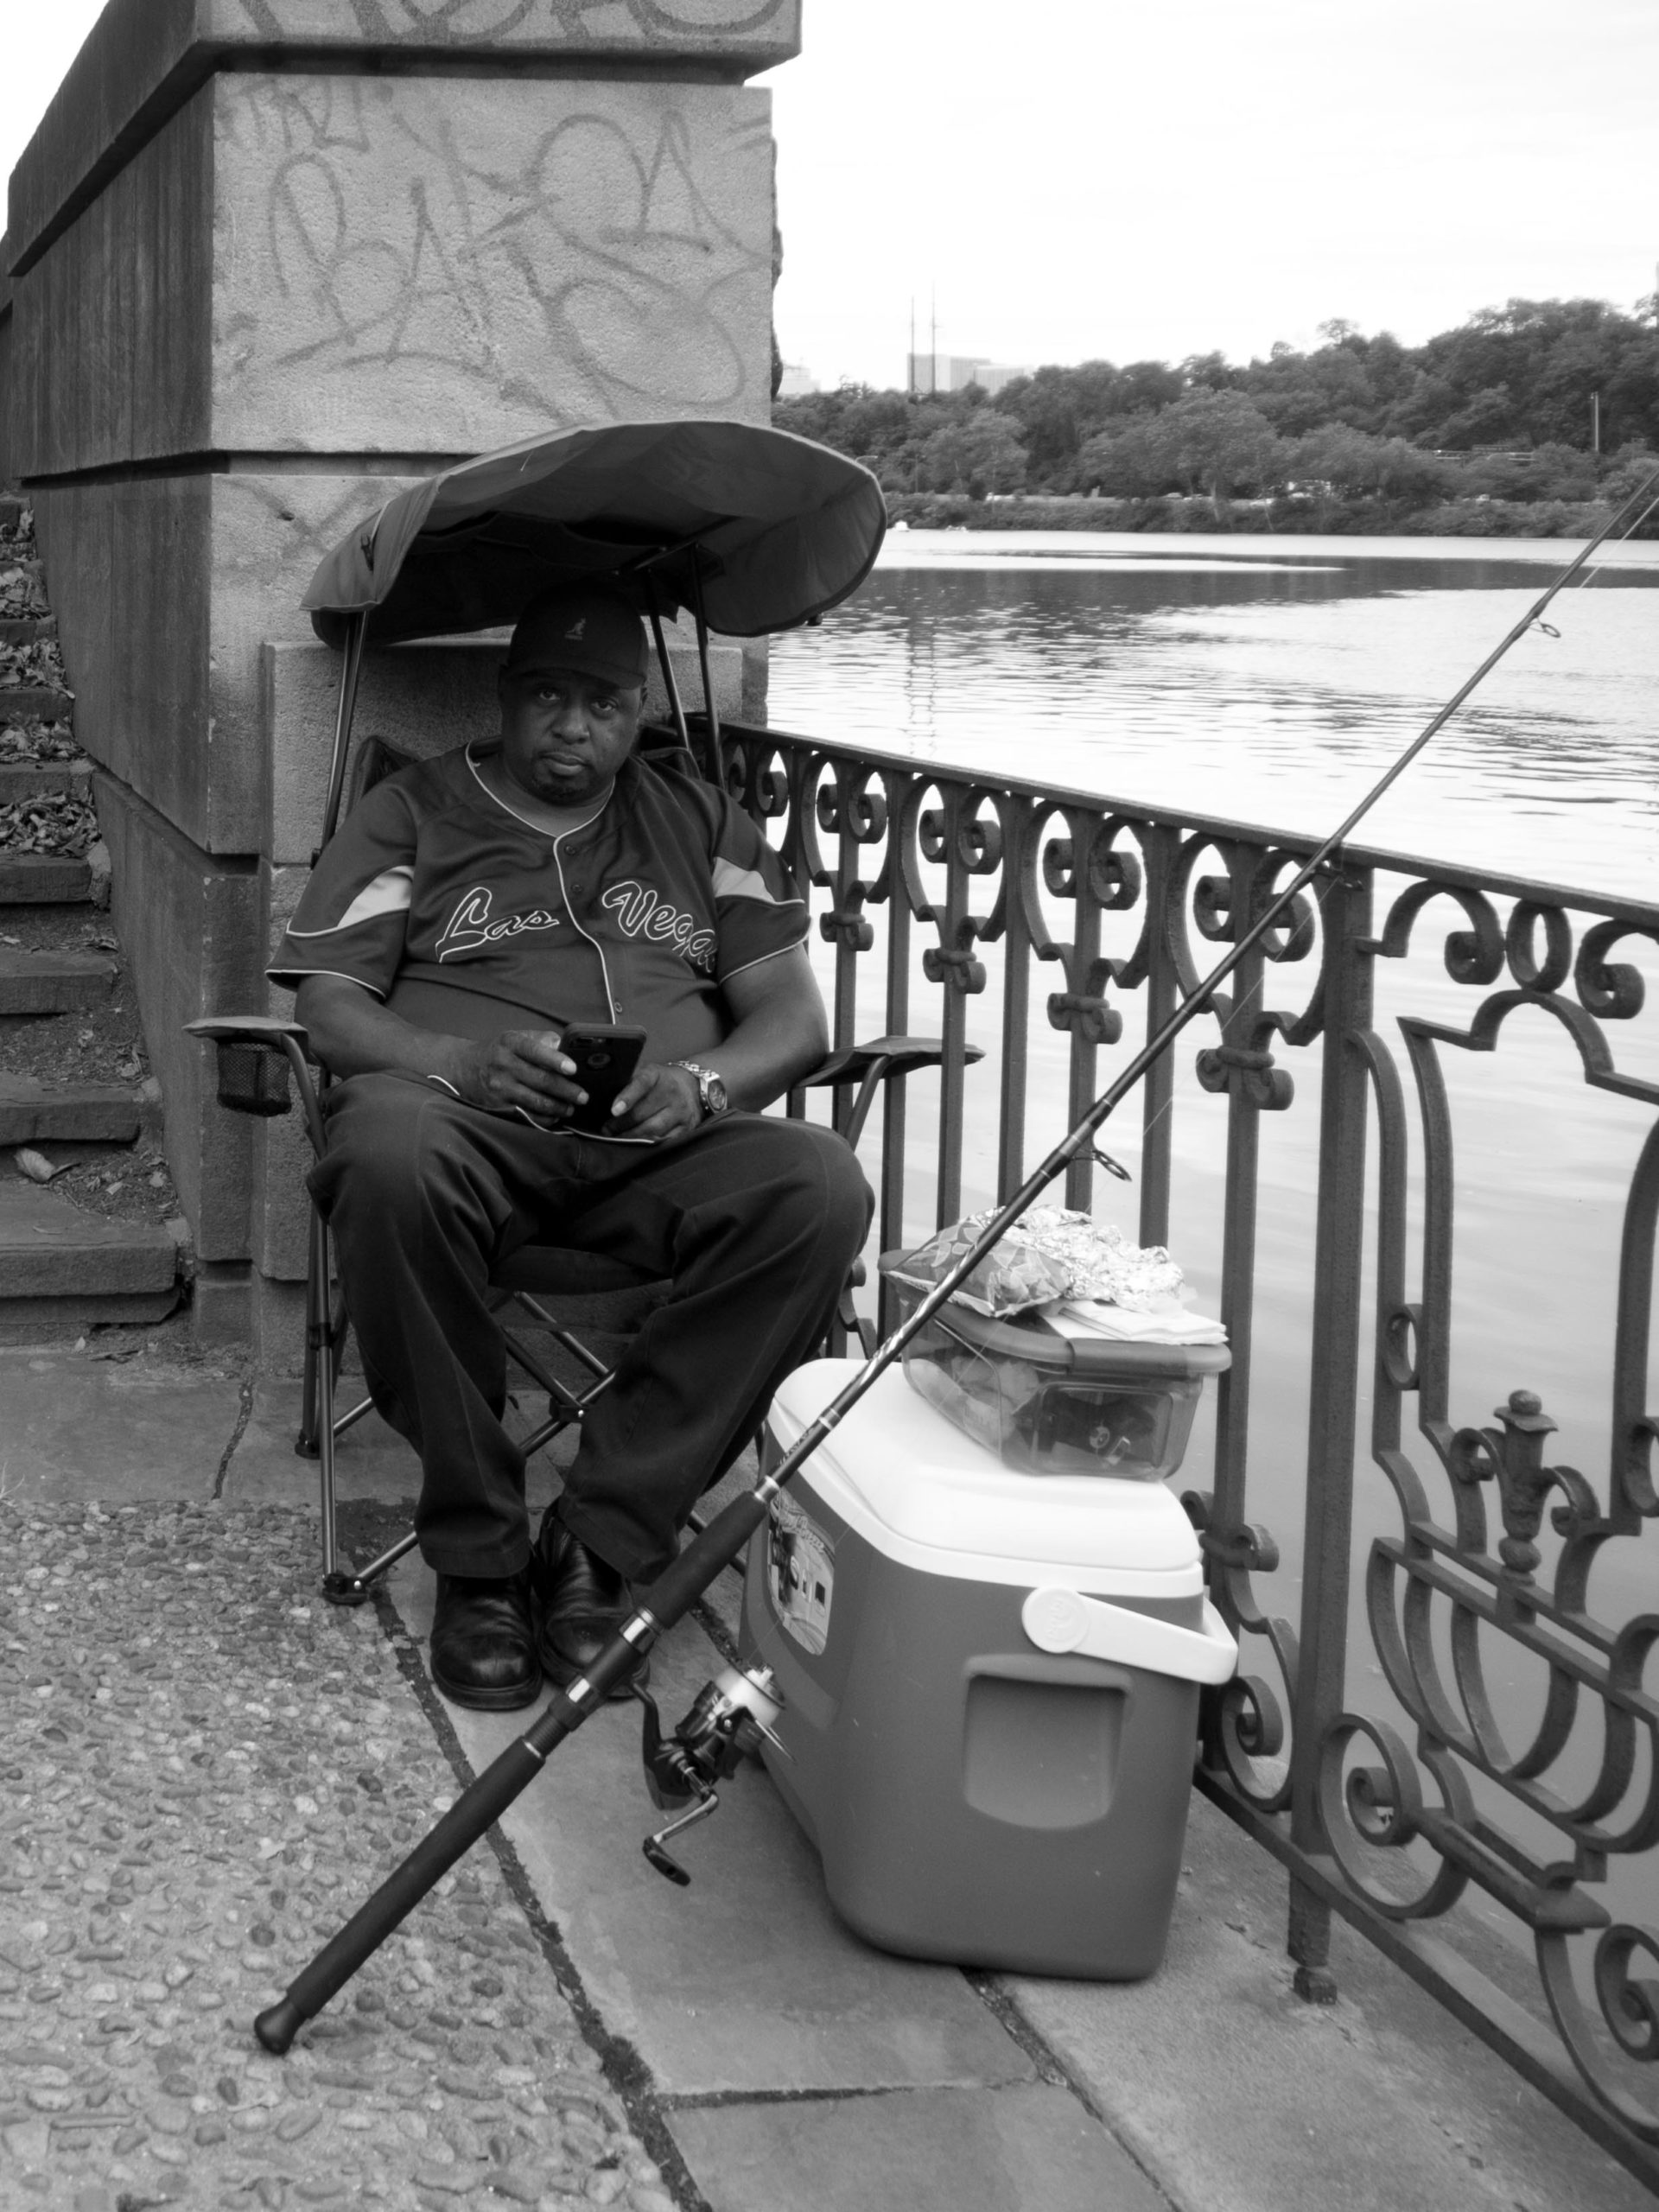
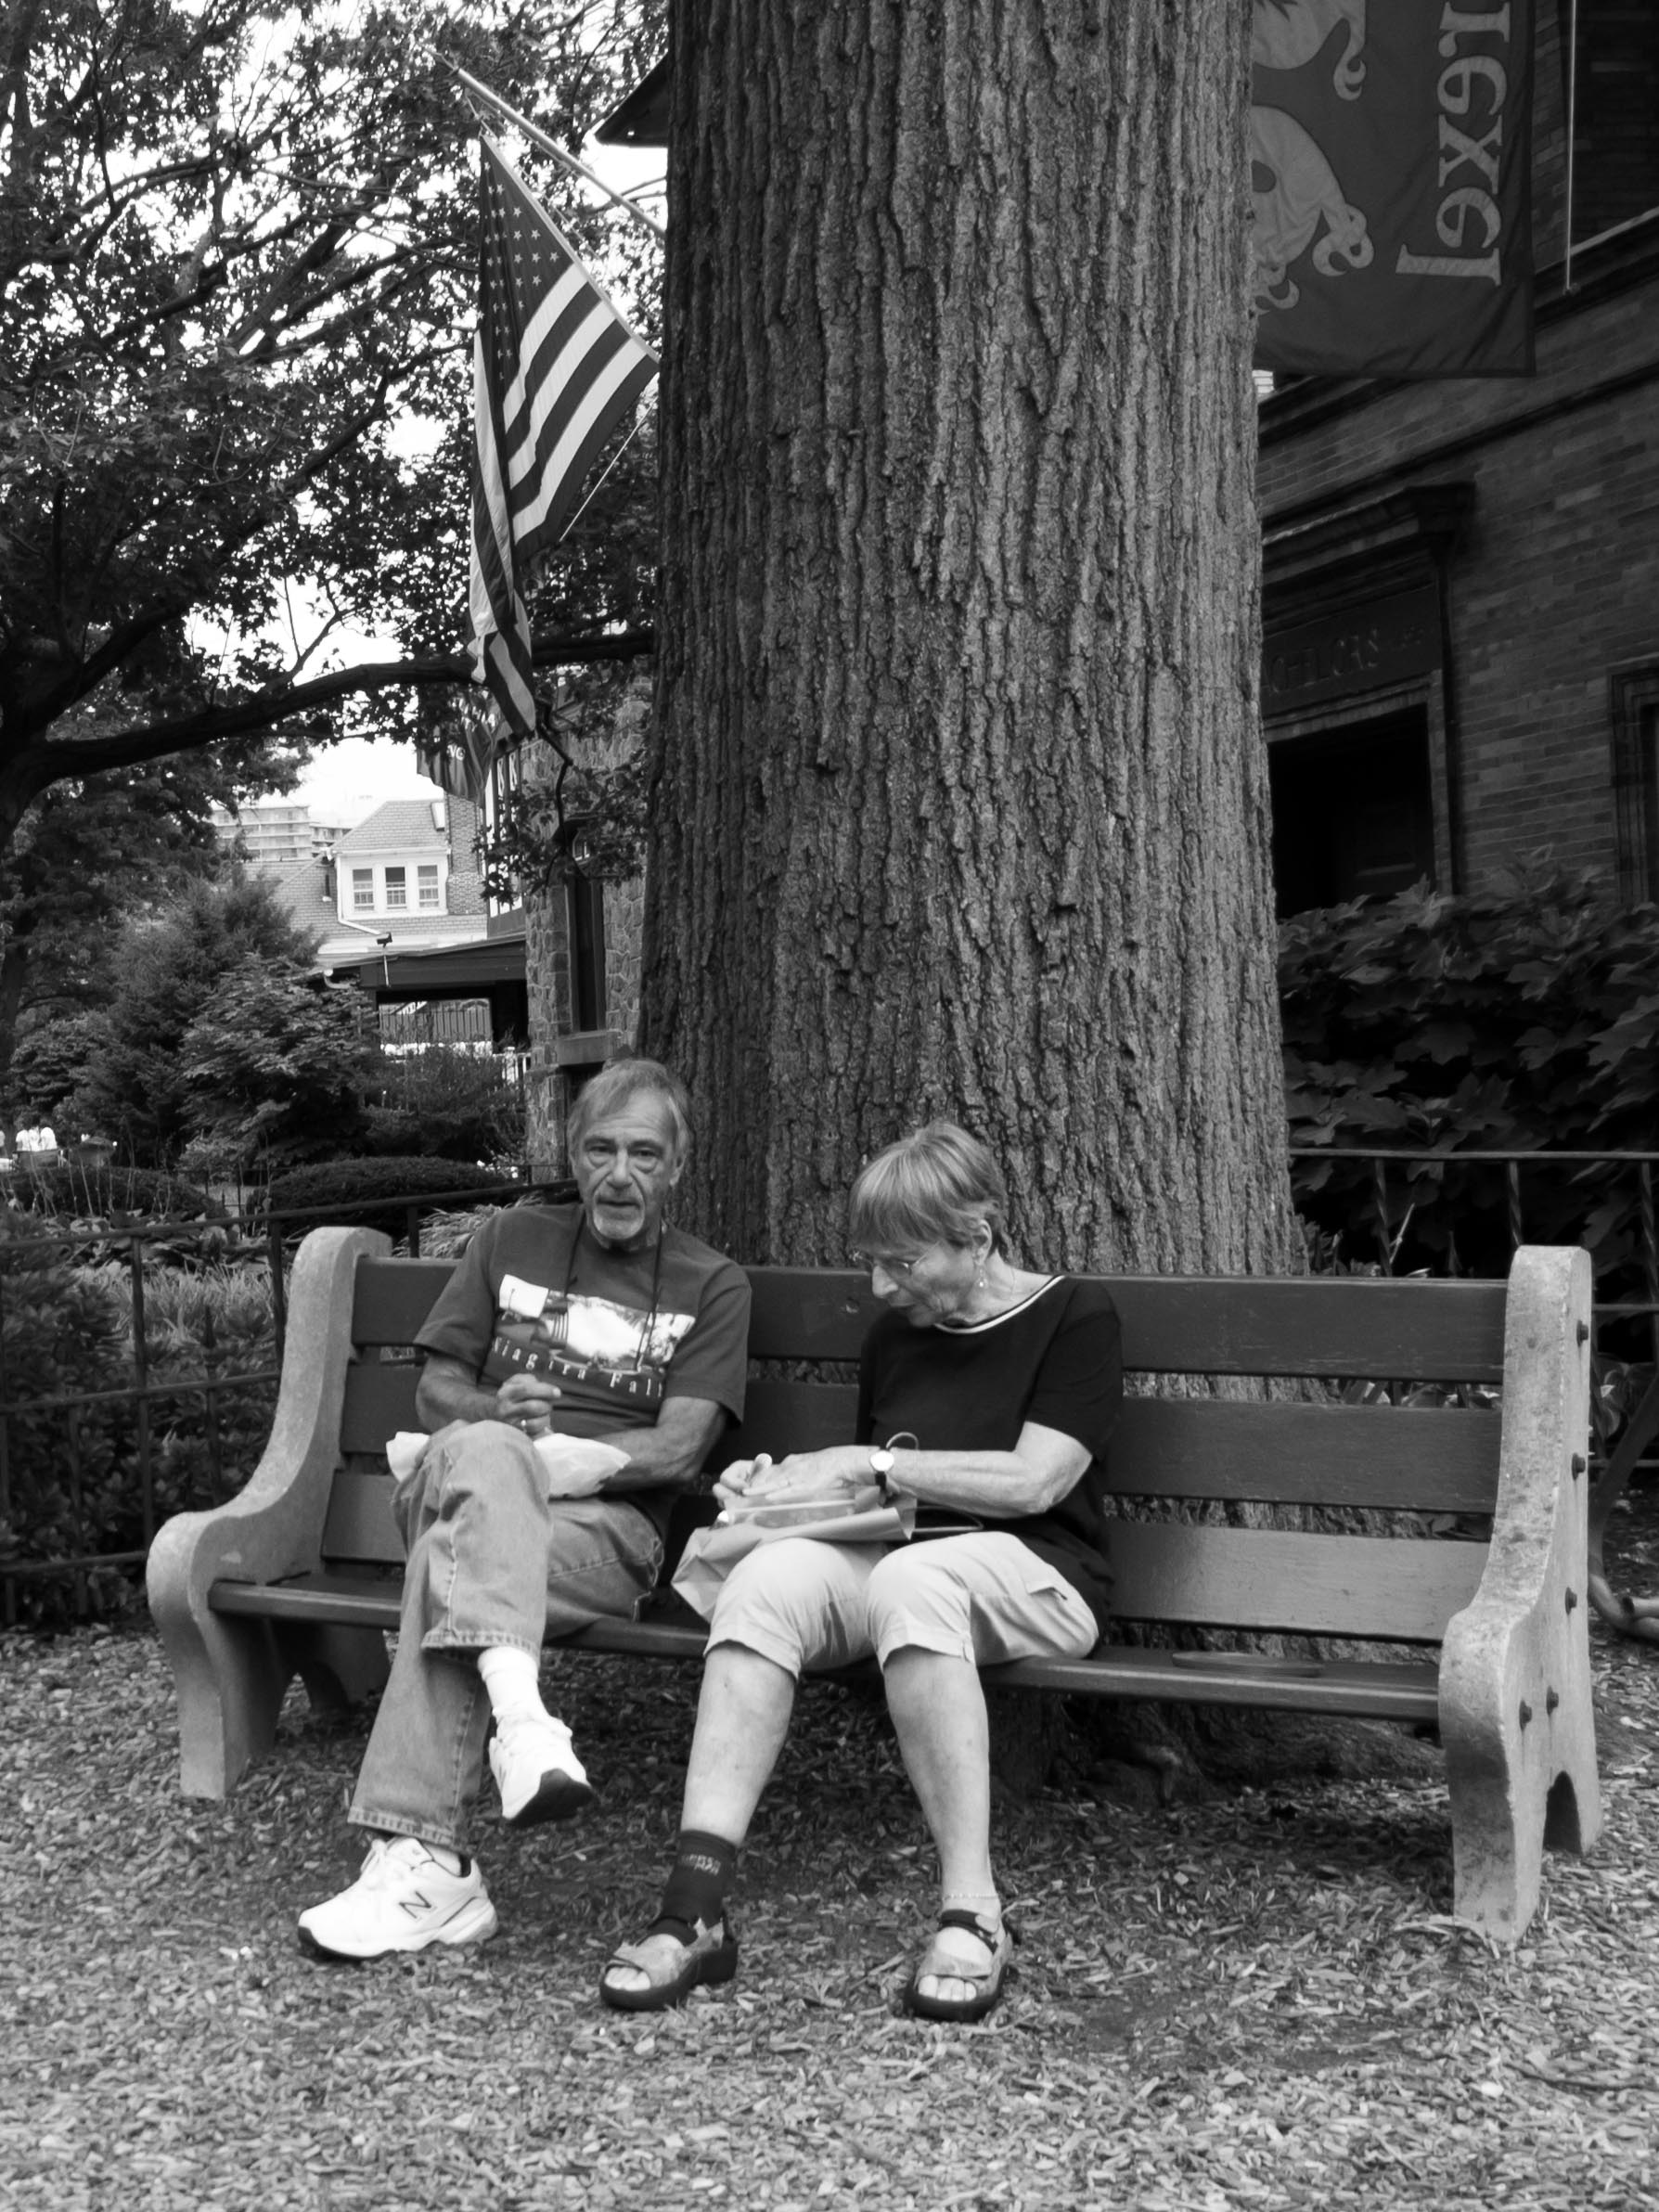
f/4, 1/400th, ISO 2oo

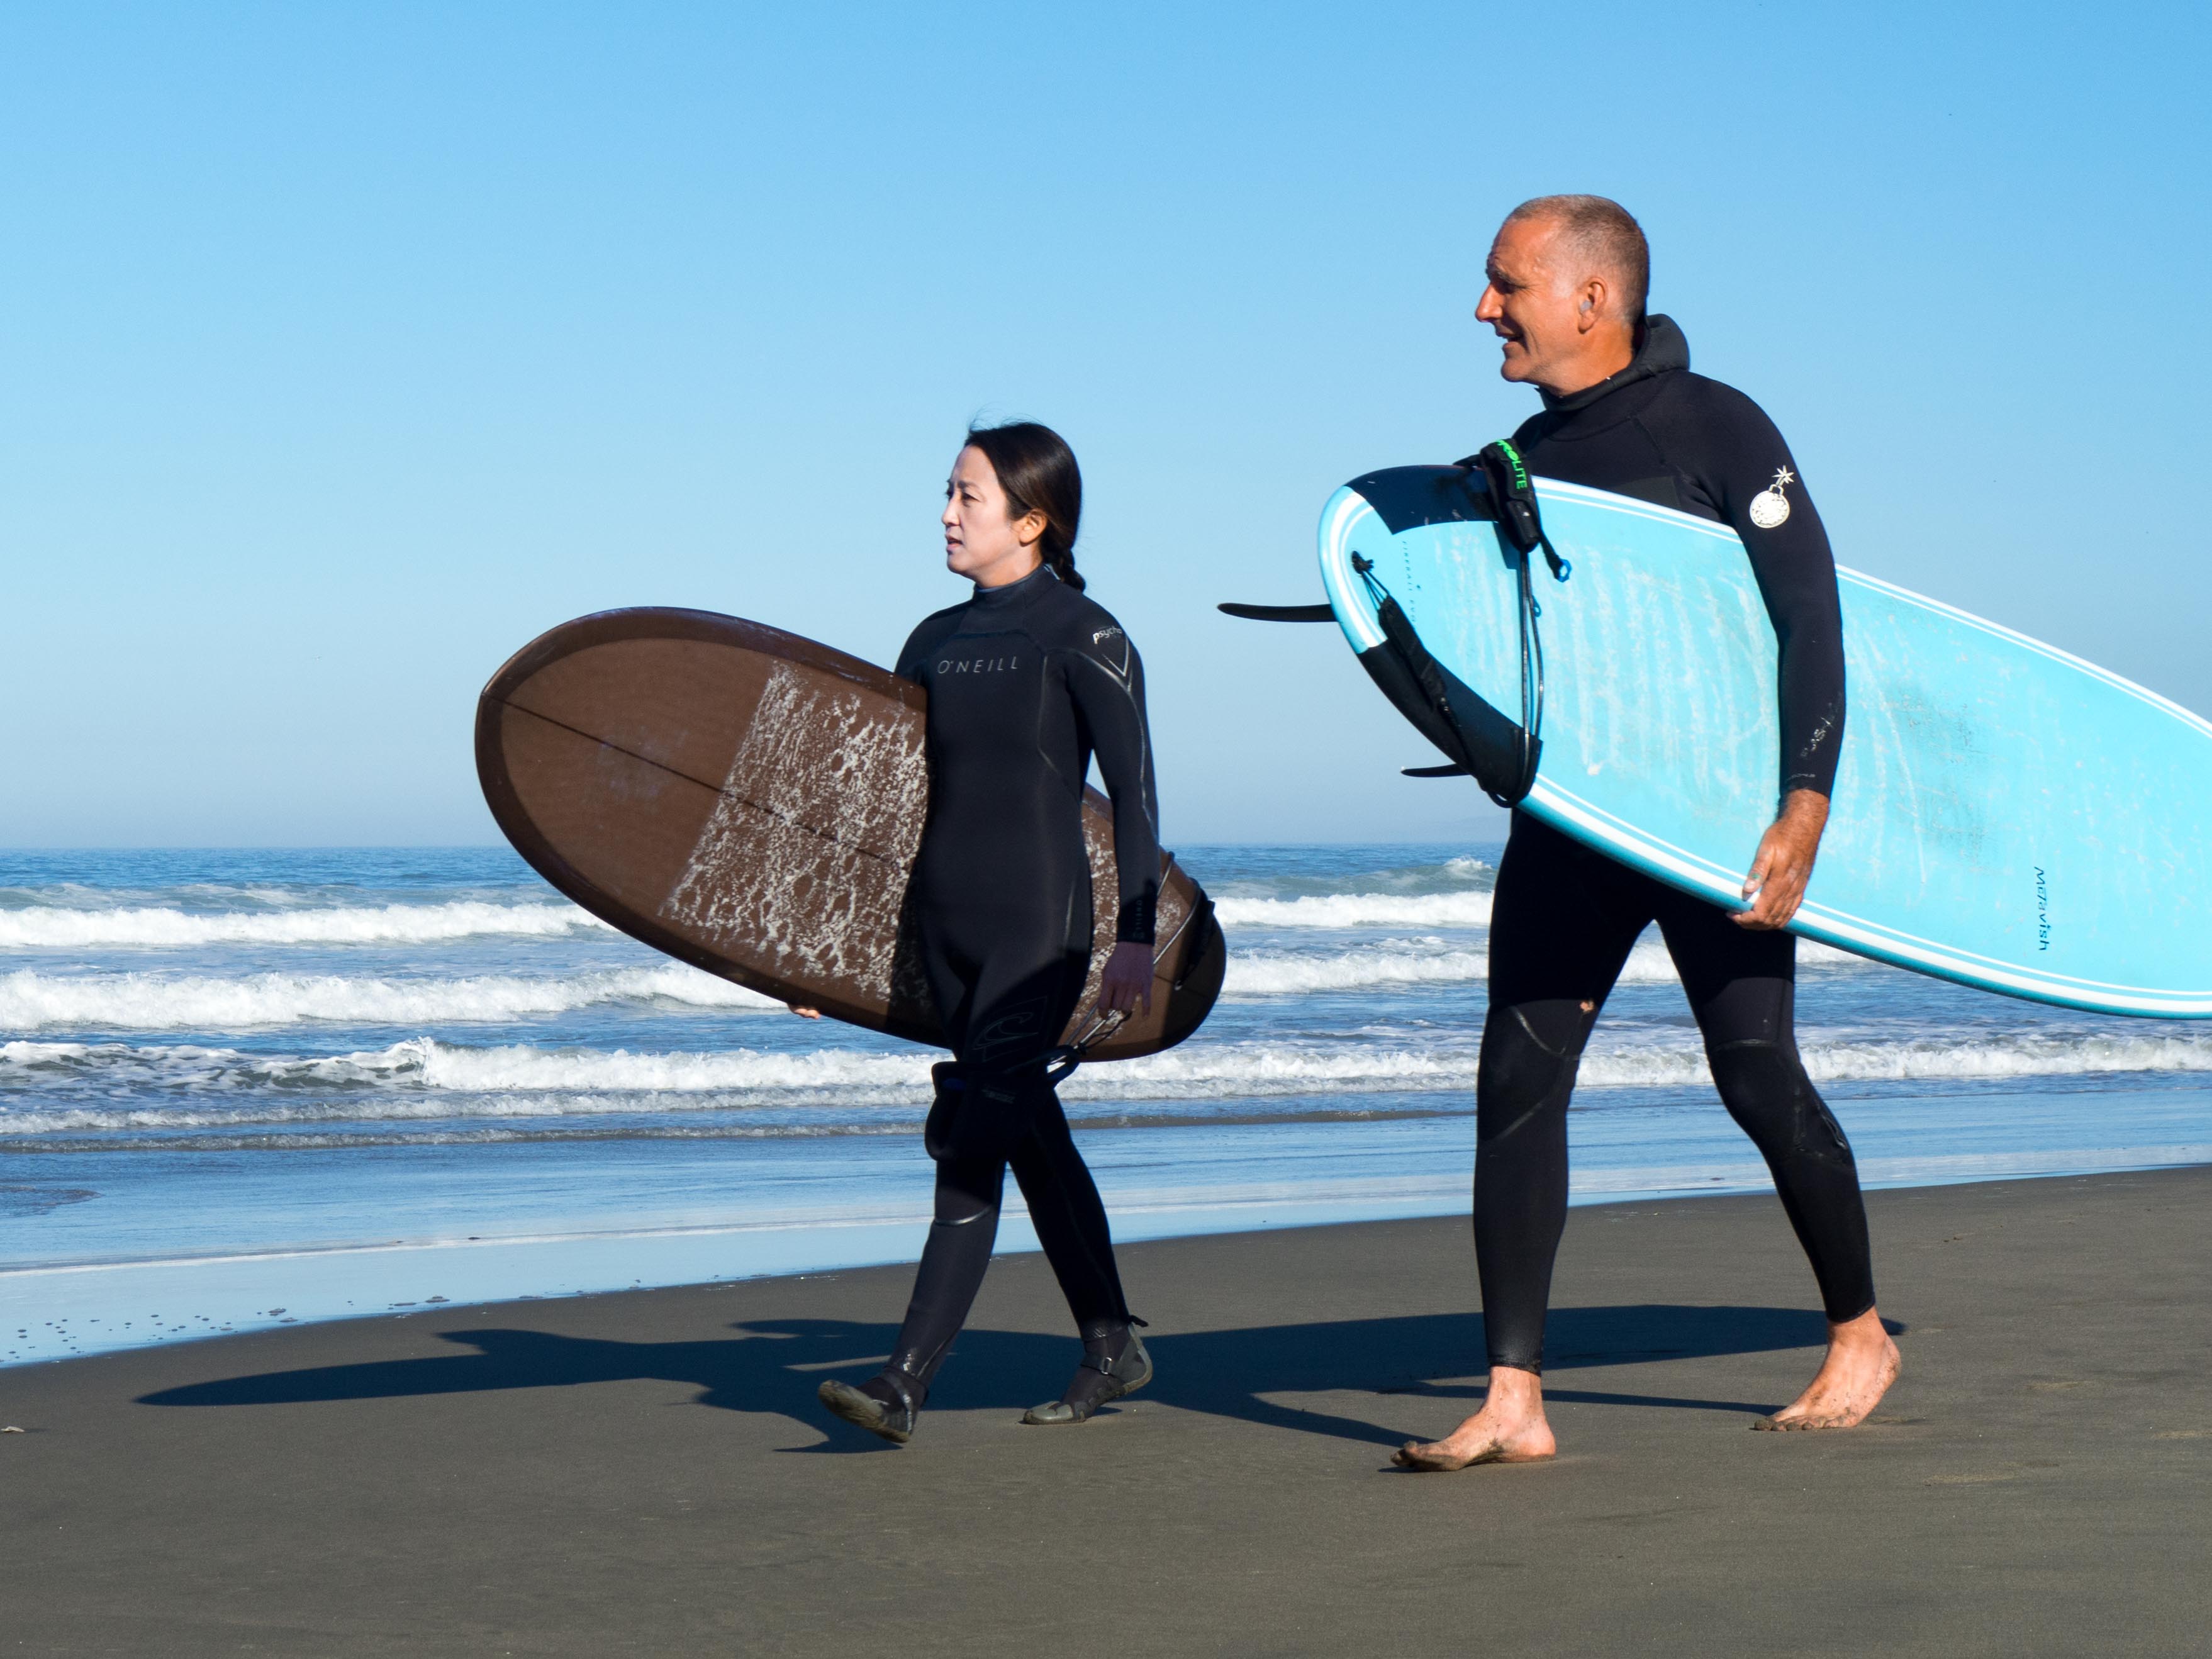
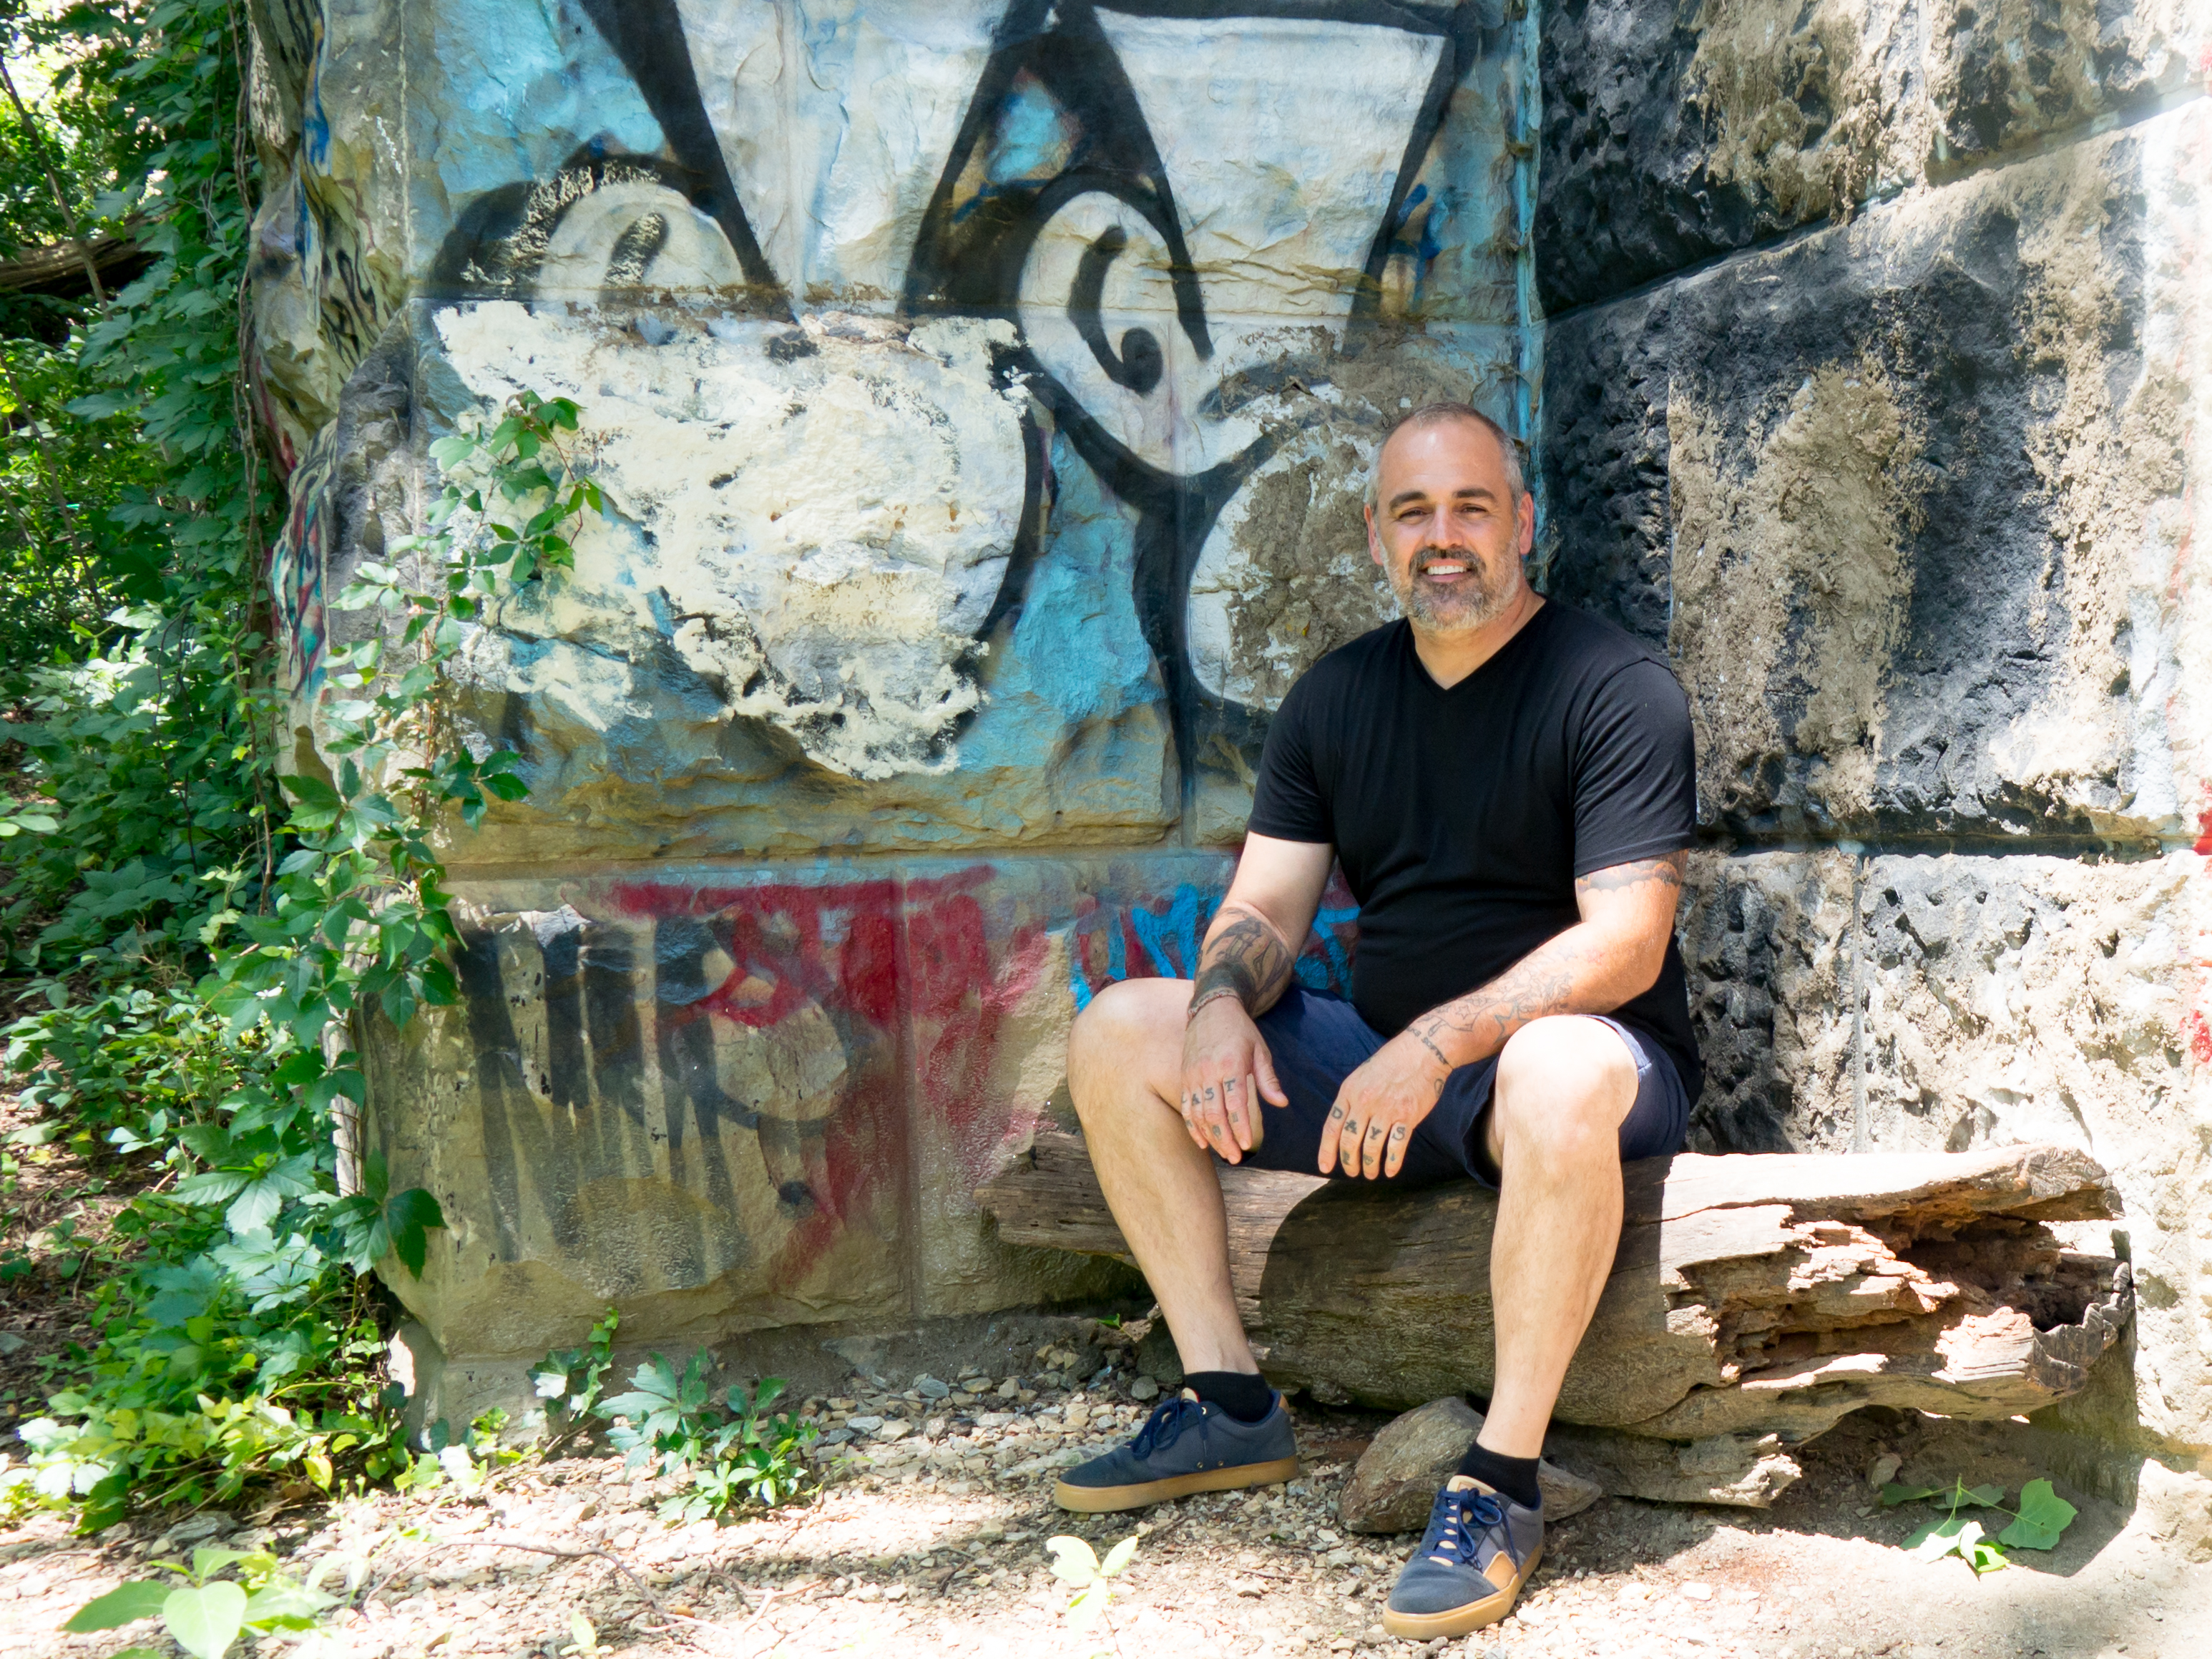
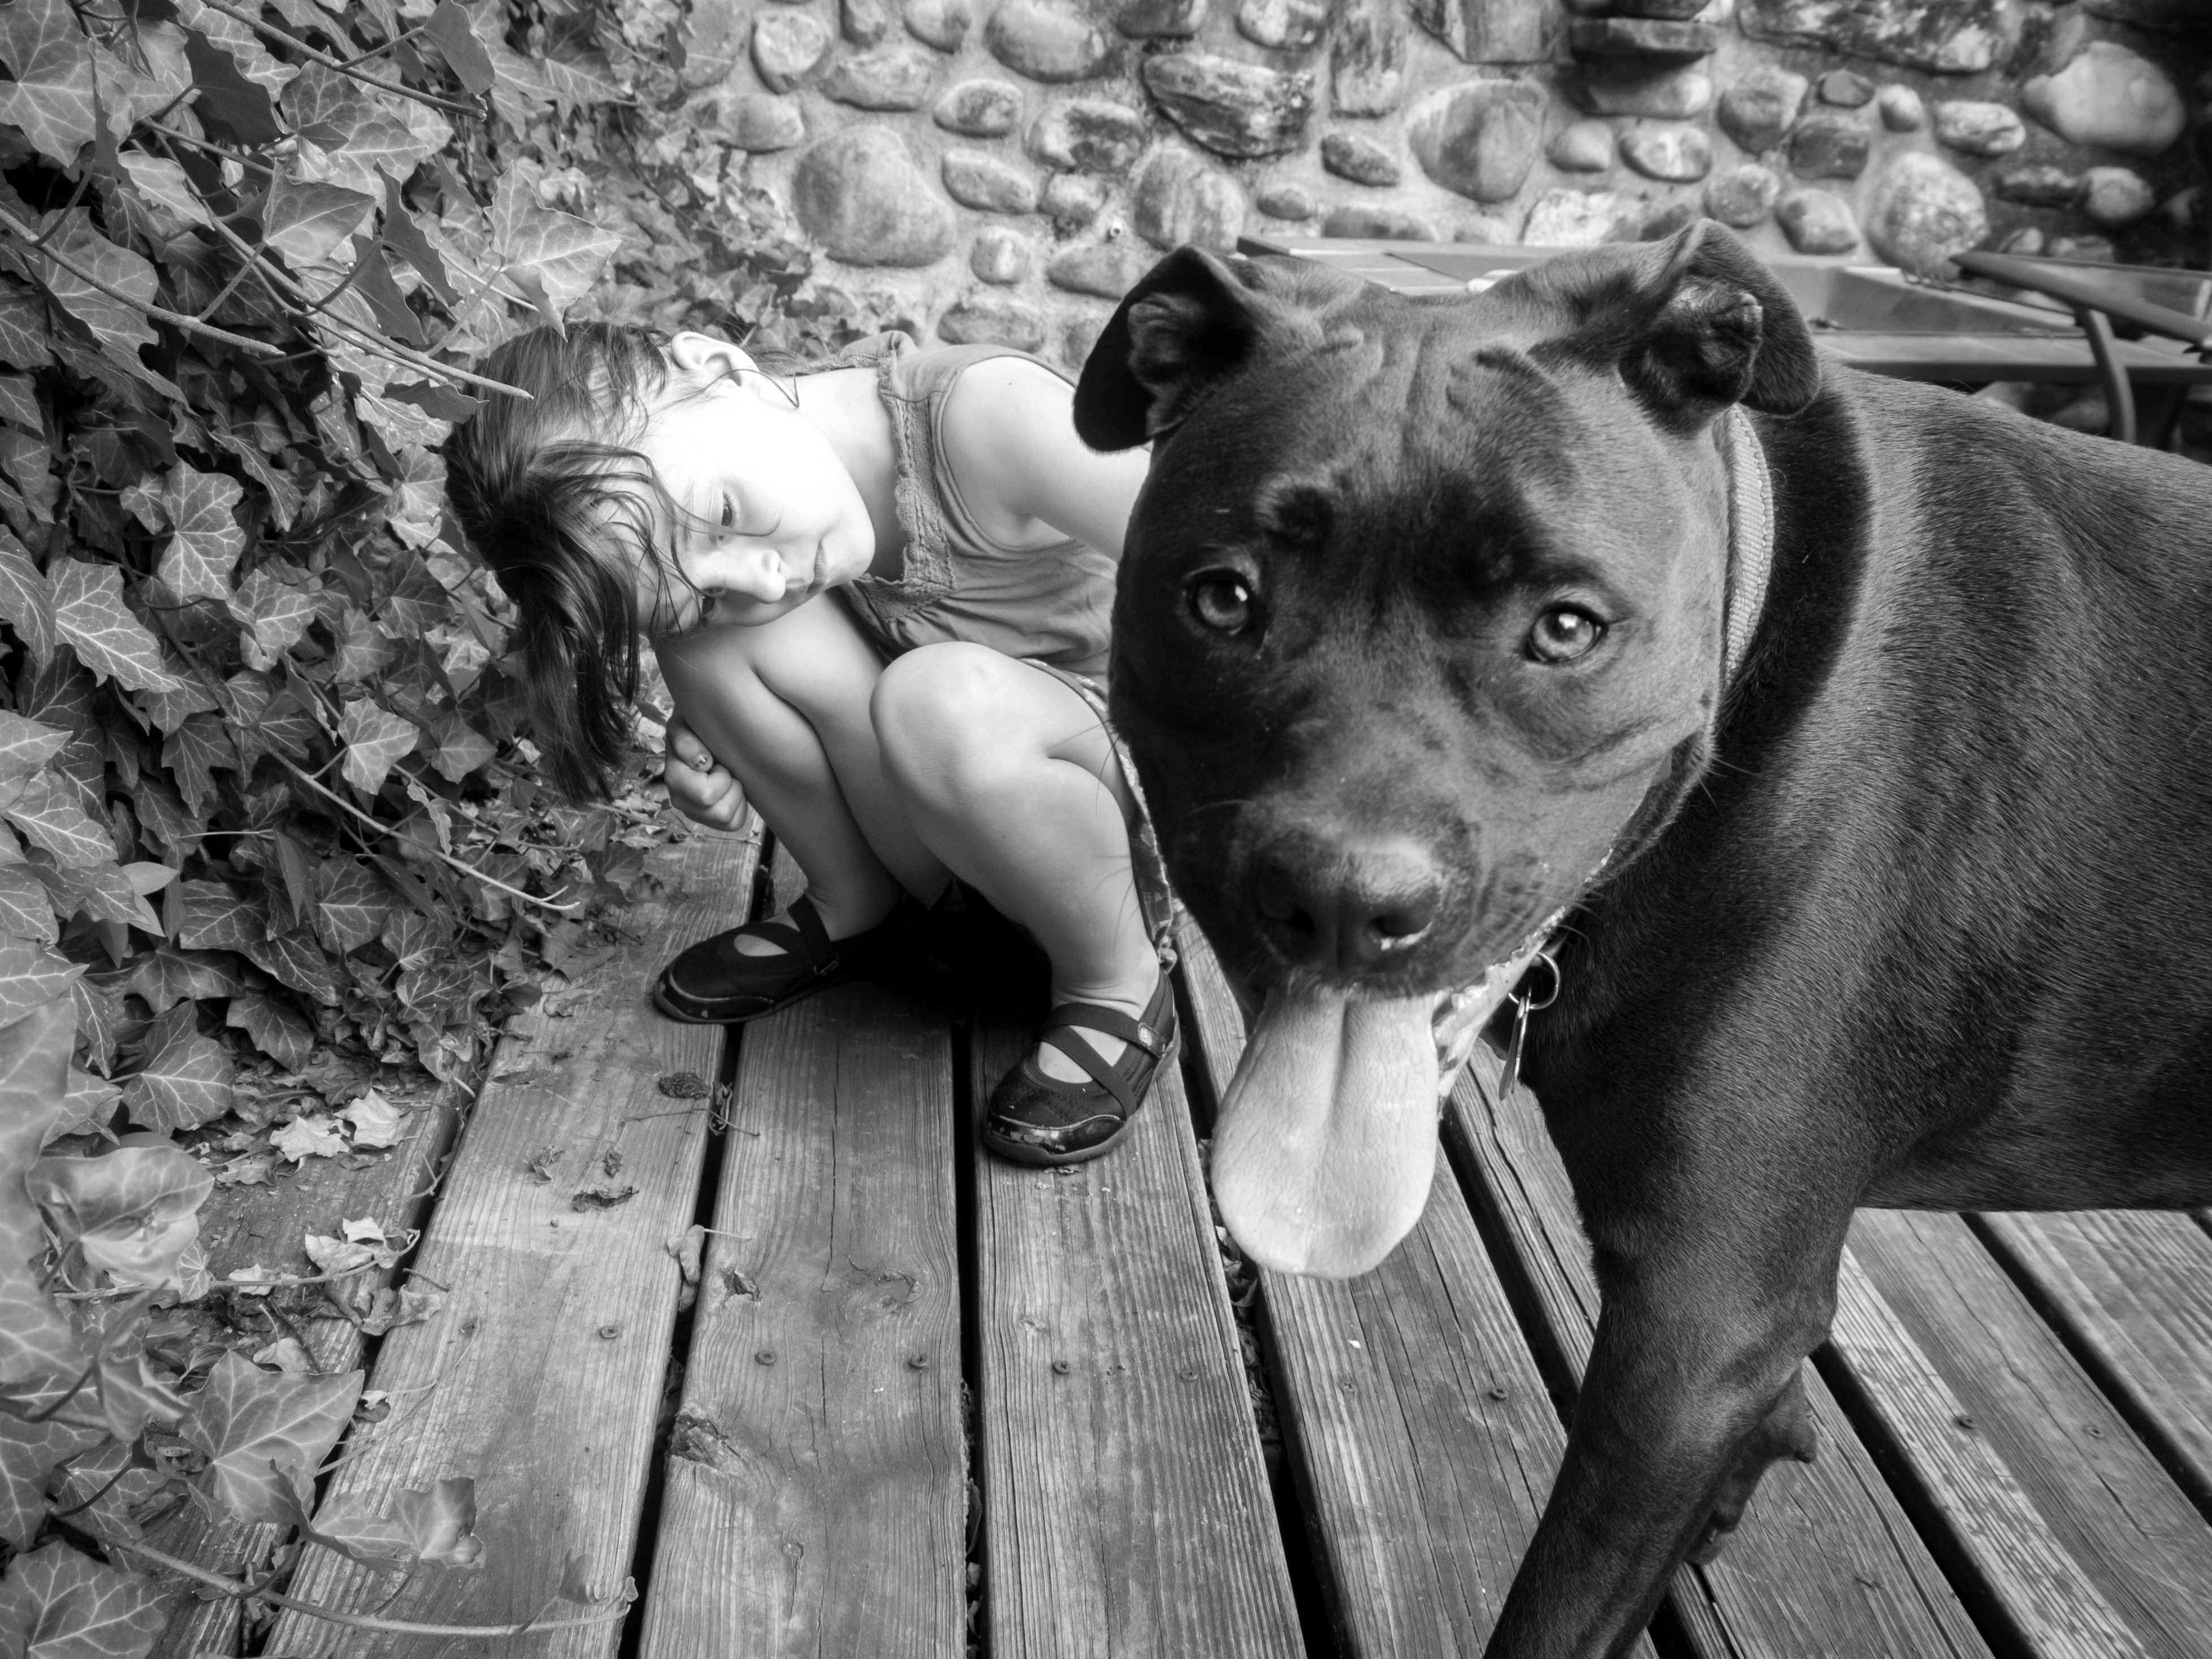
This one is my favorite, the eye contact made it.


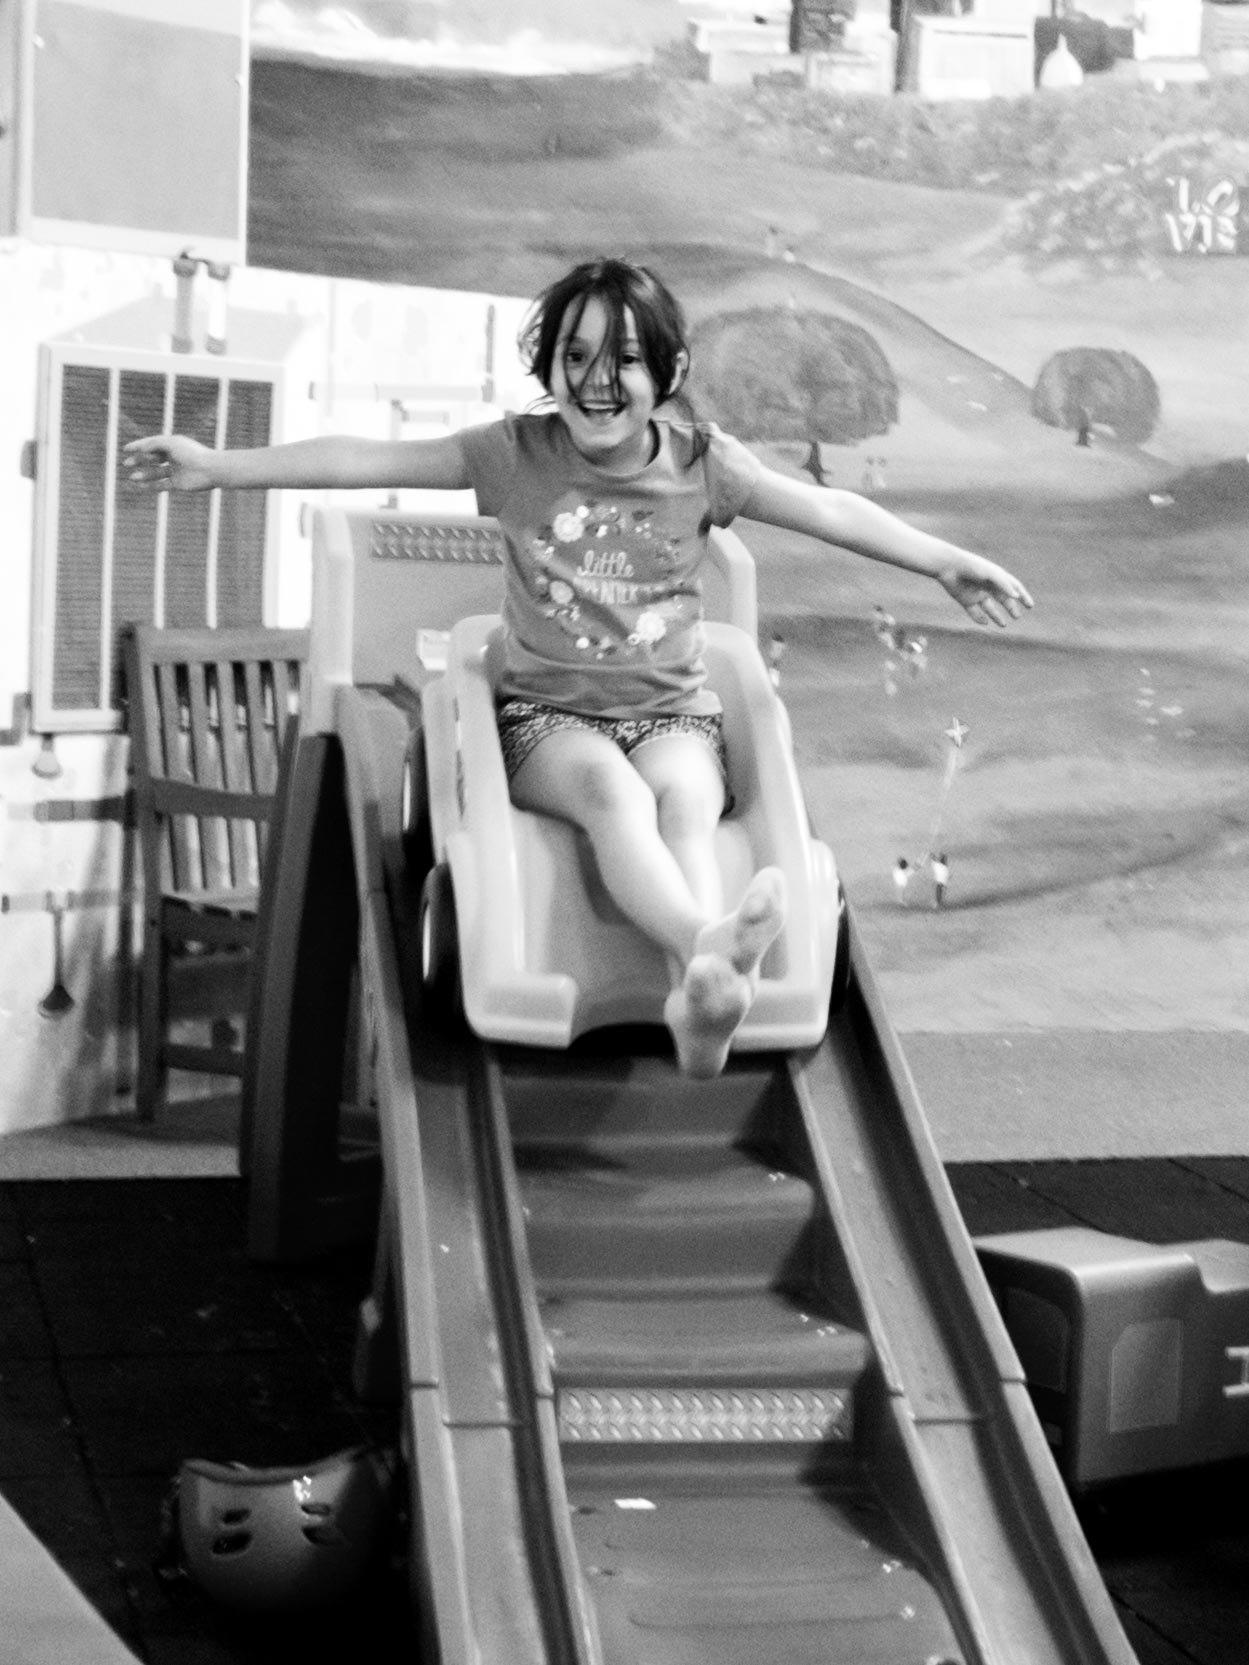
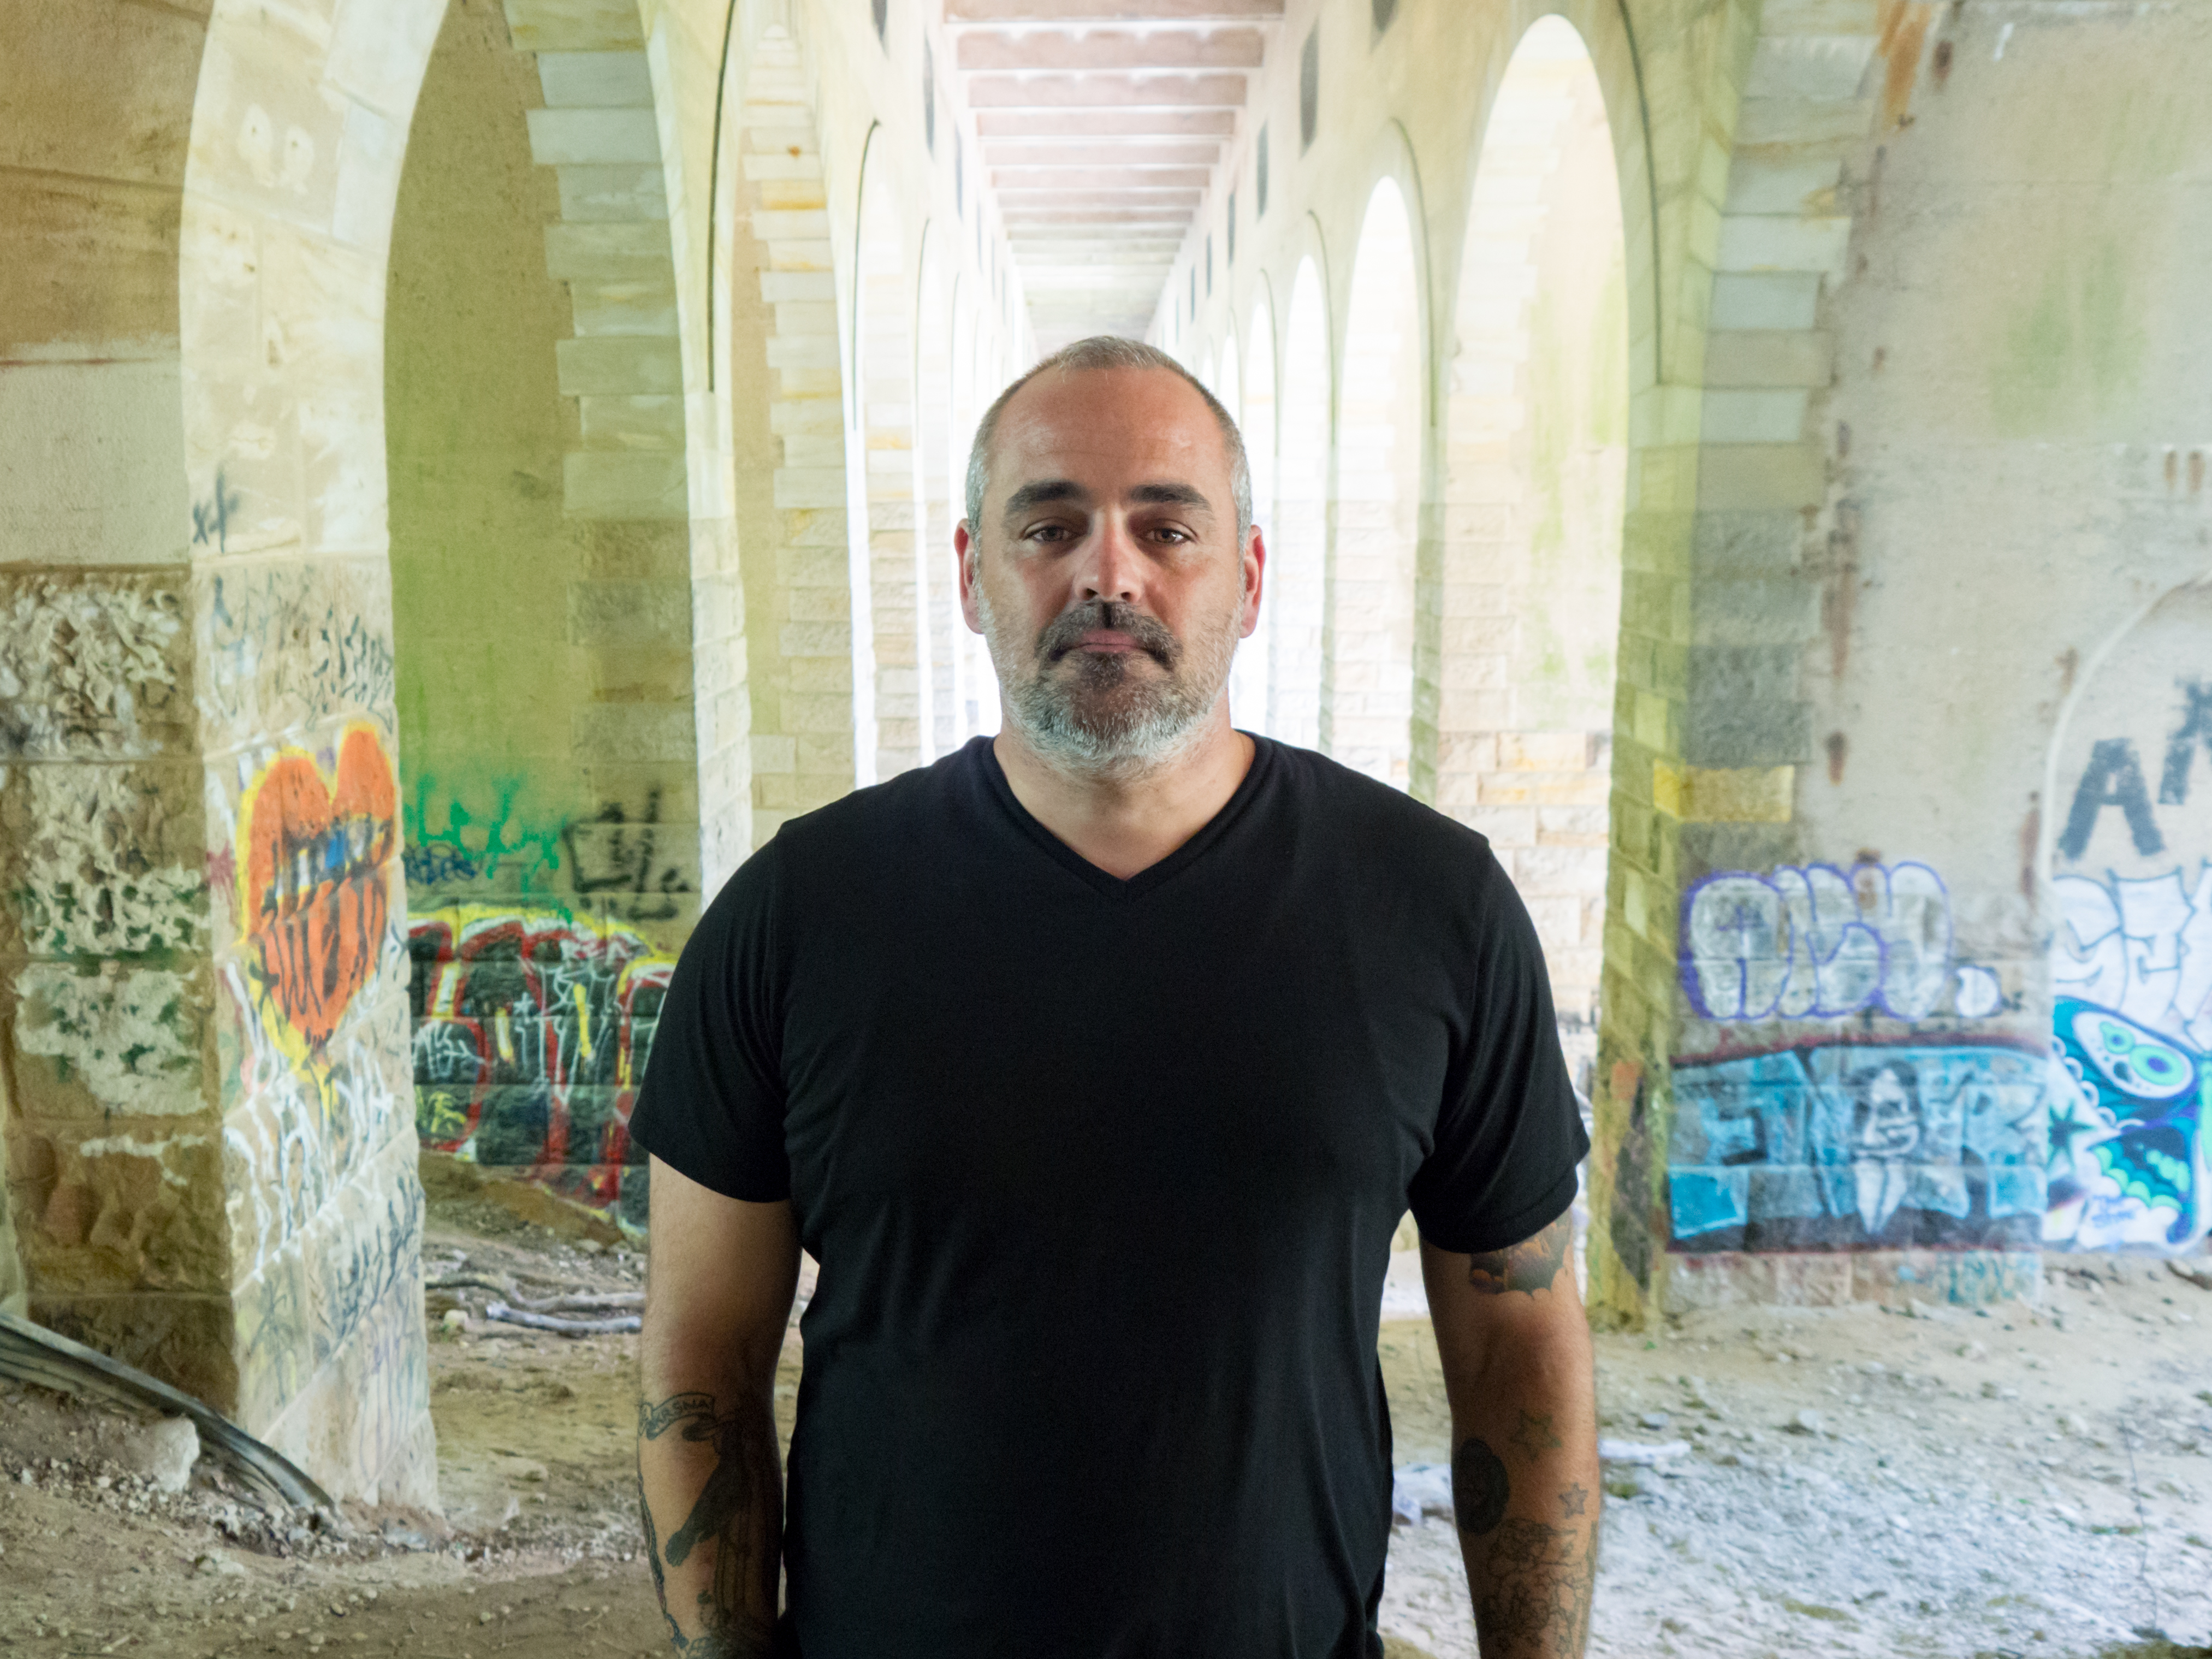
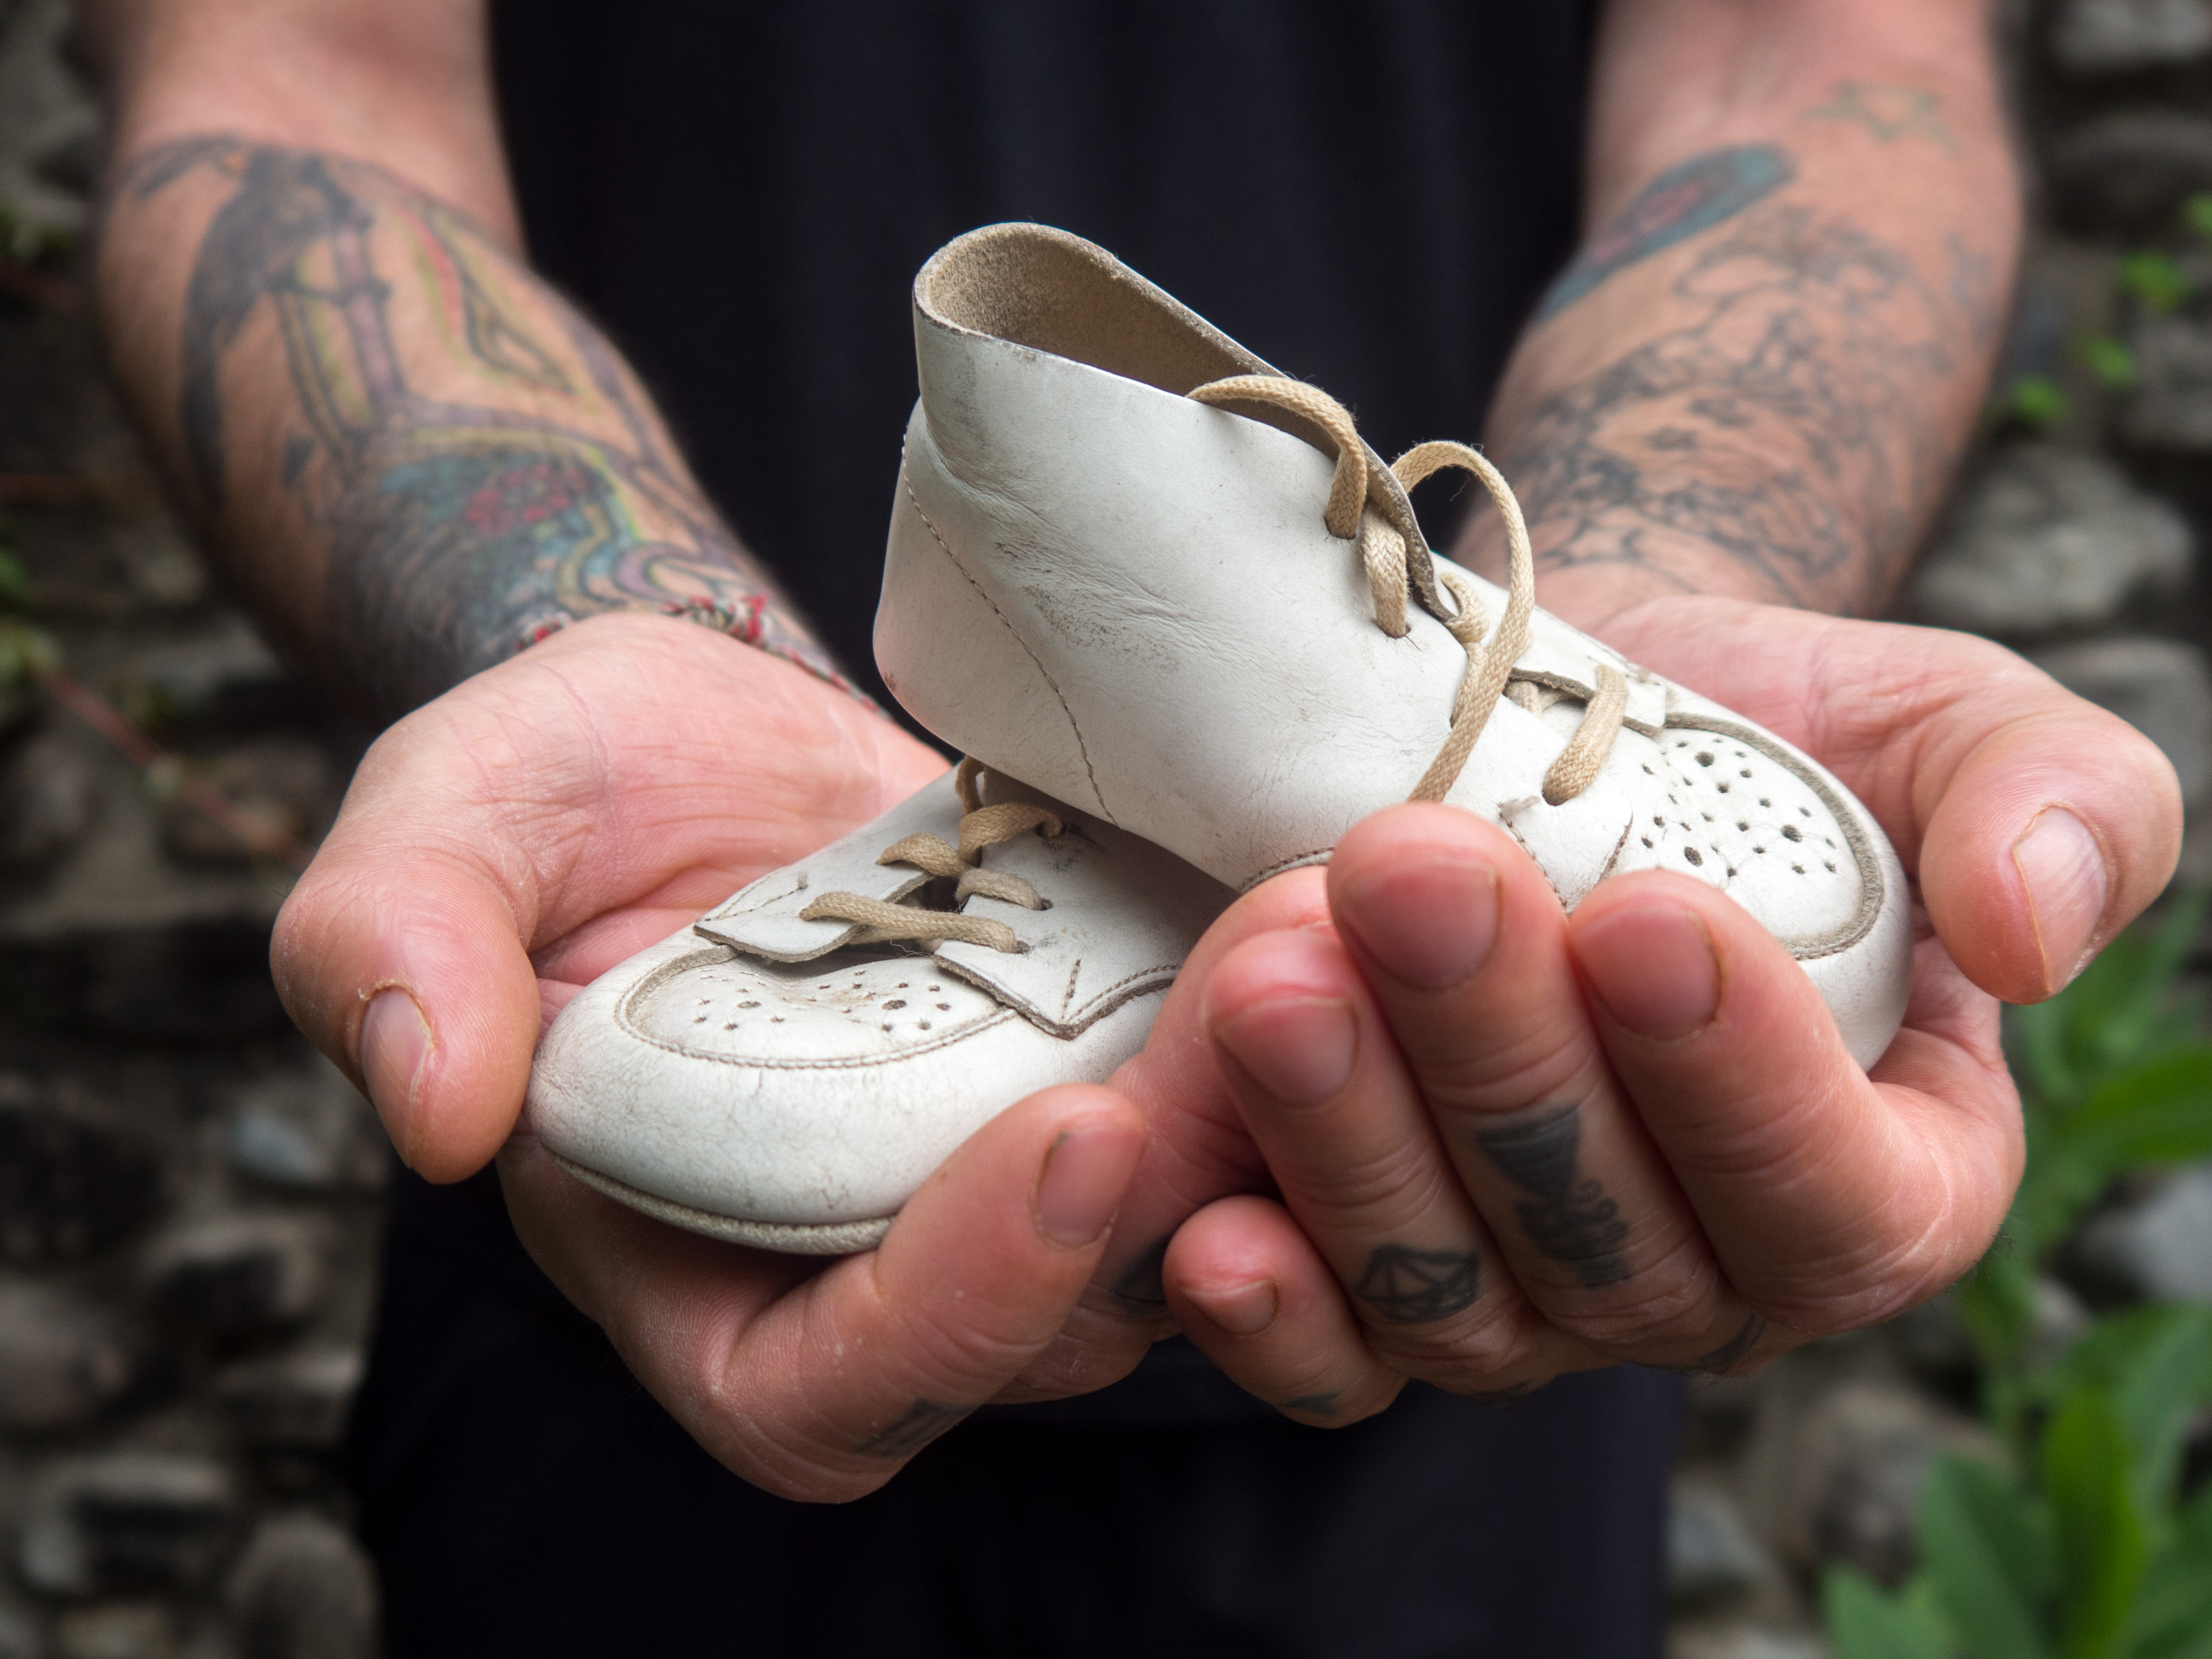
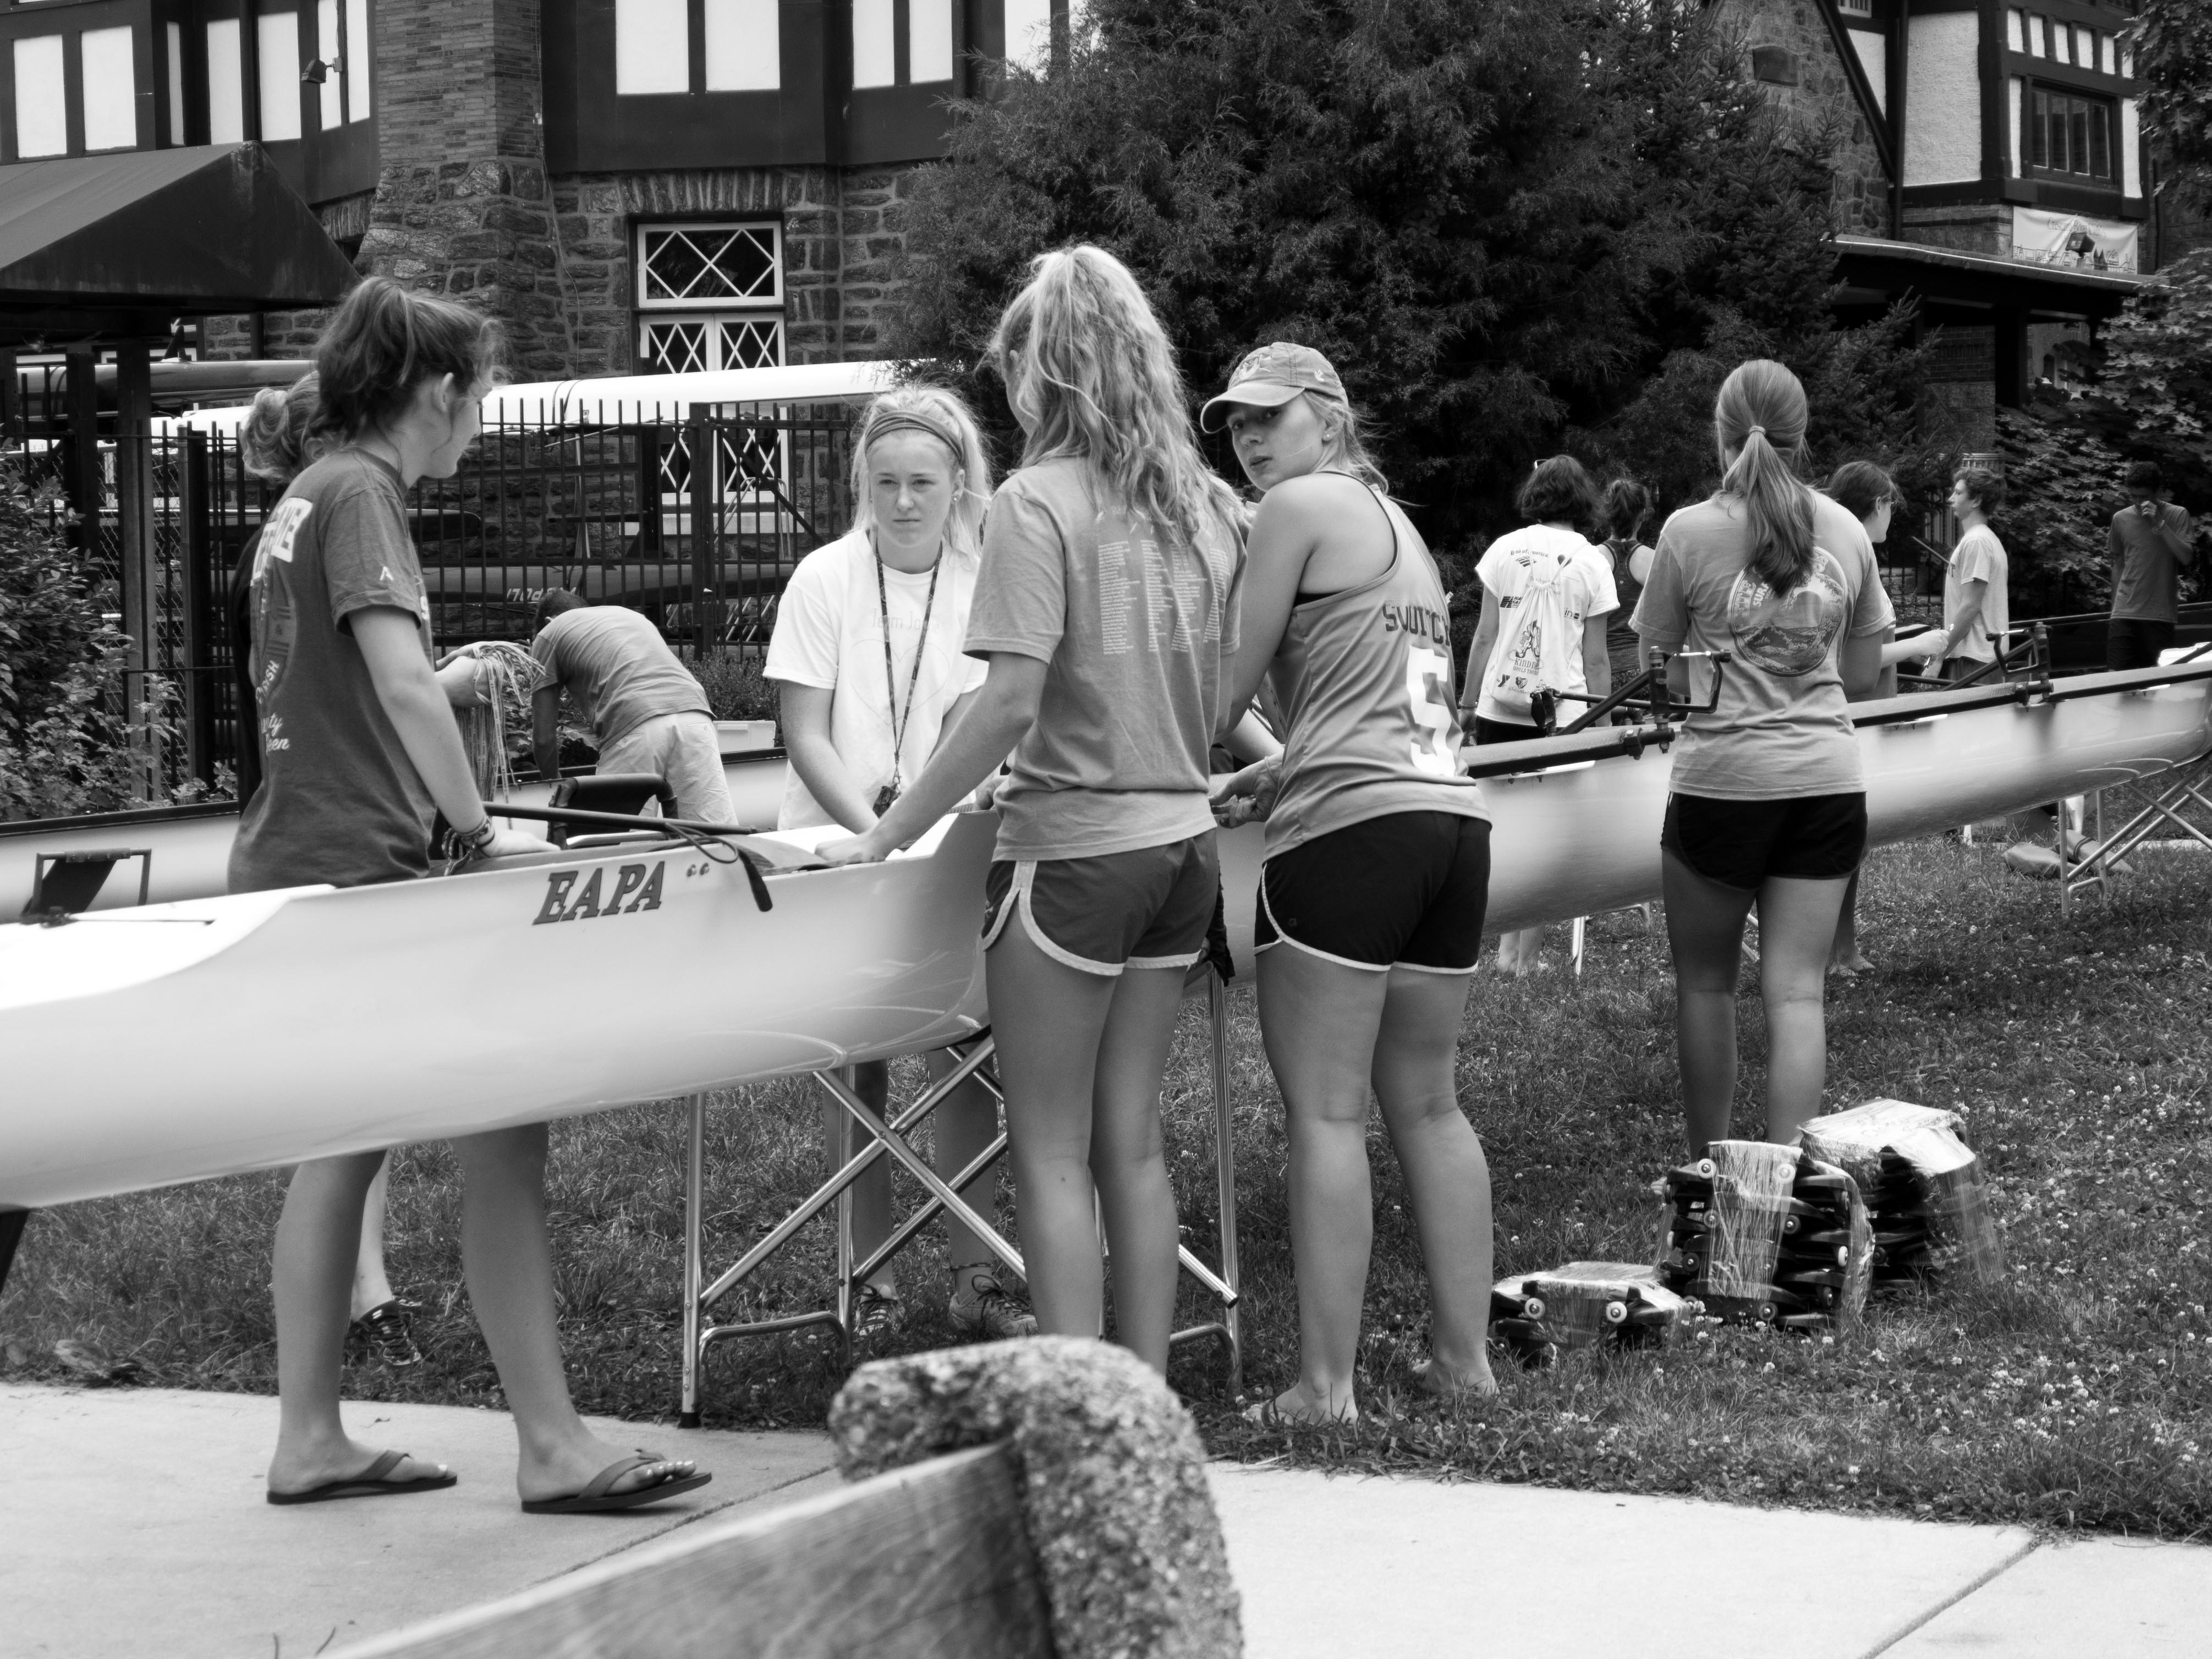
f/4, 1/640th, ISO 200


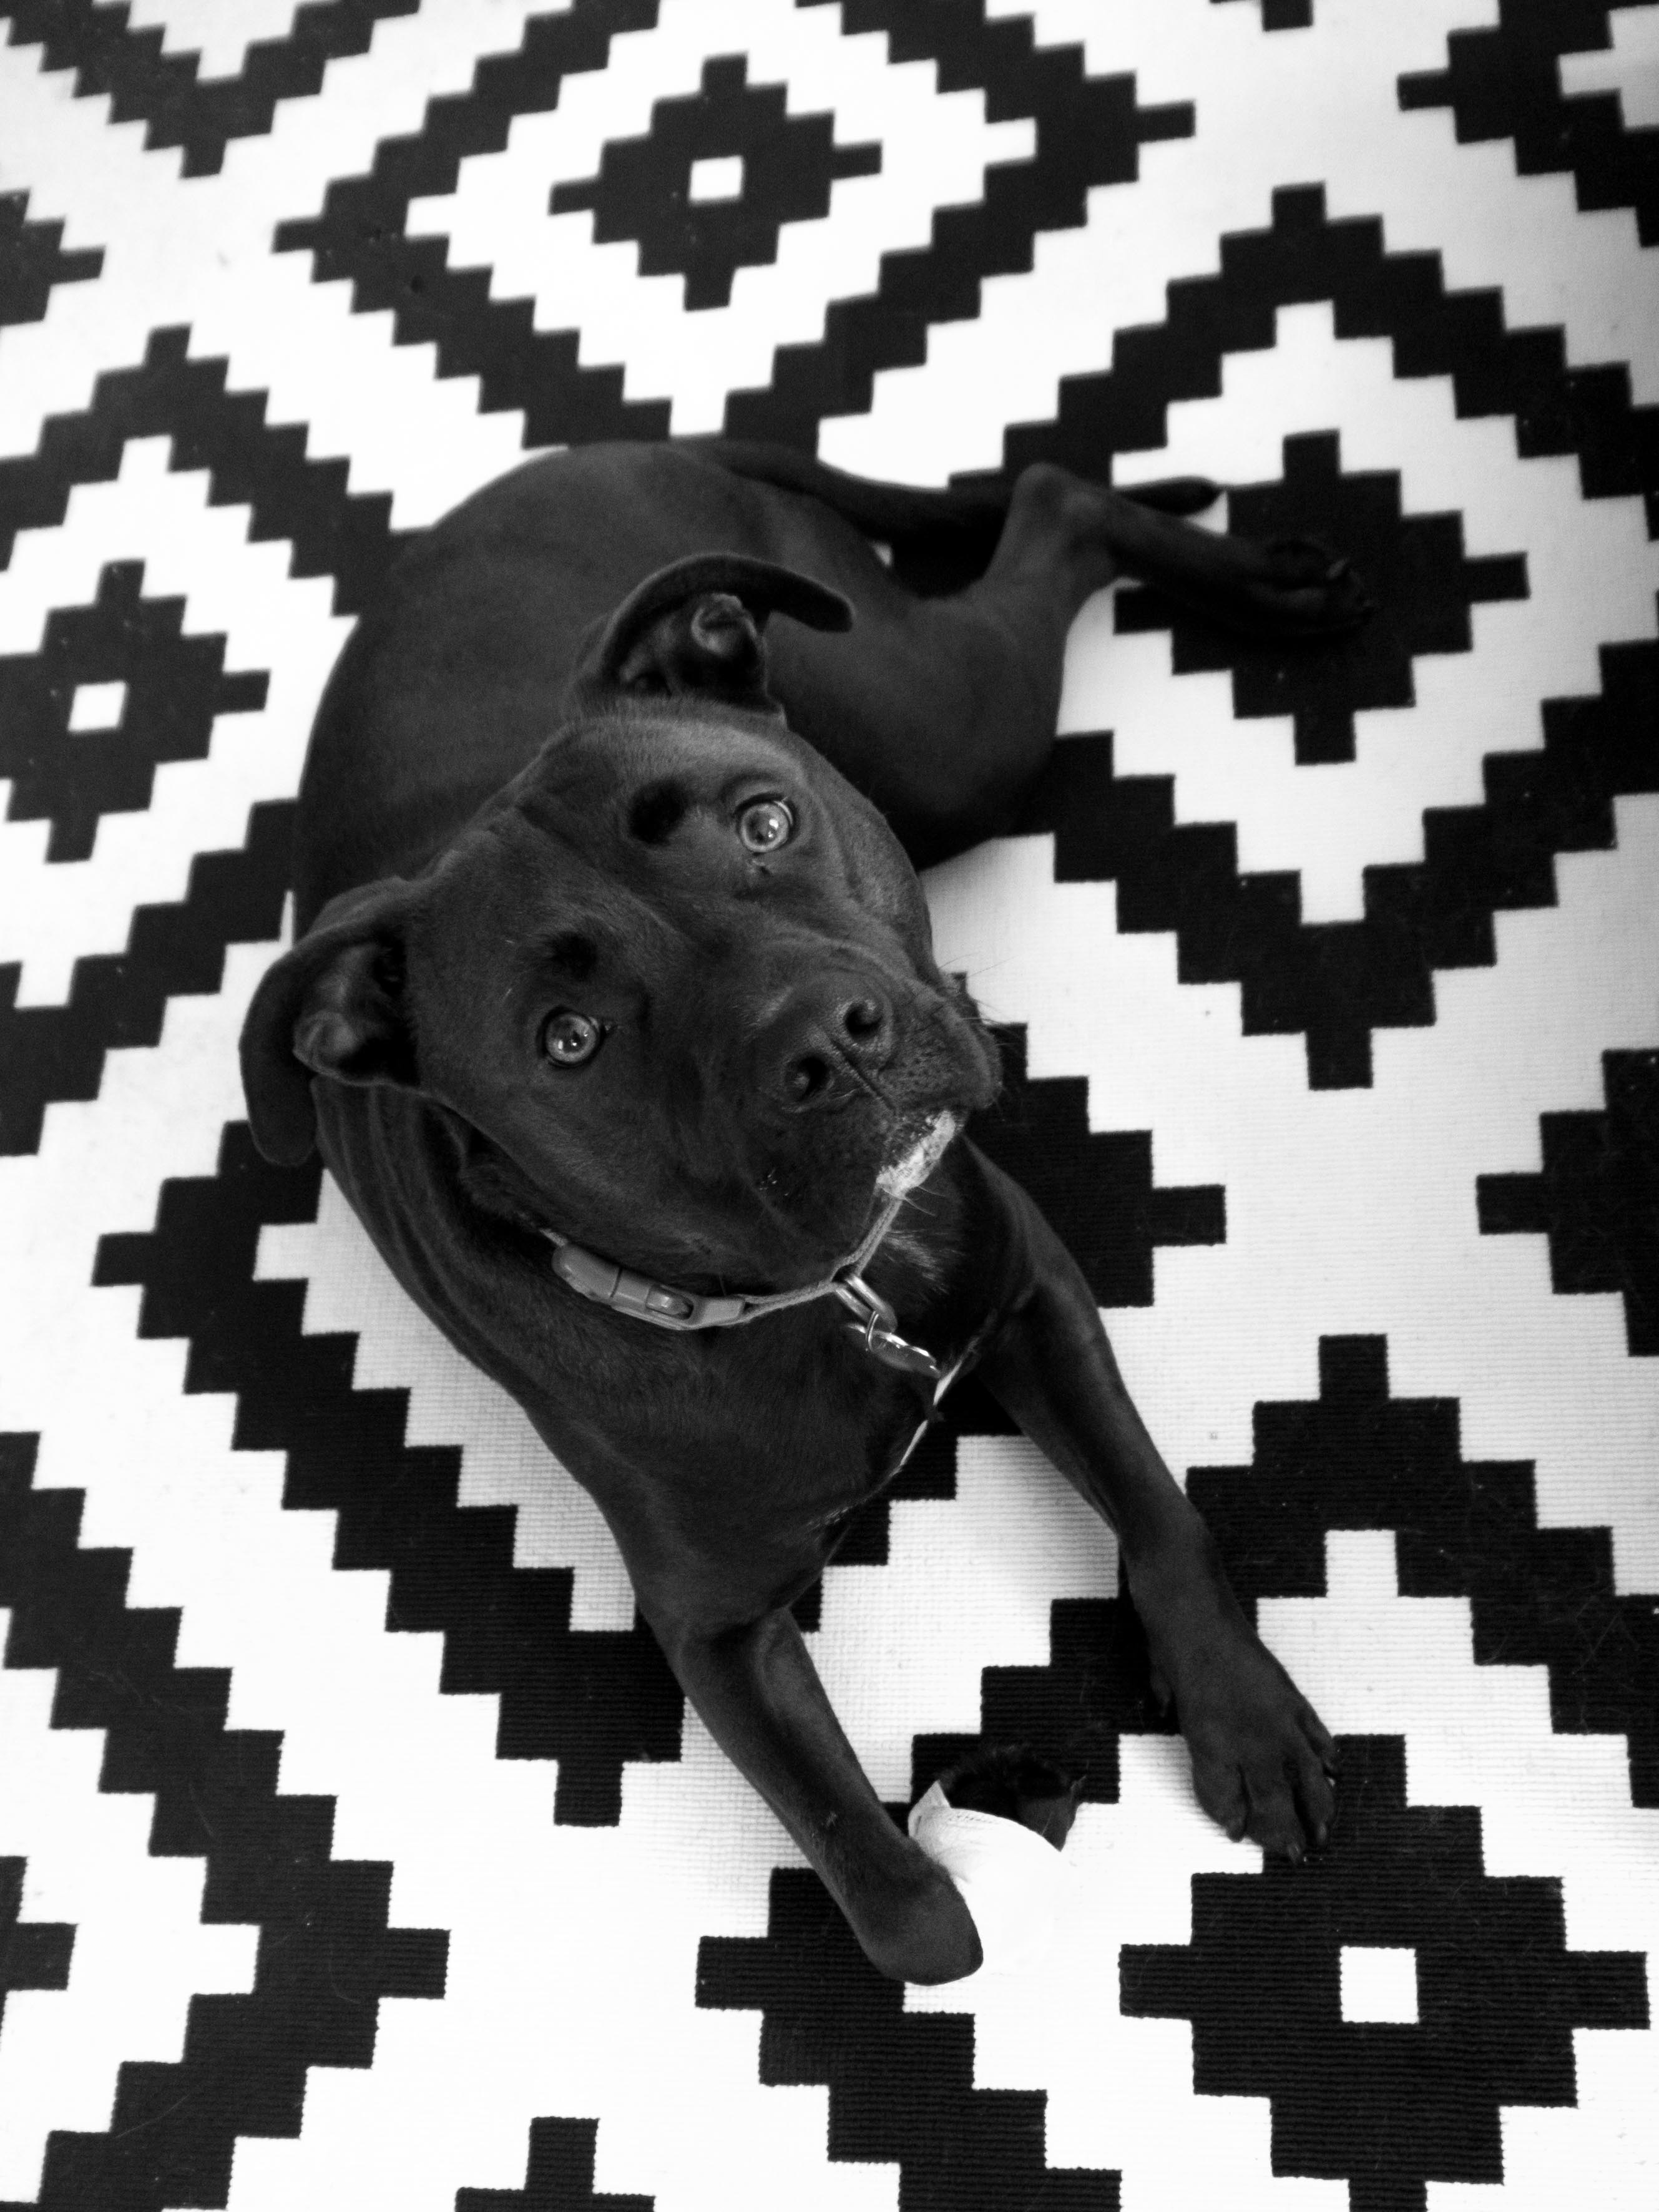
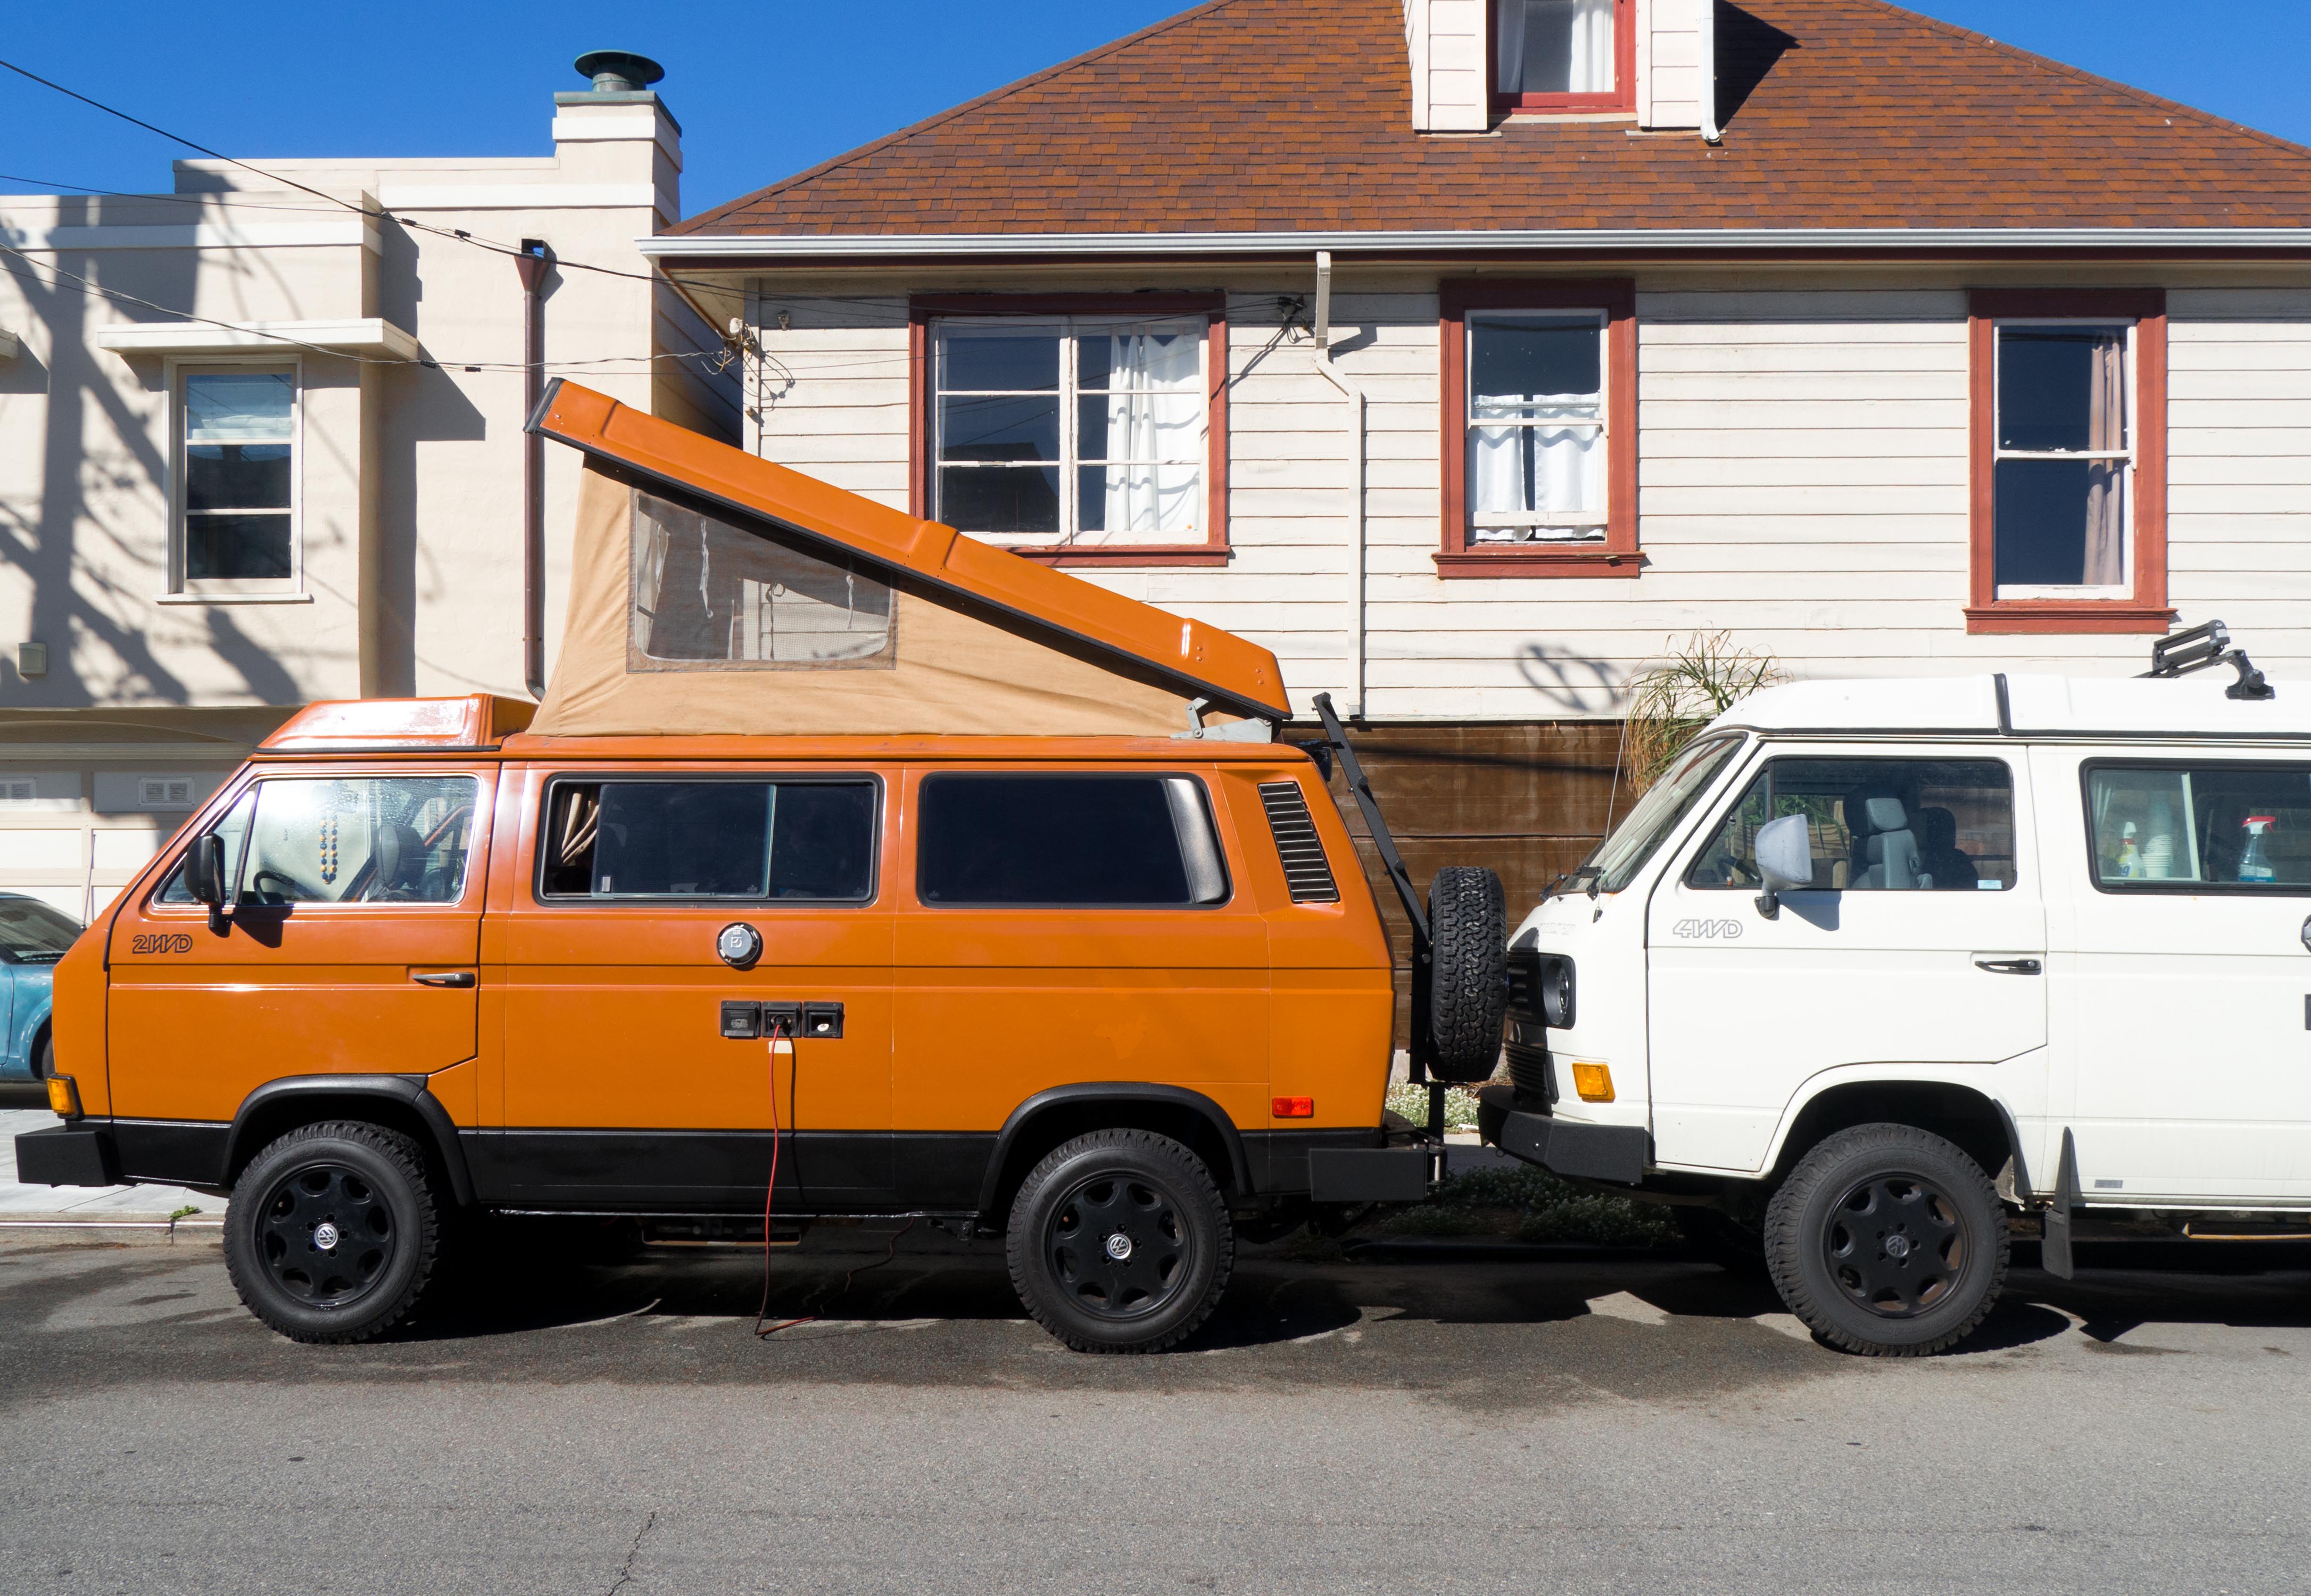
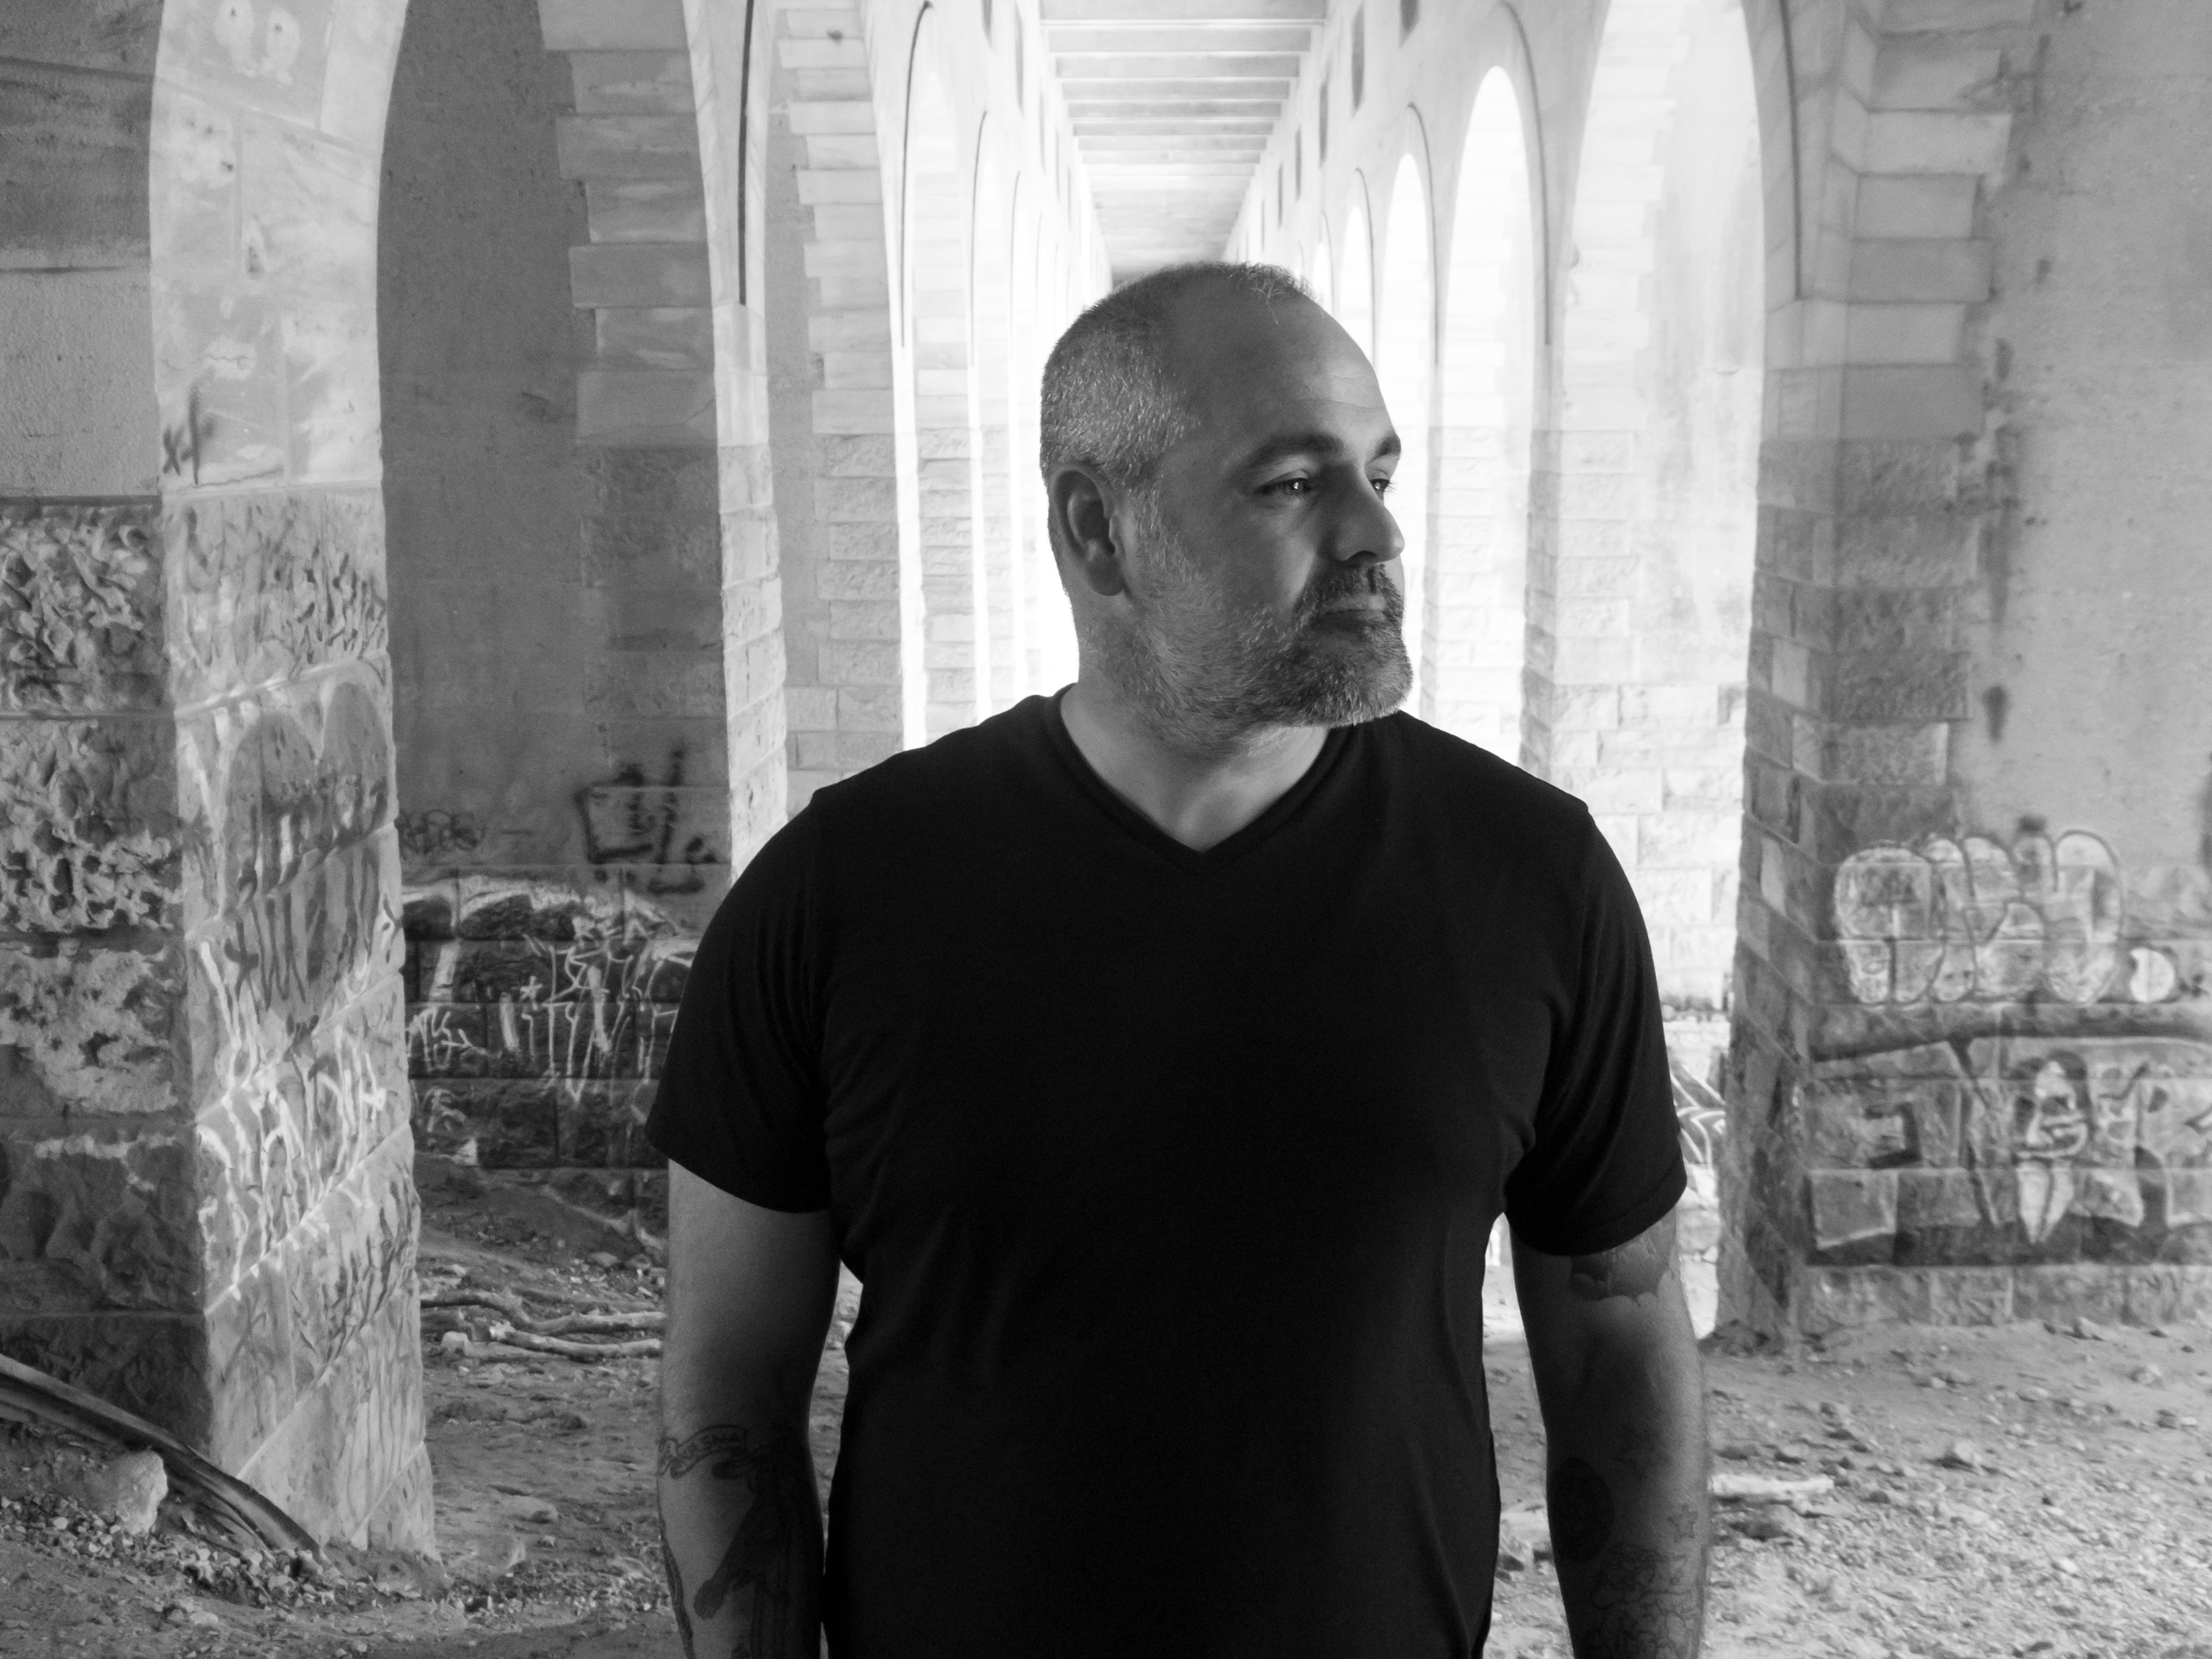
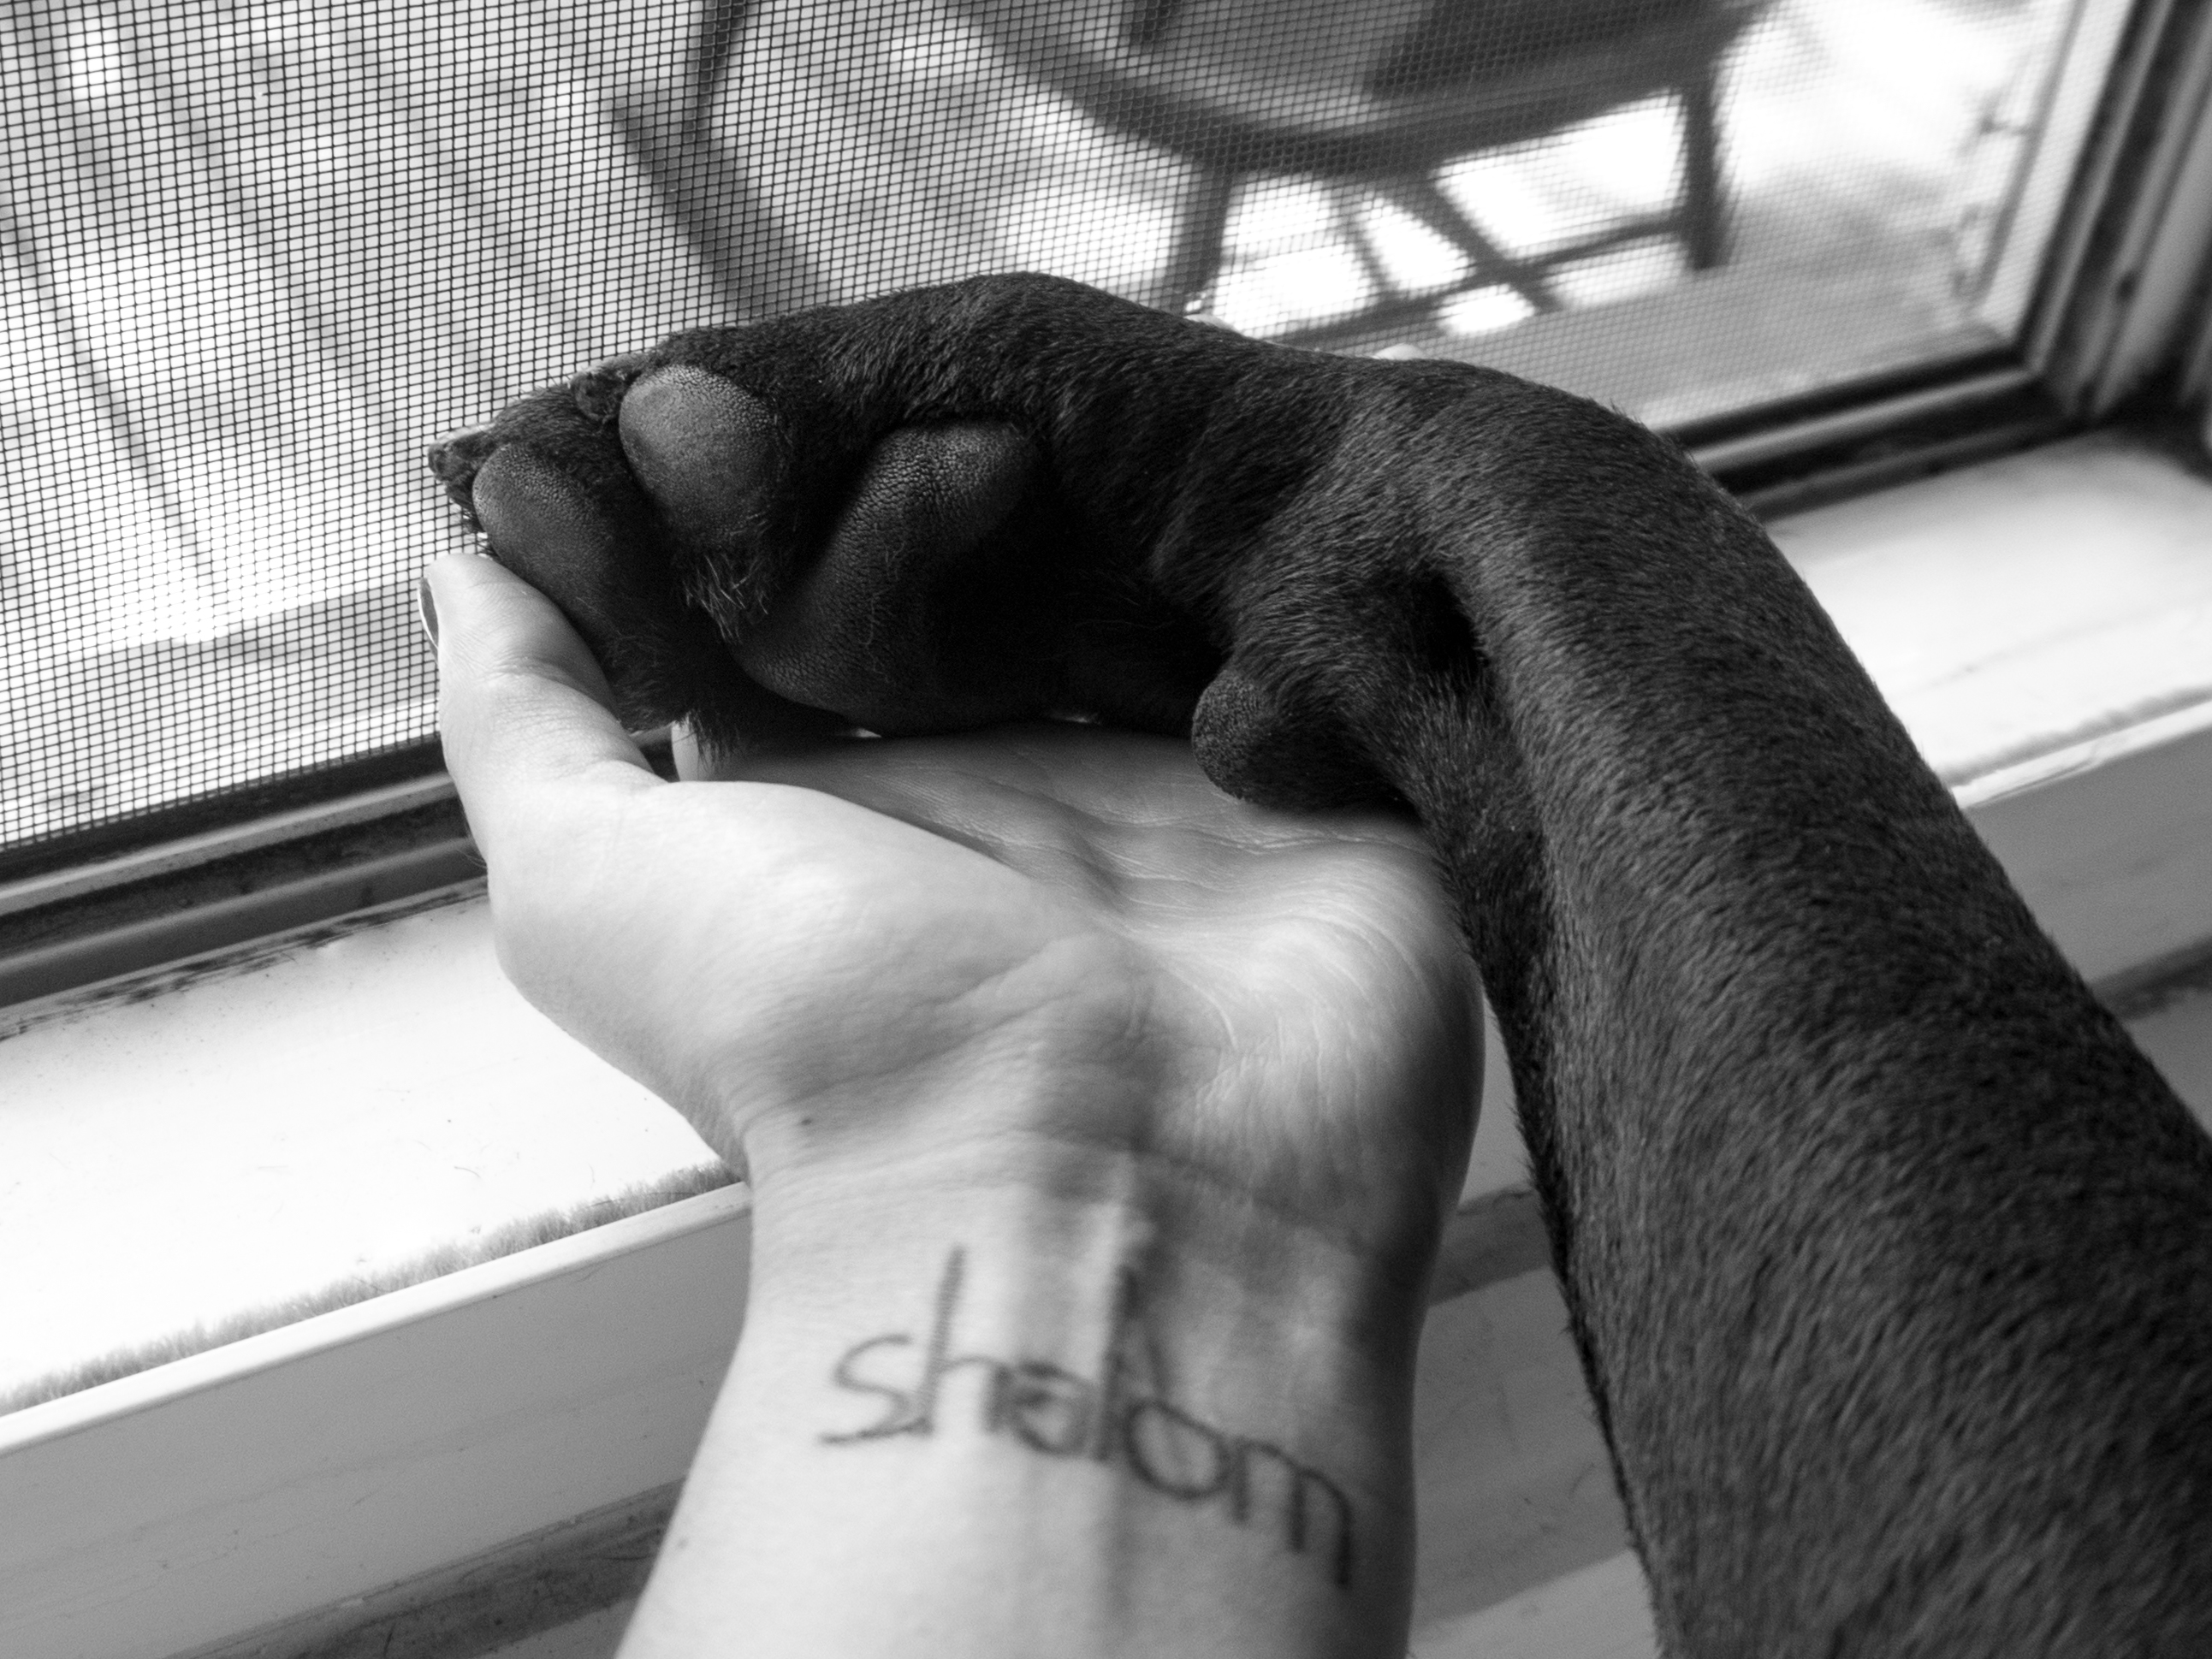
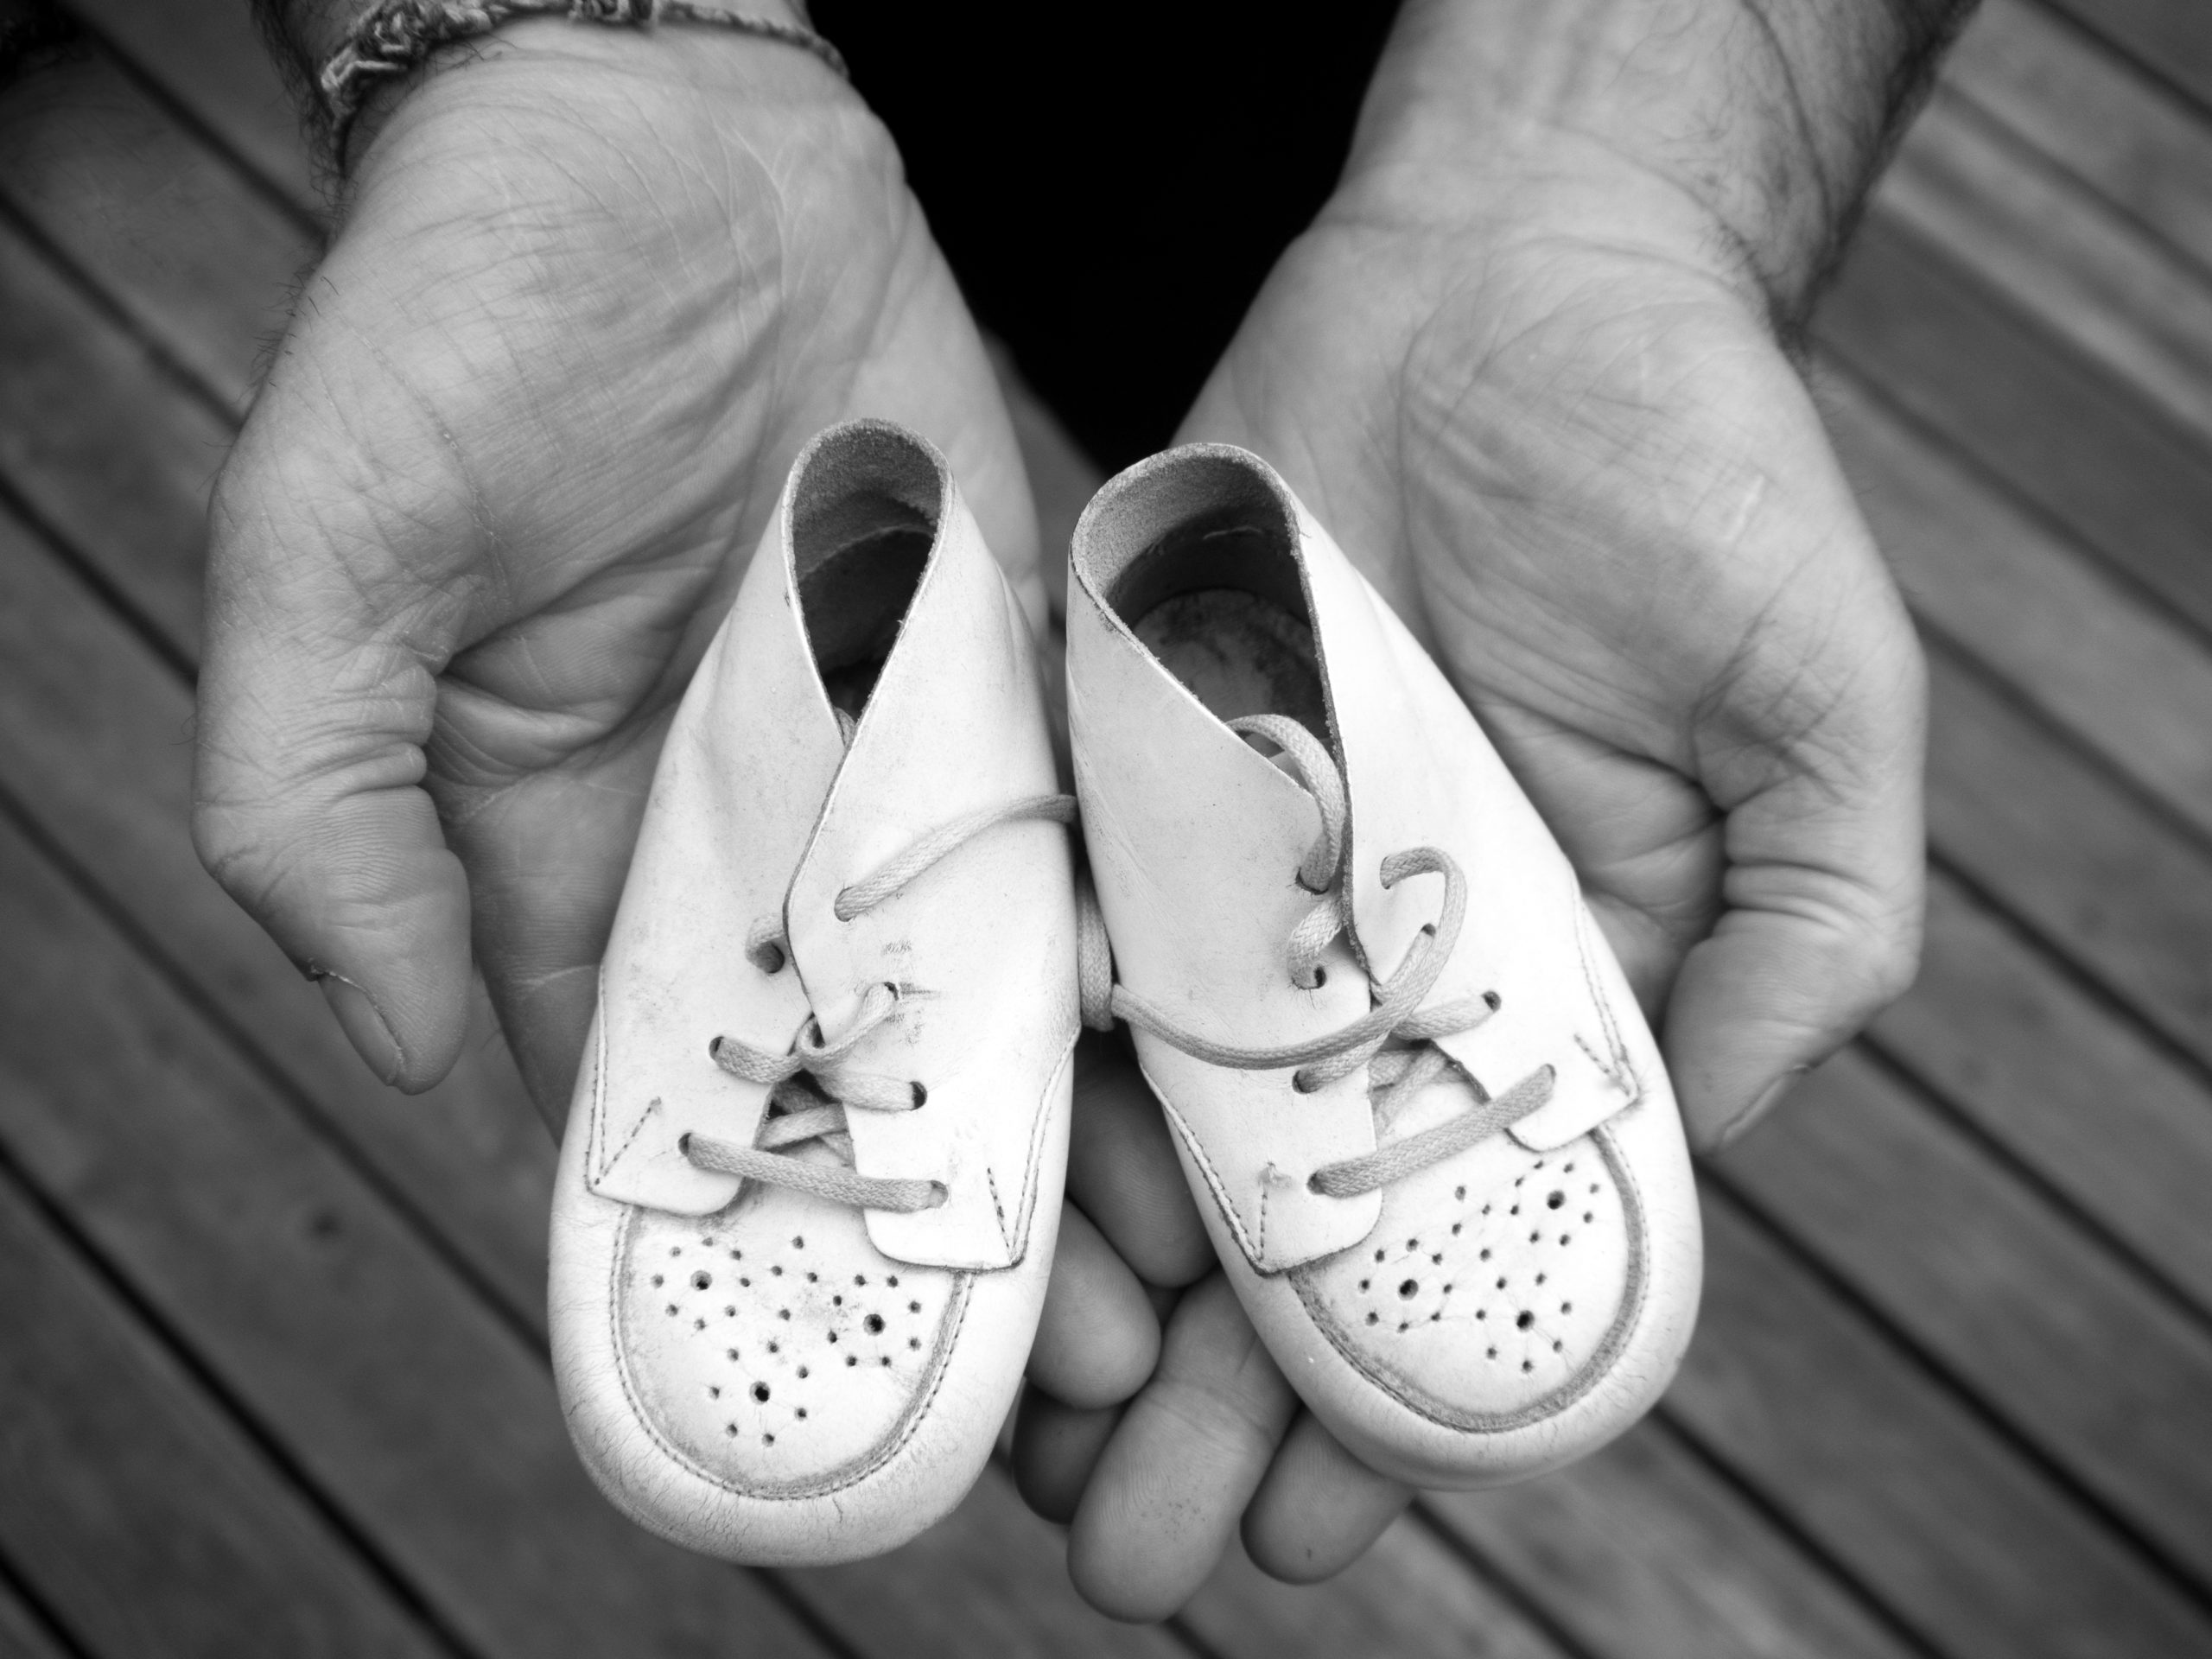
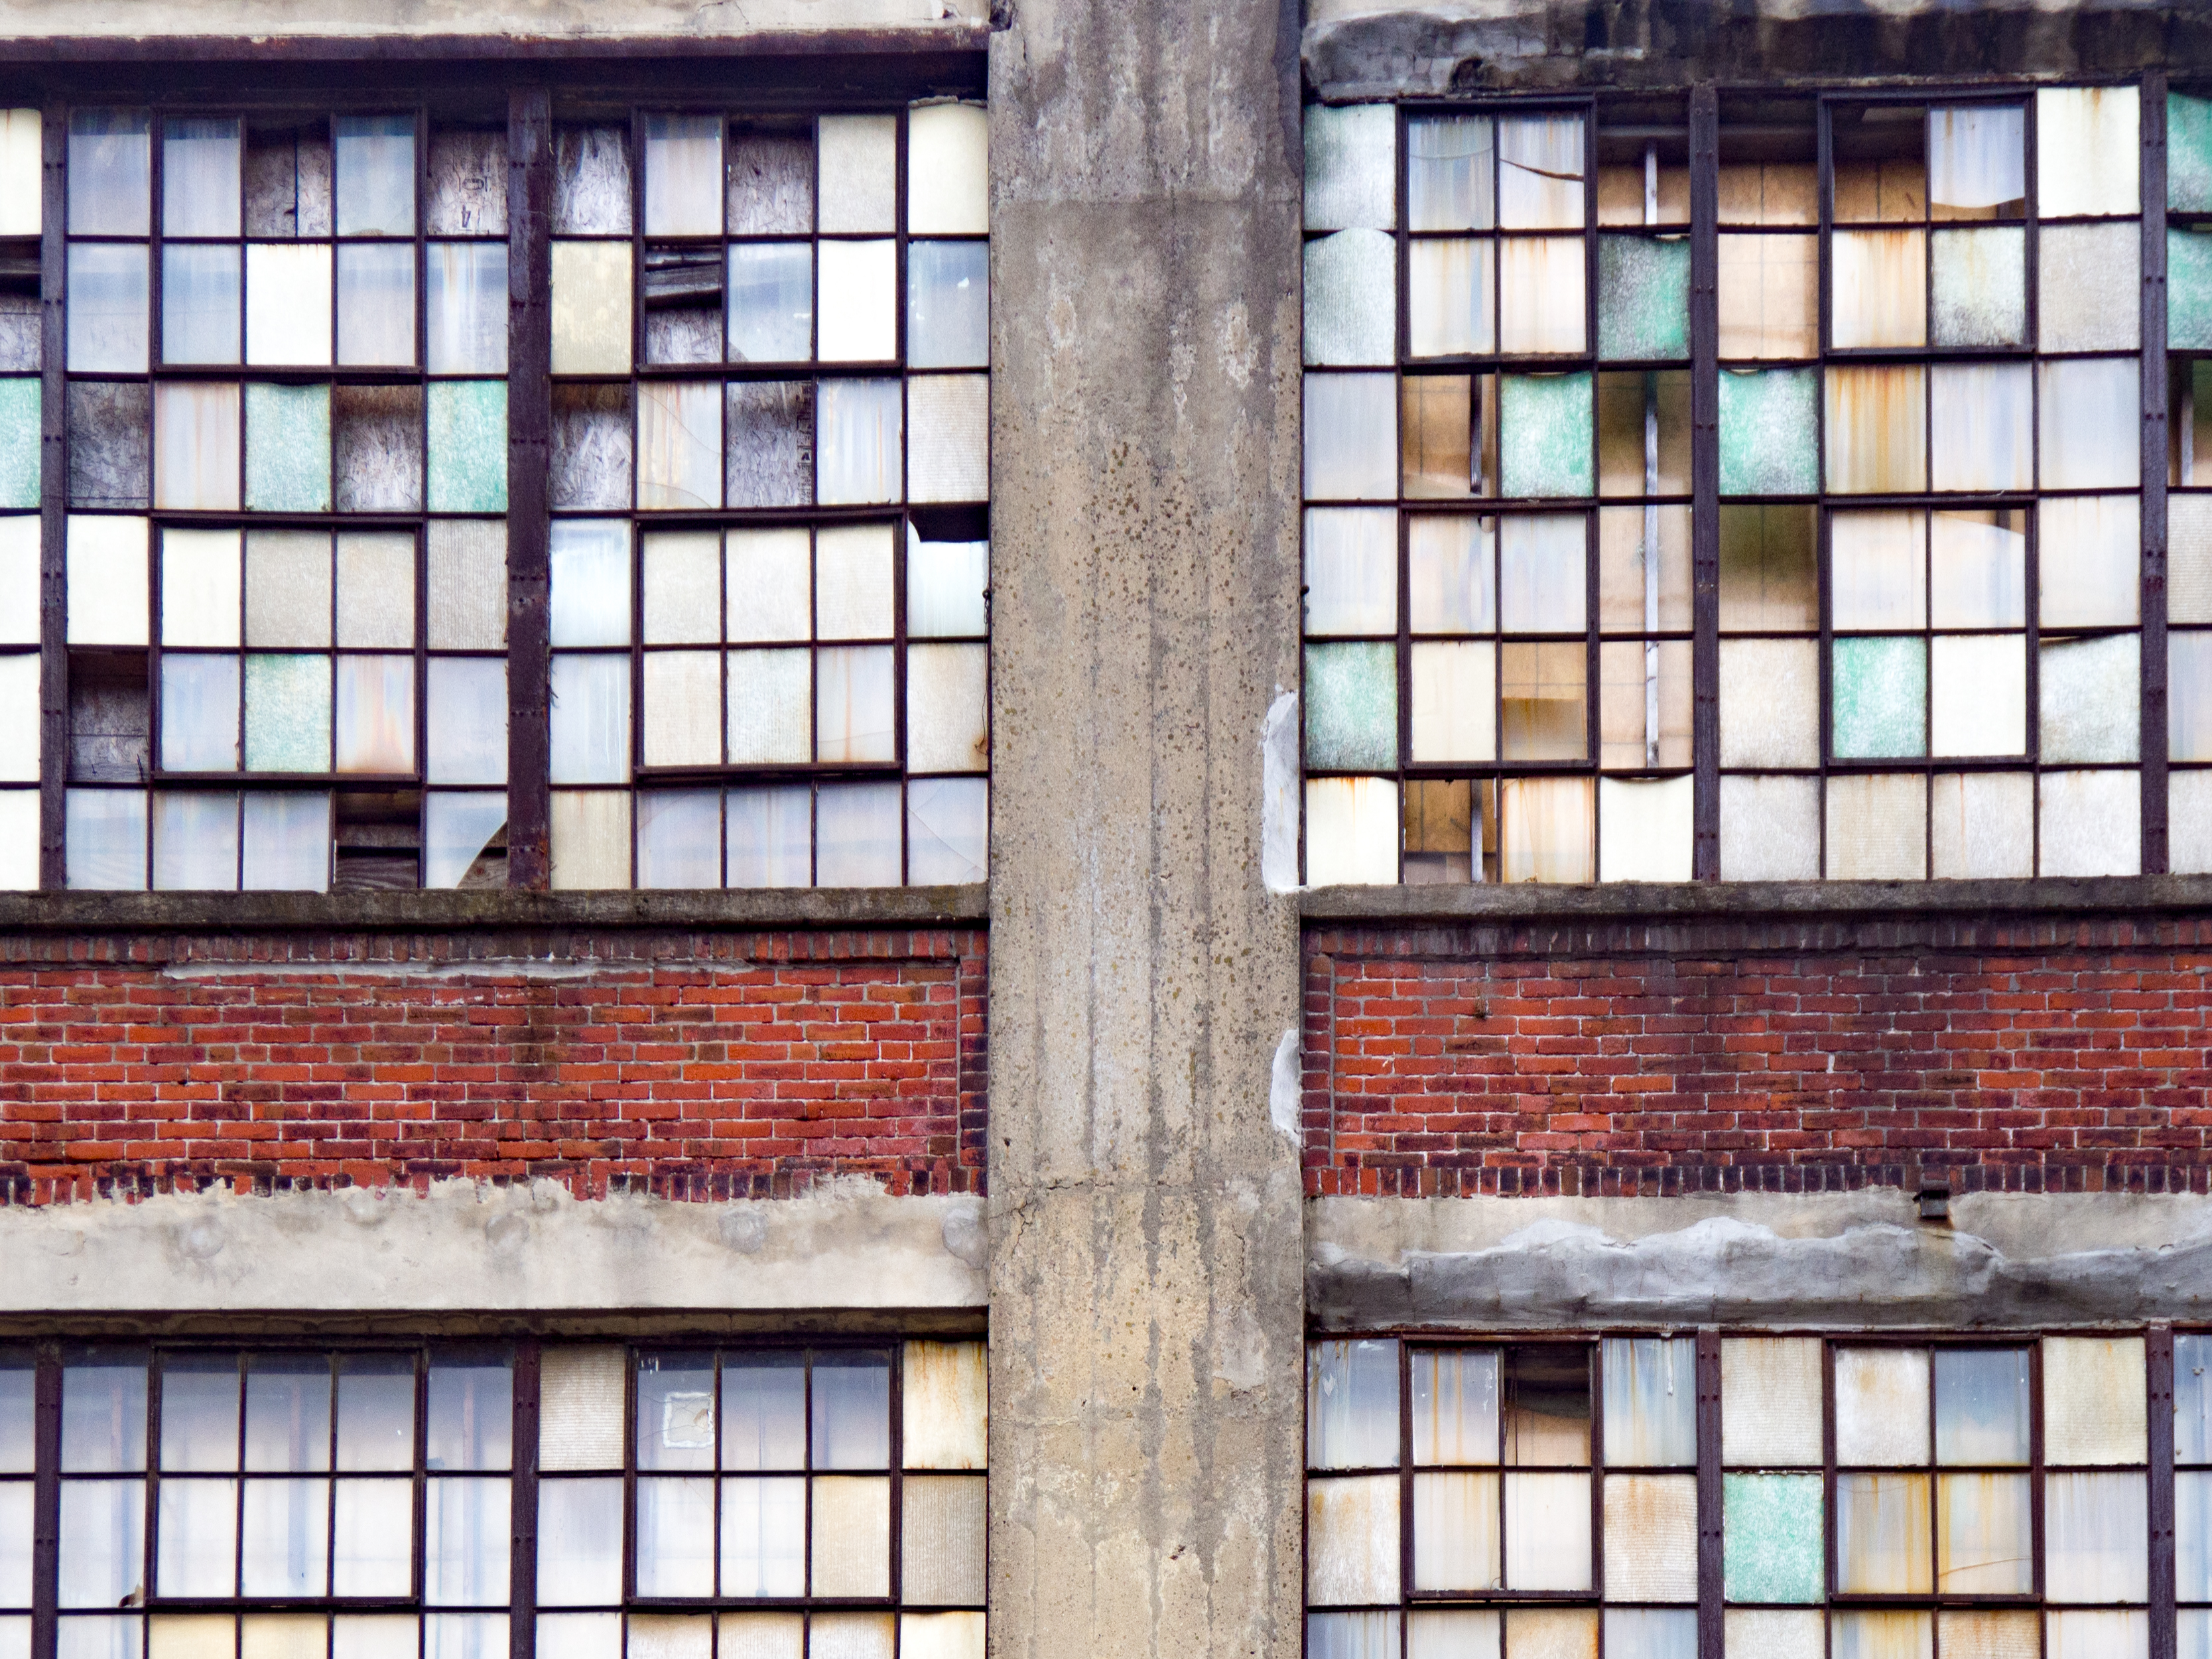
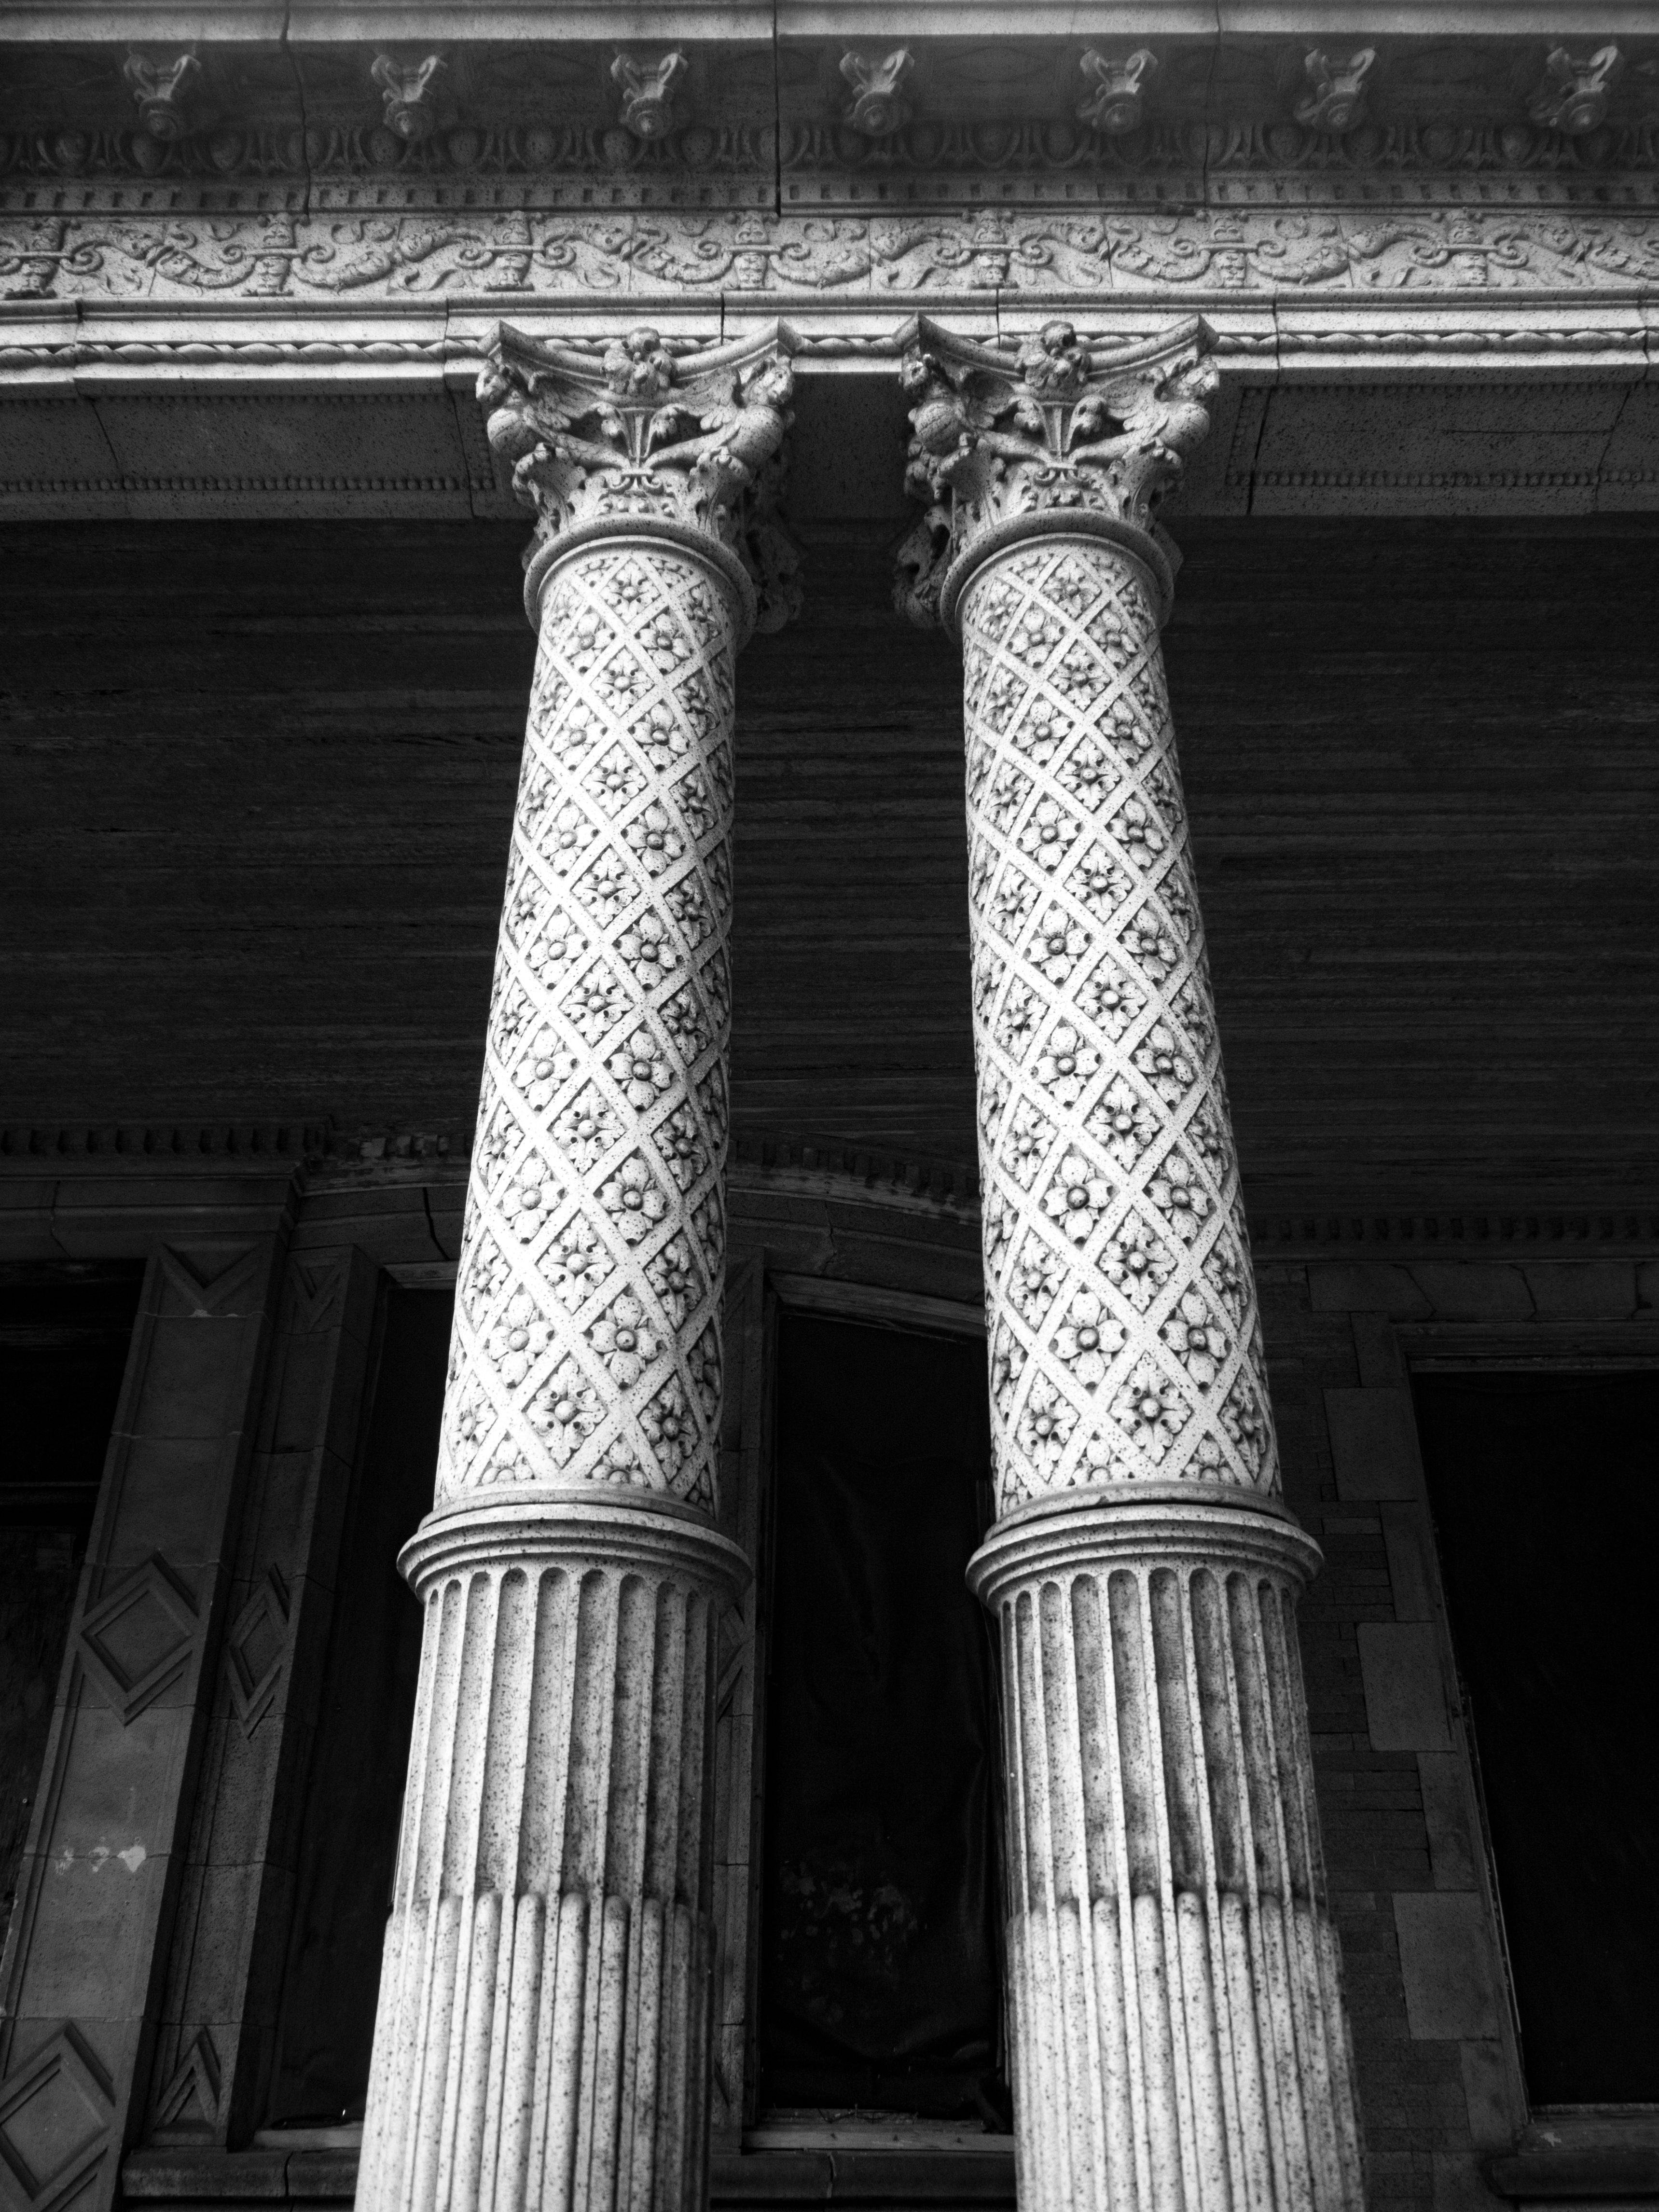
f/5, 1/400th, ISO 200


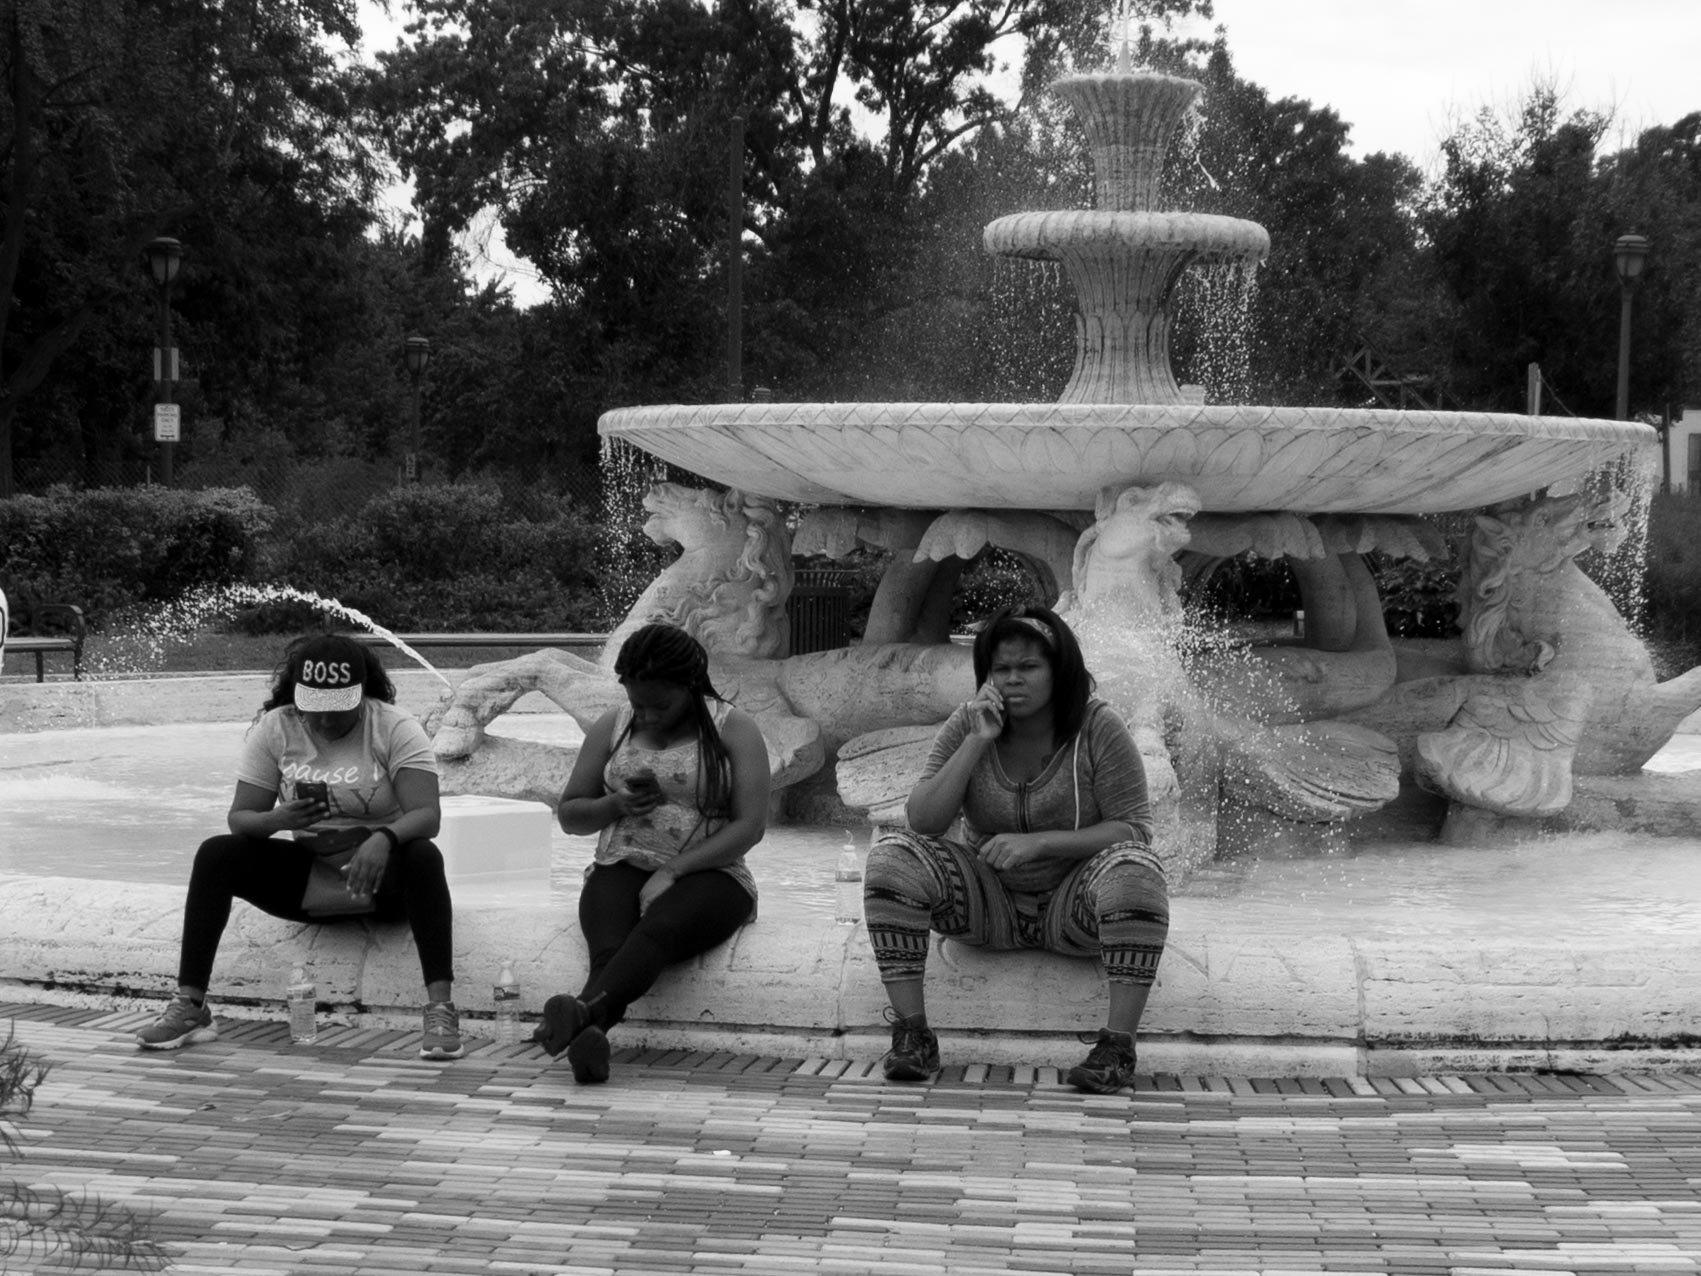
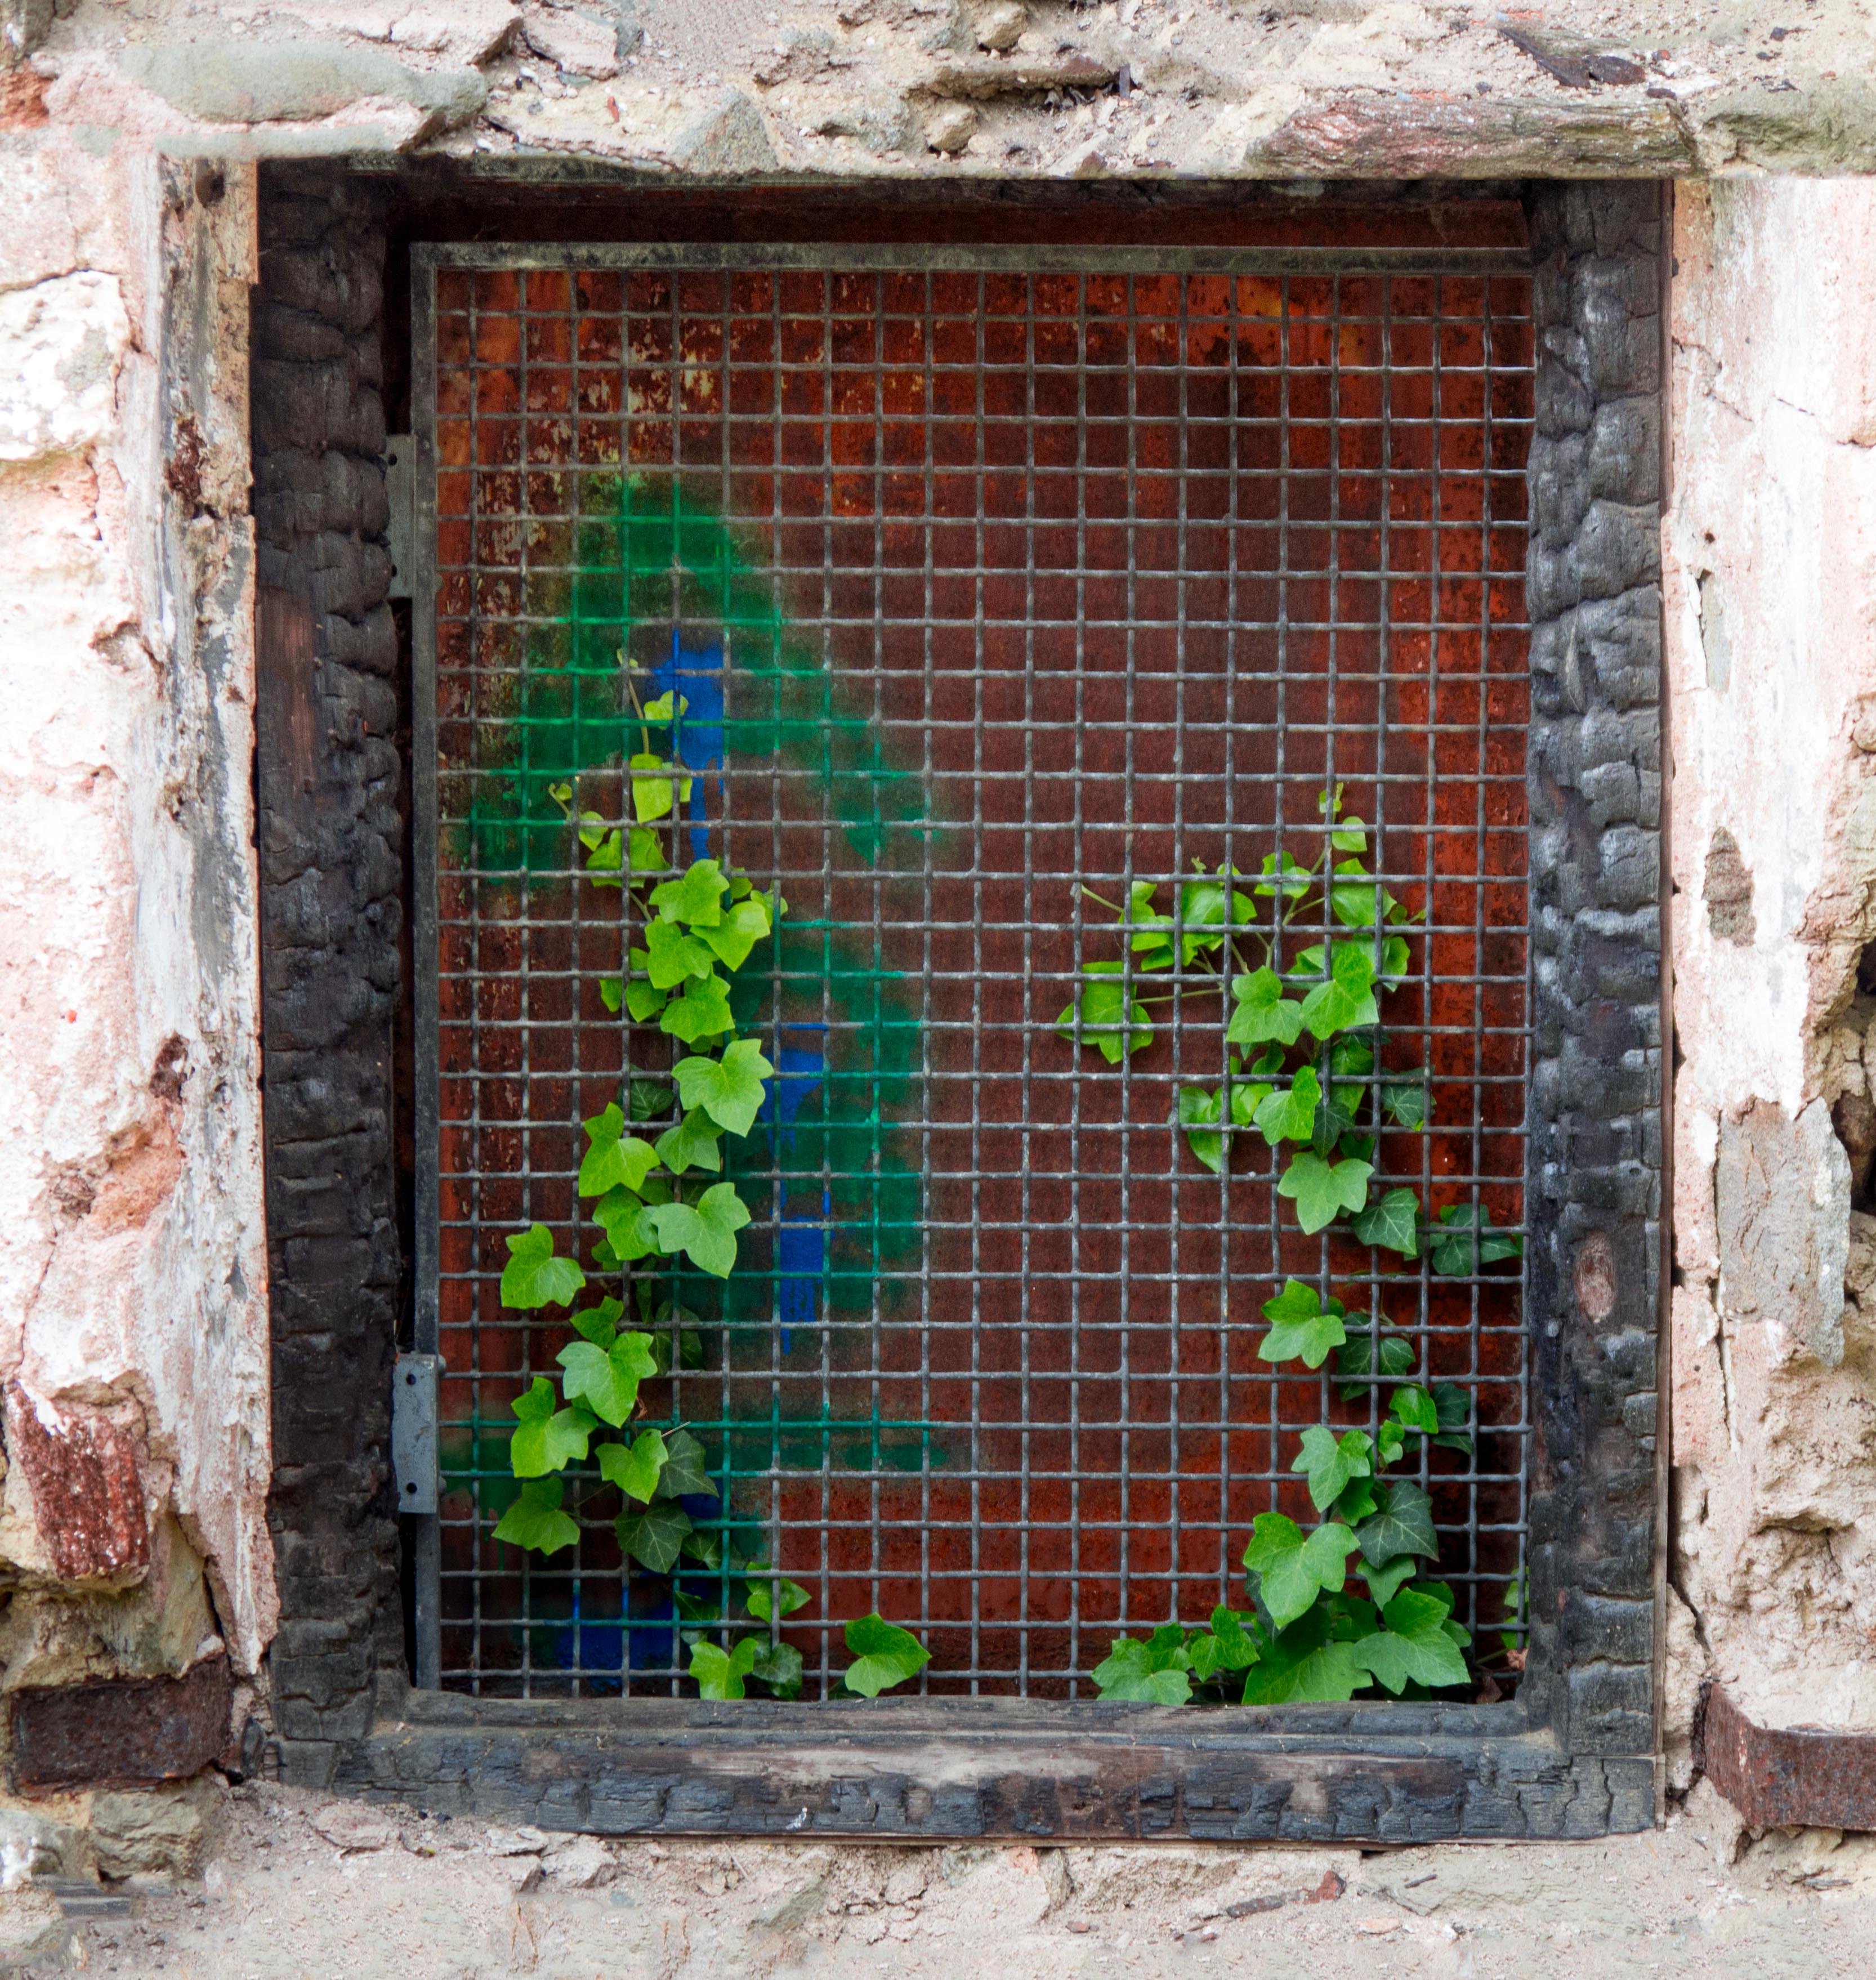
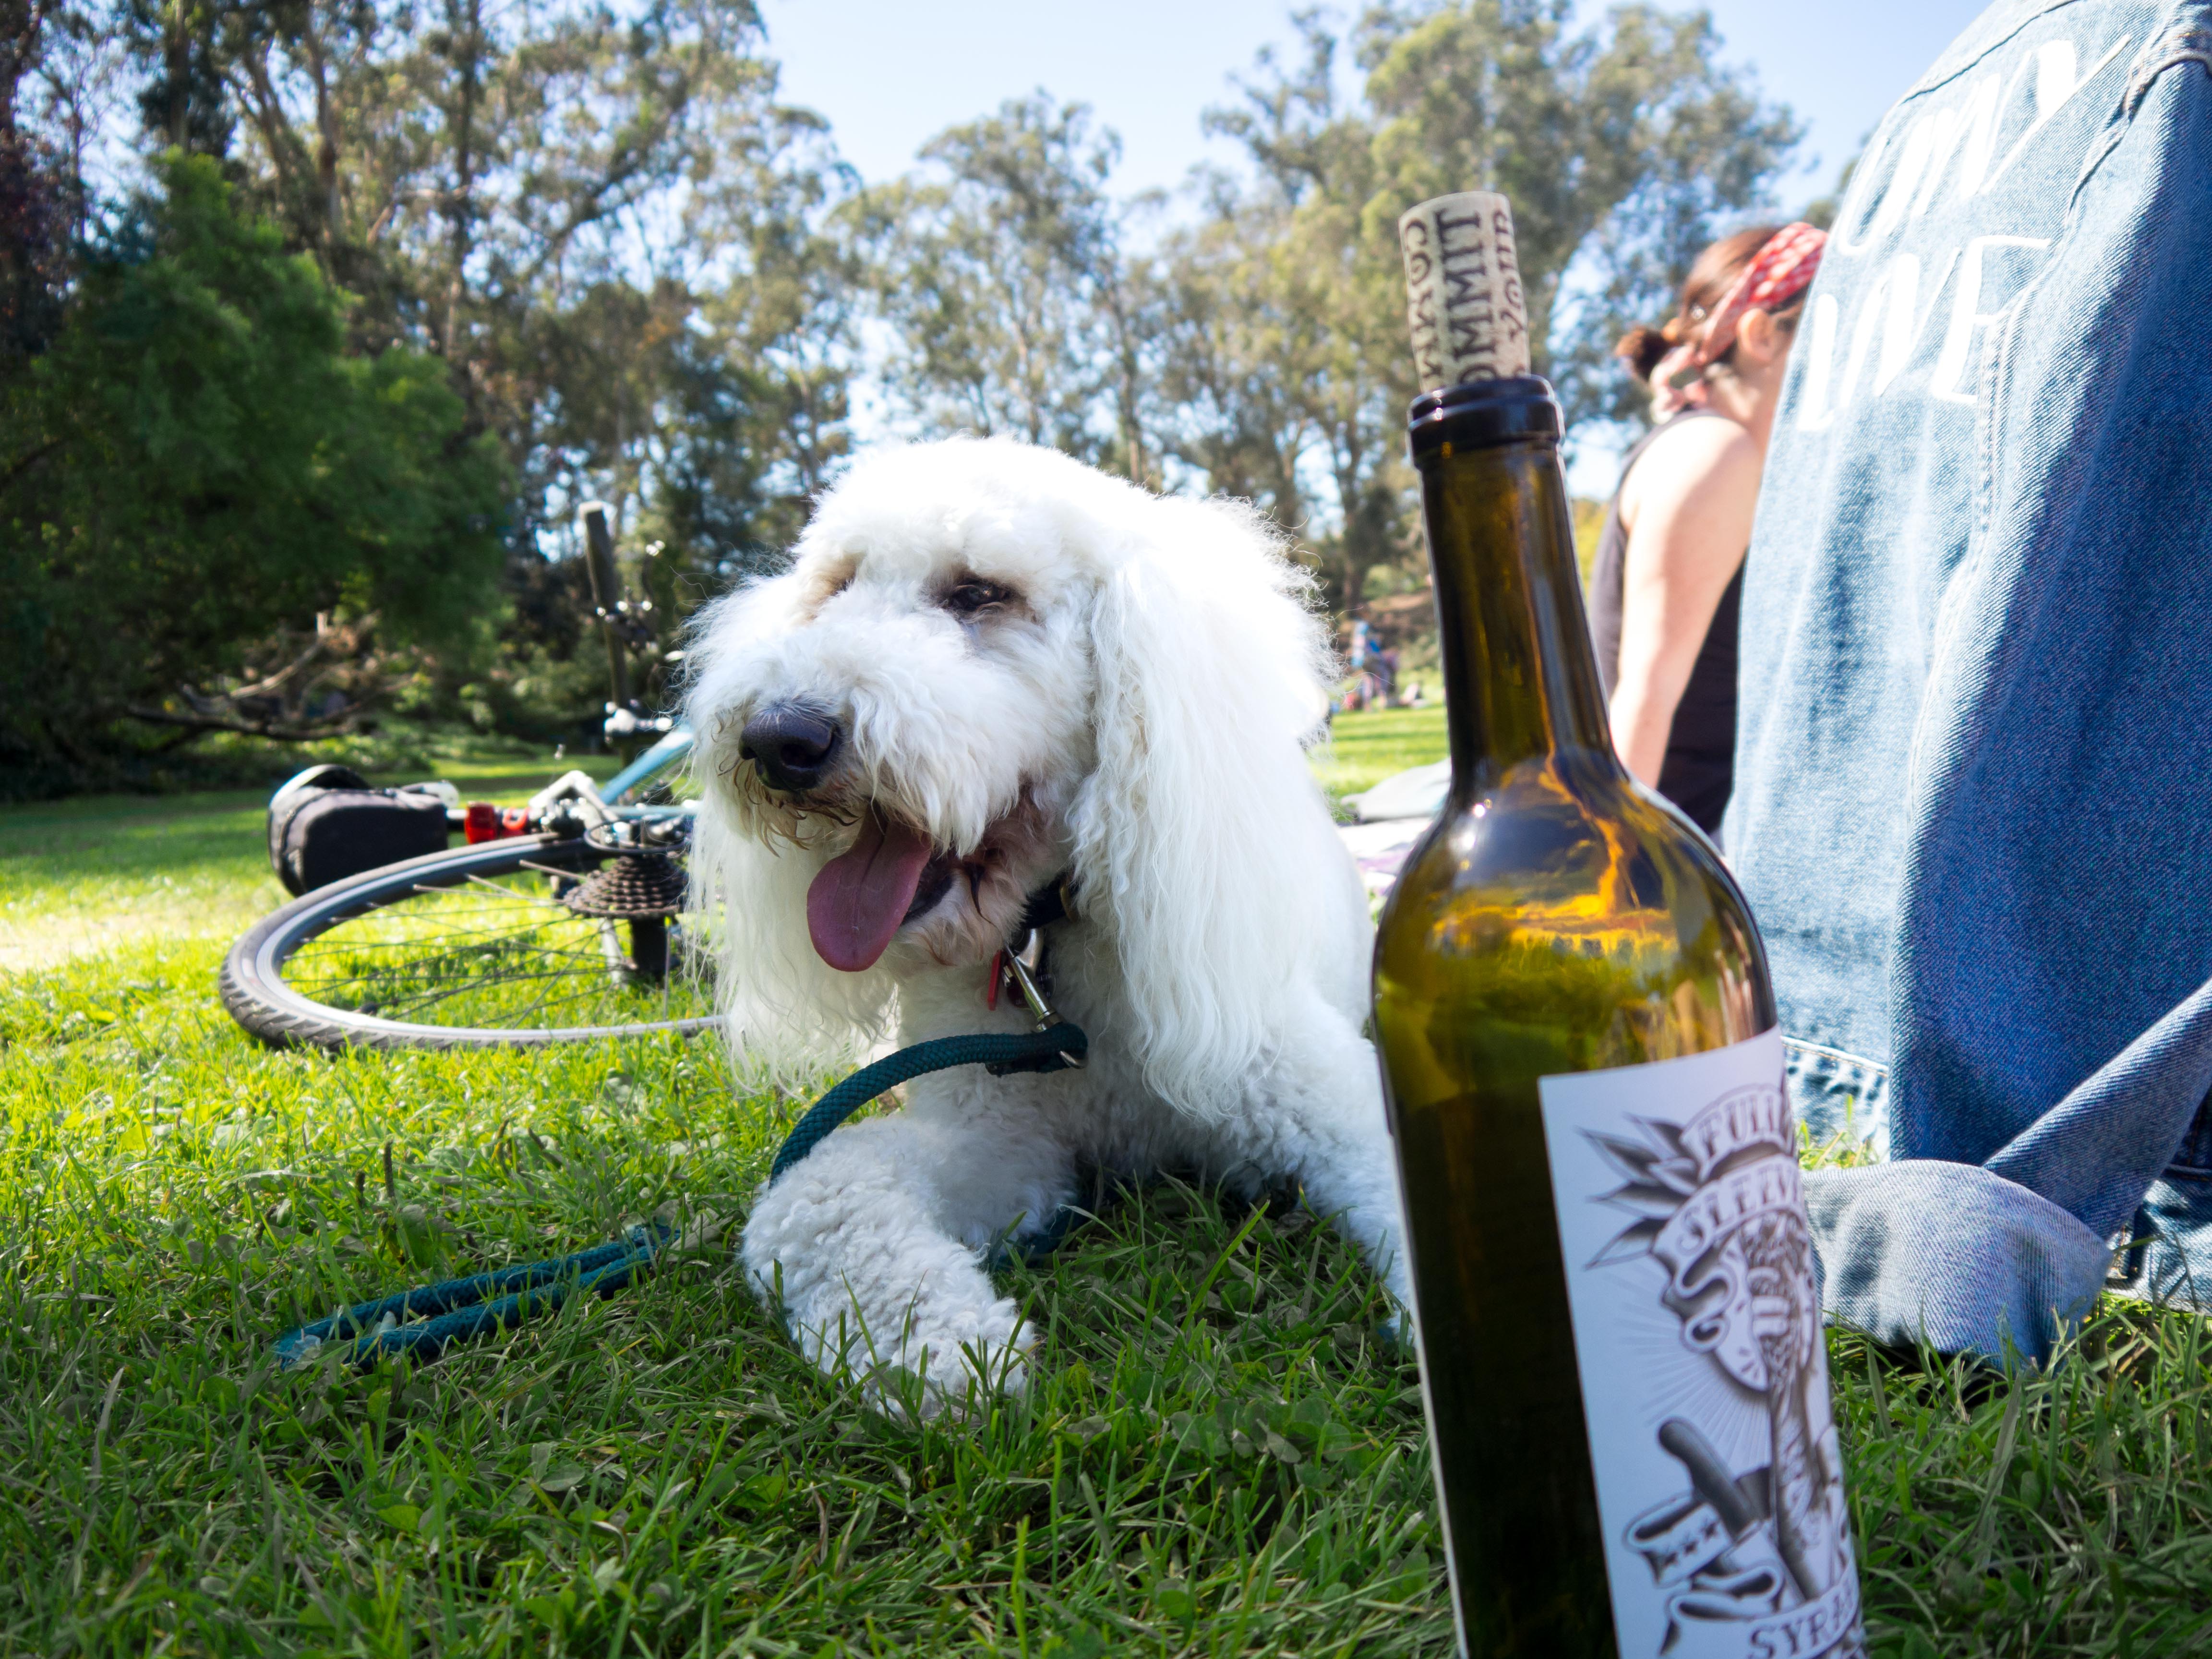
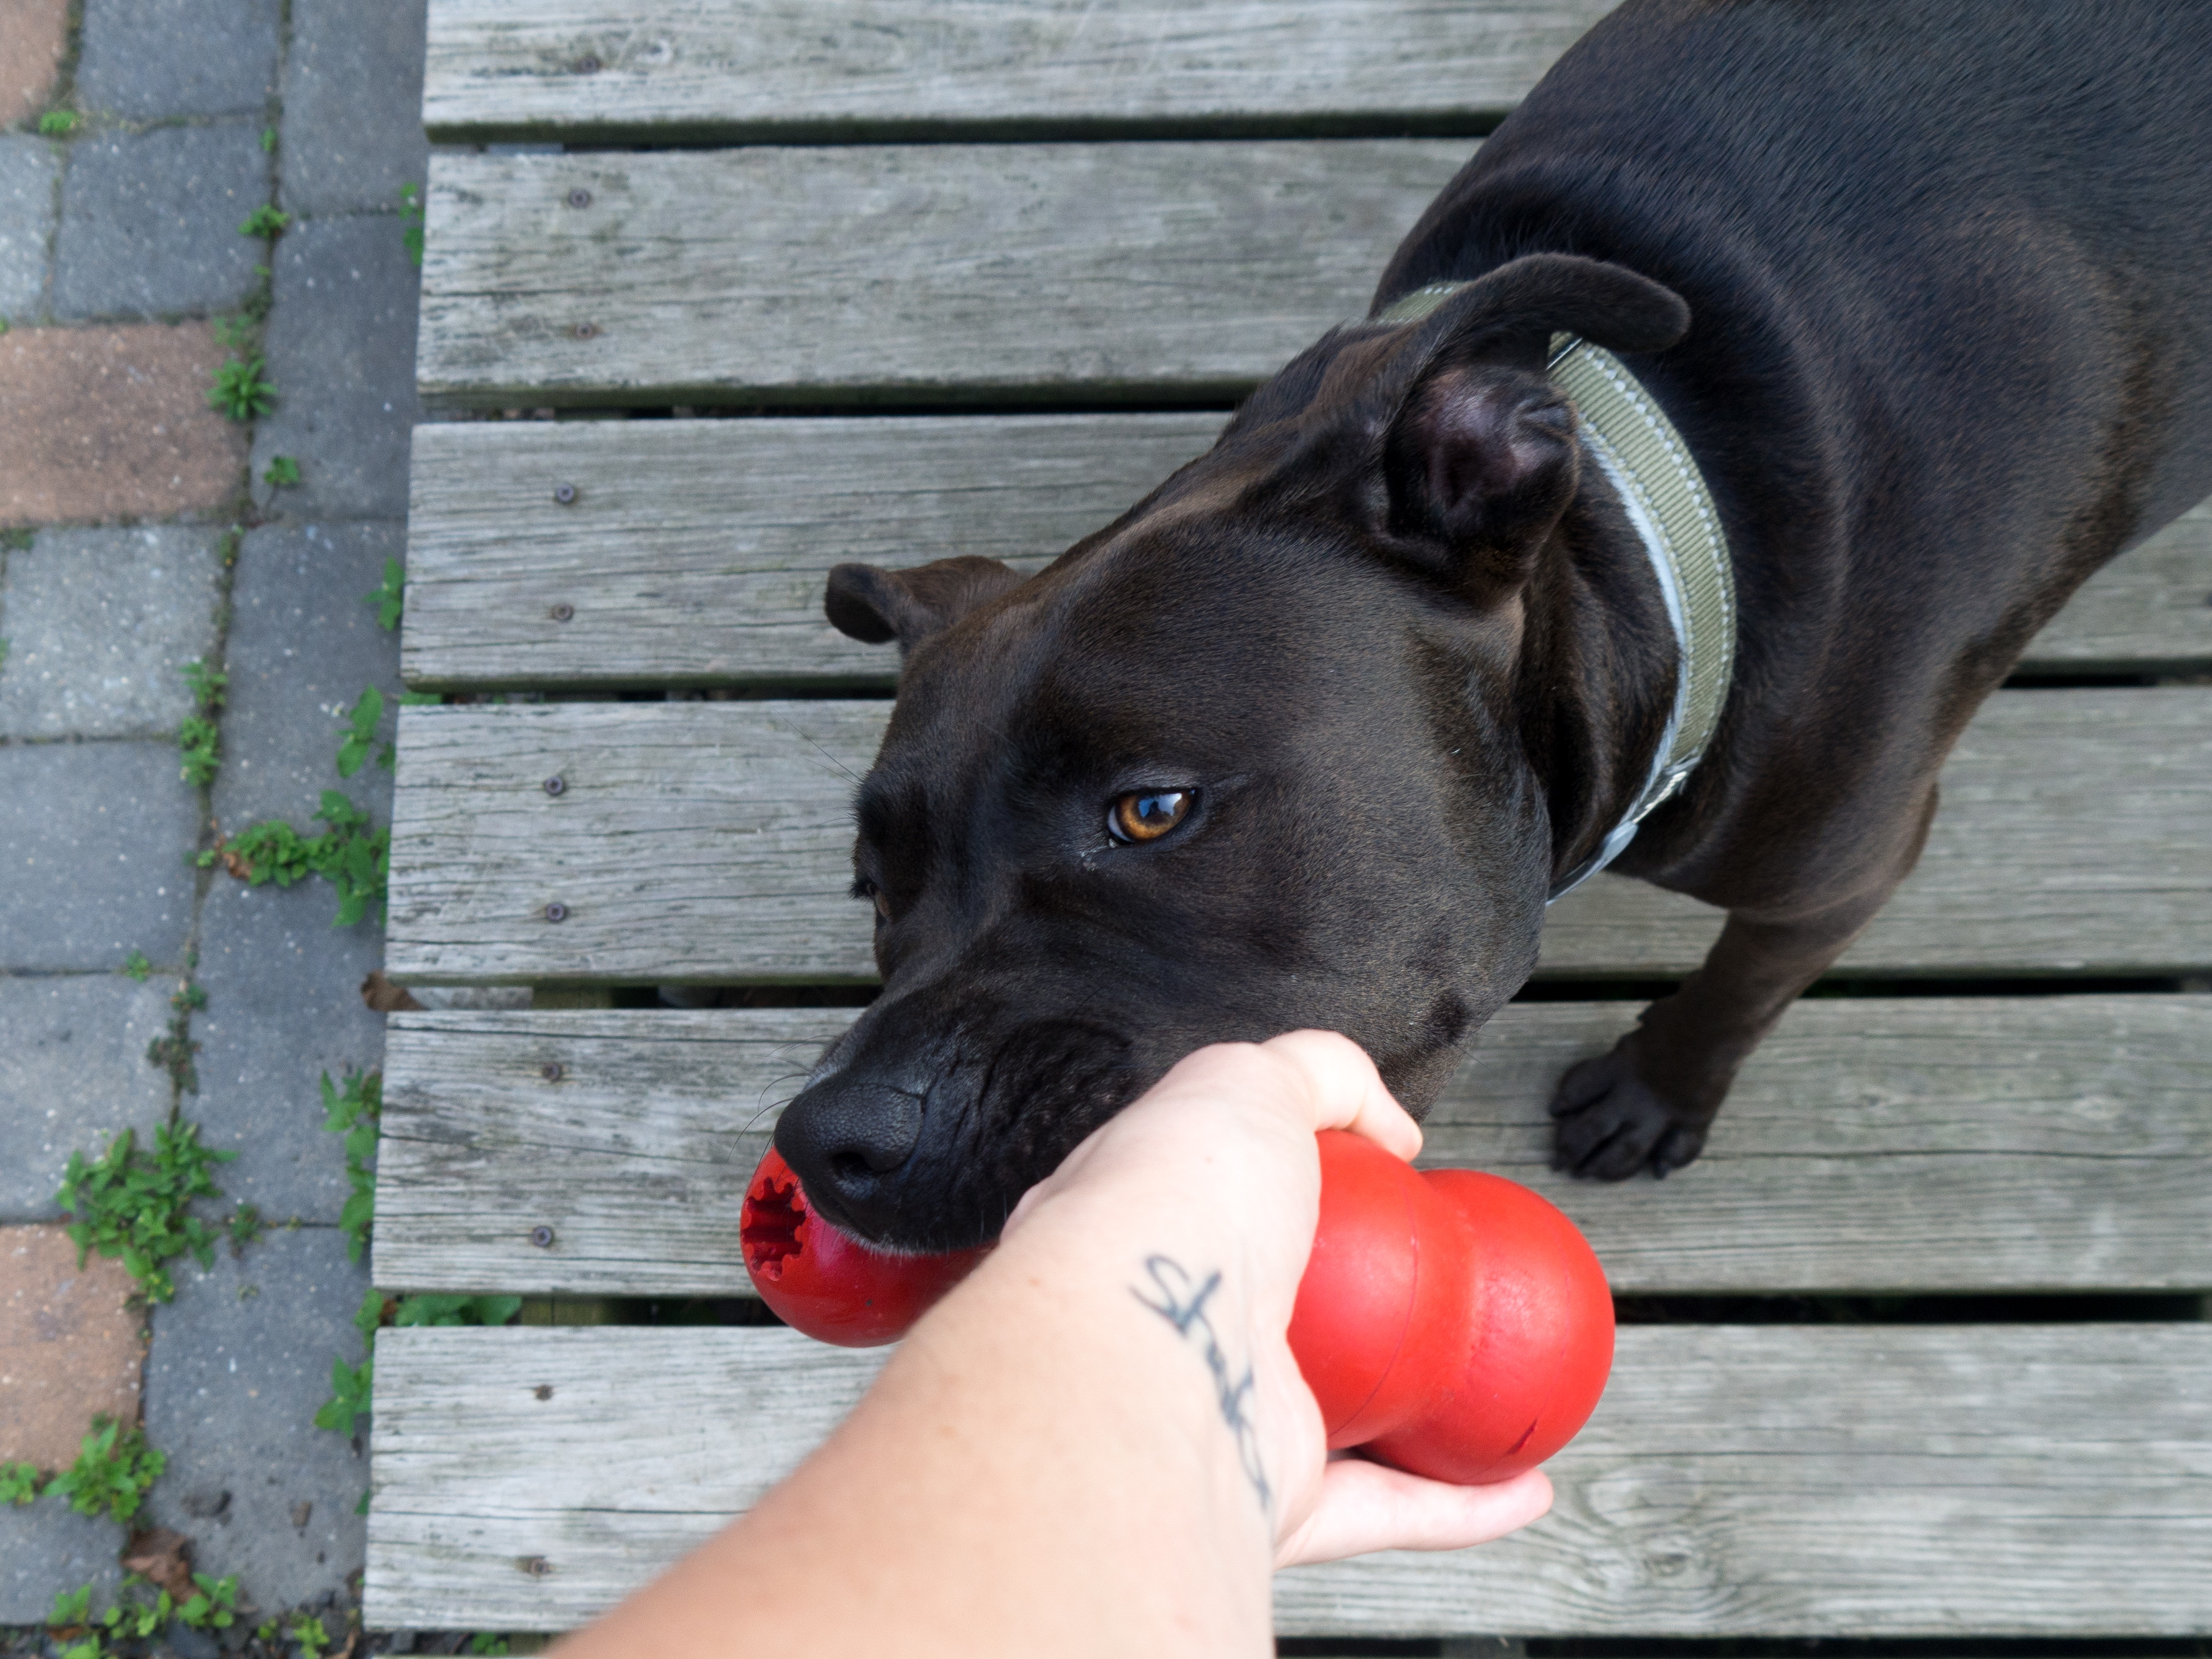
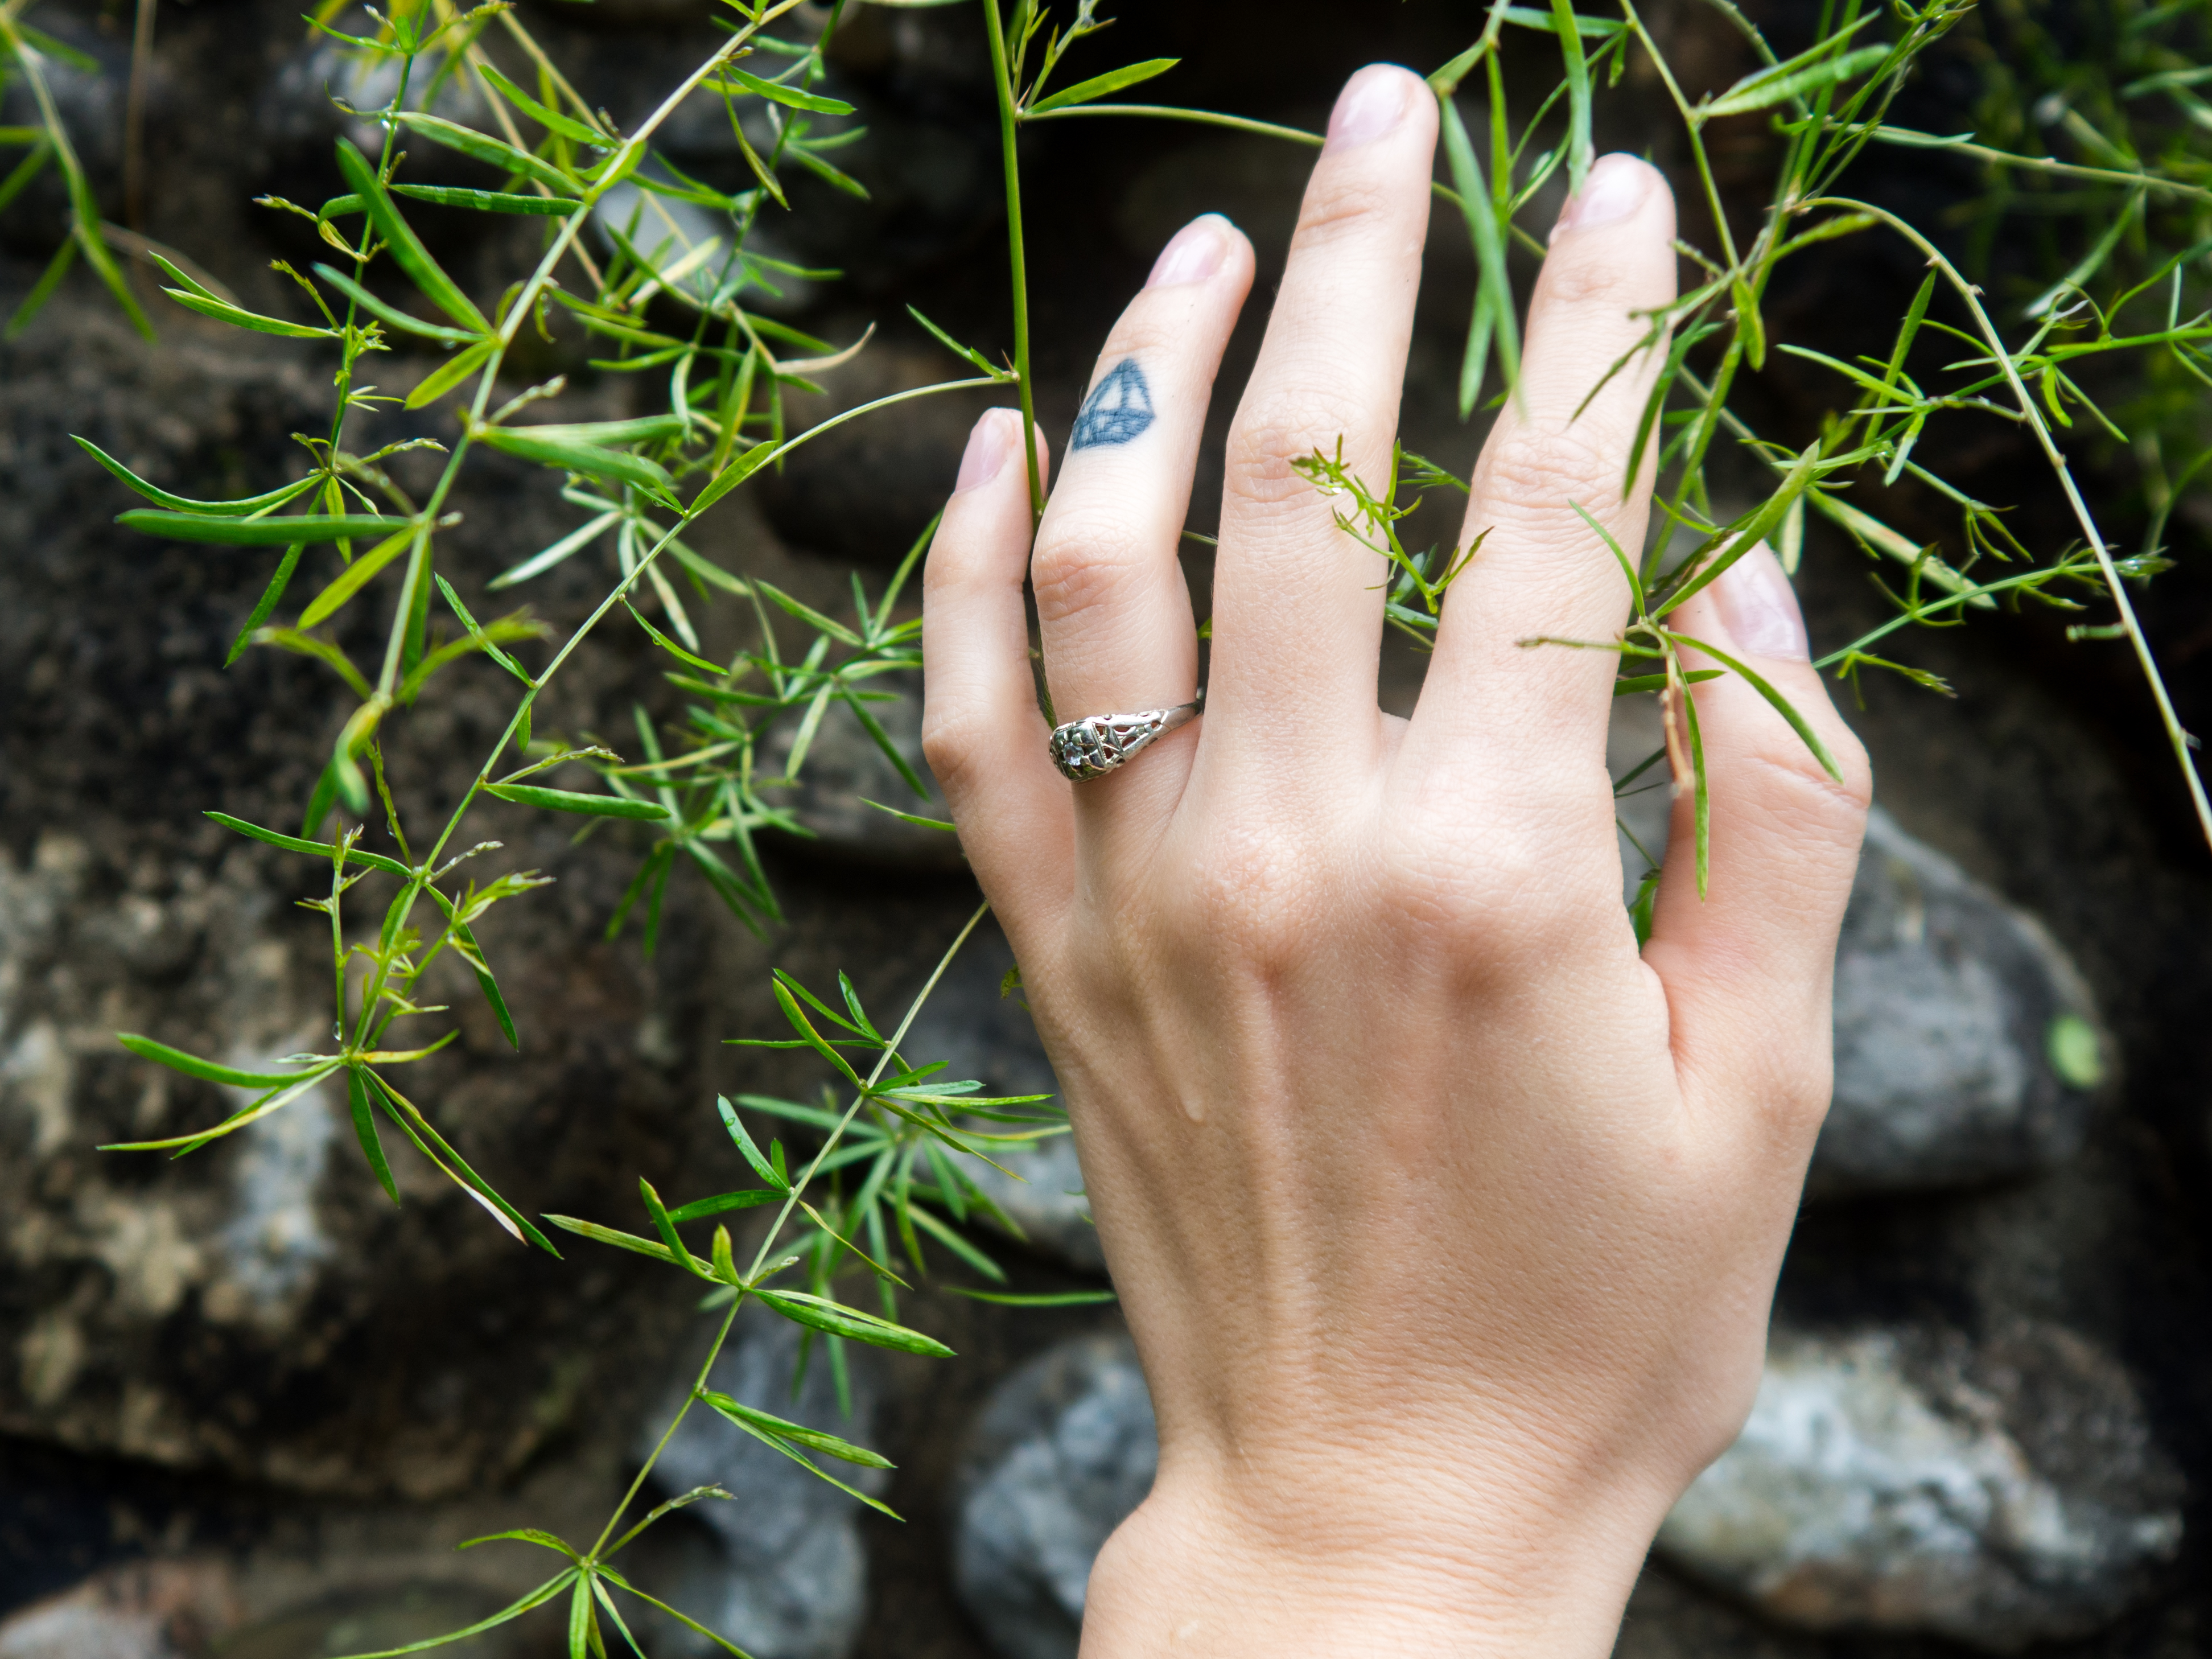
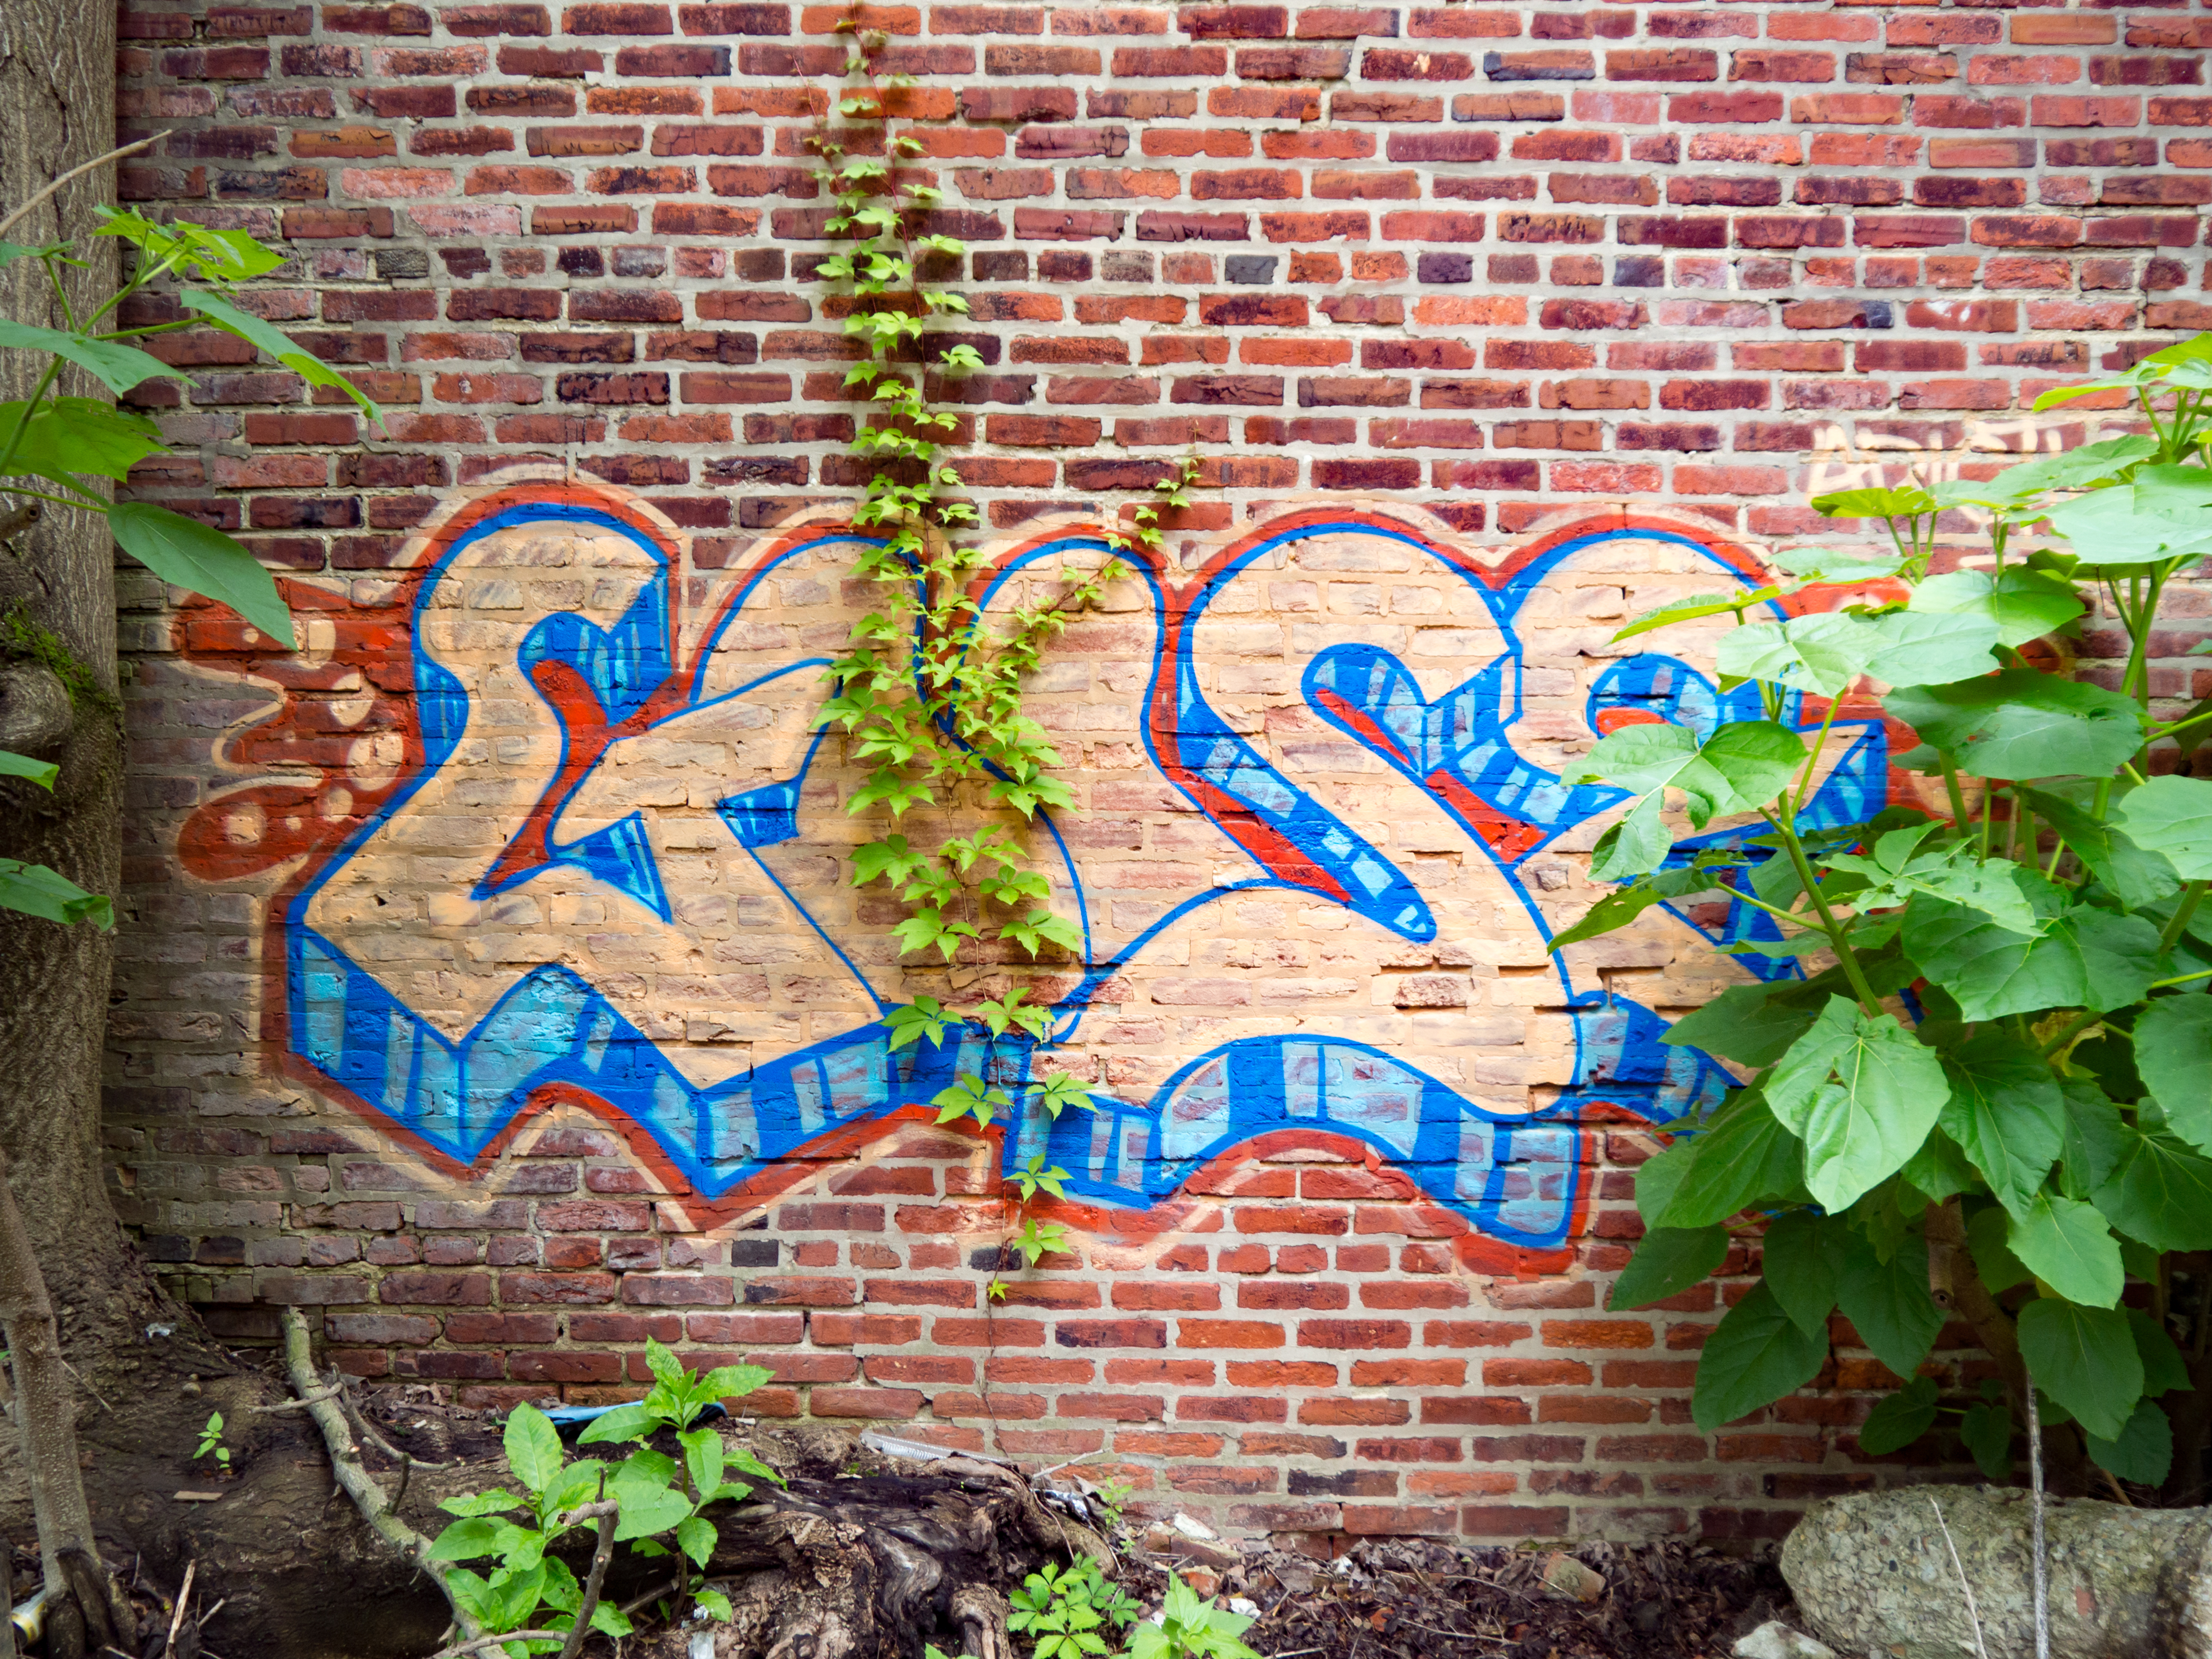
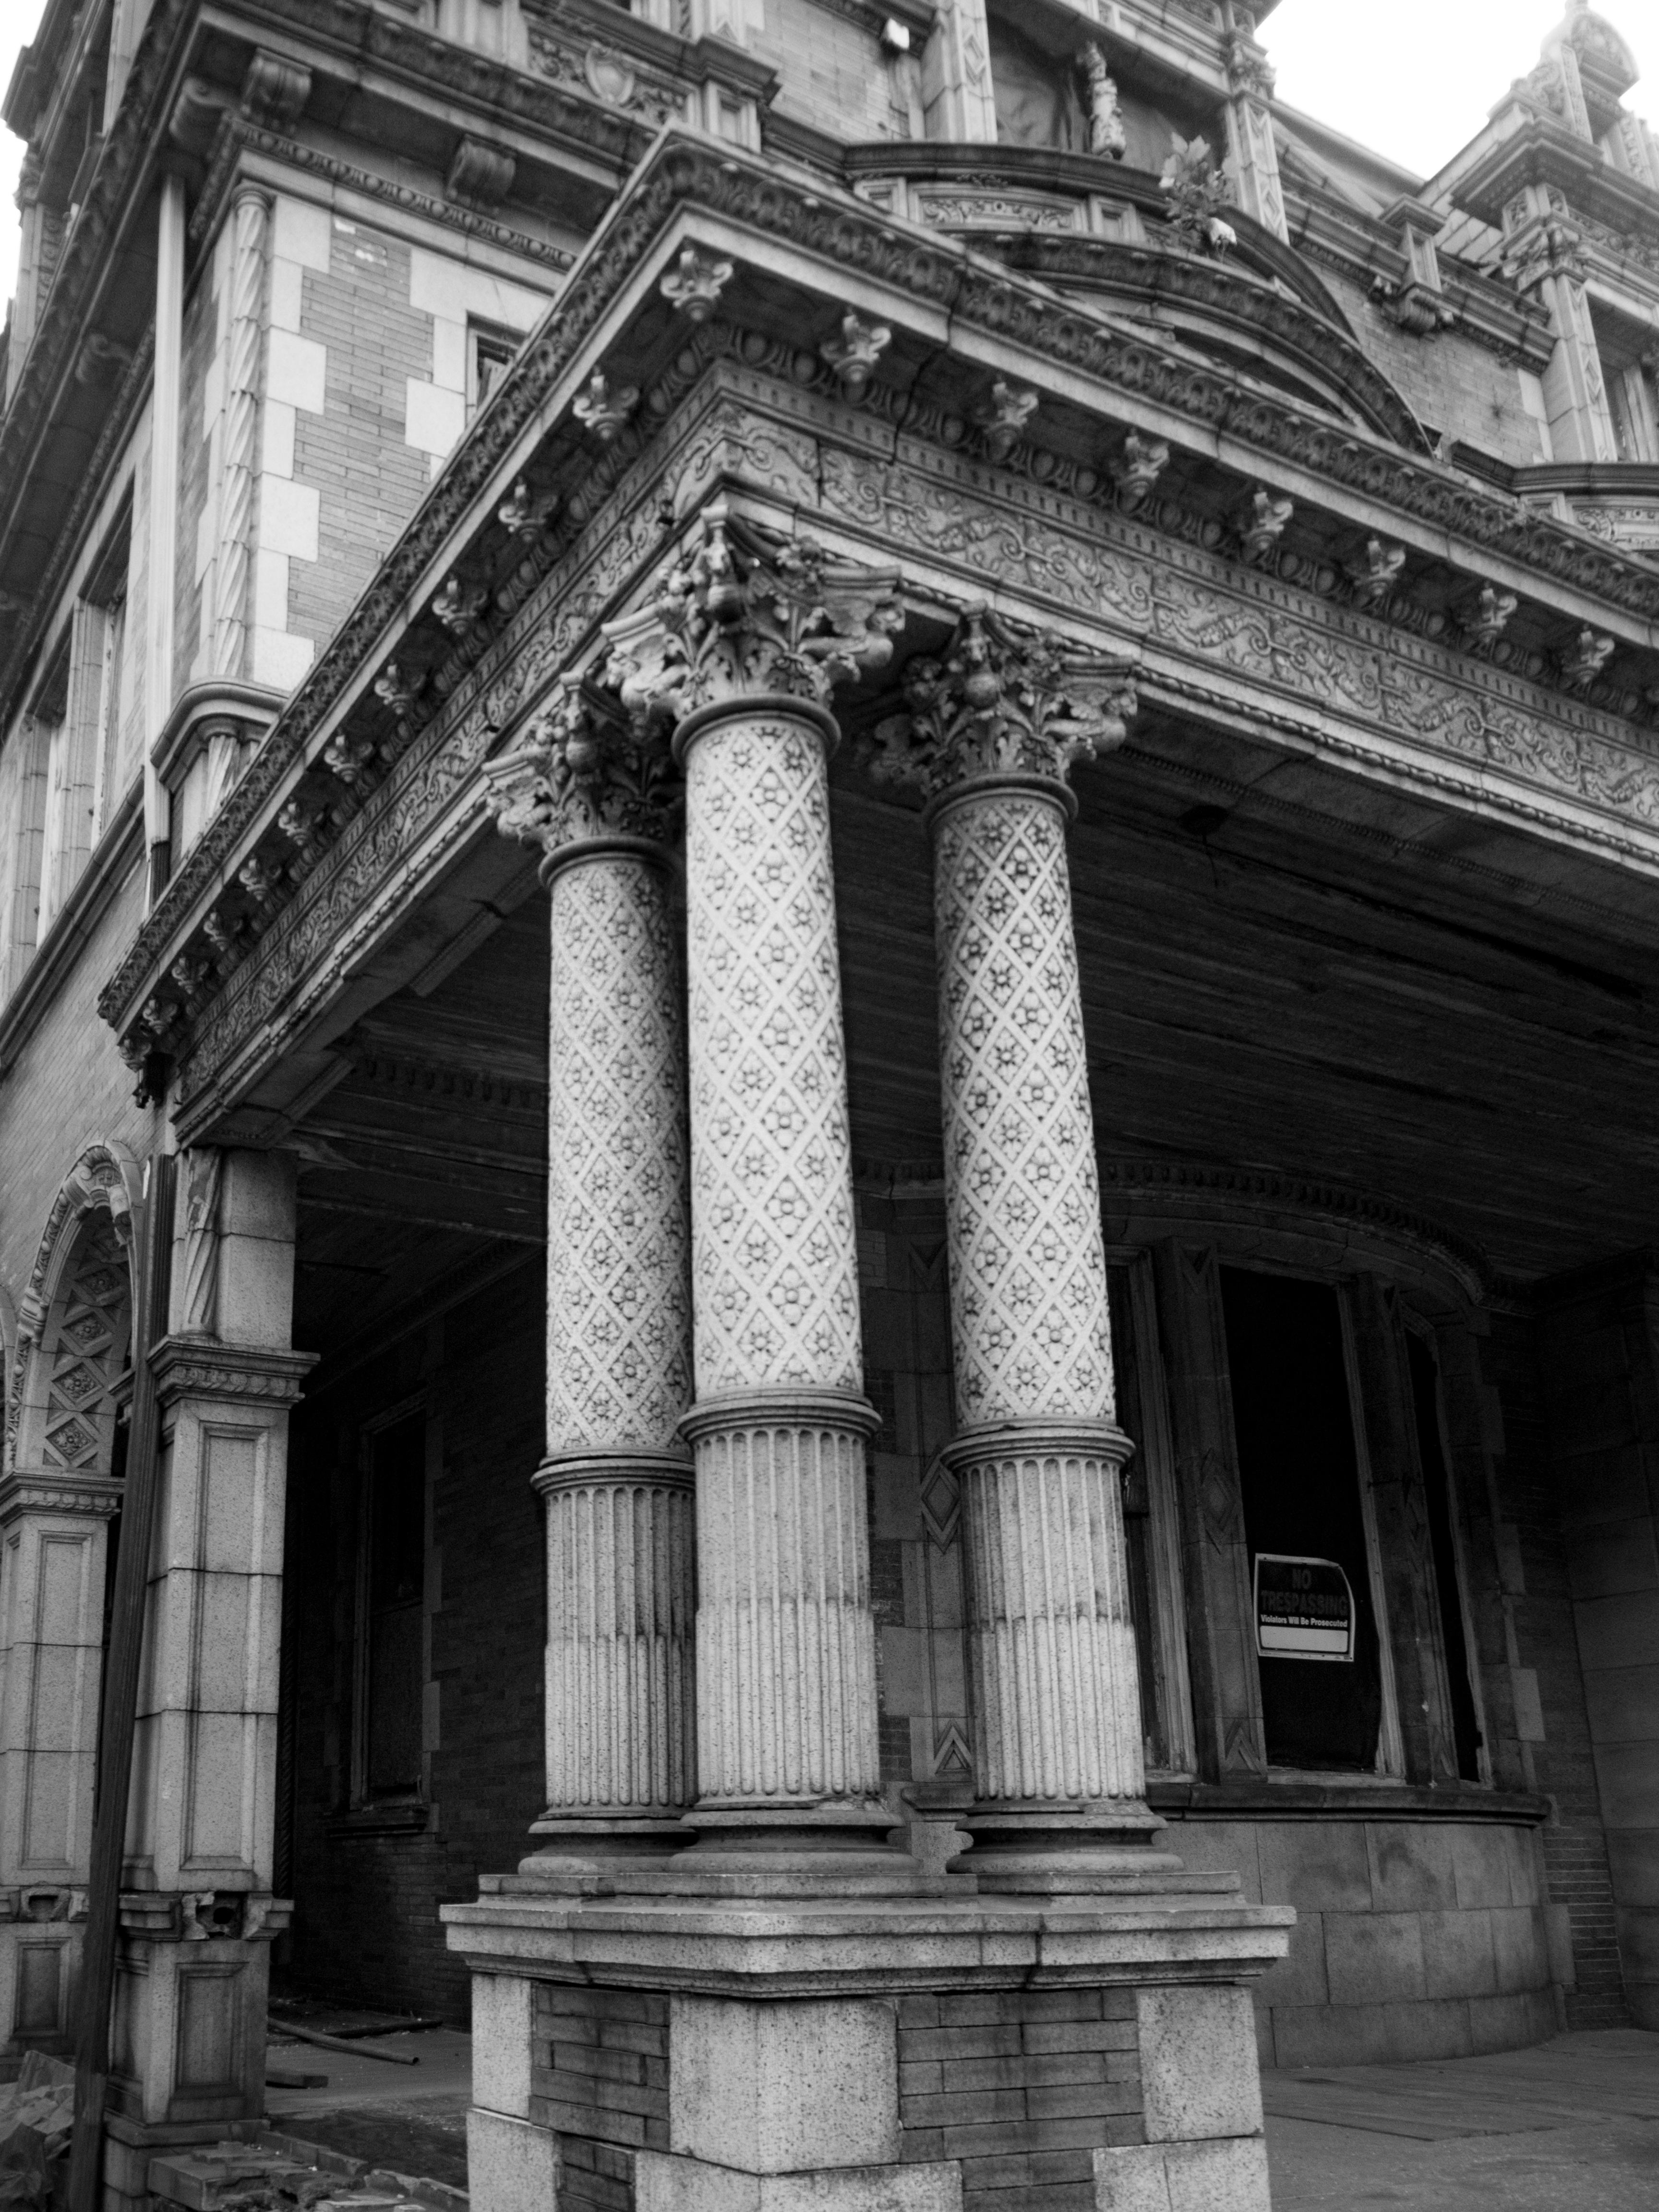
f/4, 1/1250, ISO 200

I realize now that my camera chose a crazy fast shutter speed to freeze the water, which was unnecessary. 


f/5.3, 1/400th, ISO 200


So those turned out okay. The first shot is the only one I would really keep, but I love street photography and practice makes perfect. I have a few spots I know I’d like to go out and try again. I look forward to seeing what you all come up with this week and to hearing from Gisele on Thursday!

Posted on

Beginner Photography: Action

Whoo boy, action is hard! As you may have guessed, I’m not big on sports which seems like the obvious place to go for action shots at short notice. But I do happen to have children. We were invited to a kid’s birthday party this weekend at an indoor playground, so I lucked into some action. The lighting wasn’t ideal, but I did my best.

This is a great post on how to shoot action on a budget, written by a reader of ours. And a great video on shutter speed from Tony and Chelsea here:

I don’t regularly shoot in shutter priority, but it’s a necessity for shooting action. You want to shoot at the slowest shutter speed possible and still freeze the action, but also get enough light and show a bit of motion. If you freeze the subject entirely, the motion won’t convey. If your subject is moving too much, you’ll totally miss focus (although you can make that choice artistically.)

So I pretty much followed my daughter around for the day and shot on continuous shutter to capture as many different moments of movement as I could. Here’s what I got:

f/3.5, 1/80th, ISO 800

This one doesn’t really convey the motion I want. She’s at the top of the slide so it’s a moment before action, but I liked her expression and eye contact.


f/3.5, 1/125, ISO 1600

The motion is better on this one, the hoop is blurred but she is still. I just wish the background had been better.


f/3.5, 1/160, ISO 1600

Jump! I think this was a good speed, only her hair and hands are moving.


f/3.5, 1/80, ISO 1600

I love the motion in this one of the balls in the foreground and of her hands moving. Unfortunately her face is out of focus.


I think these came out pretty good considering the lighting and busyness of the background (that’s why I went black and white for most of them.) I think I captured some of the fun and focus of a kid at play. How do these work for you?

Posted on

Beginner Photography: Contrast

Hey y’all! This week’s topic is “contrast” and that could mean a few things: contrasting colors, contrast between the subject and the setting, contrast between light and dark. I attempted to capture each of these this week. I’m attracted to contrasting light in general, but I’d like to challenge myself to look for color in my shots more often.

My first idea was to shoot my black dog on my already high contrast black and white rug. He’s a reluctant model. I shot him from above to make the carpet fill the background and used Aperture priority to keep my aperture low to gather as much light as I could in my dim living room and blur the background. Please forgive my dirty carpet.

f/3.5, 1/15th, ISO 1600

His paw looks weird because he hurt it and has a bandage on it. Poor pupper.

Then I went through and found an old shot of some green weeds growing through a grate over a rusty red background. 

f/5, 1/80th, ISO 400


And the last one is a shot I took of a safety helmet in the rubble of an abandoned building. Pretty self-explanatory.

f/4.5, 1/80th, ISO 500


These aren’t my most aesthetically pleasing photos, but I think each one properly represents the different types of contrast that Chelsea listed for our topic this week. It’s really just a matter of keeping your eyes open for unusual compositions. I think it’s a great practice to get out of your comfort zone and look at the world around you differently. Are any of you shooting on the theme each week? If so, how has it changed your photography practice?

Posted on

Beginner Photography: Abstract and Geometric

This week’s topic is a fun one. I, like Tony, really love geometry in photos. I like abstract as well, the focus on shape and form is really compelling. I’m not entirely sure how you teach something like this though. It feels very subjective. I’ve done two abstract posts so far, the first one is here and then another here where I try Chelsea’s abstract impressionism project:

The way I approached this was just finding an object that I thought had an interesting shape, and then taking shots of it from as many angles as possible. I also zoomed or cropped in really close on the subject to focus on texture.

Here’s my attempt:

f/5, 1/80th, ISO 1000


f/5.4, 1/6th, ISO 1600


f/3.5, 1/80th, ISO 320


f/3.5, 1/320th, ISO 200


 I’m not thrilled with these shots. They don’t look as compelling to me on the page as they did in the camera which is disappointing. I would have loved to get some architecture, I think it lends itself to this topic the most, but I wasn’t in the city over the weekend. I’m really interested in seeing what every one else came up with this week!

What about these shots works for you? What doesn’t?

Posted on

Beginner Photography: Travel

So, this post is a bit of a cheat. I haven’t traveled since I went to San Francisco in September, so I went through those photos again and chose some shots to edit that I didn’t use in my previous posts here and here.

I’m still not entirely sure what constitutes “travel photography”. While these were certainly shot while traveling, I’m not sure that looking at a shot will convey travel unless you include a mode of transportation, a selfie lugging bags around or in front of some site-specific monument. I just shot the things I liked about San Francisco. Most of my favorites were of surfers on the beach, but I want to include some other bits for a more well-rounded experience of the trip.

I was shooting with the Olympus EM-10 which I think I’d just started working with, and I’m pretty sure I had my camera on auto, because my settings are complete nonsense.

I should have watched this video before I set out:


f/10, 1/400th, ISO 200


f/11, 1/400th, ISO 200


f/8, 1/160th, ISO 200


f/8, 1/400th, ISO 200


f/4, 1/400th, ISO 200


So that’s San Francisco through my eyes! I hardly spent any time downtown until my last few hours in the city and by that point my camera had died (I forgot my battery charger like a rookie) so I’m not sure how recognizable any of this would be. It was my first (and so far only!) trip to California and I hope I can go back and do it justice sometime.

Posted on

Beginner Photography: Black and White

Hey Stunners! This weeks’ live show topic is black and white. I just so happened to shoot a few weeks ago when I was at my parent’s house in Connecticut over father’s day weekend. My parents live in the neighborhood my dad grew up in and where much of his family lived. His grandparents used to live on the Niantic river on an acre of land with grape arbors. My mom suggested going down to their old house to ask the current owner if we could photograph the area so that I could give my dad framed photos of it for father’s day. The man who lived there has owned it for 25 years and was happy to show us around and let me take pictures of the property.

These shots wouldn’t really stand alone as great work, many of the shots could use a focal point, but for the project they do what was intended. I chose to make most of them black and white so that they would look timeless and reflect the area as my father remembered it.

There are a number of reasons you’d choose to shoot black and white:

-to bring the focus to shape and texture

-to create a mood

-to eliminate distractions

-if the colors in the photo add nothing to it

This video is applicable to almost all types of photography, but especially b&w:

Here are my shots:

f/7.1, 1/100th, ISO 200

Panorama


f/7.1, 1/320th, ISO 200


f/7.1, 1/80th, ISO 200

Panorama


f/7.1, 1/500th, ISO 200

Panorama


f/6.3, 1/60th, ISO 400


So you can see I didn’t have the best light, it would have been nice to go during the golden hour but time was limited. It also would have been better to go later in the season when the grapes were on the vines, but I’m sure I can try again. I liked the wide panoramas of the river the best. I used Photoshop to remove a few distractions like a lawn chair and some wood planks that took away from the timelessness of the scene. 

This project was as much about the action of shooting as the resulting images. It was really powerful to walk on the land that my great grandparents owned and learn more of the history of it (The house used to be a speakeasy! There were underground tunnels for runaway slaves!) I hope I was able to capture any of that for my father.

Posted on

Beginner Photography: Portraits

More portraits! I made my husband, Eric, model for me almost a year ago here and then again in some family portraits here. There are certainly some things I’ve improved on in the past year, but some things I can’t seem to get past. I wanted to shoot Eric somewhere other than our backyard, which seems to be the setting for many of my projects. He’s a big, tattooed gentleman, so I wanted a setting that fit his look. There’s a great graffitied underpass on our hiking trail that I’ve shot in before that I thought would work well. It was a bright and humid day, so I thought being in the more muted light under the underpass would be flattering, but what it wound up being was too dark for my camera. My biggest complaint of the Olympus E-M10 is how terrible it is in low light. It made the focusing near-impossible and the images came out pretty noisy. 

Here’s a great video from T&C on shooting portraits outdoors:

Now I just need to work on how to teach my model to pose, or not feel horribly uncomfortable in front of the camera. He did great though!

My first handful of shots were in front of the most vibrant area of graffiti, but they all came out unusable because I missed focus on every single one. Then I did a series in front of the lines of the underpass, these were also so noisy, but I got a few that worked well. The last handful I took outside of the underpass but still in the shadow of it that worked better. Here’s what I came up with:


f/5, 1/30th, ISO 1600


f/5, 1/40th, ISO 1600


f/5.3, 1/80th, ISO 320


f/5, 1/200th, ISO 200


The last shot is for sure the best and the most representative of Eric. He looks comfortable, he’s got a natural smile, and the lighting is nice. I did some post processing on all these shots in Lightroom for the crop and exposure. I also messed with the noise and sharpening to try and reduce the noise on his face without losing the detail in his eyes especially.

This week’s live show is on portraits (obviously) and we’ll have special guest Chris Gampat! It’ll be a great show and I look forward to seeing everyone’s submissions.

Posted on

Beginner Photography: Animal Interactions

Oh, hubris. I really thought this subject would be easy. I have animals! I can interact with them! How wrong I was. First, taking pictures of animals is difficult enough. They are generally fast moving, unless you know a sloth. Also, taking pictures of yourself is hard. Selfie+moving animals? Near impossible. I attempted to at least photograph my hand petting said animals, but even that is unwieldy using a DSLR. So then I tried to enlist my daughter, who, apparently, is only a good model when she has to stand very still and be creepy (see here and here and here.)

It has also been in the 90-95F degree range the past few days, so we have all been sluggish. Which resulted in either a very sad looking dog and cat or a very sad-looking child. 

I’m going to tell you now, this project was a failure. I missed focus a dozen times, I cropped the dog’s feet, my daughter’s shirt is wrinkled. I captured a few sweet moments, but they are still technically terrible. Here’s a funny video to make up for it:

So as usual I shot in aperture priority, but using a higher aperture to attempt to get Eloise and Hungry both in focus. Somehow that still often resulted in missing focus. I shot outside in natural light which worked fine, but my cramped back yard resulted is some busy backgrounds. I almost never got both of them looking at the camera. Ah well, this is what I wound up with:


f/3.5, 1/80th, ISO 200


f/5.6, 1/80th, ISO 200


f/5.6, 1/80th, ISO 640 (?!)


f/5.6, 1/60th, ISO 500


I don’t know. Looking at them now, I’m quite fond of them, but I just see everything about them that’s wrong. I need to work on manually choosing my settings and probably give back button focus a try.

Do any of these shots work for you? How would you have done things? I look forward to seeing so many animals on the show this week (and I’ll be there in studio!)

Posted on

Beginner Photography: Old Meets New

Hey y’all! This topic is a weird one, you guys are getting real abstract with your subjects. If you want to vote on the live show topic each week, you can become a Patreon donor!

I really didn’t know what to do for this week. The first idea I had was old and new architecture, but I thought that was a bit obvious. I am also lazy, so I decided to shoot something at home. I might have stretched the theme a bit, but bear with me. 

I decided to take some shots of my antique engagement ring on my hand, as I also have a tattoo of a diamond on my ring finger. It seemed like a nice contrast of tradition and a more contemporary trend. I also enlisted my husband to hand model for me, holding a pair of his baby shoes. That kind of subverts the subject, as baby shoes would indicate newness and his hands are… not new. But they are, in fact, the same age.

Turns out taking pictures of my own hand is hard, positioning it is weird and not blowing out my skin and ring is pretty difficult. I shot on aperture priority and did some post processing to adjust the exposure. I then used an adjustment brush to bring out the clarity and contrast of the ring and my now-faded finger tattoo. I also broke this rule a bit to keep from losing detail in the ring:

Here’s what I came up with:

f/3.5, 1/80th, ISO 200


f/3.5, 1/80th, ISO 200


f/3.6, 1/320th, ISO 200


f/3.6, 1/640th, ISO 200


So, not the most challenging subjects, but I like them. Particularly the ones of Eric. I find hands very aesthetically pleasing, and his worn hands with the old, tiny shoes are pretty great together. How did you interpret this week’s topic? Did mine meet the criteria for you?

Posted on

Beginner Photography: Unexpected Beauty

Hello! This week’s photo topic is a weird one. I’m pretty sure by definition you should not be able to seek out “unexpected beauty” it’s just something that happens, but I did my best. I thought this tied in pretty well with last week’s topic of “abandoned.” I love abandoned buildings, especially at the point where nature starts to take back over. Living in a big city, there are a horrifying number of abandoned buildings, but seeing nature reclaim a space is pretty satisfying. Last week I added a human element as the subject, but this week I just went searching for something beautiful in what many people just see as decay.

I’m not sure if there’s any way to teach something like this, it’s just a matter of training your eye to find something to focus on in the midst of some amount of chaos. Finding a specific object, or a pattern, or the right light. Also some willingness to get close and get dirty. I for sure climbed into some places I wasn’t meant to be.

As usual, I shot with an Olympus E-M10 on aperture priority. I shot the same things multiple times from different angles to find what looked the most pleasing to me, and did some post-processing in Lightroom to crop, straighten, adjust the exposure, etc. 


f/5.6, 1/500th, ISO 200

Not sure why my shutter speed is so fast. The colors and pattern of these windows are so beautiful to me.


f/4.5, 1/80th, ISO 320

The vines growing through this piece and the natural framing of the leaves immediately caught my eye.


f/3.5, 1/160th, ISO 200

Ornate columns on a stunning abandoned home.


 f/3.5, 1/320th, ISO 200


So that’s what I came up with. Beauty is subjective, so I’m not sure if these will appeal to everyone, but since I was a teenager I have taken shots like this. I’ve always loved capturing age and wear on objects and seeing them change over time. 

So what do you think? Do these fit the criteria? How did you interpret “unexpected beauty”? I look forward to seeing your submissions this week!