

Oh man, I probably should have tried to do something more technically interesting, like astro photography. But I’m lazy! And I don’t like to go out at night! So I stayed in my regular wheelhouse (and literal house) and tried some spooky selfies in the back yard.
Here’s a page of great info on night photography: https://northrup.photo/tutorials/photography/night-photography-tutorials/
And you can see my first attempt at night photography here.
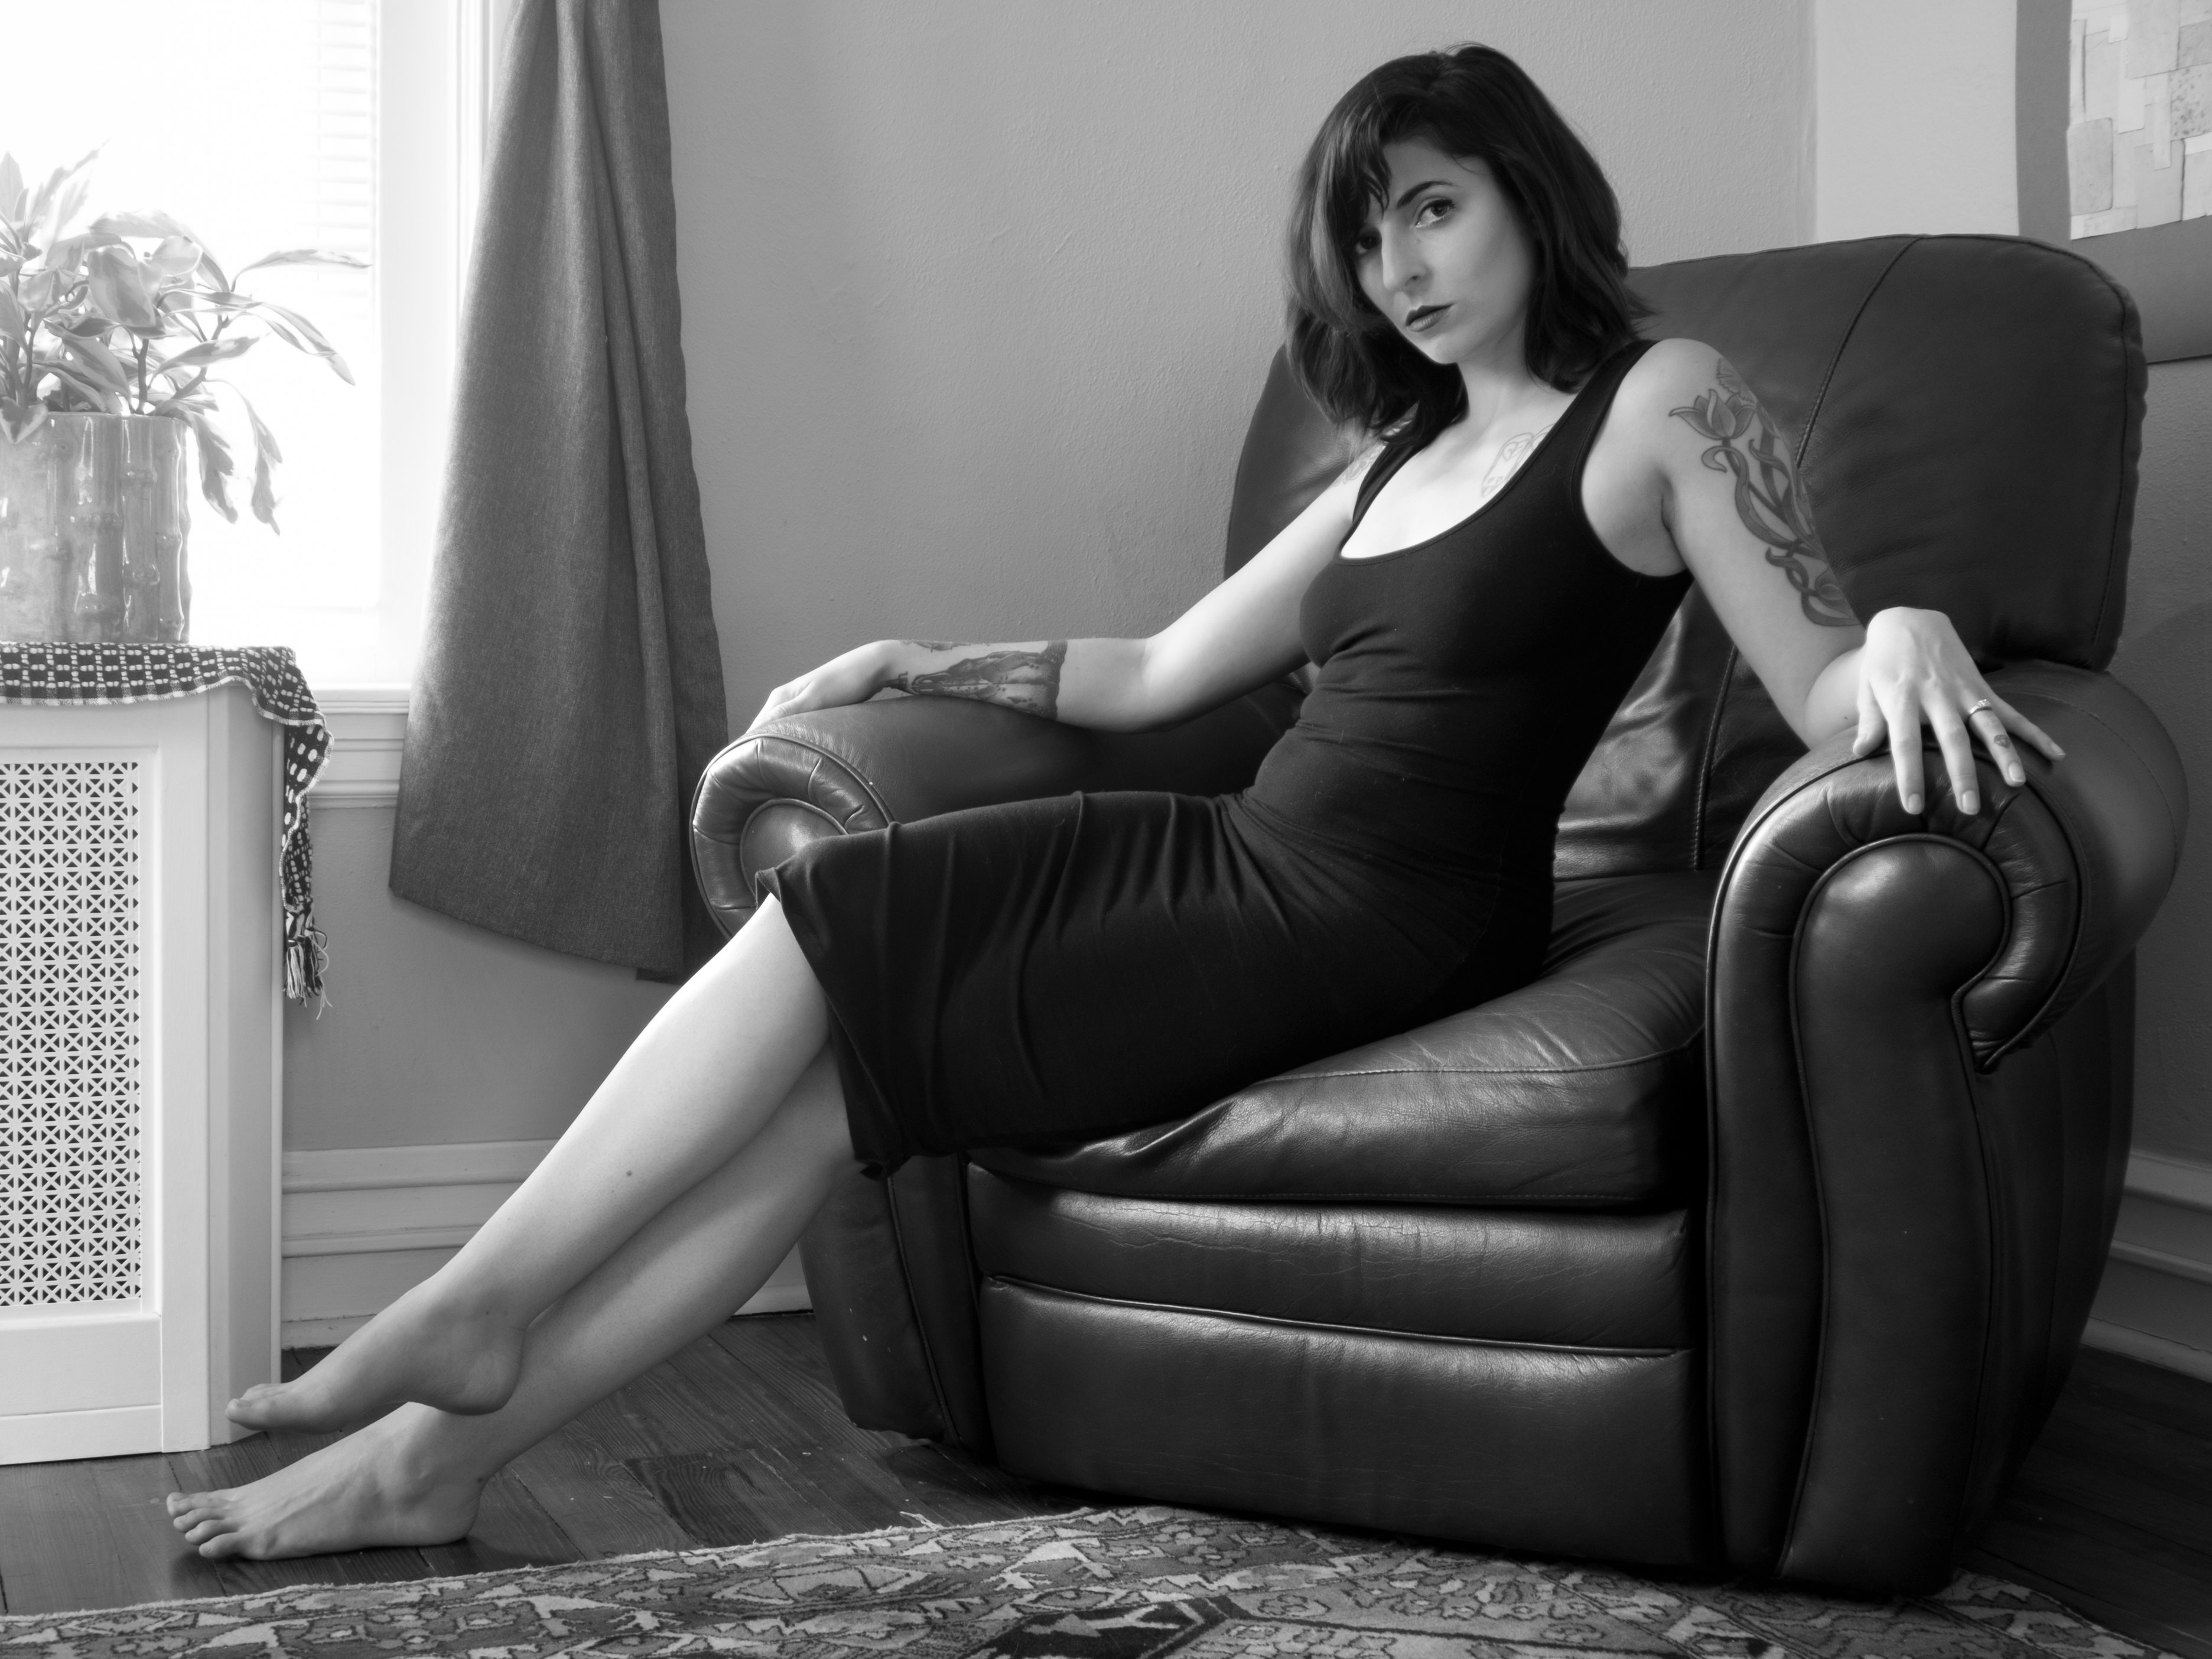
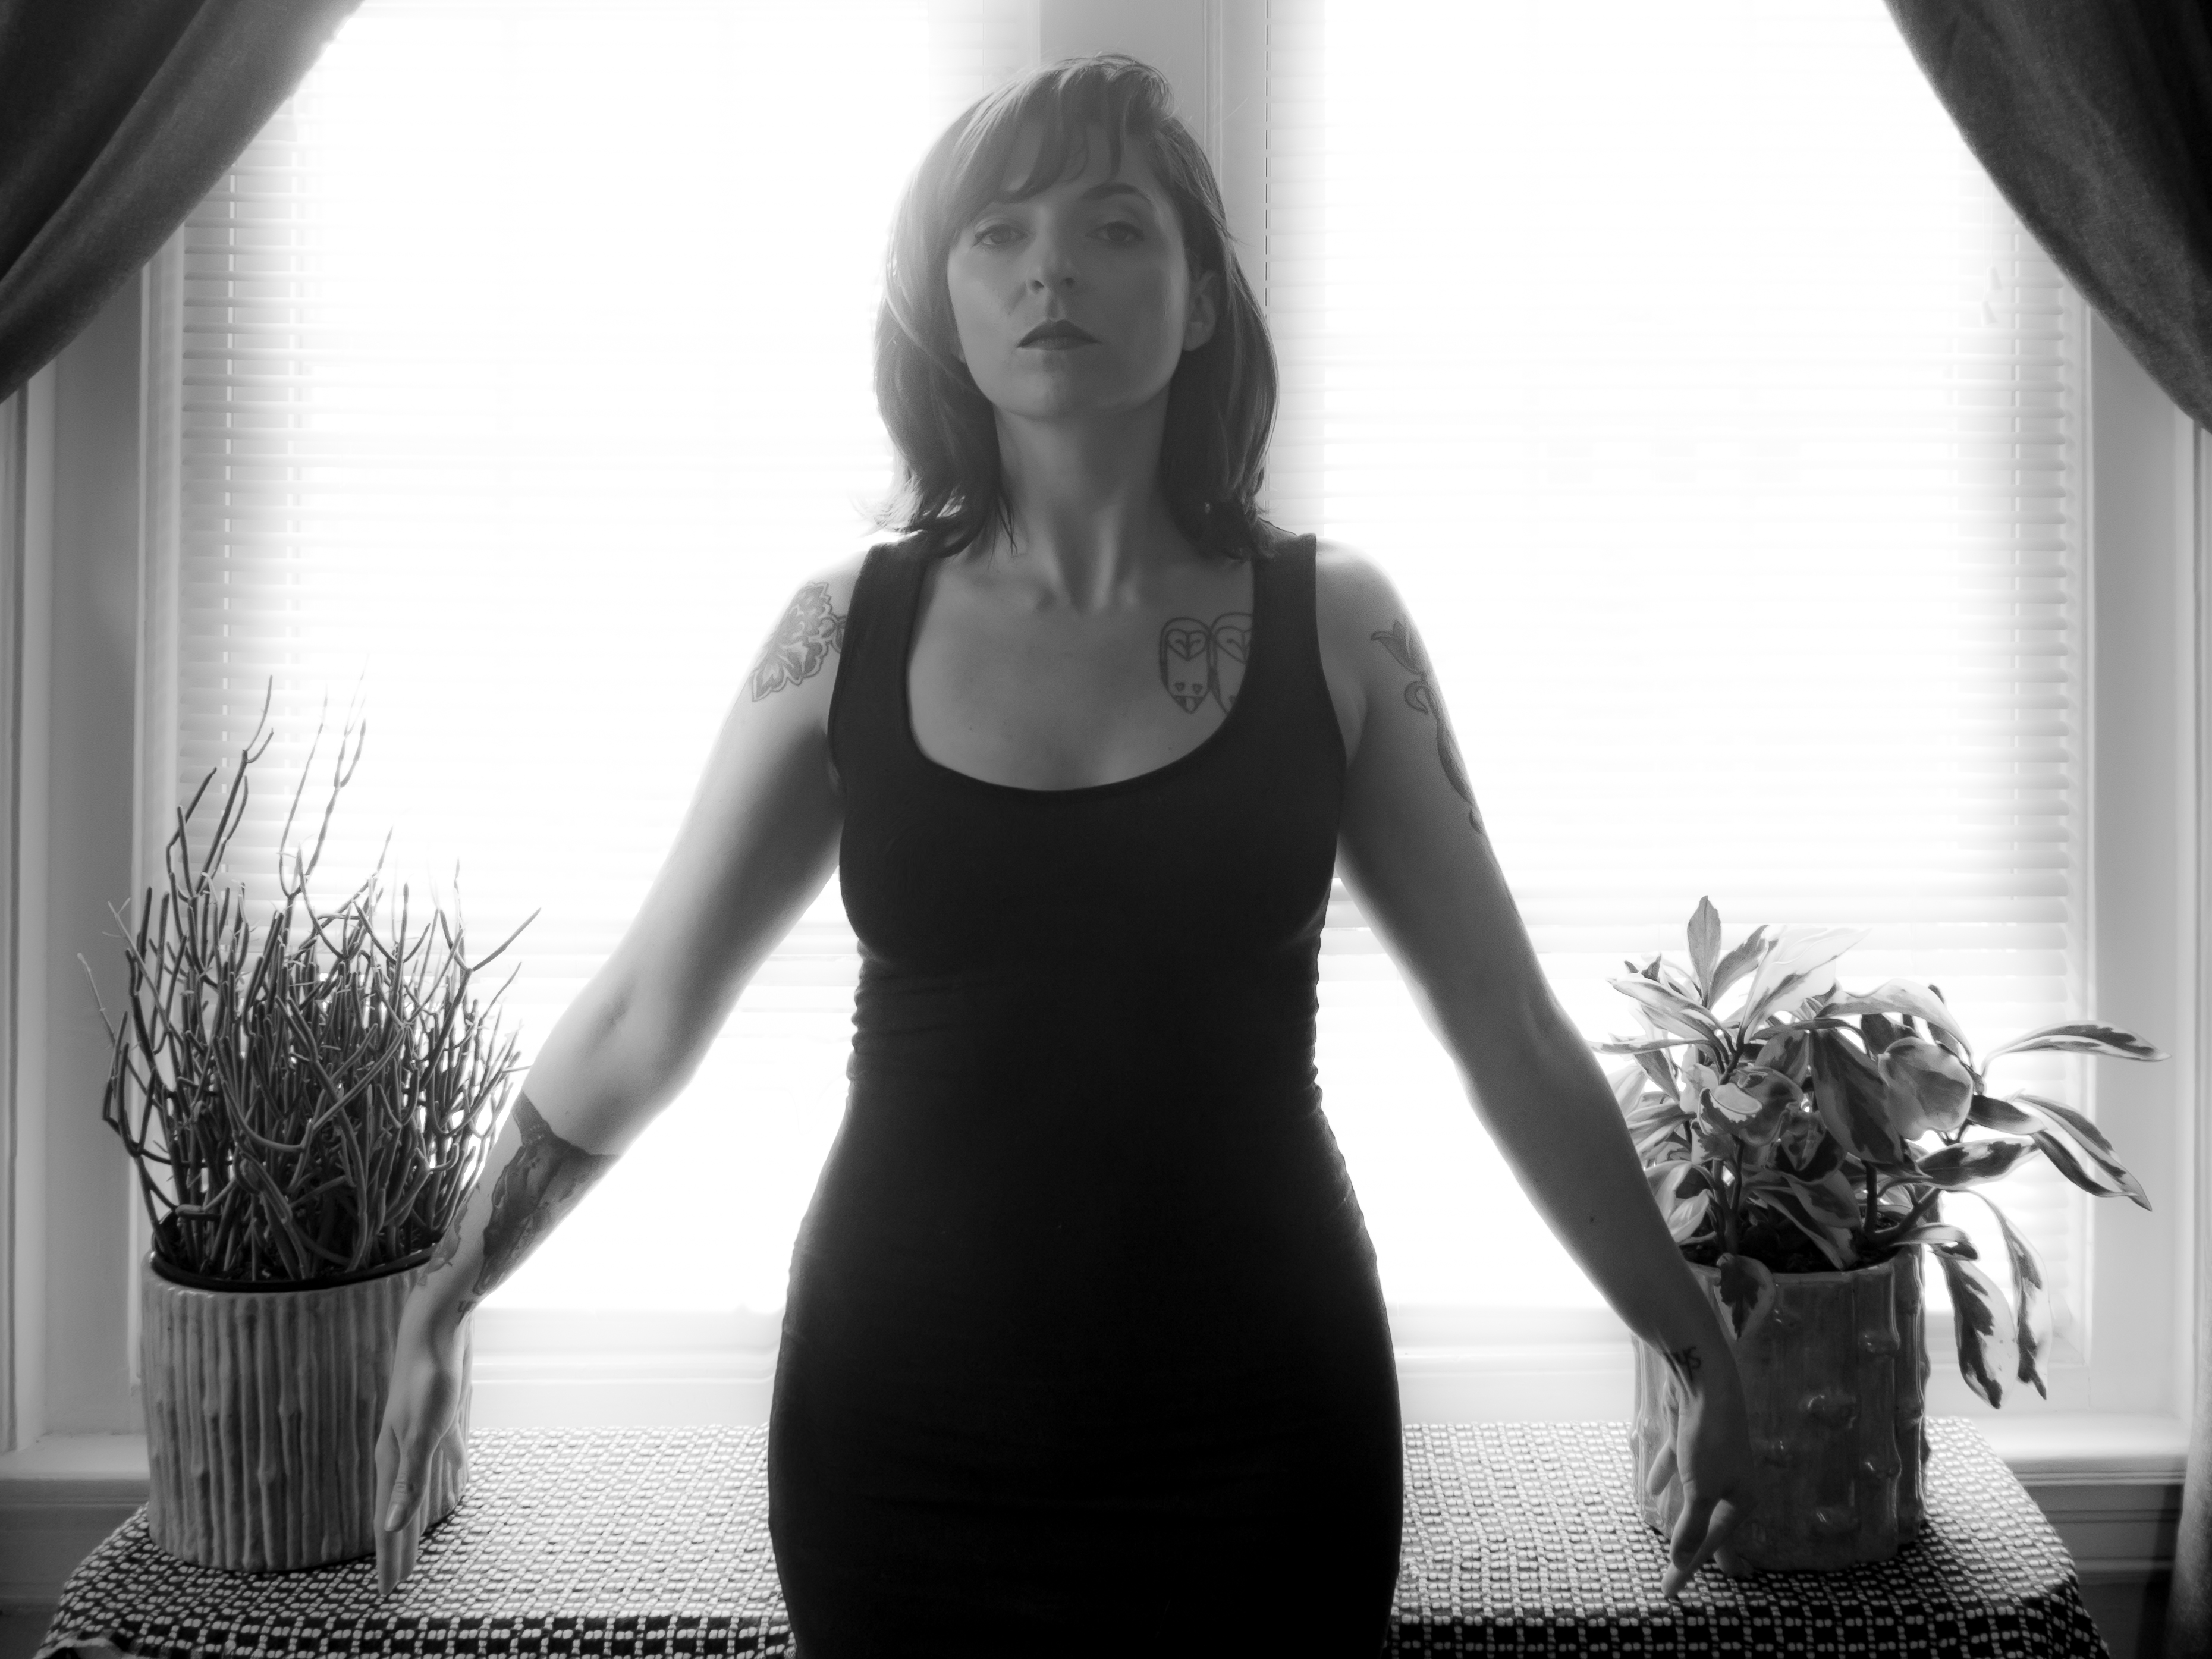
So I set up my camera on a tripod and used the app OI.Share for Olympus to remotely control my camera from my phone. I wanted to be holding a light source, so I took a wrought iron owl candle holder. Unfortunately I couldn’t get a candle to stay lit in it, so I borrowed my husband’s phone and used a flashlight app. It was brighter than I wanted, but seemingly still not bright enough to keep my shutter speed up! I shot in shutter priority and got the shutter as fast as I could to capture the image but not so slow that I was moving much. It was not easy.
One thing I didn’t anticipate was how odd the color would be. I had a light on in the yard which was yellow, and the light from the phone was more blue. It wound up doing some strange things to my skin color, but I think it may have added to the weirdness. Also, it’s almost impossible to focus the camera at night. I couldn’t see my face in the monitor, and therefore had to essentially guess where to focus the shot. Anyone have tips on how to work around that?
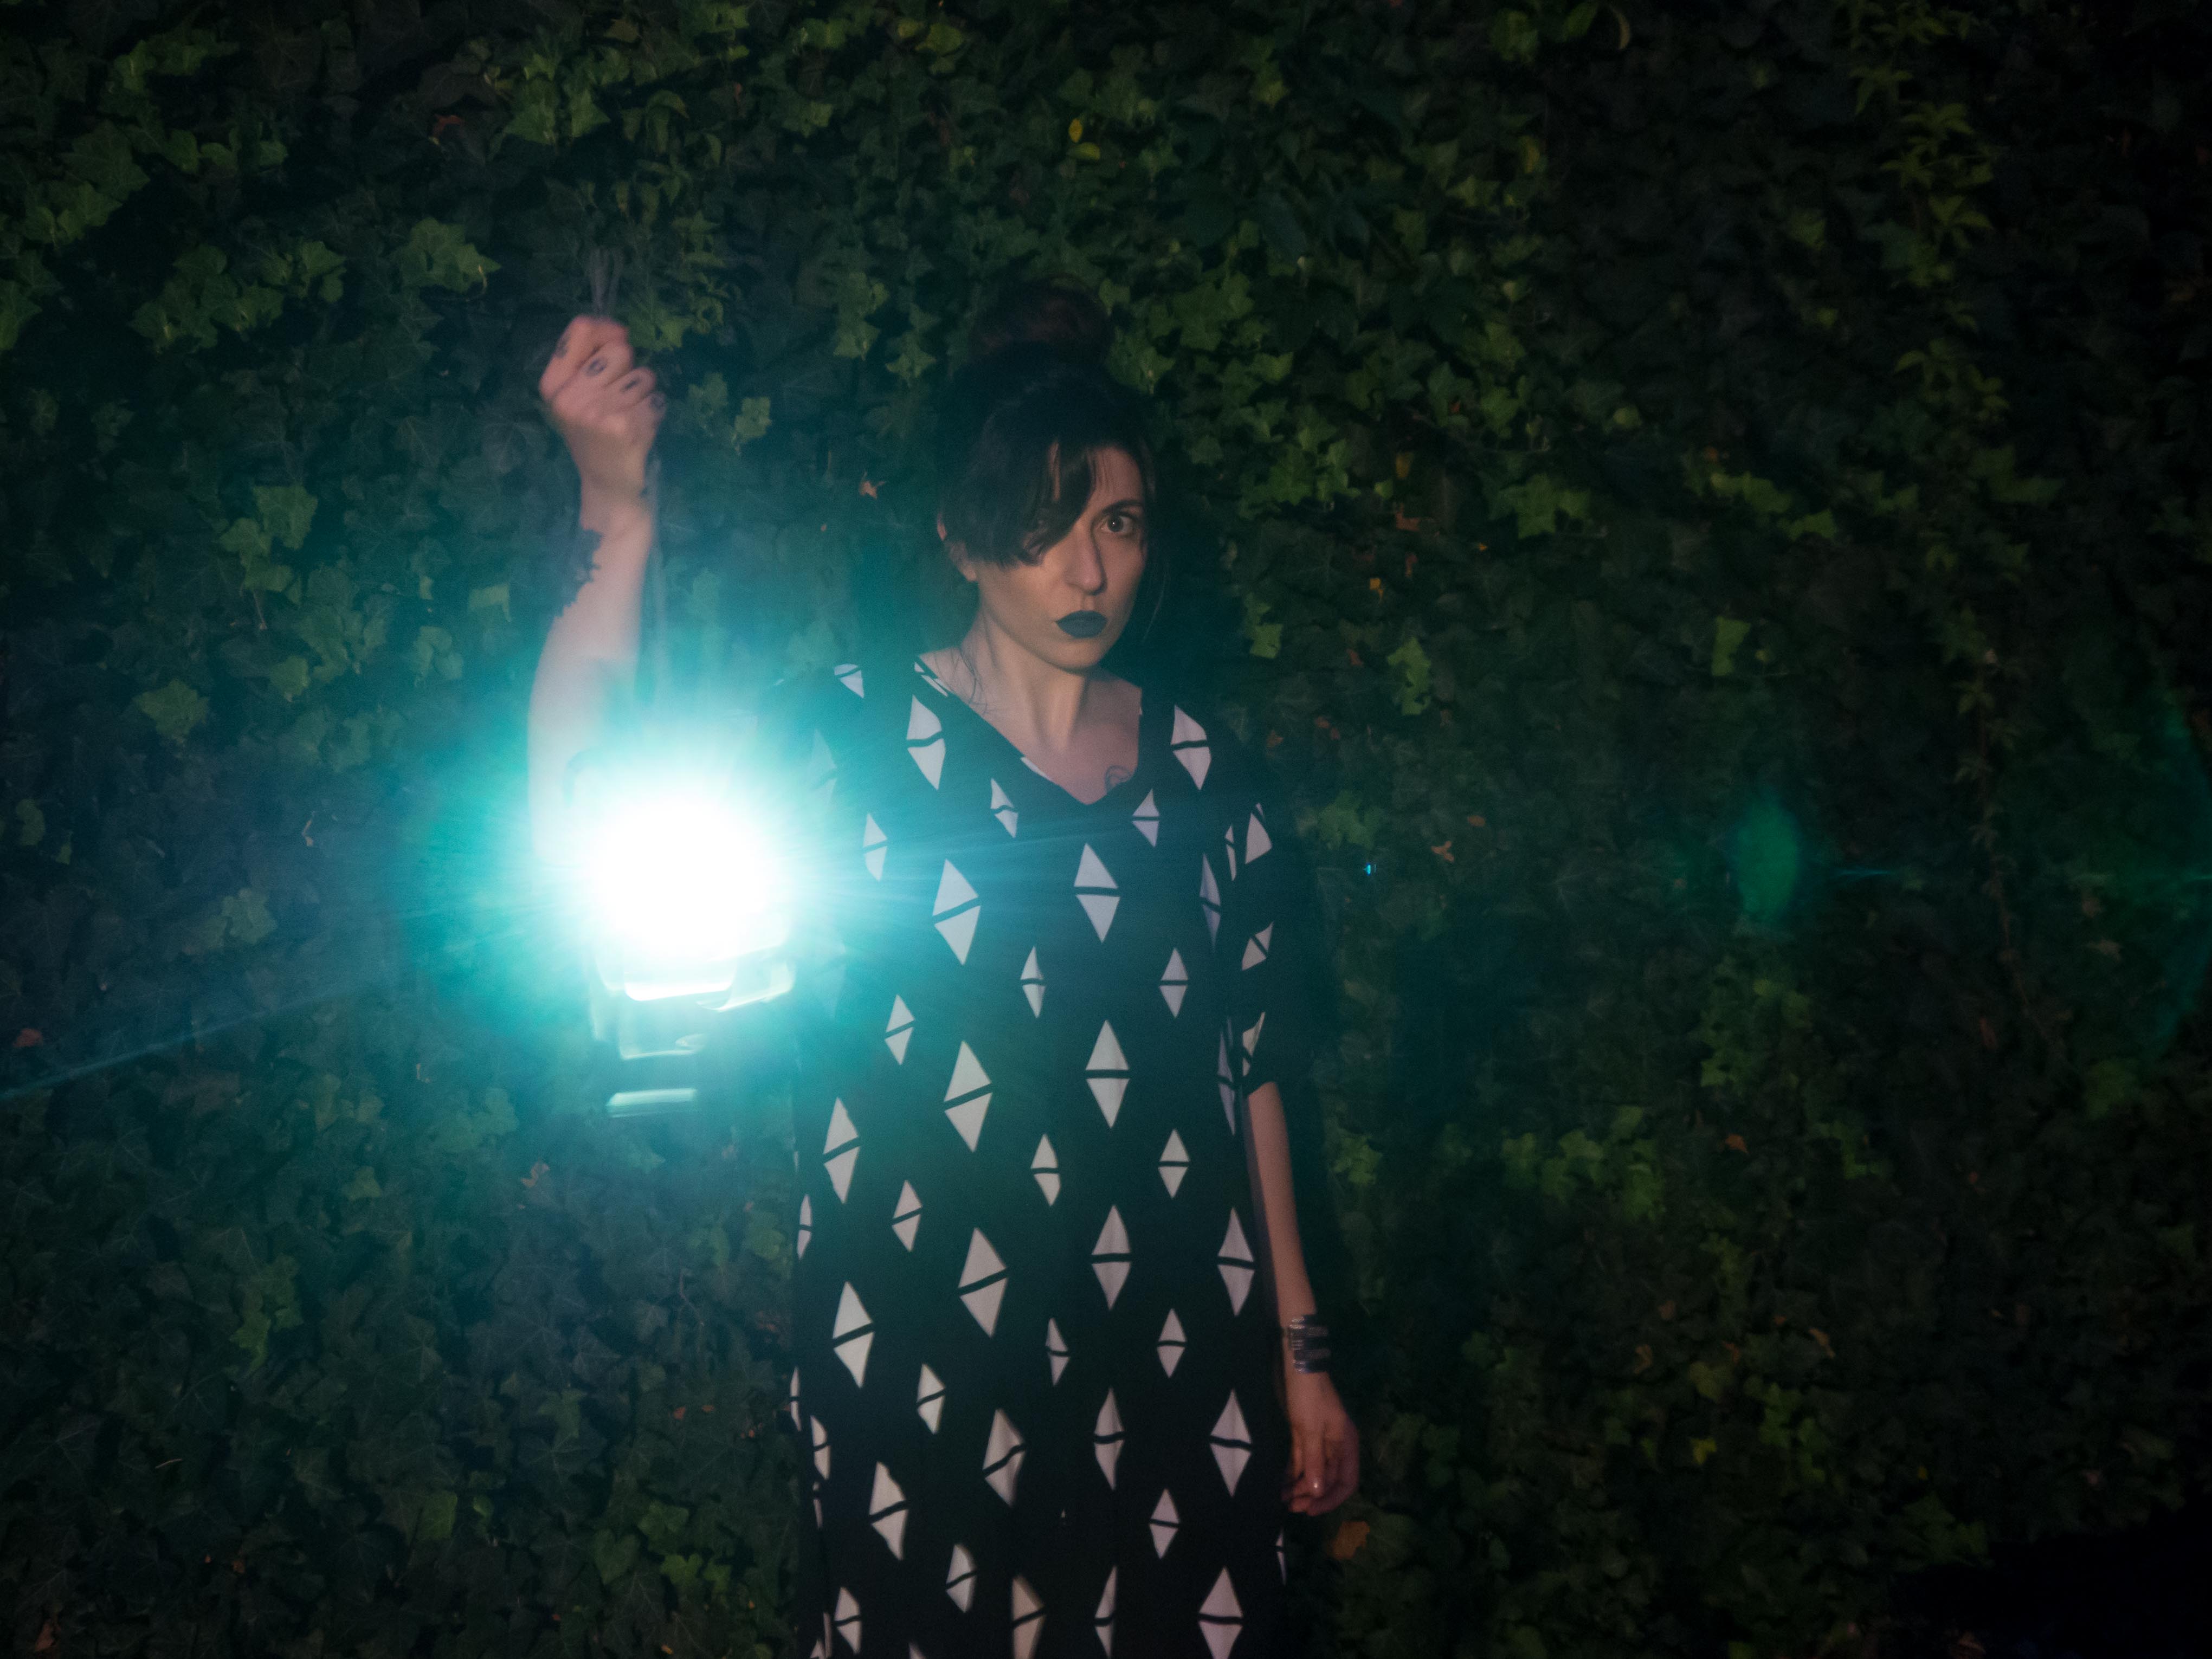
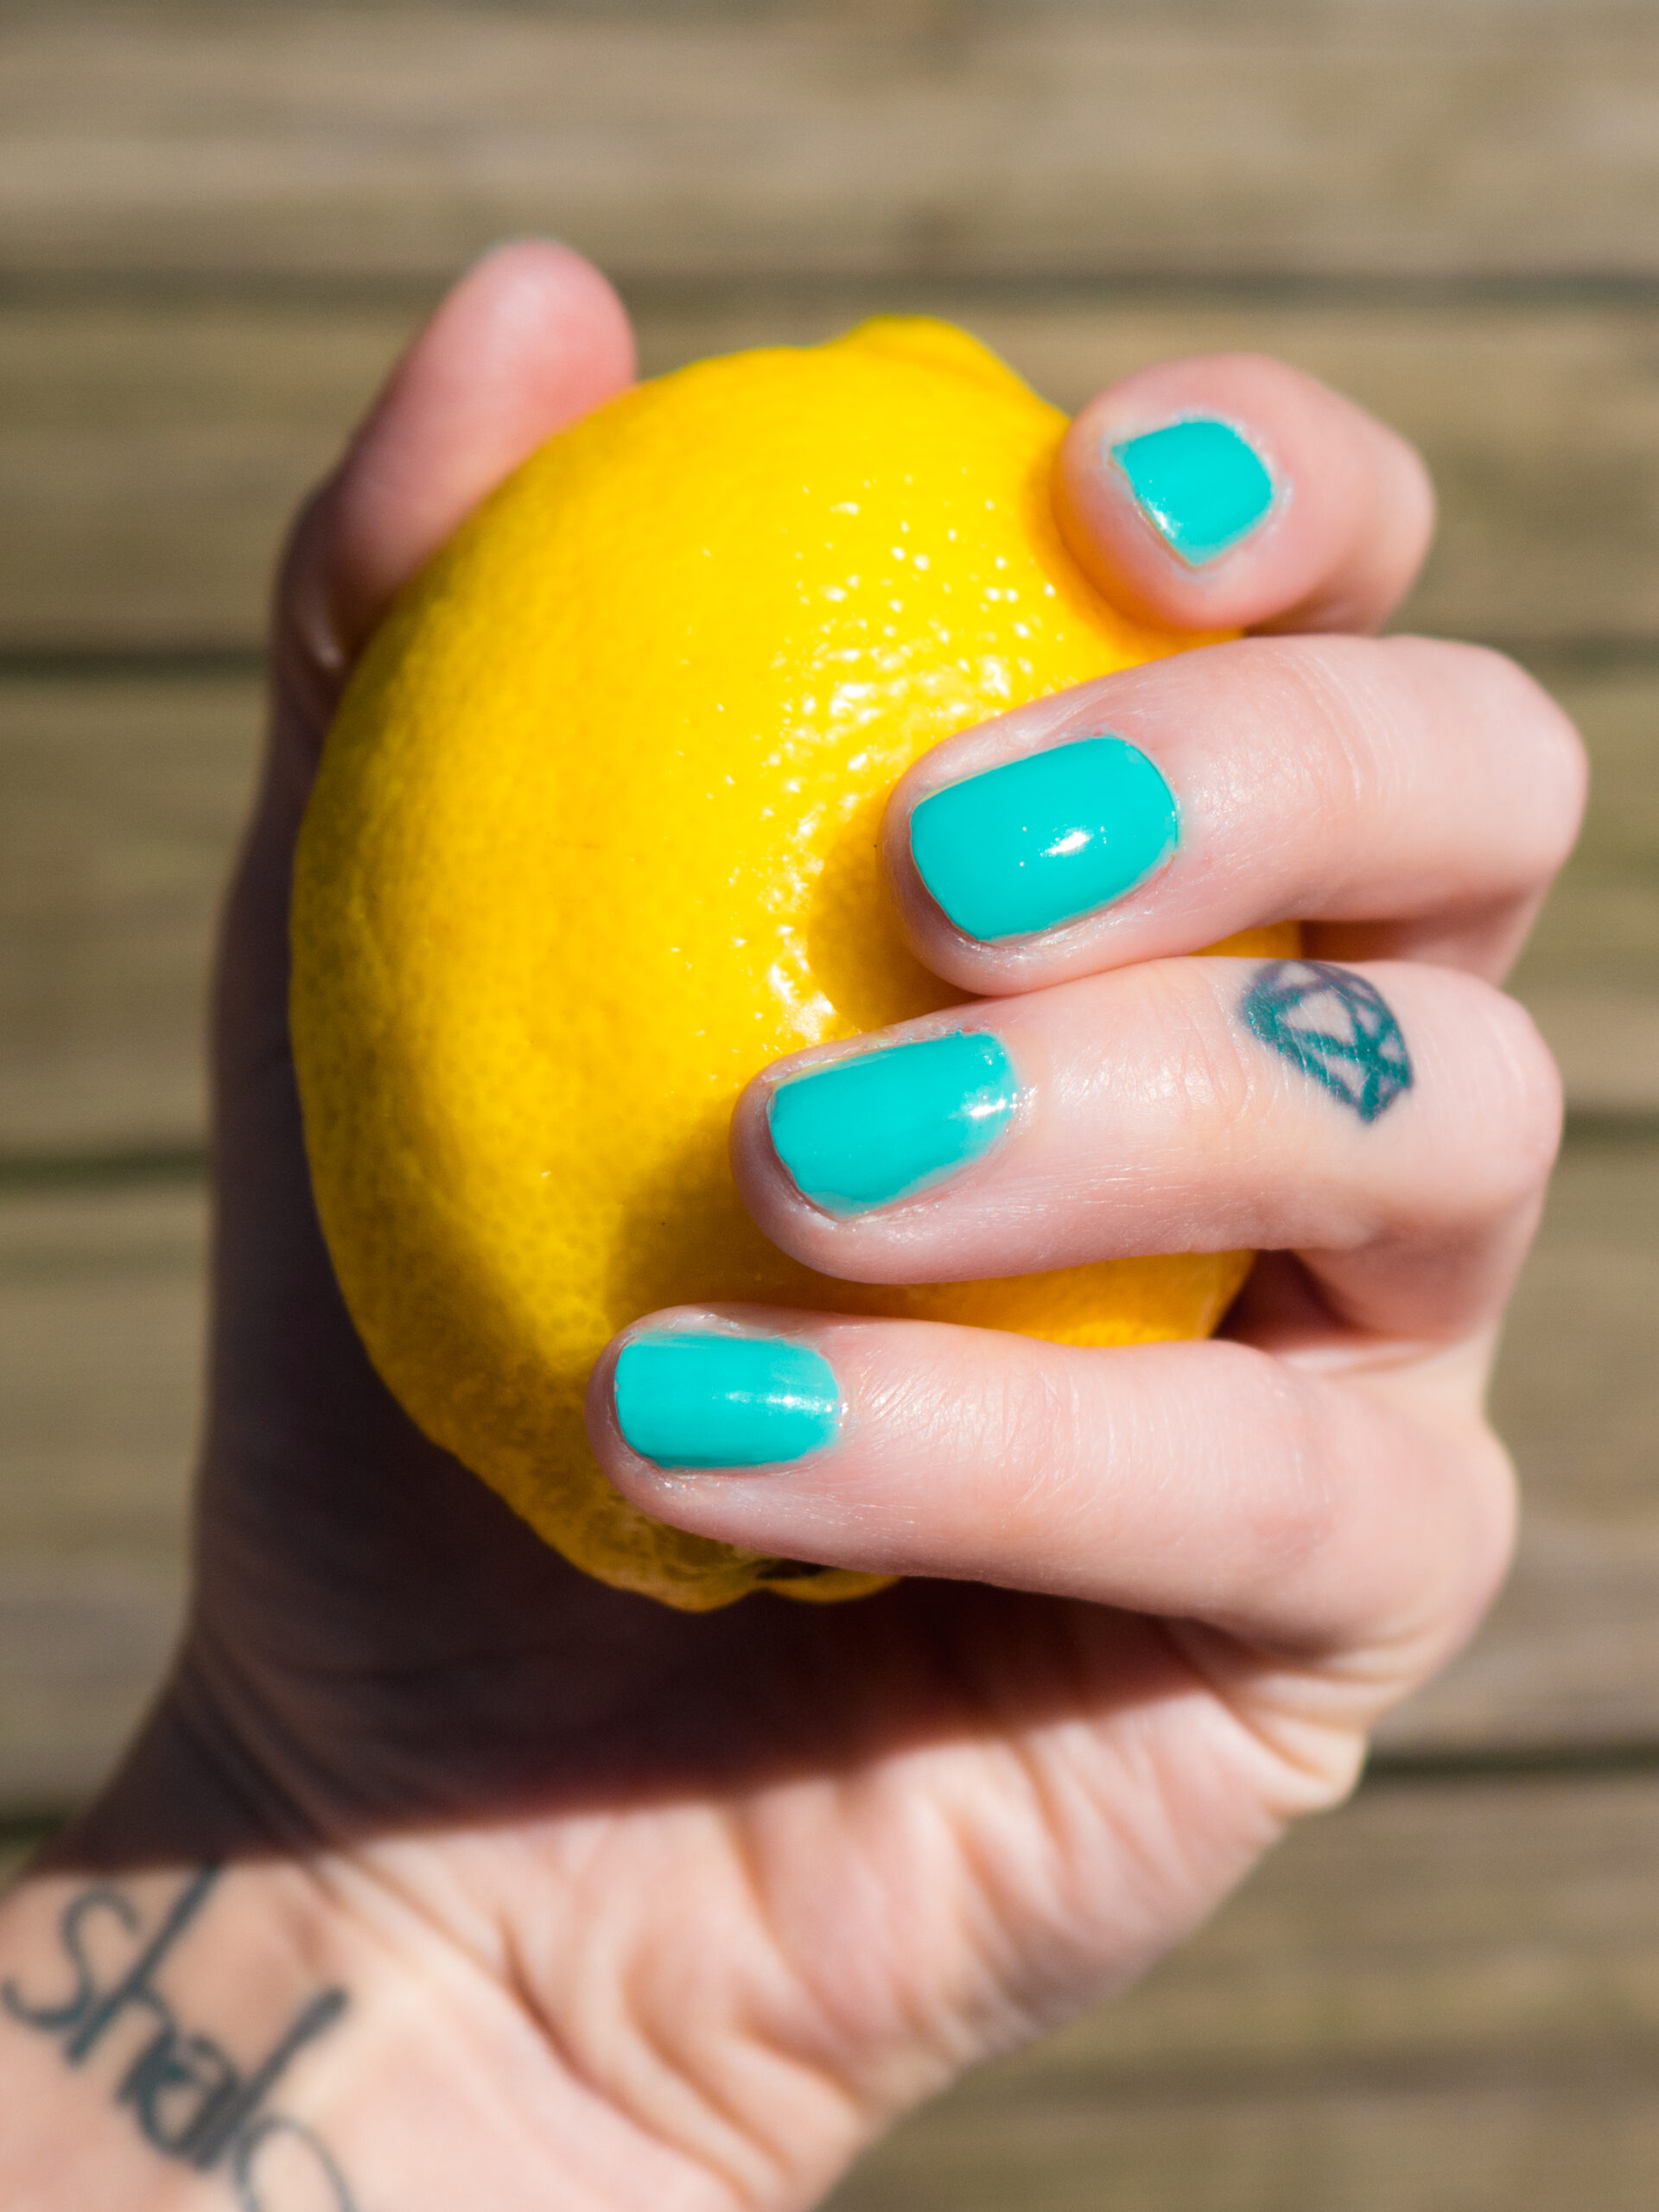
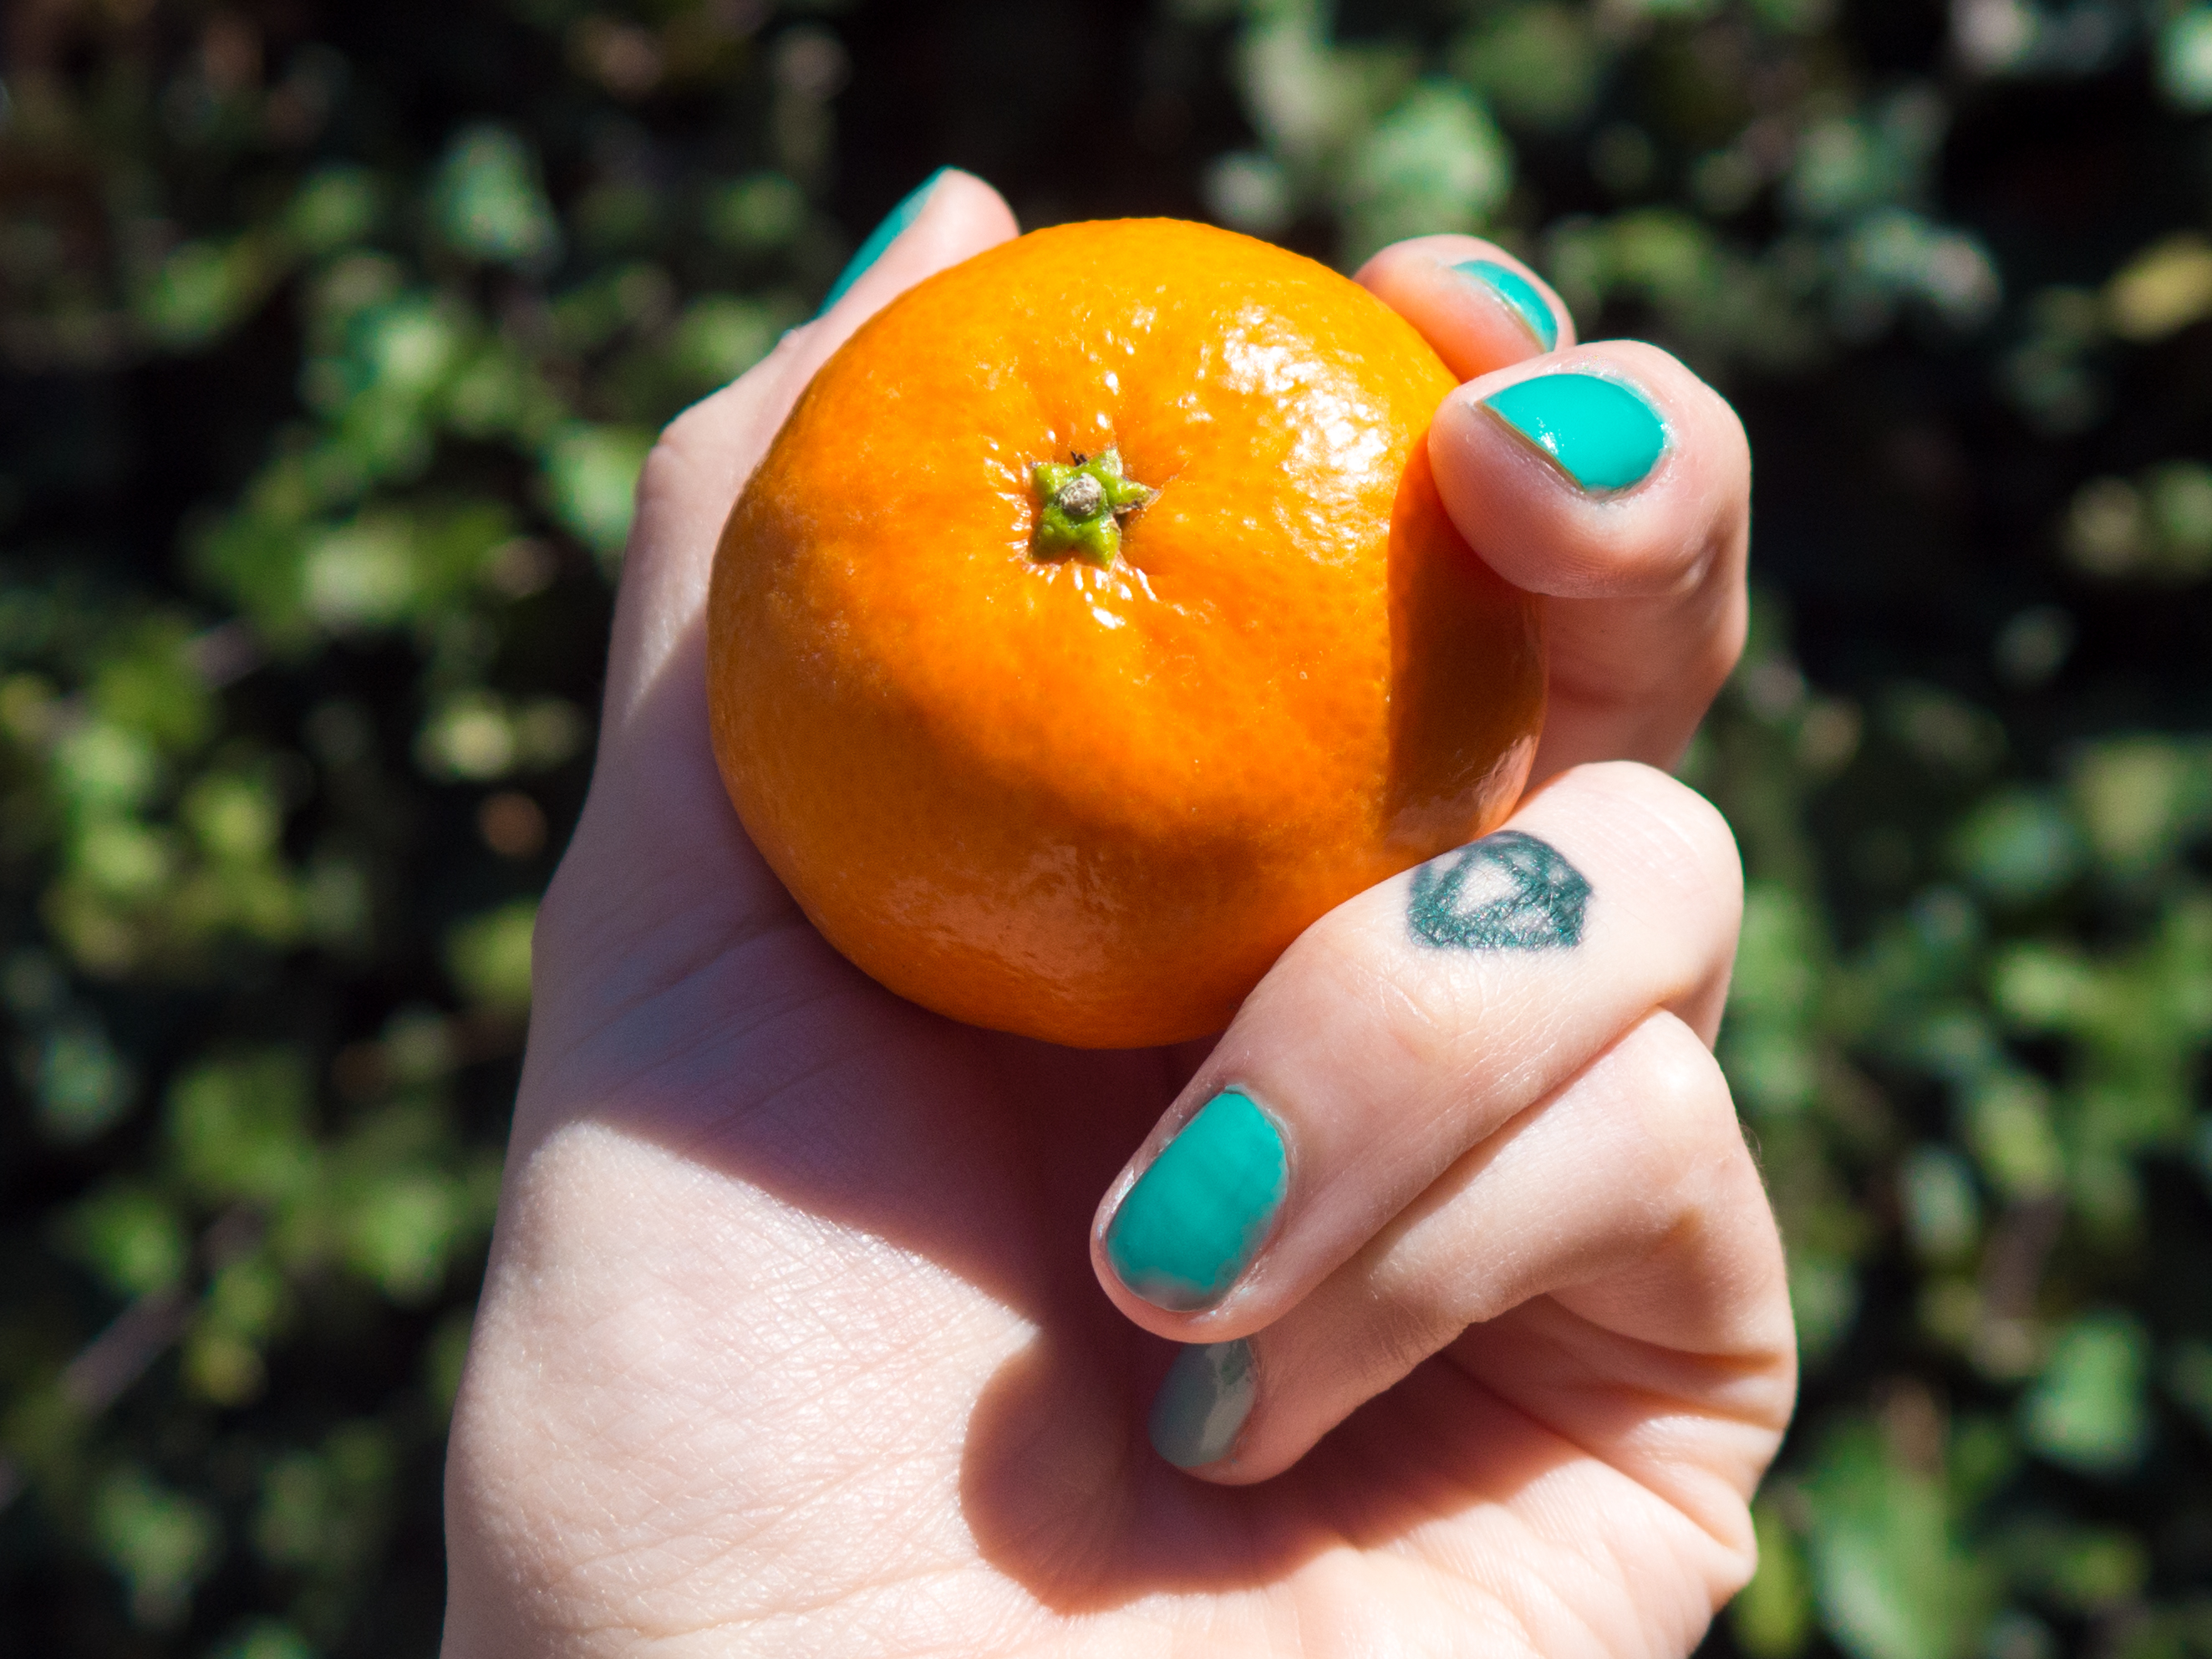
f/3.5, 0.6 sec, ISO 1600
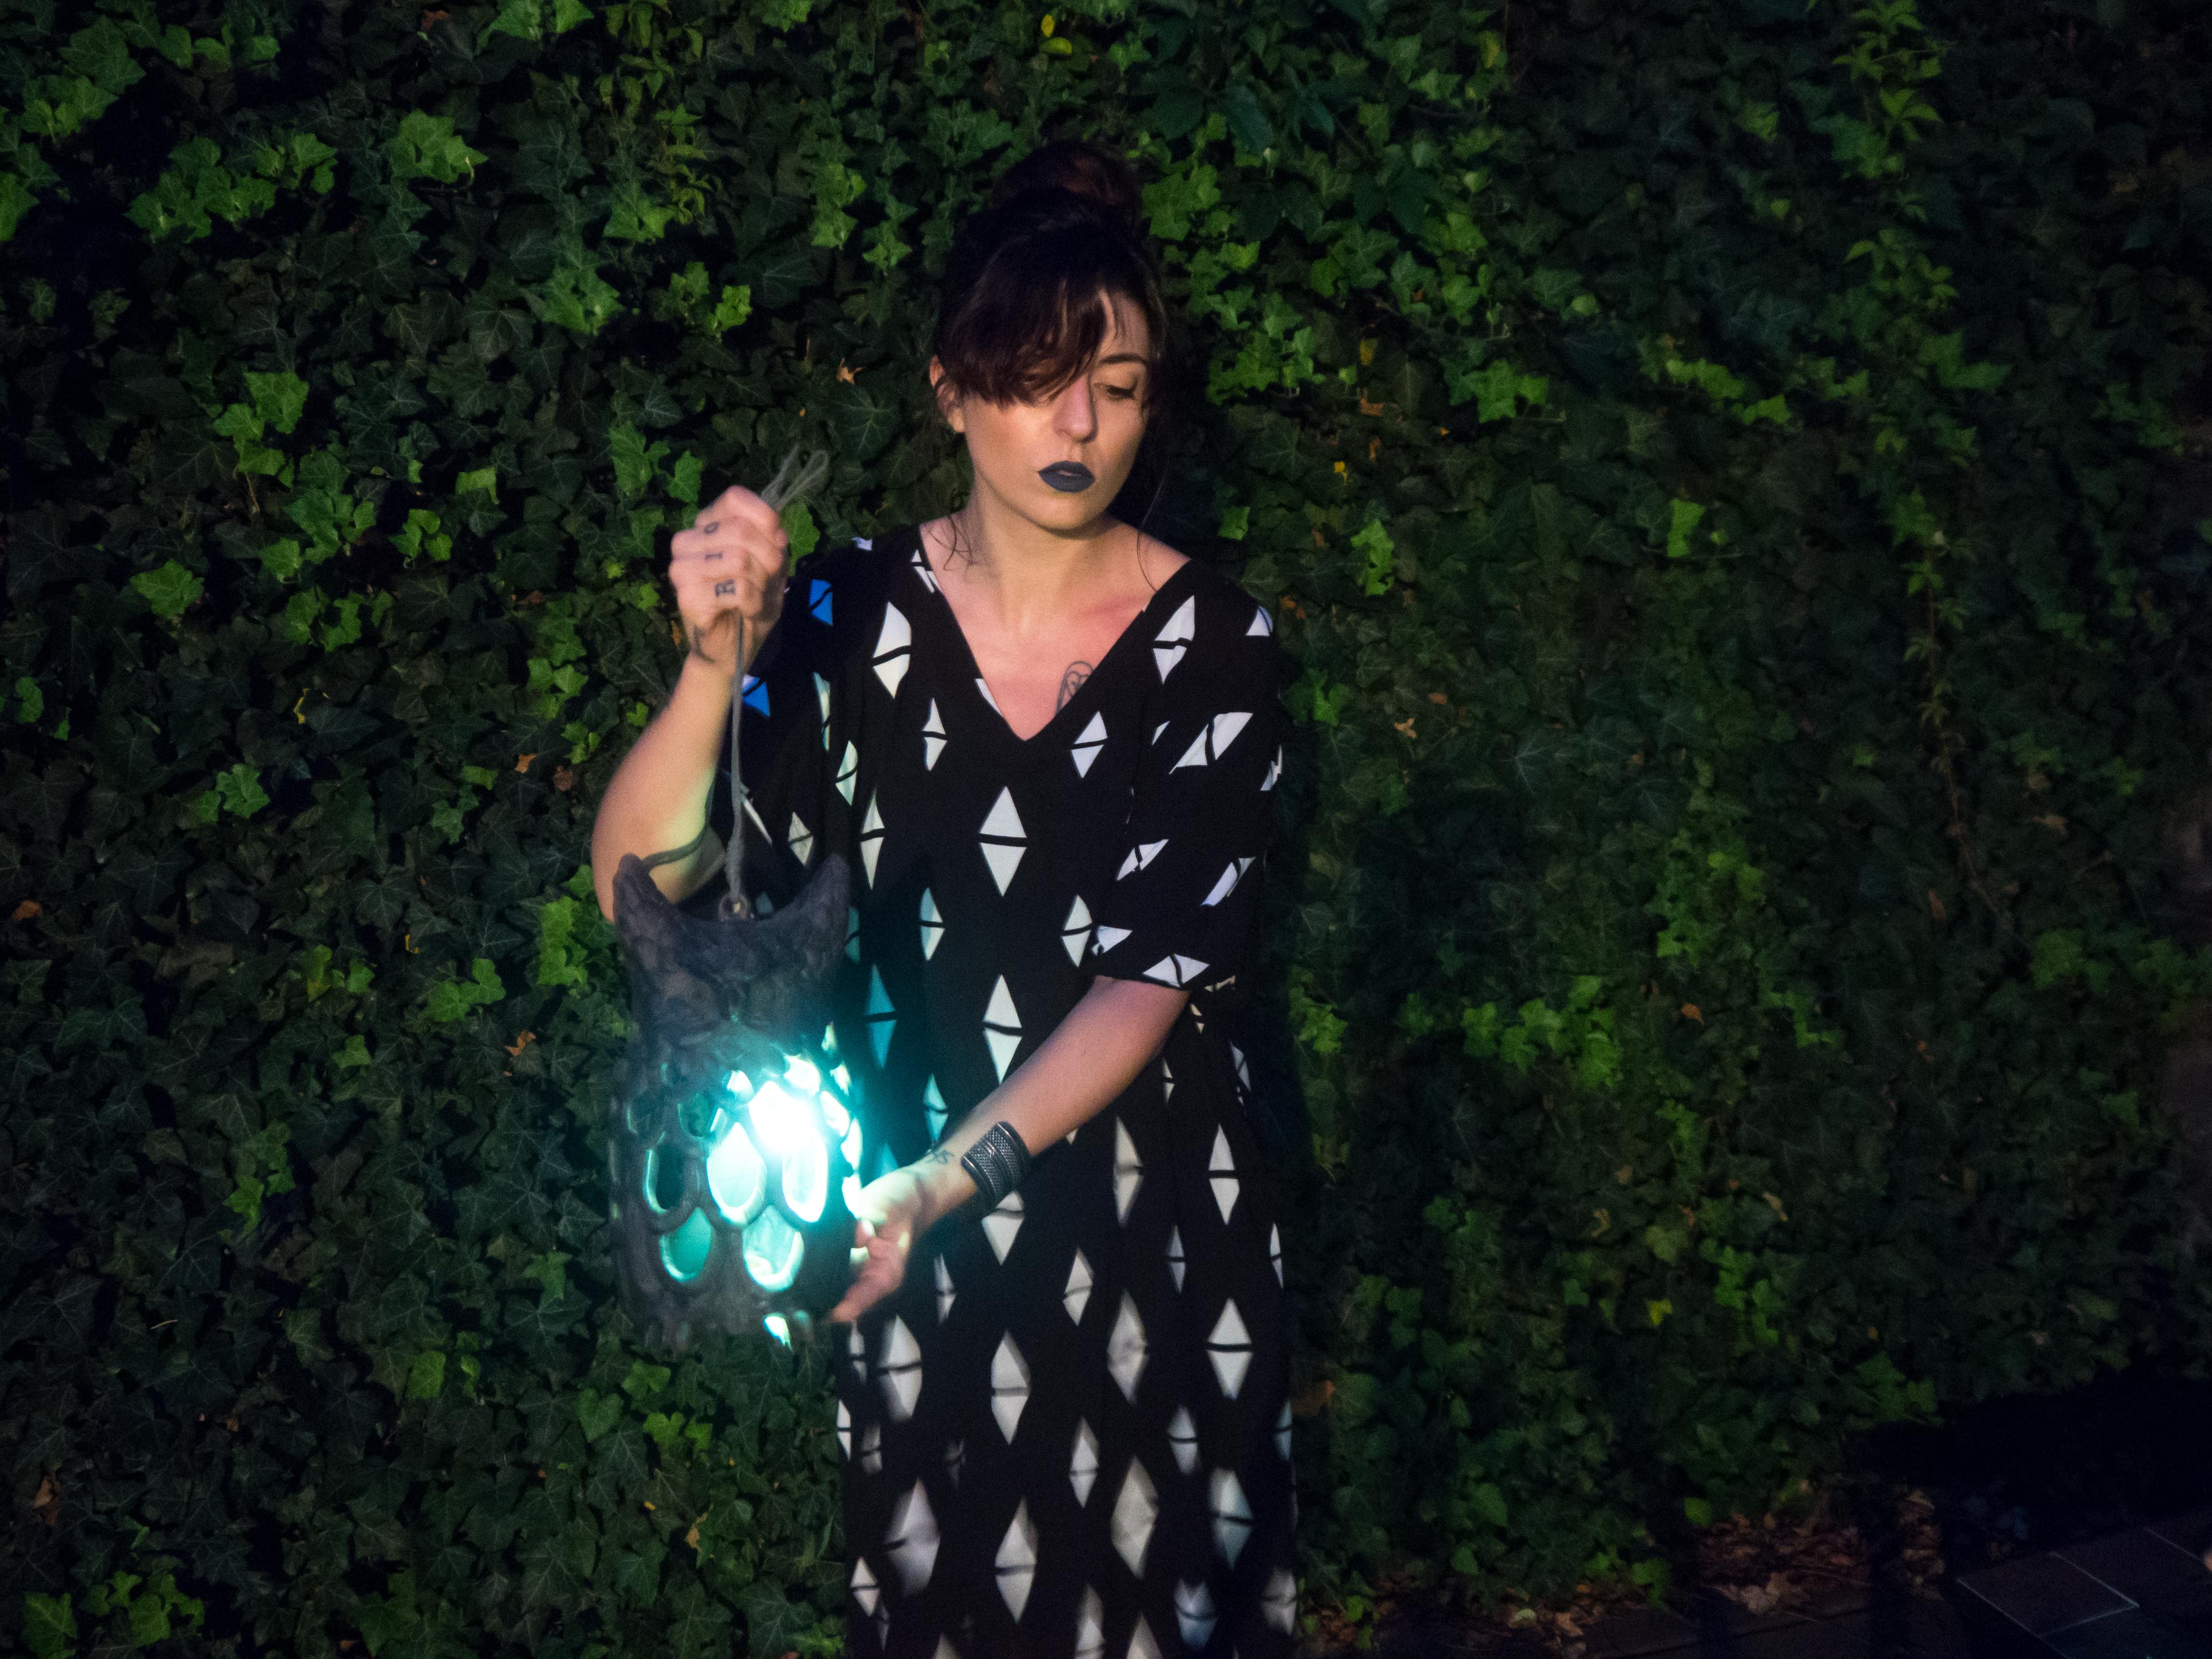
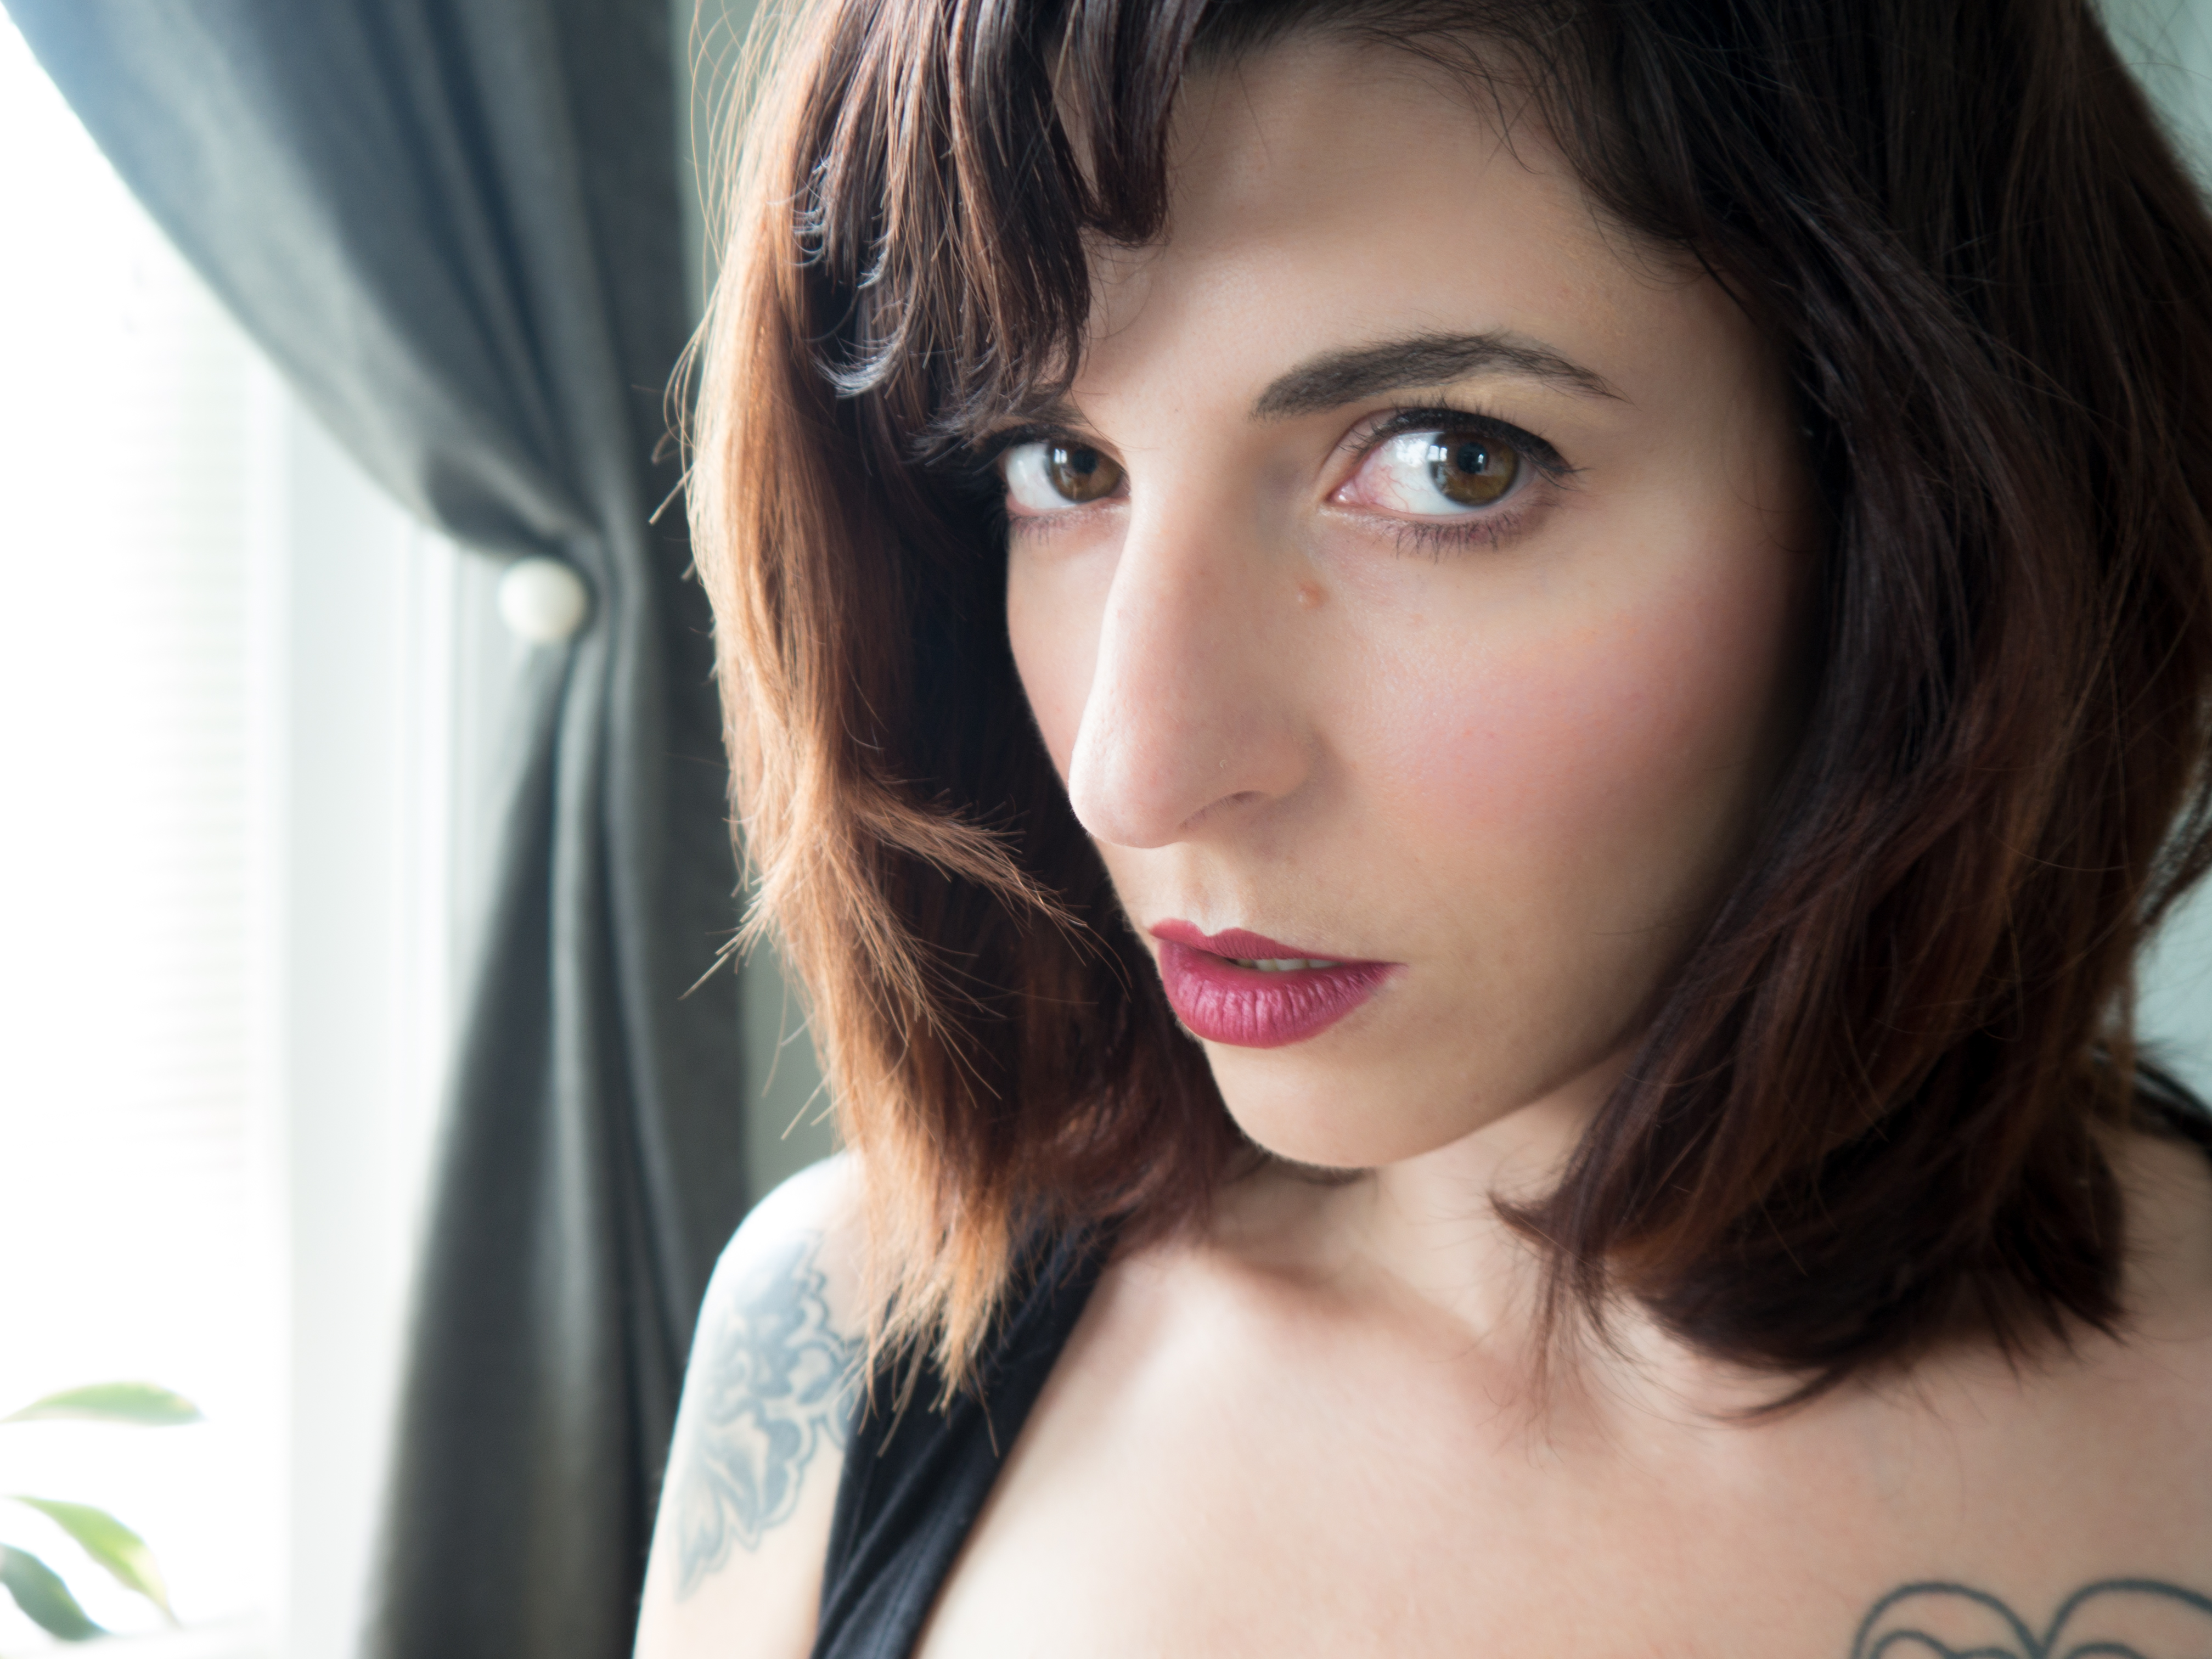
f/3.5, 0.6 sec, ISO 1600
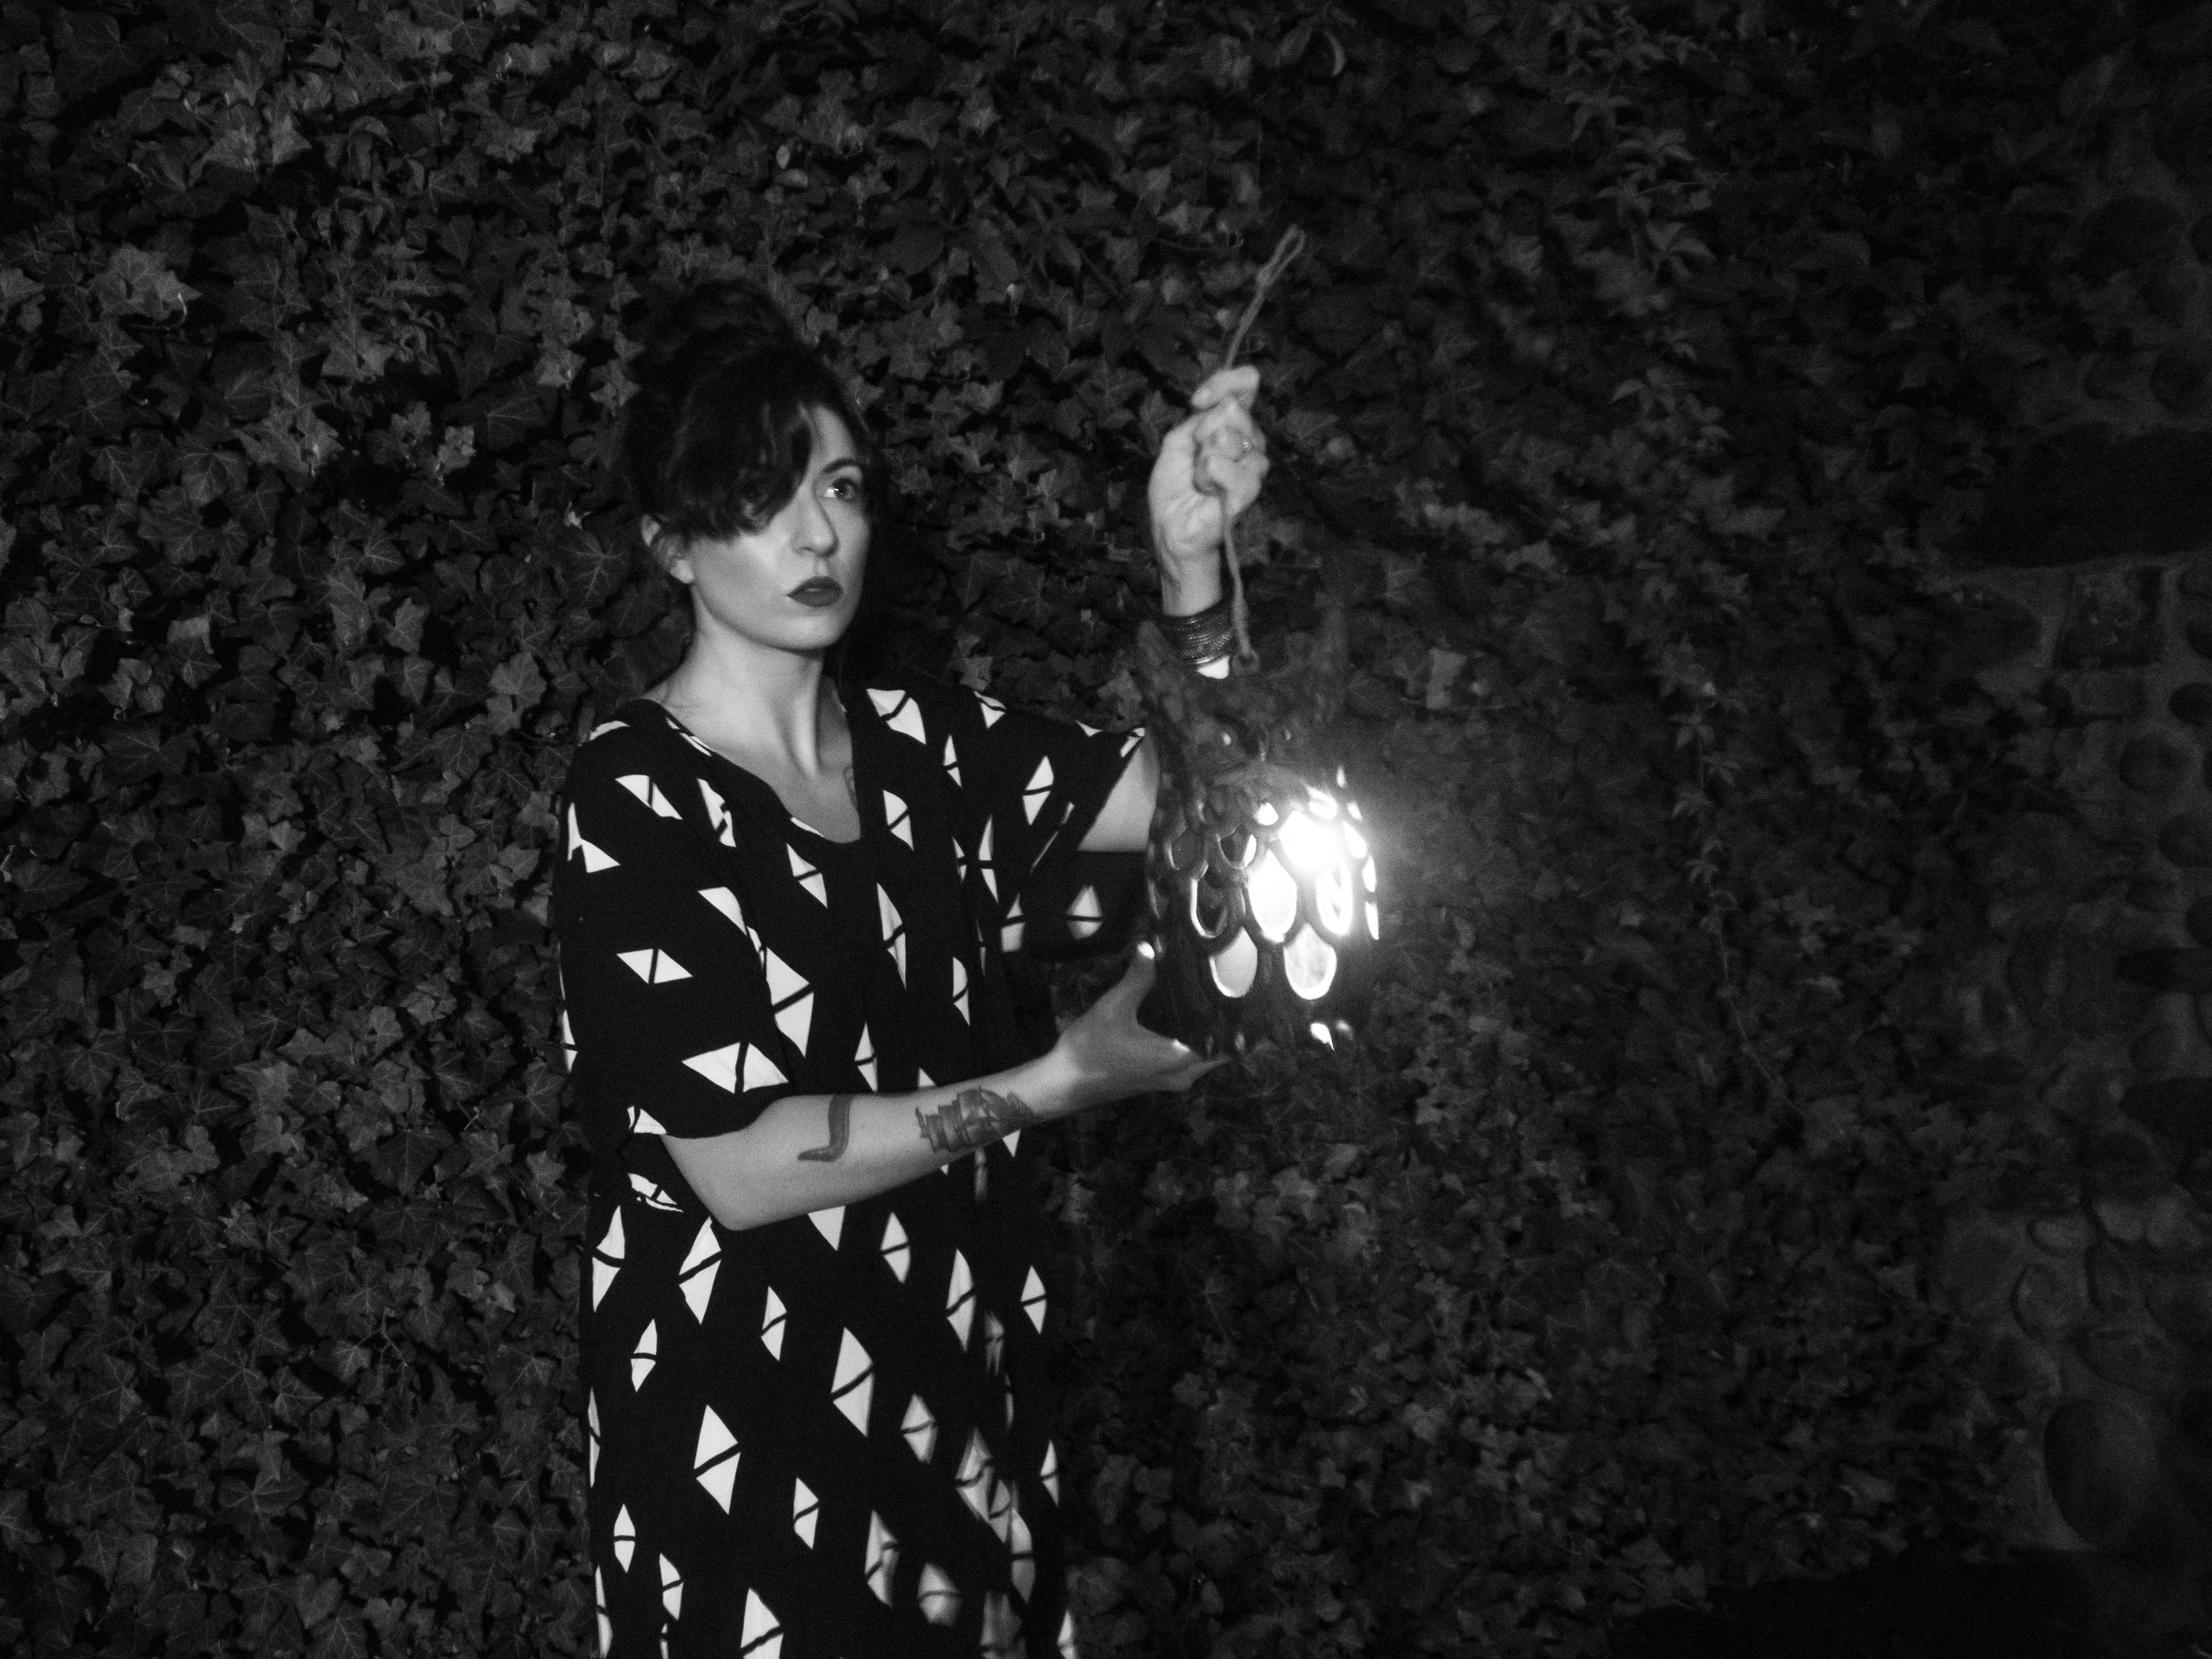
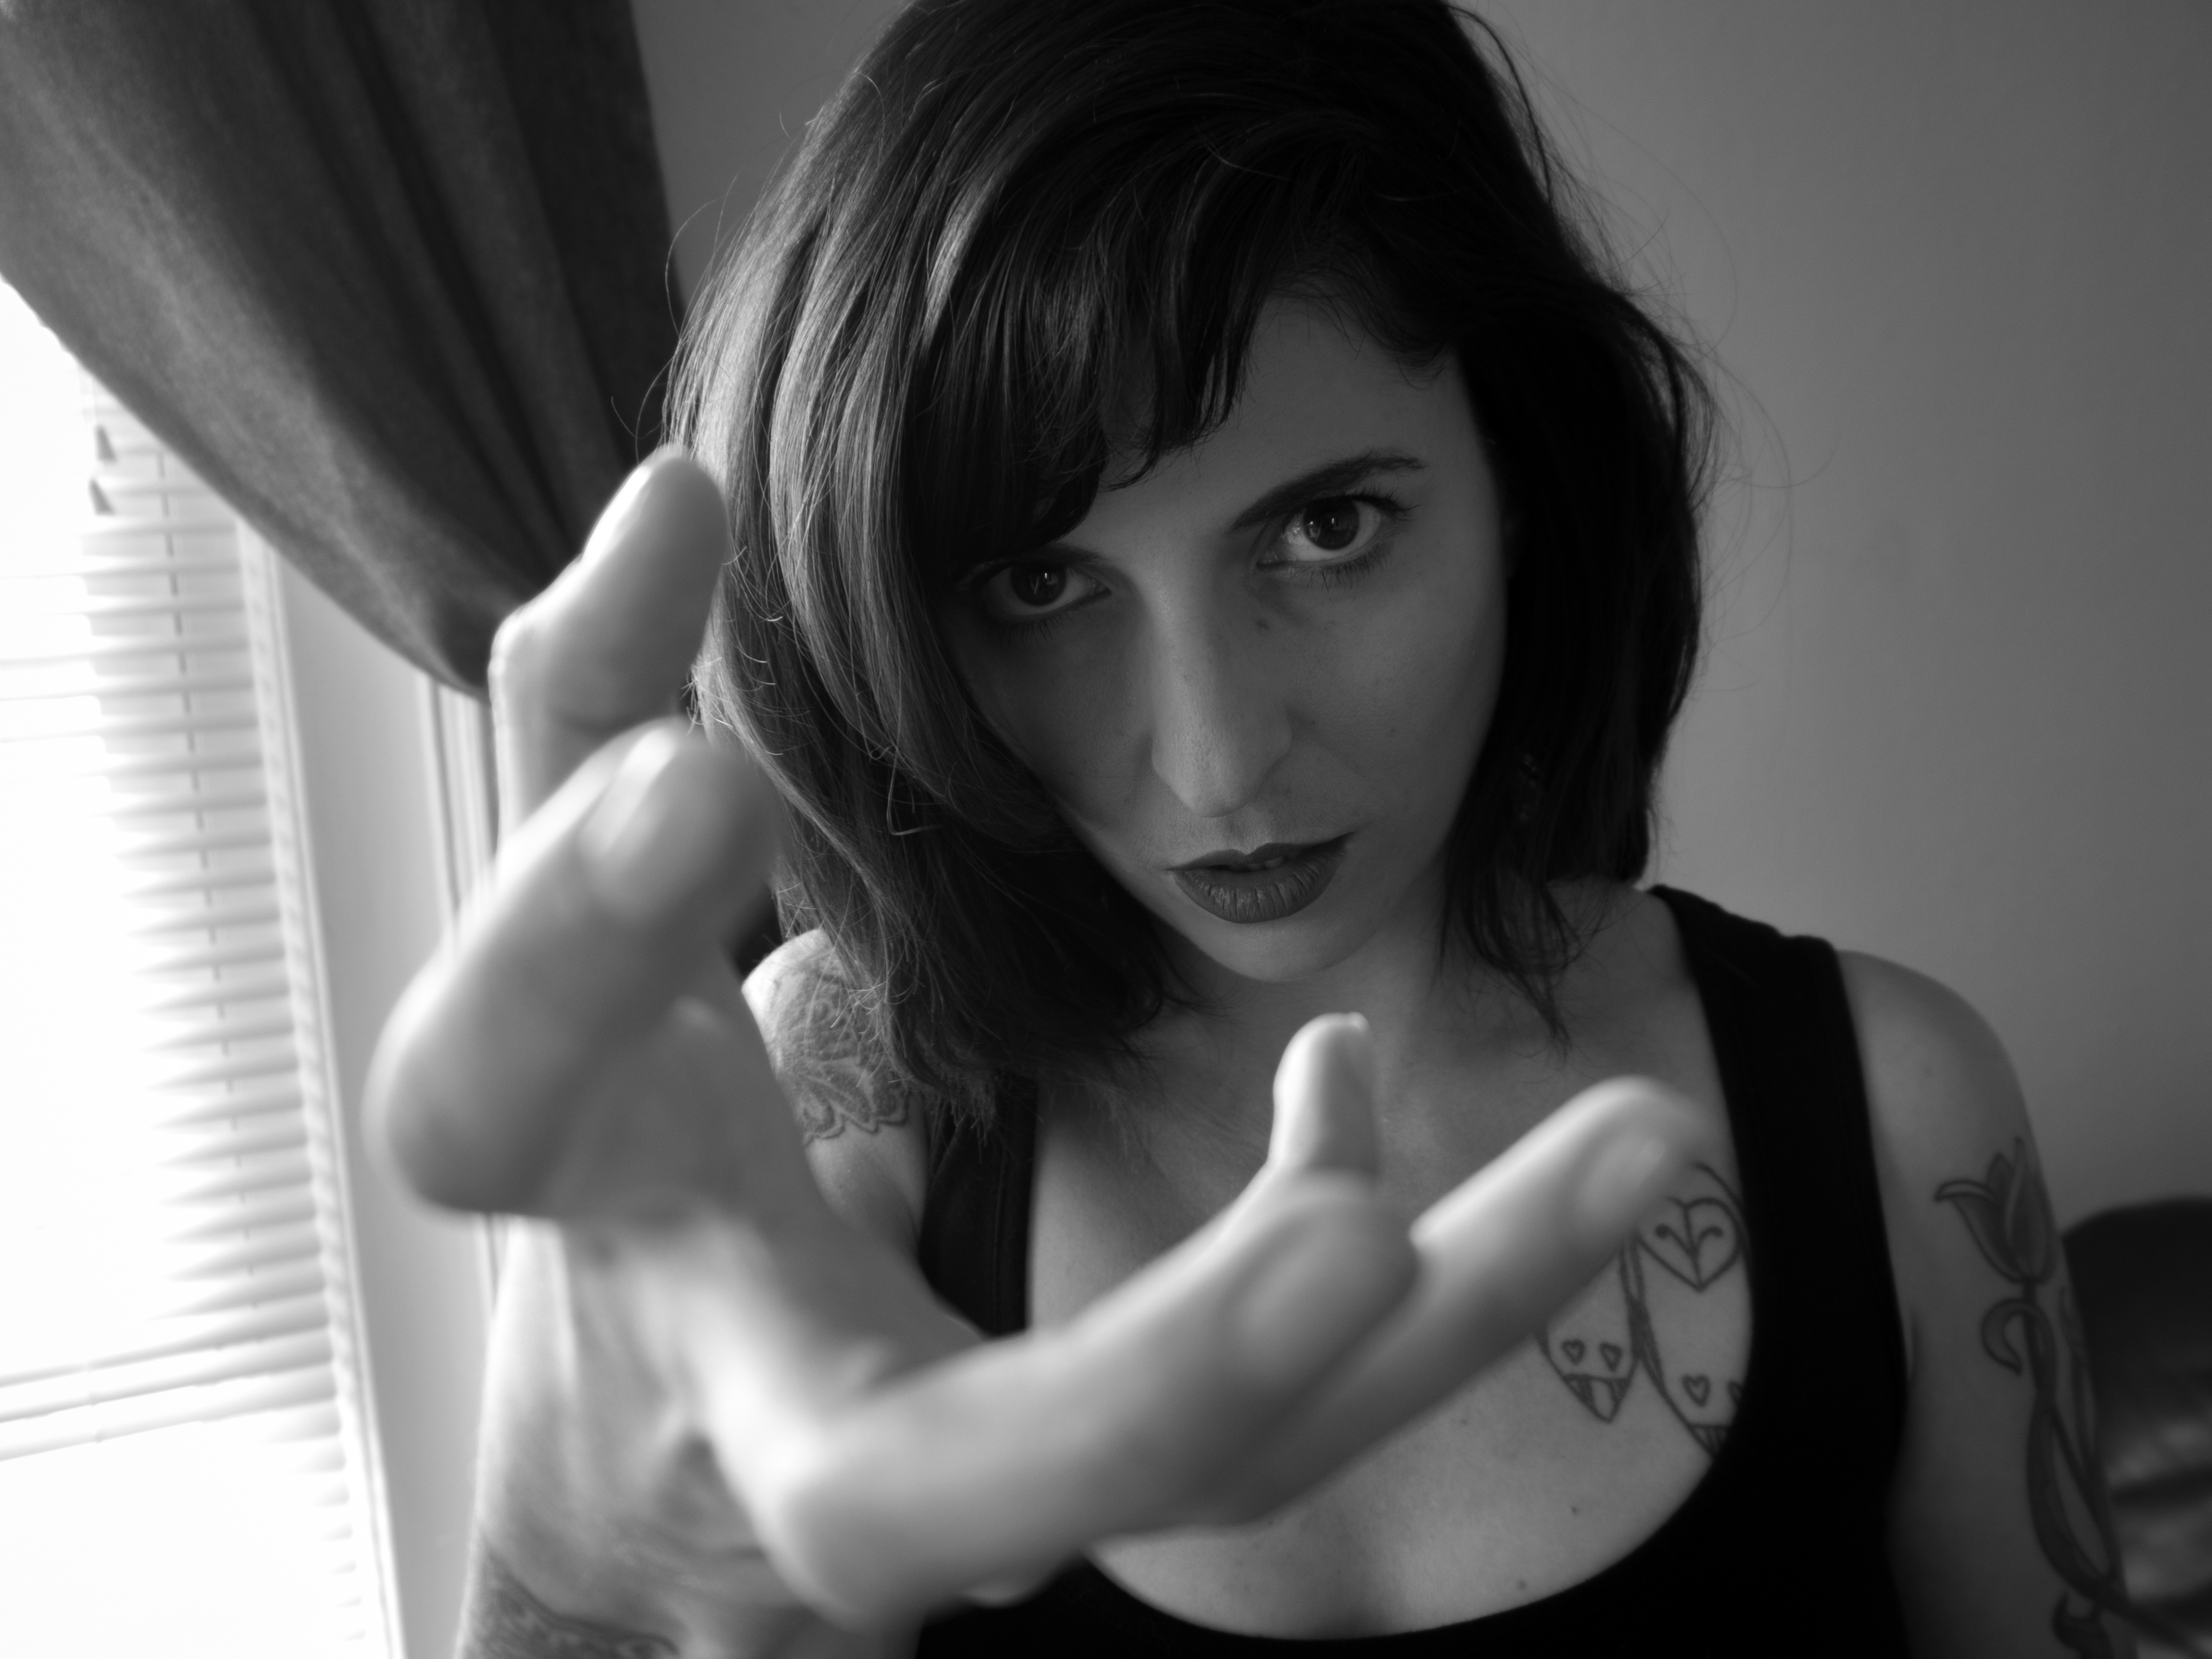
f/3.5, 0.6 sec, ISO 1600
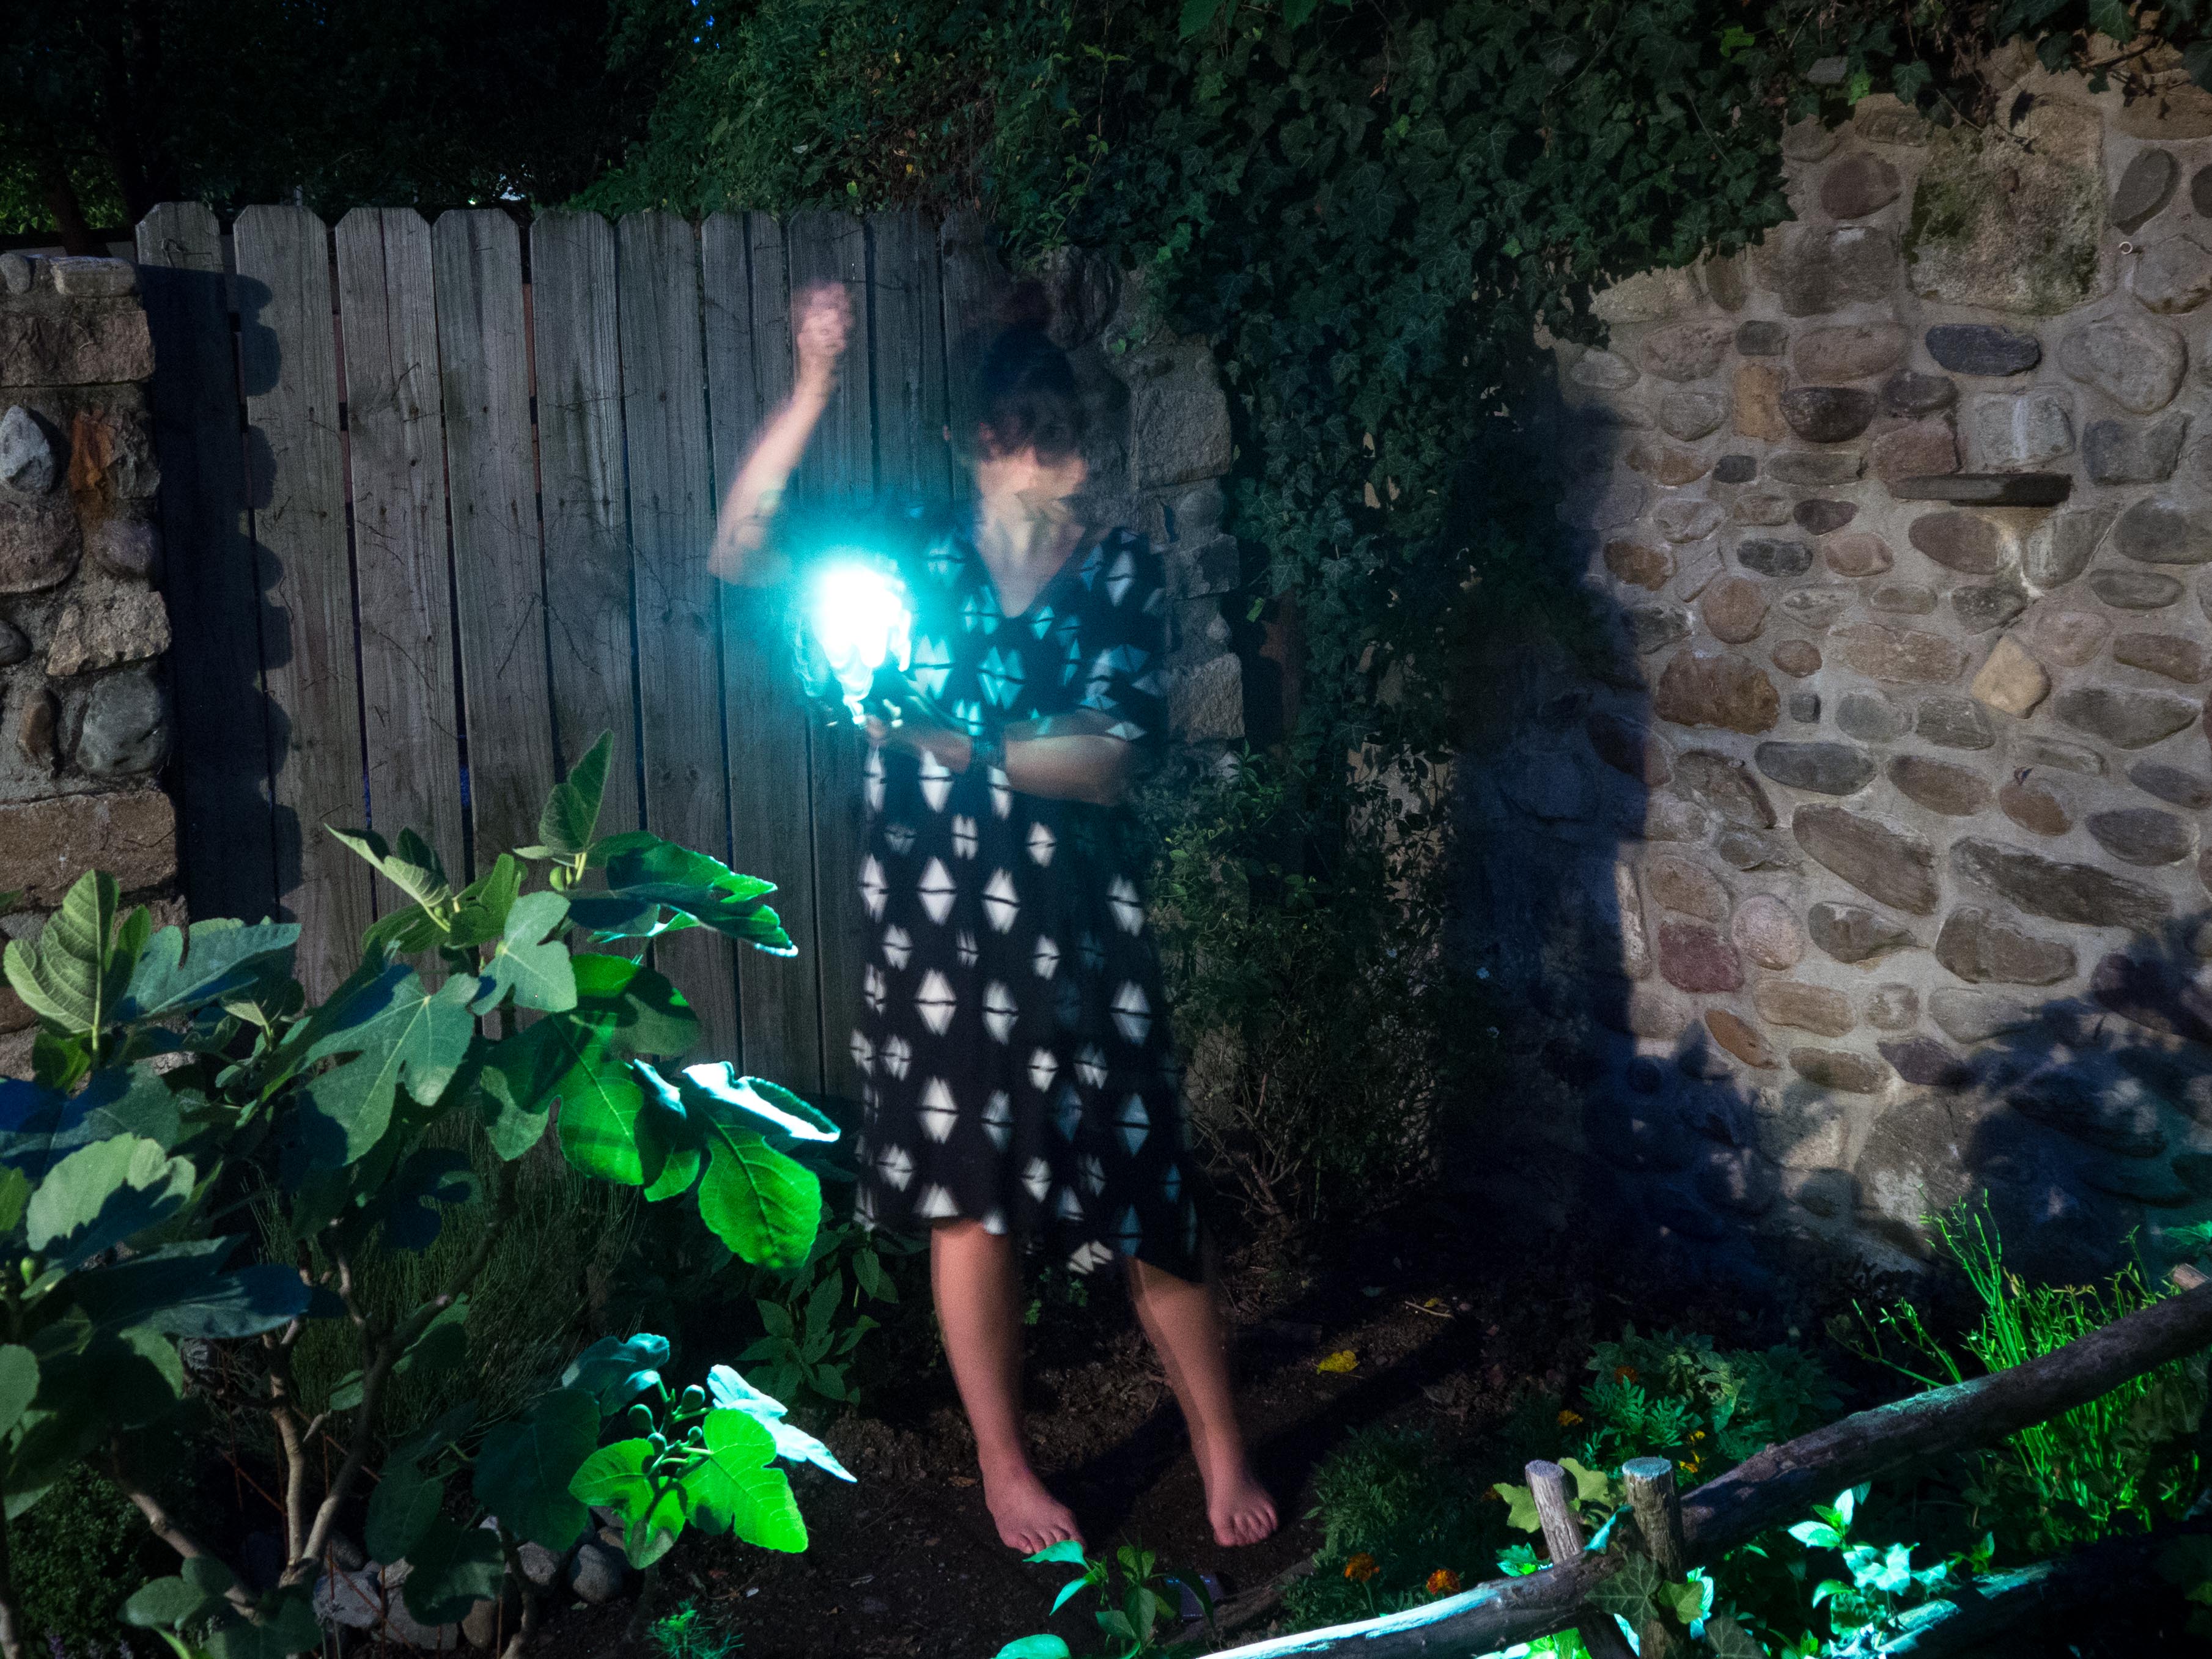
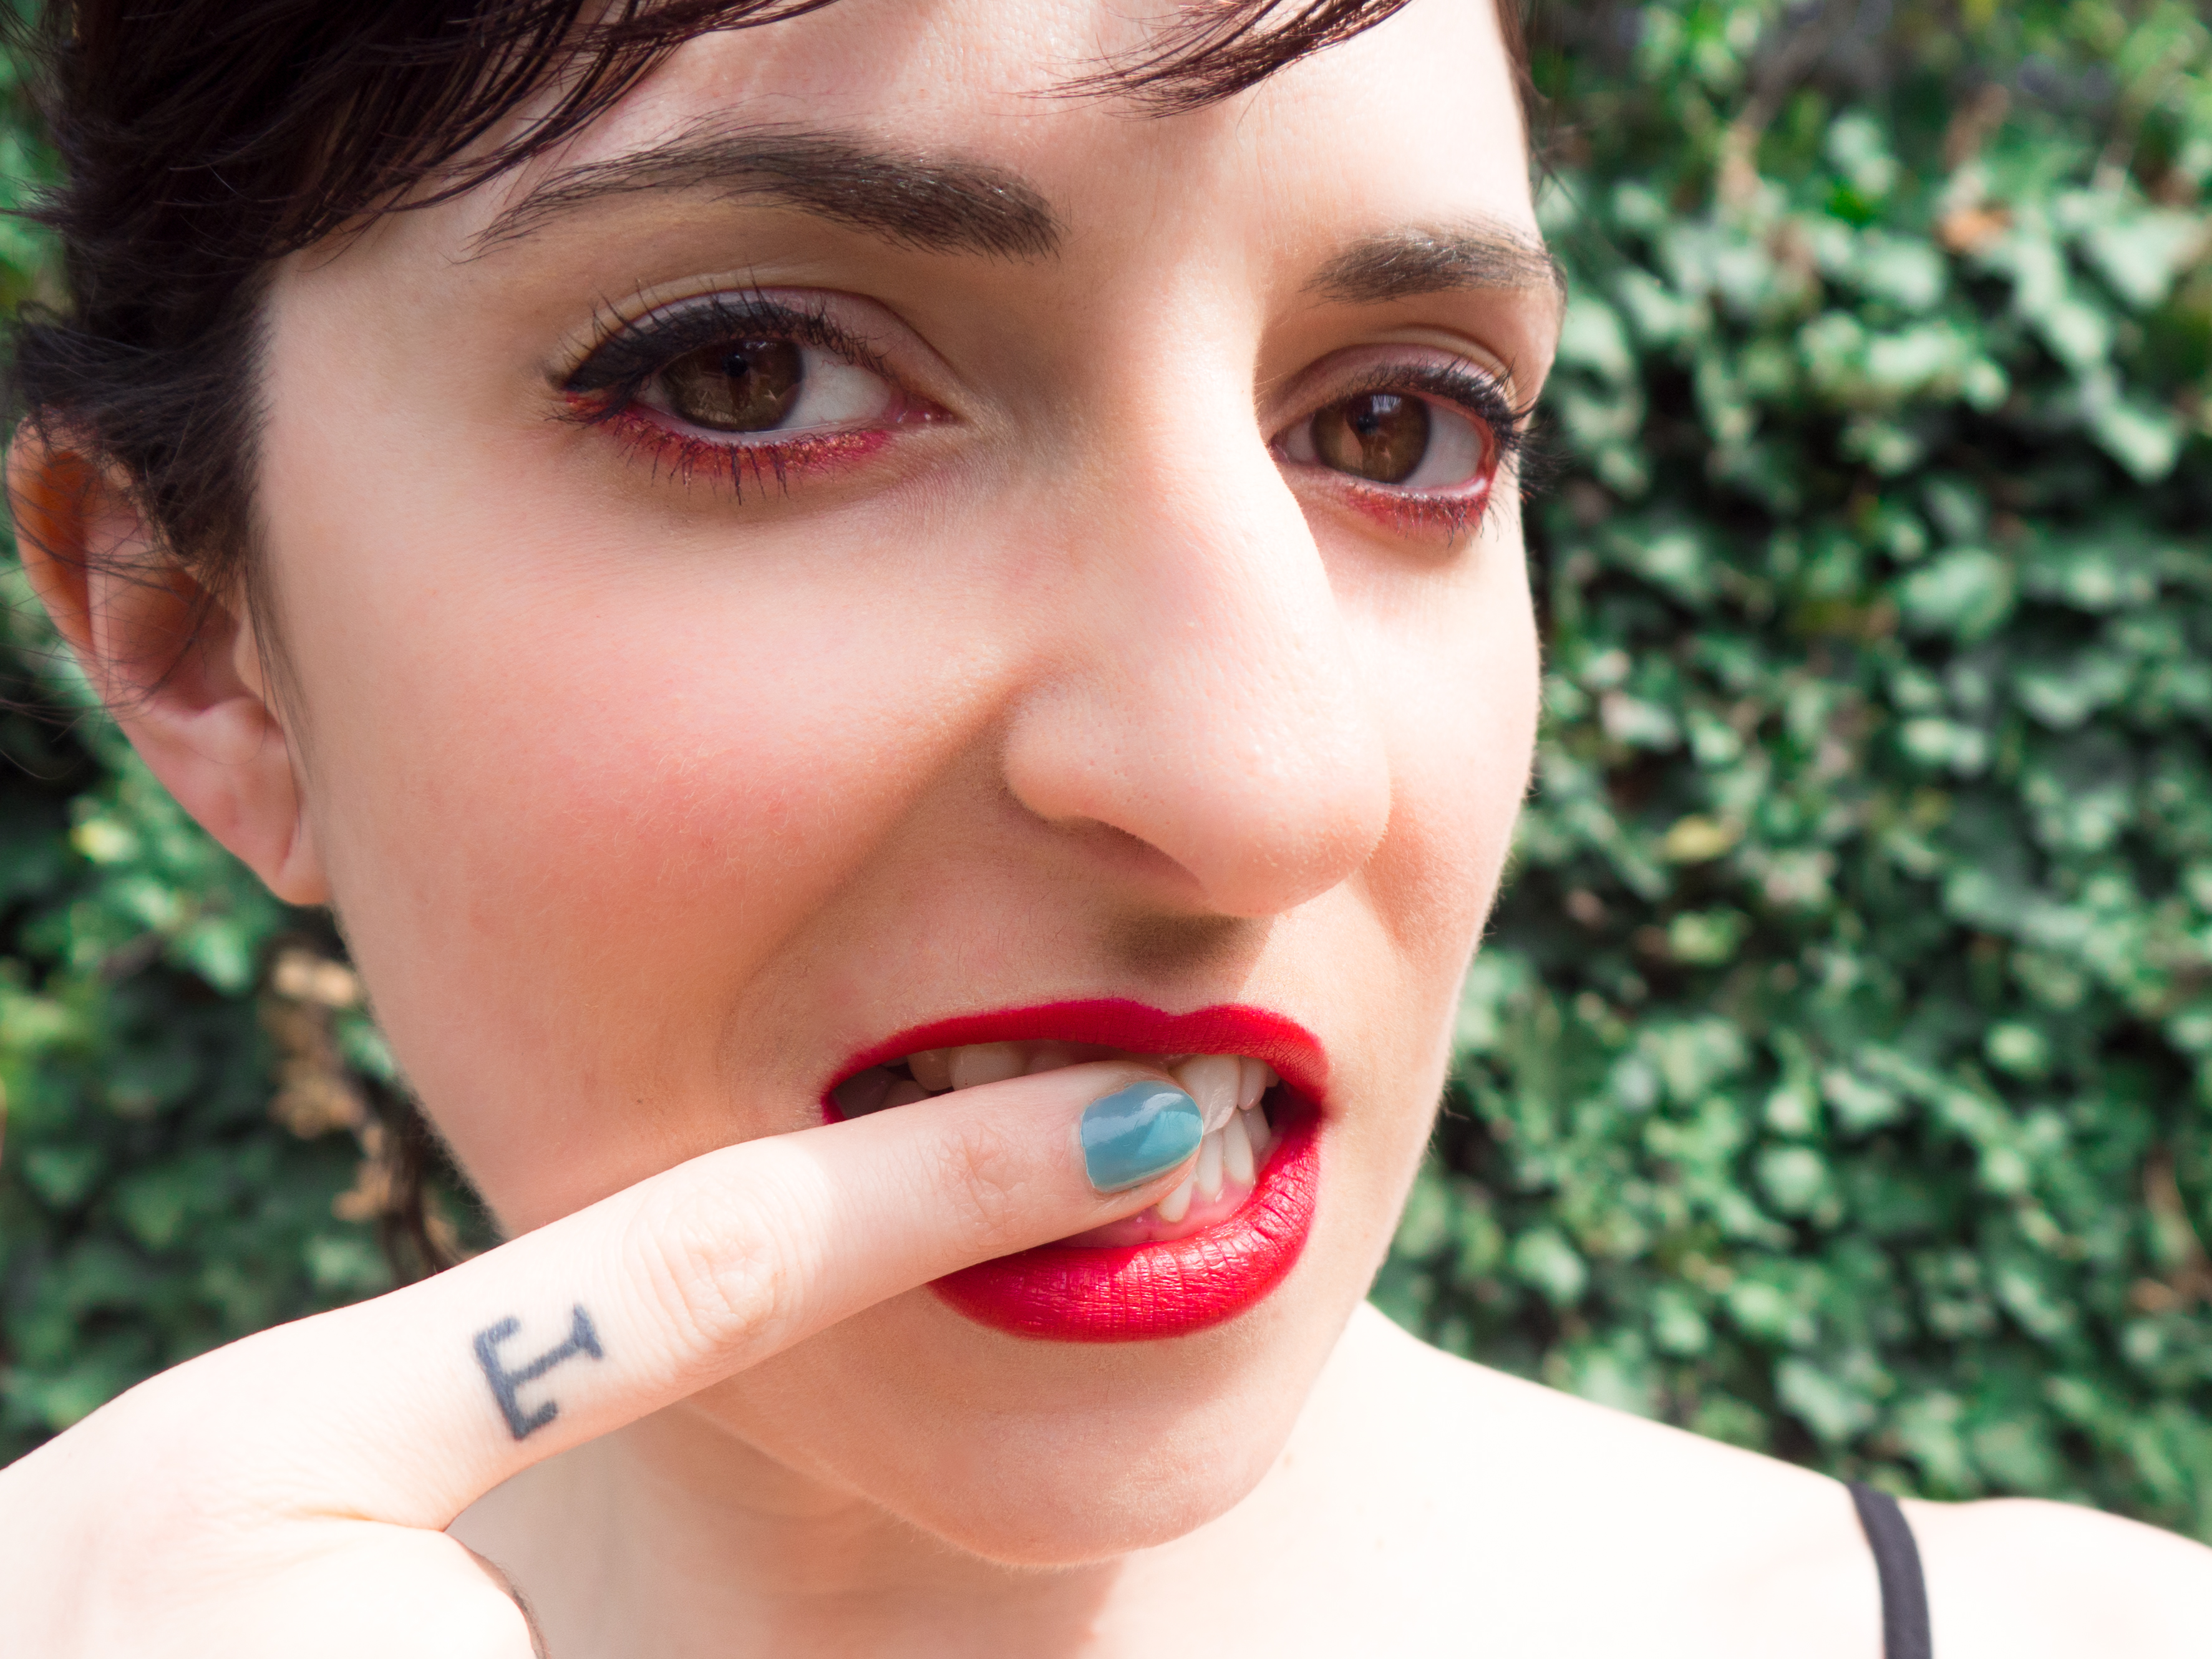
f/5, 4 sec, ISO 1600
So, the ISO is high, the shots are crazy noisy, and my face is for sure not in focus. The last one was intentionally that way, and it wound up being the one I like the most. I think I should have gone more surrealist with it.
Are any of these successful despite their technical shortfalls? I don’t think I can objectively judge my shots anymore.


