Anushila is a portrait and fashion photographer who lives in Toronto and travels all over the world. She mostly shoots with a Canon 6D camera, a Canon EF 50 mm f/1.8 II lens and a Canon EF 85 mm f/1.8 USM lens. Anushila always forgets to take the lens cap off before taking the first picture.
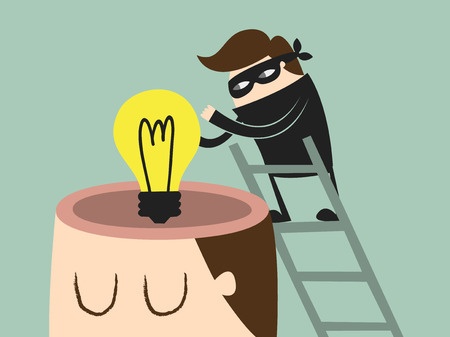
You take a beautiful photo that you proudly post on your social media. One day, you discover that your photo has been shared on someone else’s account. It’s getting hundreds—no, thousands—of likes! Your photo is going viral! You could be the next Grumpy Cat! But…the owners of that account didn’t credit you for your image. You’re crushed. You worked hard to develop your talent only to have the fruit of your labor stolen from you.
Copyright, infringement, violations, intellectual property, model release, commercial use—this word soup of legalese can be confusing or downright terrifying for uninitiated photographers. However, in the age of rapid digital photo sharing, legal violations of photographers’ rights are rampant. As a content creator, it’s important to be aware of your rights under the law as well as best practices to protect your property.
The purpose of this article is to introduce you to some of the key legal terms and ideas that can affect you and to provide reputable resources where you can find more information. This article deals broadly with US federal law and is not meant to be comprehensive; it’s a starting point. So bookmark this page and use it as a handy research tool the next time you have a question about your rights as a photographer. As always, if you have questions about your specific situation and you need legal advice, speak with an attorney in your area.
Dodging and burning (“D&B”) is the process of adding light or shadow to parts of a photo to create contrast and emphasis. Put simply, when you “dodge” you are increasing exposure to that part of the photo and when you “burn” you are reducing the exposure. These names come from the physical darkroom process, but for today’s example I will do my D&B on Photoshop, and I will assume you have basic knowledge of Photoshop layers and masking for the purpose of this tutorial (if not, you can see Chelsea’s tutorial here.) There are many other editing programs that support D&B, including Lightroom. The most important thing to remember when you are dodging or burning is to keep it subtle and work with the natural highlights and shadows that already exist in the image. Done correctly, D&B is an easy way to make a portrait more life-like and impactful.
Welcome to the exciting world of fashion photography! In this article, I will take you through a whirlwind 10-step process for organizing your first fashion shoot. As you will see from this list, in addition to technical merit, successful fashion photographers must be adept at managing a team and networking in a fast-paced, global industry.
I love fashion photography because I get the opportunity to work with talented & creative professionals in fun and stimulating shoots involving beautiful clothes—what more could a photographer ask for?!
1. Organize a test shoot…actually, lots of them! Your first several fashion shoots will be “tests.” Tests are a great way to improve your technique, test creative ideas or equipment, build a styling team you work well with and develop your portfolio.
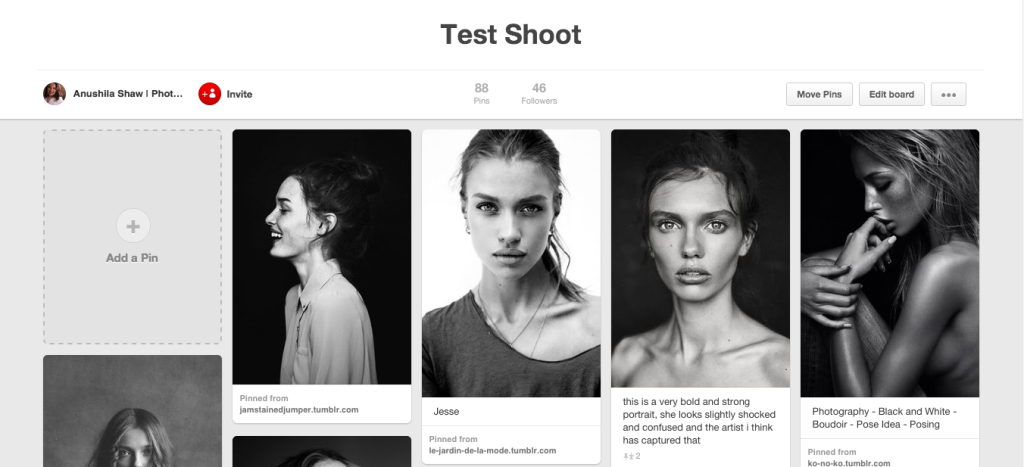
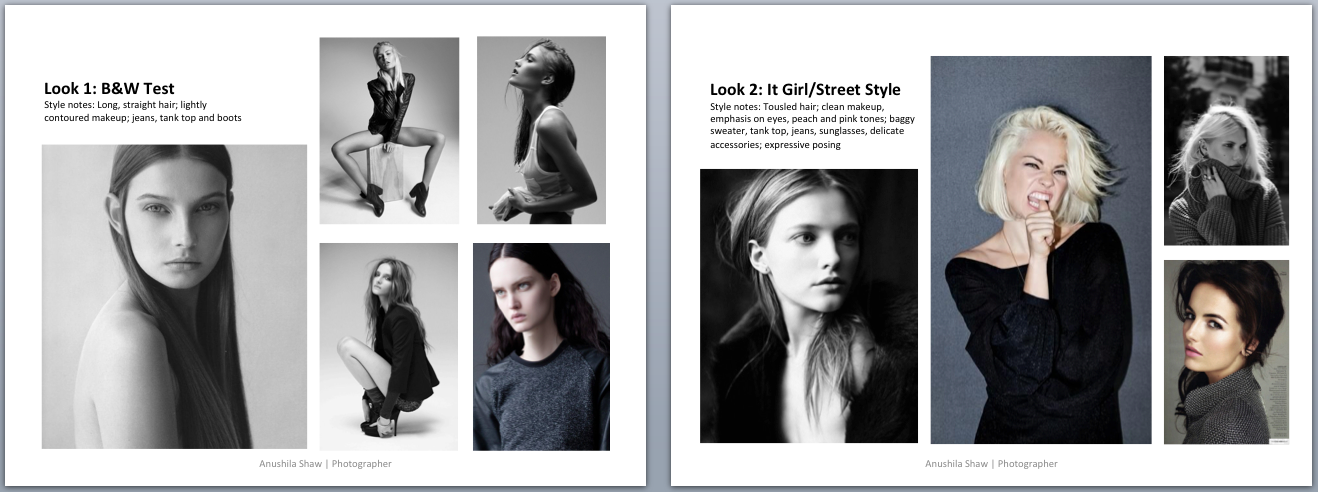
2. Create a mood board. A mood board is a powerful tool to organize and direct your shoot. Mood boards consist of inspirational images collected from other sources (often fashion magazines) that will help the model and styling team understand the looks, poses, backgrounds or locations for your shoot. I collect images on Pinterest and make a detailed mood board for every shoot.
My Test Shoot mood board on Pinterest. This is a great resource for styling ideas, poses, lighting patterns and much more. Obviously, I have a thing for intense black and white portraits! You, too, may learn something surprising about your style and preferences when you collect your favorite photos into one place. Connect with me on Pinterest to see the rest.
Pages from an actual mood board that I used for a shoot. Every photographer will make a different type of moodboard. Mine usually include detailed styling notes as well as images.
3. Build your styling team. Connect with creative professionals who are also getting into the industry and will contribute their skills in exchange for images from the shoot for their portfolios. Makeup and hair styling schools are a great place to meet talented and trained artists. At a minimum, you will need a makeup artist (many makeup artists are also proficient at basic hairstyling). Eventually, you may add a hair stylist, wardrobe stylist, nail technician, photography assistant and more.
4. Cast a model. “New faces” or “development models” are the newest models signed to an agency; these models are seeking test shoots to build their book and gain experience. Reputable agencies will typically ask to see samples of your work before booking a model. An agency may also request a meeting in person before your first shoot with their model. Before you approach an agency, shoot your most photogenic friends or cast models directly through industry websites like Model Mayhem or Model Management to build your portfolio.
5. Prepare each look. I typically shoot one to three looks for a test. For each look you will need to assemble the clothes and accessories as inspired by your mood board. Seek out local designers or boutiques that will allow you to “pull” (borrow) clothing and accessories for your shoot in exchange for credit or images. Fashion photography is a subset of commercial photography, the purpose of which is to sell the photographed items. Be thoughtful in how you select and photograph these items. Eventually, you may work with a talented stylist who will handle this task, but as the photographer, you still have the final word on the overall look.
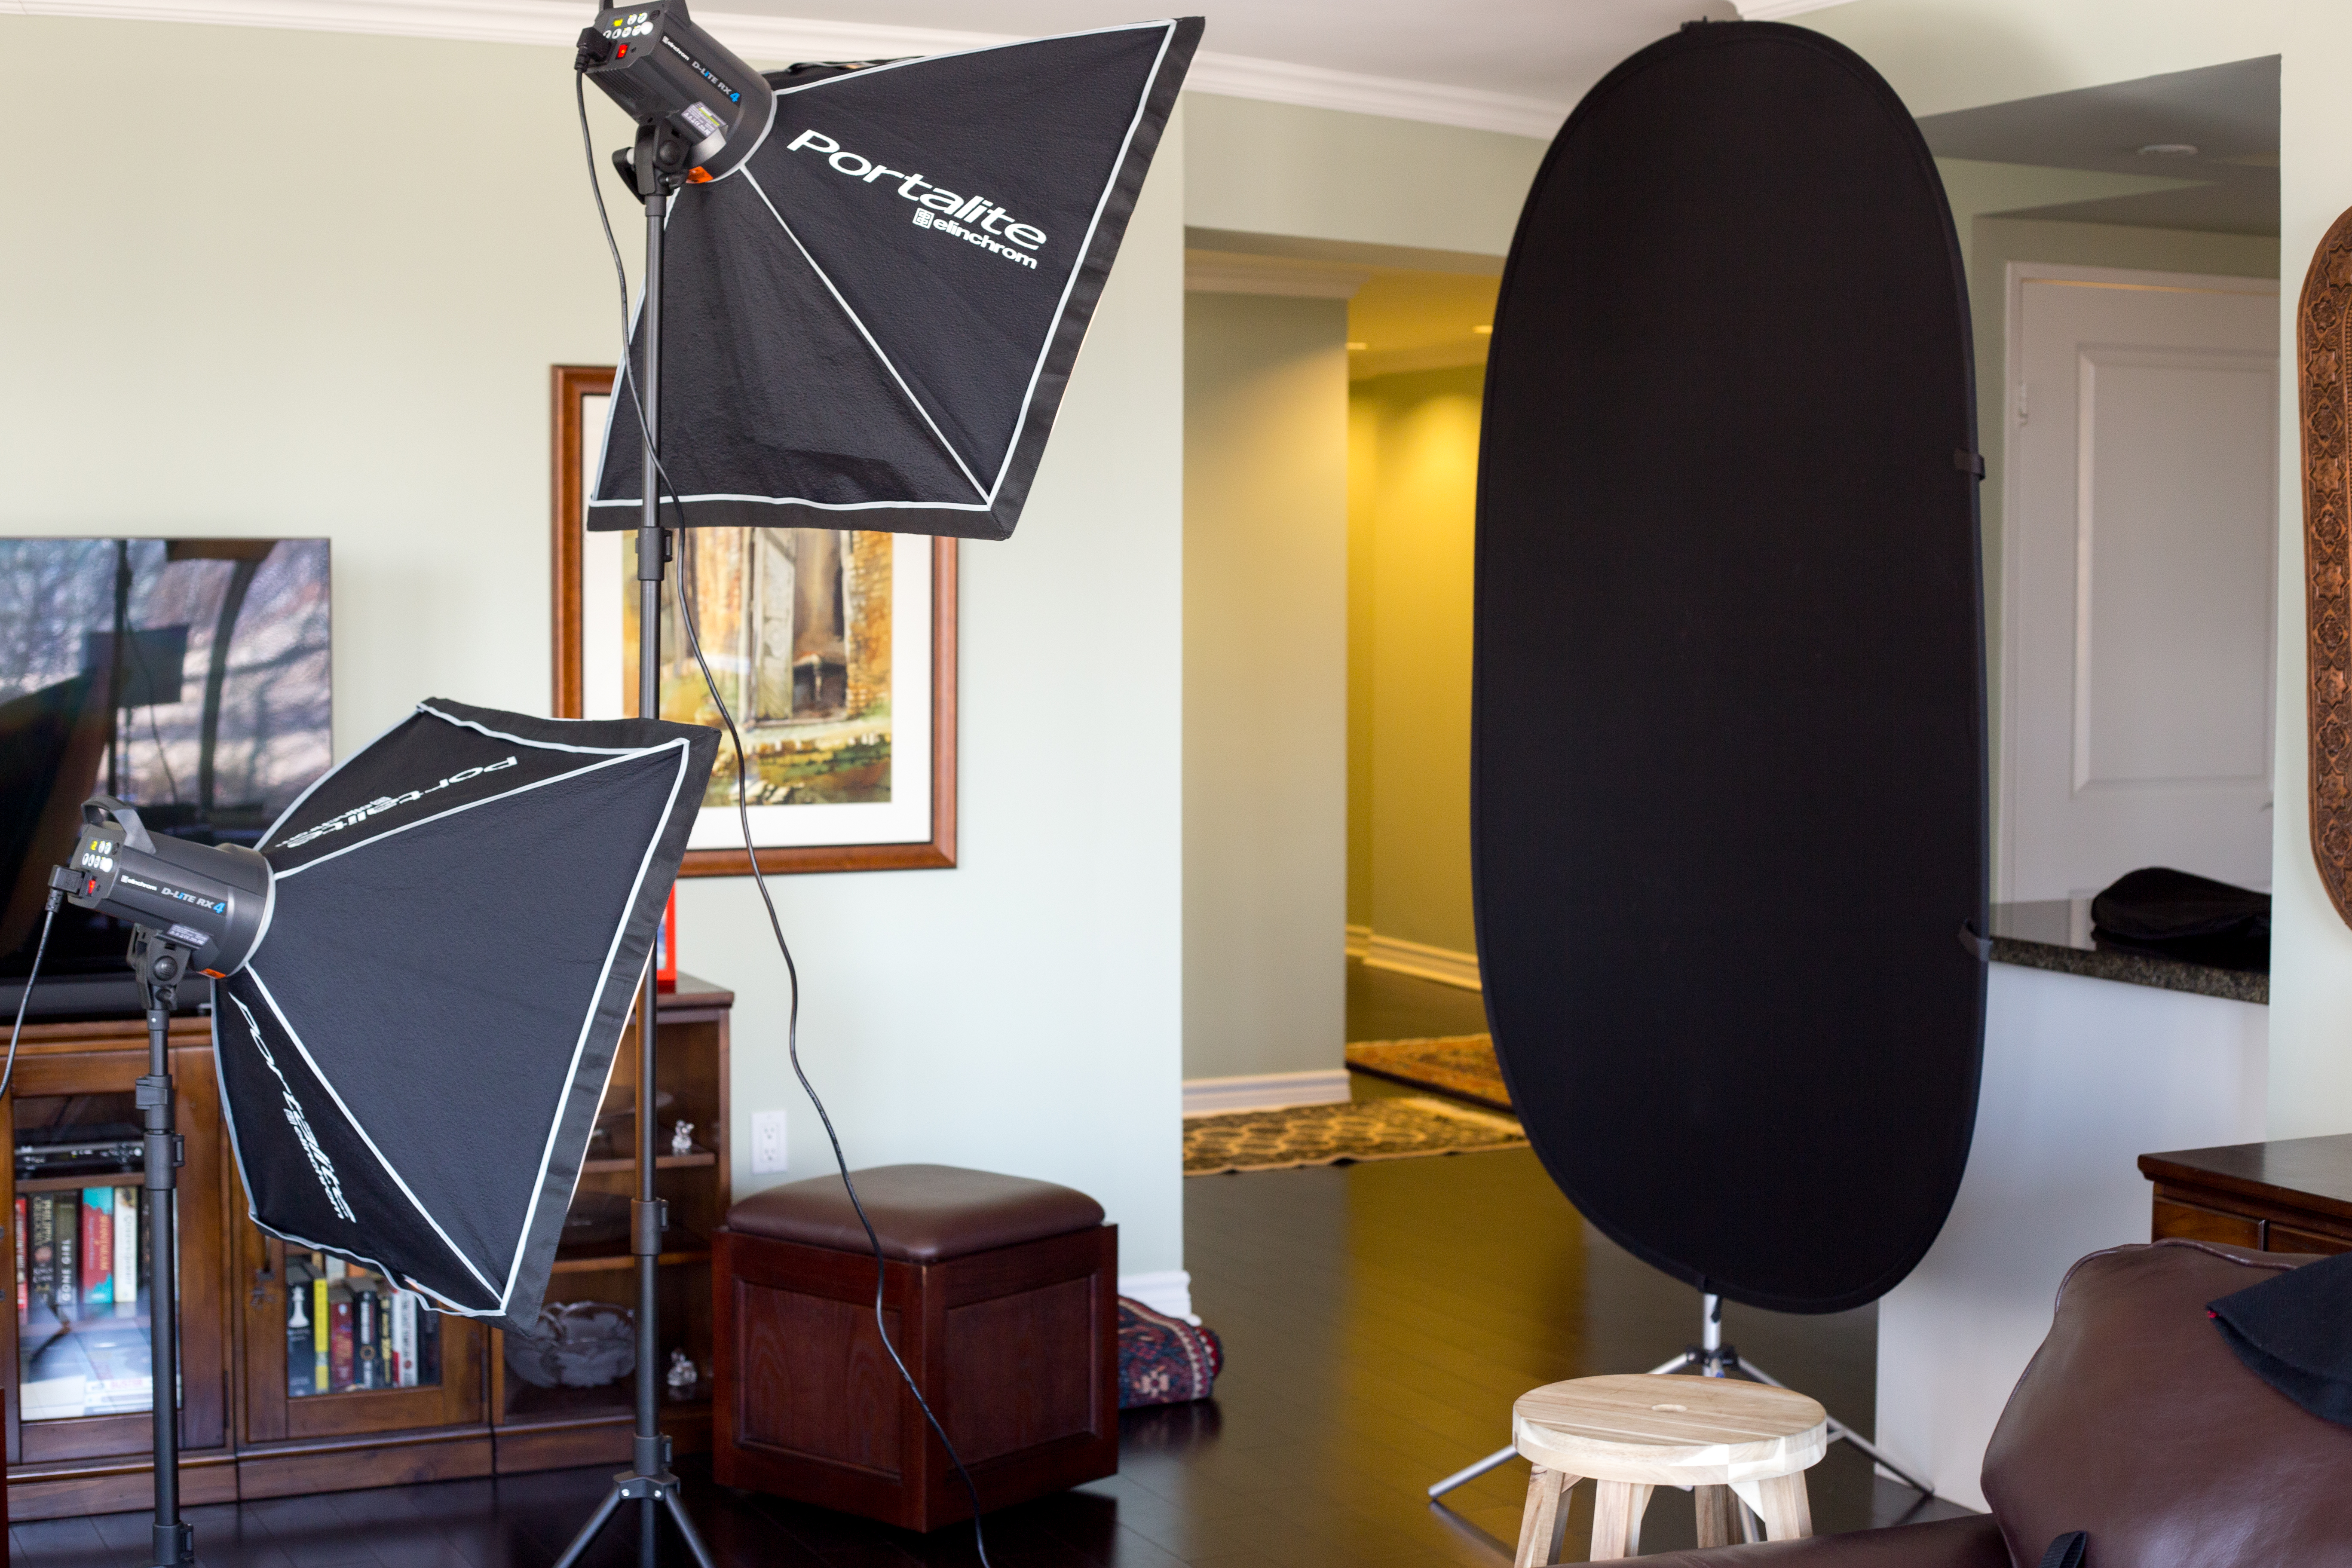
6. At the shoot. My favorite part of the entire process! I typically have my styling team arrive early for set up and to discuss the plan for the day. Once the model arrives, he or she is put into the hair and makeup station. This can take quite long—from 30 minutes to an hour—so this is a good time to set up your lights and backdrop. Finally, because fashion shoots are quite physically taxing, I like to provide healthy snacks and drinks at longer shoots to keep everyone energized. Great music will also pump up the energy and keep the good mood flowing on set.
Where the magic happens. You don’t need lots of fancy equipment, but a basic neutral backdrop and lights are essential. While natural light shoots are becoming popular in the industry, a fashion photographer is still expected to be a master of studio photography. I often shoot at home but will also rent studios and equipment when I need space to get creative.
7. Back Up. Back up your files!! Back up your files!! Back up your files!! Fashion shoots have lots of downtime during hair and makeup changes, so use this quiet time to review your work and…back up your files.
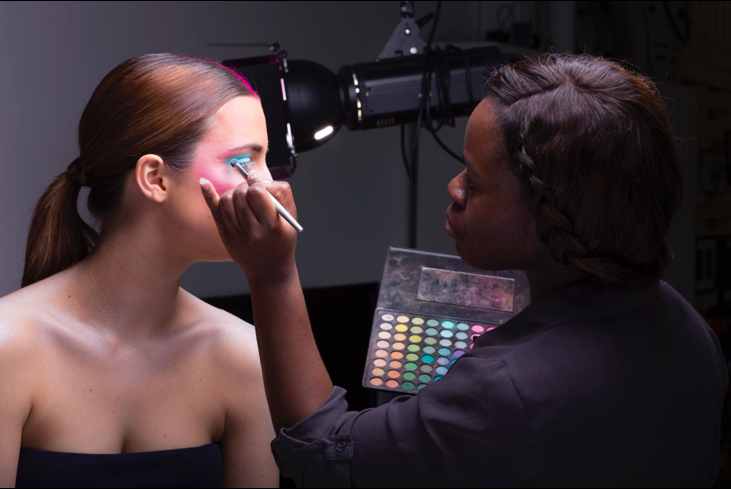
Talented makeup artist Keisha Kerr touching up model Madison (ILAND Models) on my set. My team is hard at work!
8. Review and edit. Each shoot will generate several hundred to over a thousand photos. Review your work and select the best images to process. In fashion, quality counts over quantity. You only need two to three GREAT images for each look, and you will probably spend several hours carefully selecting and processing the chosen images. Your styling team and the model’s agency may also request specific photos for their portfolios.
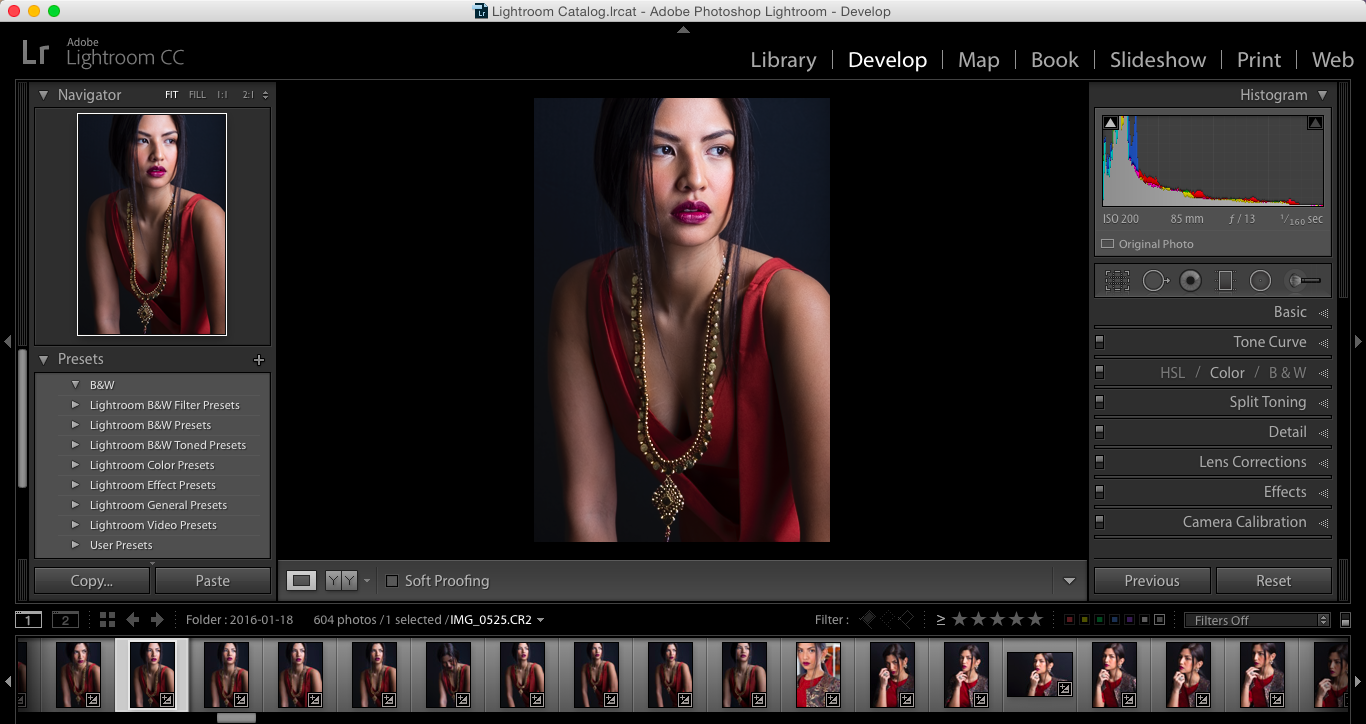
Lightroom is a powerful organizational tool. I took over 600 shots at this recent shoot, of which less than 20 are likely to be edited and shared with the world. My beautiful model above is Pilar (B&M Models).
9. Share your finished photos with the world. Marketing is everything in fashion photography. Share your best work on your website and social media, and remember to credit your team members. Facebook, Instagram and Behance are all popular social media and photo sharing sites for fashion photographers. Marketing your portfolio will build your brand and name recognition in this fiercely competitive industry.
10. Rinse and repeat. Evaluate your work with a critical eye and don’t be afraid to ask for feedback from your team members. I love this entire process, and as soon as one shoot is over I find myself thinking of and planning for the next one!
Have you ever come across a portrait that seems to reach out and grab you? For me, it’s National Geographic’s “Afghan Girl” cover photo by Steve McCurry—her haunting beauty, direct eye contact and the juxtaposition of complementary colors make an unforgettable and iconic portrait that’s difficult to turn away from.
Whether it’s strong eye contact, unusual composition or dramatic colors (or black and white), there are many ways to create your own eye catching and heart stopping portraits.
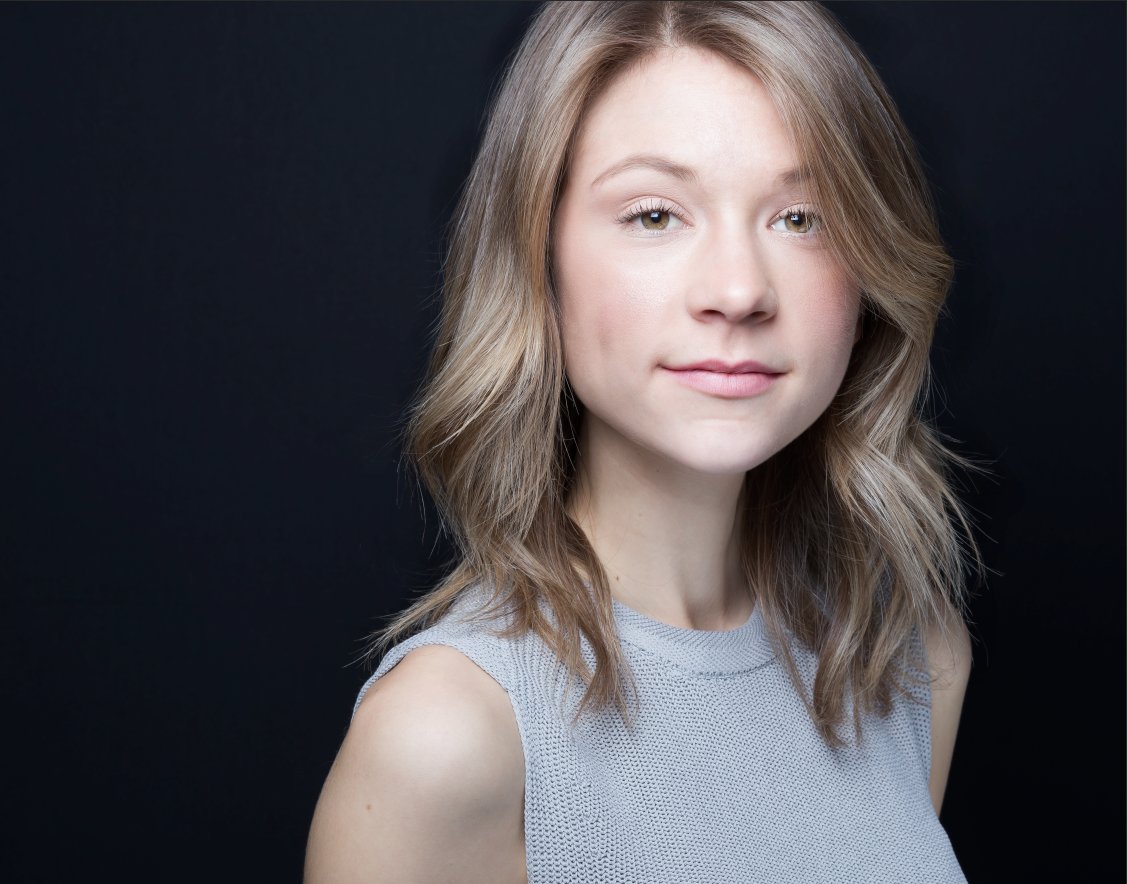
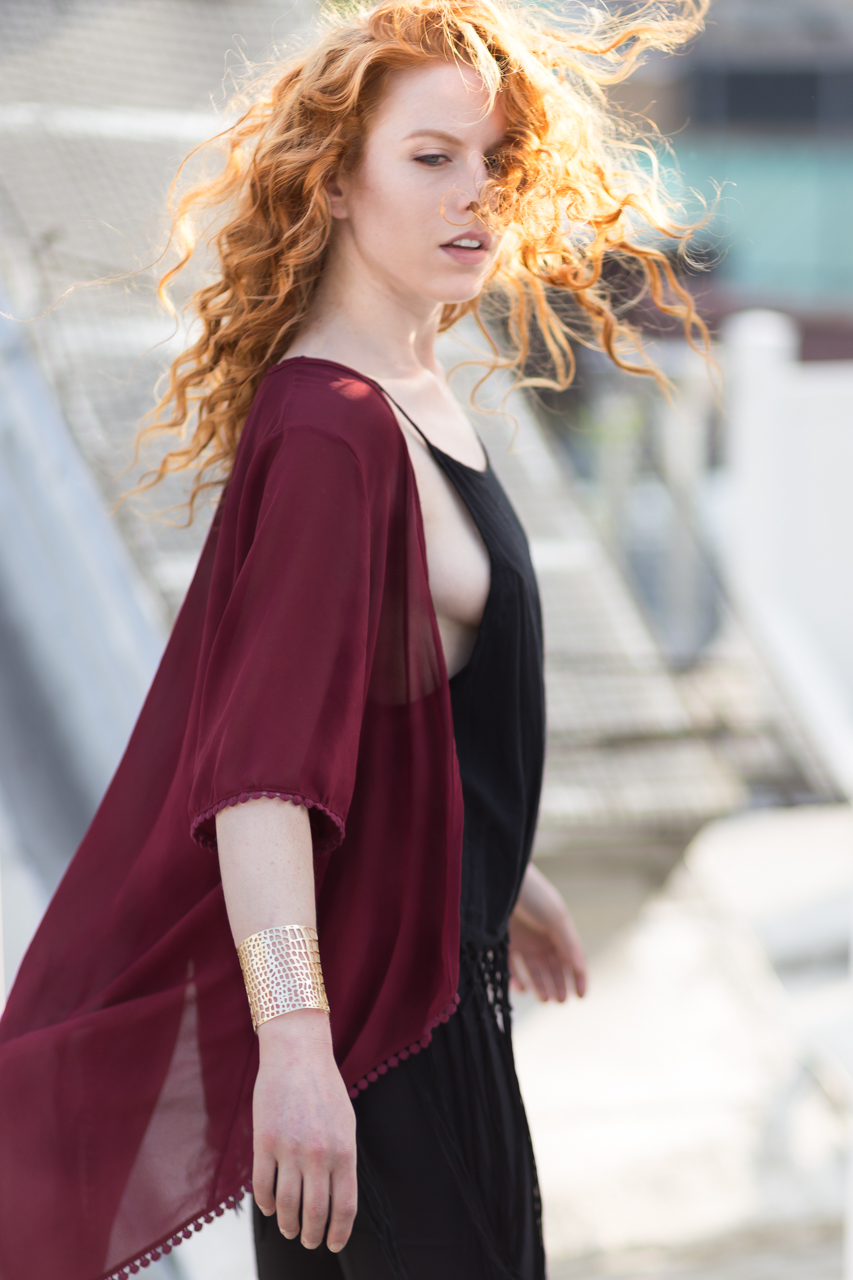
Model & actor Brittany Rose
Pick An Interesting Subject
The first step to an interesting photo is an interesting subject. The best subjects are comfortable in front of the camera and understand how to portray emotion. I often work with actors as they can express a wide range of emotions with their whole body.
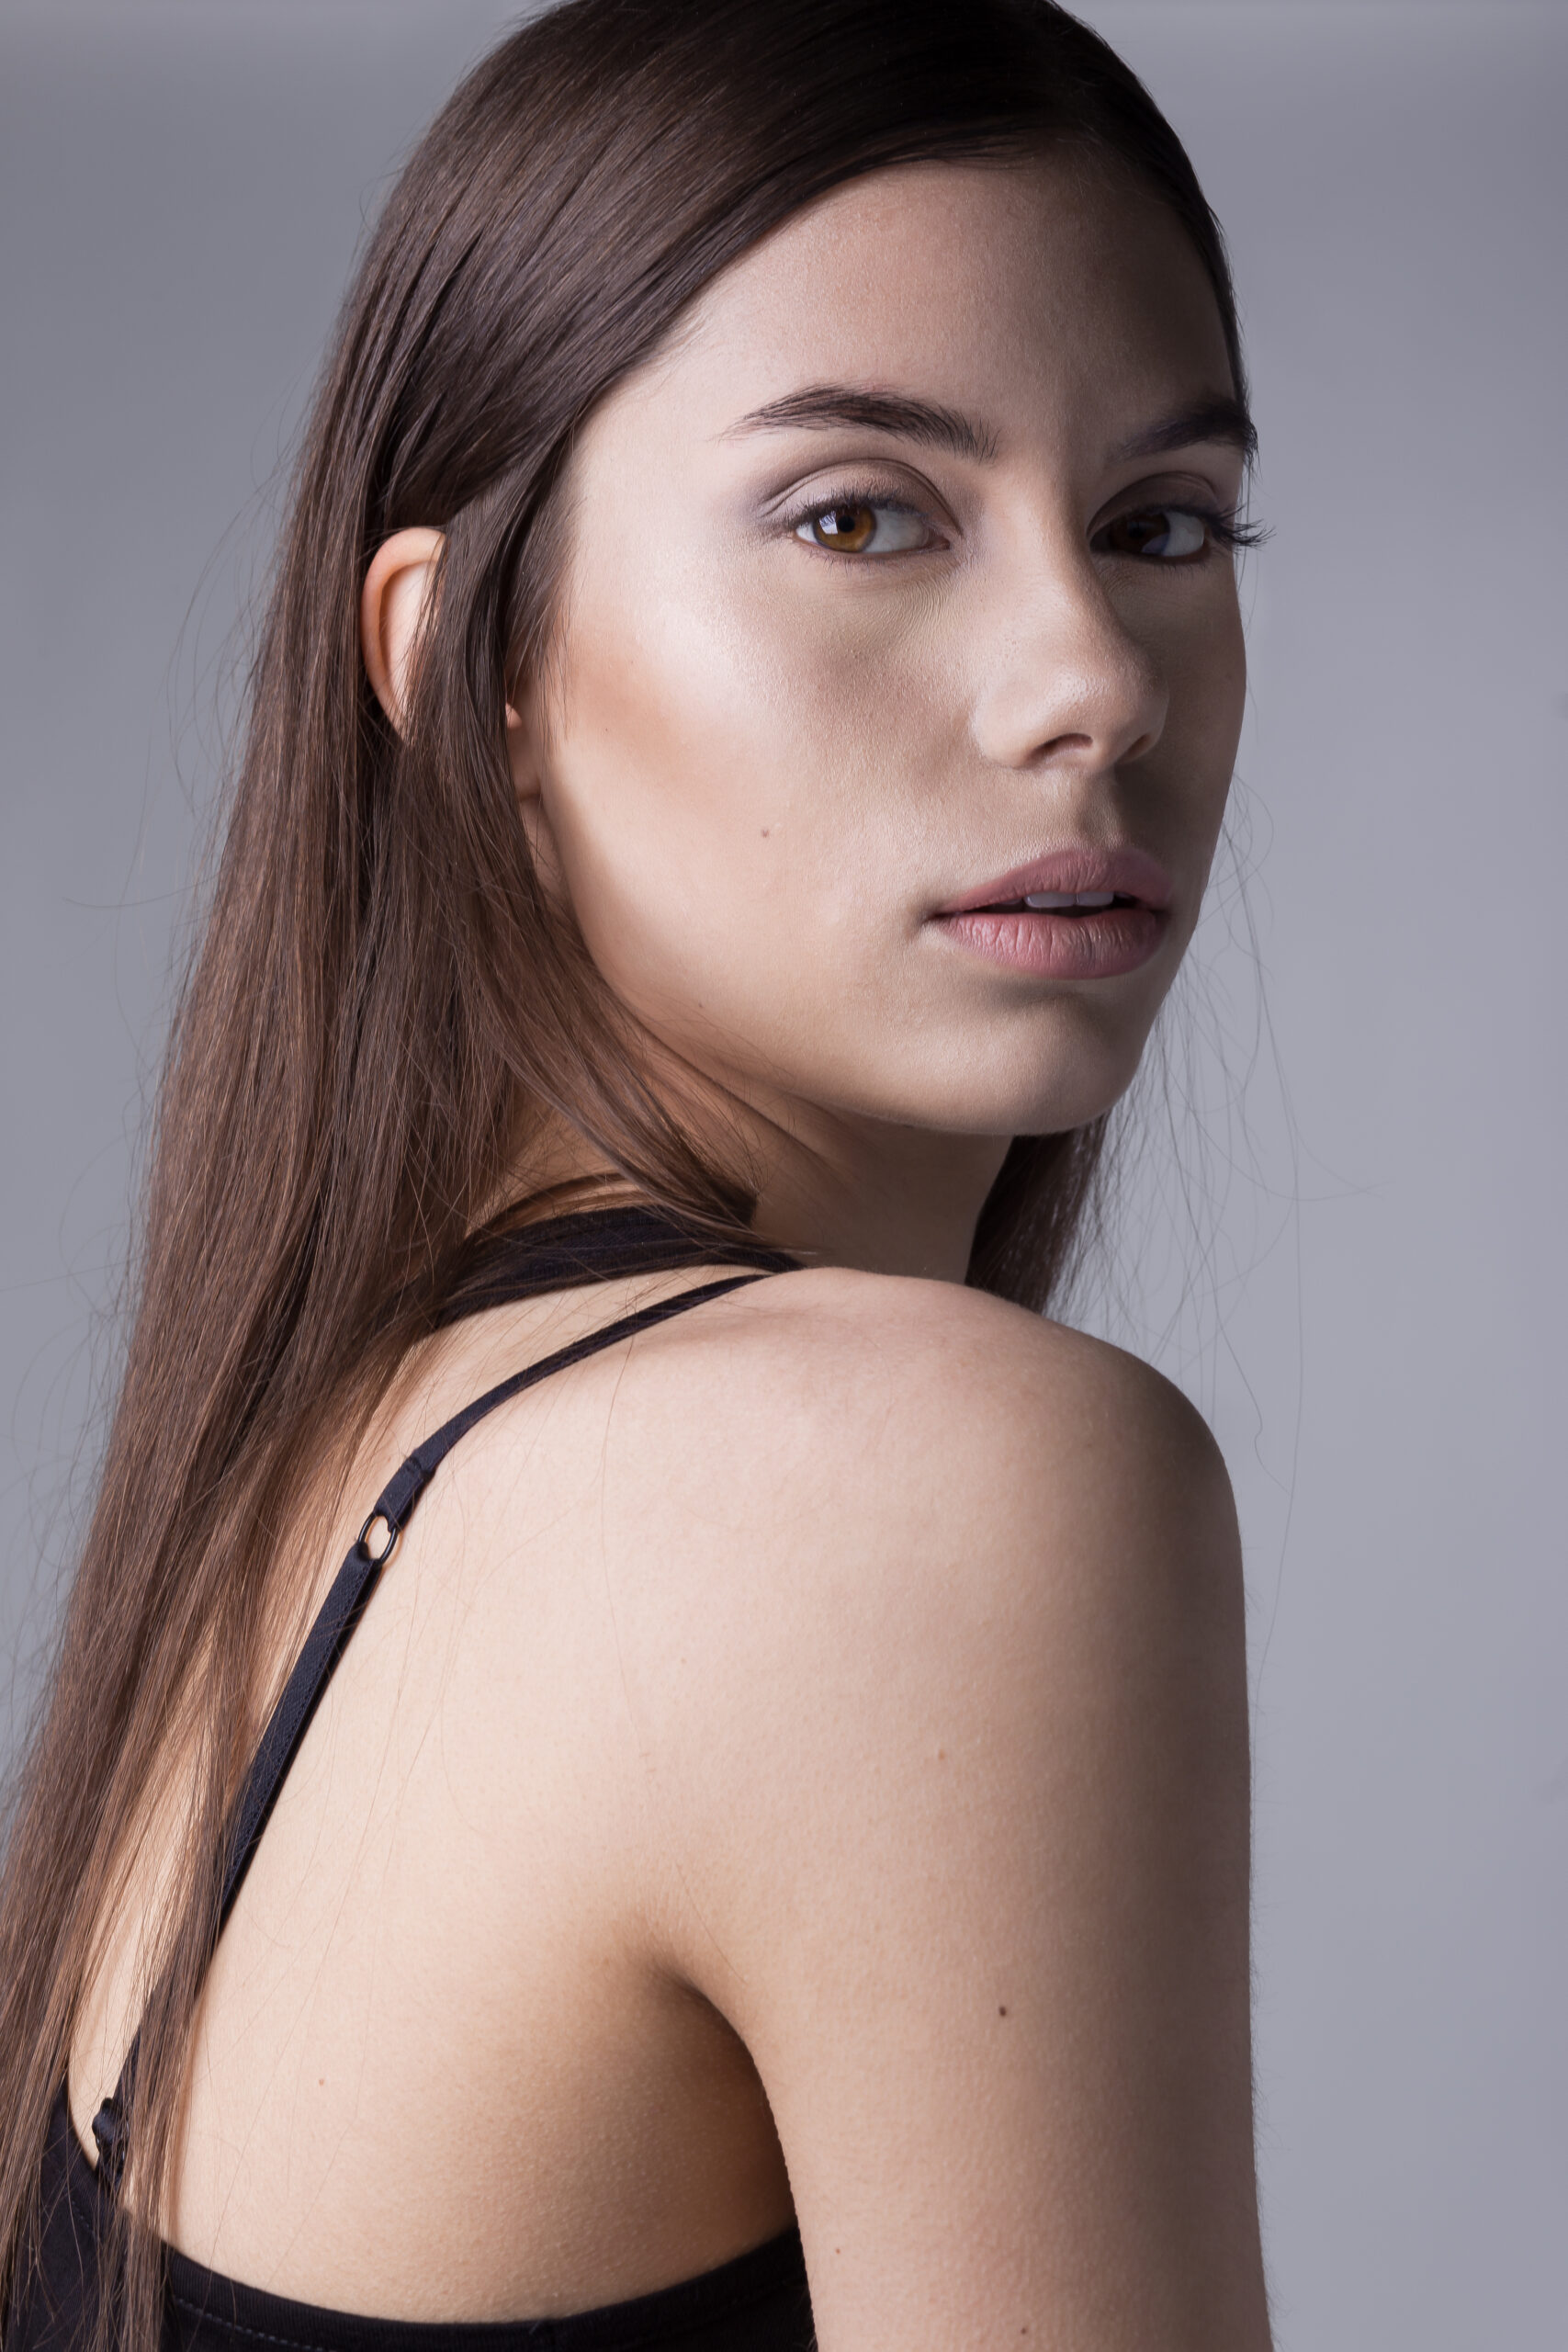
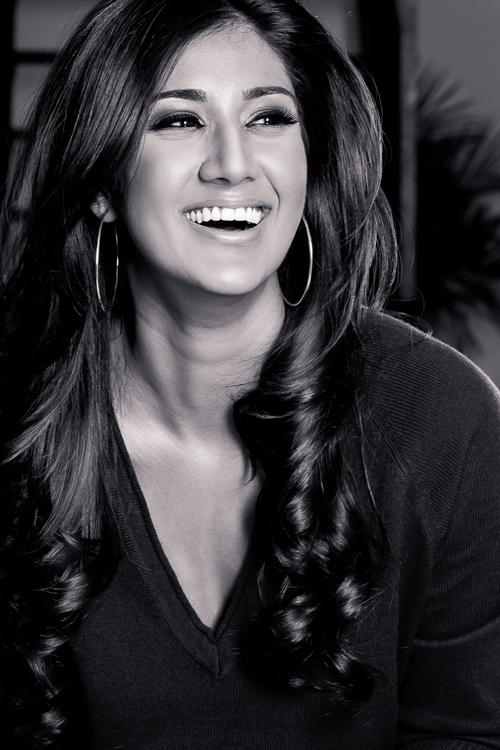
Blogger Preeya of Beauty Cubed. Preeya is a good friend and we talked and laughed throughout the shoot. I often photograph my models while we talk to capture nuanced and genuine expressions.
Once you find your model, identify a single eye-catching feature—a subject within a subject. I often look for beautiful eyes, unusual coloring or an engaging smile. Work with your model to create storyline for your shoot—this will guide your model’s posing and allow him or her to emote accordingly. Dramatic portraits convey real emotions that the viewer can connect with.
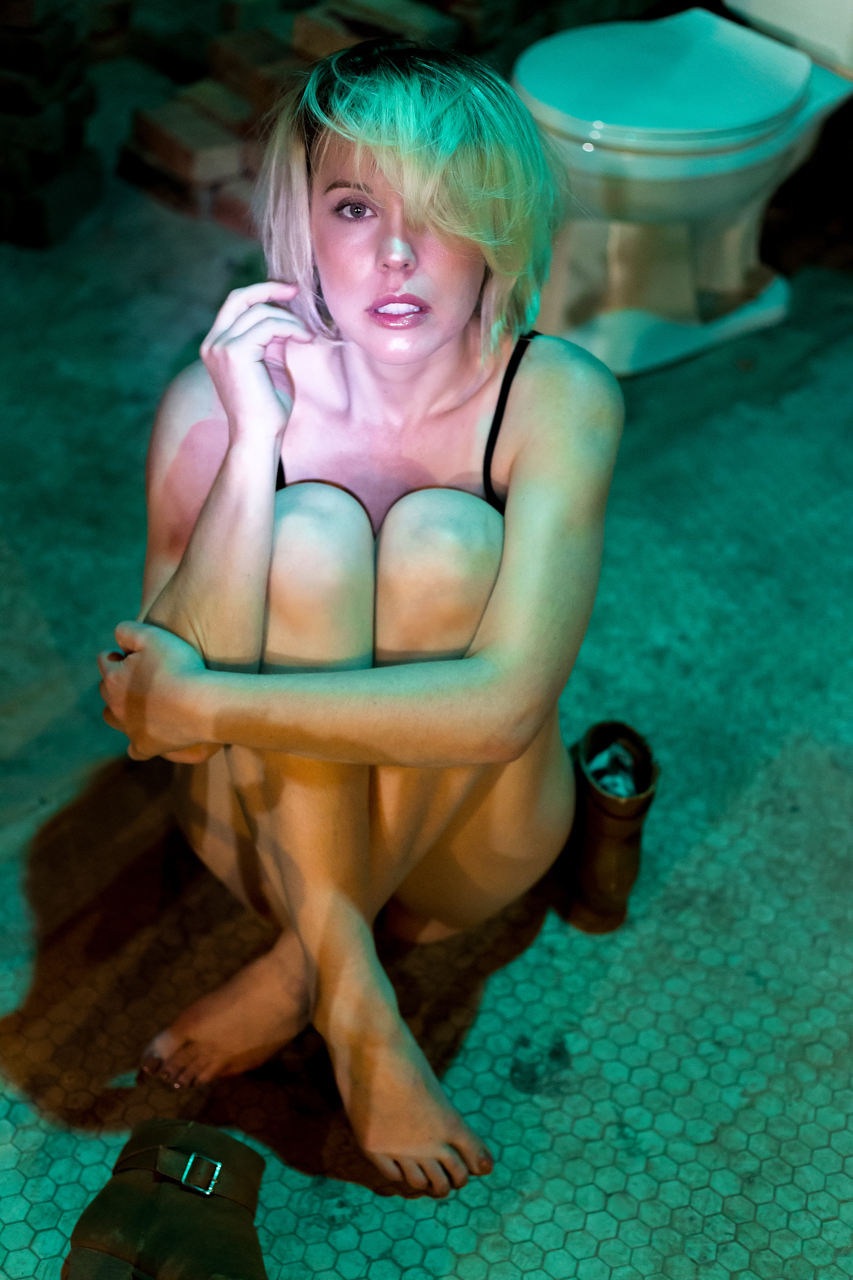
Model Gabrielle. We had a lot of fun at this shoot! Gabrielle and I came up with an elaborate backstory about her character, a young girl trapped alone in the strange basement we were shooting in. I surprised her by shining a flashlight on her and snapped this image as her head came up.
Focus Your Photography
In real estate they say it’s all about “location, location, location!” To create a dramatic portrait you need to “simplify, simplify, simplify!”
Get close to your subject—I tend to use relatively wide lenses, 50mm and 85mm focal length prime lenses on a full frame camera—and focus your mind and your camera on that single interesting feature you identified (the subject within your subject). Give your model plenty of direction, feedback and encouragement as you shoot. Because you will be very close to your model, watch for small changes in tension around his or her eyes and mouth for the Decisive Moment.
Meter your camera’s exposure for your subject. A blown out or shadowed background is your friend and will add to the dramatic and eye-catching nature of the portrait. If you choose to show the background, make it part of the story—have your model interact with an interesting setting.
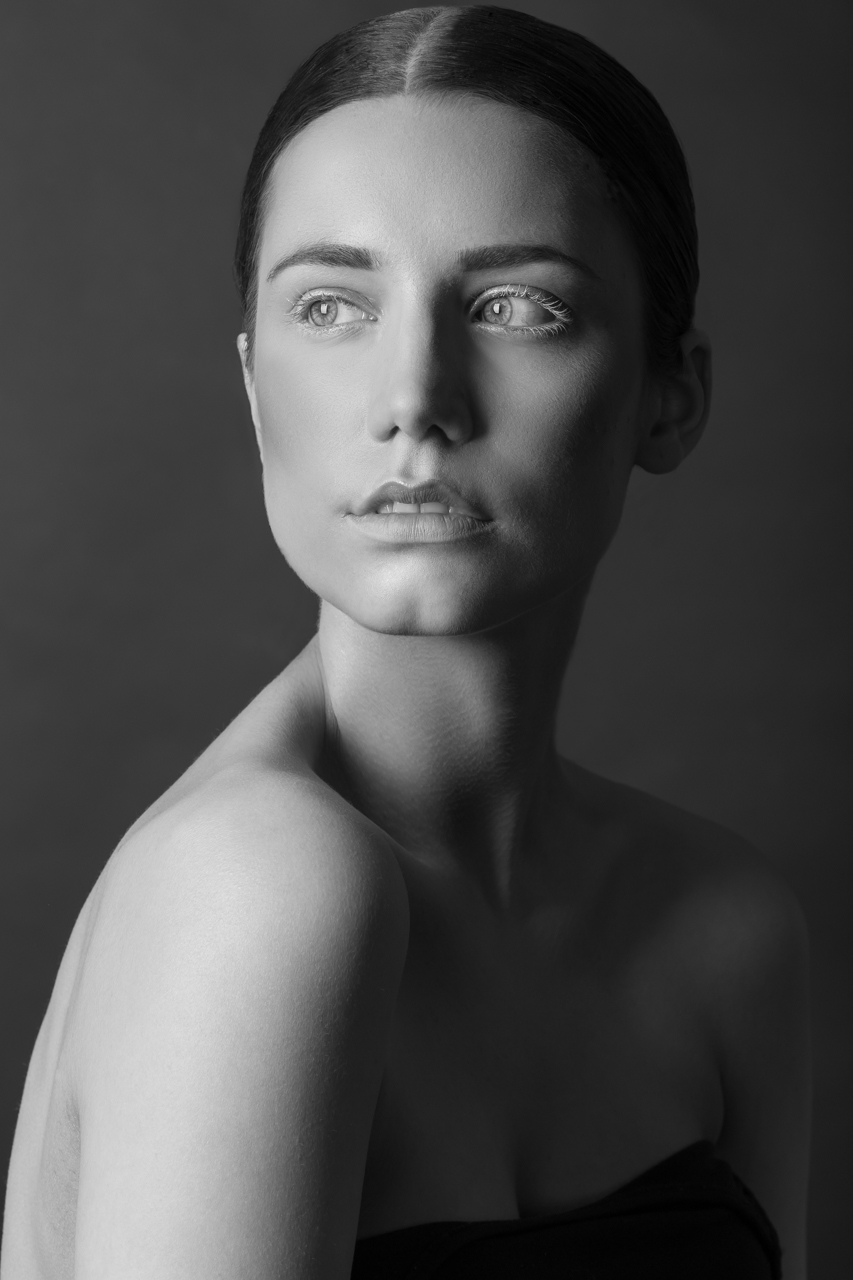
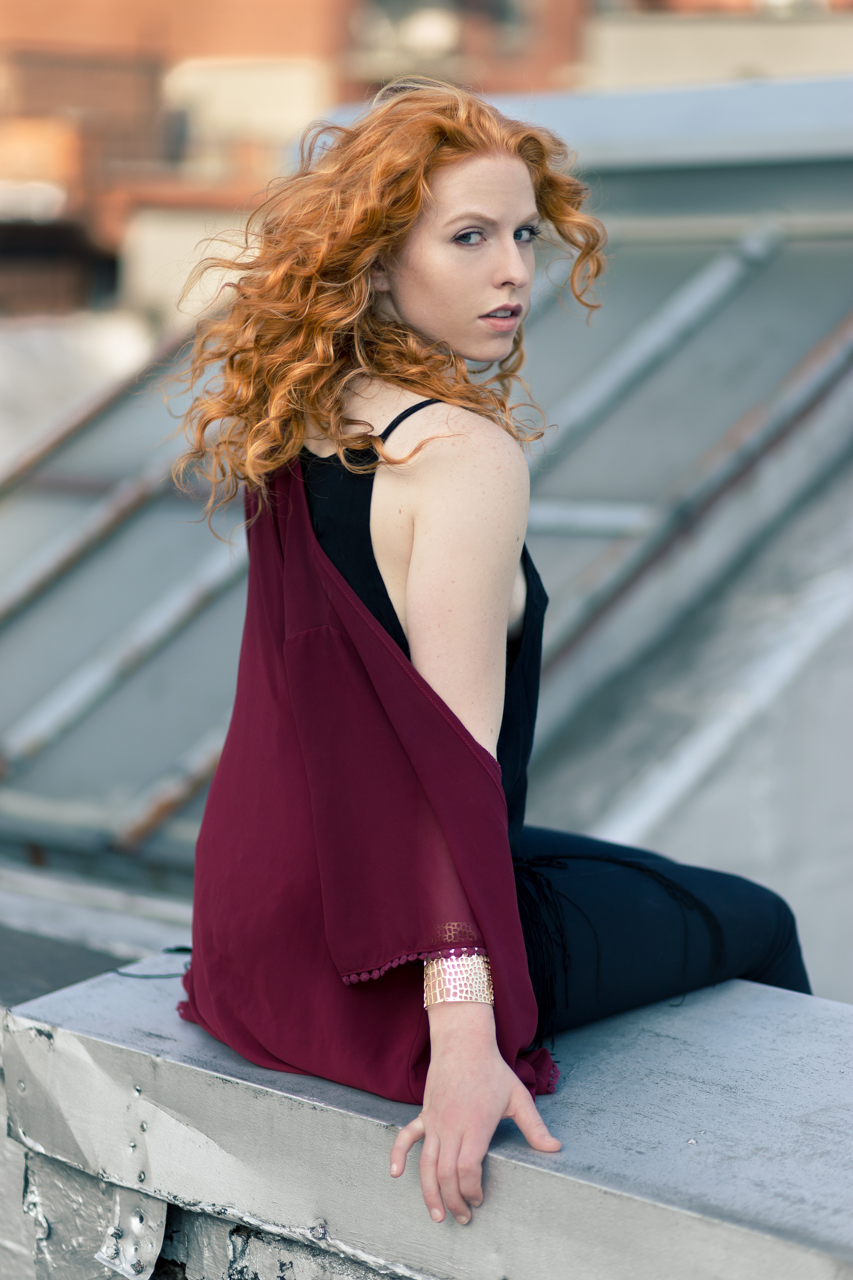
My model, Brittany, titled this image “Cat on a Hot Tin Roof.” I loved it!
Finally, whether I’m using studio lights or natural light, I tend to find or create areas where shadow meets light and pose my model in the middle. Dramatic photos can benefit from strong, even harsh, lighting. In both the images below, my models are posed halfway between the dark and light parts of the frame; both are lit by a single studio strobe through a medium rectangular softbox.
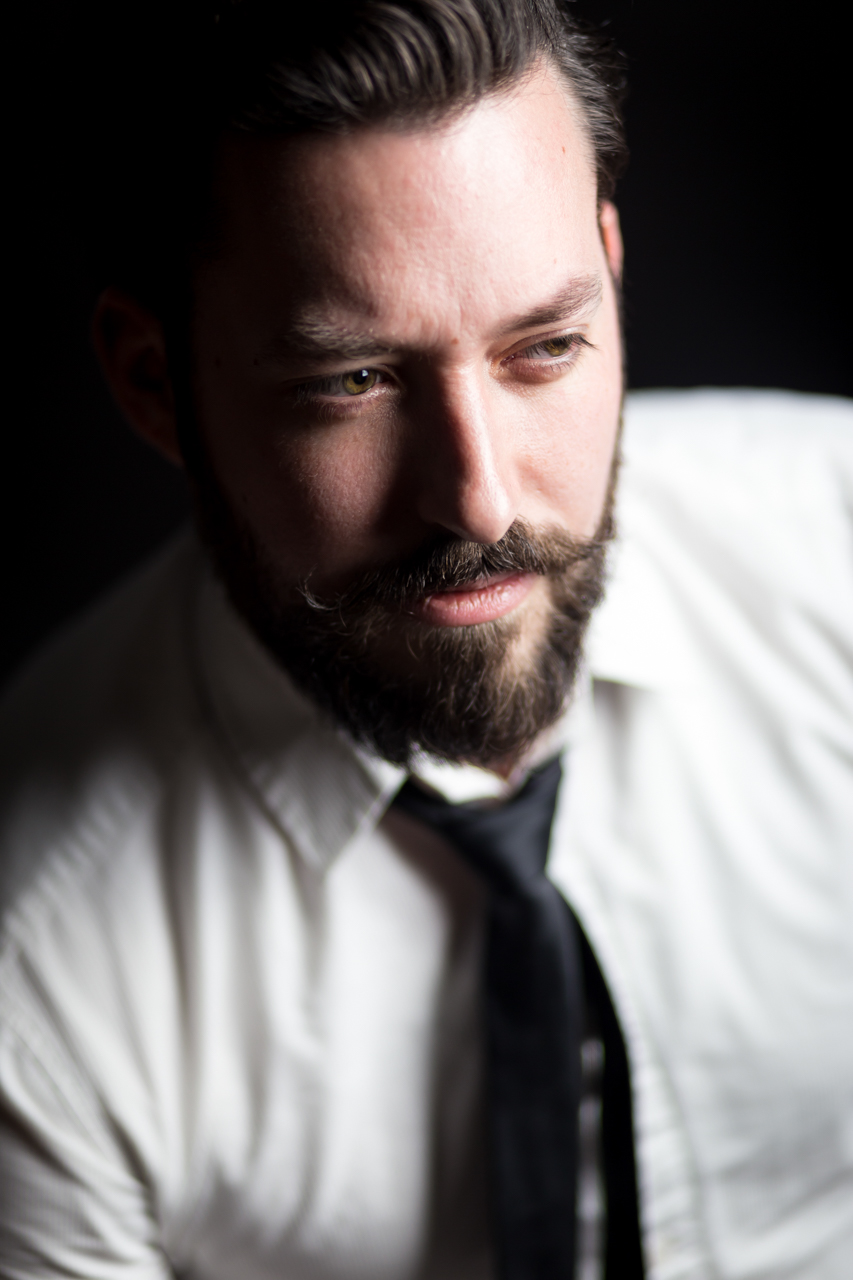
Dan, a fellow photographer. I used a neutral density filter to shoot with an open aperture despite using a powerful studio strobe light. This allowed me to get close to my subject and use aperture to create a dramatic look.Model Madison (ILAND). This is an outtake from a colorful beauty shoot. I loved how the lighting created fluid-like shadows on my model.
Because of my lighting technique, my unprocessed RAW photos often already have powerful highlights, deep shadows and high contrast color.
The Post Processing
I process RAW images in Lightroom and Photoshop. First I import, review and select my favorite images in Lightroom. I use flags and the star rating system to divide my photos into three tiers (definitely yes, maybe later, probably not.) Next, I import my selected images into Photoshop for spot retouching.
I use the Healing and Spot Healing tool brushes to clean up small marks on the skin (acne, dust and stray hair); this is the most time-consuming task. A low flow and low opacity clone brush will easily handle distracting skin discoloration. I sample from many different spots around the effected area to create a natural result. Finally, I use two 50% grey curves layers to subtly dodge and burn. If you haven’t used dodging and burning before, here’s a tutorial Chelsea made:
However, it’s important to preserve the model’s unique features and imperfections. Freckles, moles, wrinkles and even scars are as much a part of the story in a portrait as a smile is.
Finally, I import the partly edited image back into Lightroom for color grading or black and white conversion. When an image has interesting lines, shadows or textures I convert the photo to black and white. Images with bright and interesting colors will be processed in color. I often focus on just one color or two complementary colors and slightly desaturate all other colors in the image. This adds a dramatic effect while simplifying a color portrait.
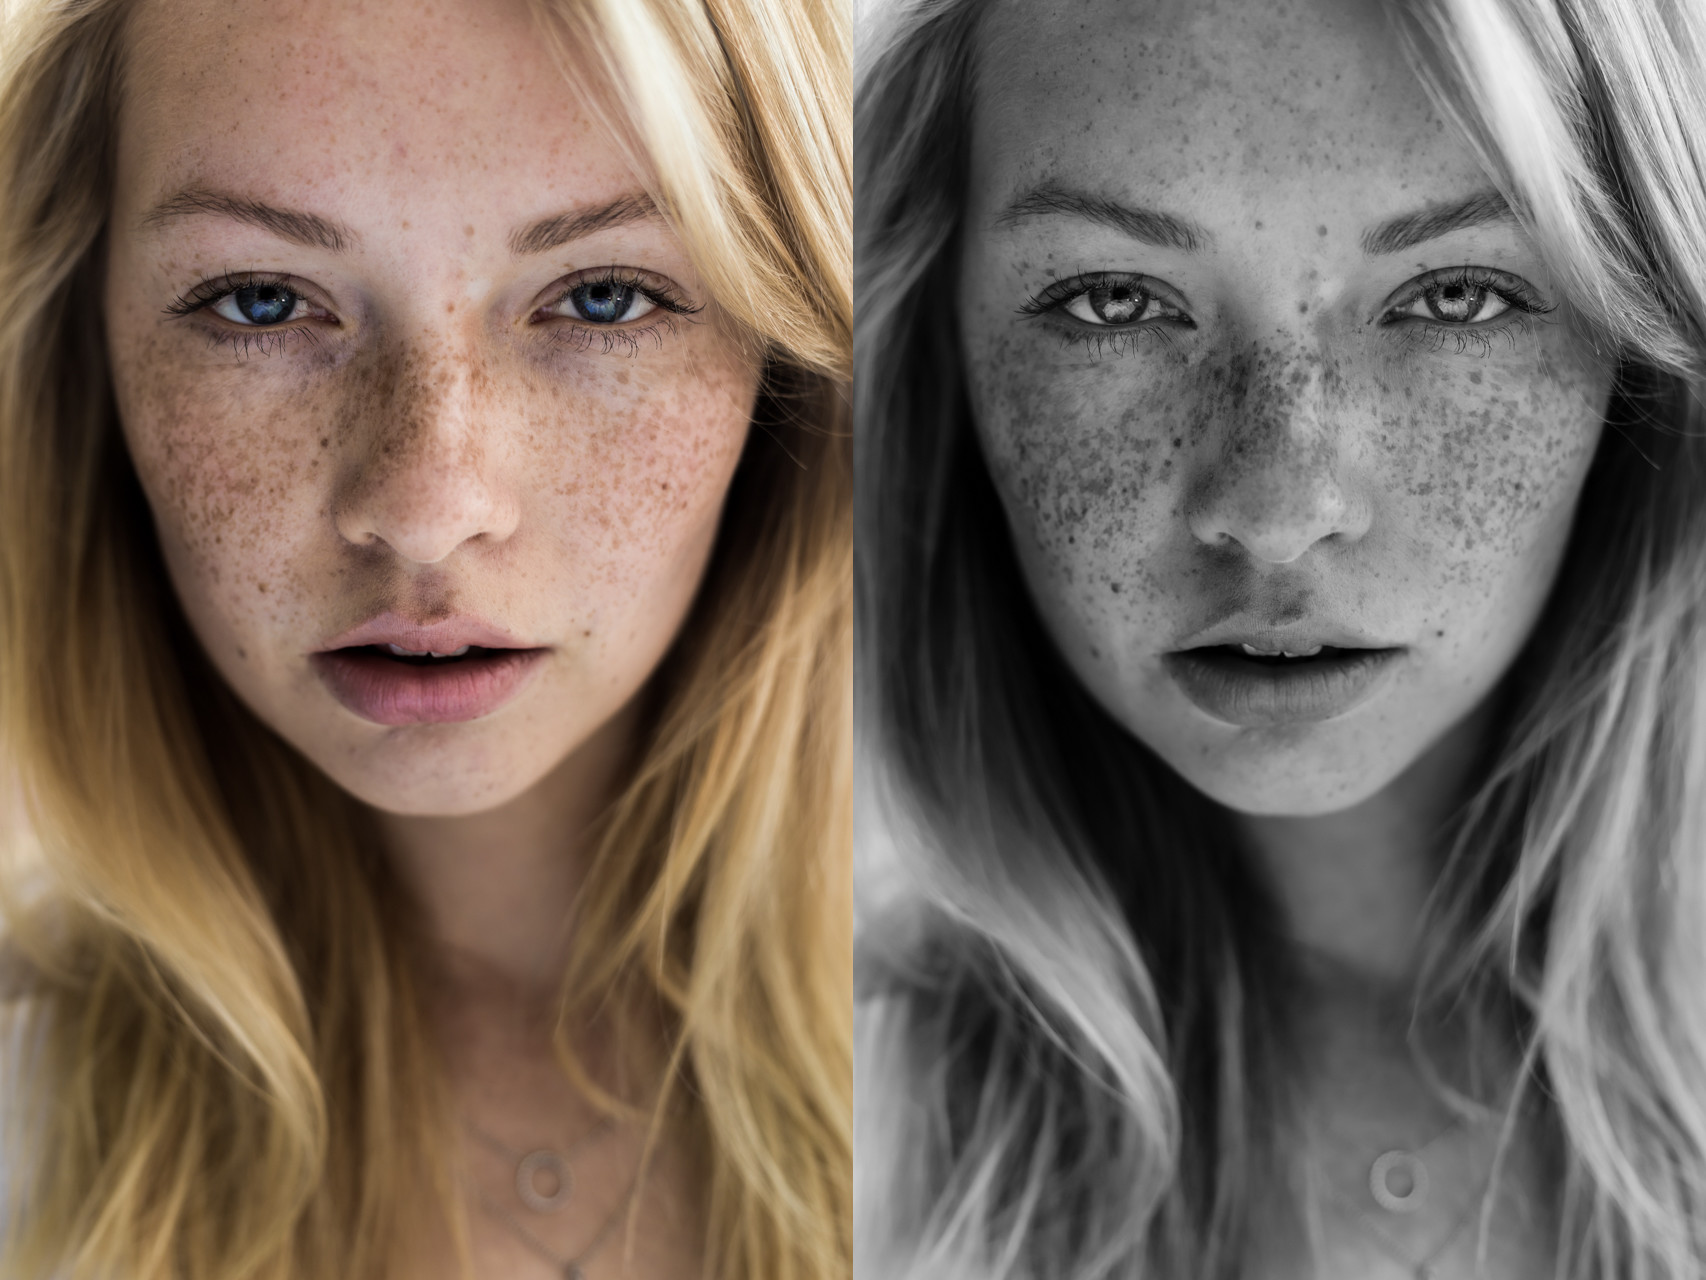
Model & makeup artist Emma. The color image emphasizes Emma’s deep blue eyes. In comparison, the textures in Emma’s hair, skin and eyelashes are much more apparent in the black and white version. I often use a small silver reflector to create a catchlight when I’m shooting in natural, diffused light.
Finally, I crop my nearly finished image. I like tight crops and, as a fashion photographer, I frequently use a Fashion Crop. This cropping style cuts off the image near the model’s crown (but never crop the chin!) My pictures usually follow the Rule of Thirds’ vertical margins, but the model’s eyes are often well above the horizontal margins.
Actor & model Mike. This is a classic fashion crop.
And we’re done! I hope you enjoyed this glimpse into my process. I have loved shooting each of these images. Besides creating a beautiful final product, I thoroughly enjoyed each experience while working with my models and other creative professionals.