Posted on

Beginner Photography: Street Pets

Ok, so this one is a cheat. I didn’t go out shooting this week, we don’t have a live show and I couldn’t come up with a subject. So I decided to go through old shots and edit some, and turned up a bunch of street photos of dogs that I never had any use for. 

I was shooting street photography in San Francisco at the time, so I had my Olympus E-M10 with me, using live view on the flip-out back screen to conspicuously take shots. But you don’t really have to be conspicuous with dogs, because they have no shame. So when possible, I got down at their eye level to shoot them. Like standard street photography, I tried to get some context to their surroundings and often went black and white to eliminate distractions. 

Here’s a great video from T&C on shooting street photography:

I realized editing these shots how far I’ve come over the past few months. I had NO idea what I was doing when I shot these. My settings are insane and the shots came out noisy even though I was out in natural light. My f/stop and ISO could have been much lower.

And here are some pups:

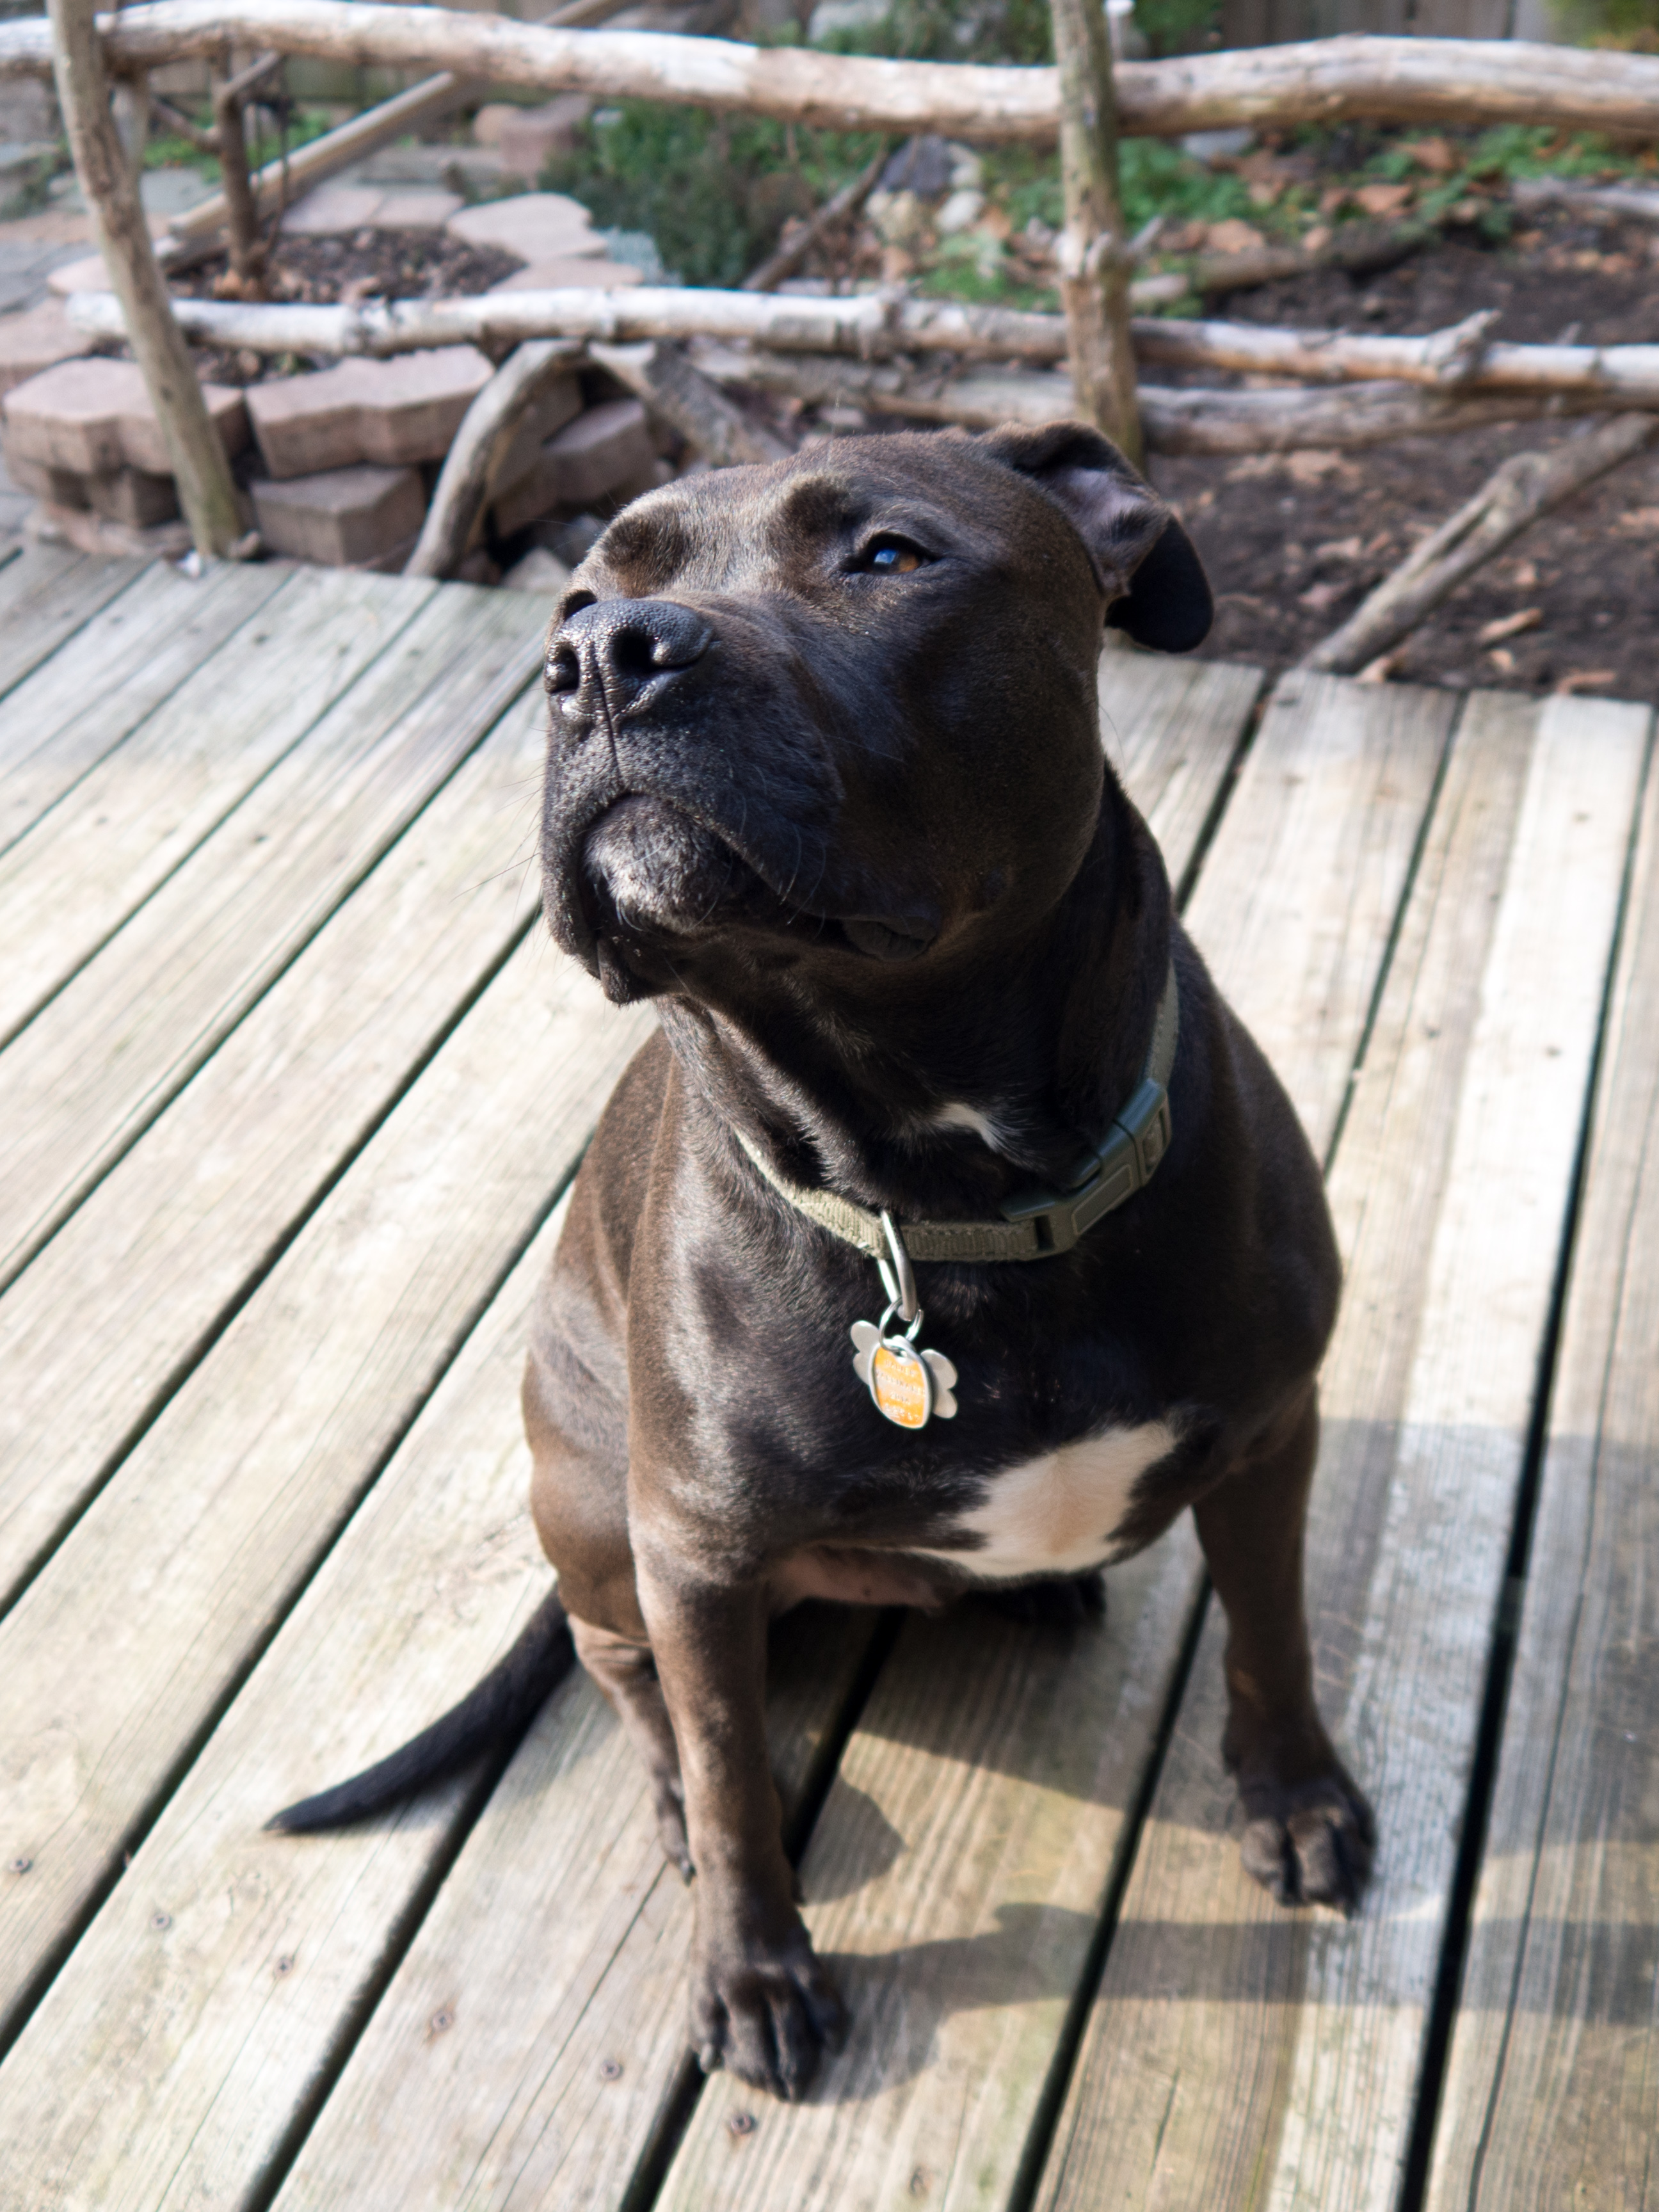
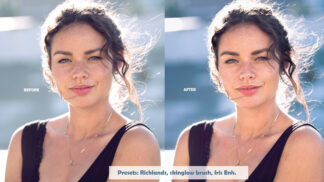
Sadly, I cut off his front feet which is a no-no, but look at that face! 

f/5.6, 1/80th, ISO 800


I love their bodies pointing different directions but looking the same way, and the cool owner leaning against his car.

f/6.5, 1/250th, ISO 200


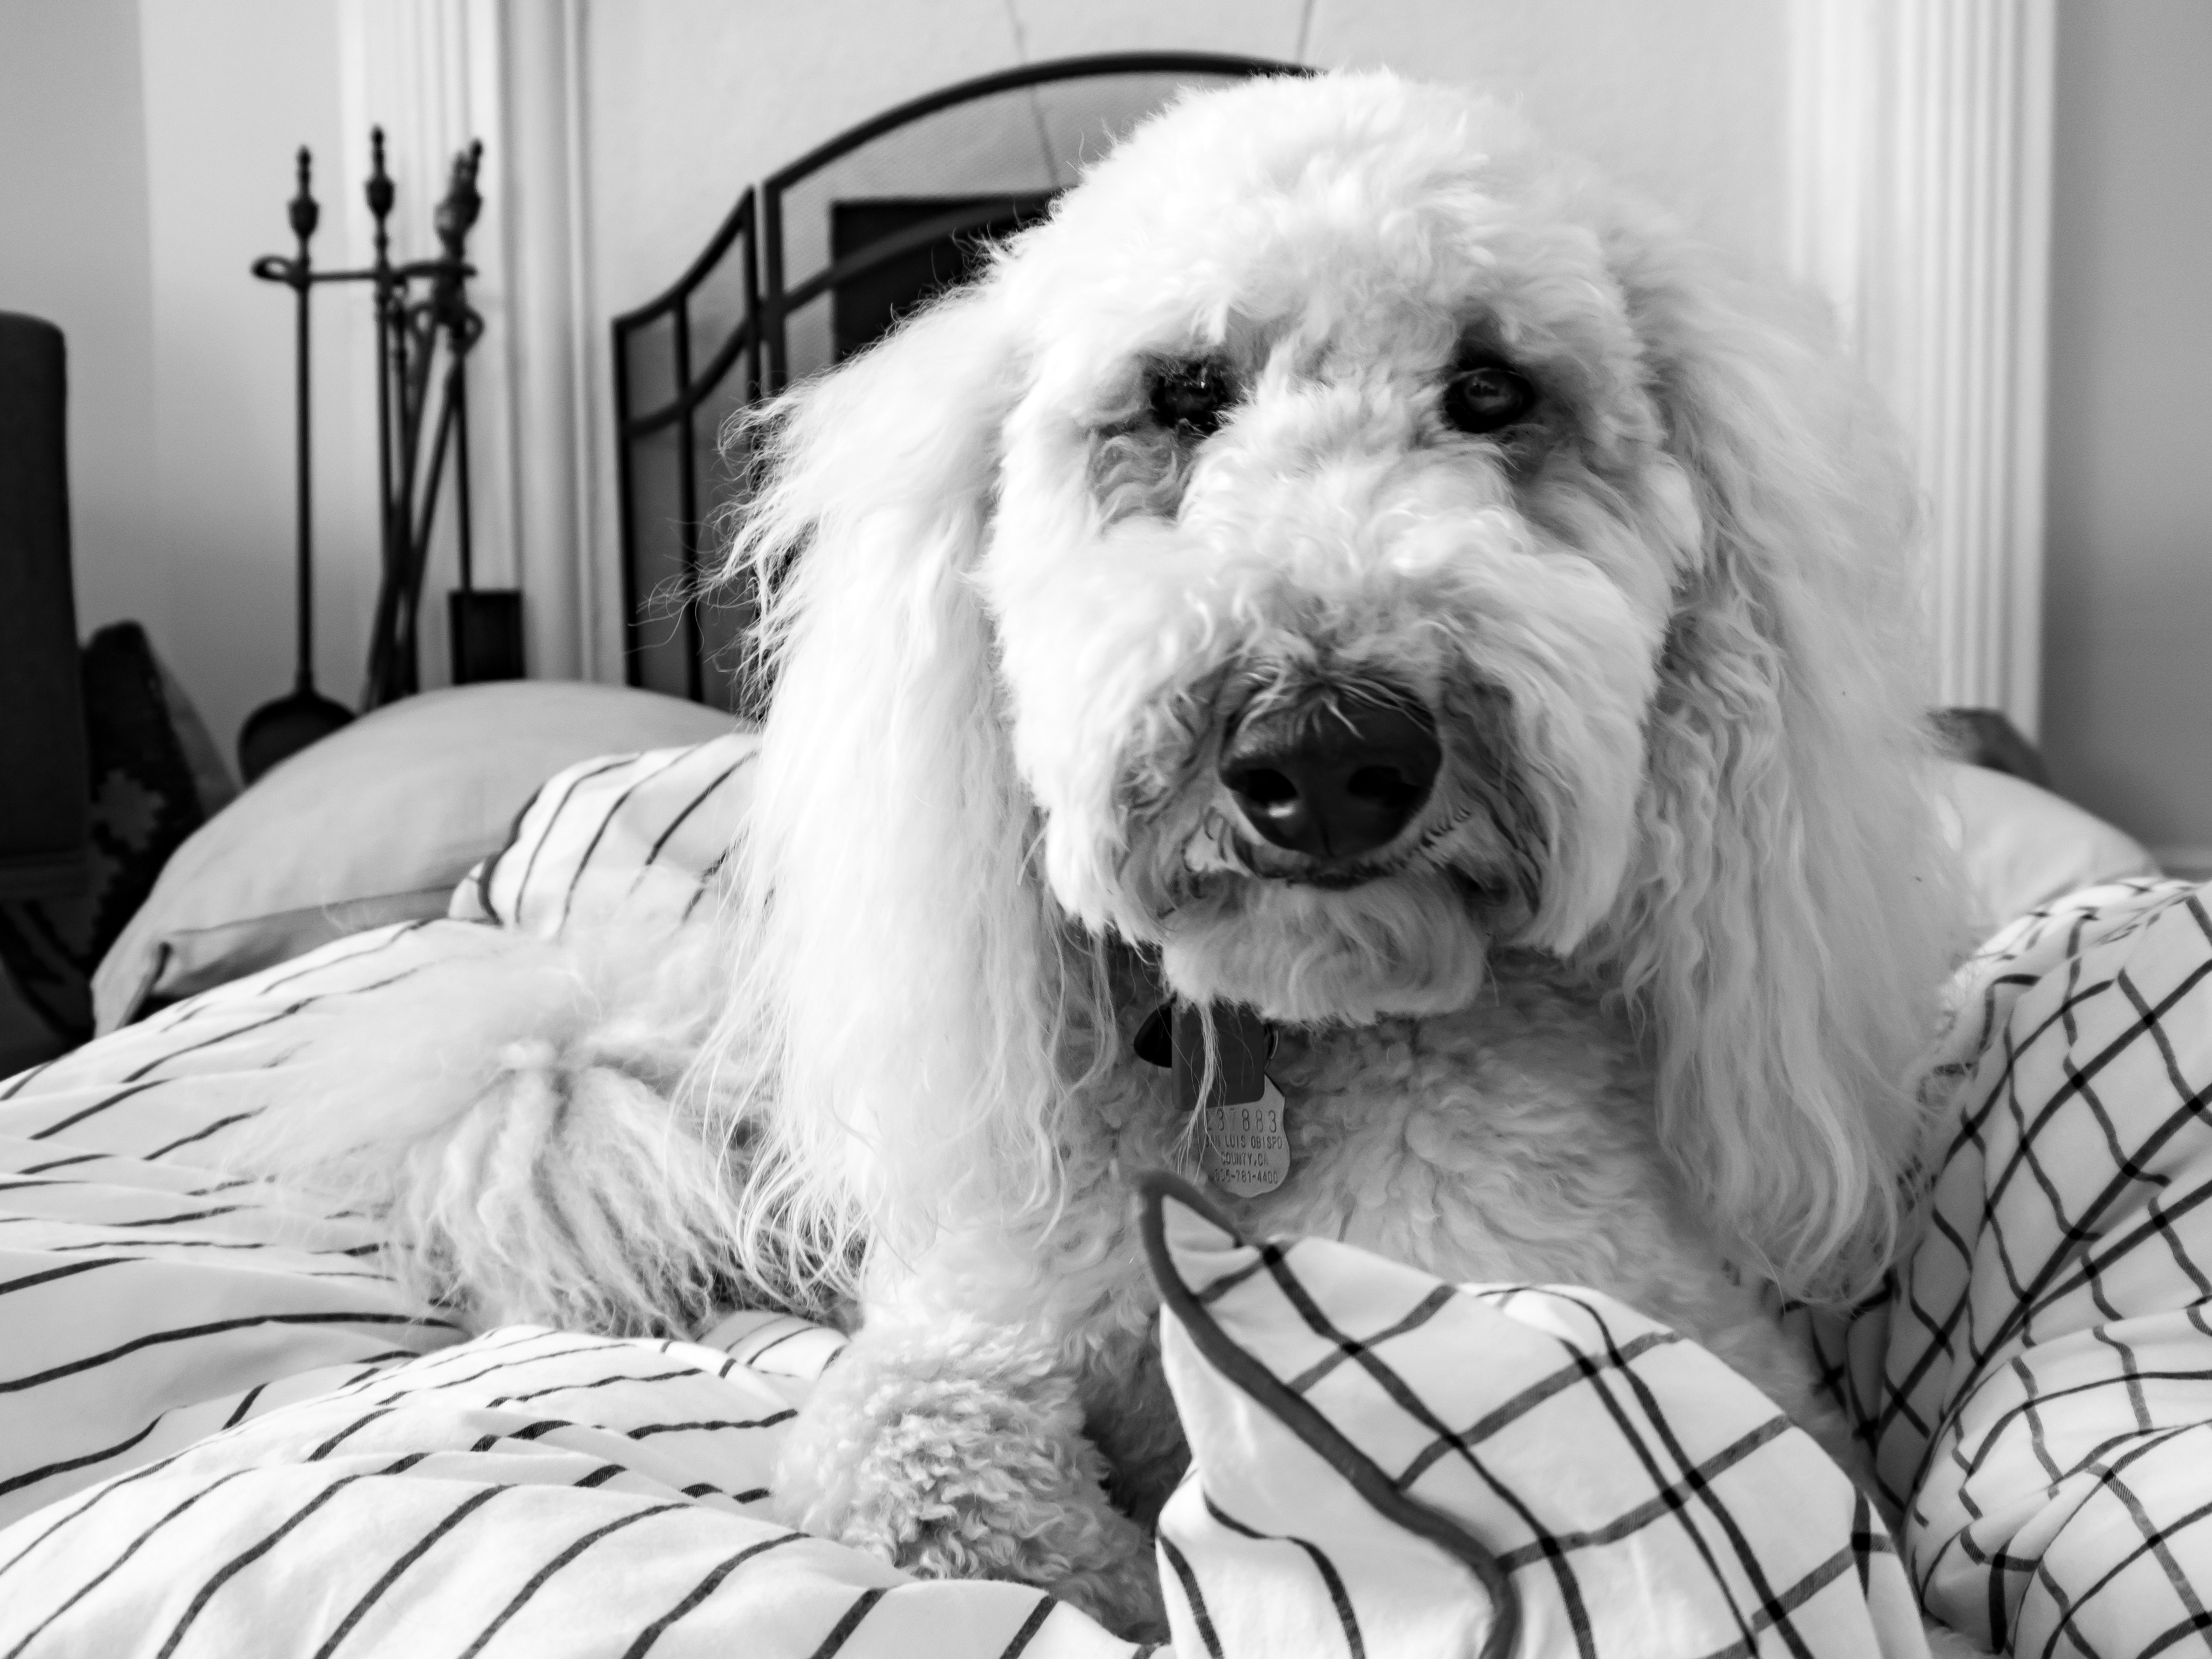
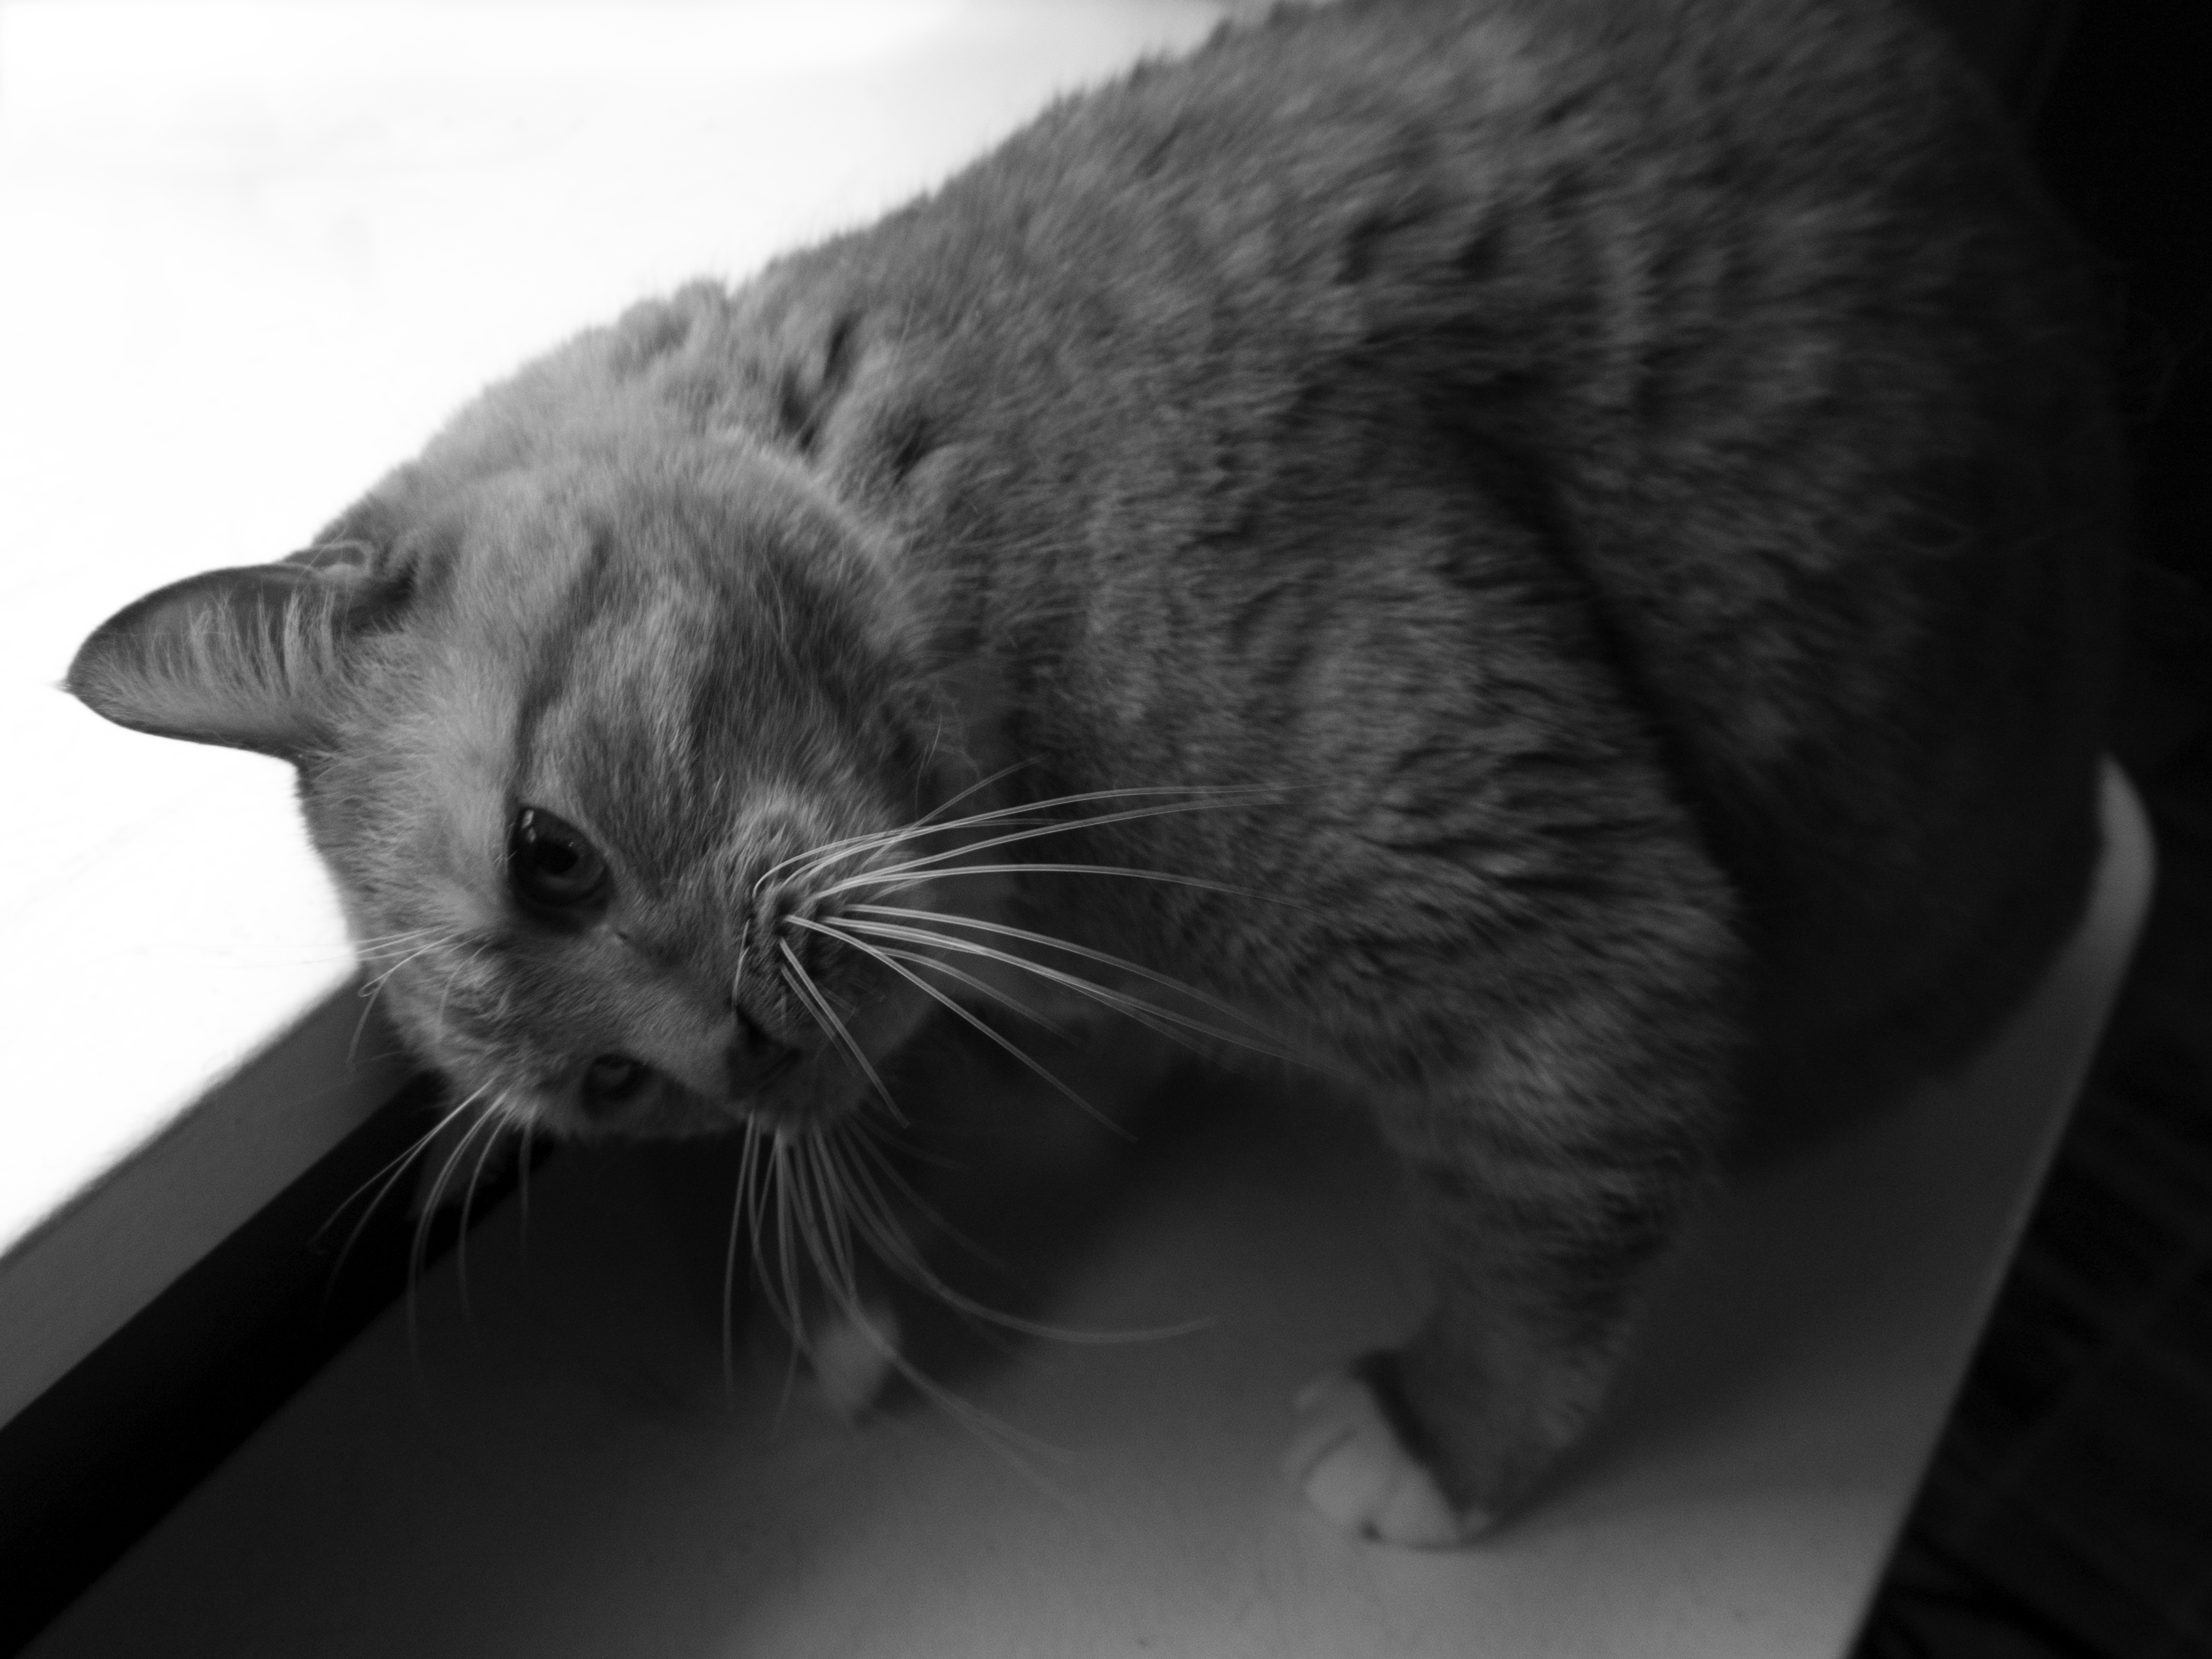
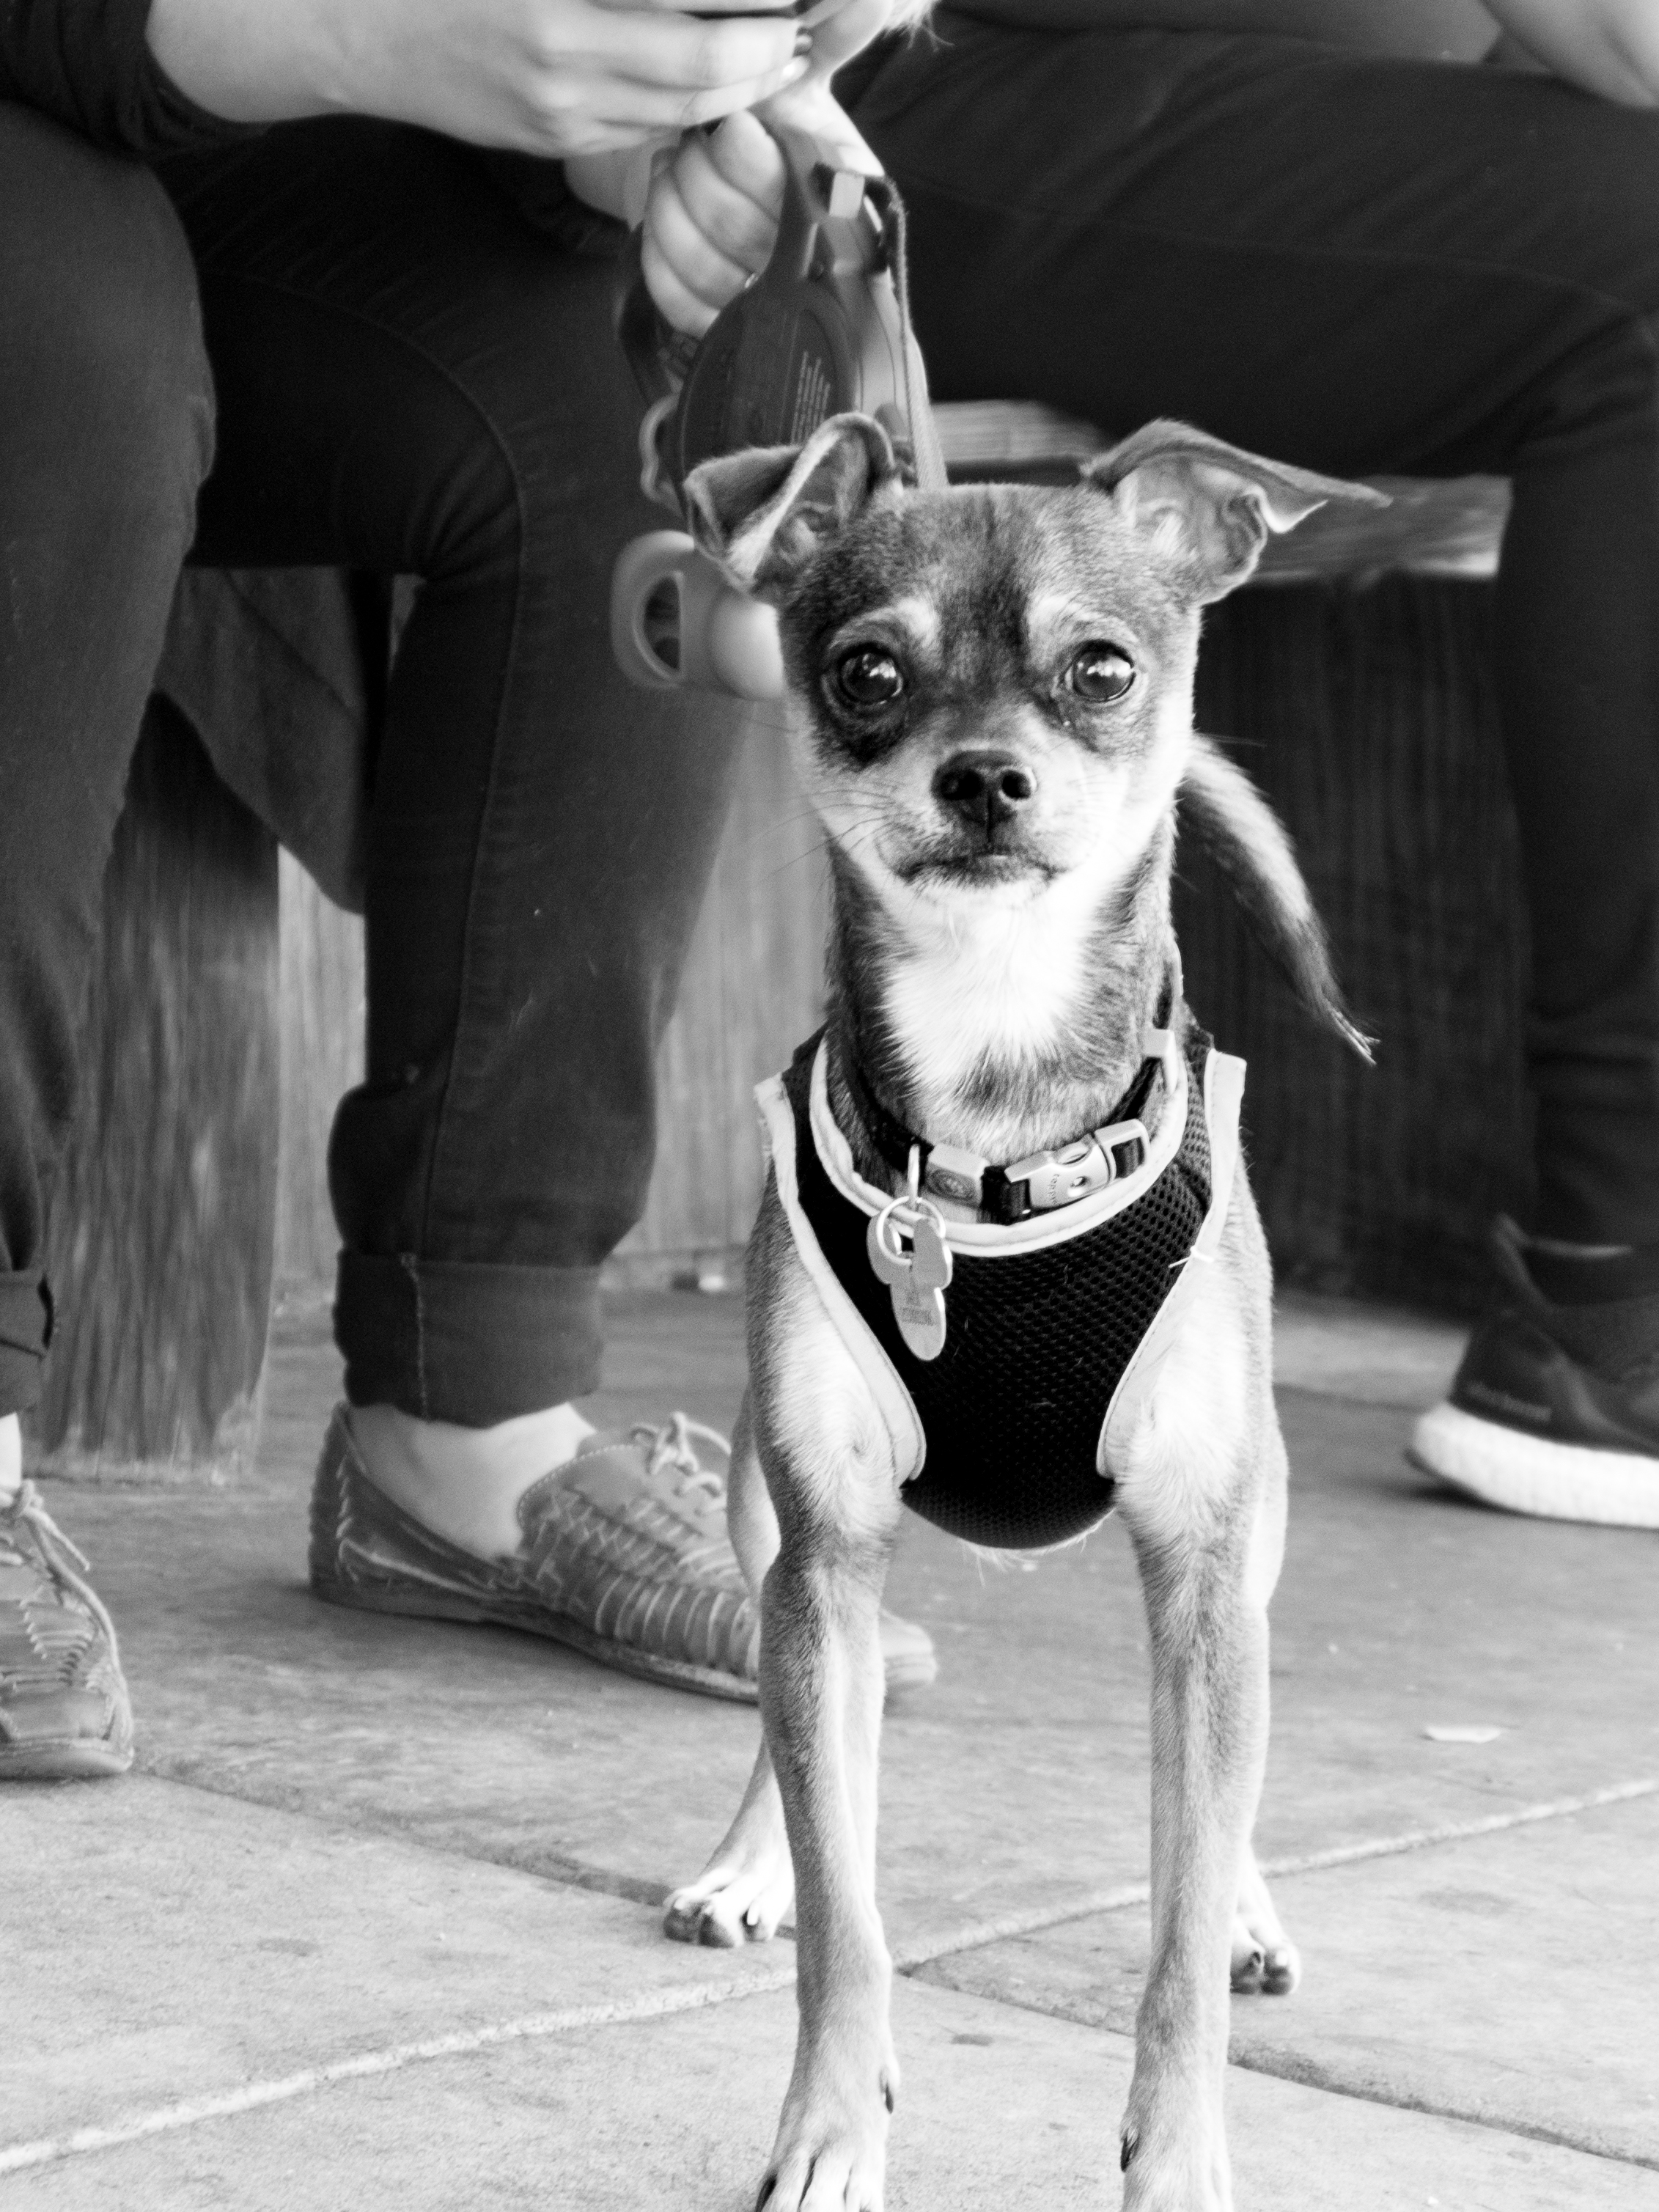
It is hard to expose for a white ball of fluff, and to focus on it’s eyes.

f/4, 1/50th, ISO 200


So there’s some dogs! Do they make up for me not shooting this week? Maybe. 

Next week’s topic is “lines” which I’m excited for. I love abstract topics and I look forward to seeing how everyone interprets it, myself included. 

Posted on

Beginner Photography: Animals

Hey folks! This might feel like deja vu for some of you, as I photographed my dog a few months back here. But who gets sick of seeing dogs? A monster, that’s who.

It’s winter, so my backdrop wasn’t quite as vibrant as last time I shot in our back yard, but we still have green ivy back there. Hungry is a mostly terrible model, because if I try and get down to his level he climbs into my lap. Then when I stand up, he puts his ears back and looks guilty, so that’s mostly what he looks like in these shots. I kind of love shooting him from above, though. The perspective makes him look so tiny.

I use the lowest aperture (f/3.5 on my micro 4/3 Olympus, which isn’t really low, see video below) on aperture priority, so the camera chooses the shutter speed and ISO for me.

Pretty sure that has to do with crop factor, which you can learn about here:

So here’s what I wound up with:

Look at that seal pup

f/3.5, 1/160th, ISO 200


I got his eye in focus!

f/3.5, 1/200th, ISO 200


This shot isn’t technically as good, but I love the mood with the backlighting and urban backdrop.

f/3.5, 1/1000th (why?!) ISO 200


I also attempted to photograph my cat, Frank. He is old and barely opens his eyes. He was in the windowsill while it was snowing, so I wanted to capture all that, but was not successful. It was too bright out to capture the snow while also exposing properly for him. When he was sitting still he didn’t give me much of an expression, and when he was moving he was frantically trying to get me to pet him, and was just pacing back and forth (don’t worry, I gave him many pats). I even shot manual to try to get the exposure and shutter speed I wanted, but just couldn’t nail it.


Refusing to make eye contact

f/3.5, 1/60th, ISO 200


Giving himself head rubs.

f/3.5, 1/60th, ISO 200


I honestly don’t have much to teach you here, except that animals are uncooperative models. What did you shoot this week? What could I do to make my pets better models? Let me know in the comments, and I look forward to seeing your fur-children this week!

Posted on

Beginner Photography: Multiple Exposures

Hey y’all! As you may know, Tony and Chelsea are away for a few weeks, leading a photo trip in Thailand. We don’t have a live show this week, so I decided to try a photography project: multiple exposures. If you’ve never done it before, or just need a refresher, watch this great video Chelsea made on two different methods:

I decided I would try both ways and see which worked better. I’m using an Olympus E-M10, which has the capability to do the process in-camera. So this is what you need to do in preparation:

  • choose a subject and a relevant overlay image
  • have your subject backlit to make a silhouette
  • photograph your subject, then photograph your overlay image to show through the dark parts of your silhouette

I tend to shoot opportunistically. I spotted my cat sitting in the window and thought he’d make the perfect subject. An easily recognizable shape and ready-made backlighting. Unfortunately cats aren’t the most obliging models. The window he was in front of was a bit busy, which complicated the image. I decided to shoot his food as the overlaying image. Here’s how it turned out:


I like how it fades to all food at the bottom, but the window frame, yard, and food bowls made the shot more complicated than I’d like.

I got a few more shots like that, none particularly successful. Franklin D. Catsevelt needs some coaching. So next I followed him around and shot him while in front of a different window. I used Chelsea’s method in the above video to make a multiple exposure in Photoshop. This time the background was still a bit busy, so I used the magnetic lasso tool to select him and add him onto a blank, white background before completing the process. 

The edges could use some cleaning up, but that far exceeds my Photoshop skills.

And finally, I got a shot of my beloved dog, Hungry Hungry Hippo. He was sitting nicely on the radiator cover in our front window. The blinds were closed behind him, give a cleaner backdrop than the images of the cat. I did some work to clean up the lines of the blinds before overlaying the food shot.

I think this is my most successful of the three.


And there you have it! My first attempts at multiple exposures. This was a really fun project, I think I’ll try it again with more reasonable models so I can control the background better.