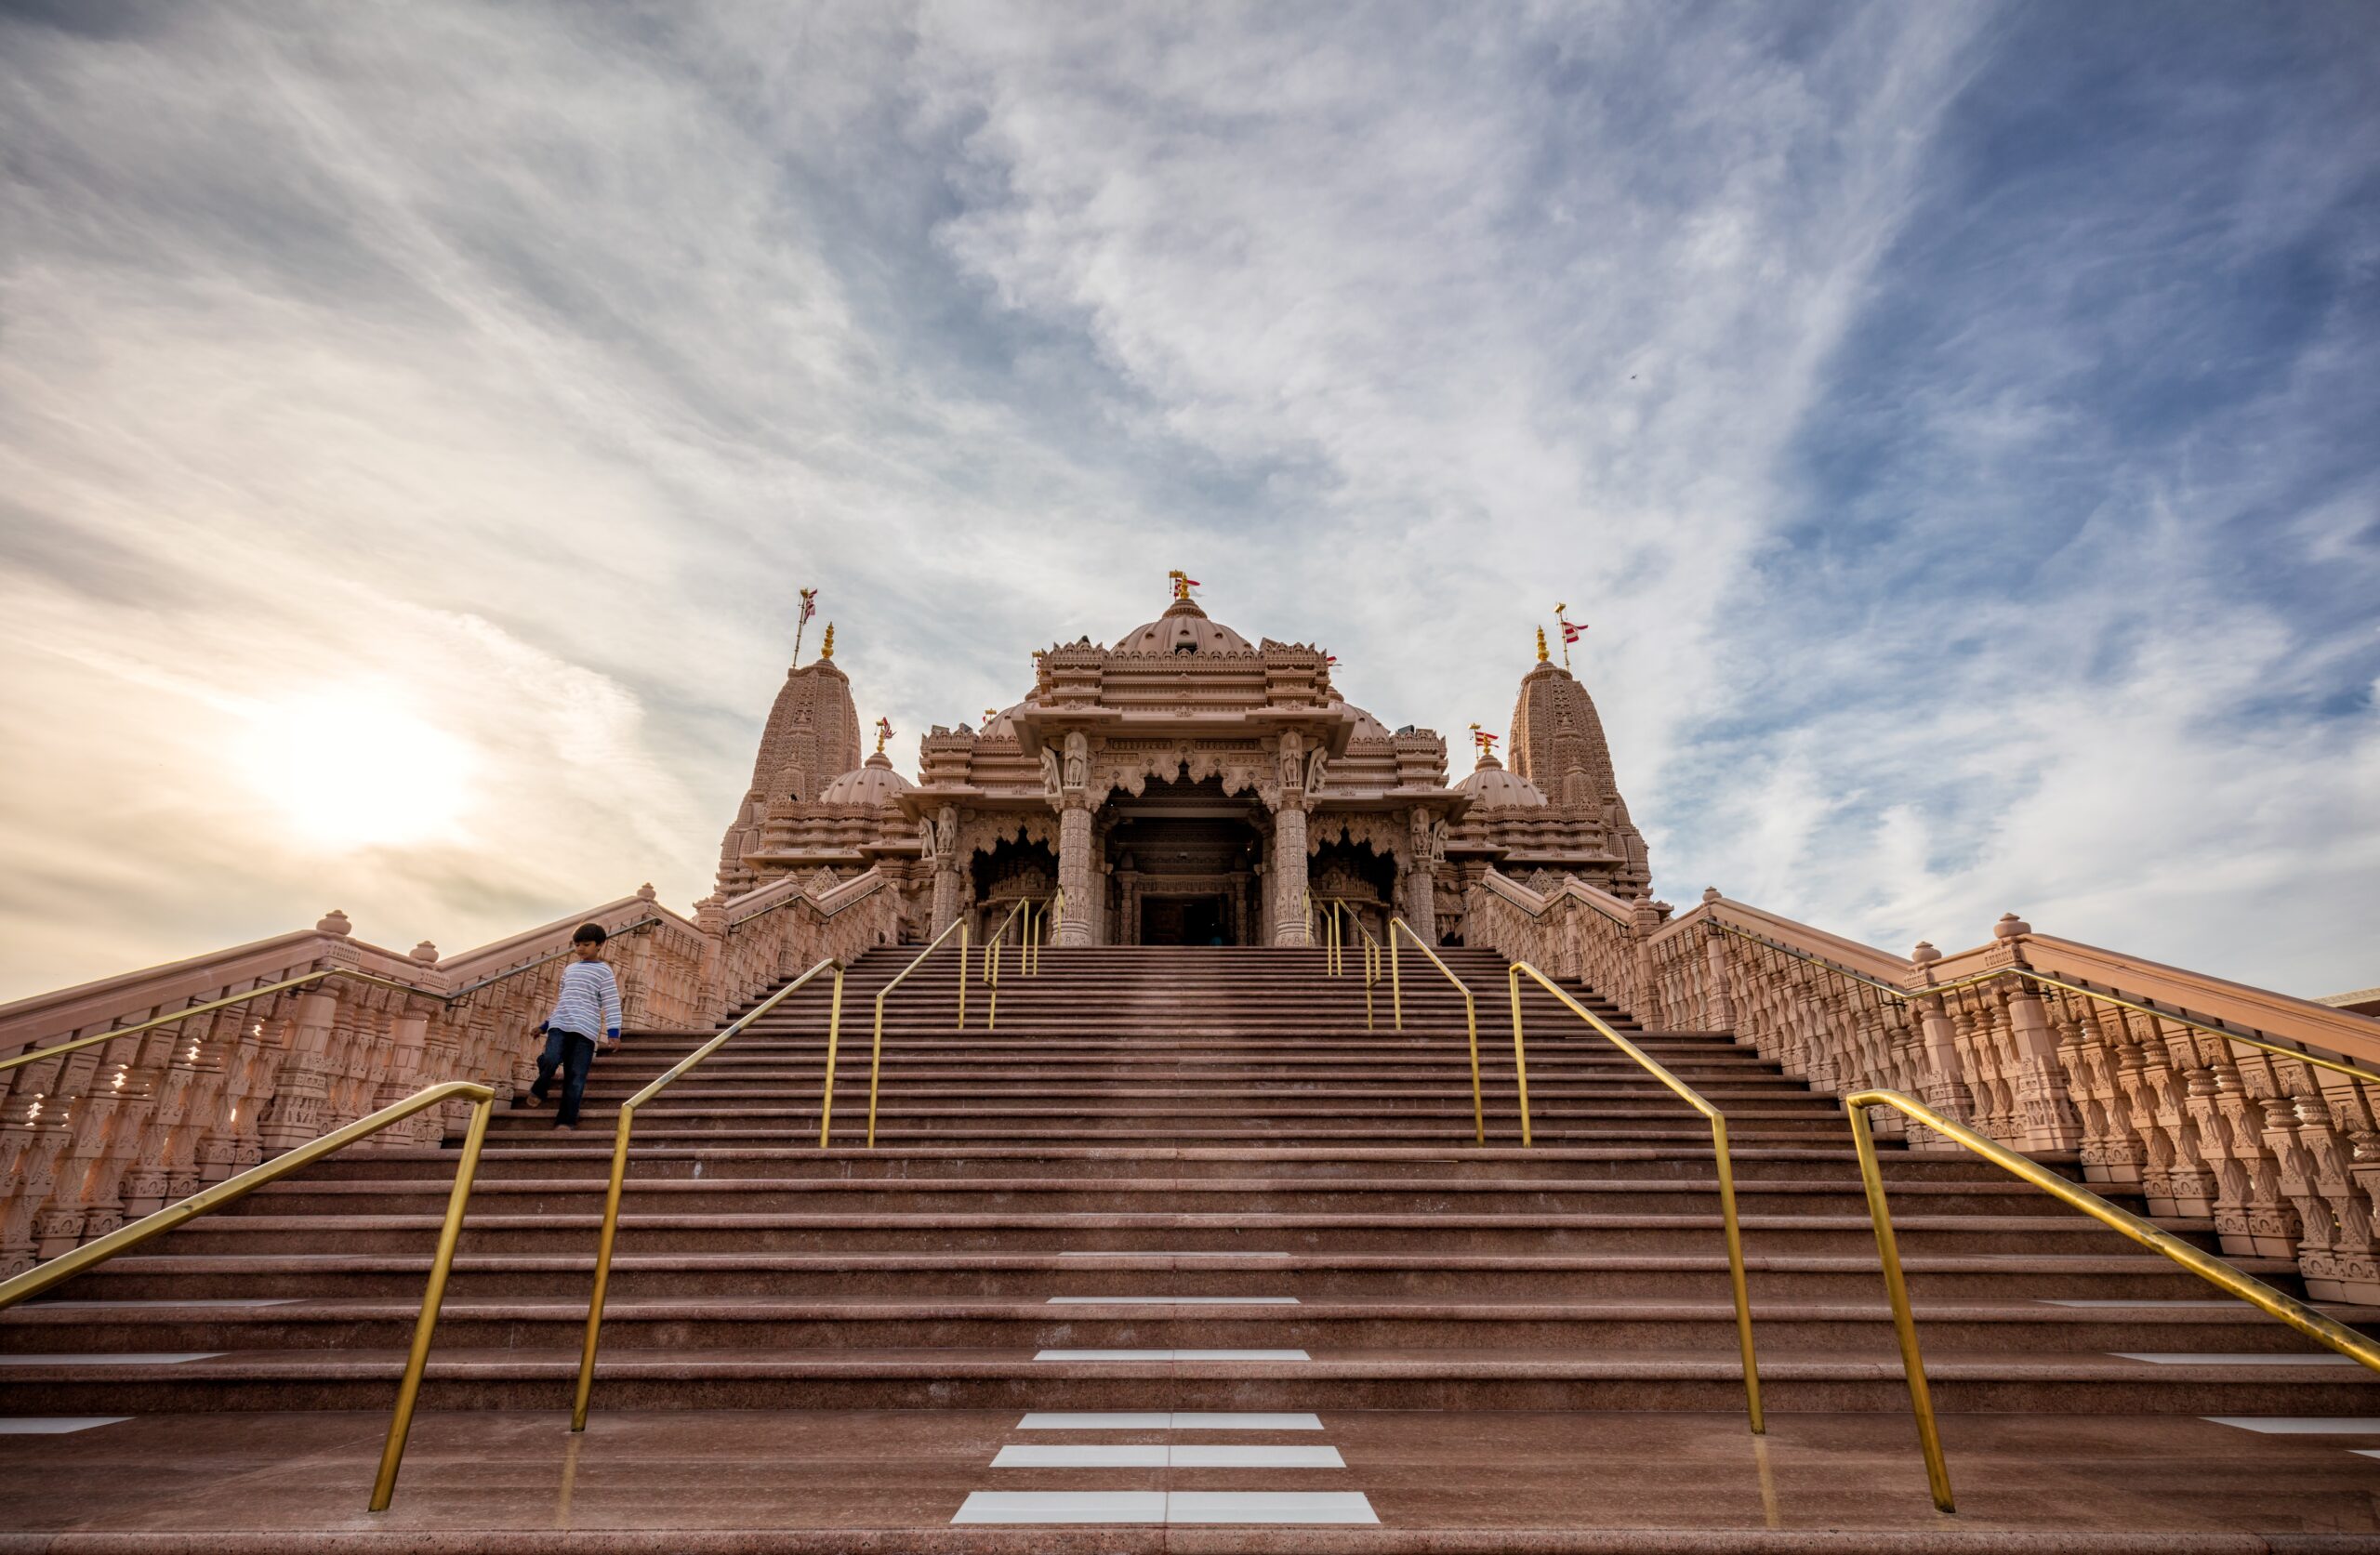
Subtle distortion correction, both vertical and horizontal, was necessary here. But a choice was also made not to correct all the way. More on this below.
What is vertical distortion?
You’ve seen it before. It’s most obvious when photographing man-made things with straight edges, like buildings. If the thing you’re shooting is taller than you, you tilt your camera back to fit the entire object in the frame. Suddenly, lines that look parallel to your eye seem to converge toward the top of the frame and make what you’re shooting look strange. The wider your angle, the more of this you’ll see.
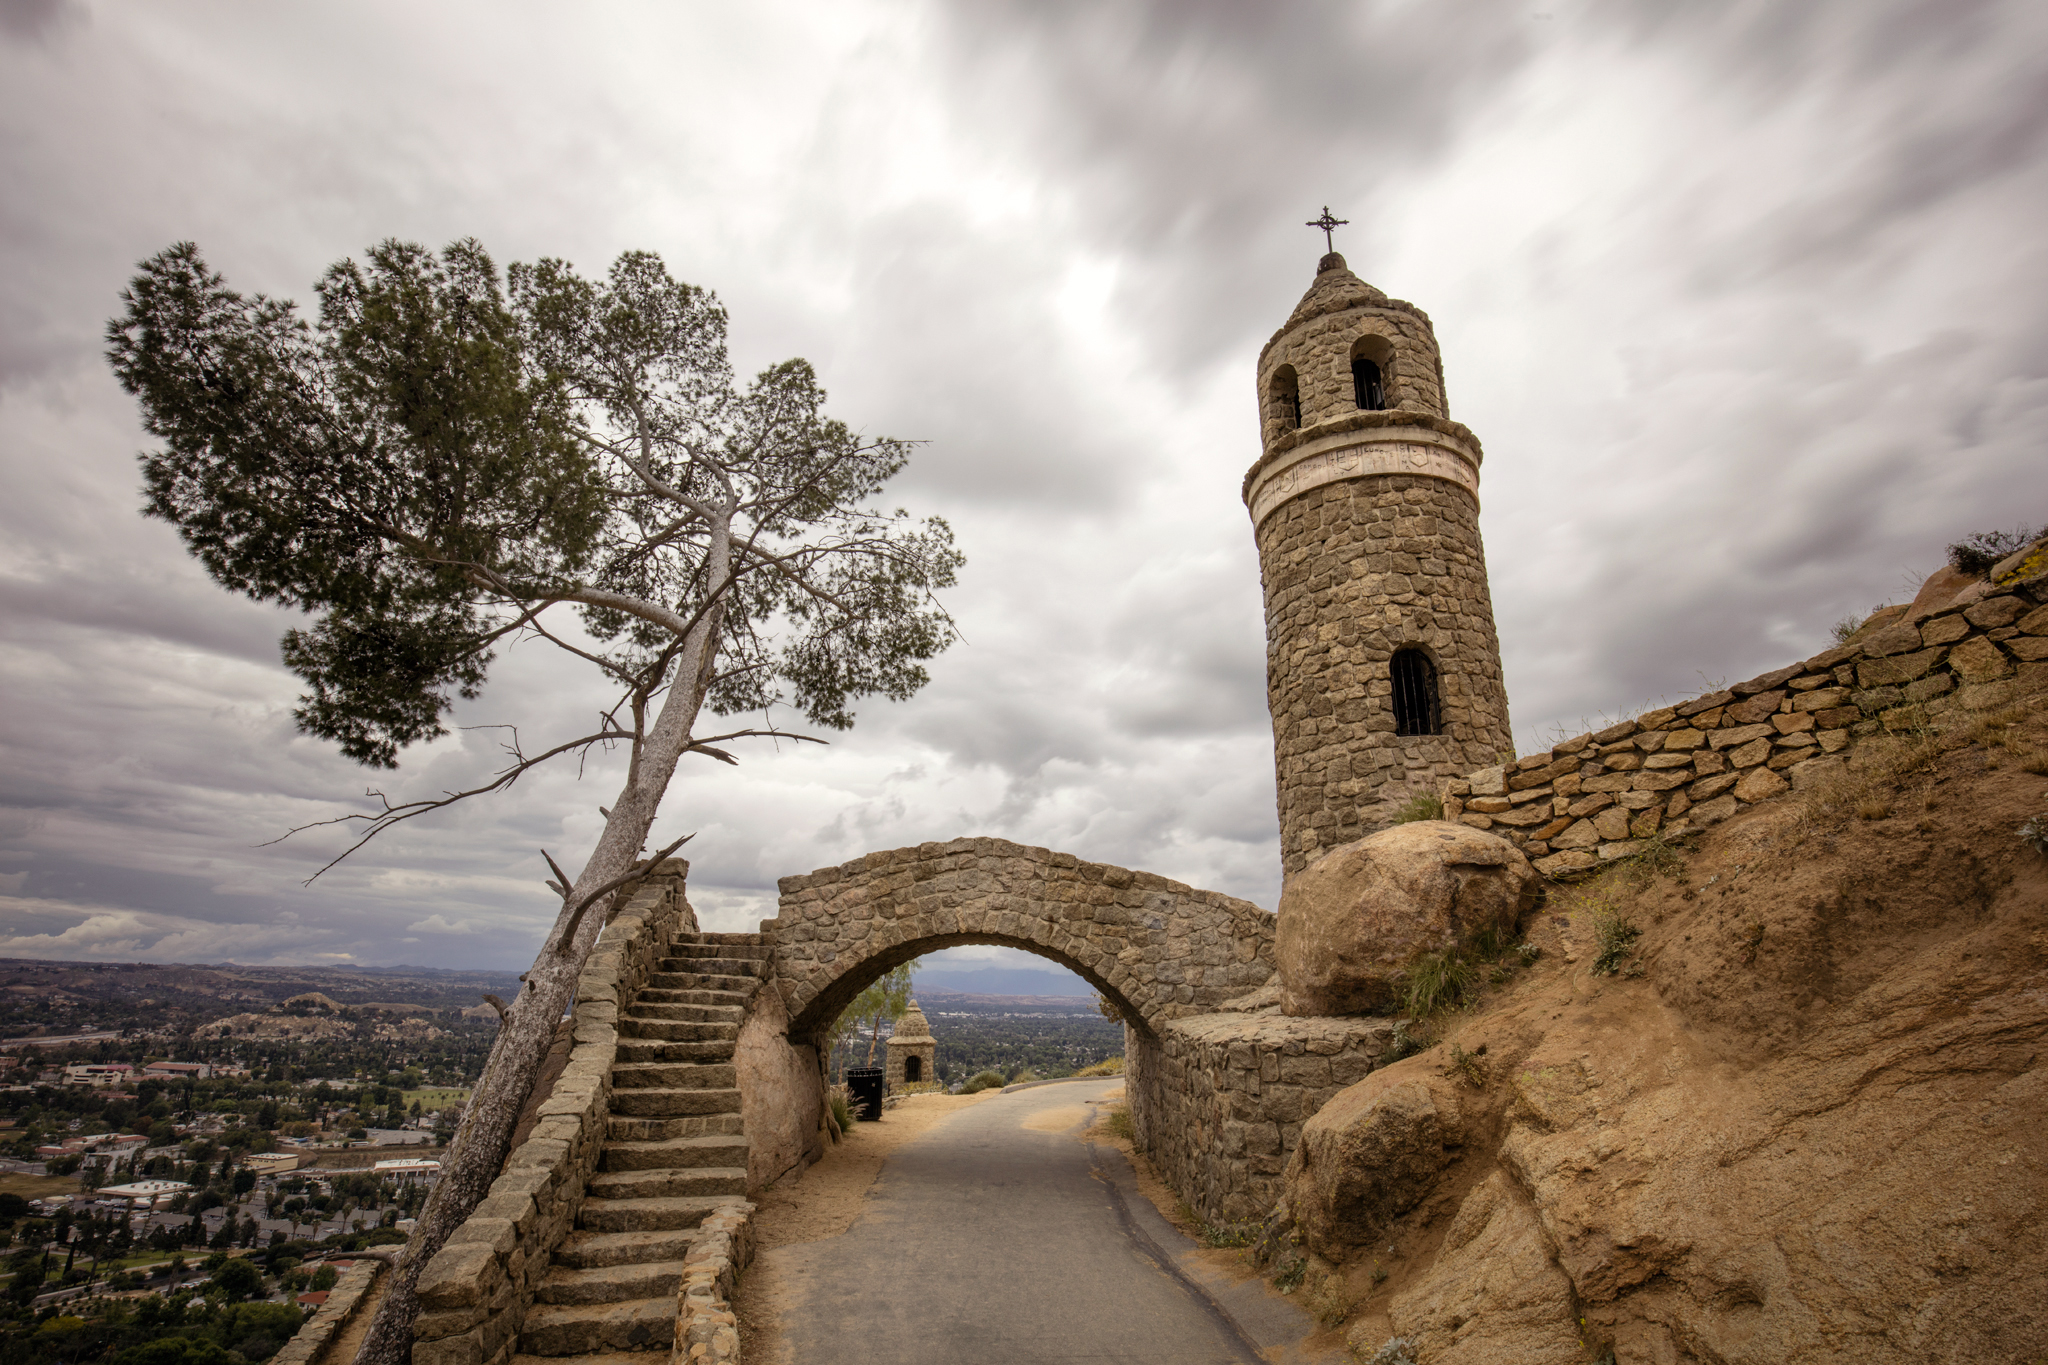
If weird is your goal, this kind of thing will get you there.
This is vertical perspective distortion. It happens every time your camera is not pointed at the horizon, and we’re going to talk about a few ways to deal with it, first while shooting, and then when you get the image into Lightroom. Sometimes you might want to keep the effect, but it’s good to know what to do when you don’t.
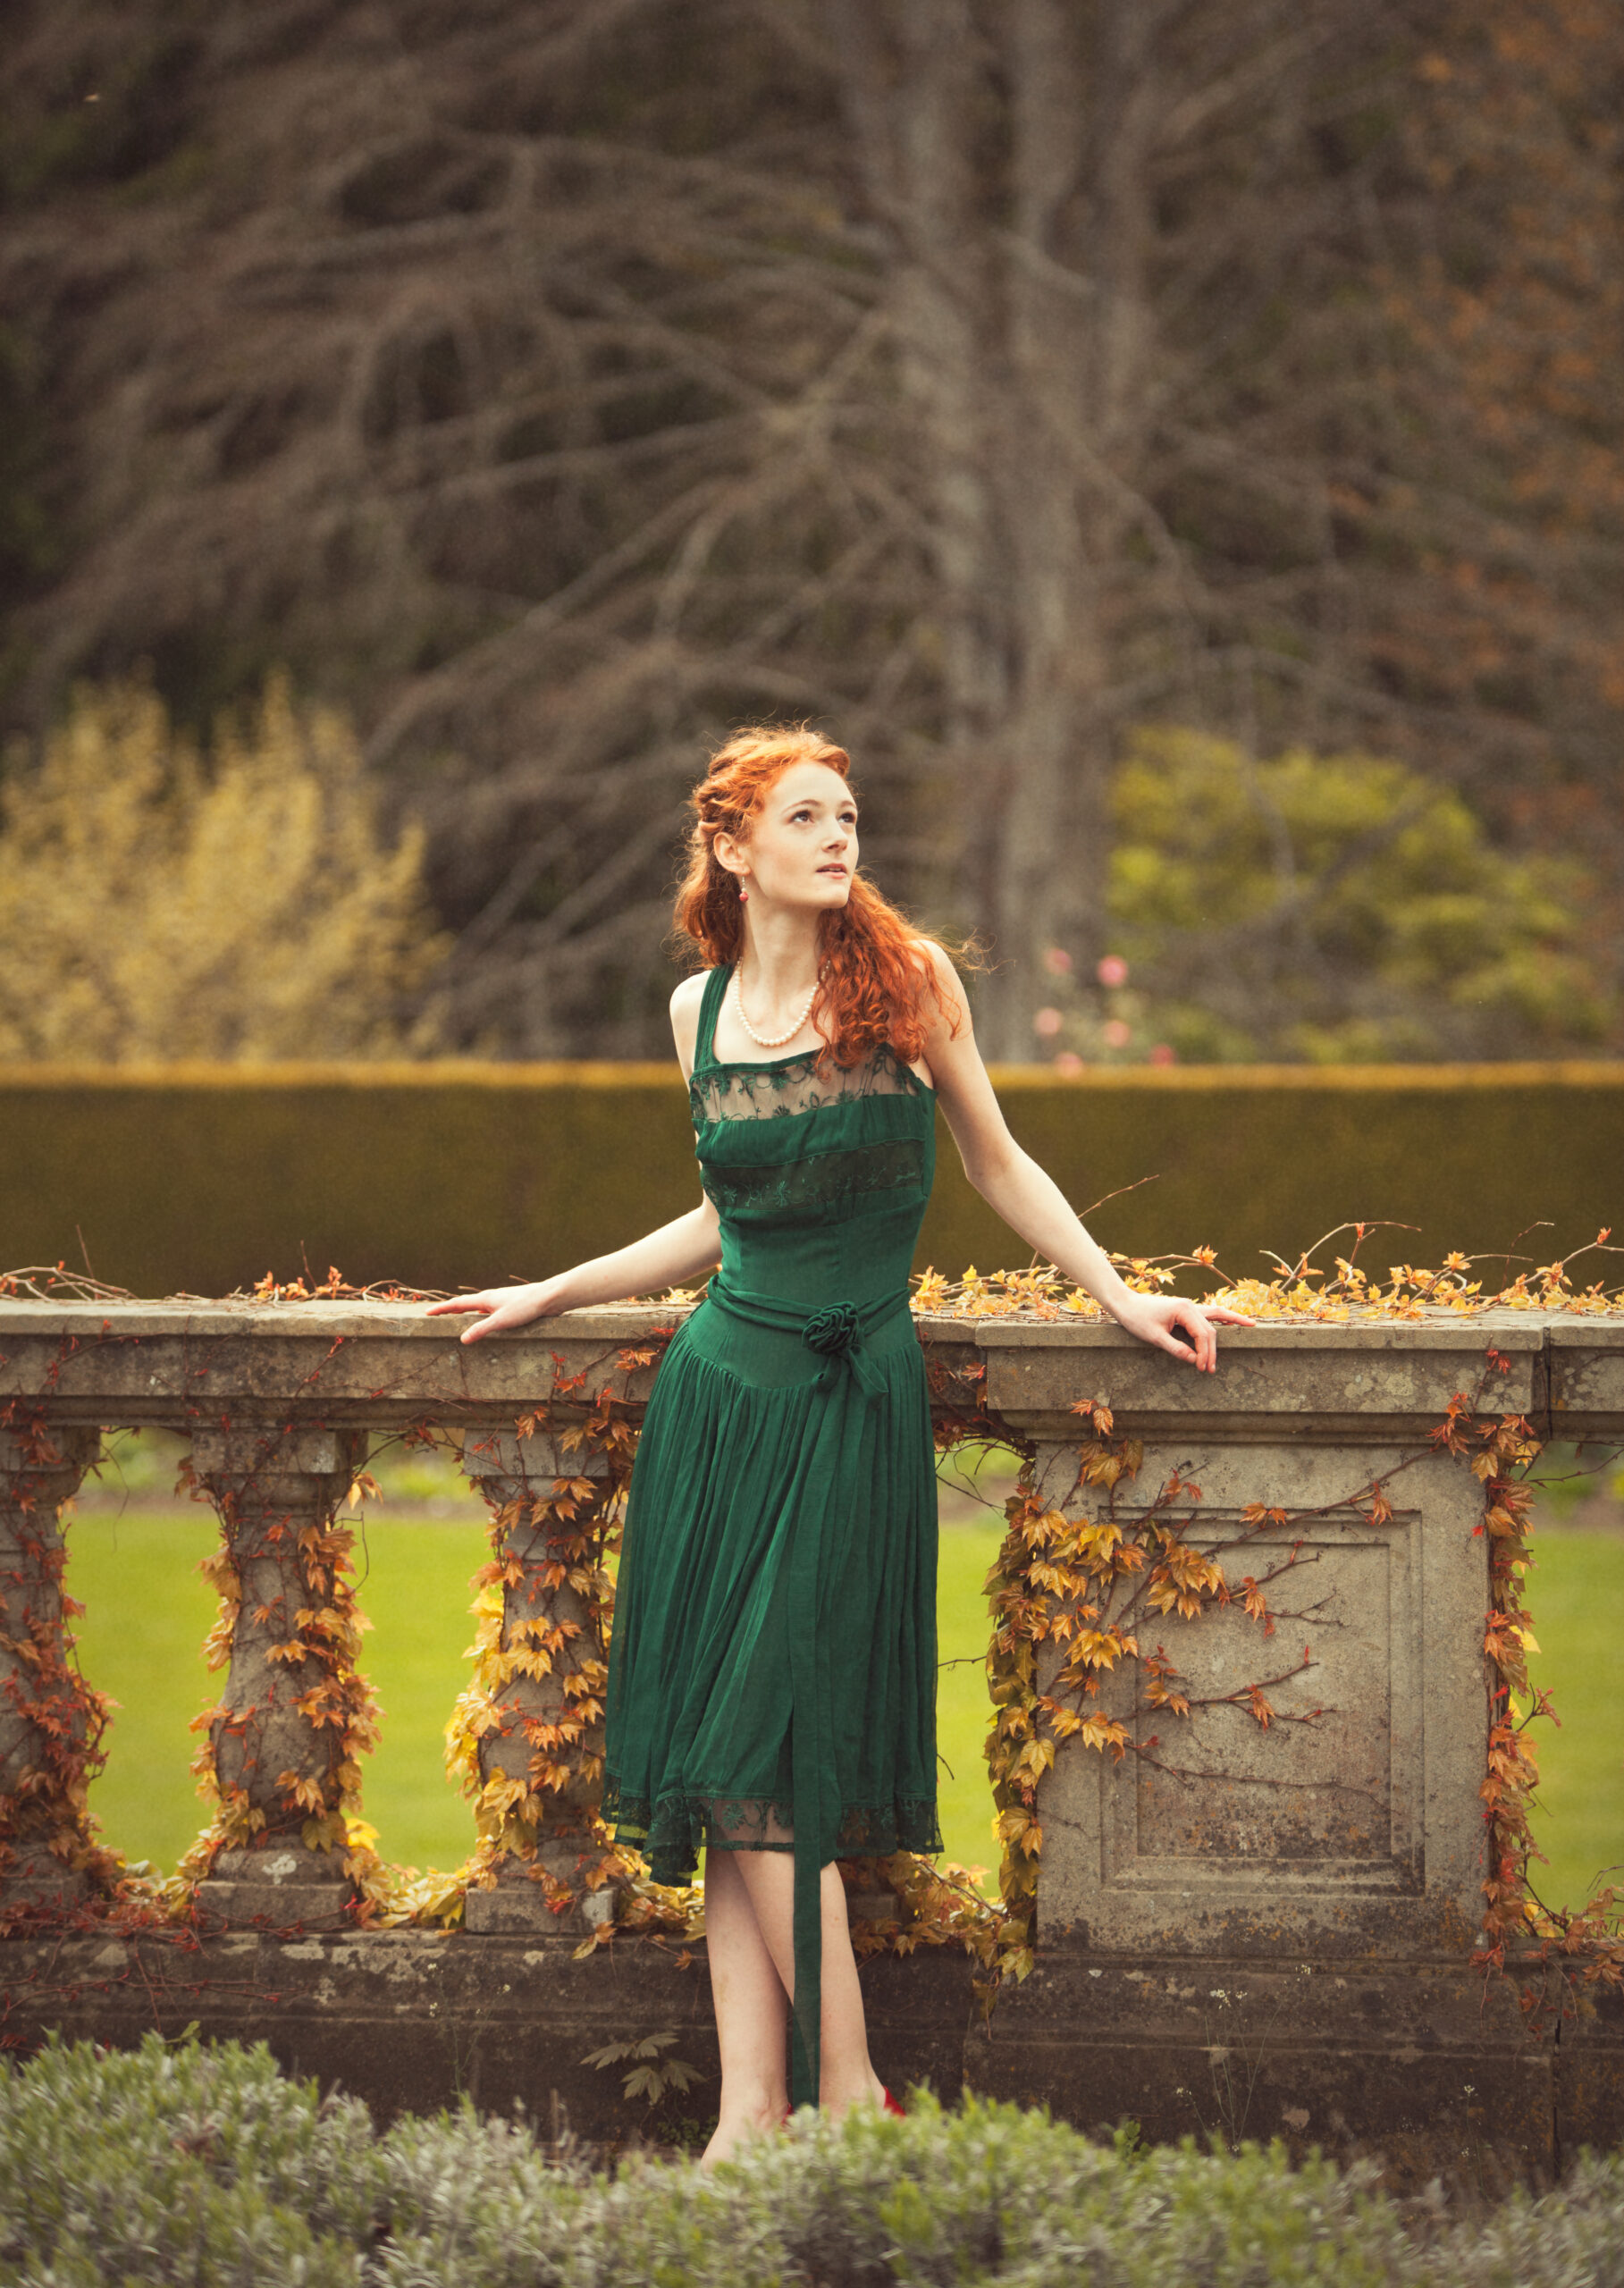
Color theory can be applied to all forms of visual art, including fashion and interior design. In this post, we’ll look at how it can be utilized in the realm of photography, dealing specifically with the complementary color scheme.
Adobe Photoshop is a great tool to edit your photos. I like to use it as a creative way to edit photos and alter them. My first project in Photoshop was a fun one: making clones of myself.
Taking the Pictures
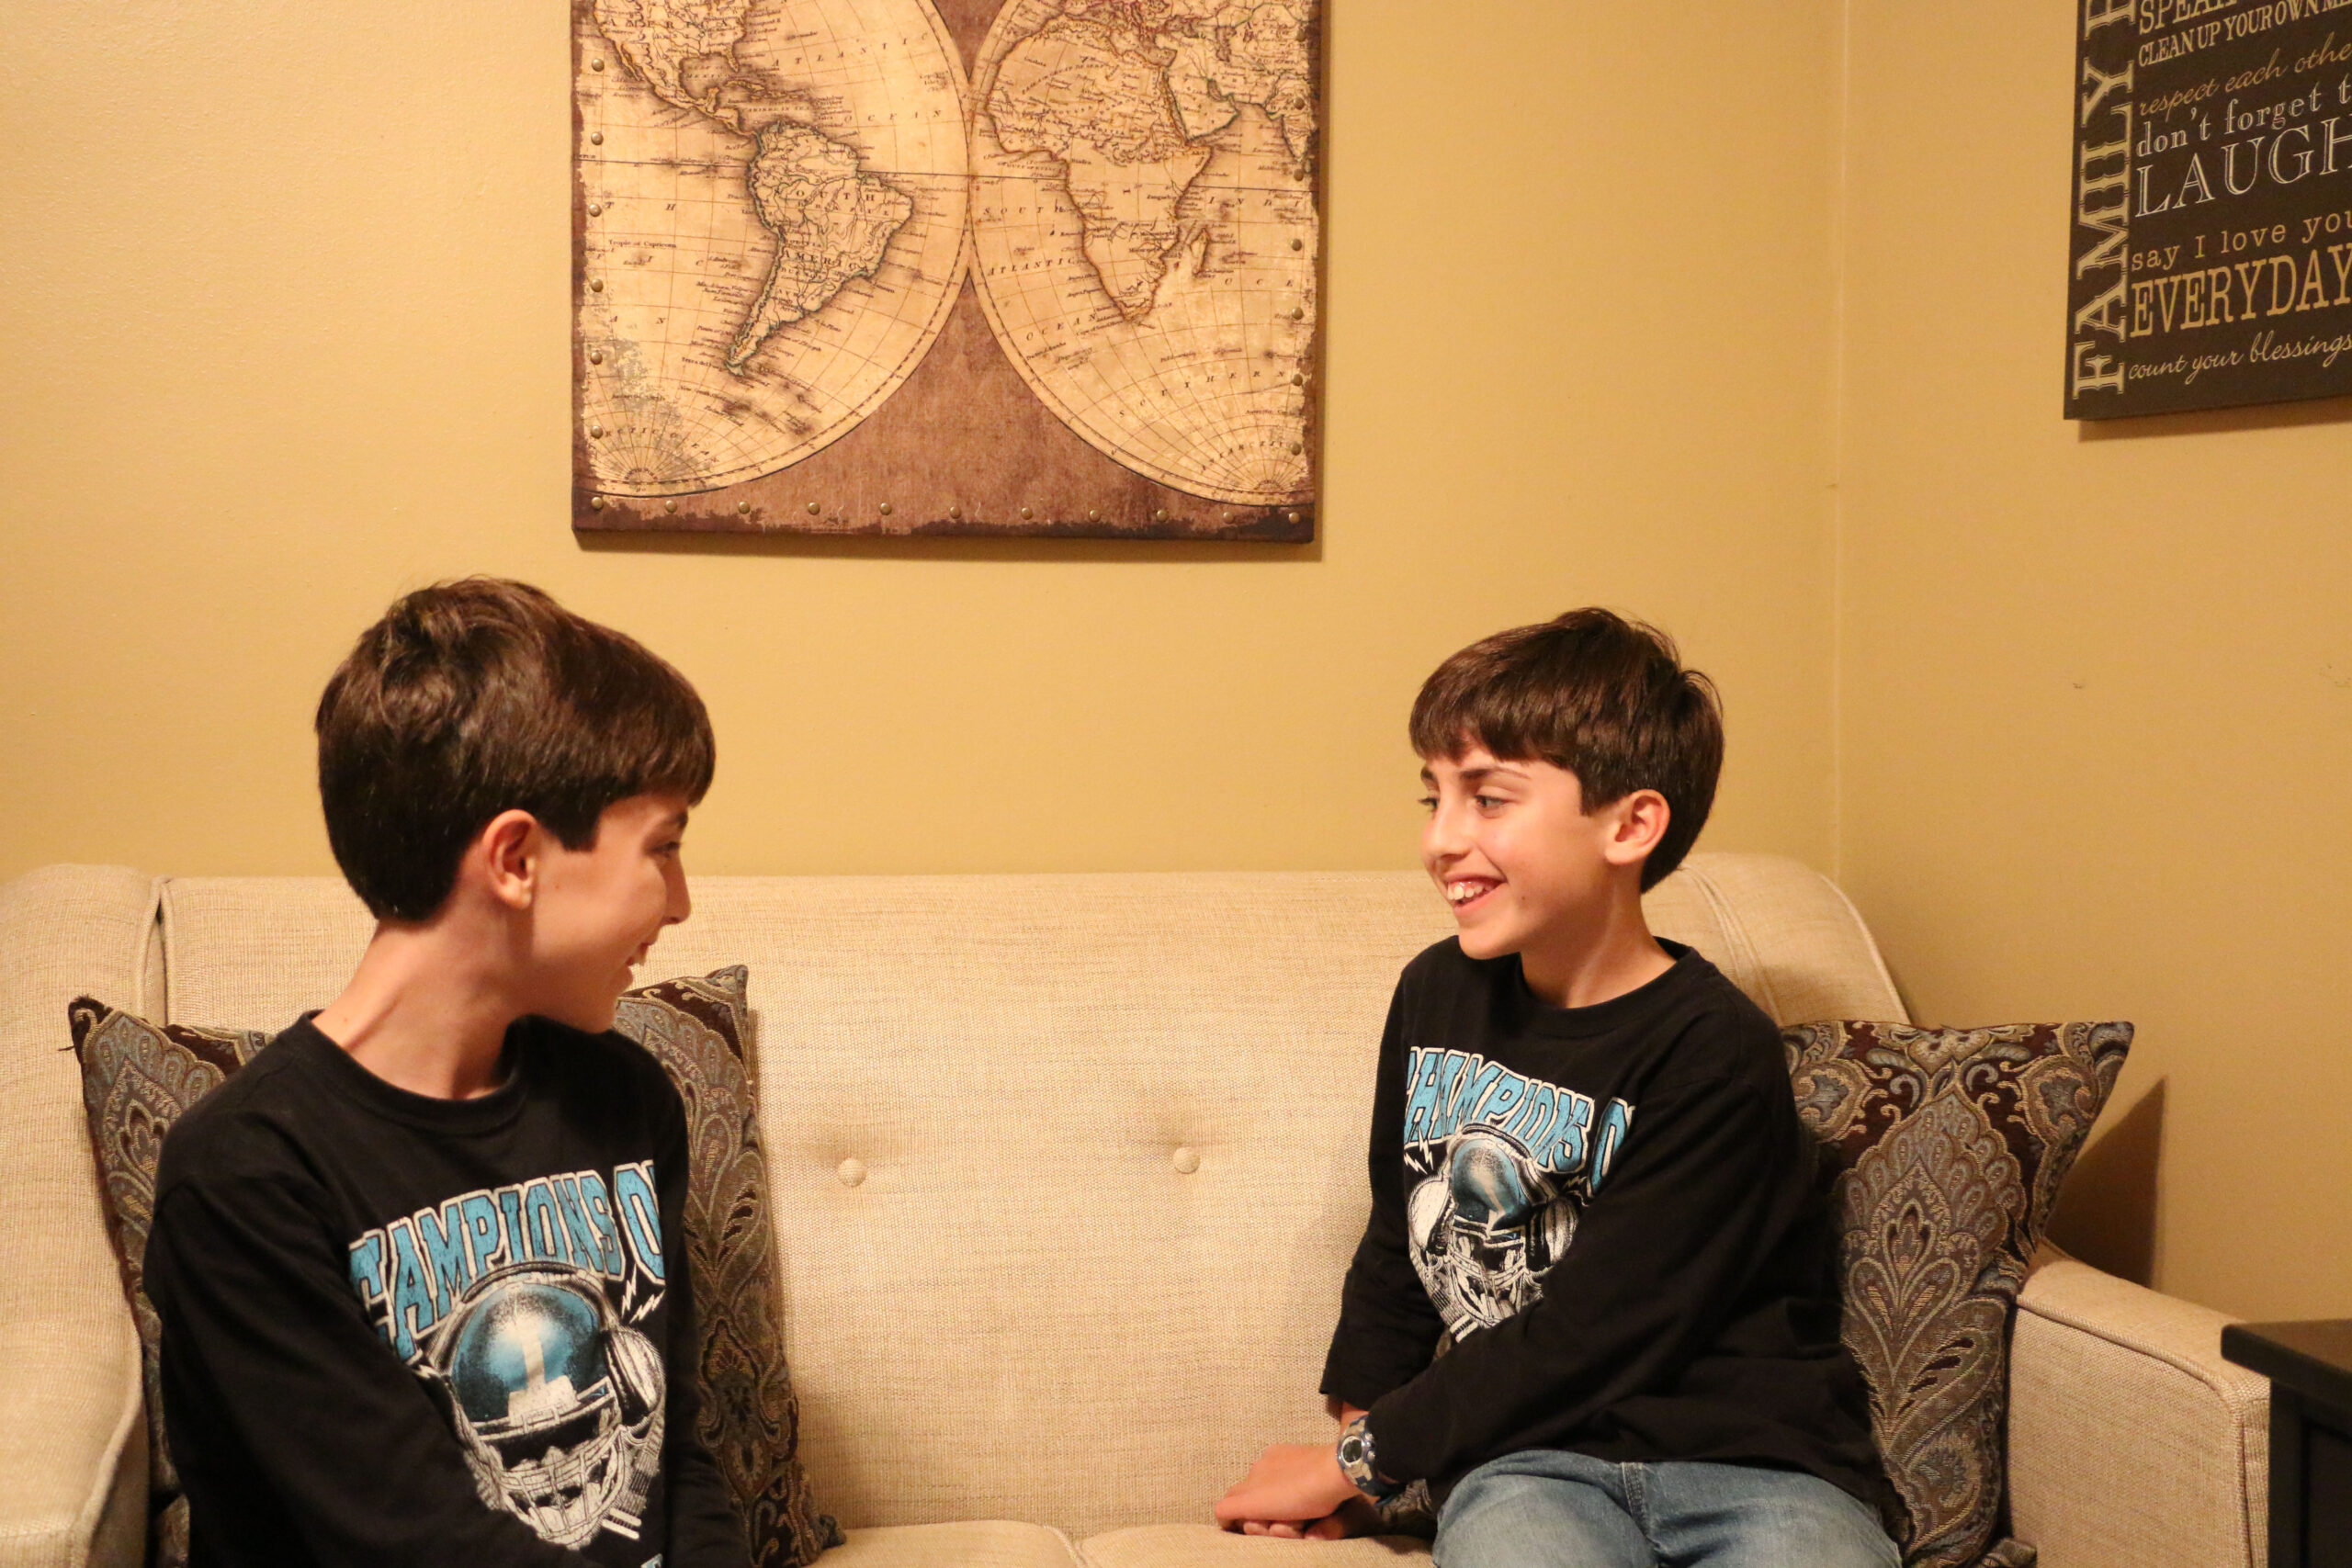
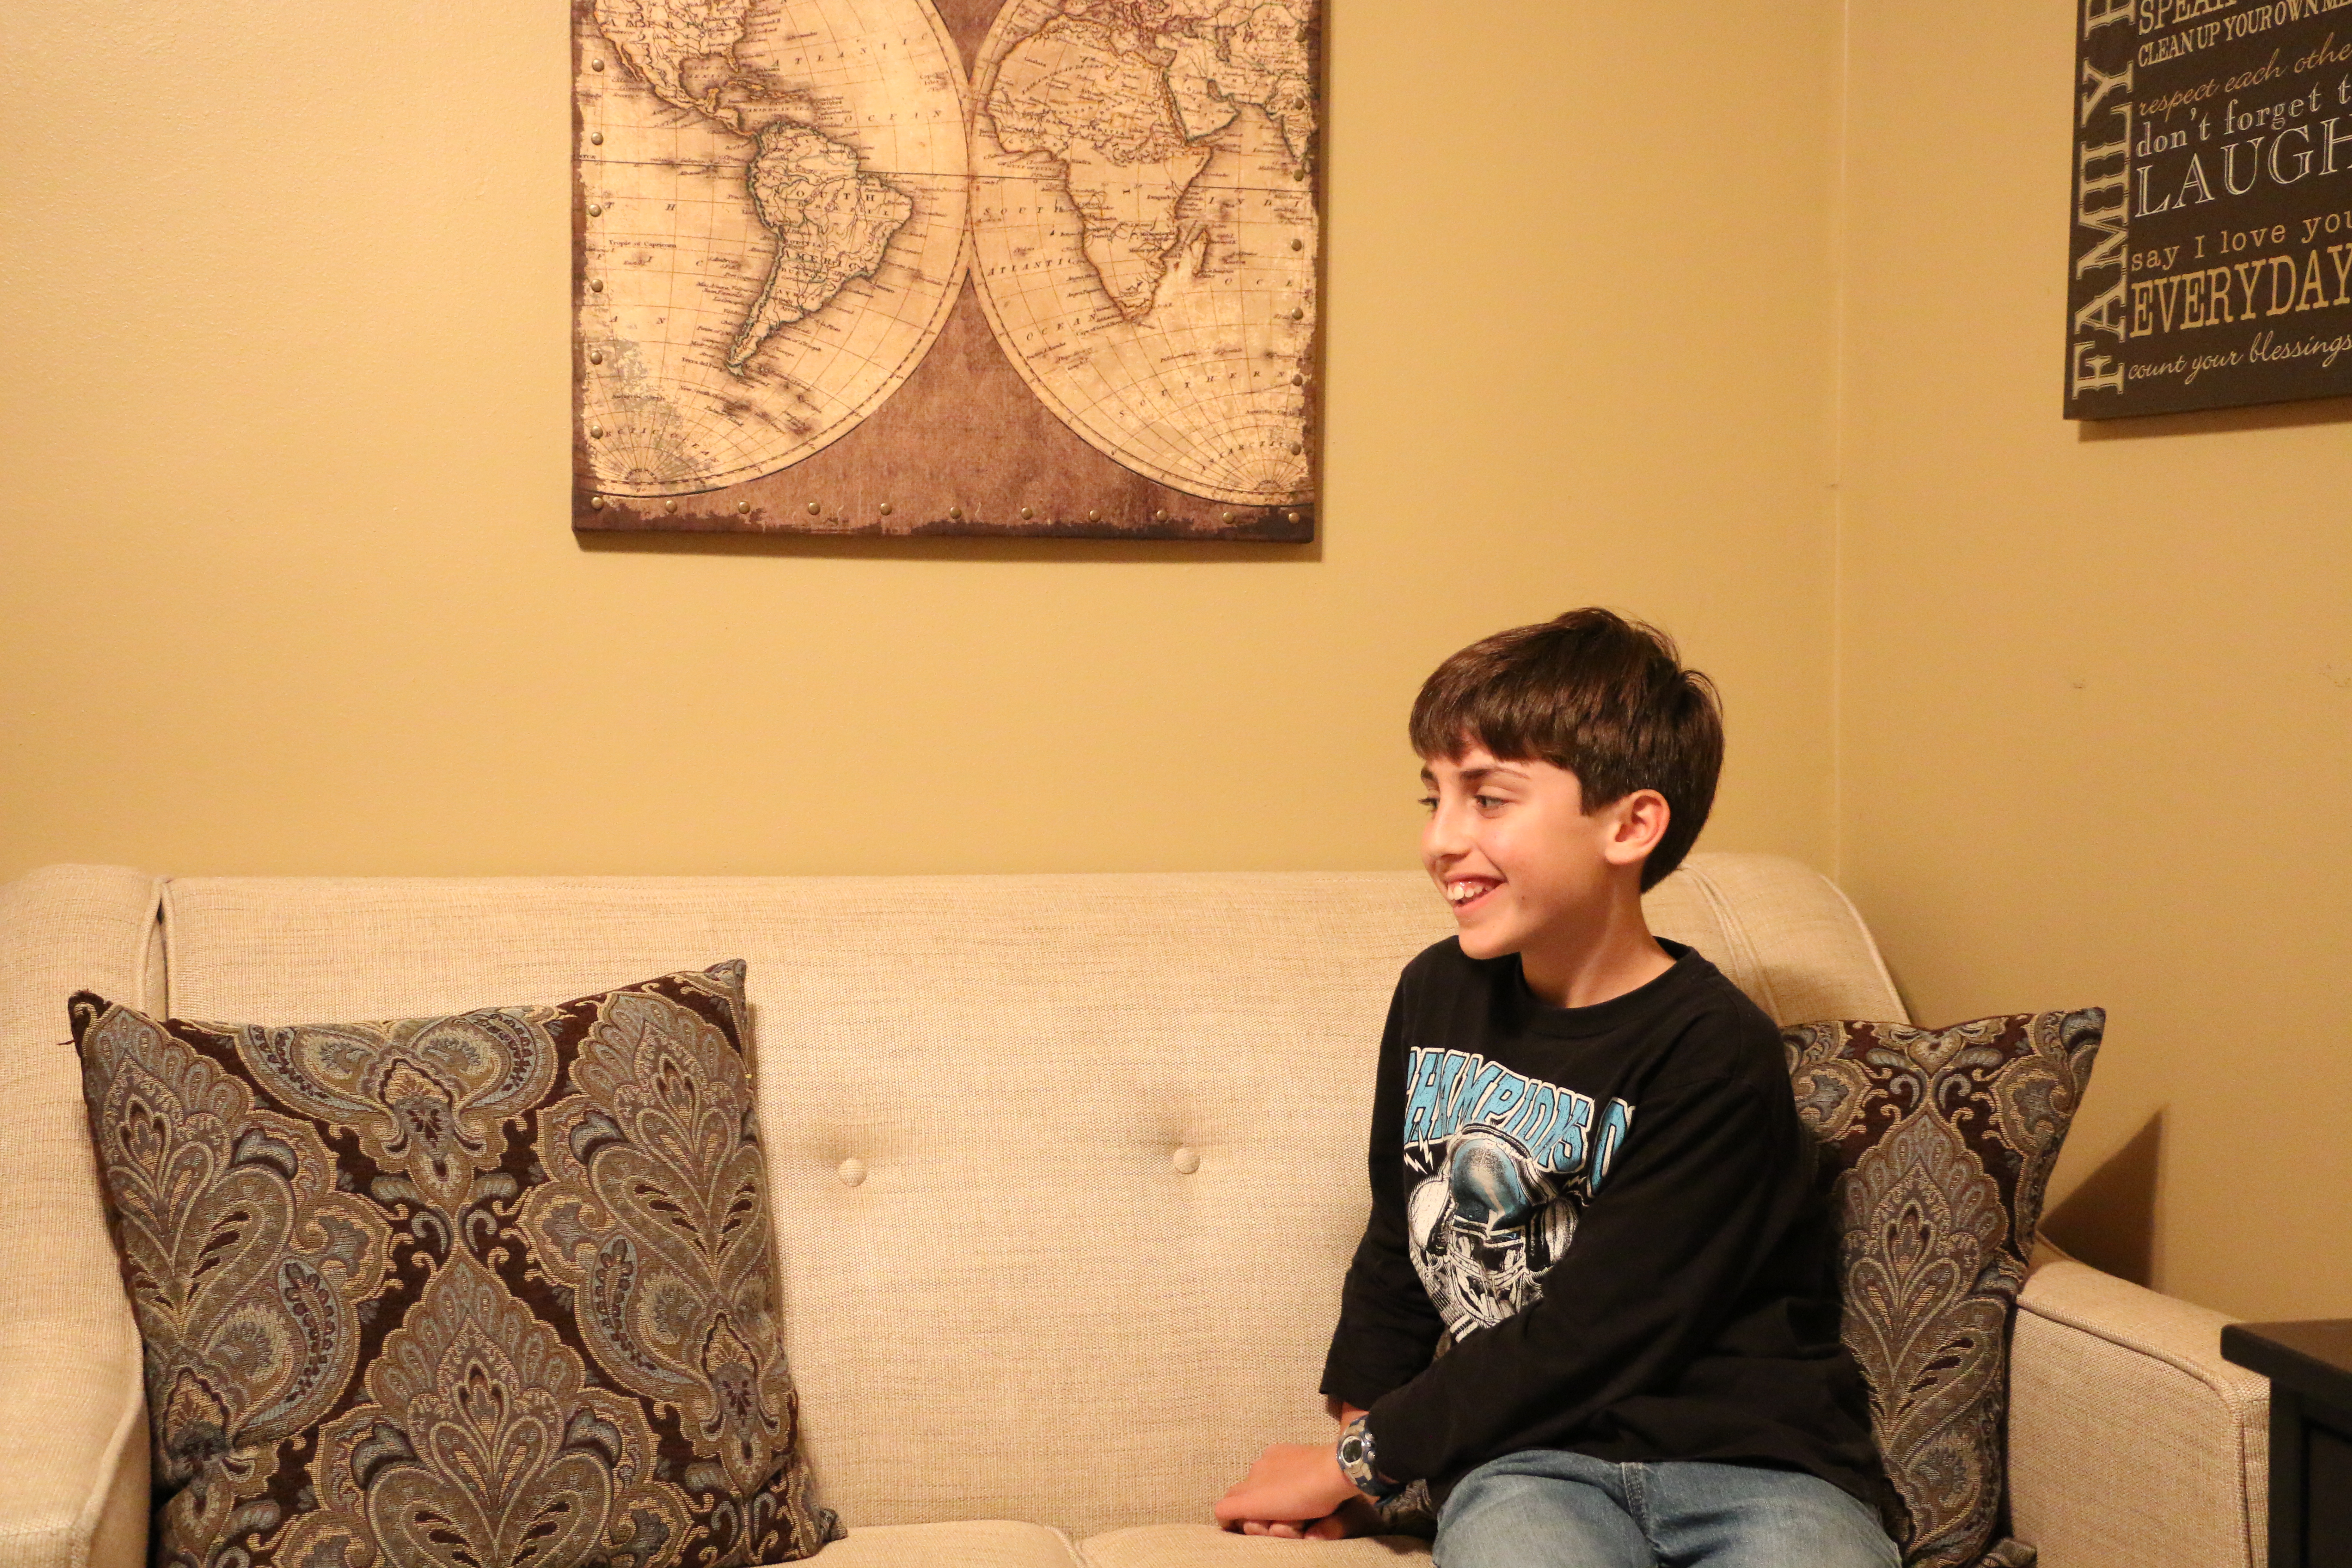
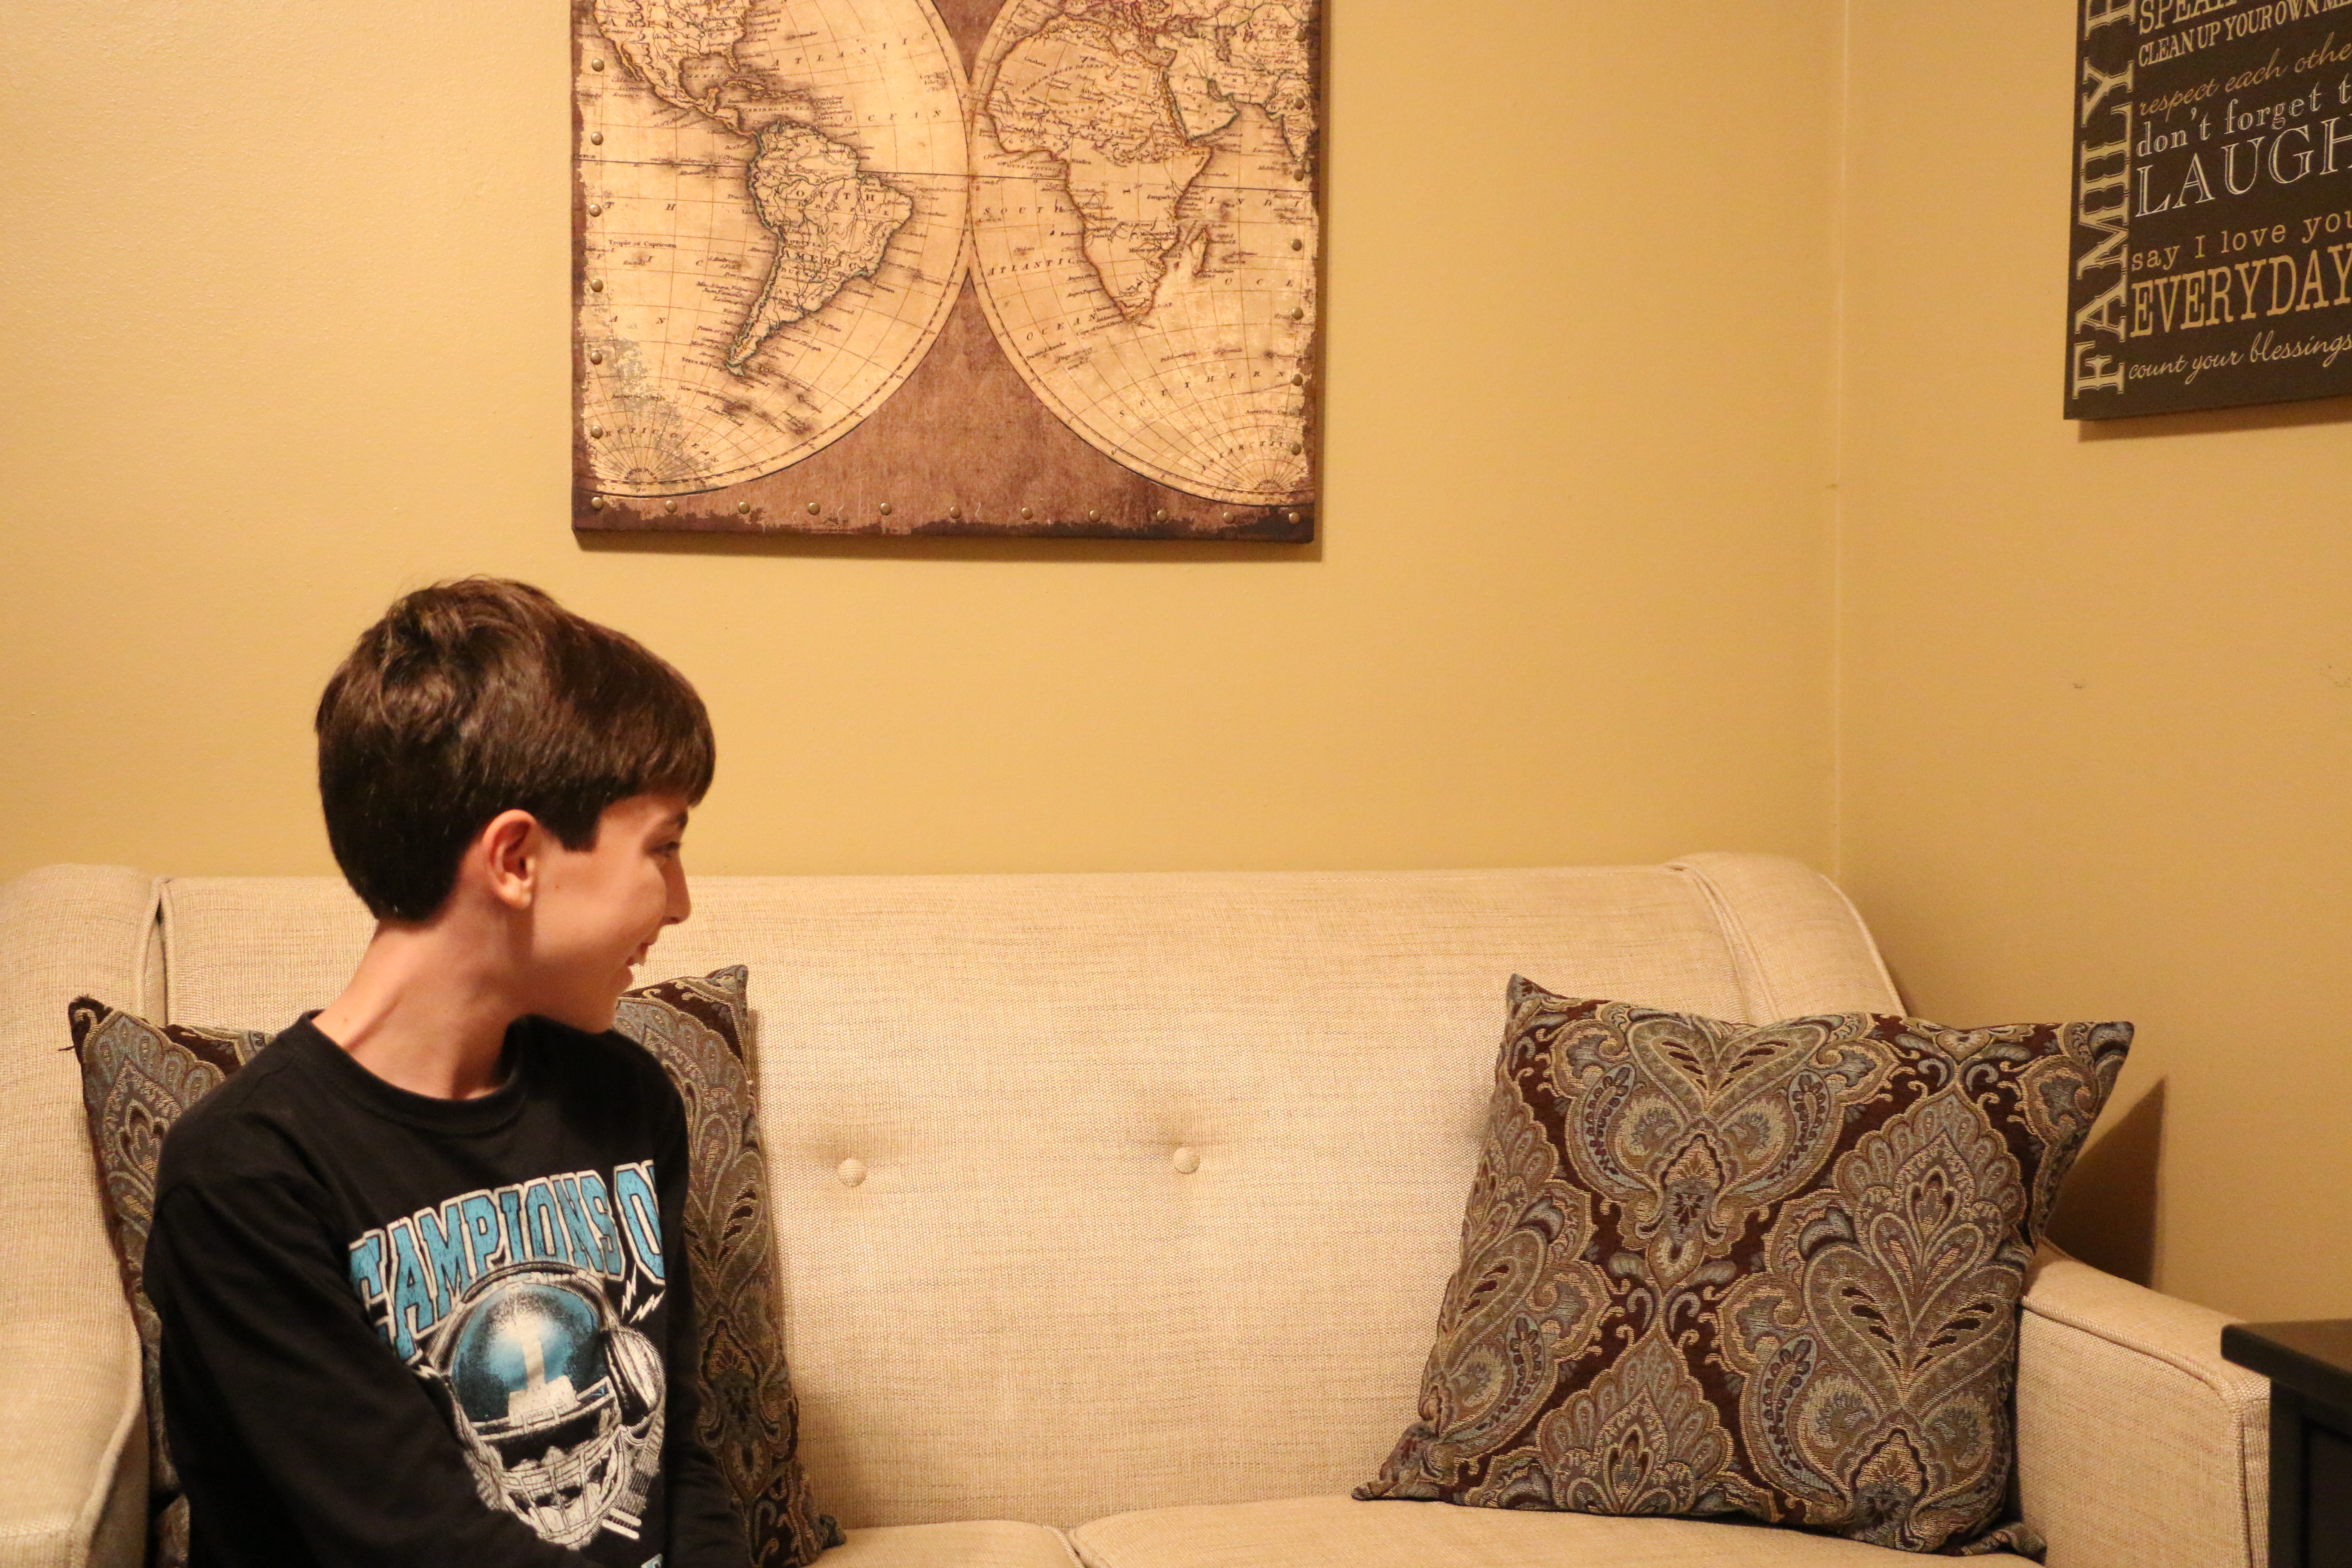
To make clones of yourself, put your camera on a tripod and take multiple pictures of yourself in different spots within the same scene. If your camera has a timer (shown next), start the timer, and then move in front of the camera so it takes a picture of you.
Choose a different pose for each picture. you can take pictures and then move in front of the camera before the shutter clicks. try to make your “characters” look like they’re interacting with each other by their facial expressions. Click the below images to download them so you can try it yourself!
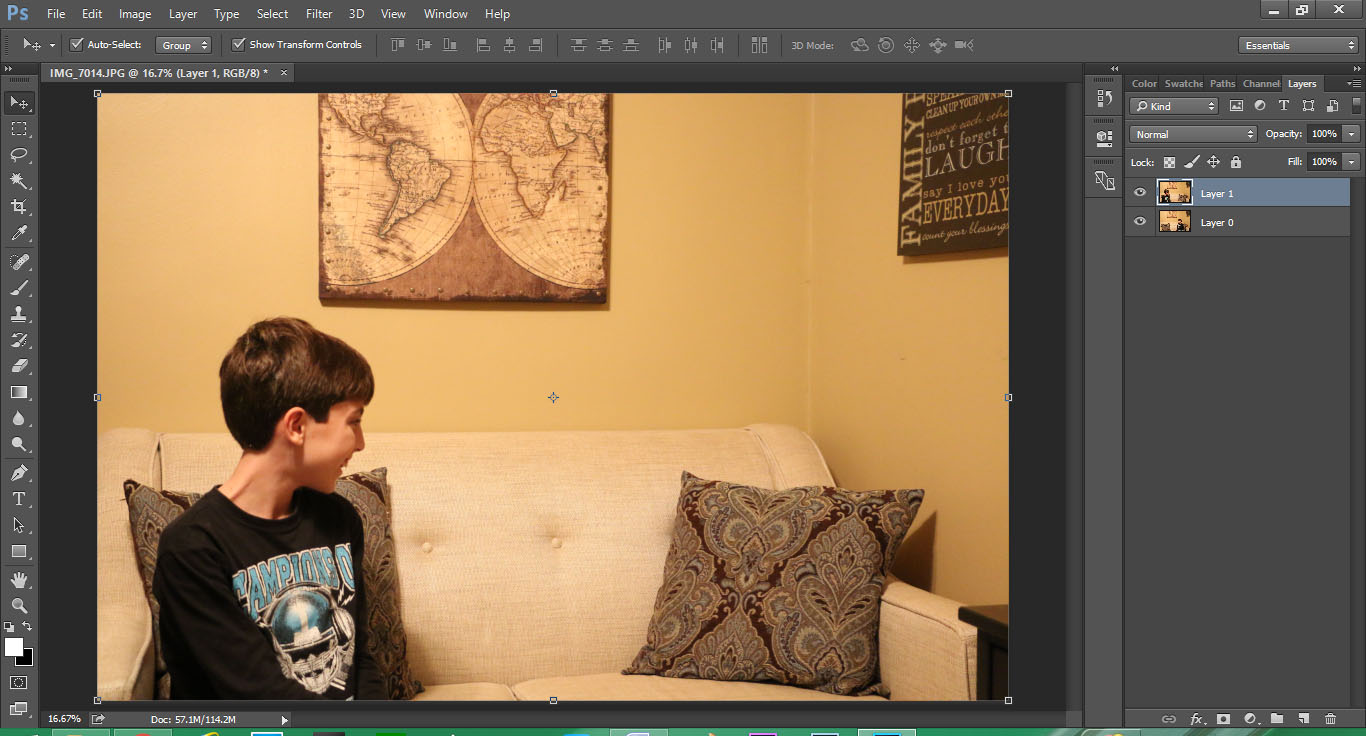
Opening the Pictures as Layers
If you want to edit the same files as me, you can download them above. Open the files in Photoshop as layers, with one on top of the other. You can open multiple pictures as layers by selecting File | Scripts | Load Files Into Stack. You’ll see your photos as multiple layers within a single picture, as shown next. You can use more than two pictures.
Using Layer Masks to Show Parts of Each Picture
Right now, the top layer is completely hiding the lower layer. We can use a layer mask to hide parts of the top layer, allowing the lower layer to show through. If you’re not familiar with layer masks, watch this video:
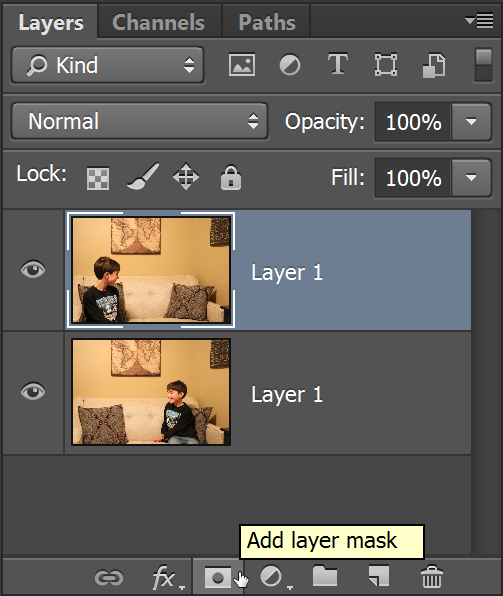
First, select the top layer and then click the Add Layer Mask button, shown next.
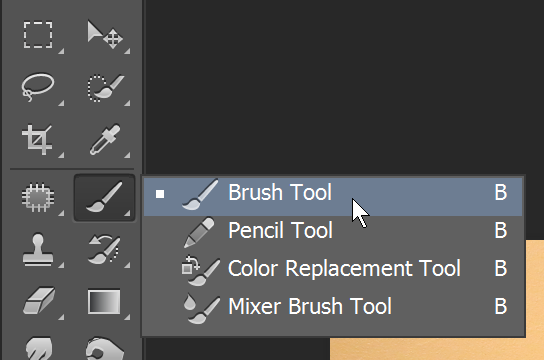
Now, select the Brush tool. You’ll use the Brush tool to paint black inside the layer mask, hiding parts of the top picture.
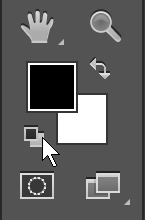
Set your foreground color to black, as shown next. The foreground color controls the color the brush paints.
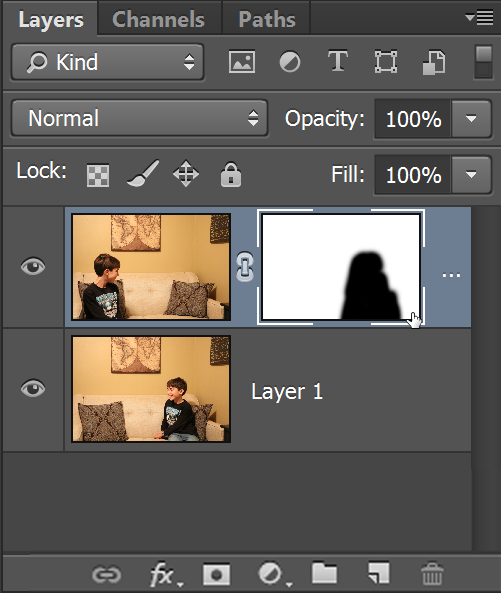
Now, select the layer mask and paint black within it. You can press the [ and ] keys on your keyboard to make your brush bigger or smaller. Every part of the layer mask that you paint black will hide that part of the top layer. To show the clone of myself on the lower layer, I painted black over that part of the picture. You don’t have to be exact!
Here is my final clone photo! Pretty cool! If you want to see the final PSD file, you can download it here and edit it. Thanks for reading! Keep shooting!
Here’s a video Chelsea made that uses some of the same techniques: