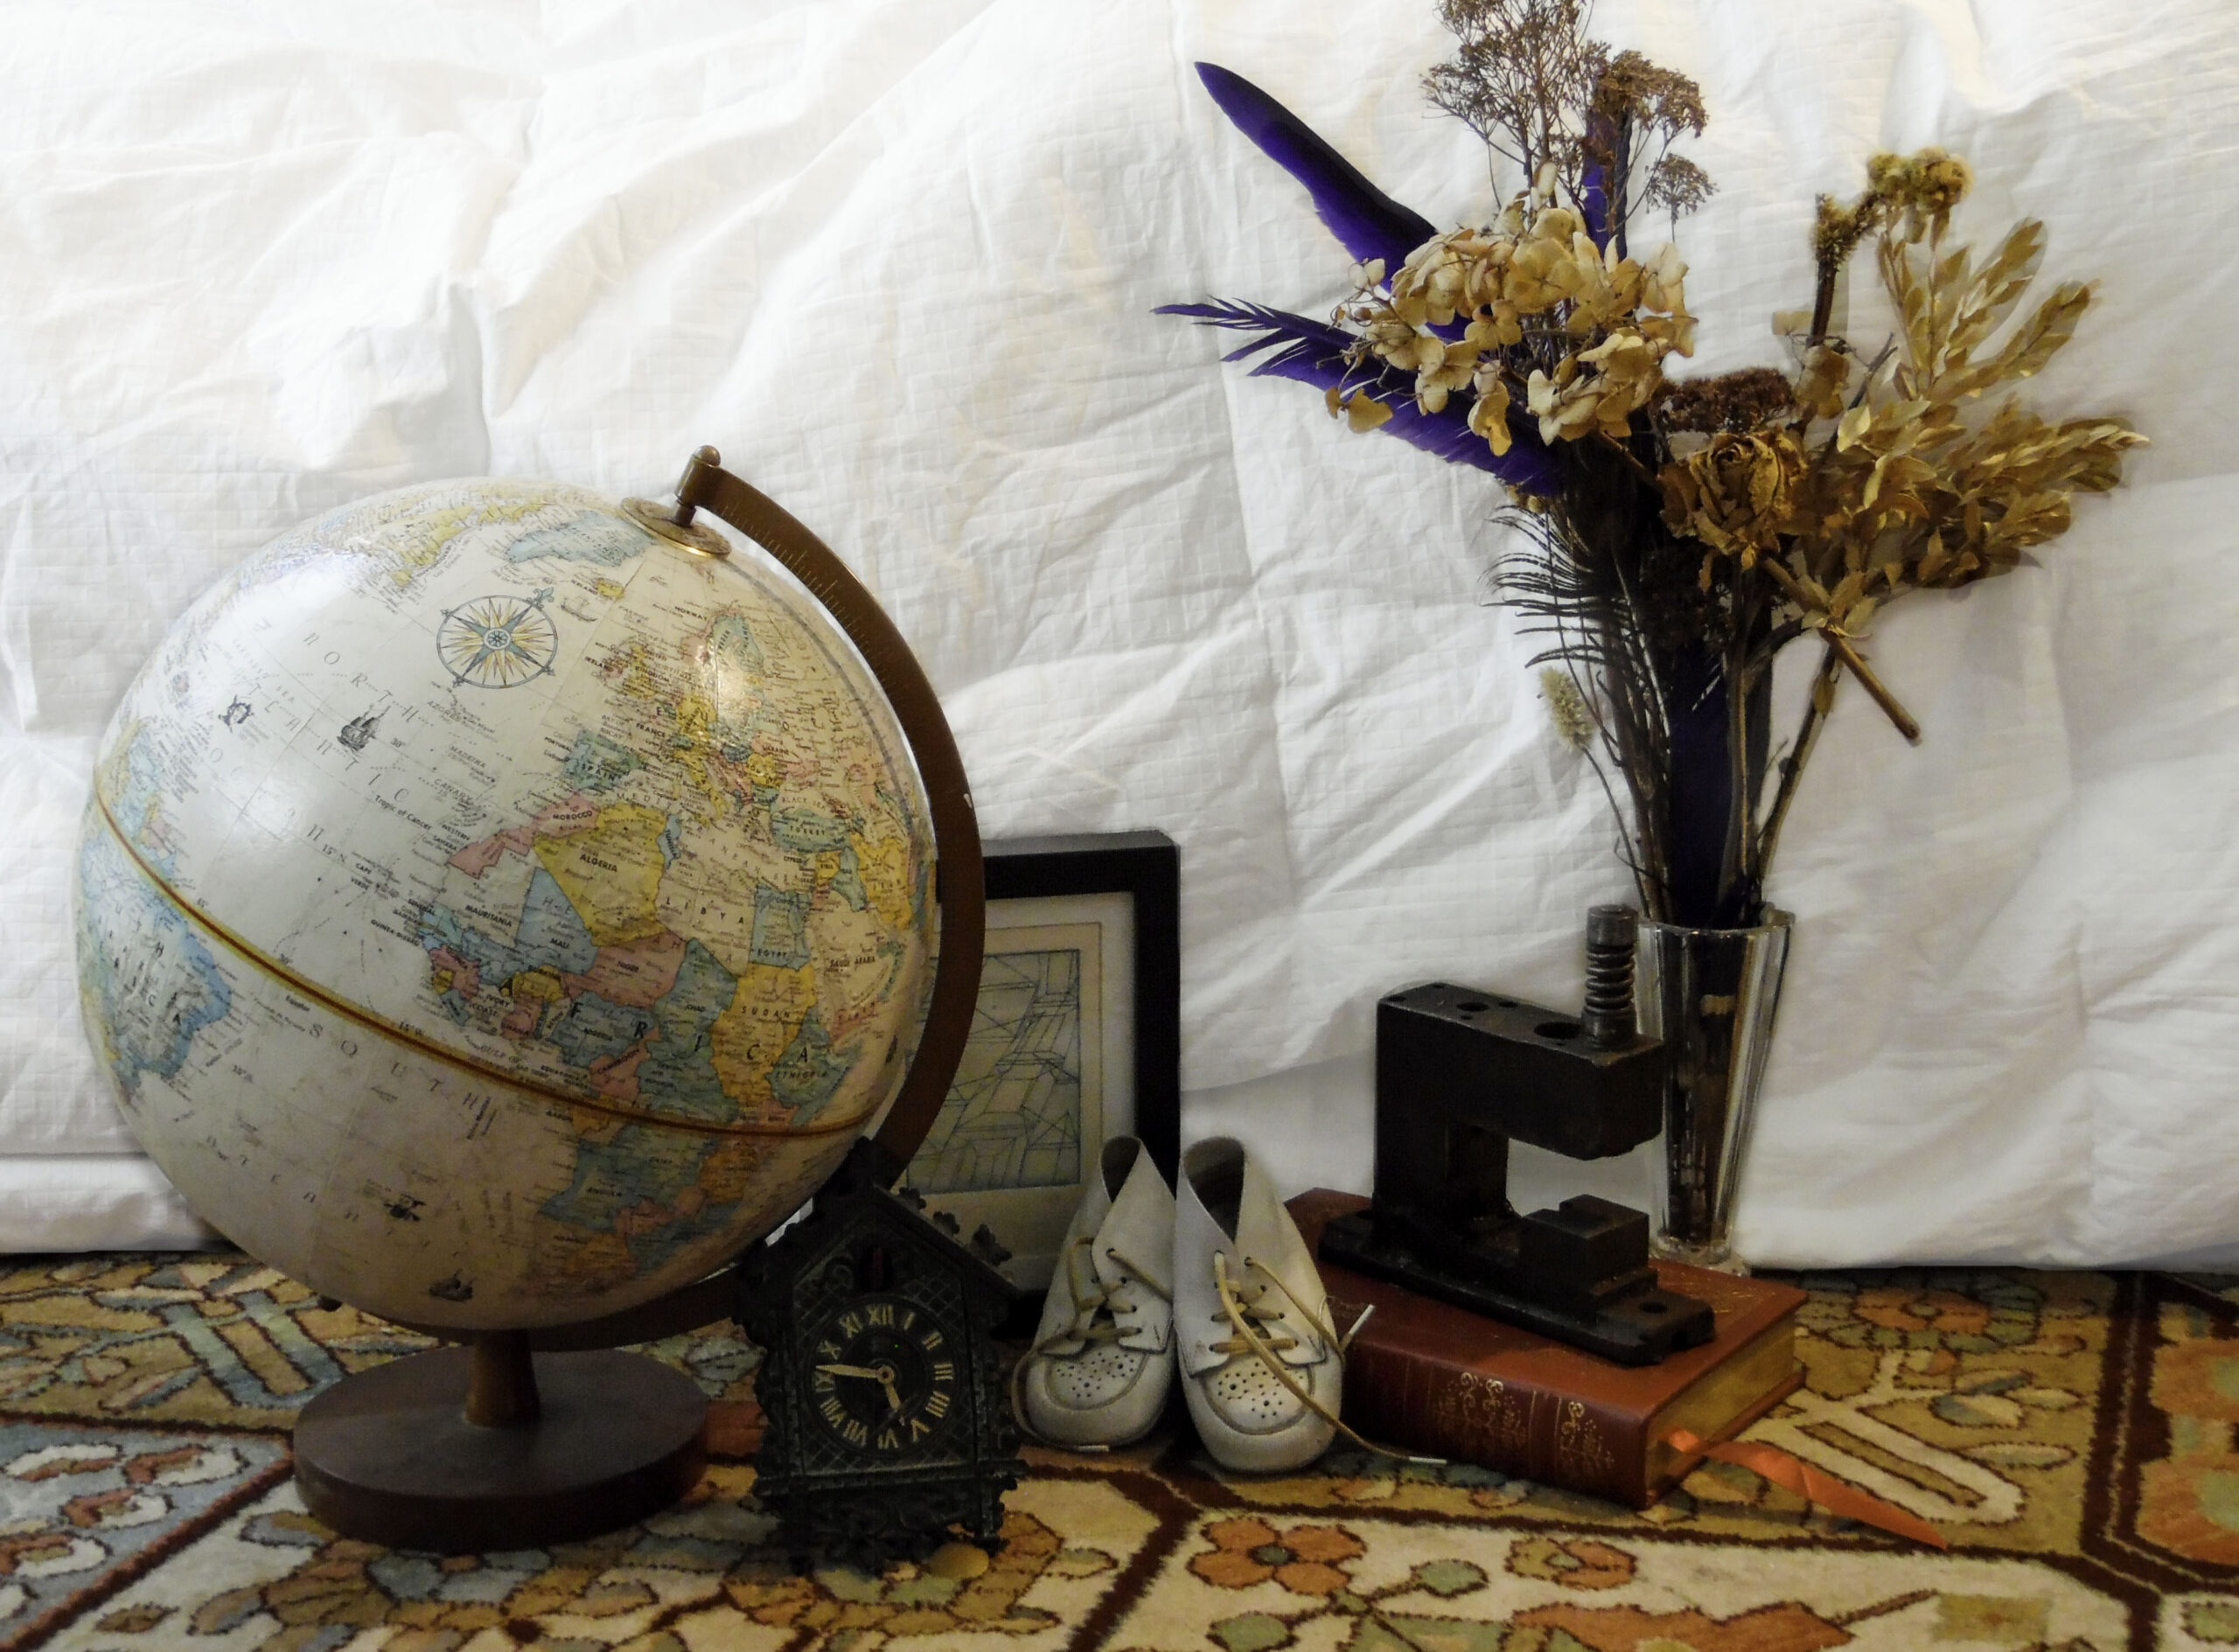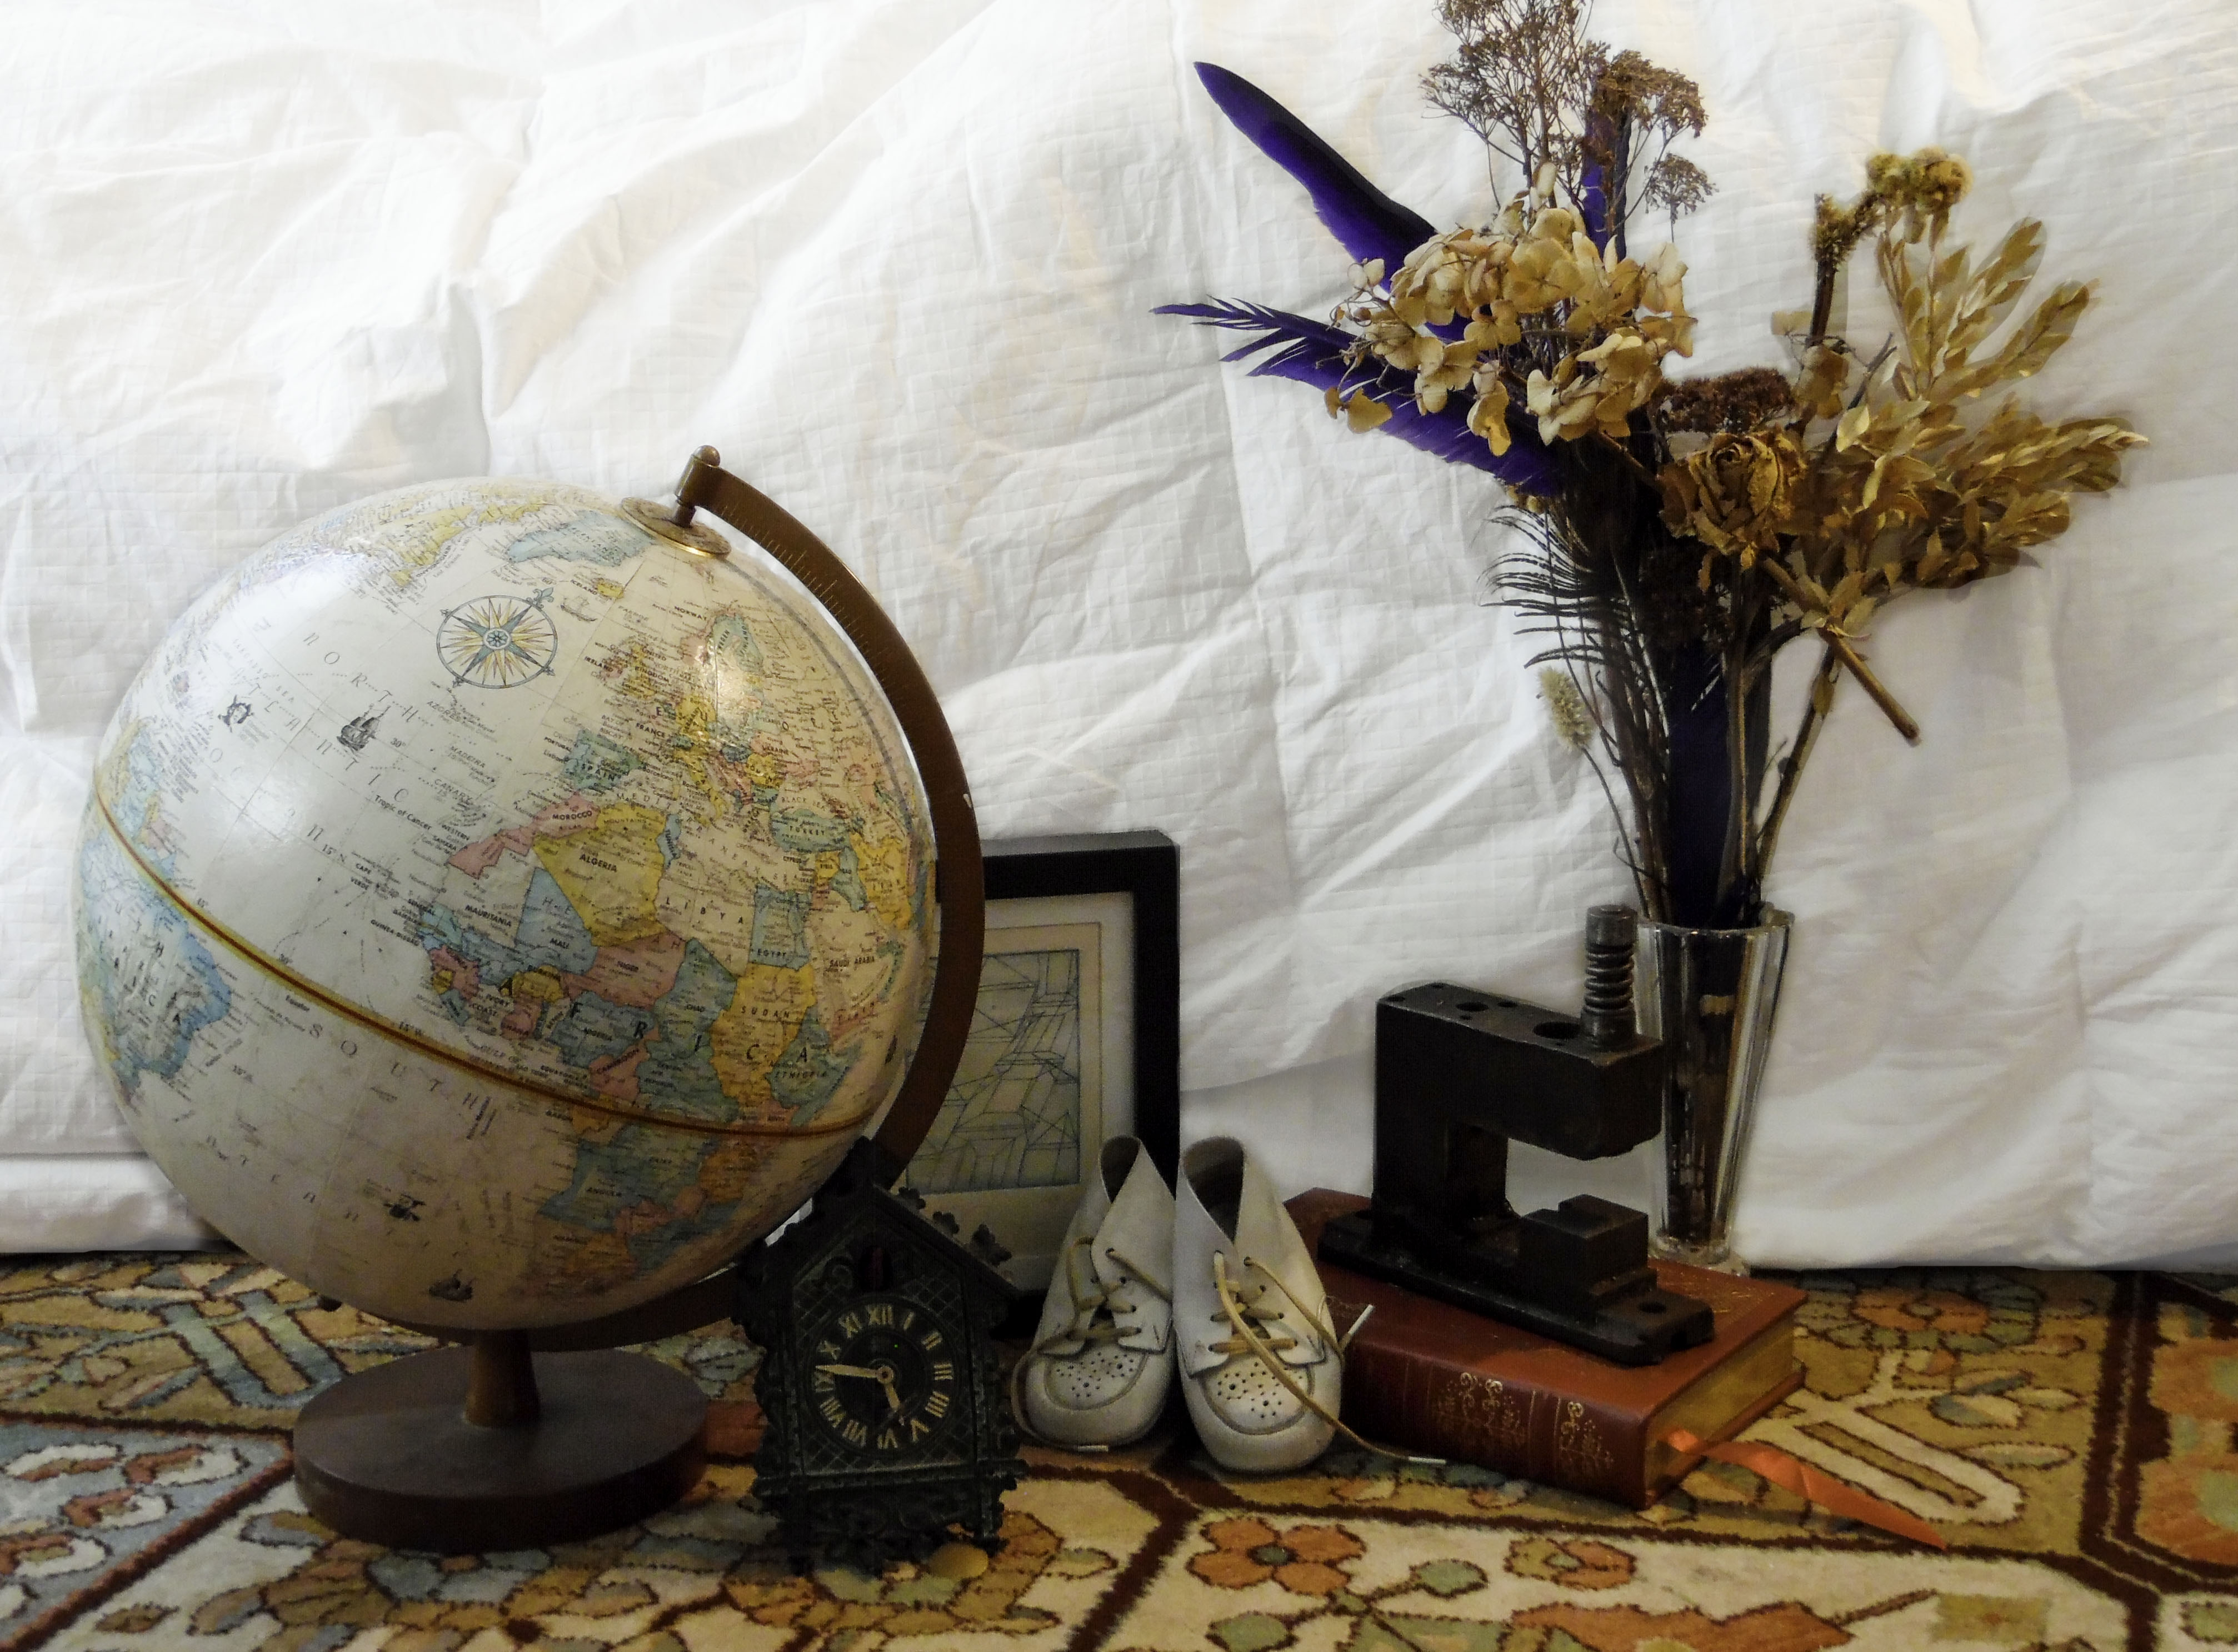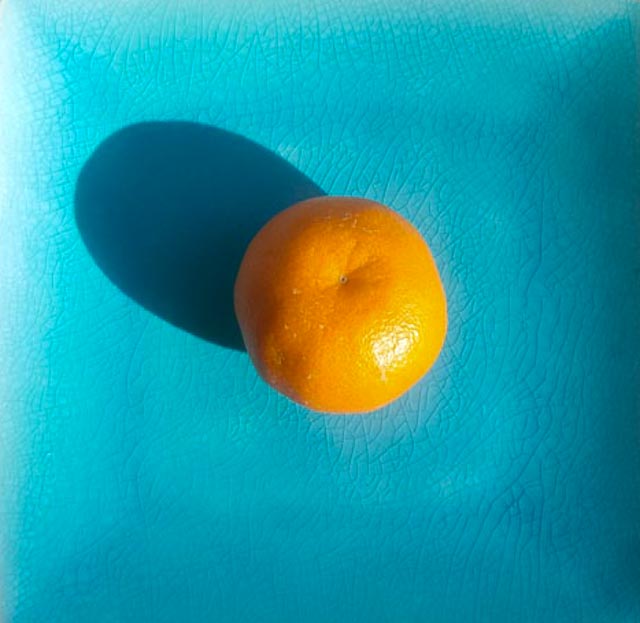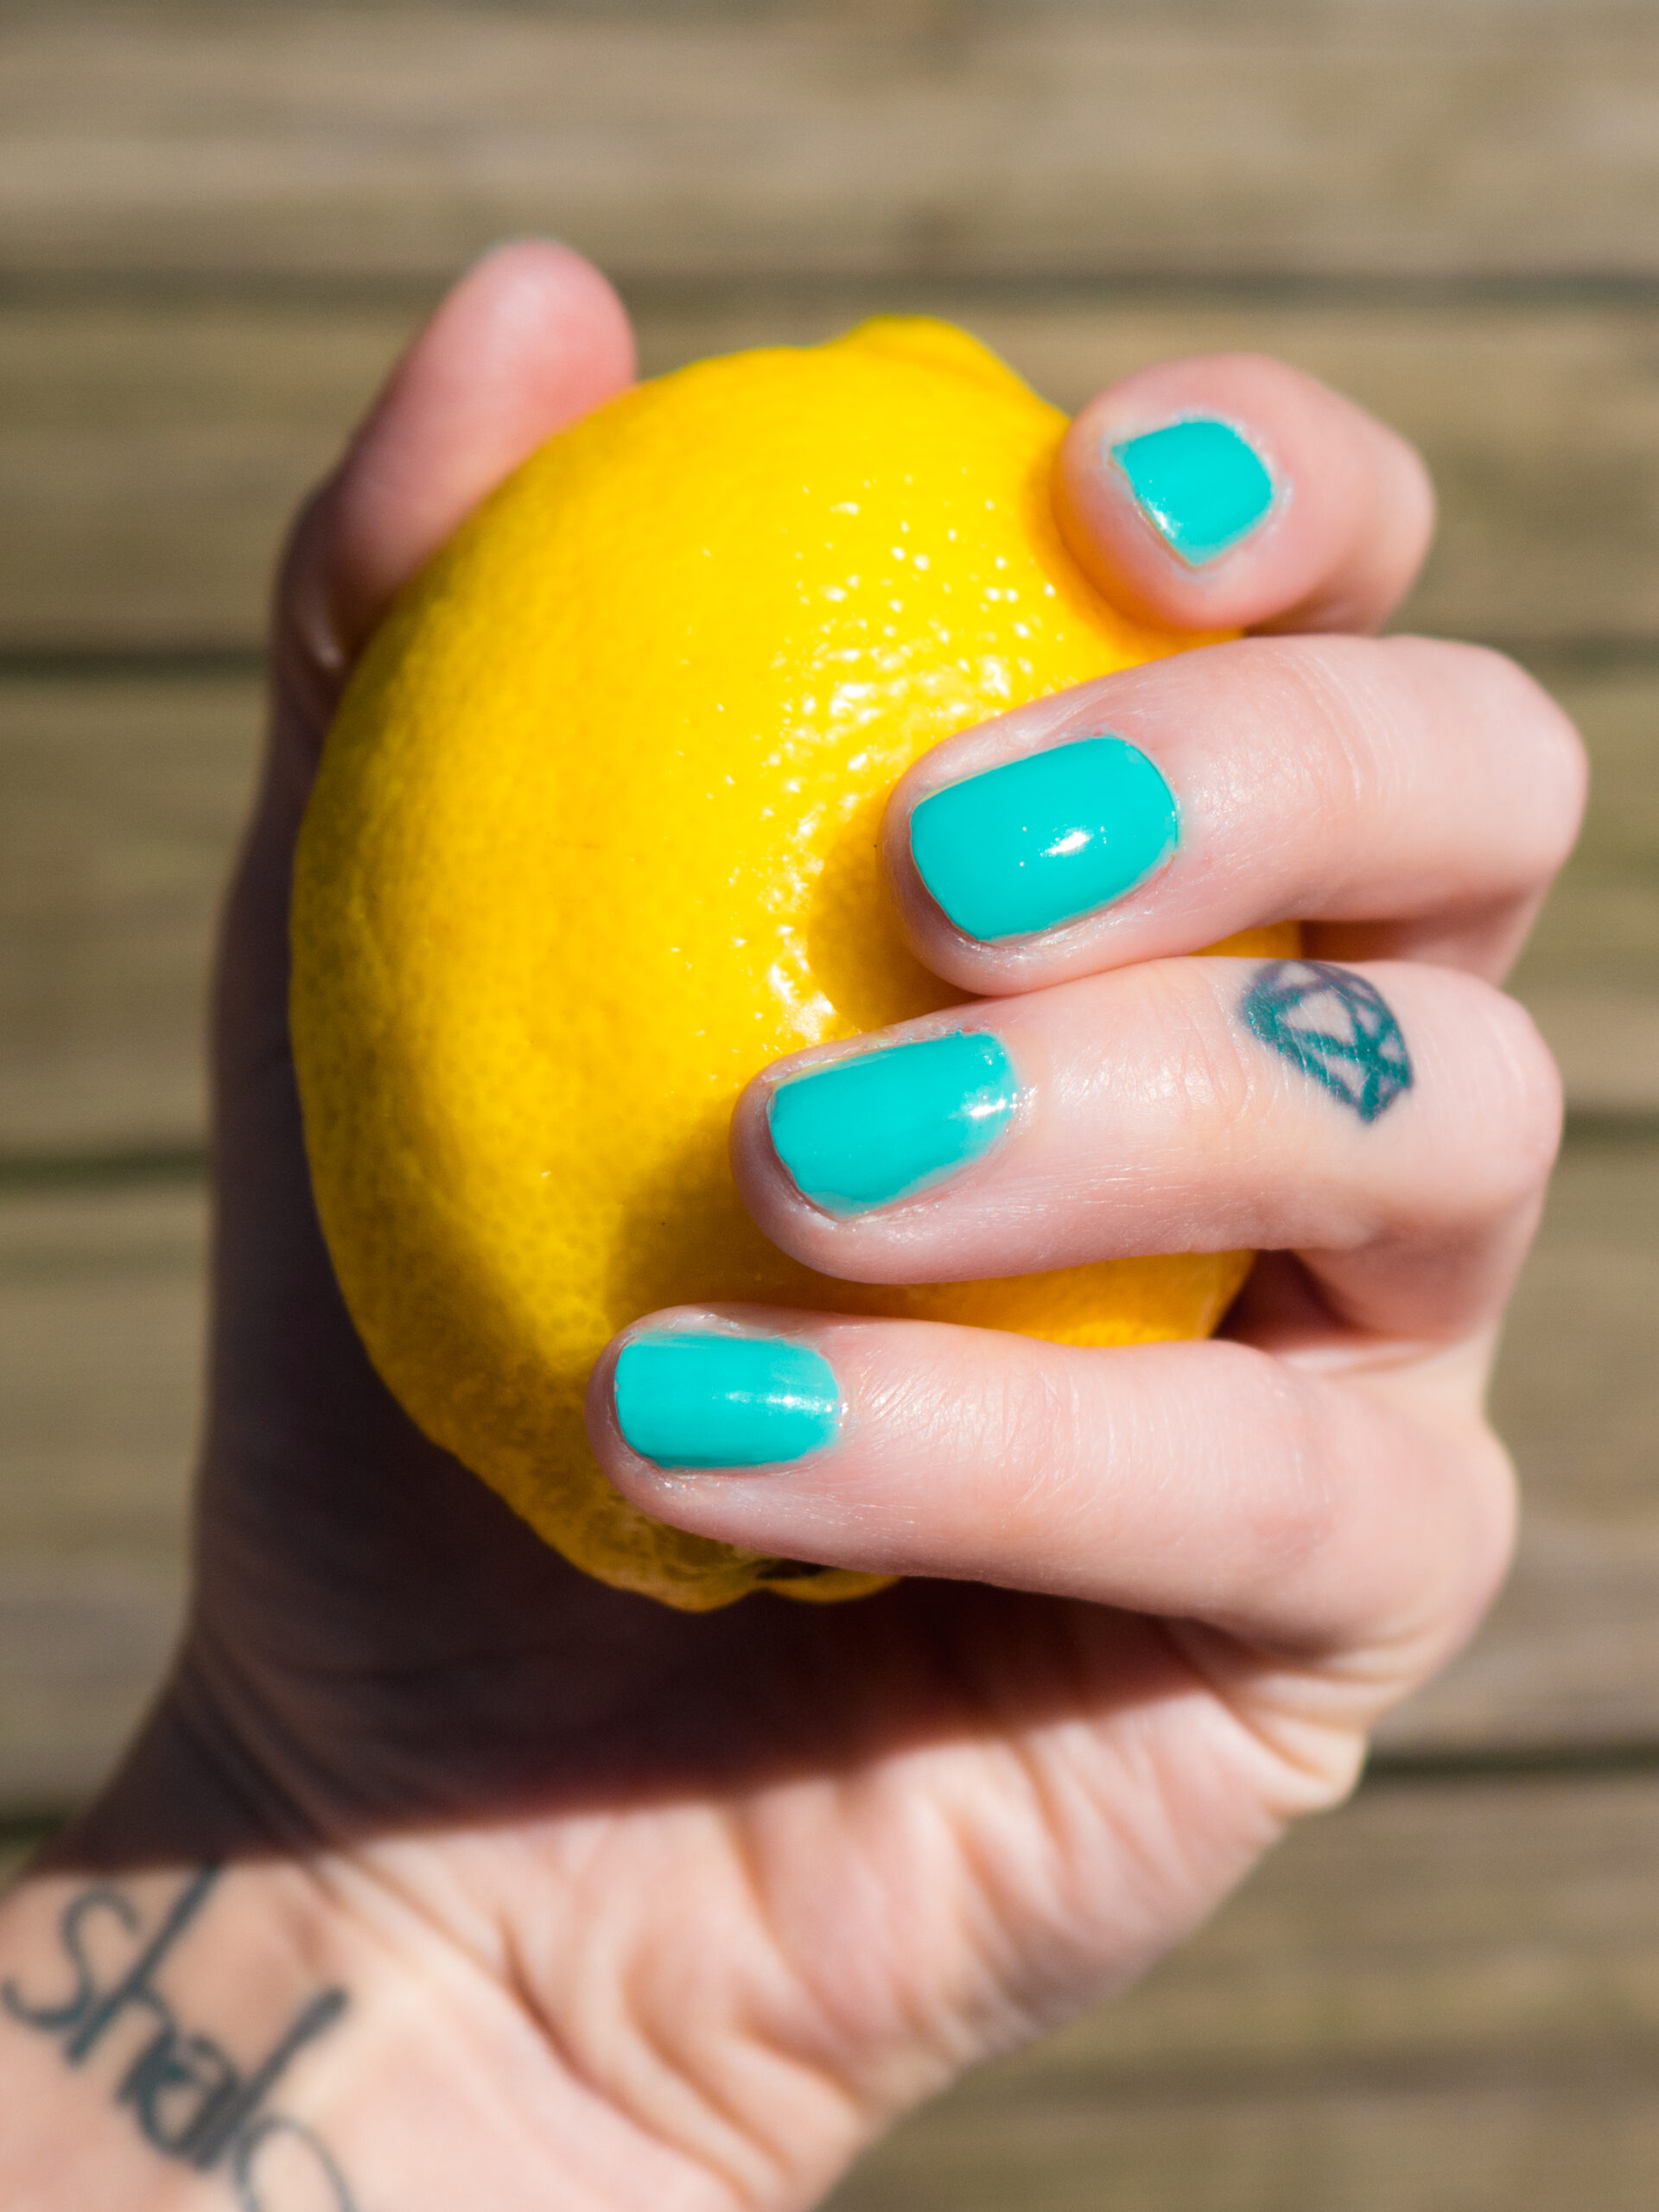
Color! The possibilities for this topic are endless. I had grand ideas of what I wanted to do, but limited resources. I had visions of bold lipstick, bold nails and a white background. Unfortunately I don’t have a studio to work with and I was my own model, so that limited my ideas a bit. But I was reminded of a shot I took for my food project of a clementine on a teal plate.
I decided to work with the same color palette and more fruit. I painted my nails teal and found the most aesthetically pleasing clementine and lemon in our fruit bowl and took them into my back yard for the natural light. Harsh light is good for fruit because you want the specular highlights, not the flat light that you may want for portraits.
I shot in aperture priority with a low aperture to blur the background as well as I could, and took a bunch of shots of my hand holding the fruit. Some in front of the wood decking and some in front of the ivy.

f/3.6, 1/3200th, ISO 200
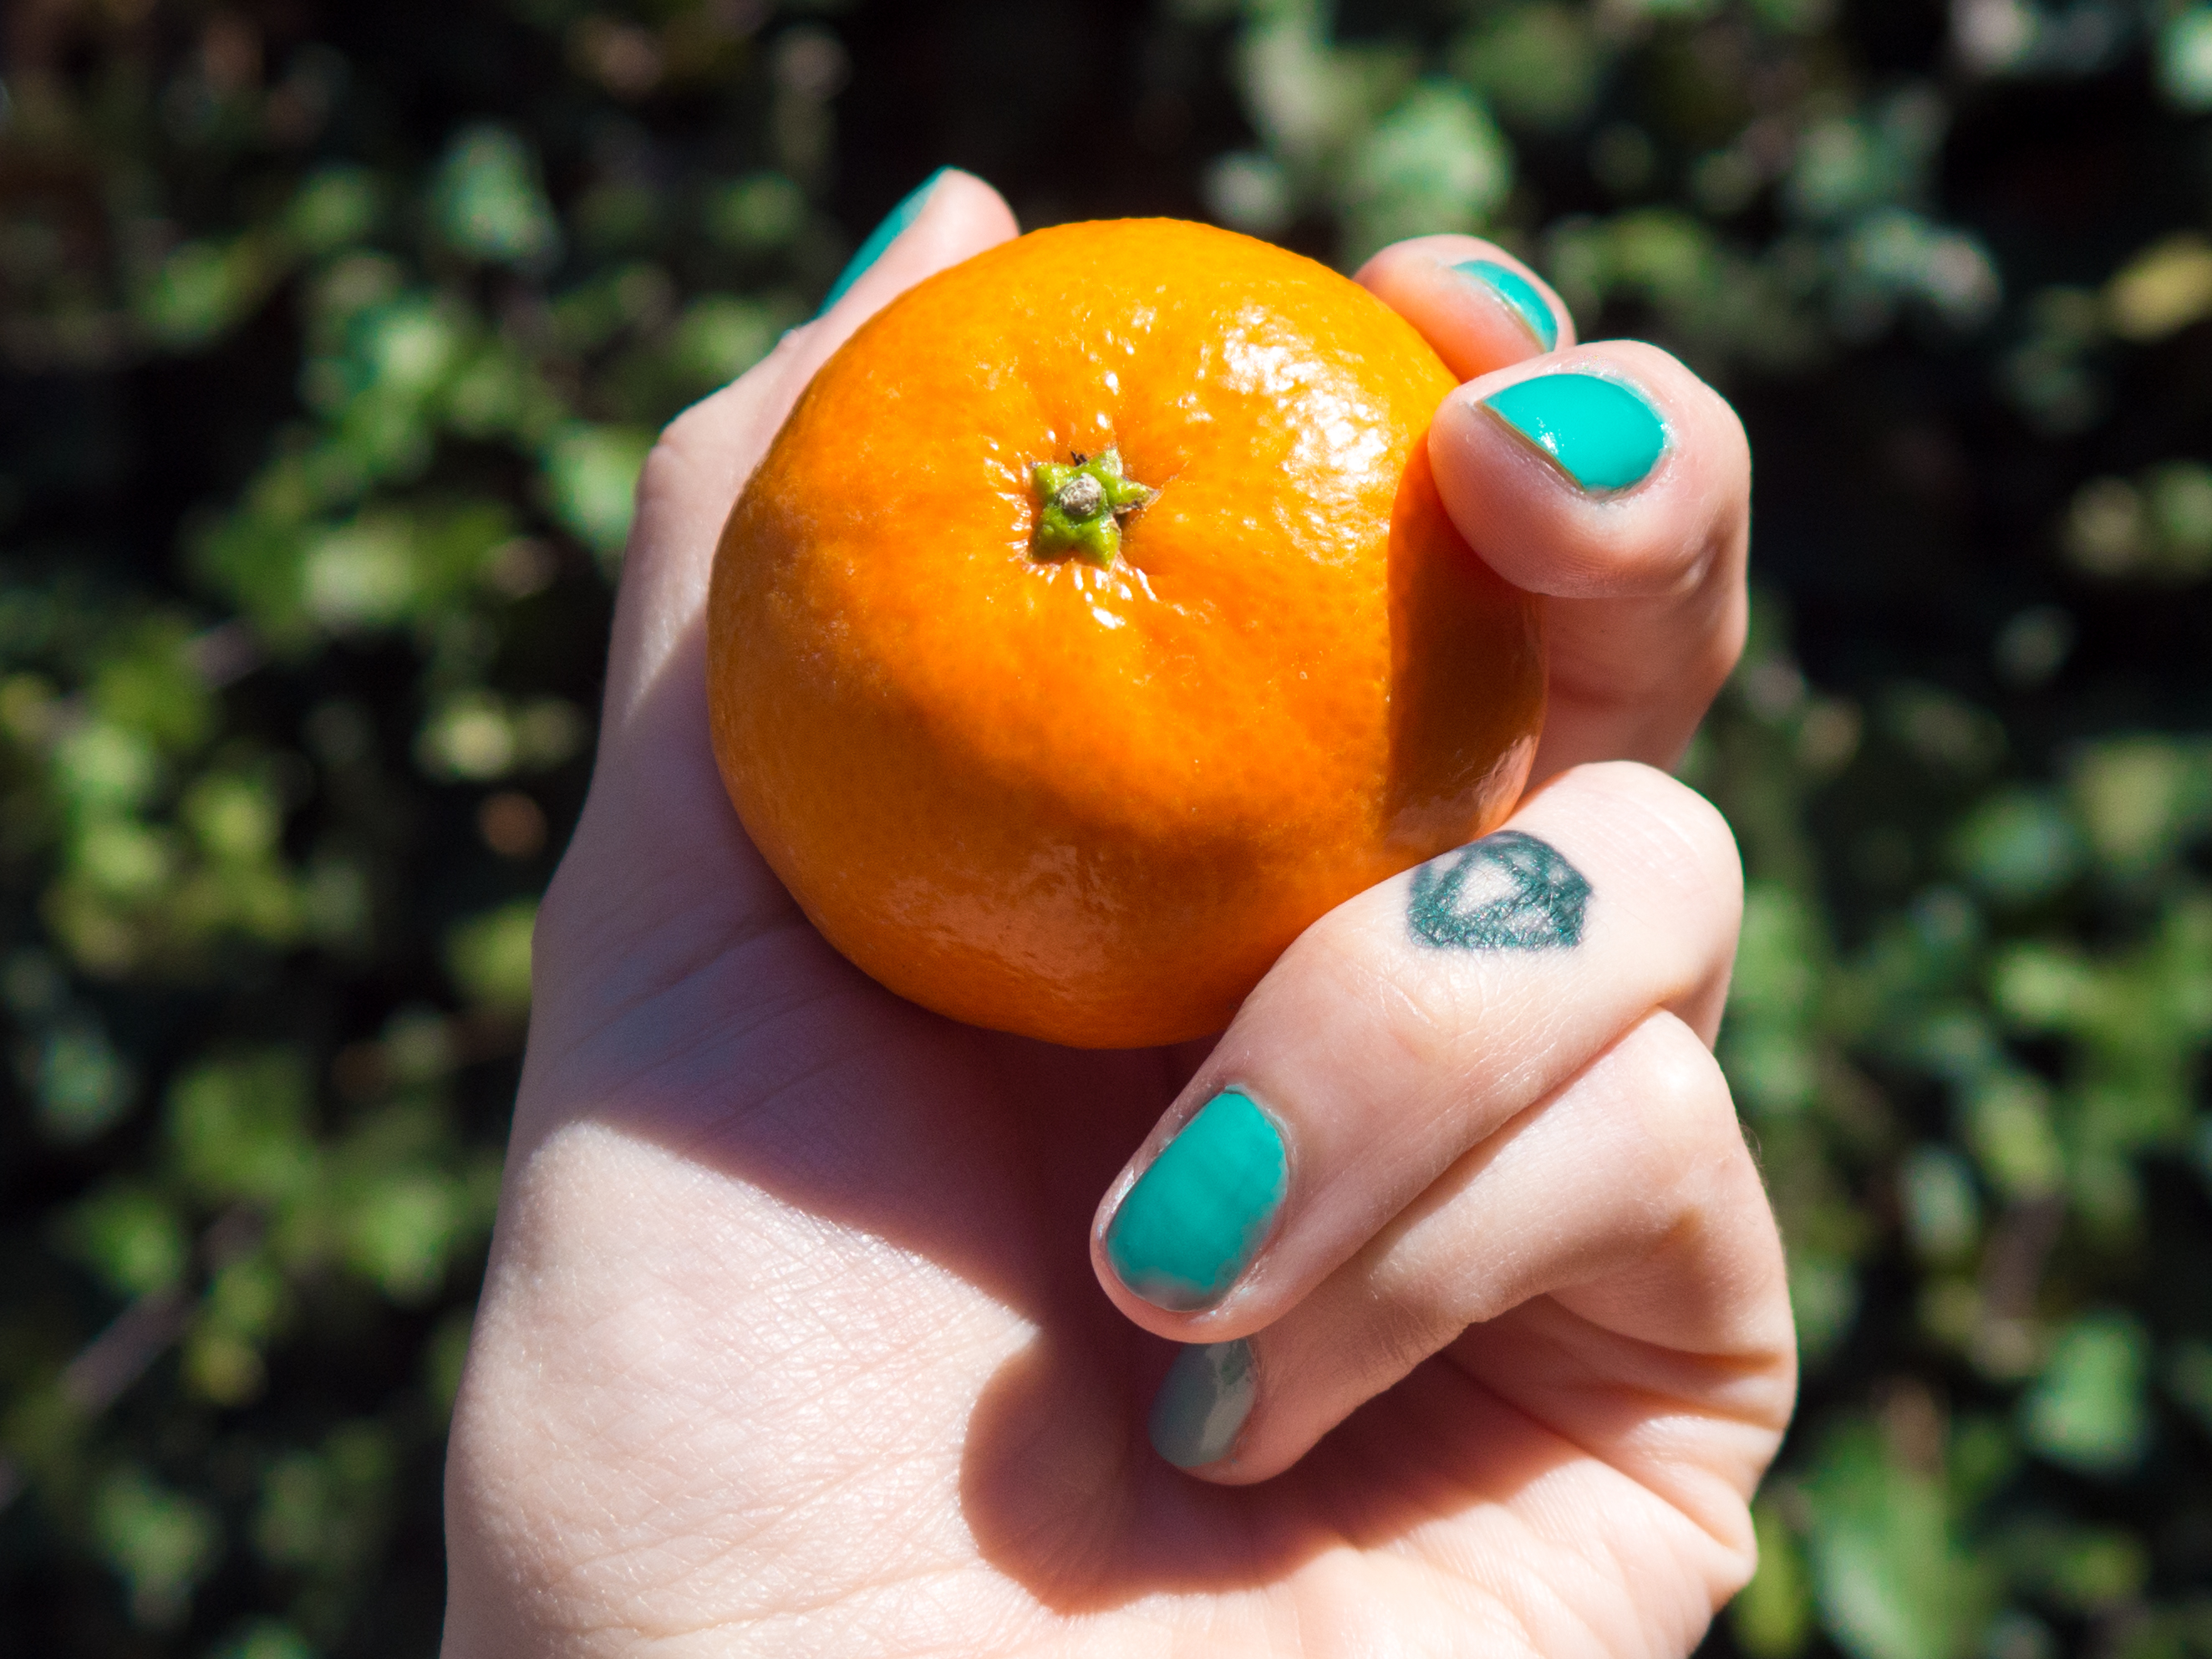
f/3.6, 1/3200th, ISO 200
Next I wanted to shoot my lips in a bright color with the green background and teal nails. This was a bit more challenging, but I finally downloaded the Olympus app for my phone so that I could control my camera from in front of it. Compared to Canon and Nikon’s apps, this one is great. I was able to focus and shoot myself from my phone while my camera was on the tripod in front of me.
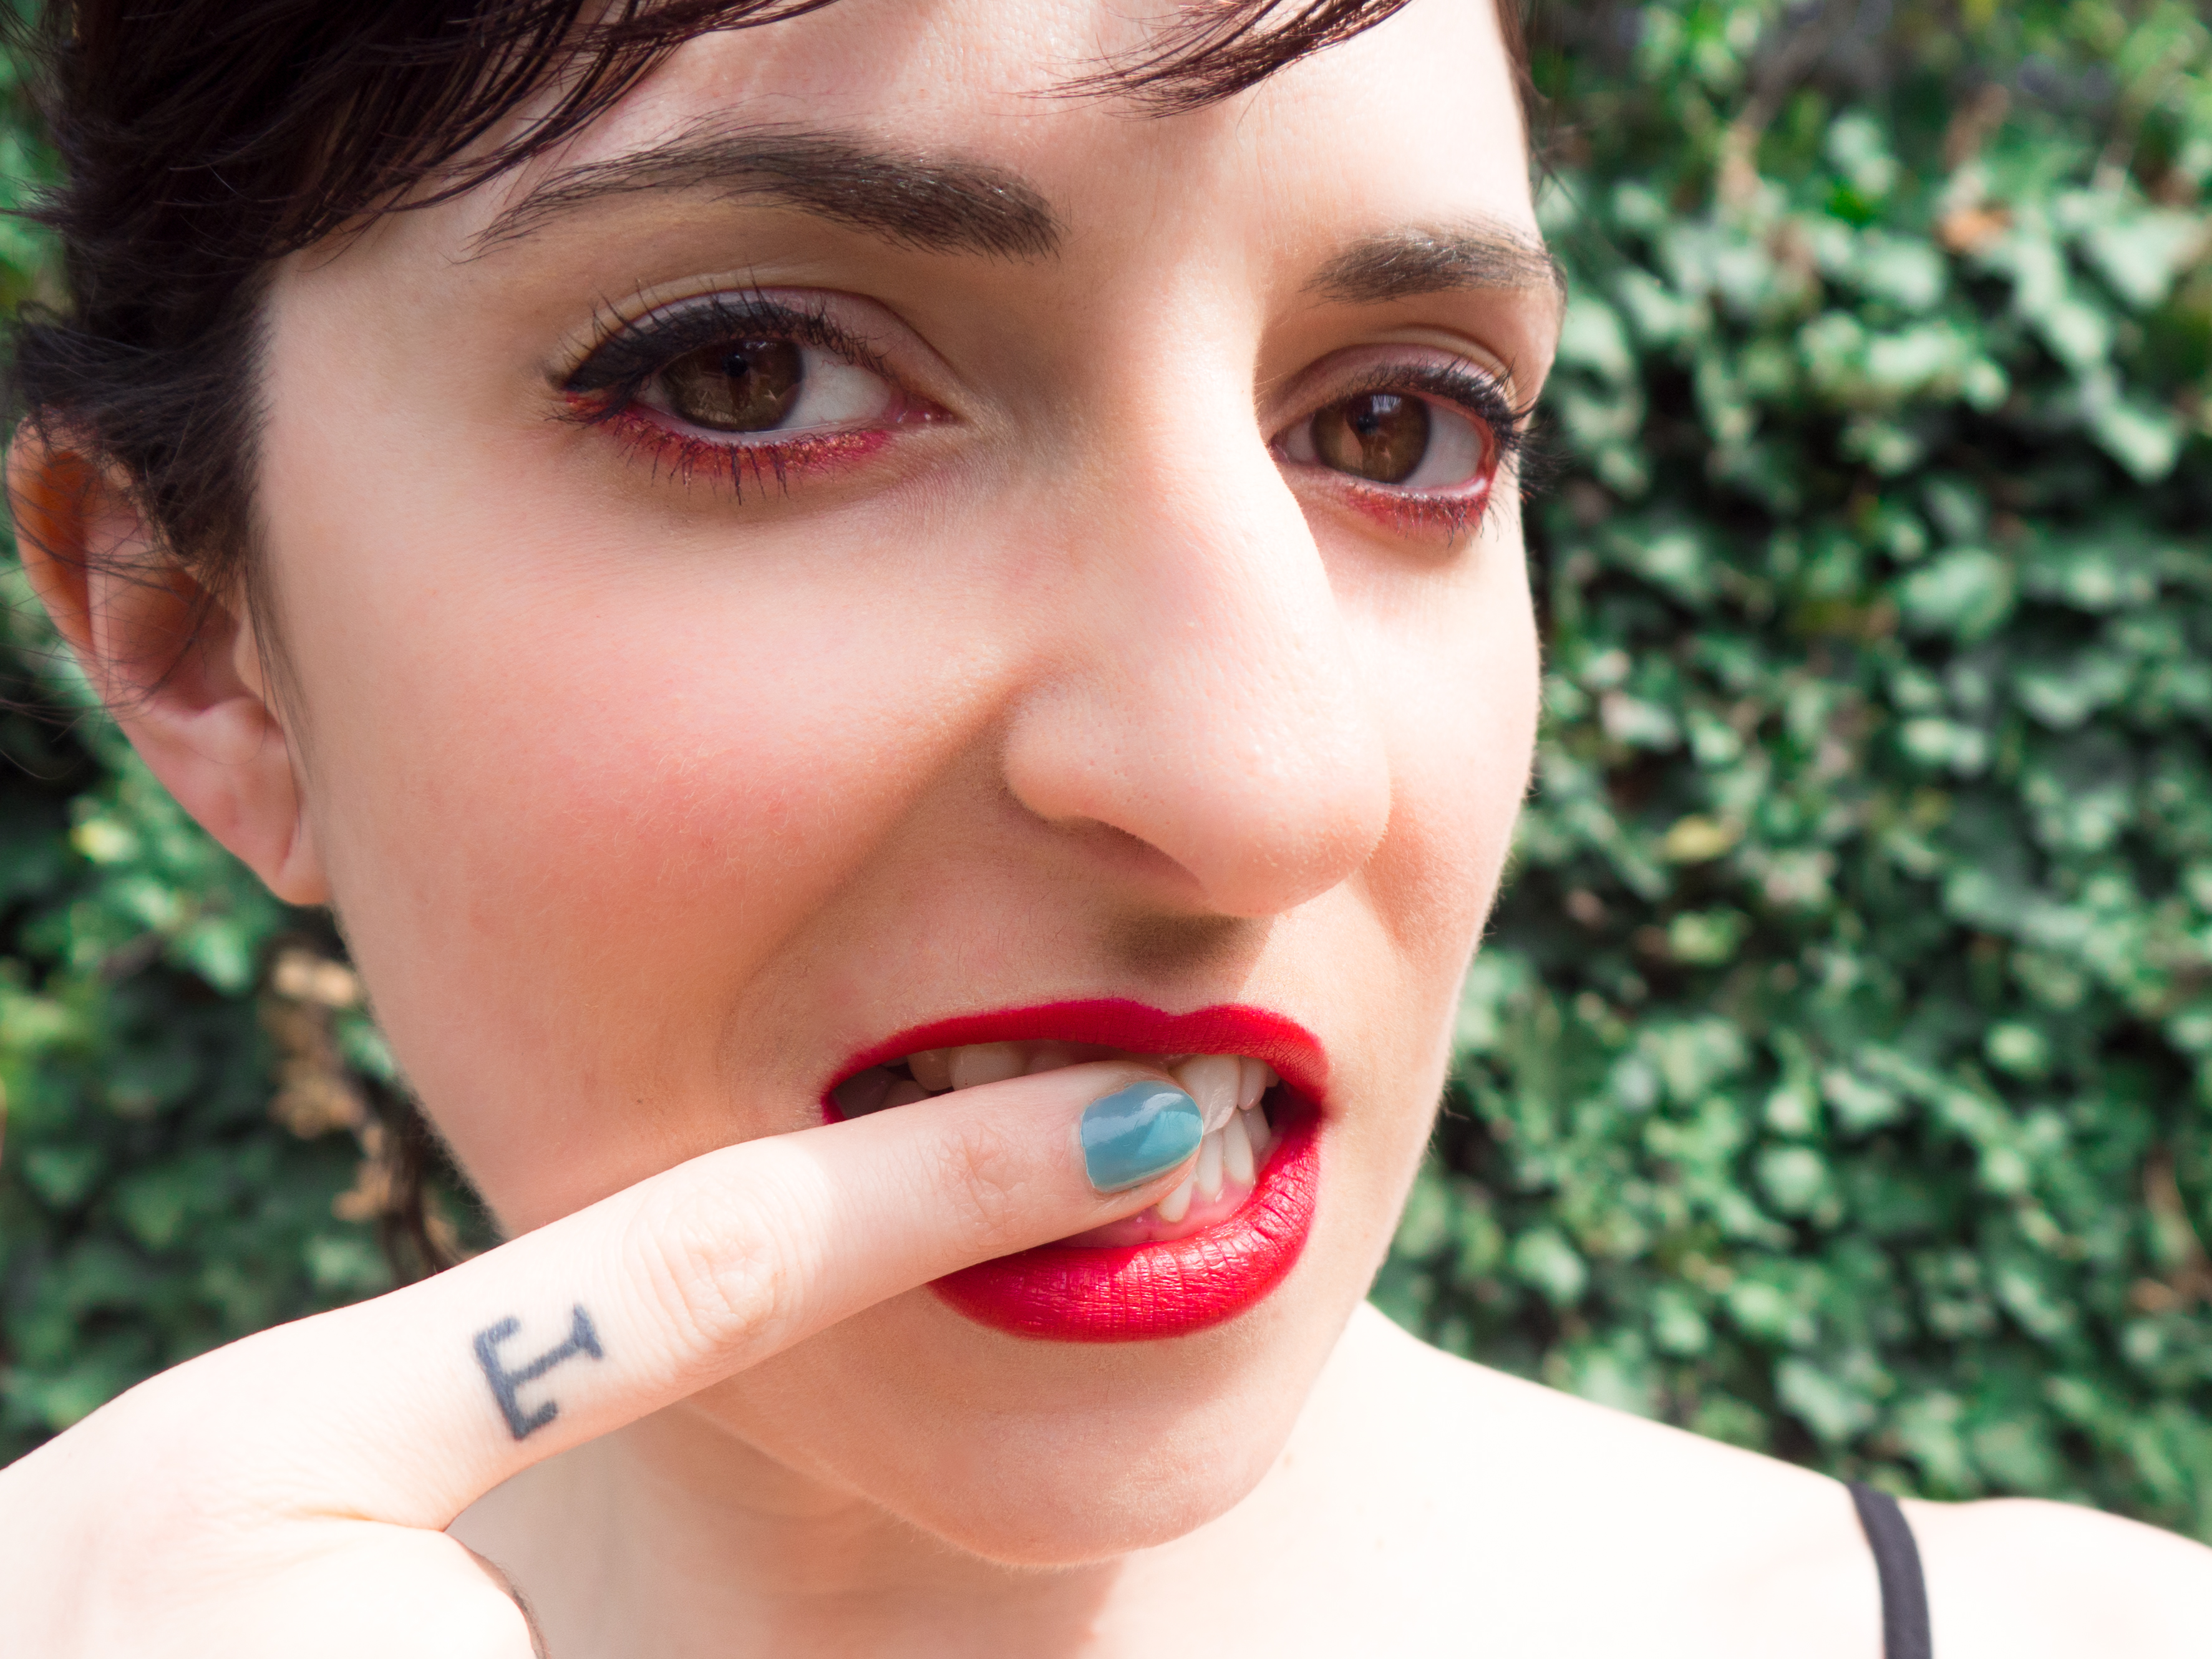
f/4.5, 1/800th, ISO 200

f/4.5, 1/640th, ISO 200

f/4.5, 1/800th, ISO 200
For all of these images I tweaked the colors so that they were more saturated and complementary to each other. I edit my skin a ton because it looked terrible, and lightened it a bit so the colors would pop more.
Chelsea has a great tutorial on changing colors in Photoshop here that might help you out, although I did all my edits in Lightroom:
Do these work for you to convey color? I think the fruit shots do for sure, but I’m not sure about the self portraits. This was a really fun project for me, and I’m feeling more inspired than I have in a while.