Man, what is more intimidating that taking self-portraits? I love a good selfie, but it really is a delicate balance between narcissism and self-esteem crushing reality. You want to look good, but you also don’t want to look like you know you look good, but then you have to look at a million pictures of yourself vamping and think “I look like an idiot and also I have terrible skin.” Or is that just me?
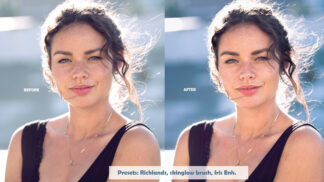
T&C have a bunch of free portrait tutorials here that are super helpful. Especially this one on using natural light:
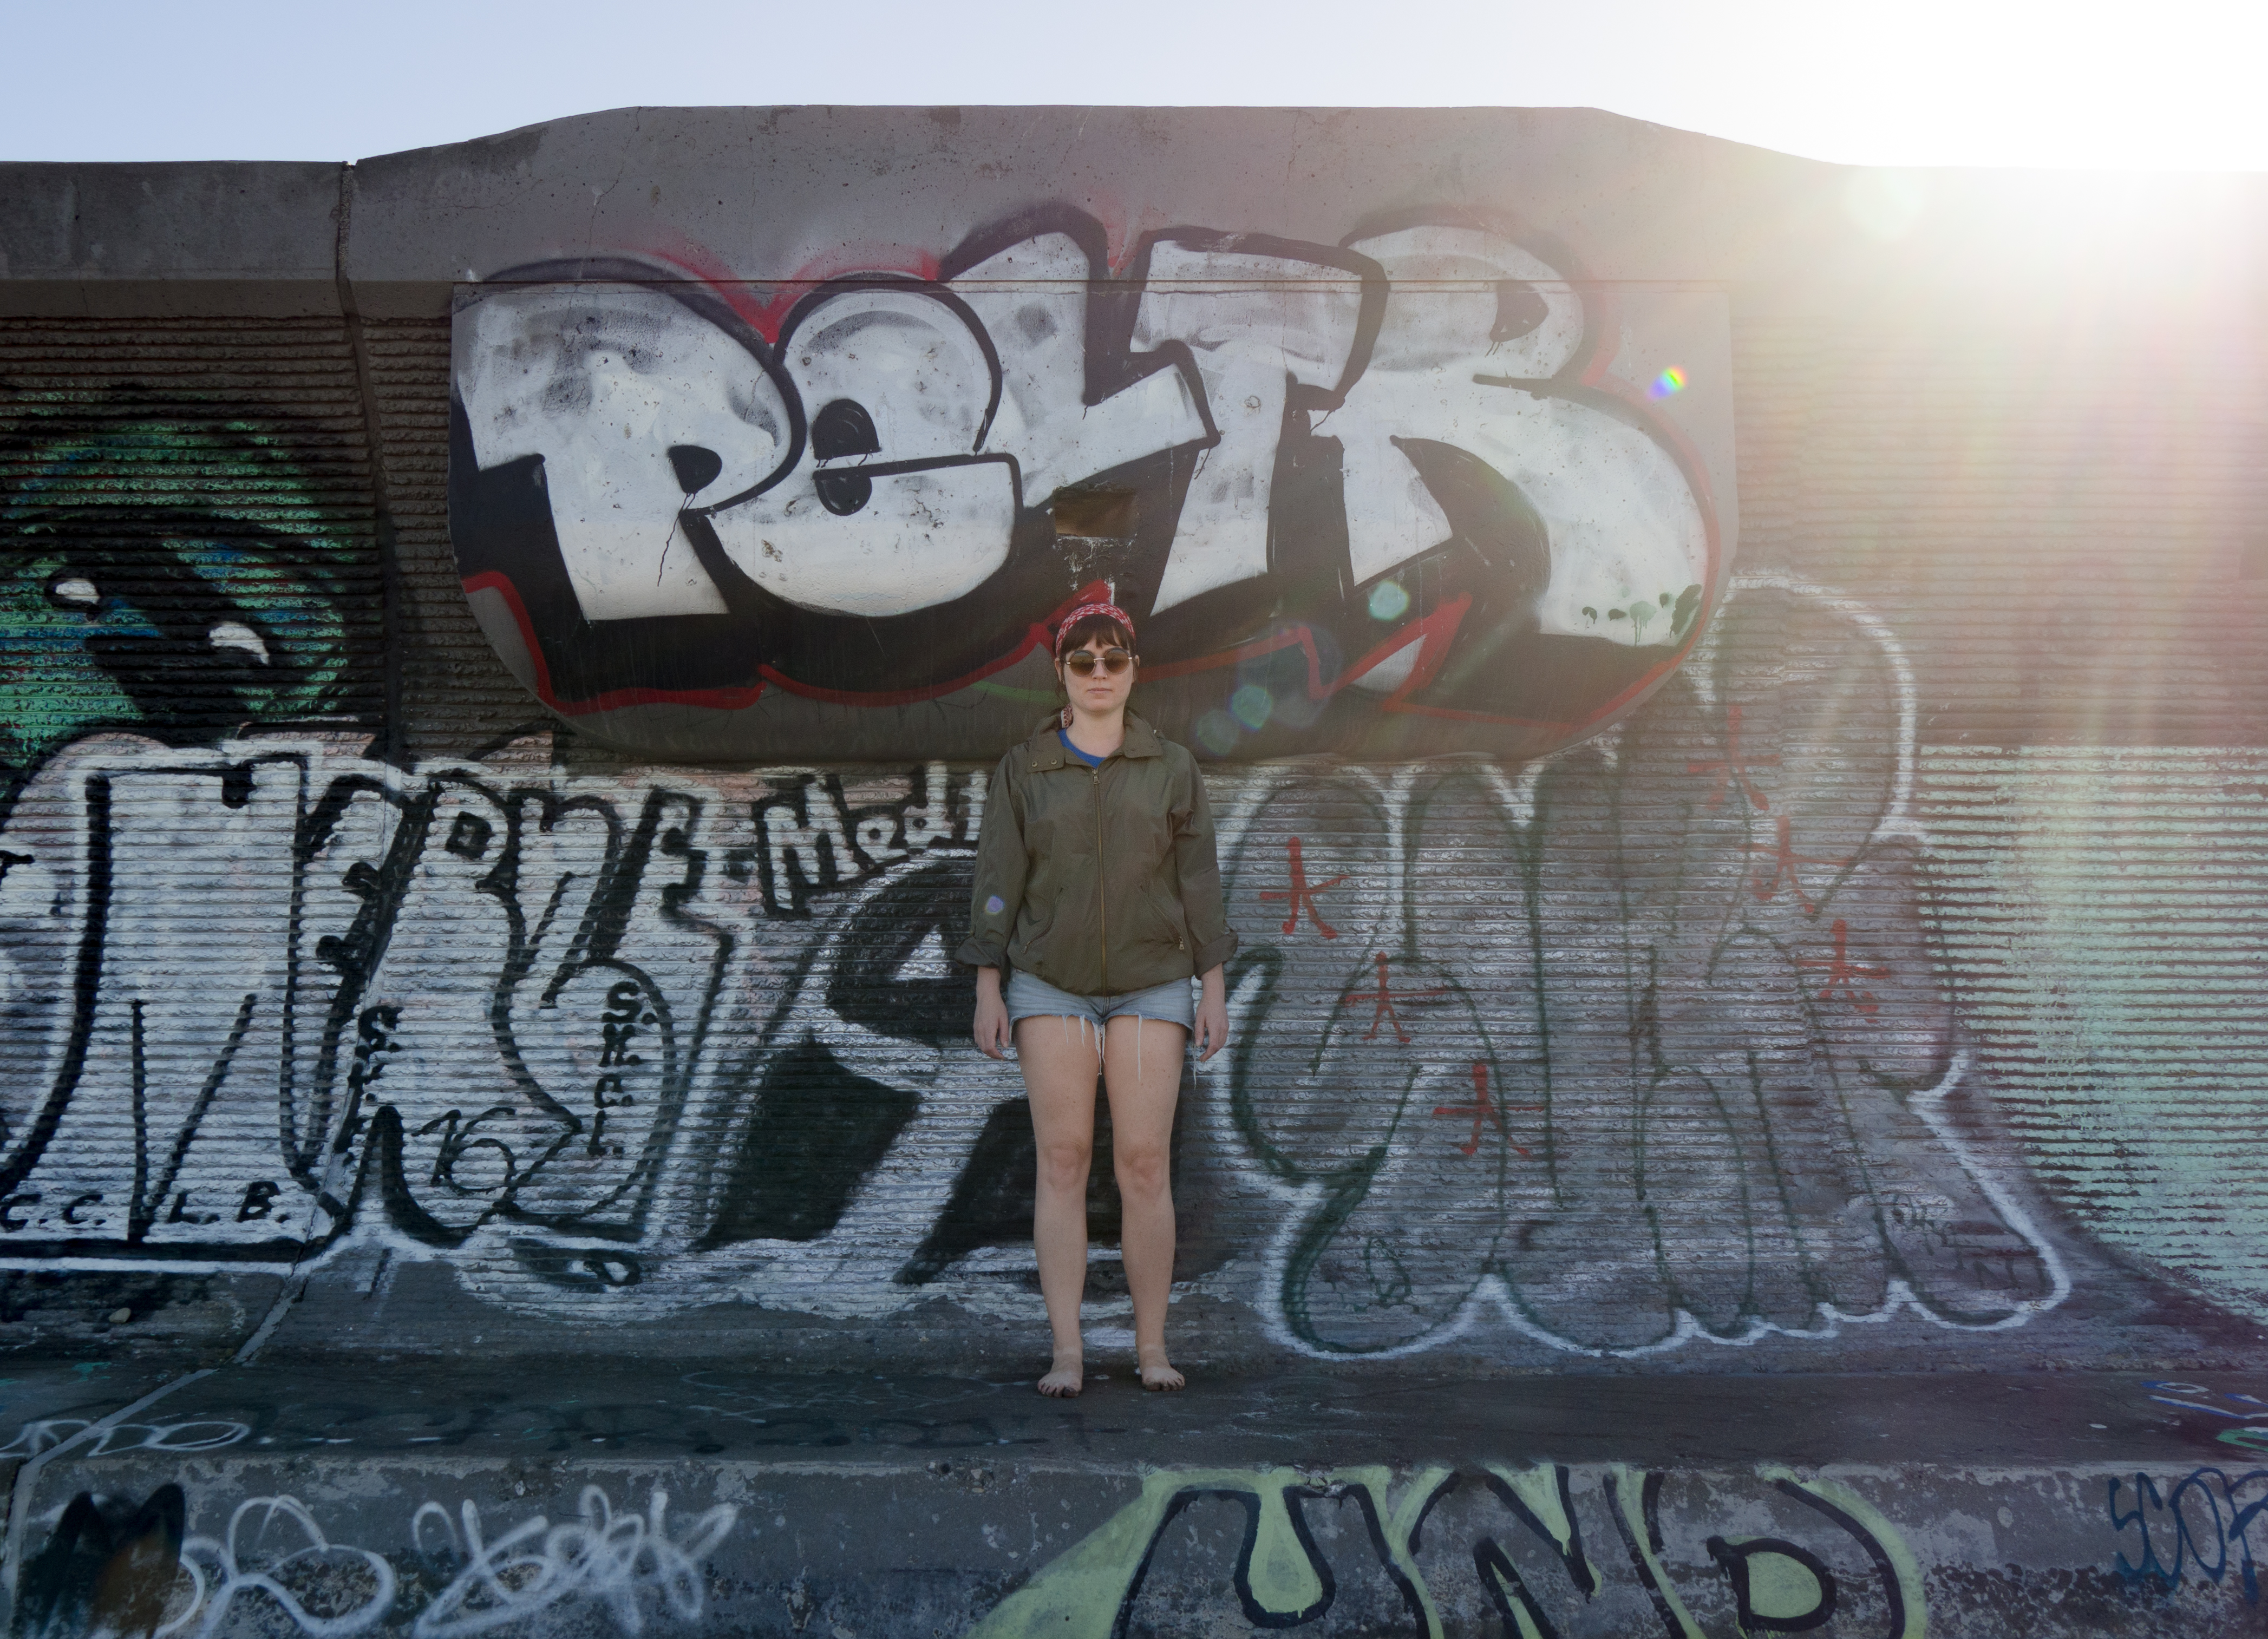
Being aware of your light source is probably the most important part of self-portraits. Face the light, understand how it casts shadows.
Anyway, here’s what I did. Put on basic makeup and a black dress, the simpler styling the better. I decided to take my shots in my bedroom as it has good natural light and simple decor. I tried a few different spots in the room and so many different moods.
I set my Olympus E-M10 up on a tripod and used Olympus’ mobile app to control it from my phone, which is so incredibly useful. I shot in aperture priority with the lowest aperture to blur the background, but that made it pretty hard to nail focus on my eye. I also set my ISO to the lowest I could because my shots always end up noisy, but that wound up making my shutter speeds pretty slow which I didn’t realize until looking at them now. I really need to pay more attention to my settings.
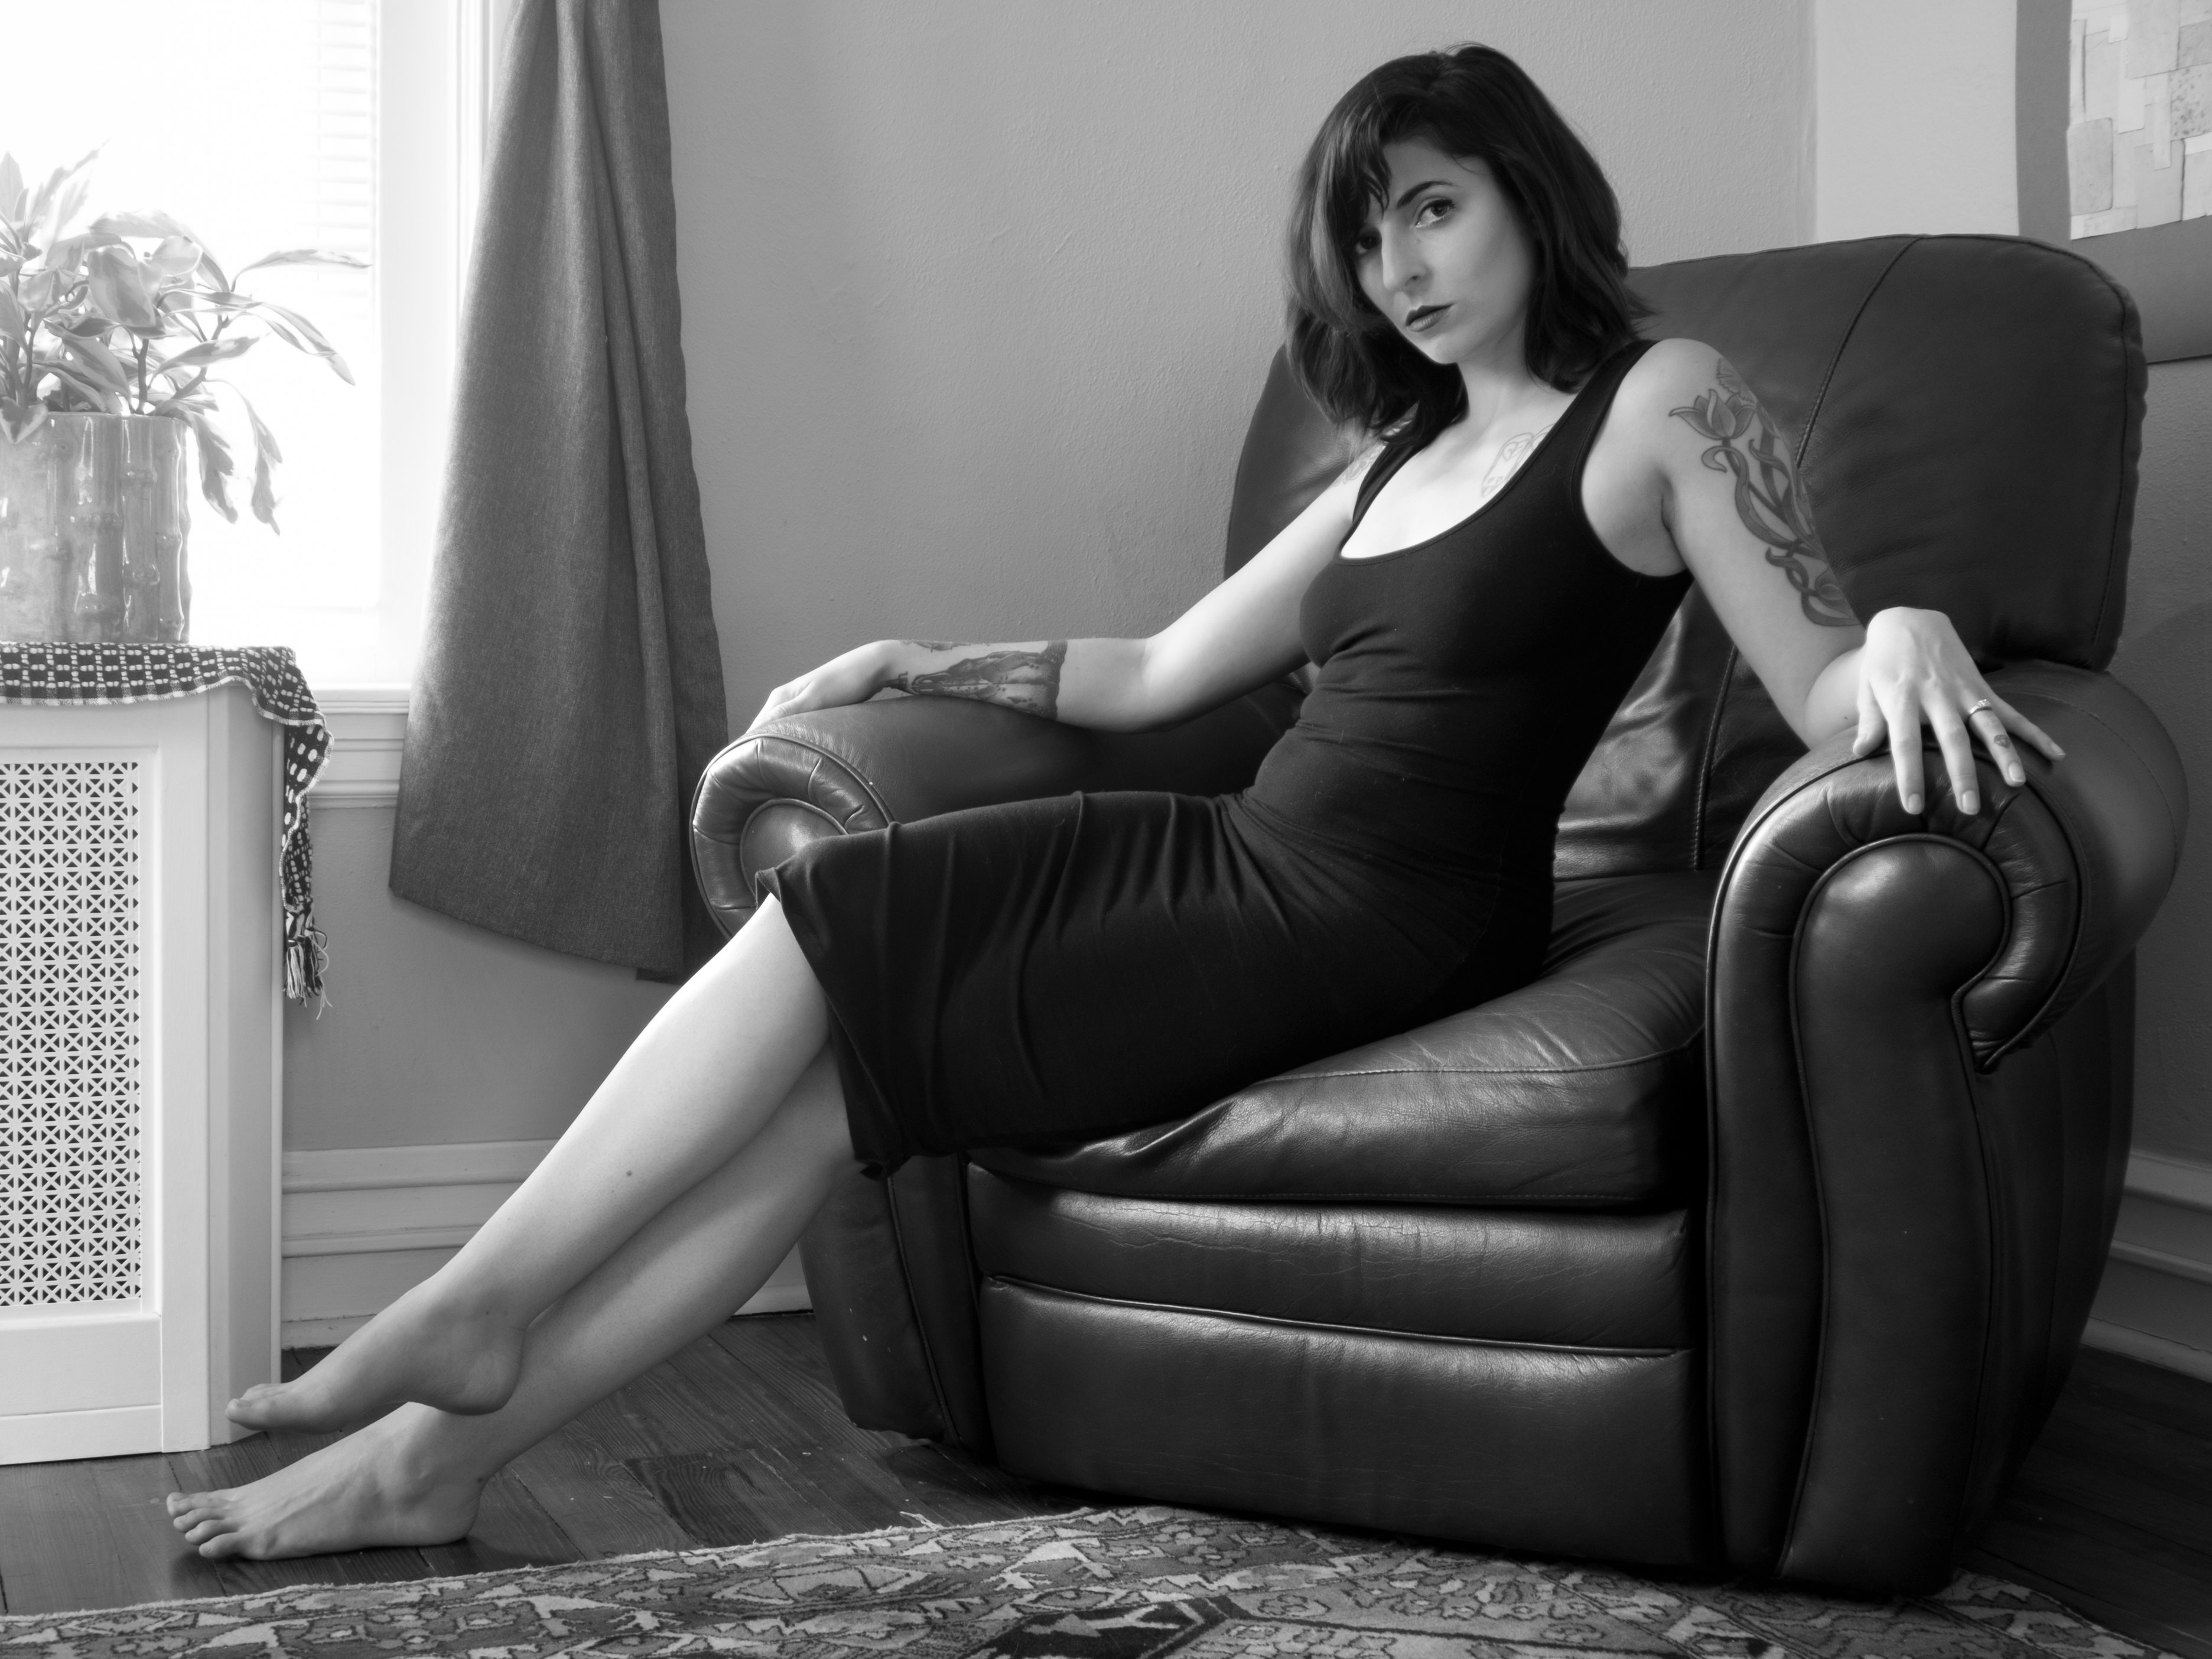
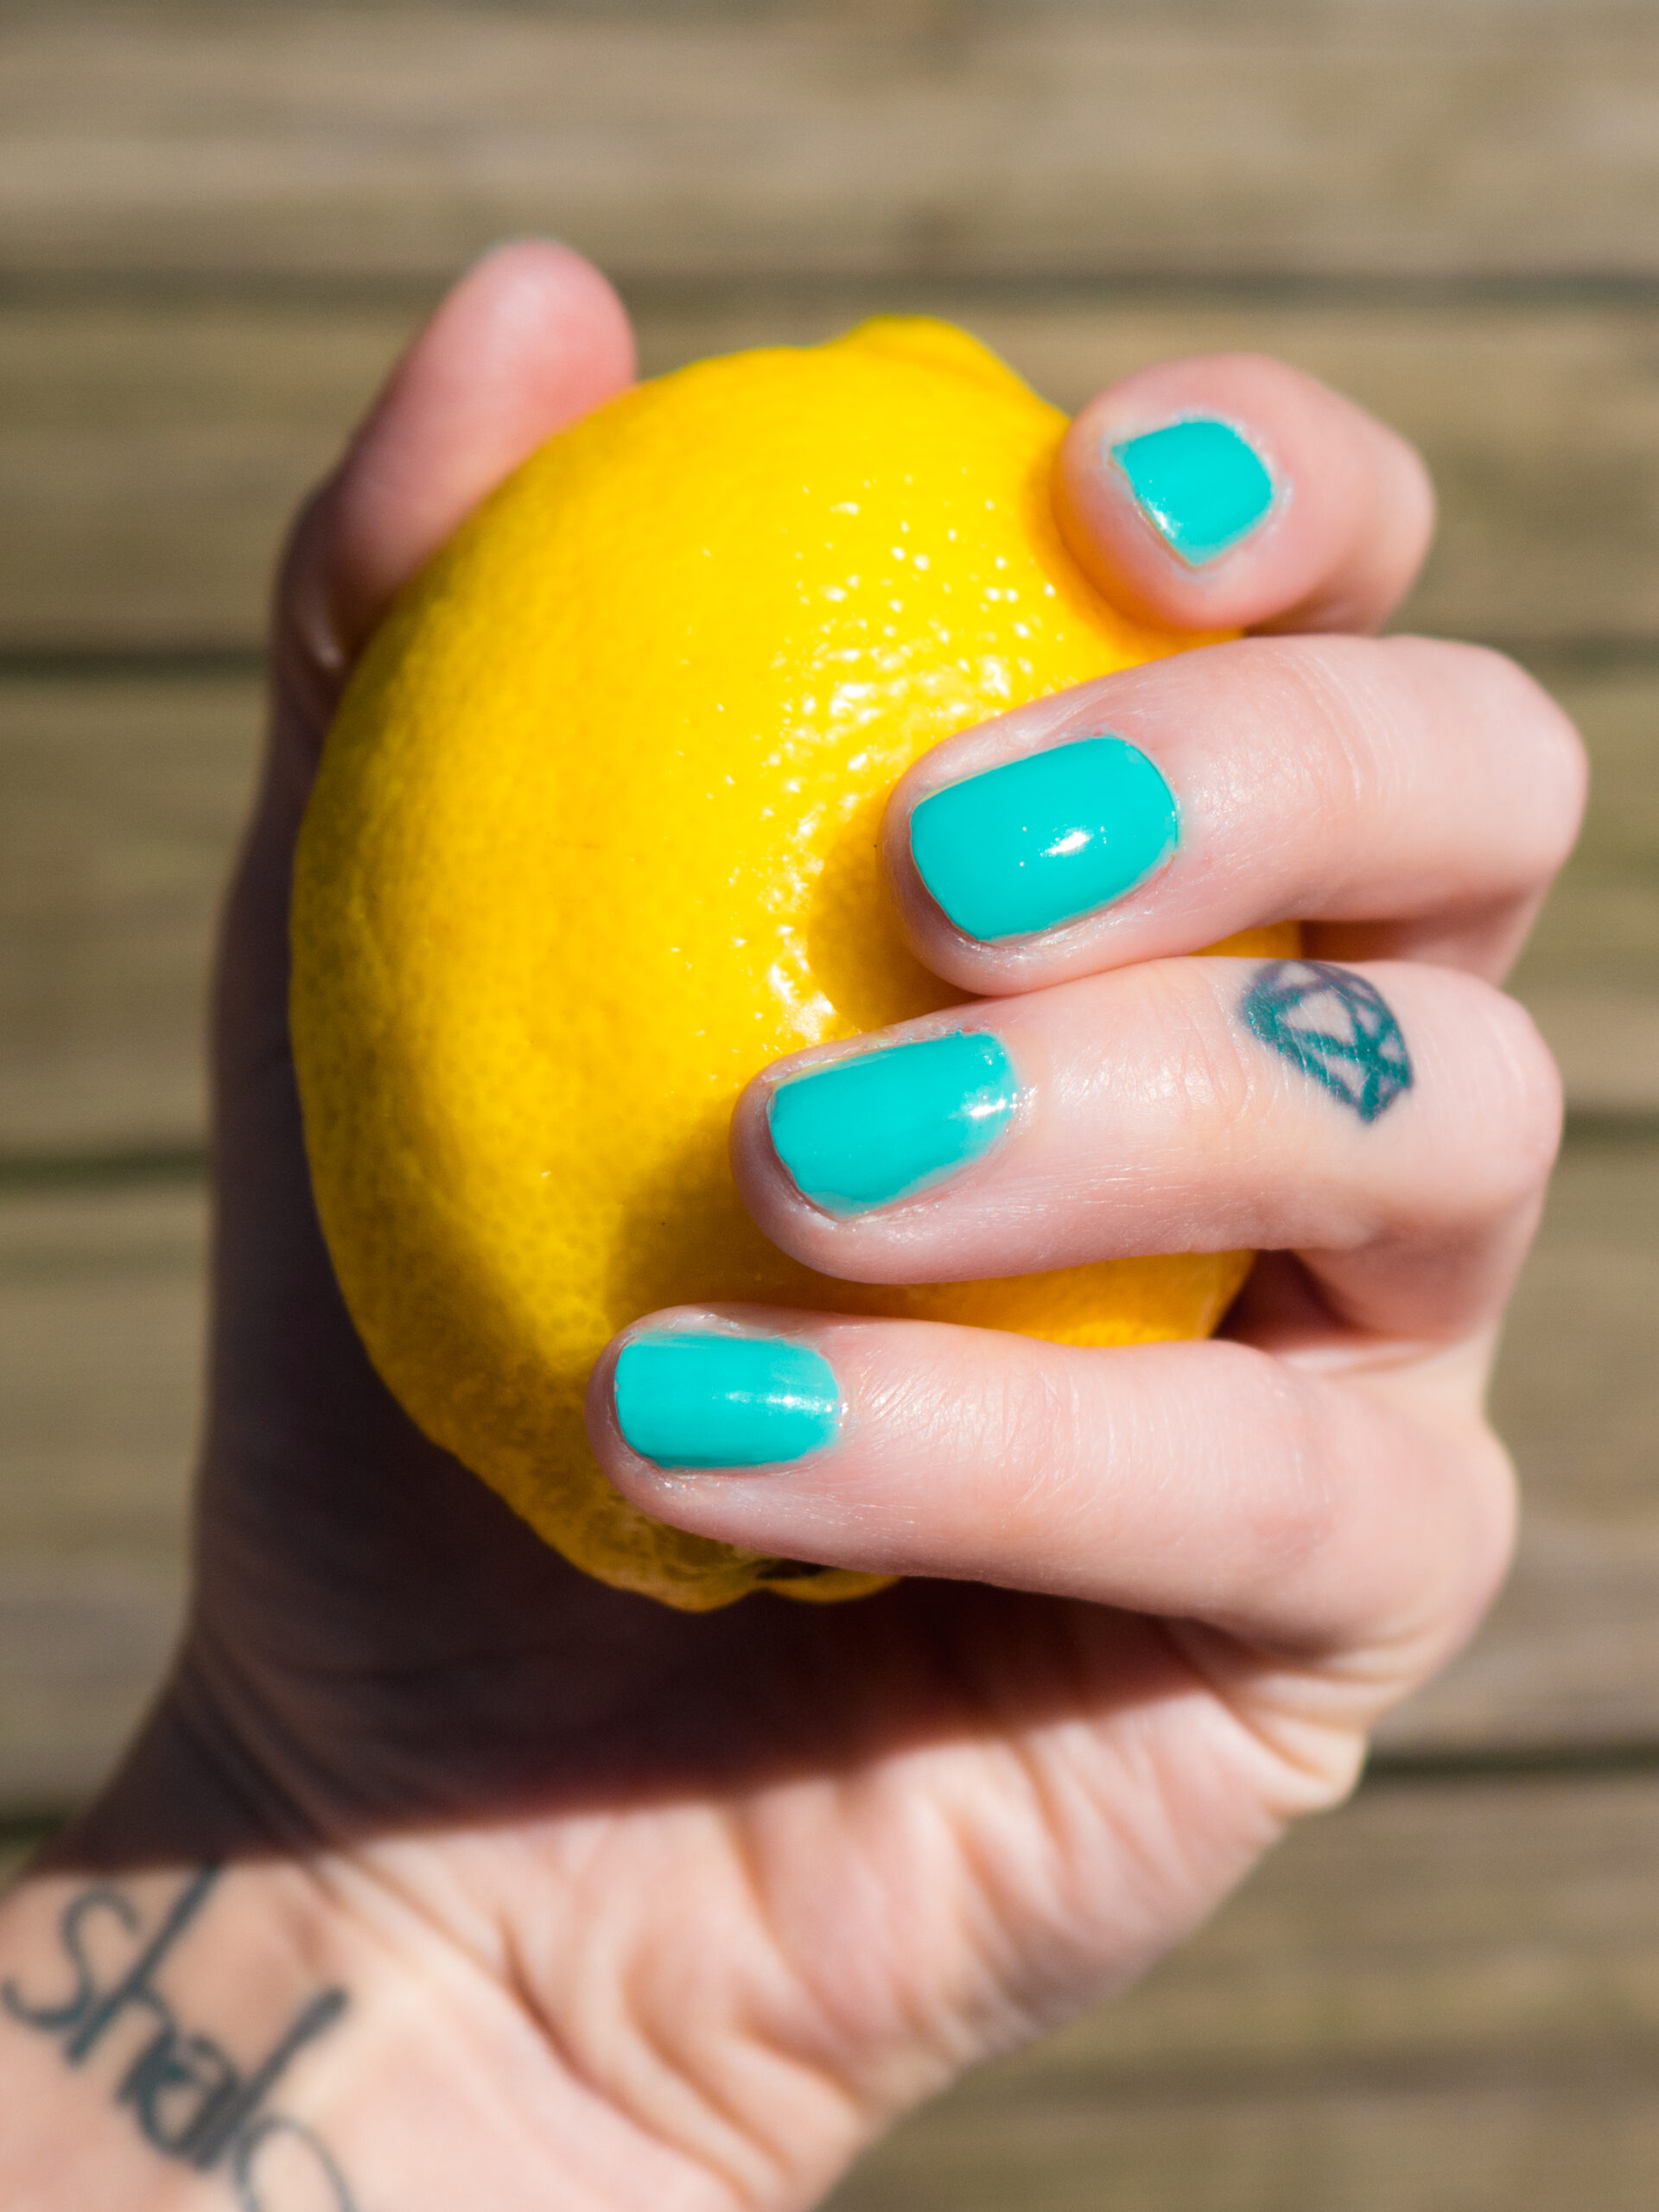
f/4.2, 1/3 sec, ISO 100
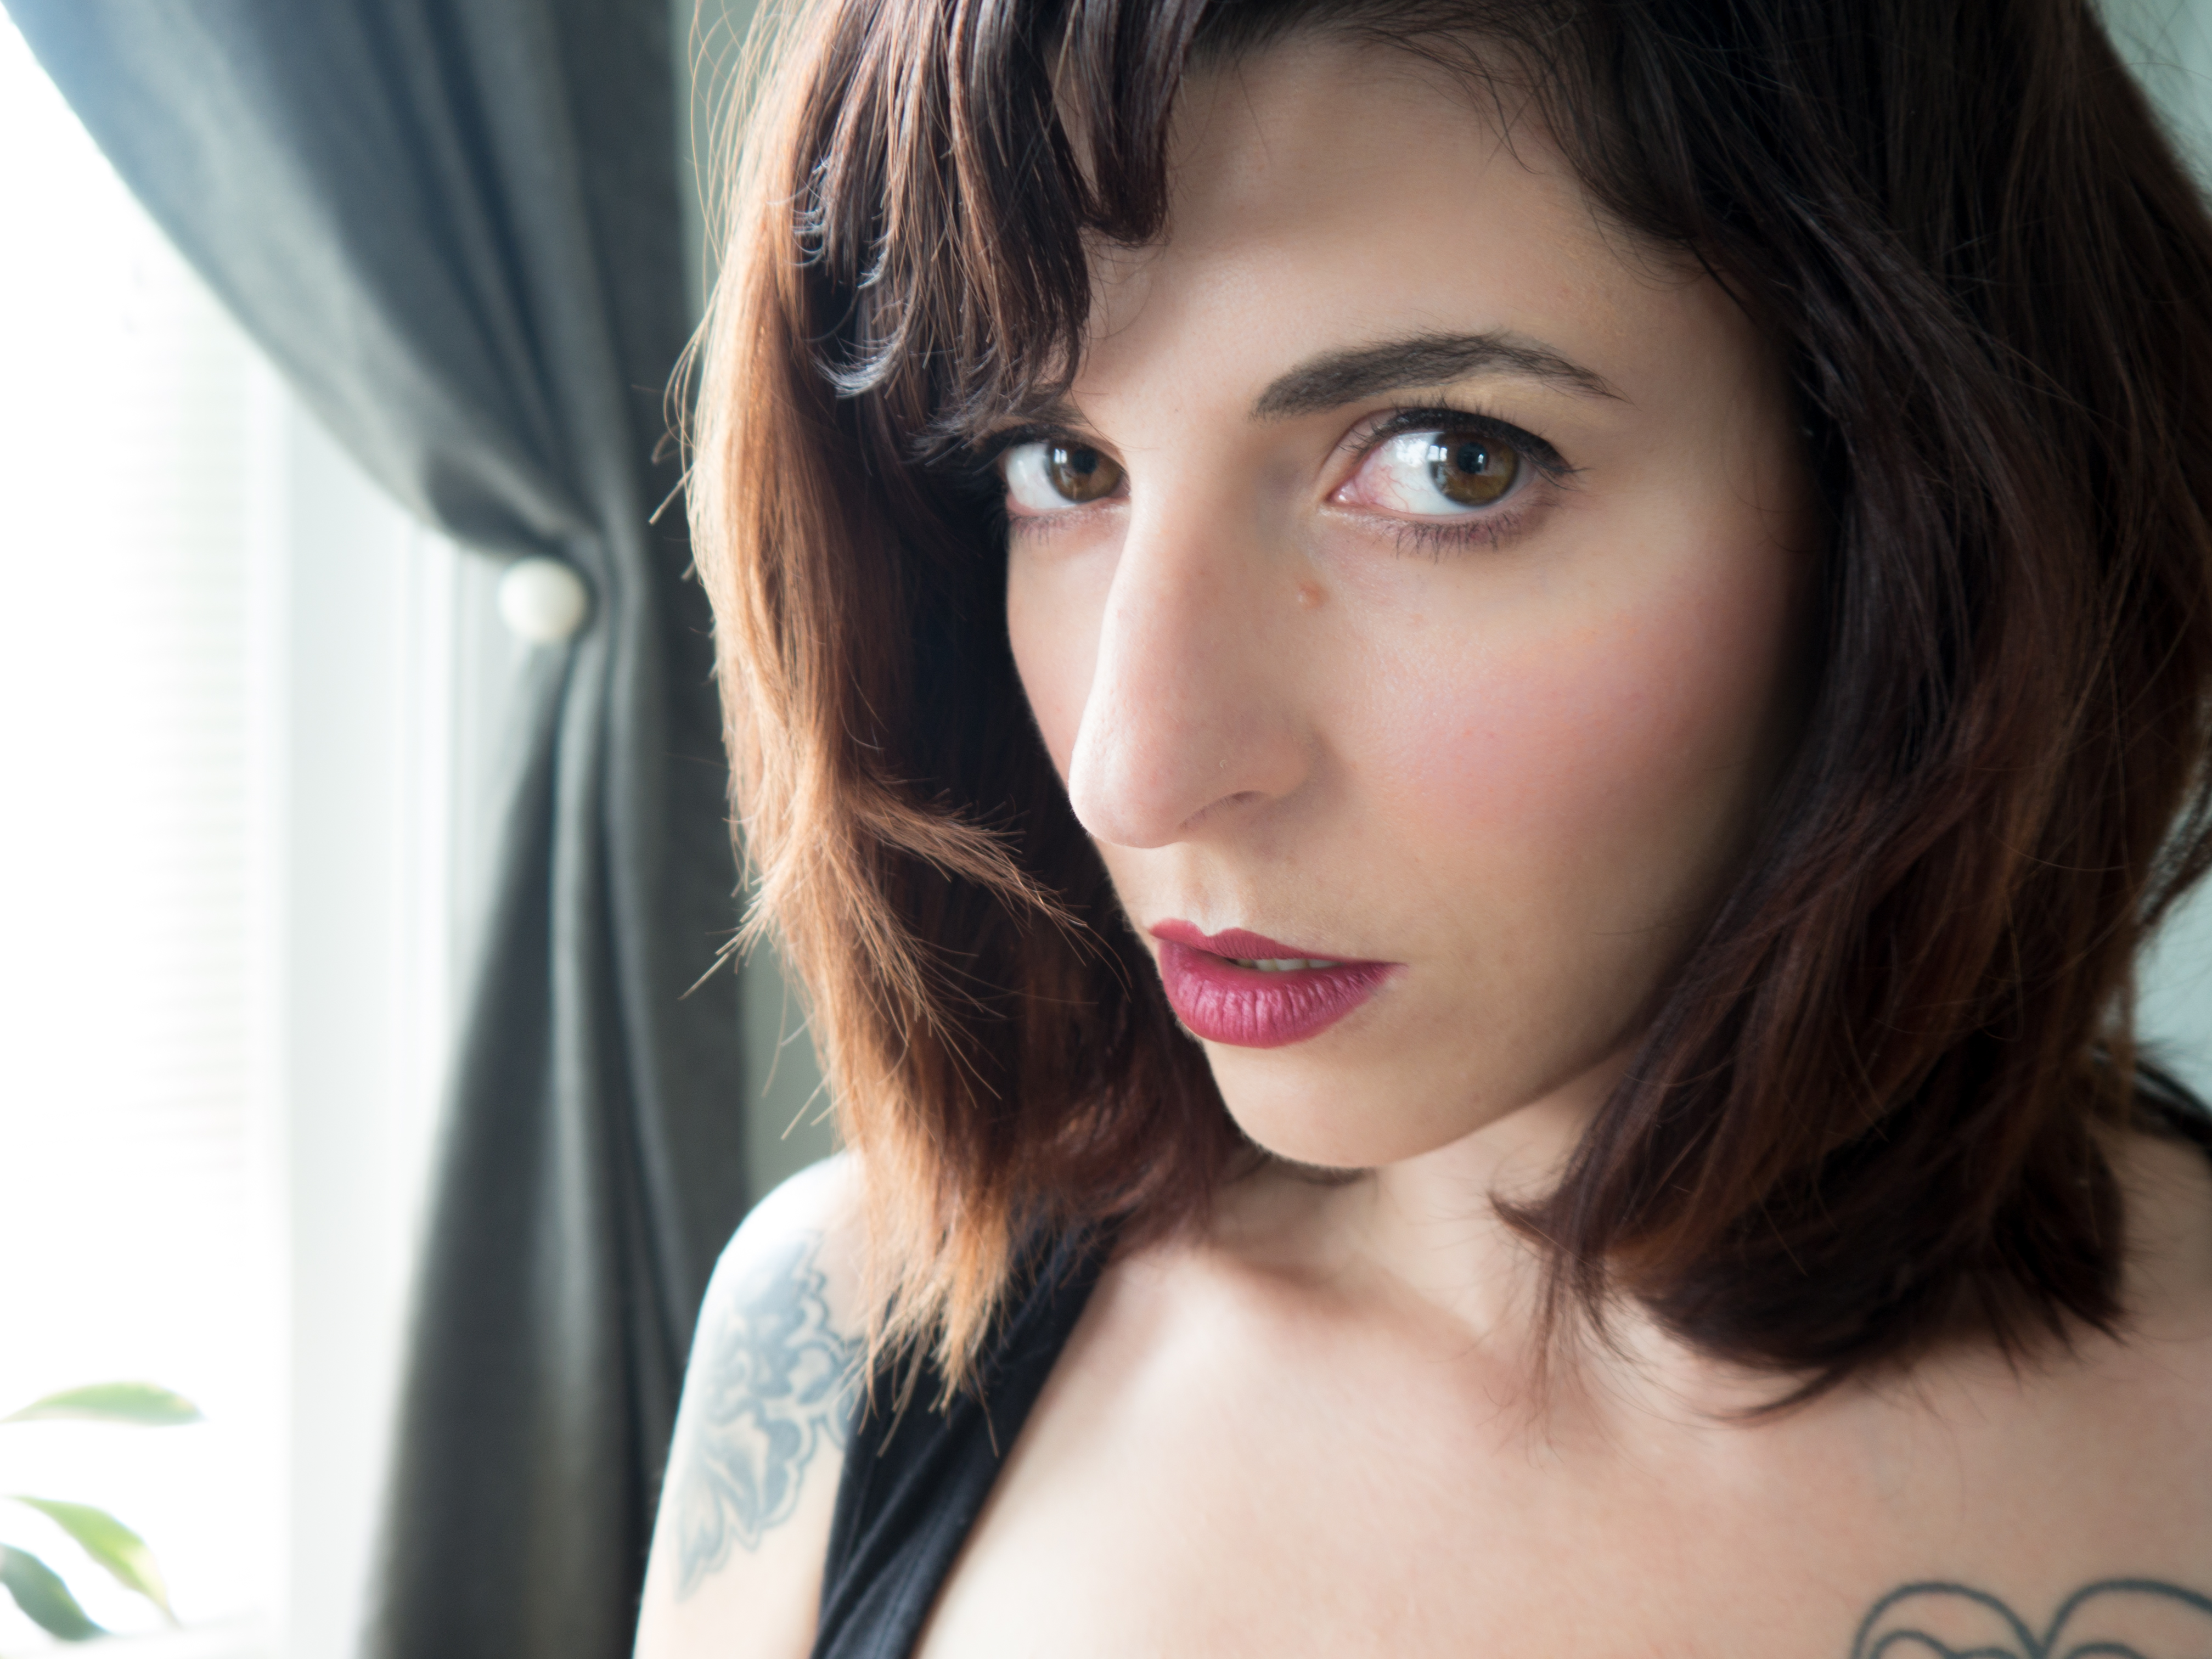
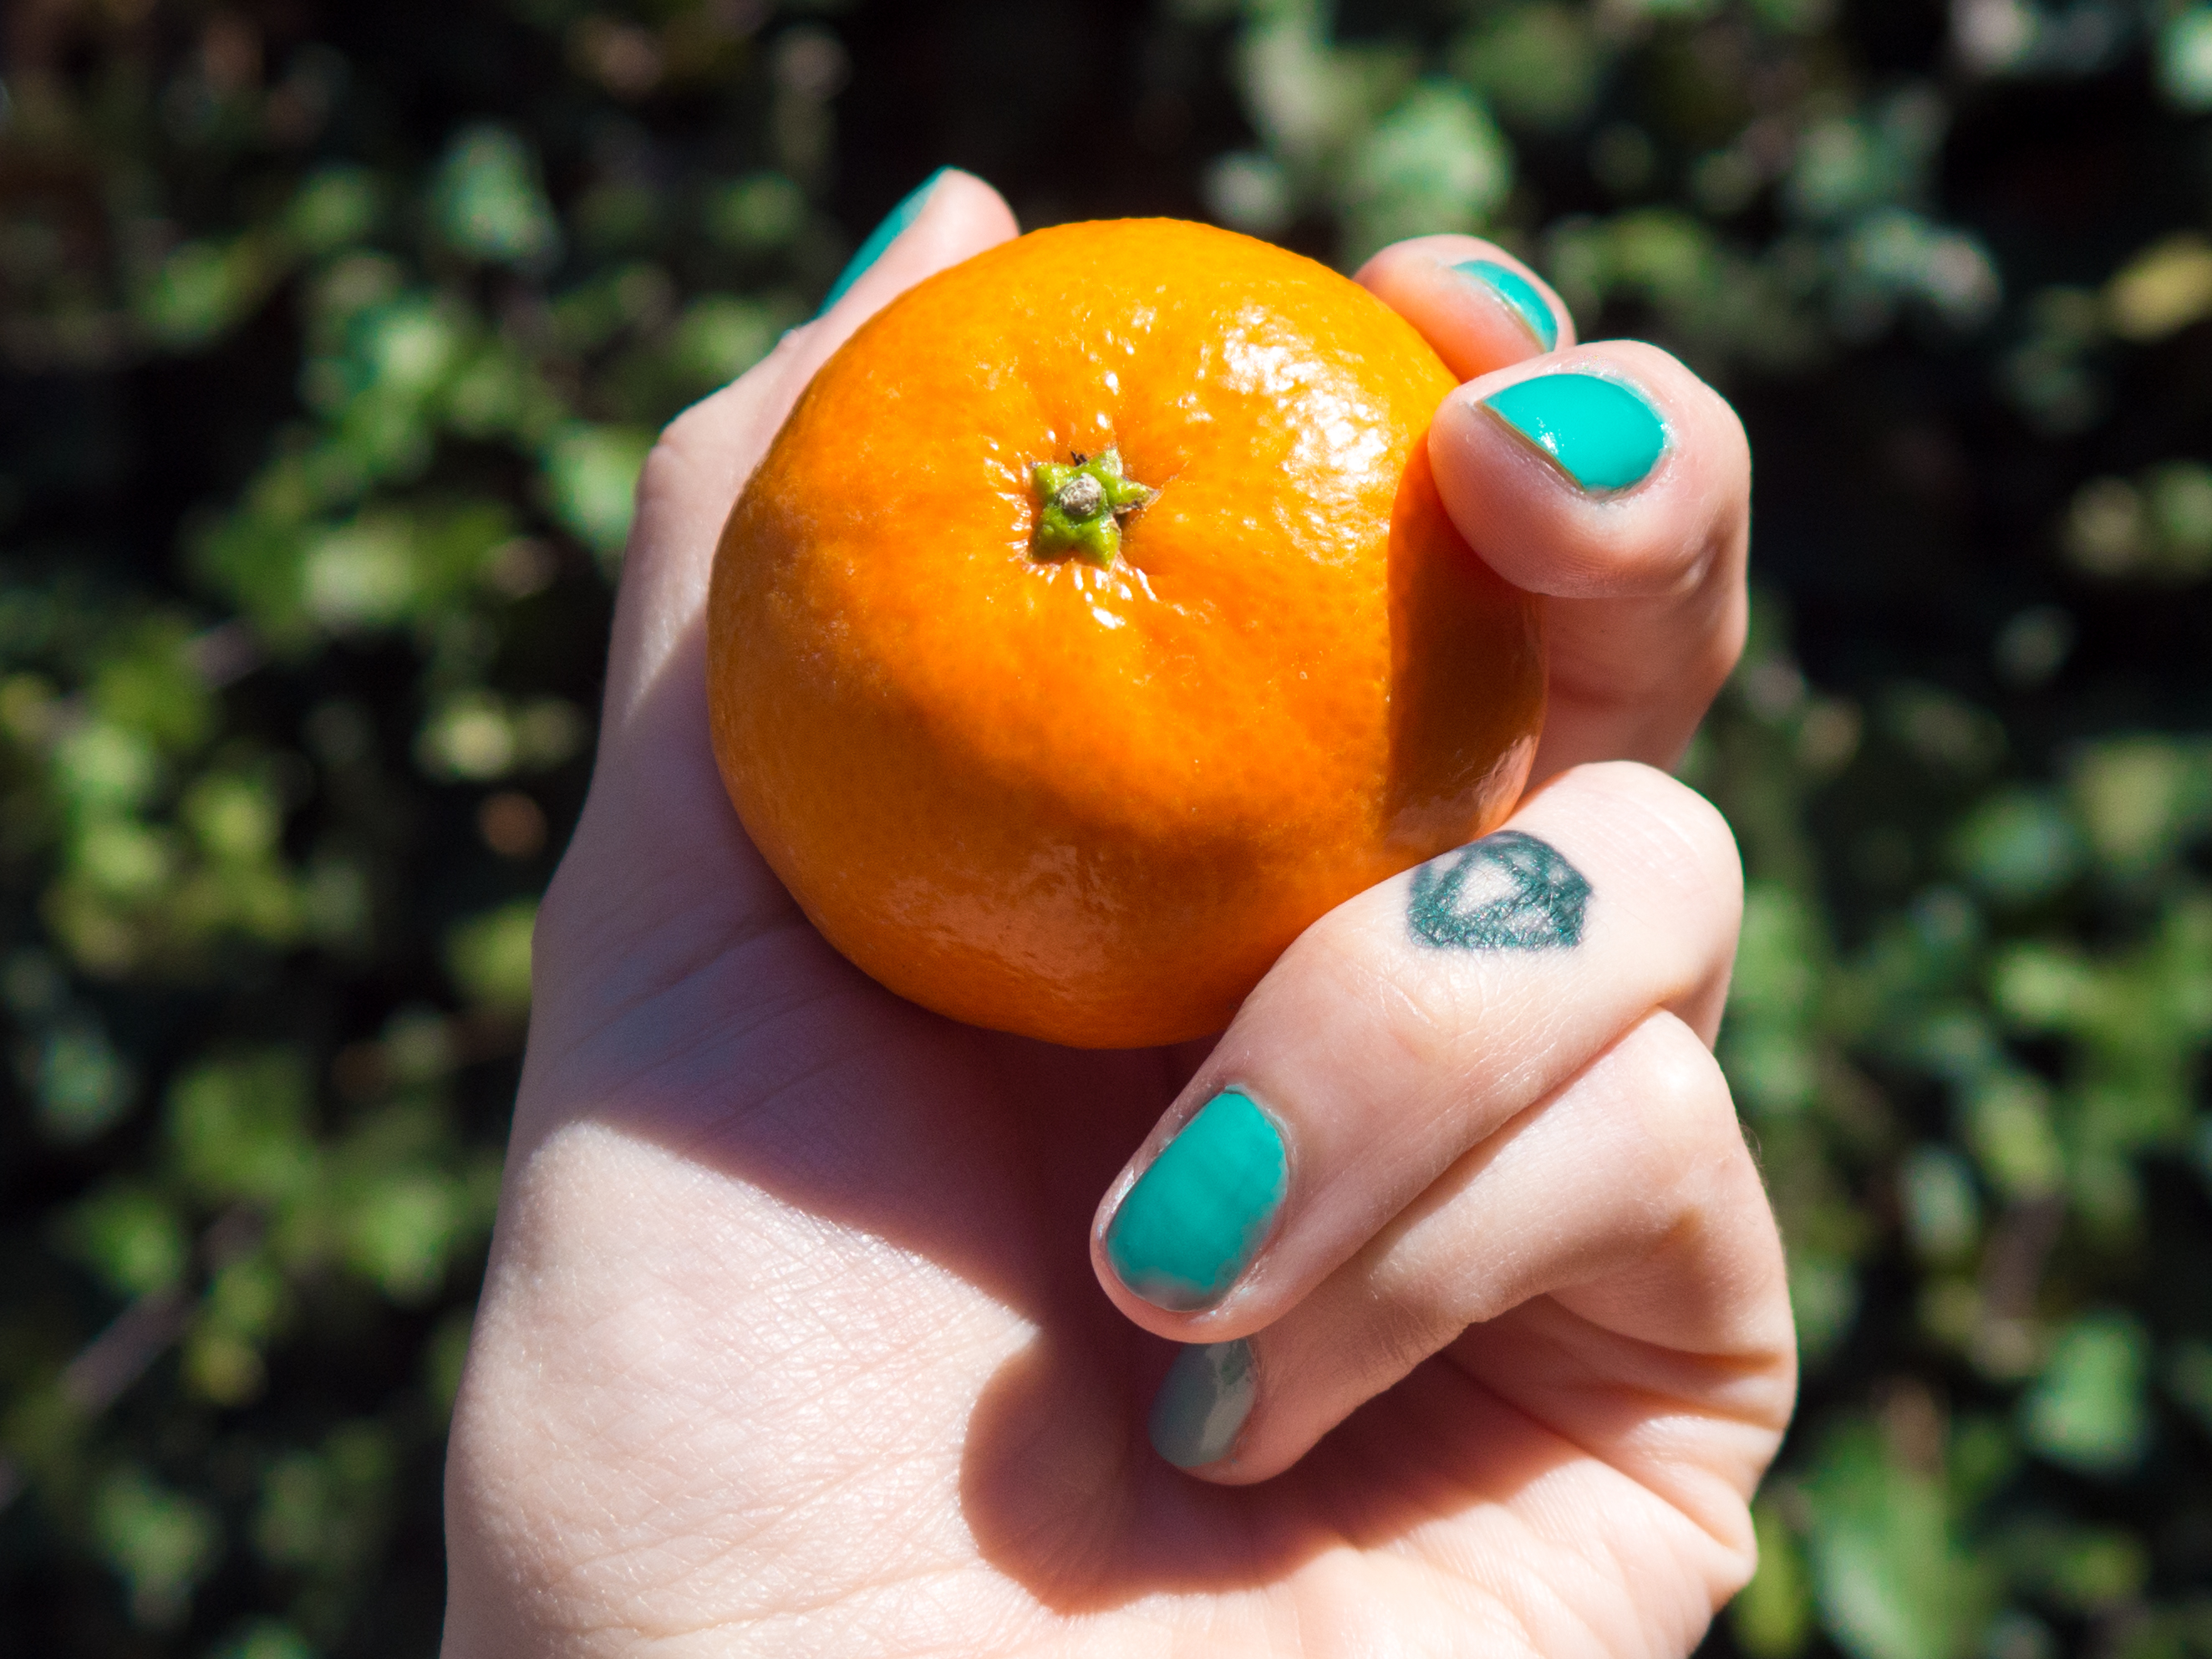
f/3.5, 1/6th, ISO 100
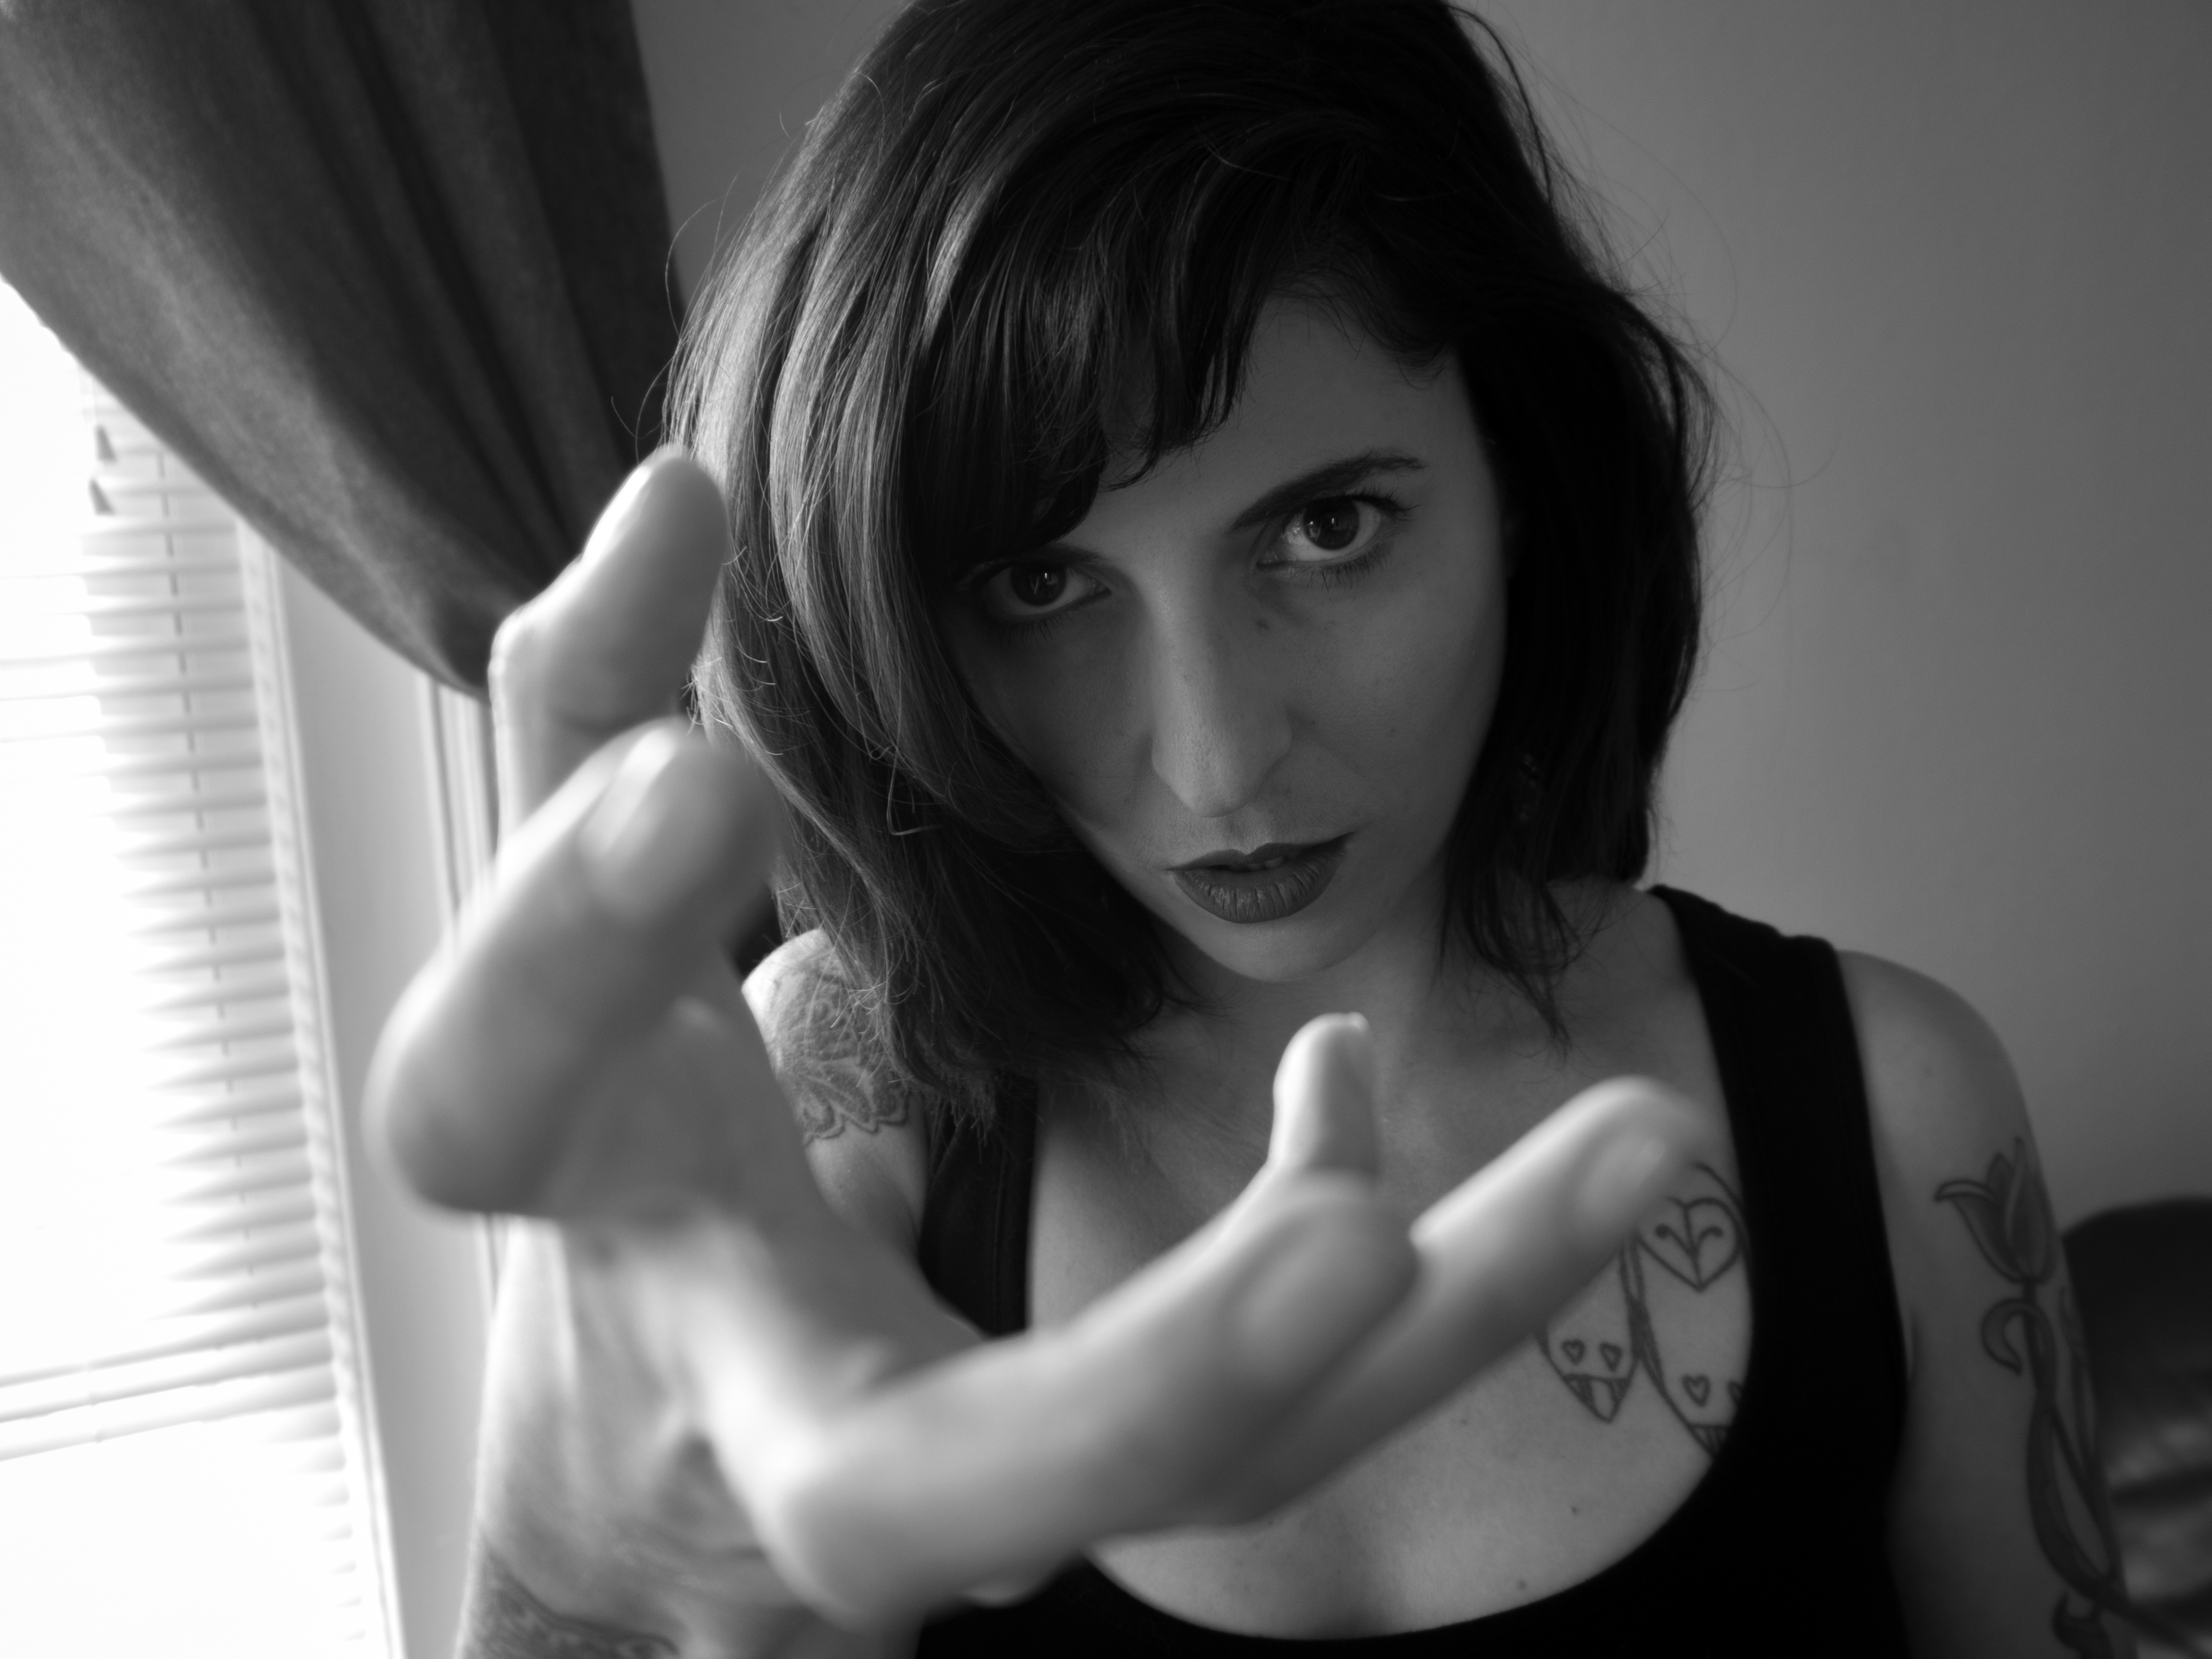
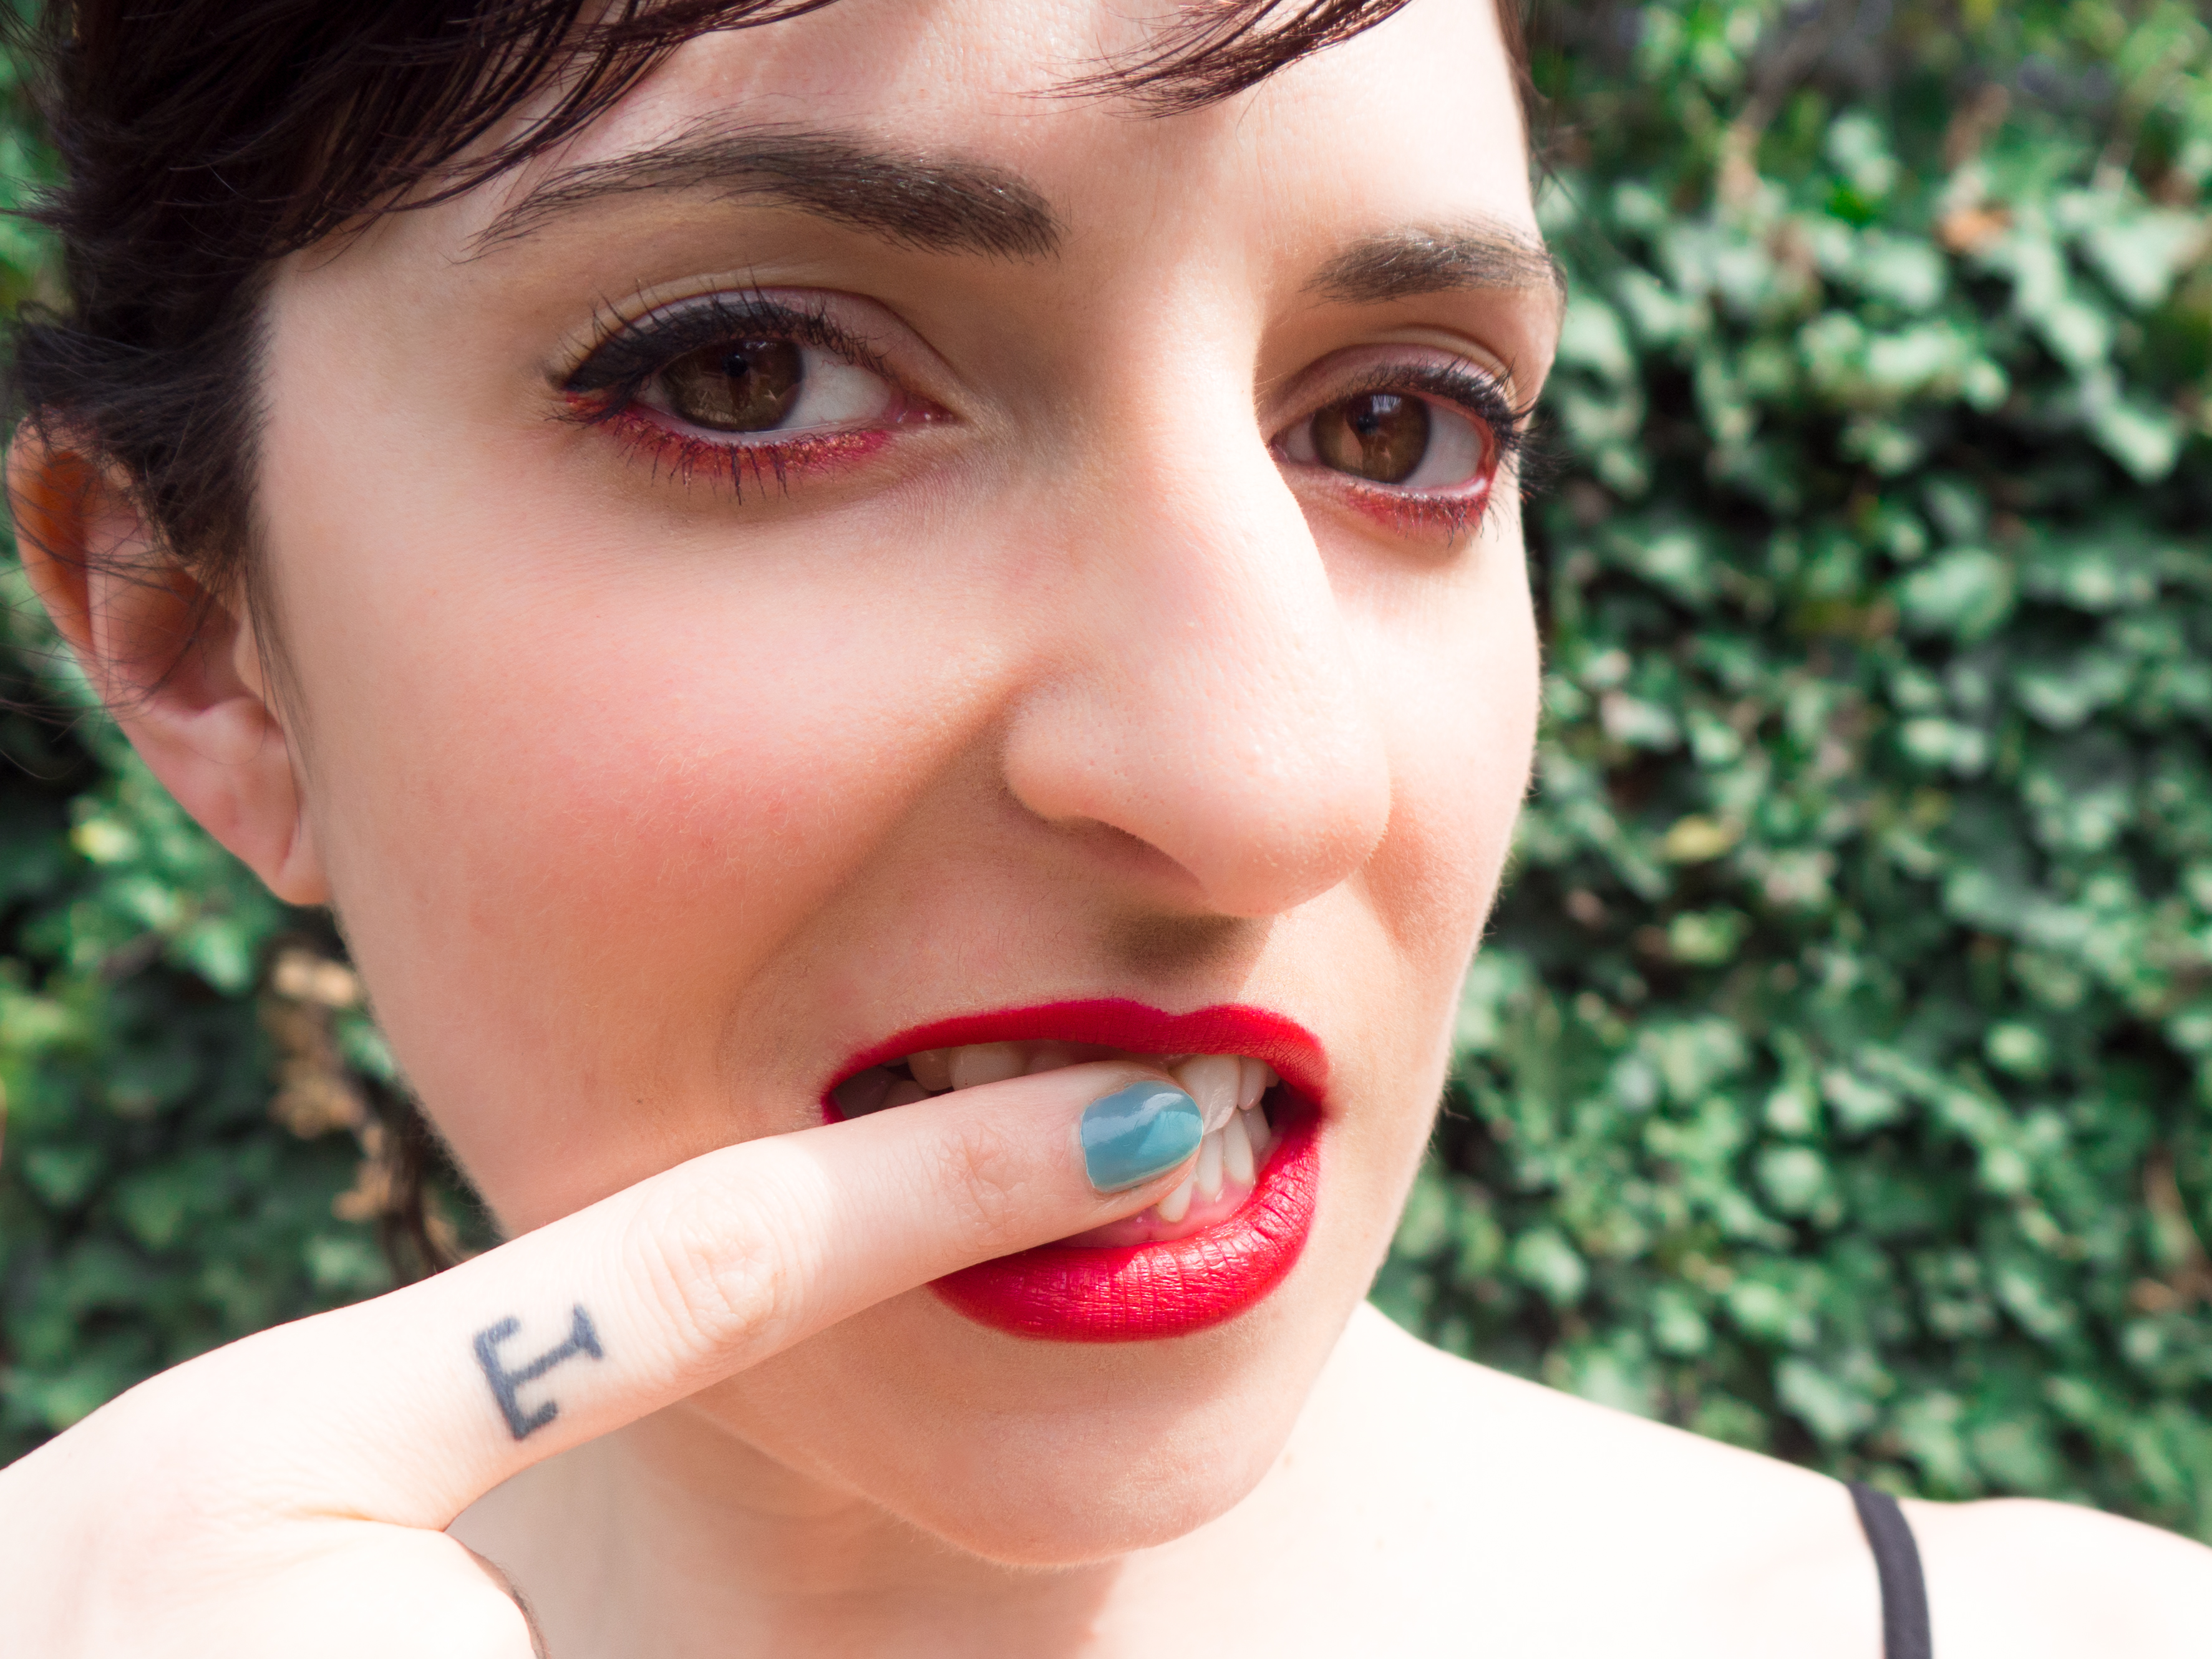
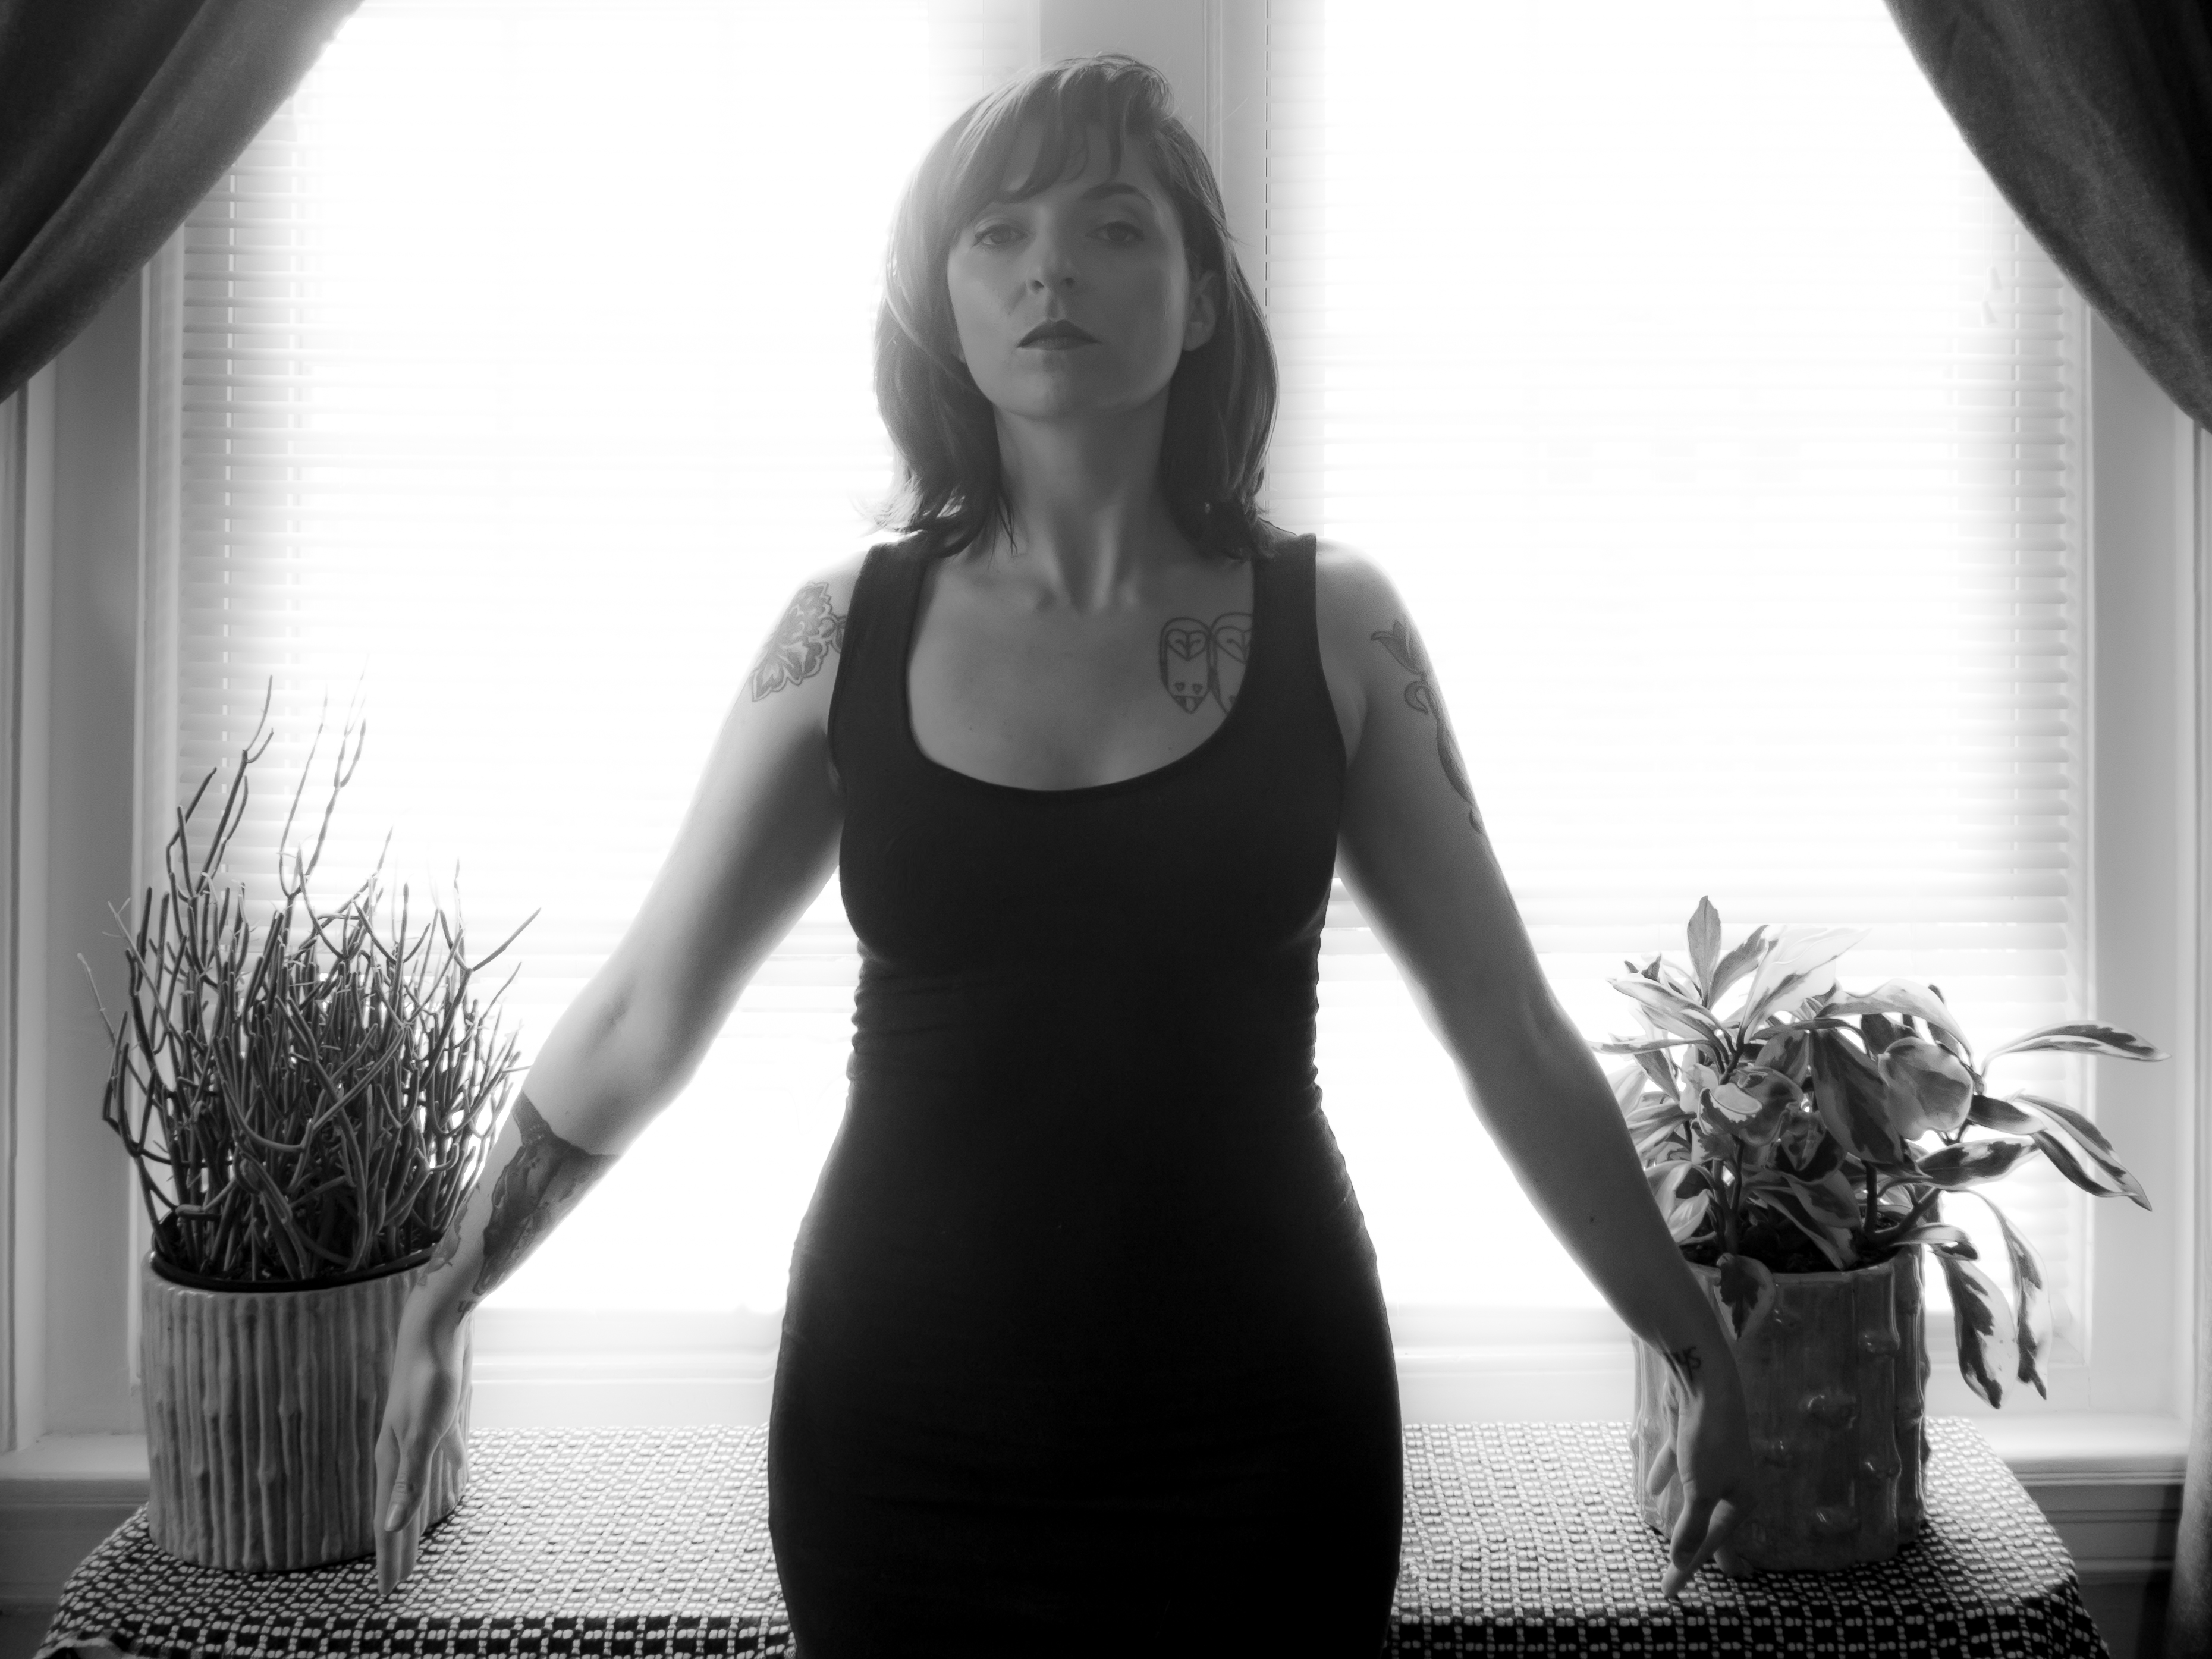
Who would I be if I didn’t go spooky?
f/3.5, 1/6th, ISO 100
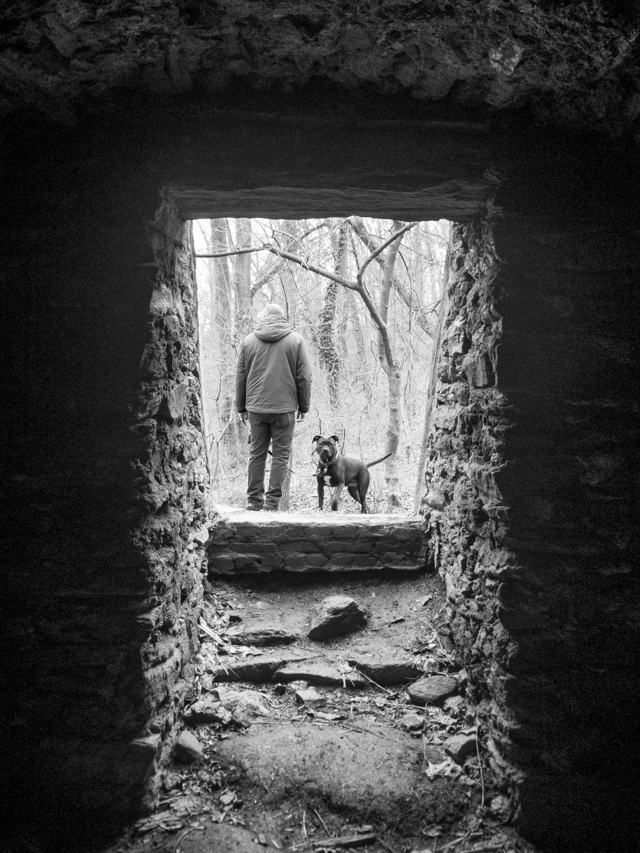
f/3.5, 1/60th, ISO 100
Real talk: I did quite a bit of post-processing on these. My makeup was a mess and my skin was looking rough, so I did quite a bit of smoothing, you can probably tell. This page of Lightroom tutorials is integral.
So I don’t know how “creative” these self-portraits are, but they’re mostly non-traditional. I think the last one with the backlighting is my favorite. Whattya think?