Hey folks! We’re back! The theme for the show this week is “abandoned” which is a pretty interesting subject. I love these more abstract topics and seeing the creativity they inspire.
If you want to vote on the live show topic each week, among other perks, please consider donating to our Patreon page at https://www.patreon.com/Northrup.
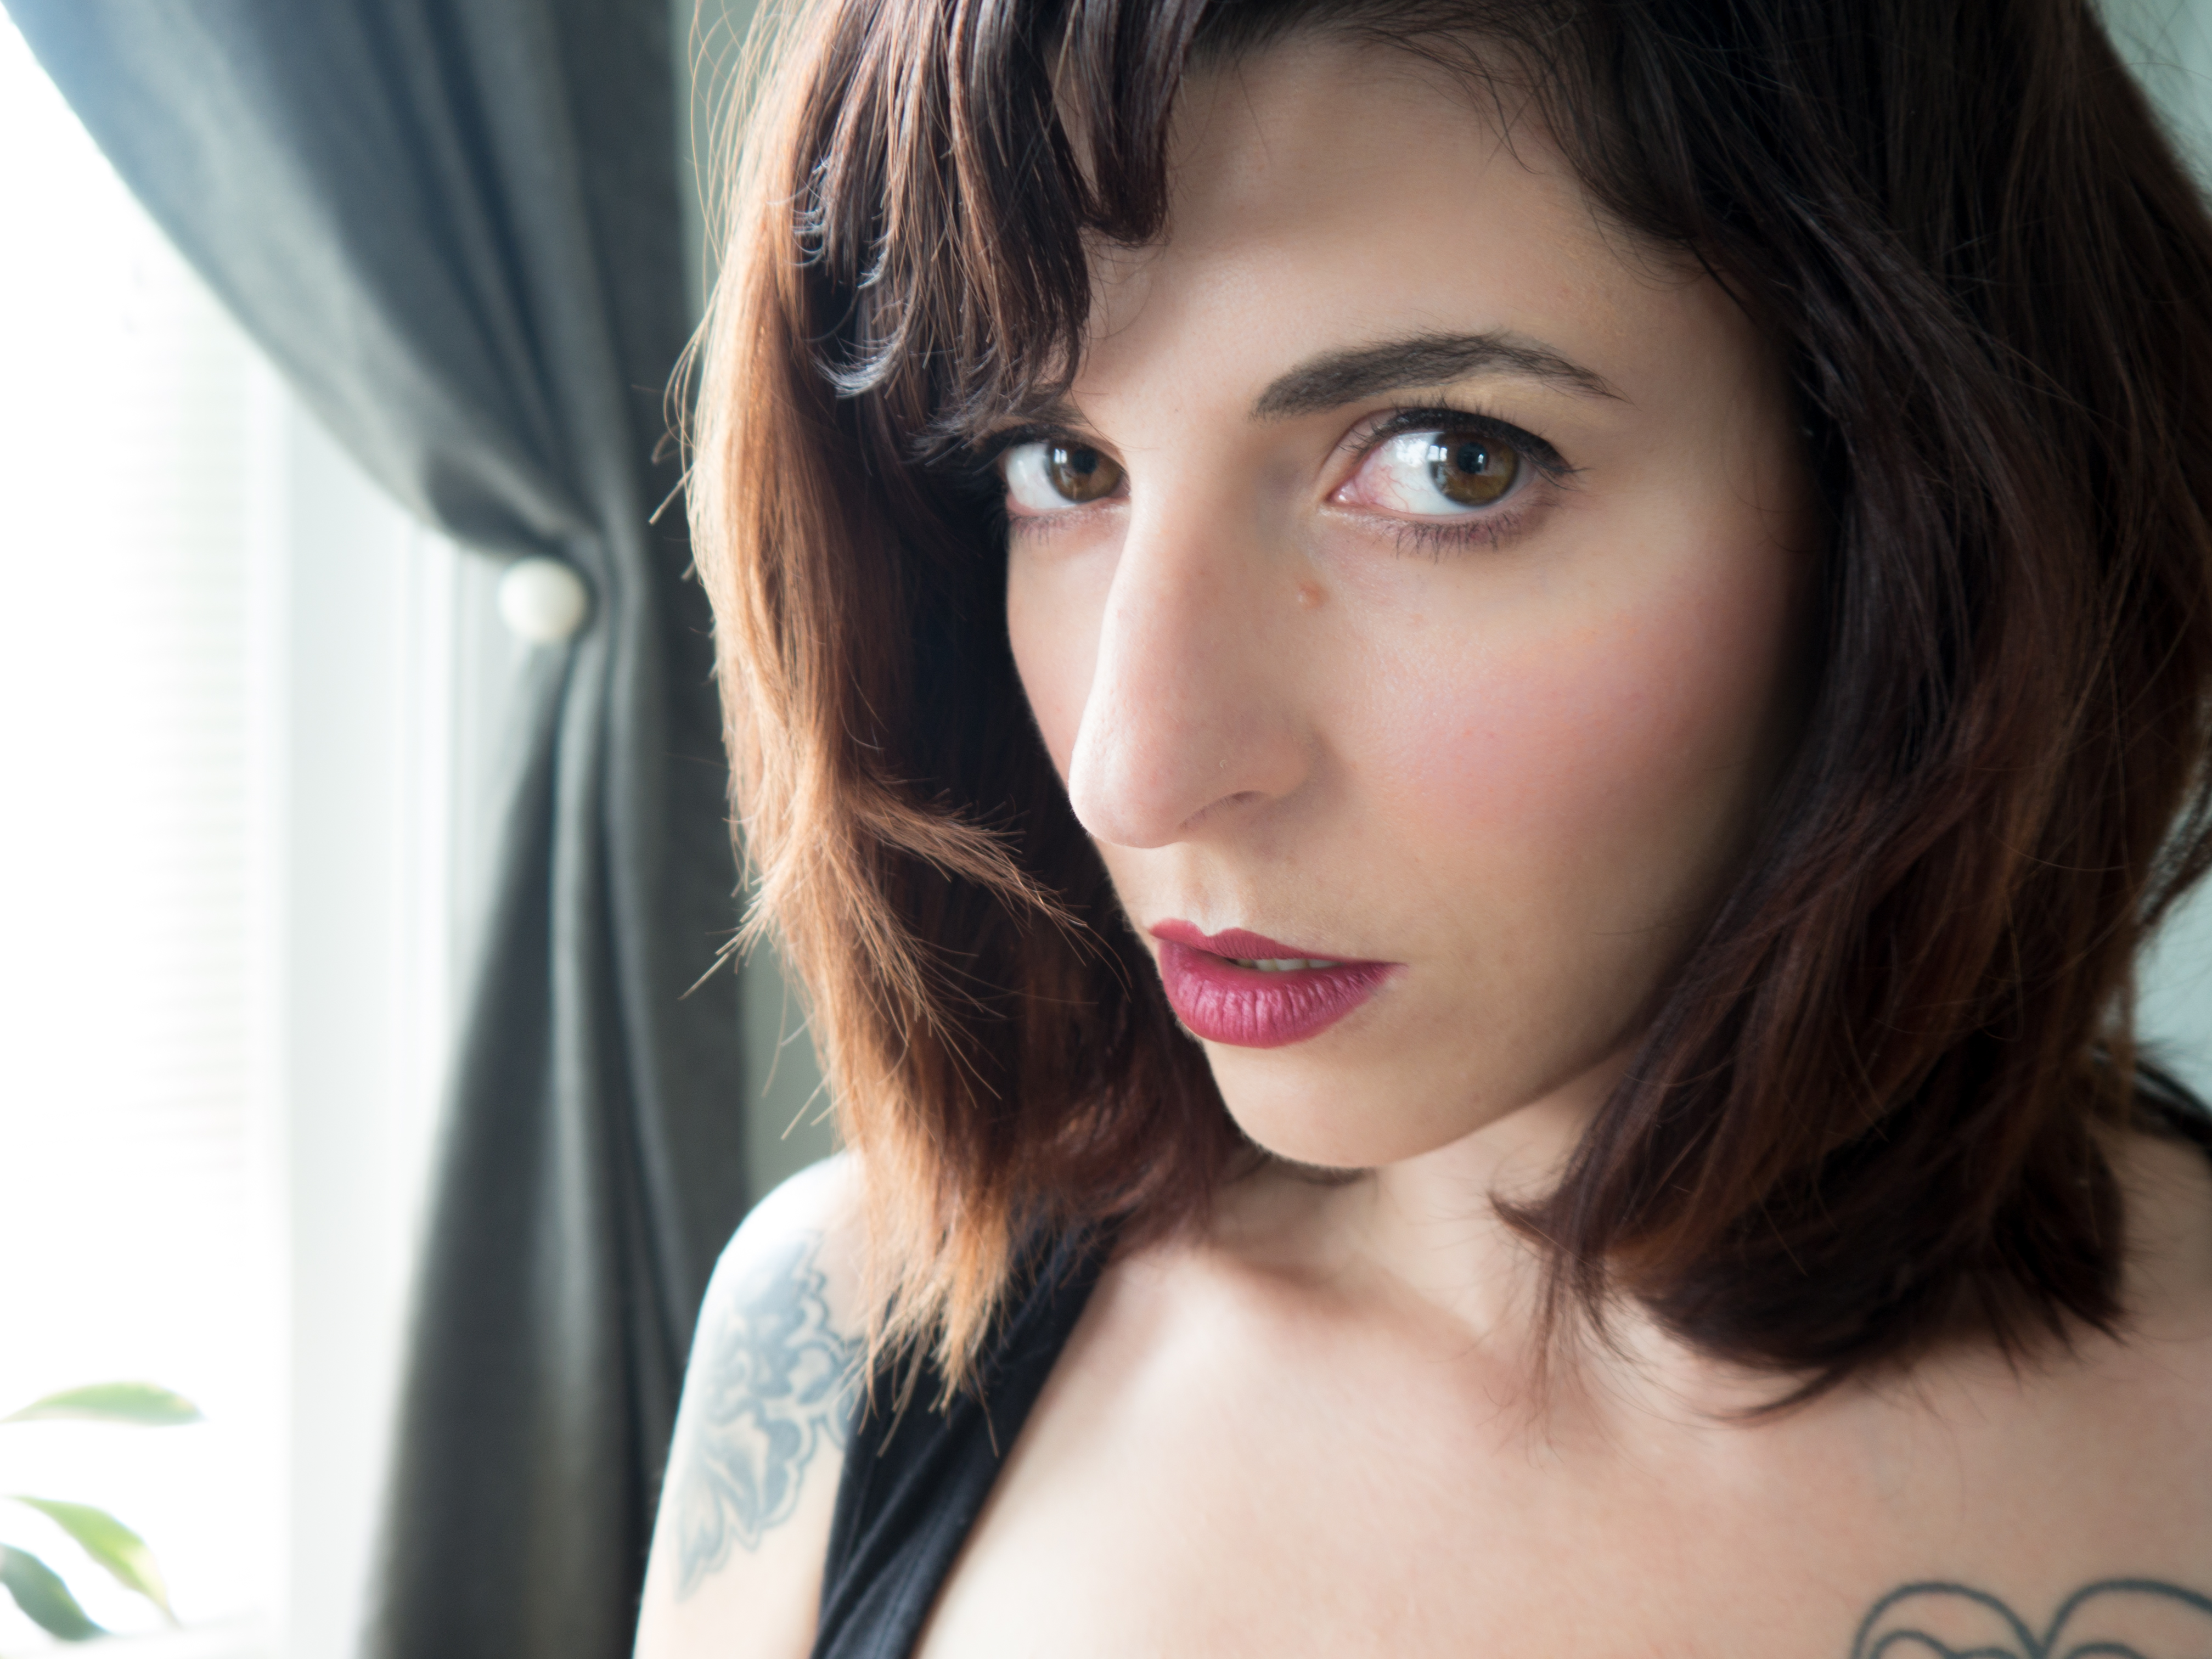
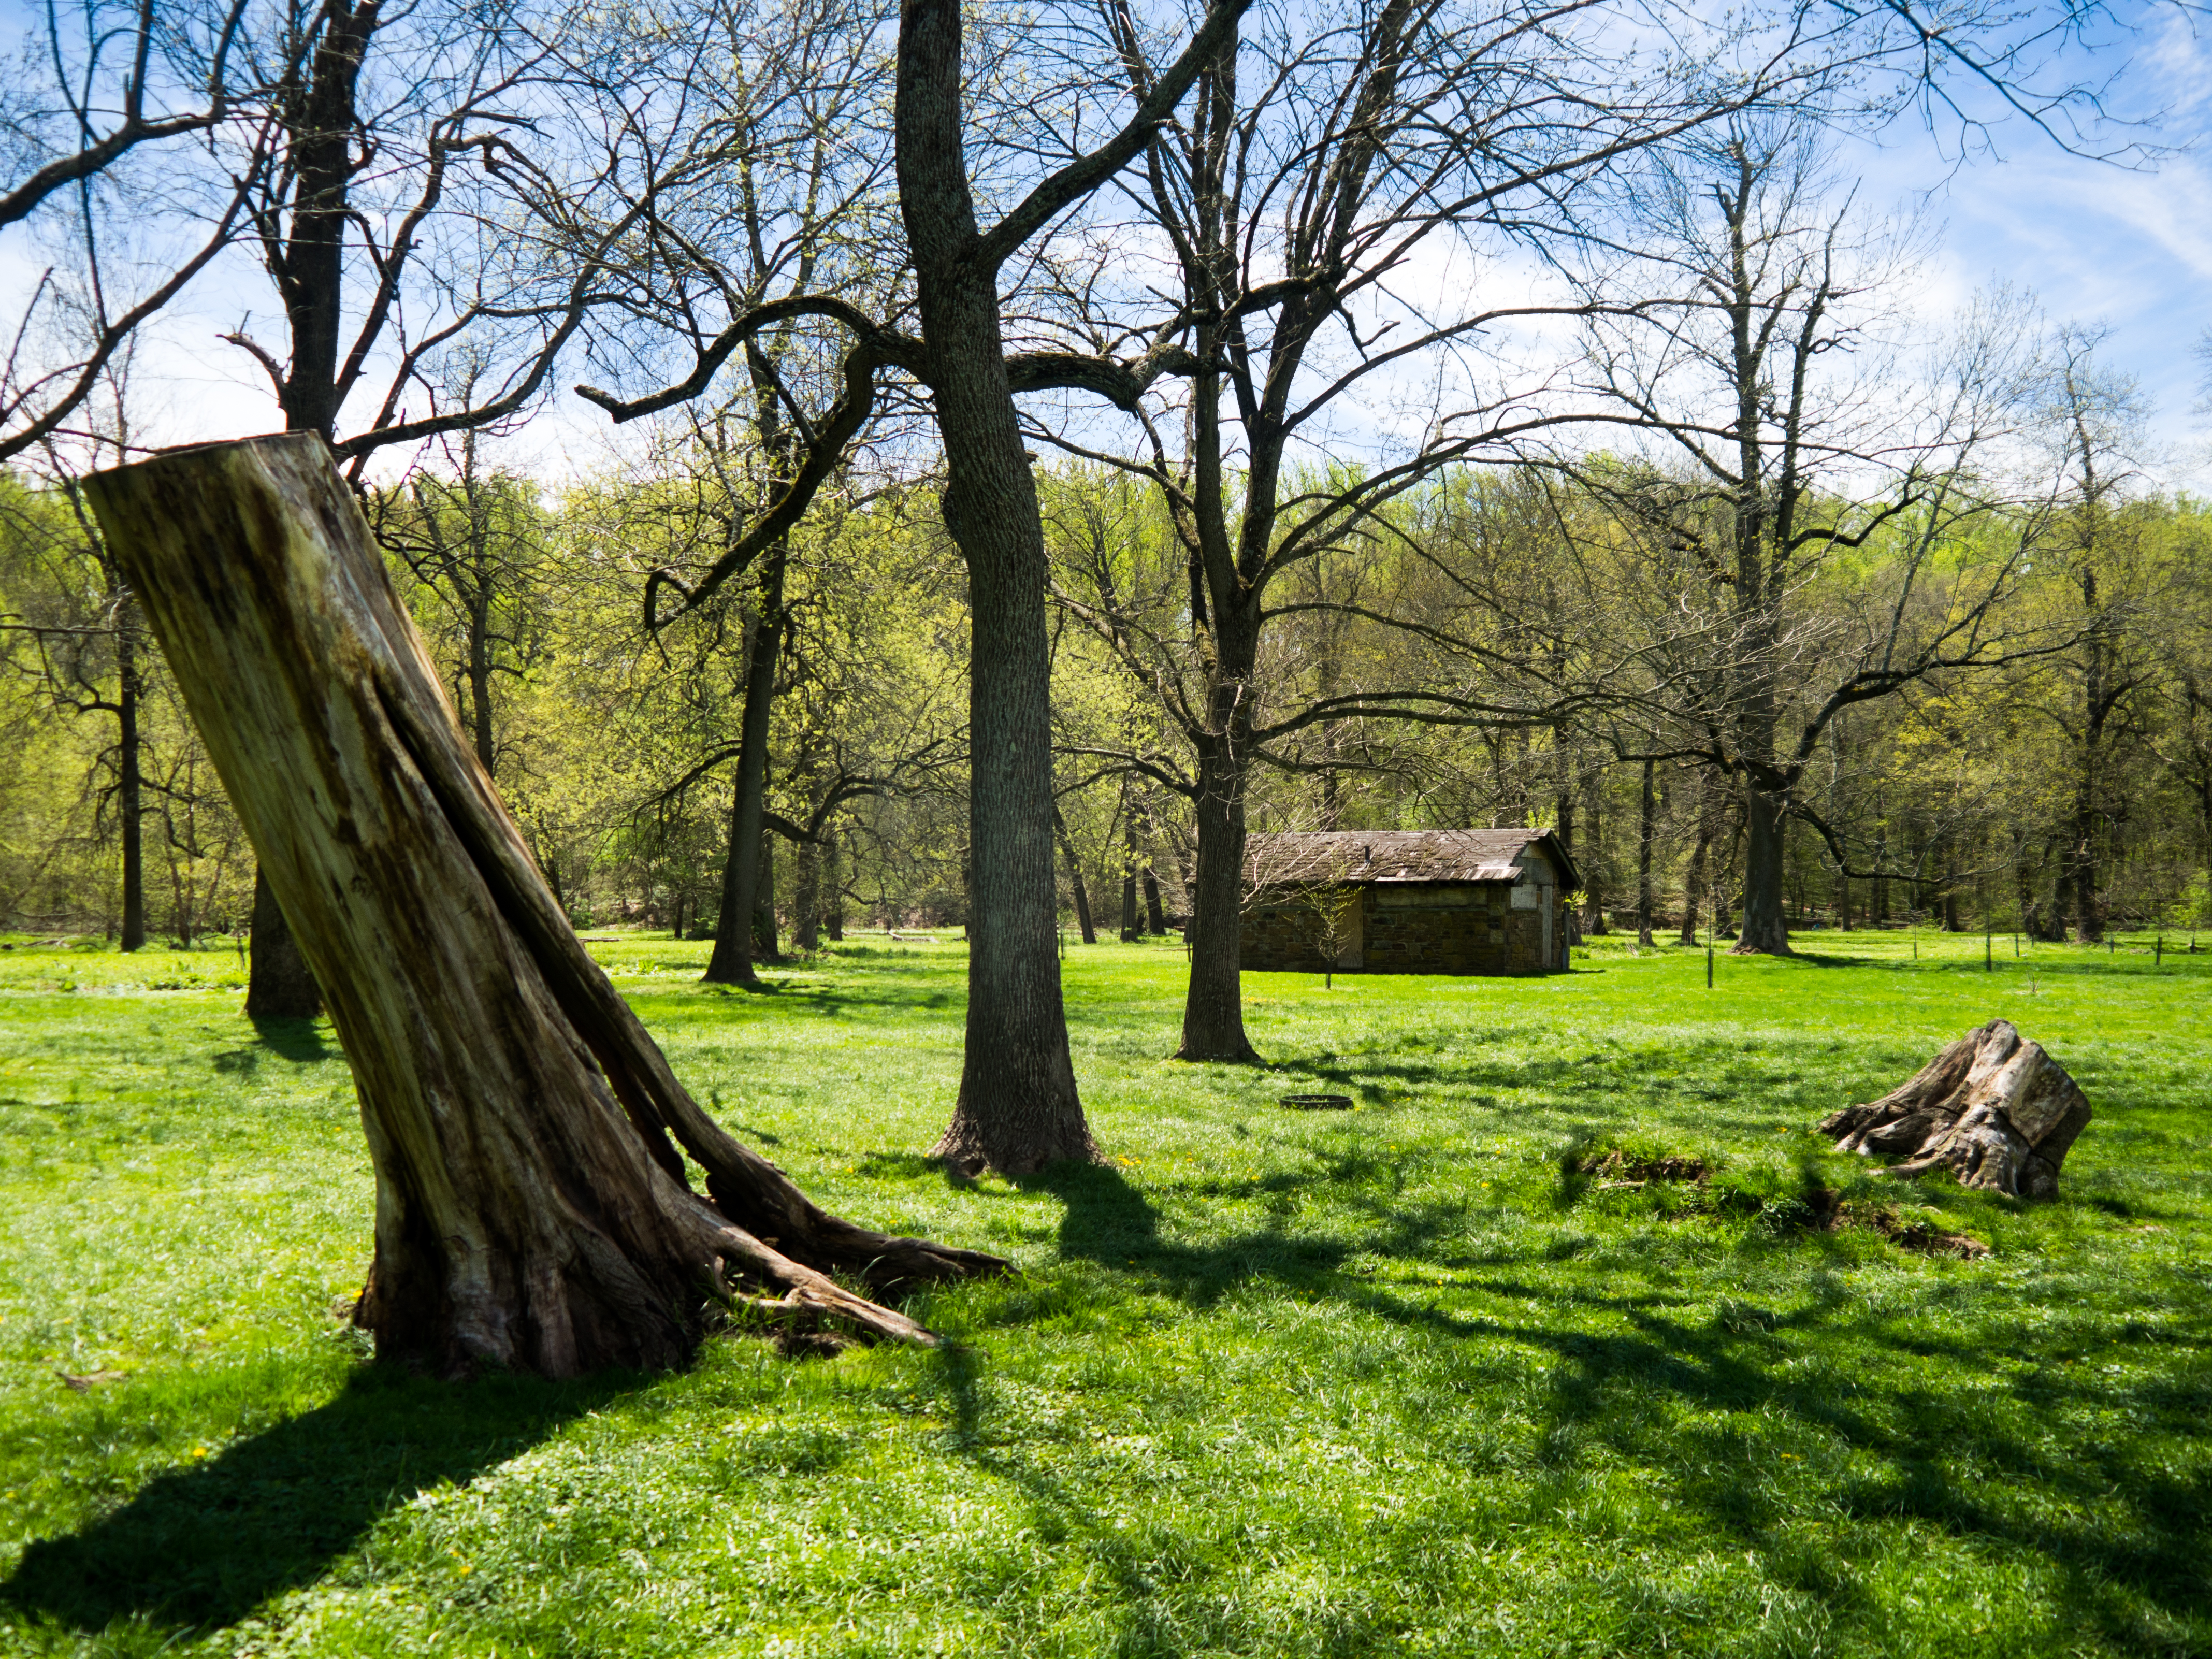
I knew exactly where I wanted to shoot this week. Philadelphia has no shortage of abandoned buildings, but there’s one in particular that I love and is near my neighborhood. What I wasn’t sure of at first was what I wanted my subject to be. But if you’ve been following my photography journey so far, you’d know that my most successful projects have been creepy and featured my daughter, Eloise. So my idea was to place her in the midst of these ruins, and I’d already made her up to look like a ghost child before, so this time I went with more of an ominous, shrouded figure.
I dressed her in a black lace dress of mine and fastened it at the back, then used a sheer black shirt of mine over her face as a shroud. My husband chauffeured us there and we sprayed our legs with bug spray before venturing into the overgrown space (I grew up in Connecticut, my tick fear is justified.)
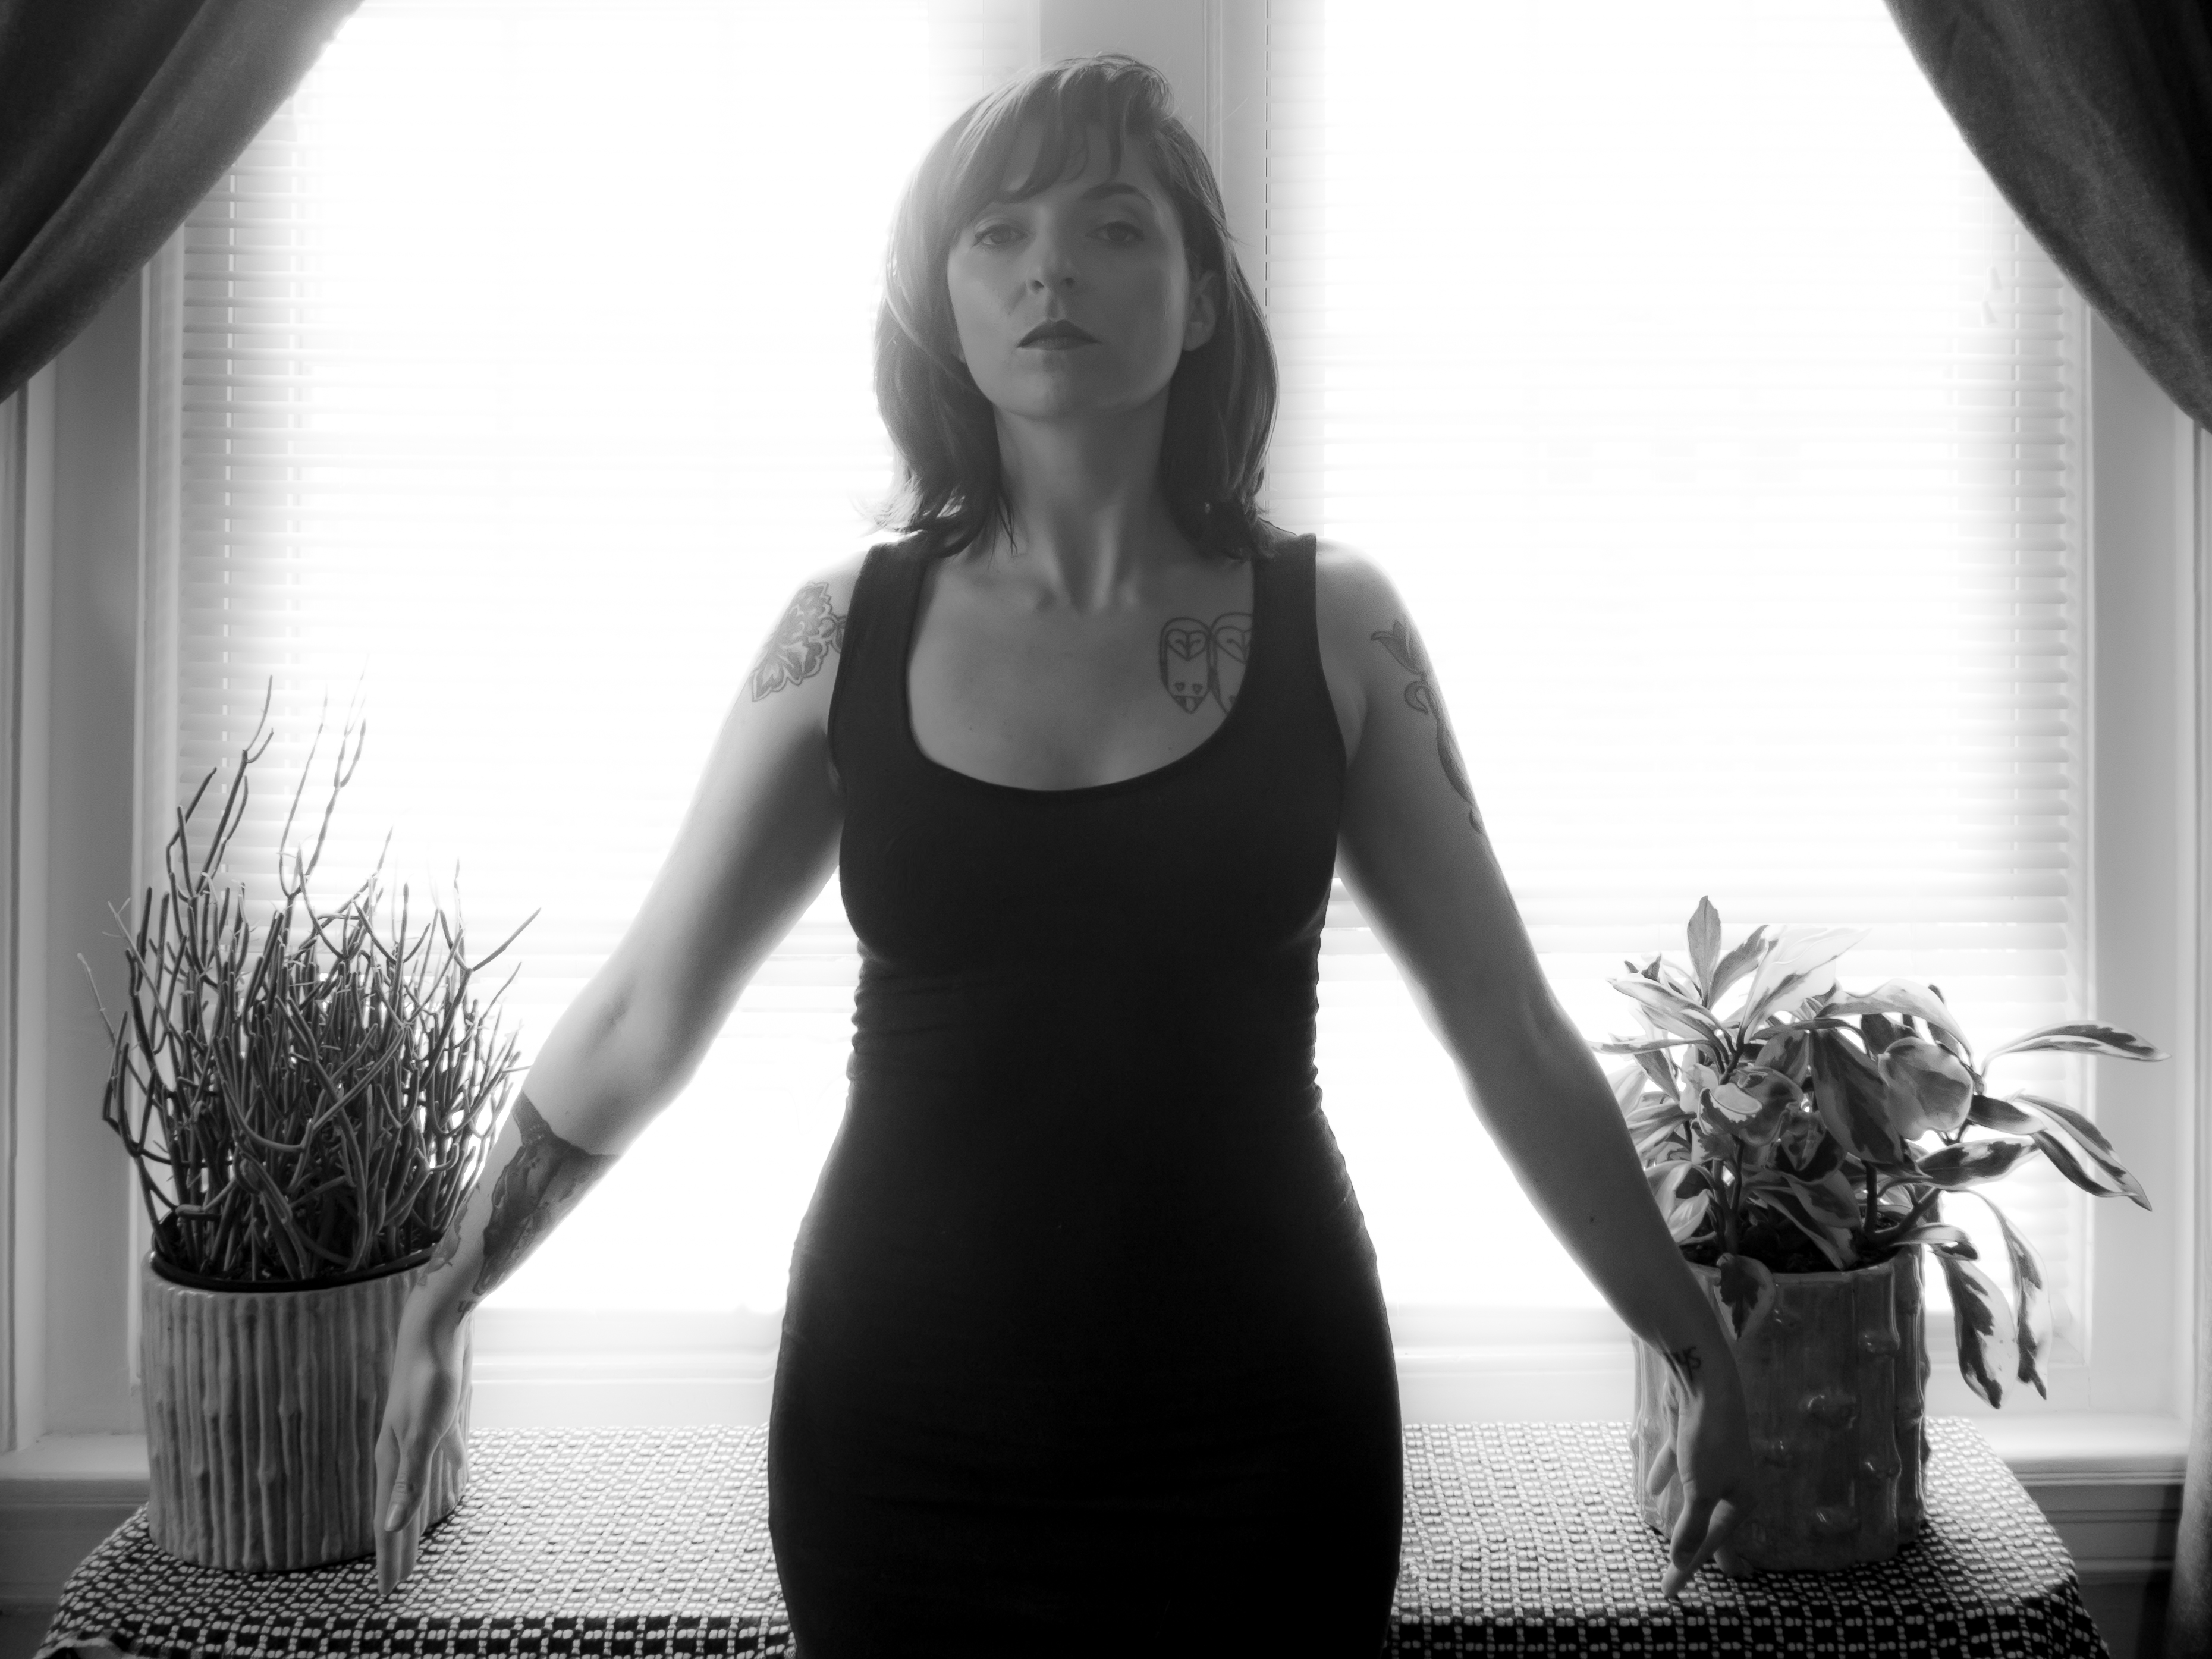
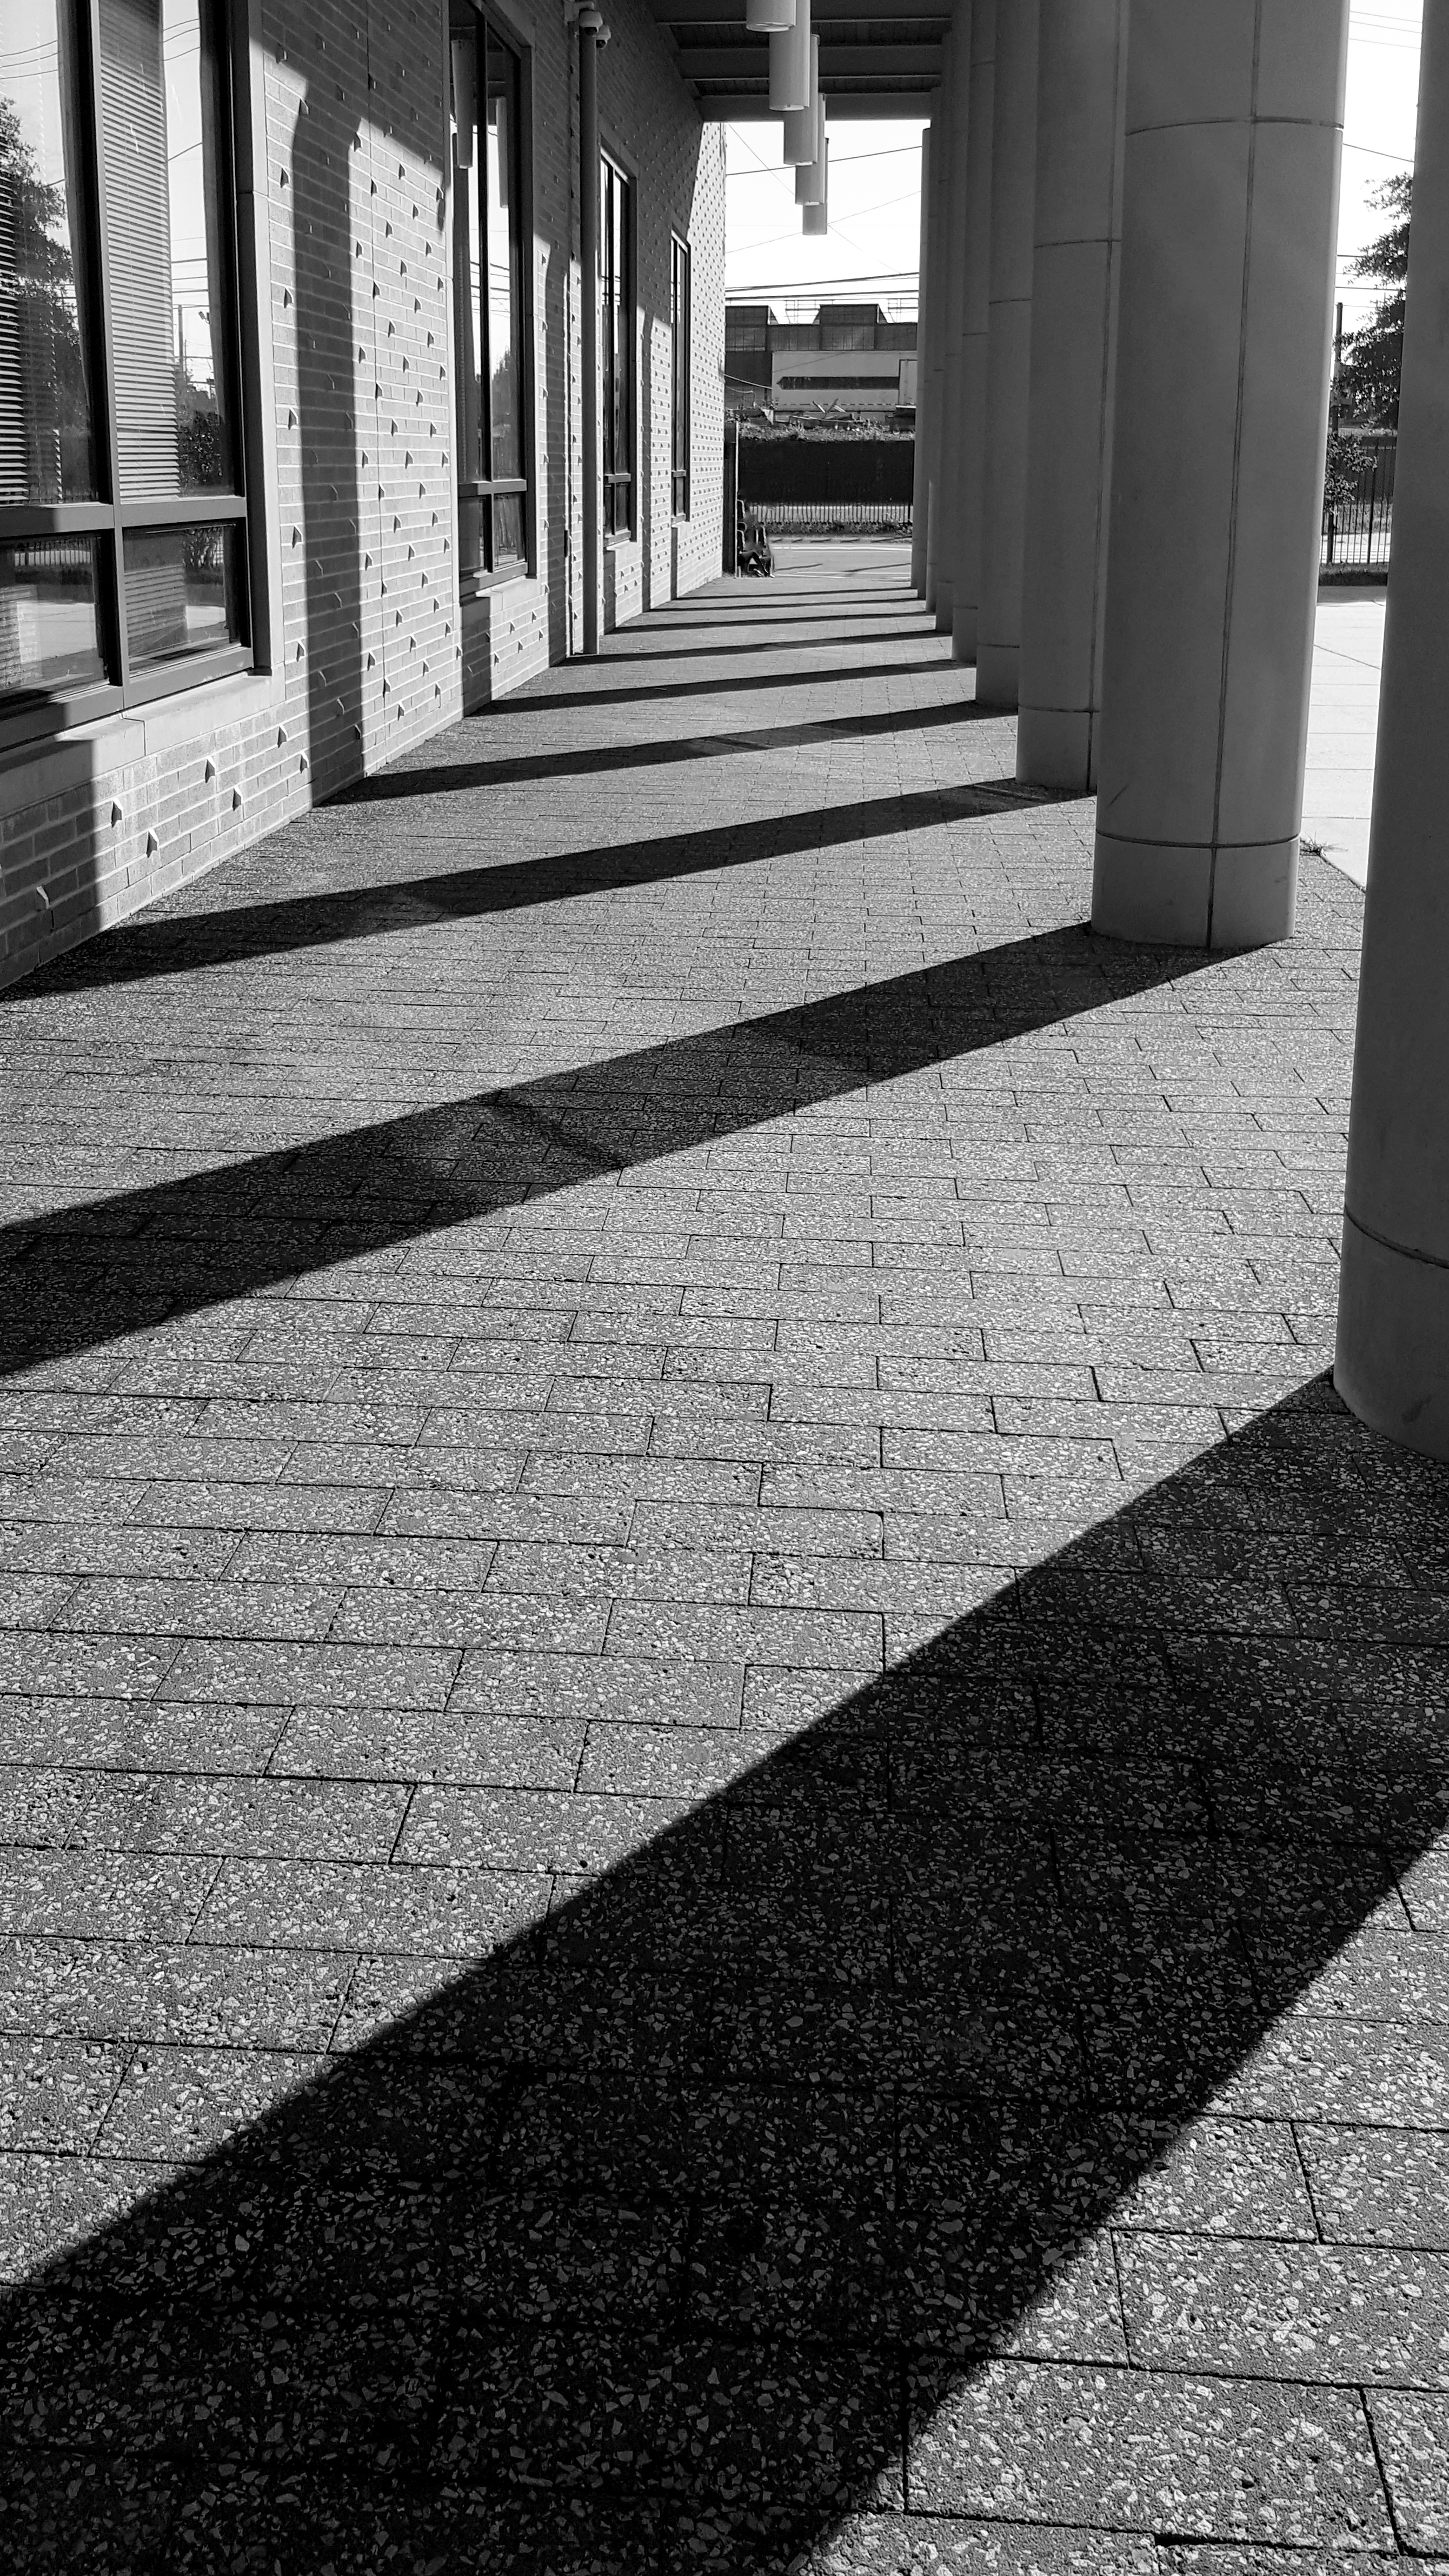
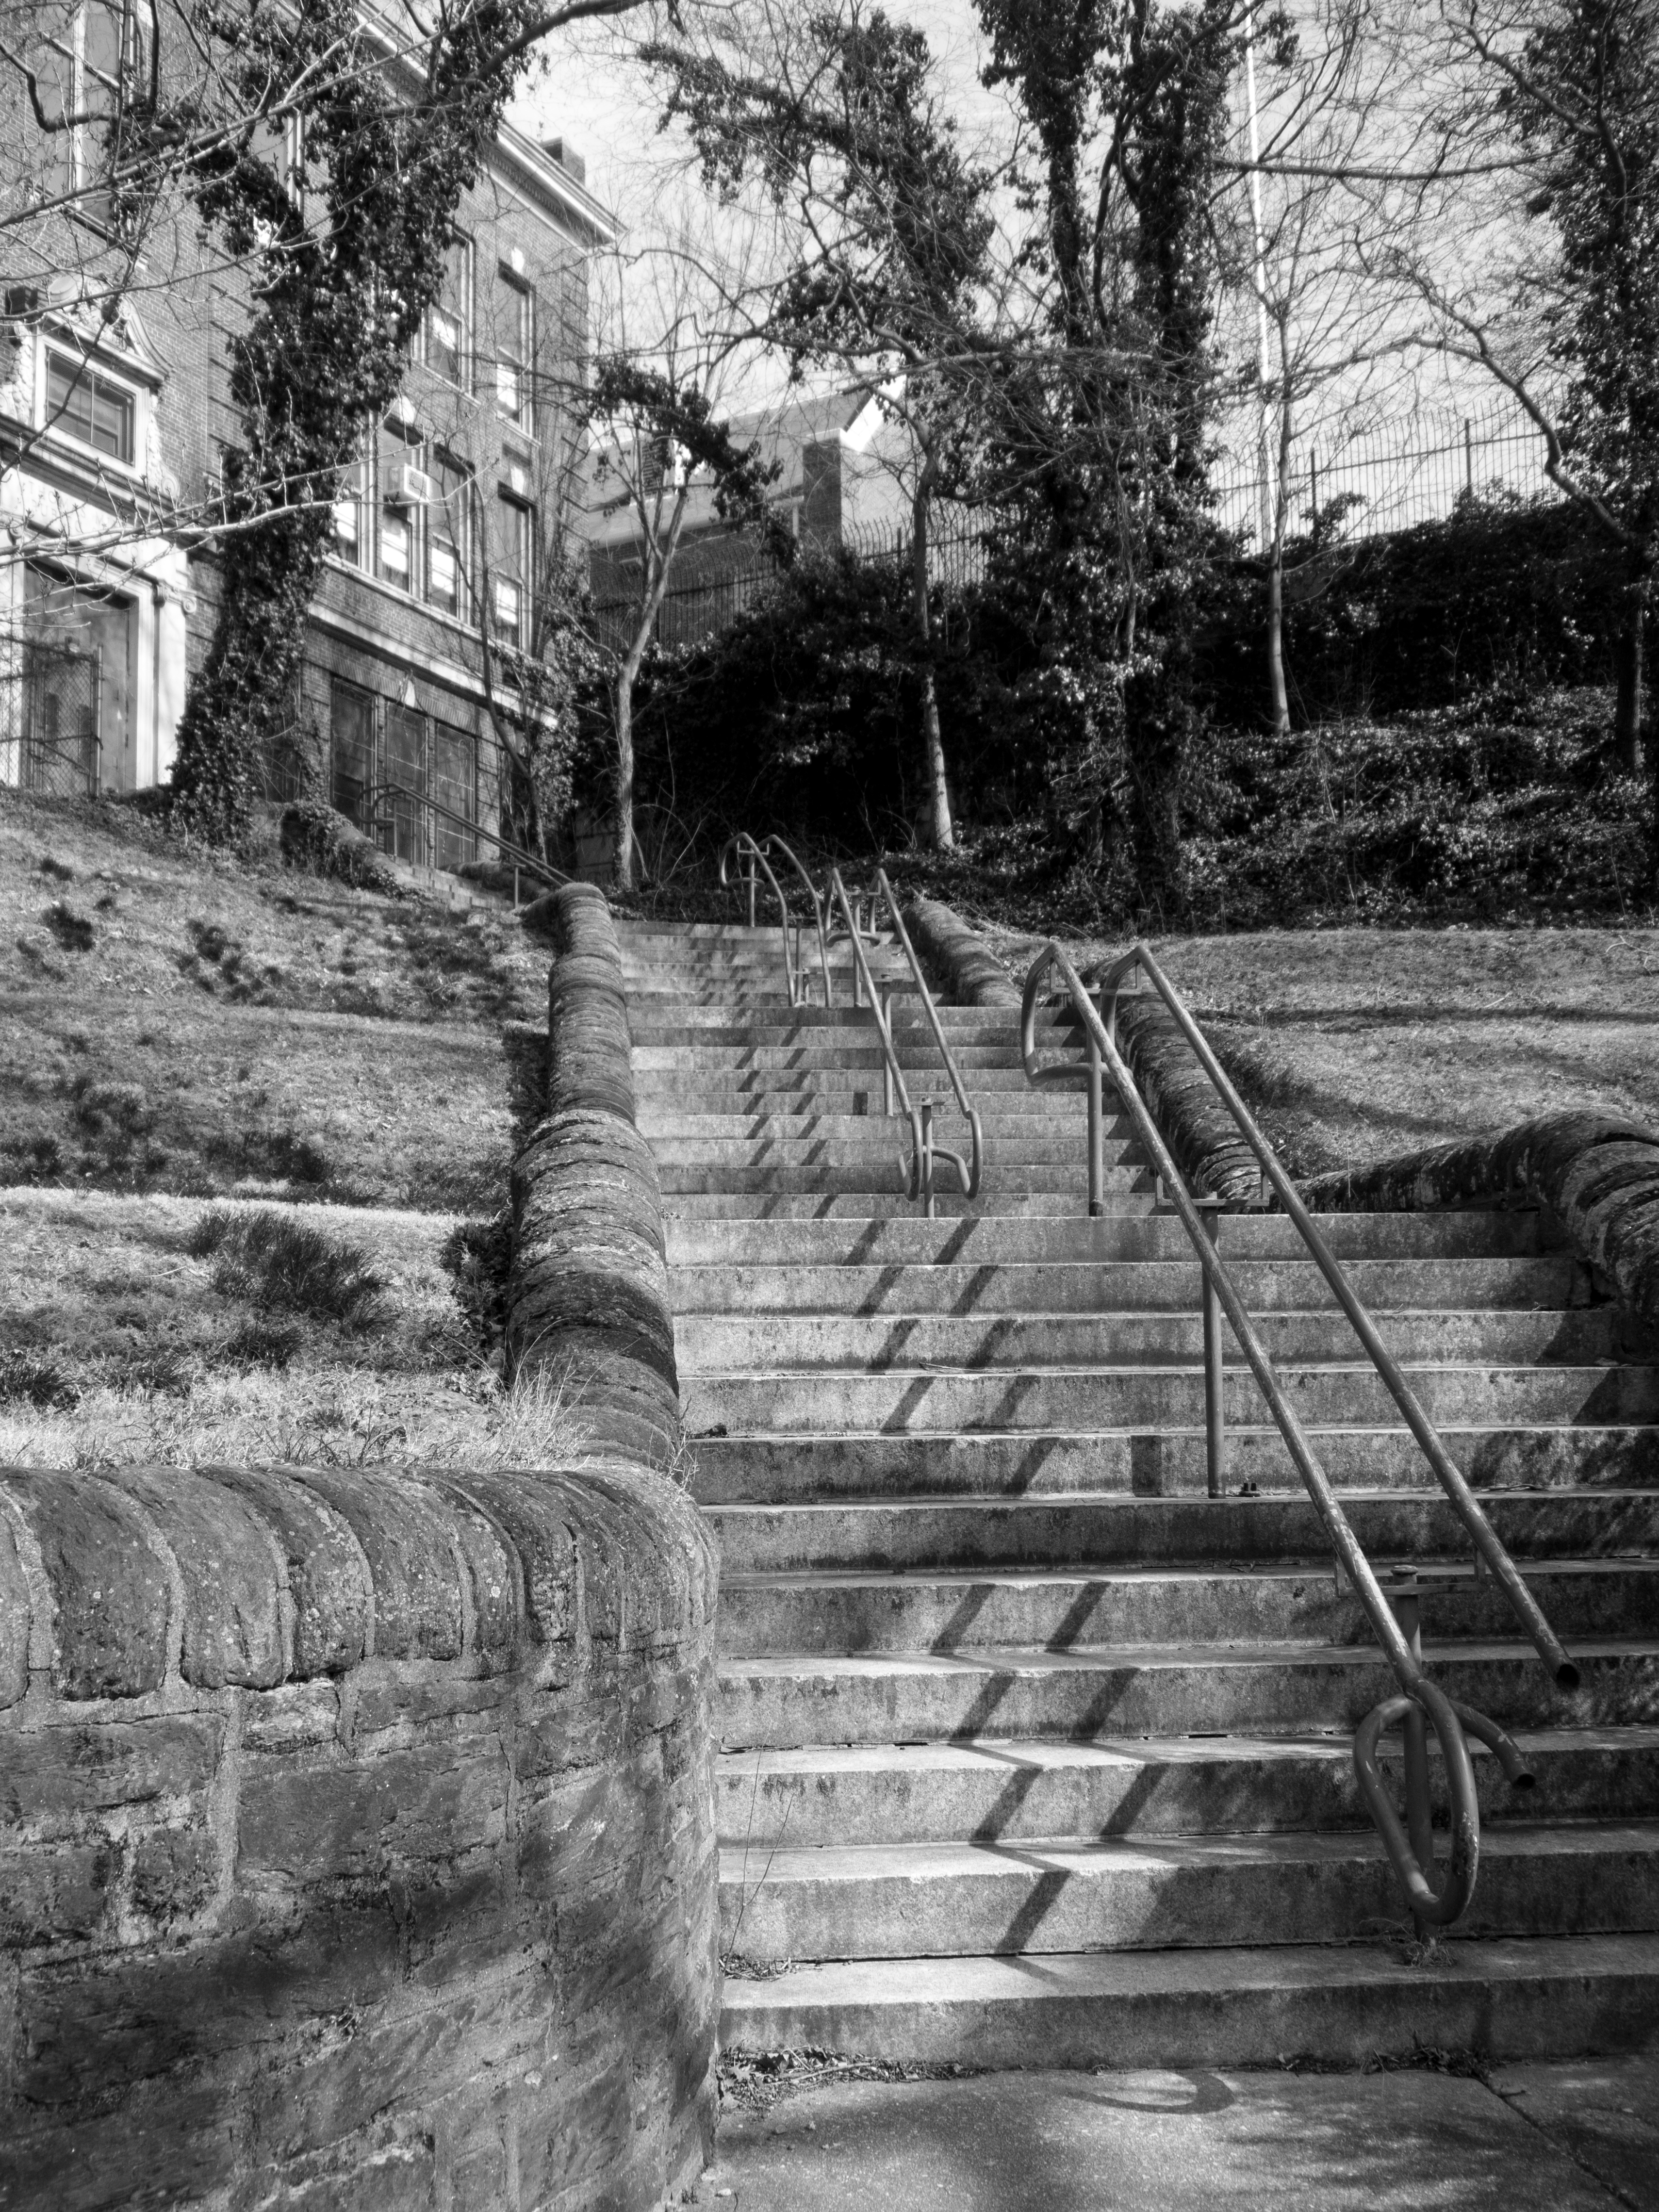
I used my borrowed Olympus E-M10 with a Lumix 14-42mm f/3.5-5.6 as always. I had my camera on aperture priority at a low f/stop and everything else on auto. I placed Eloise throughout the space in doorways and on a staircase. I wanted her to just be a small part of the space, not necessarily a prominent focal point.
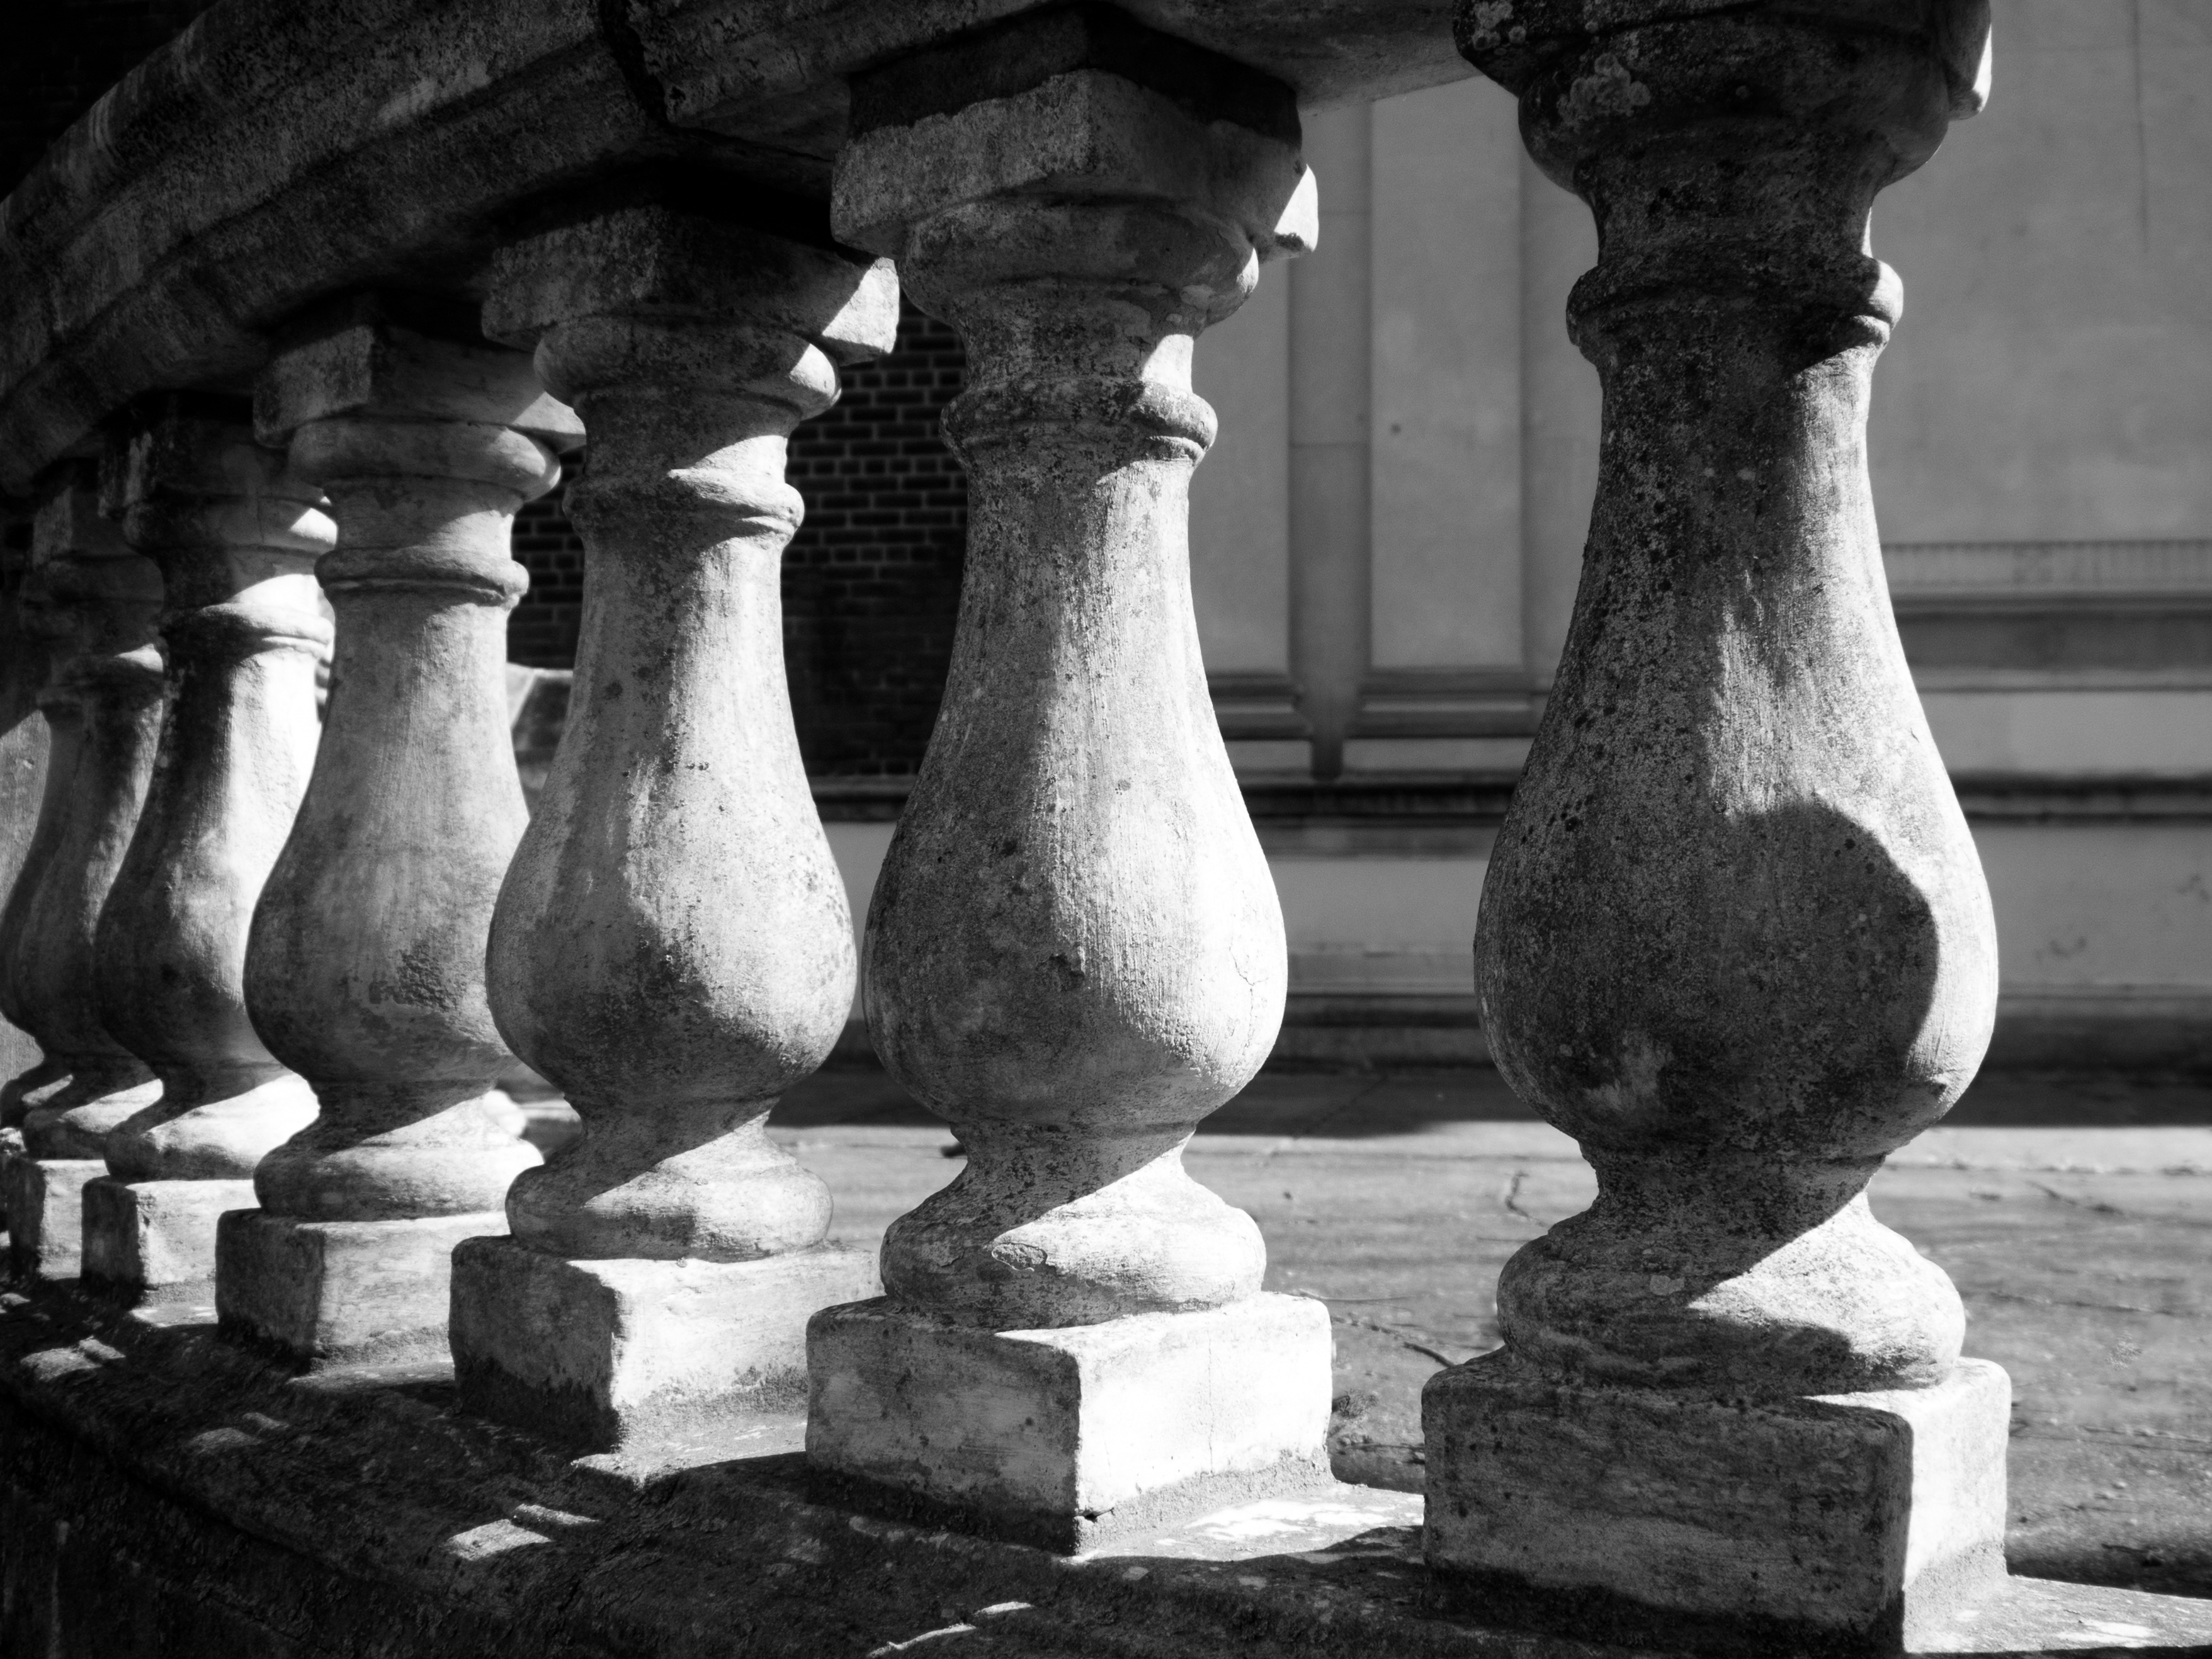
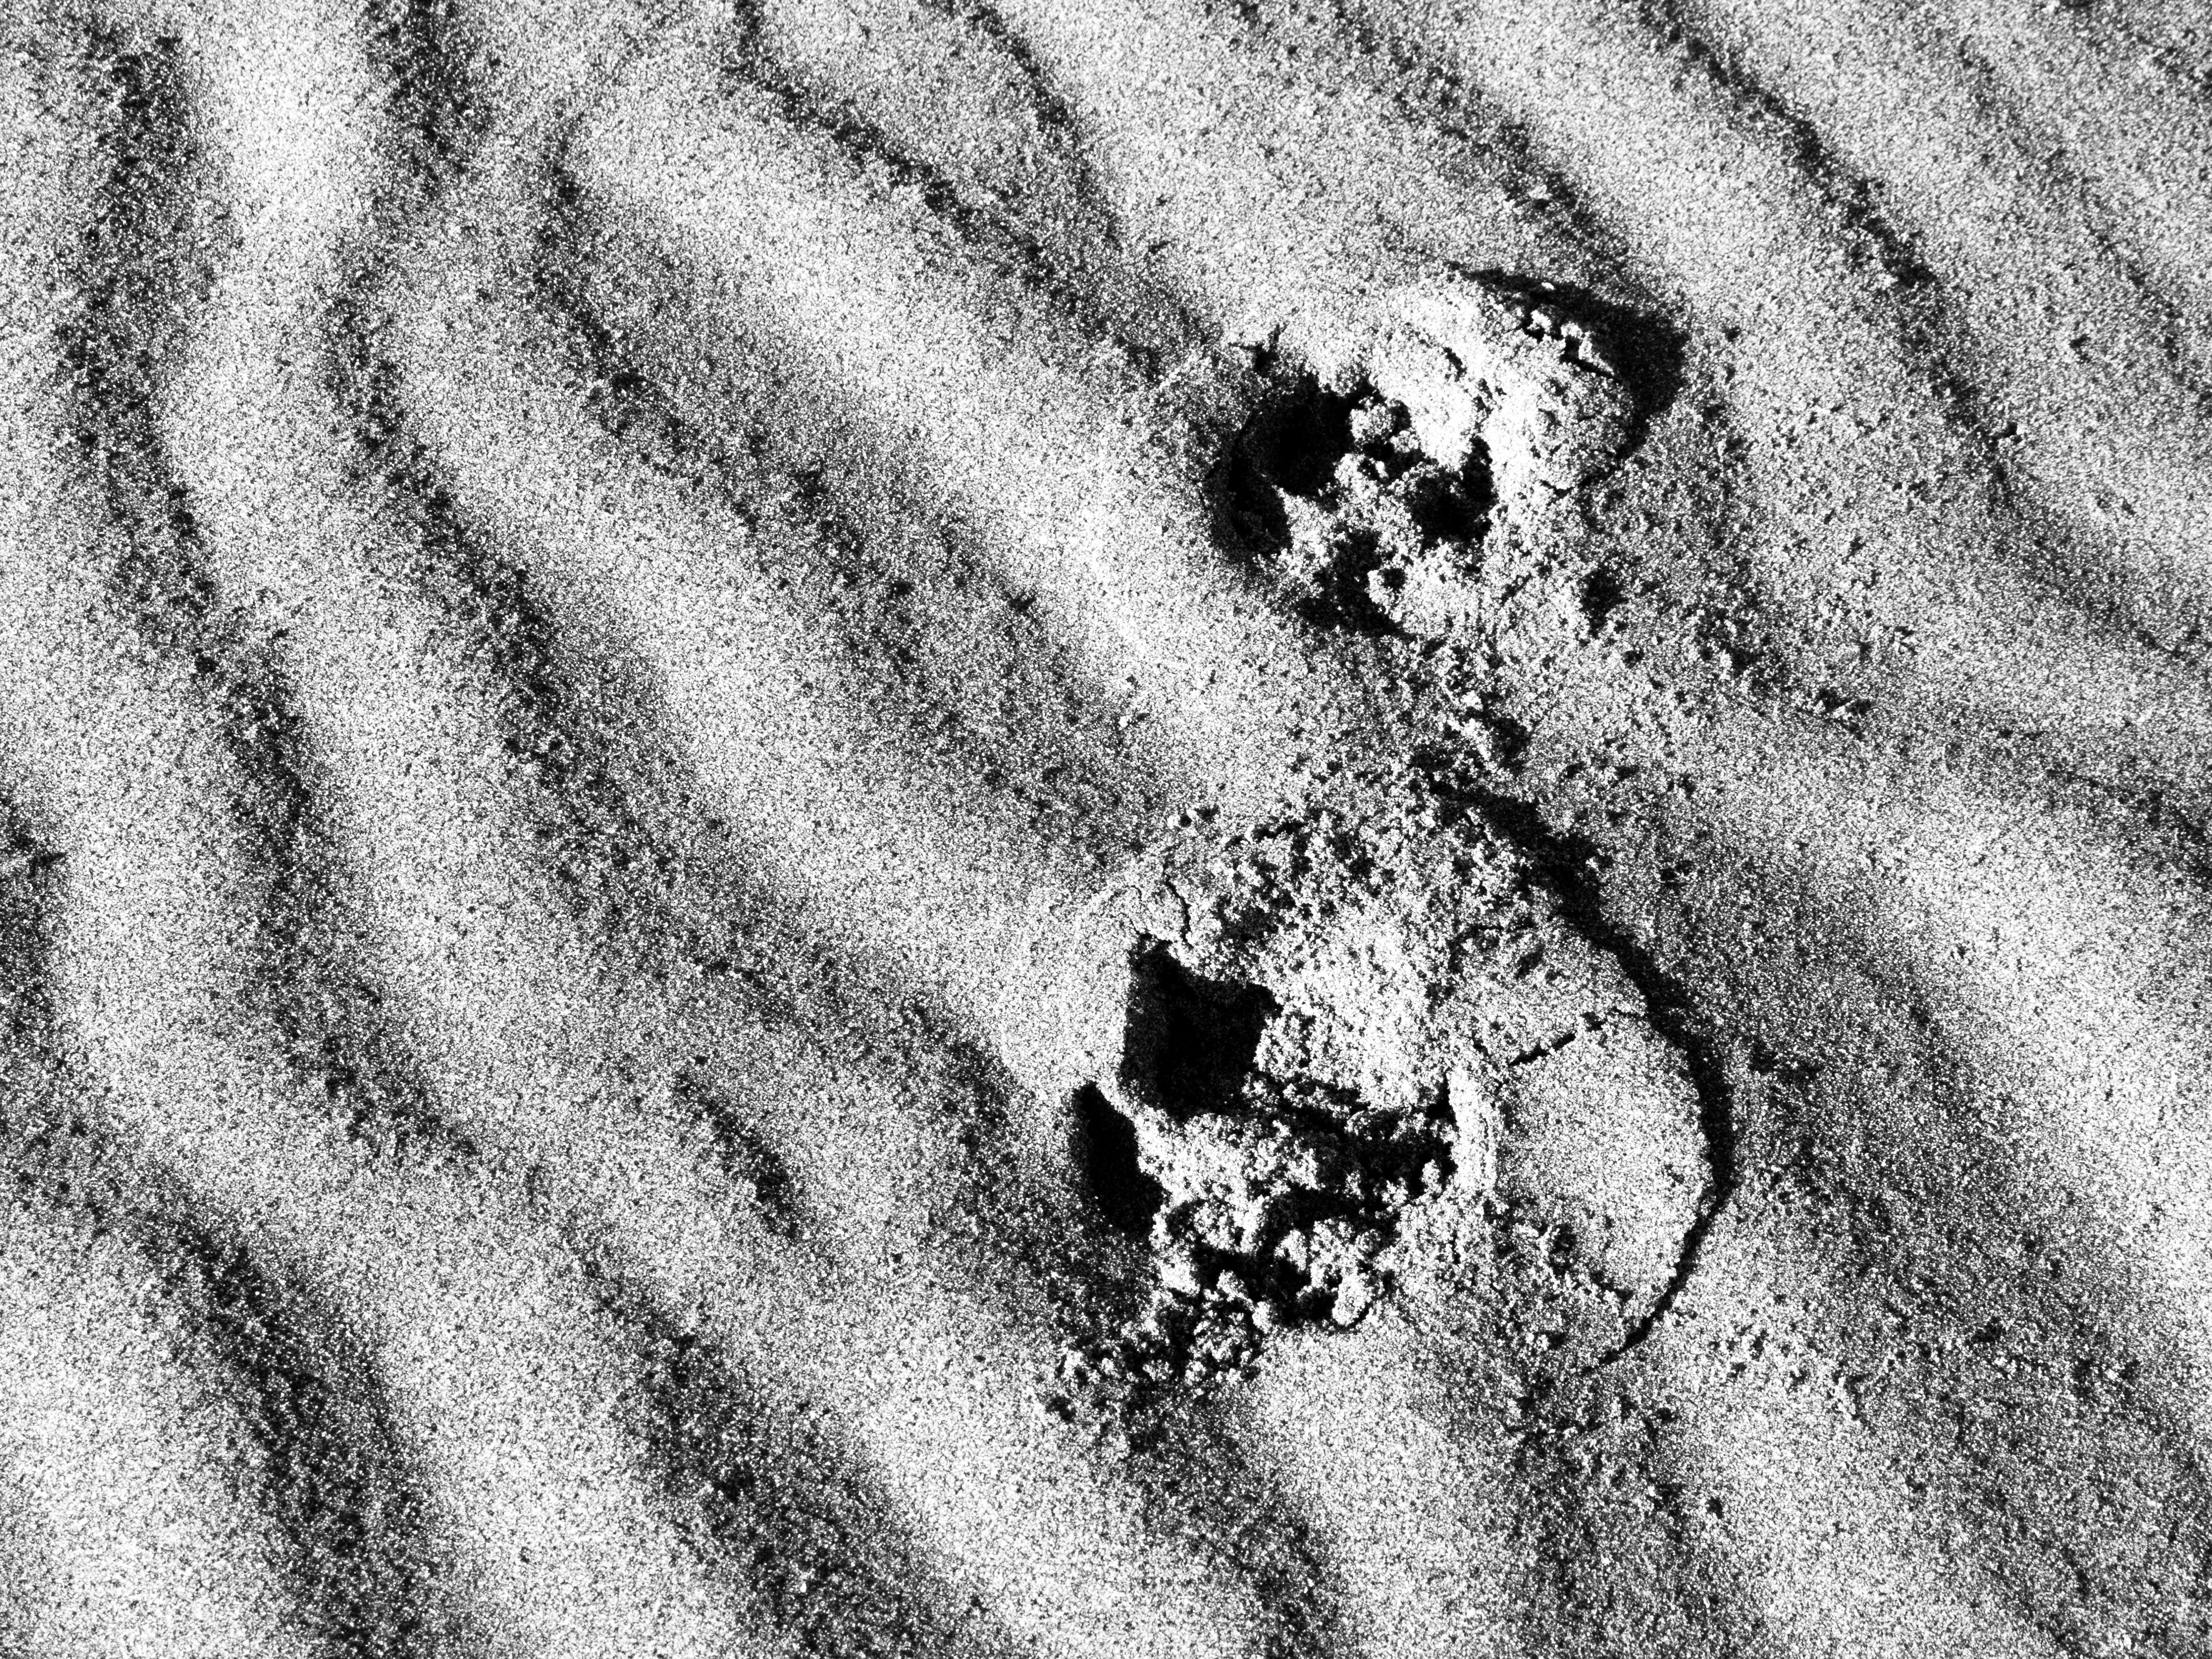
I converted all the shots to black and white in post. The greenery and the graffiti were too distracting and took away from the eerie quality I wanted in the shots. I adjusted the exposure on them all for the white and black points:
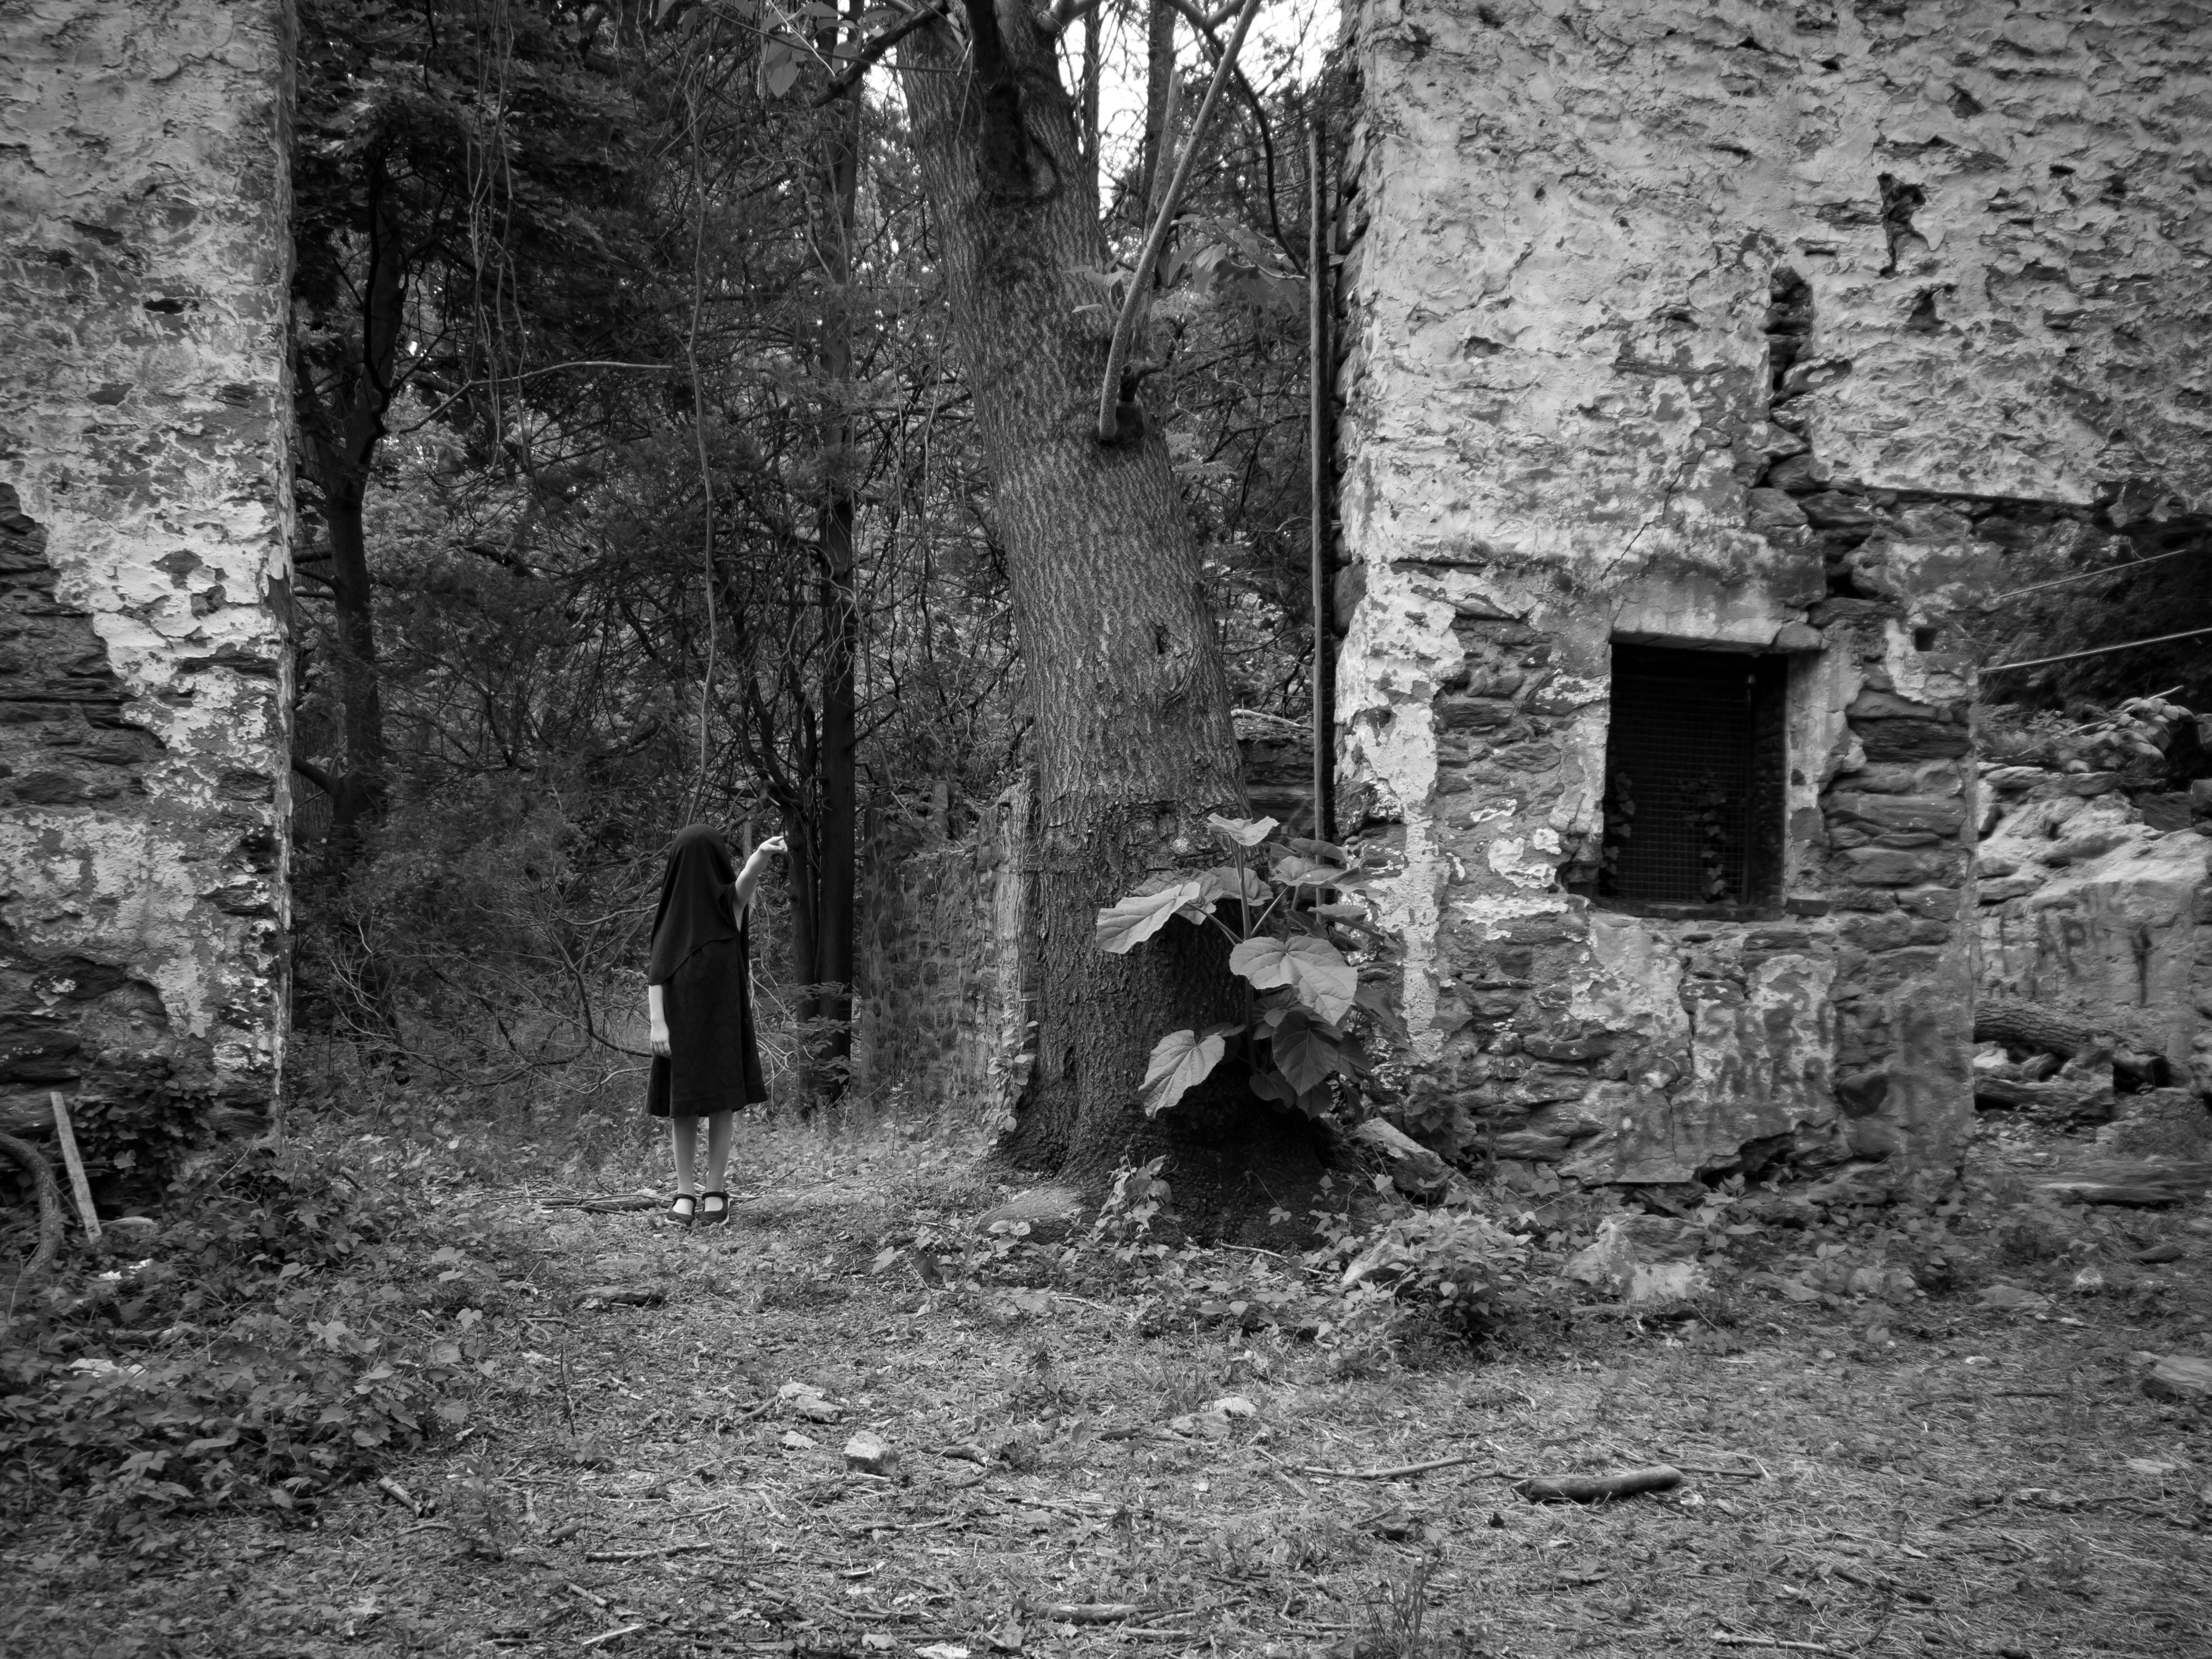
And then used a radial filter to lighten up Eloise in some of the shots where she was a bit lost in the frame. It also gave her a bit of a glow around her. I also added some post-crop vignetting to make the shots look darker even though we were shooting in the daytime. Here’s what I came up with:
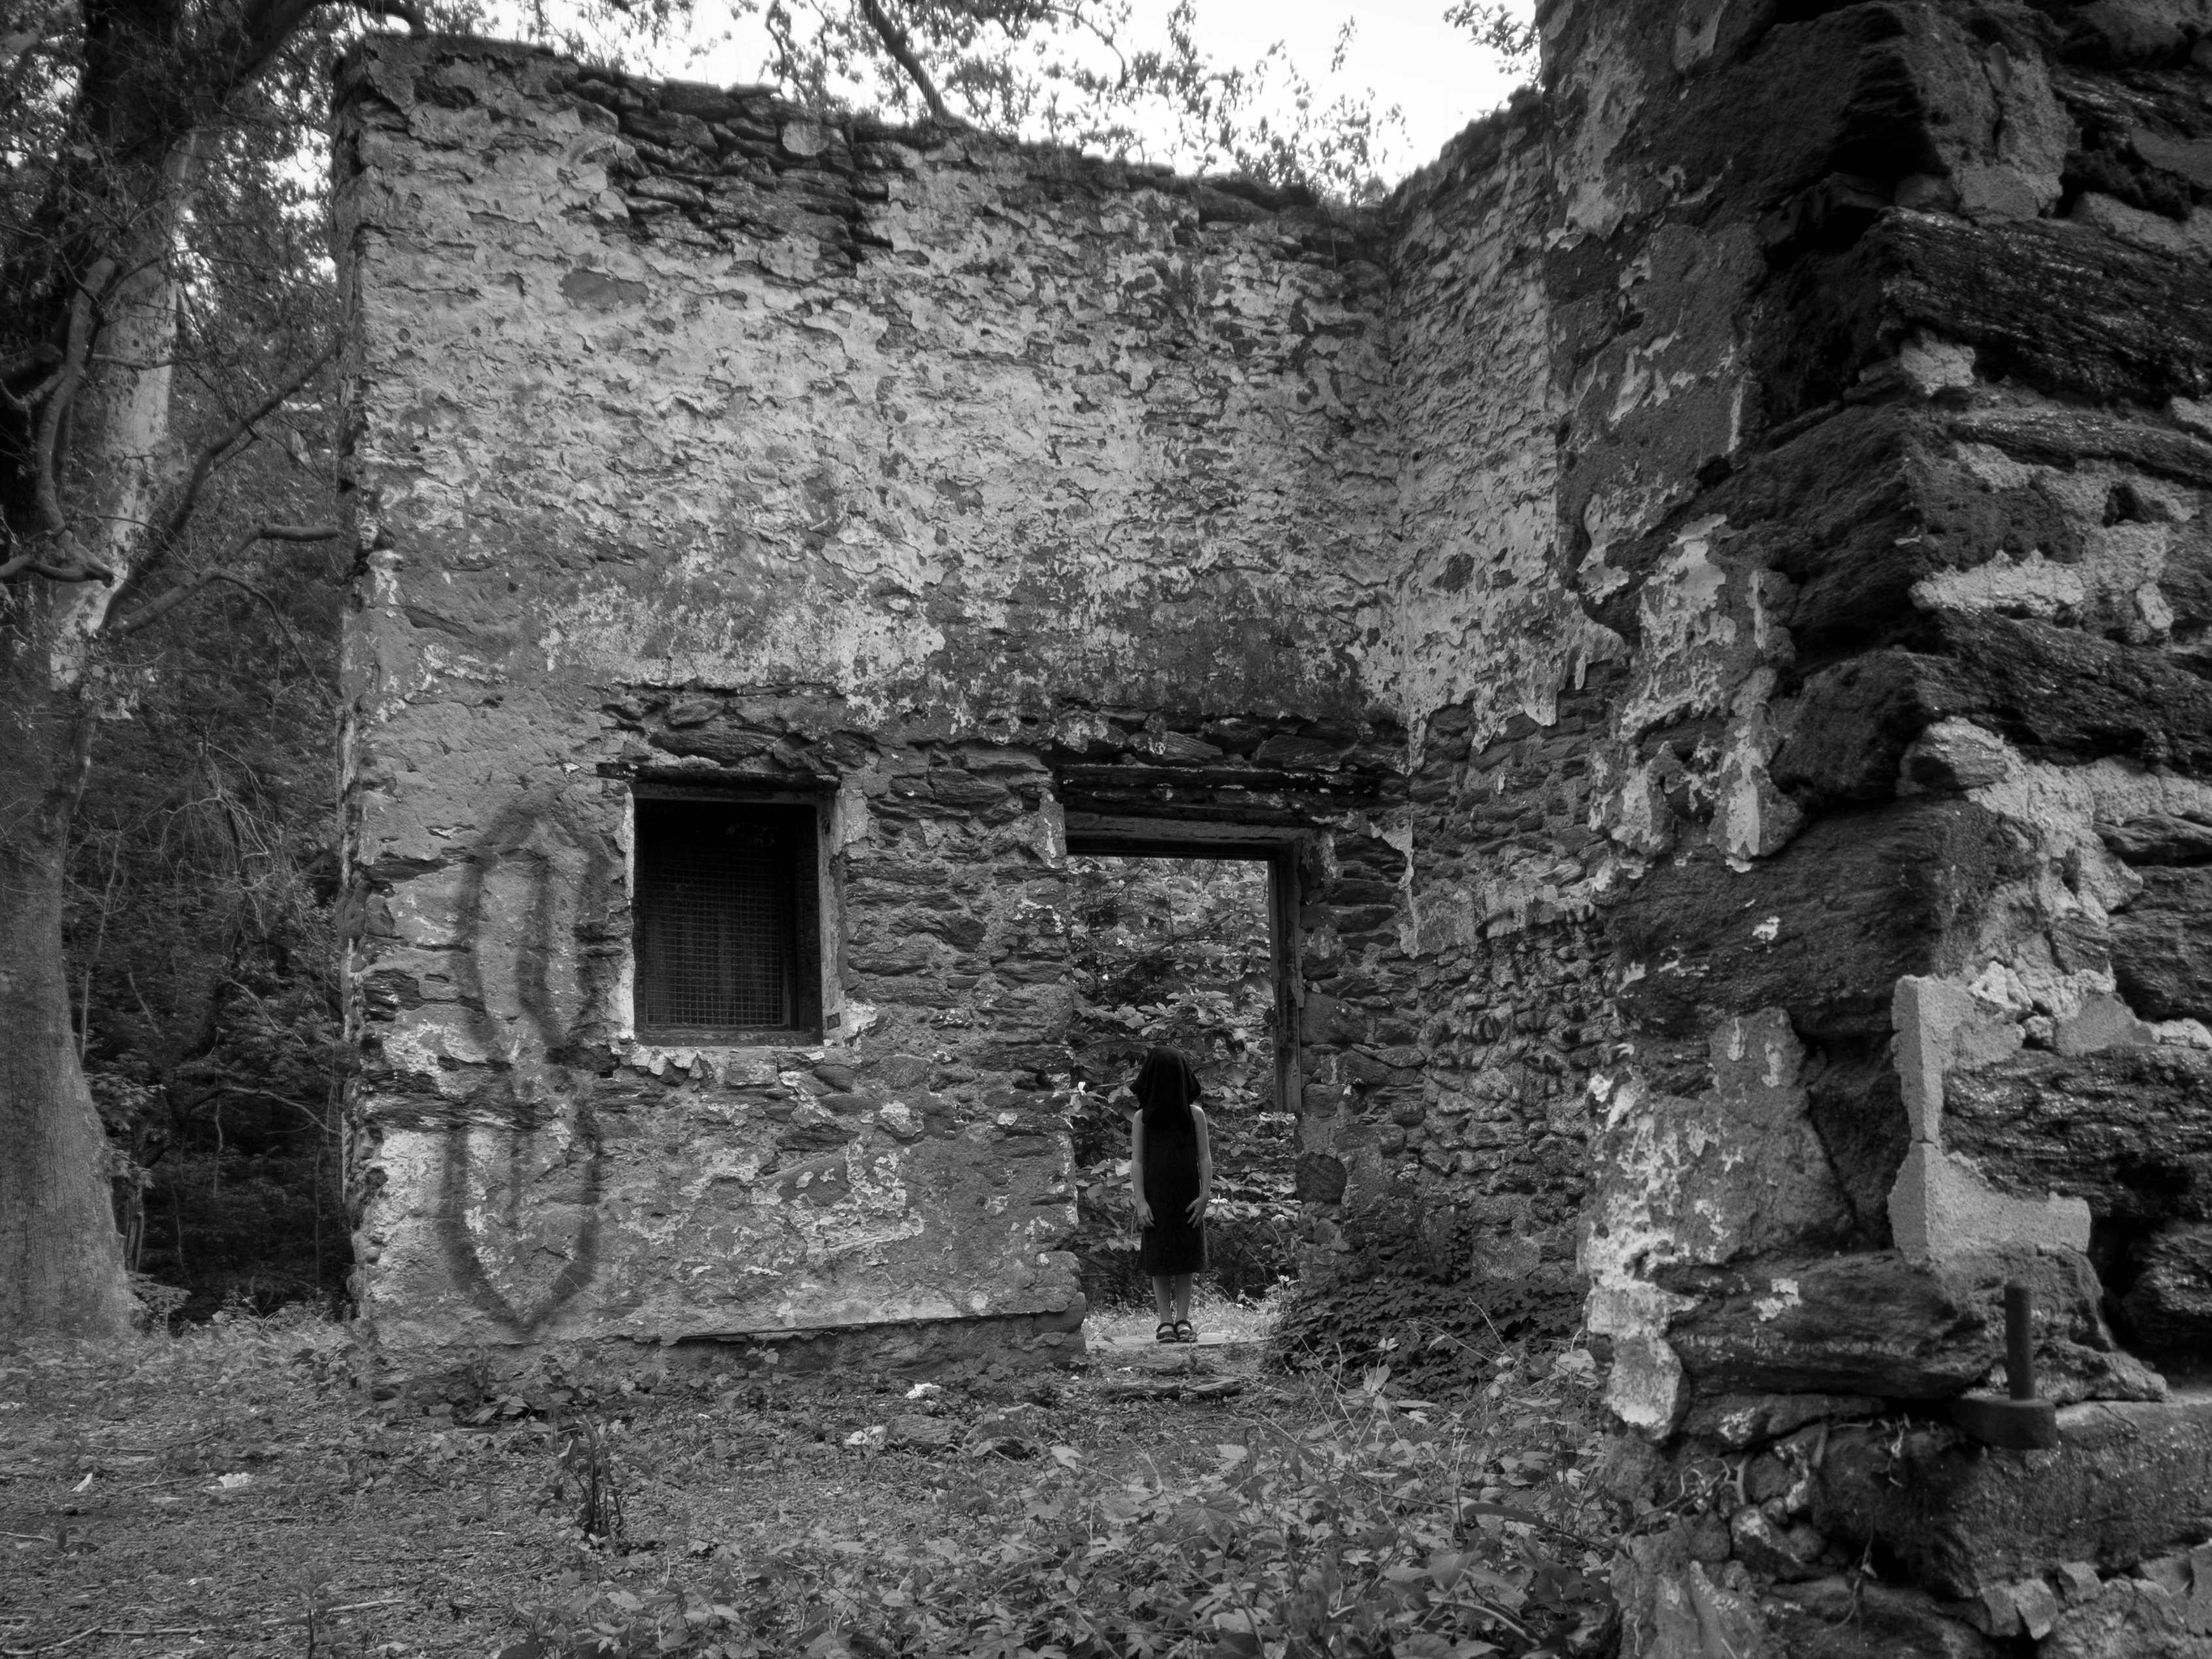
f/4, 1/250th, ISO 200
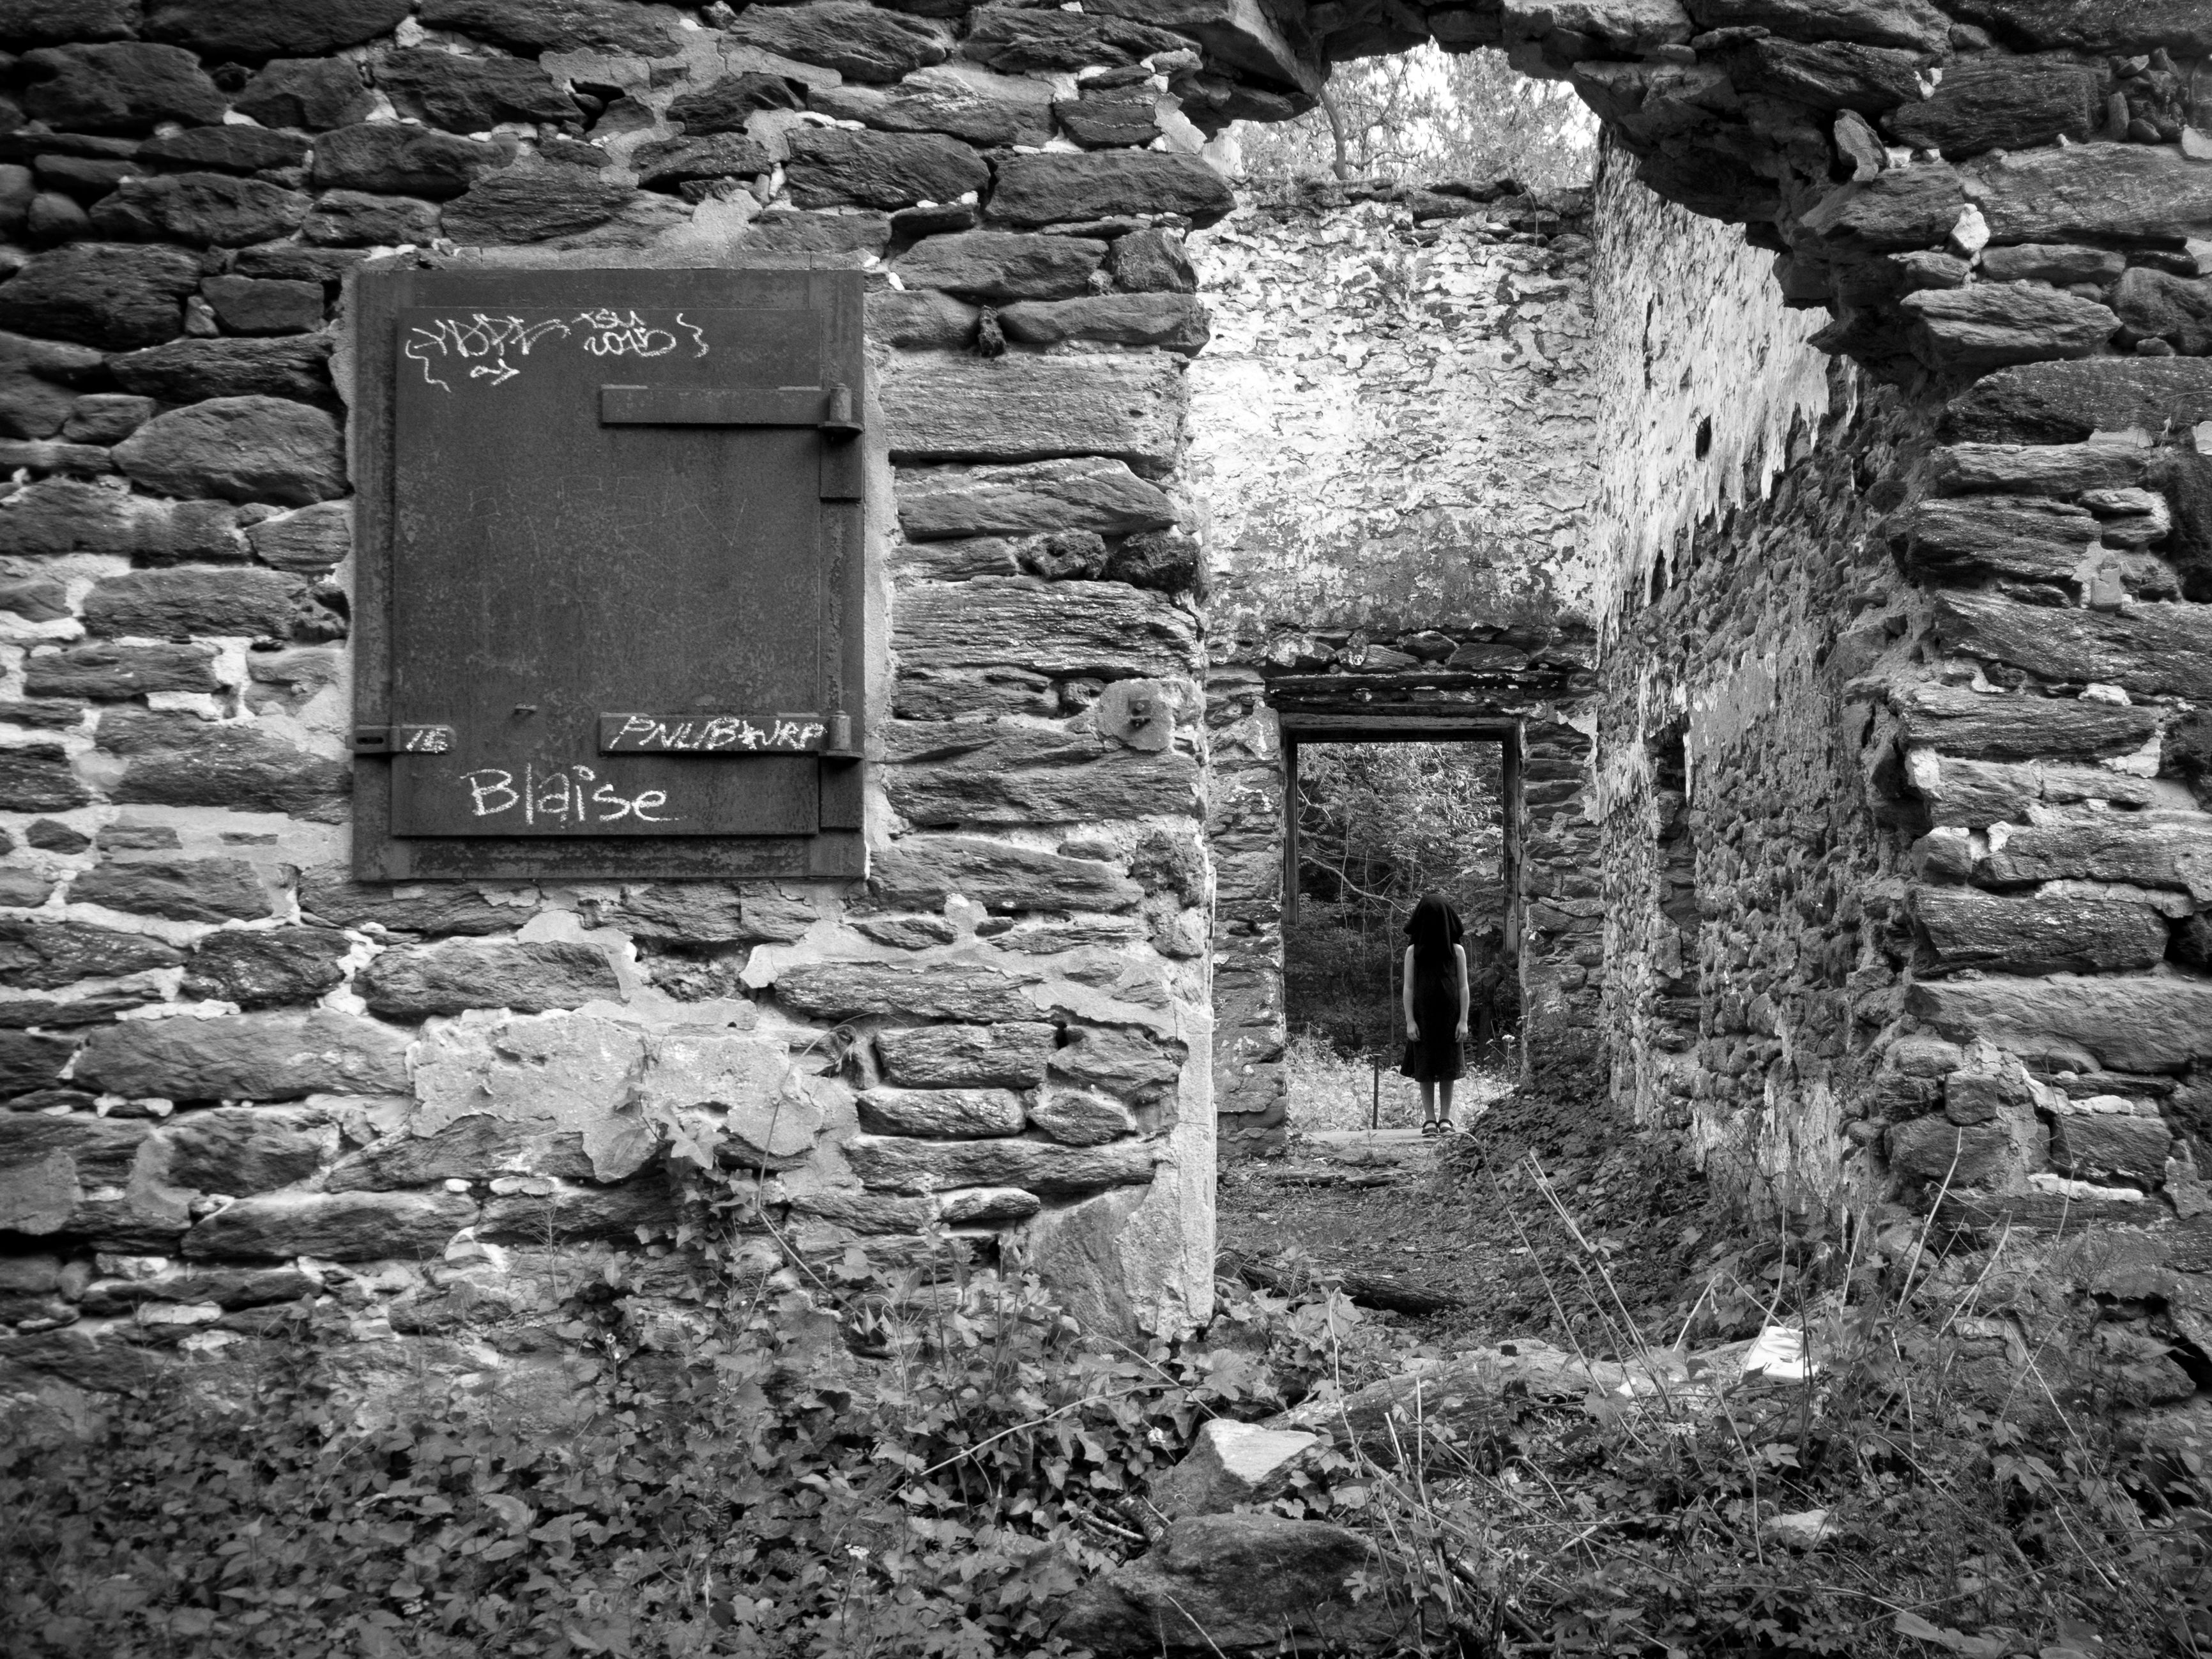
f/4, 1/200th, ISO 200
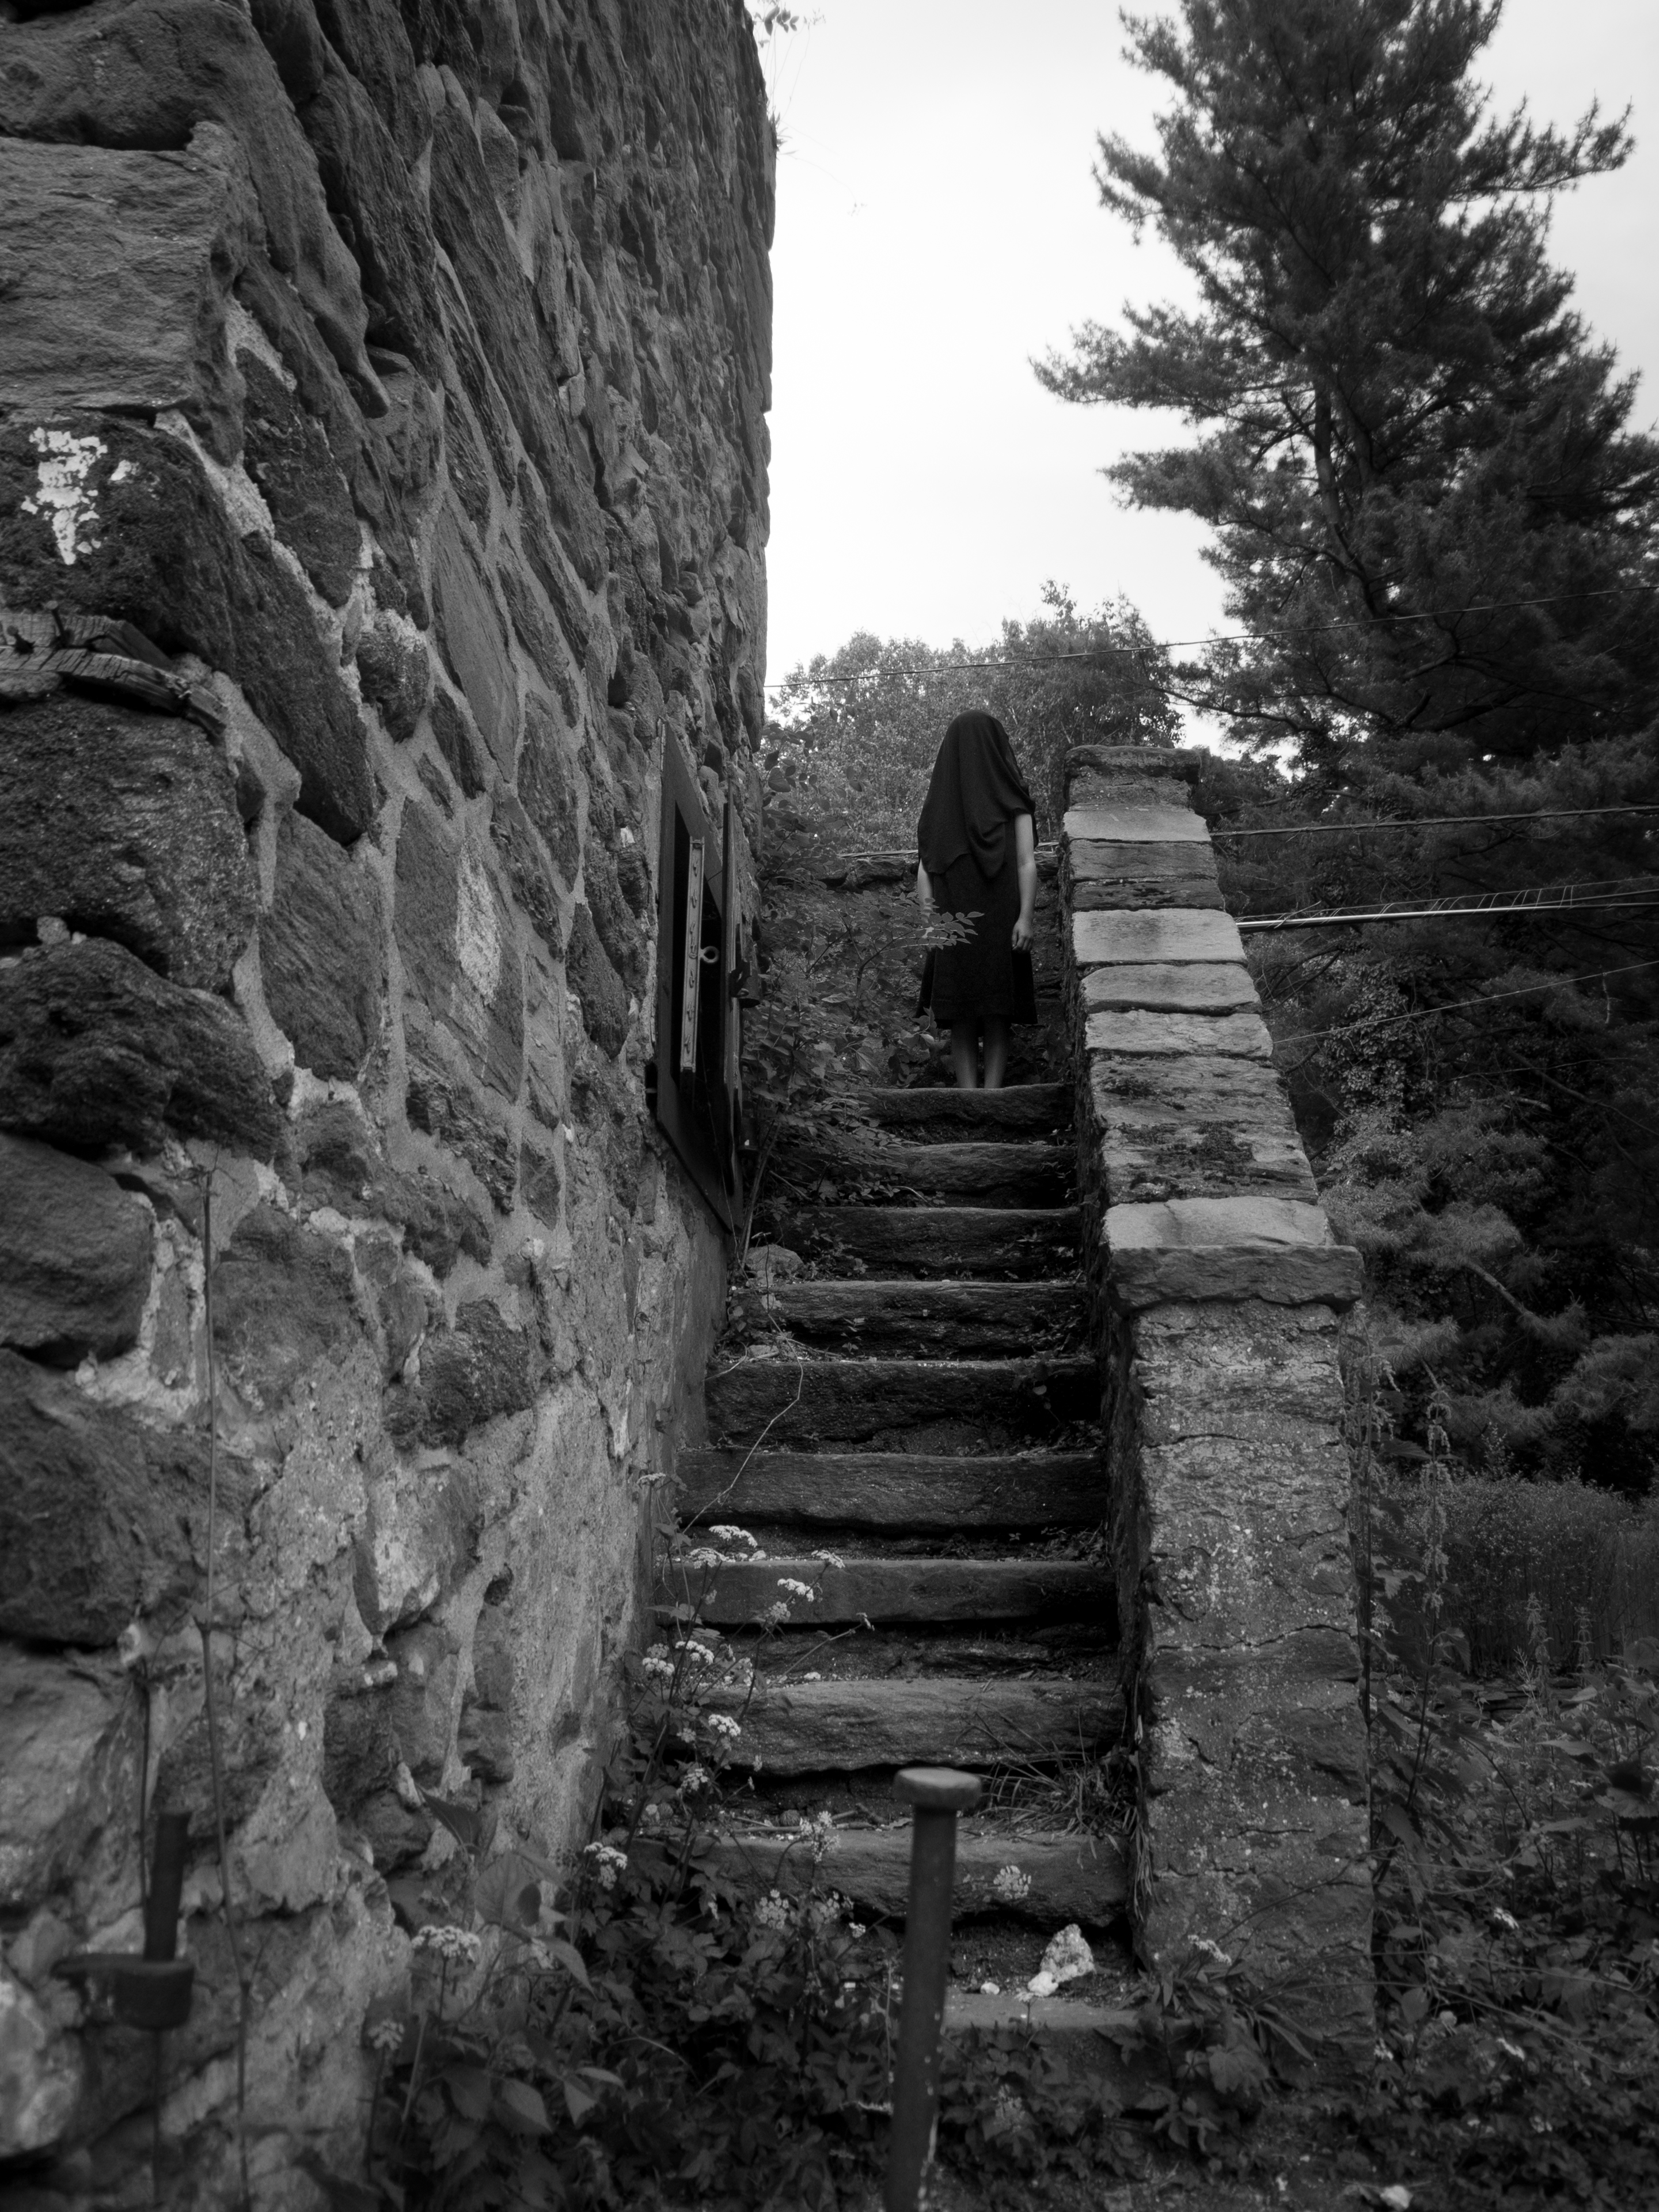
f/4, 1/250th, ISO 200
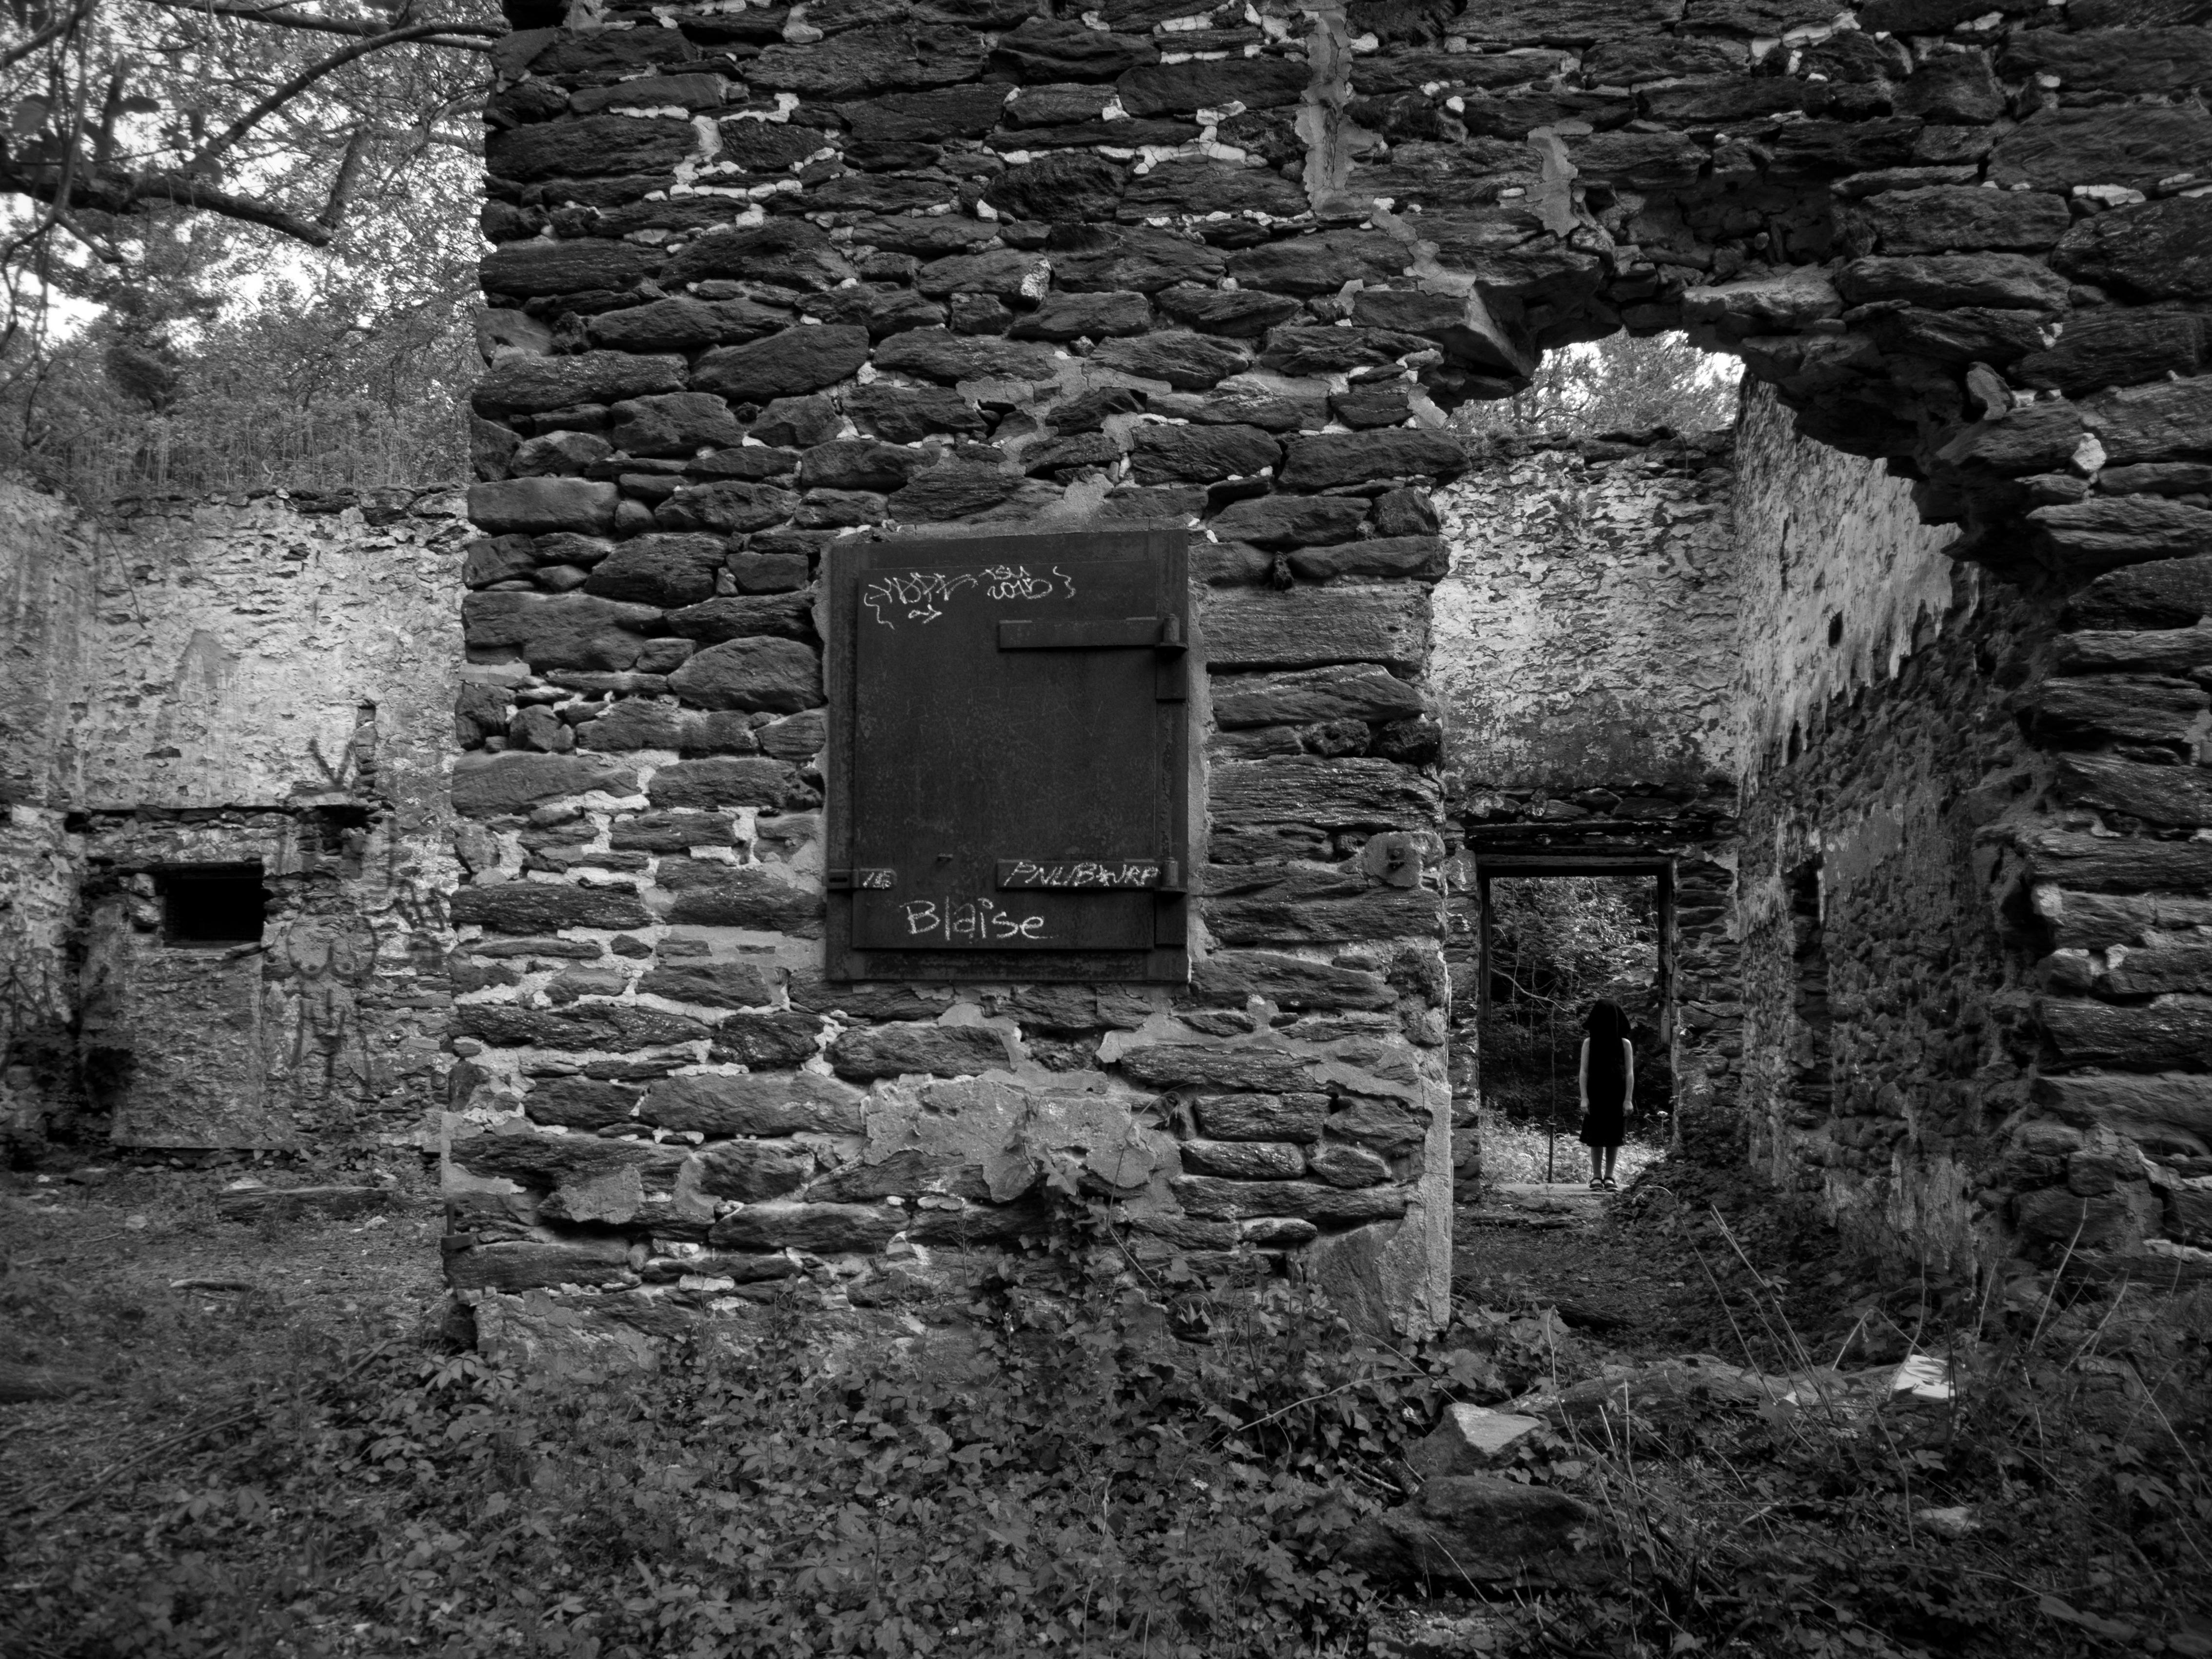
f/4, 1/200th, ISO 200
f/3.5, 1/320th, ISO 200
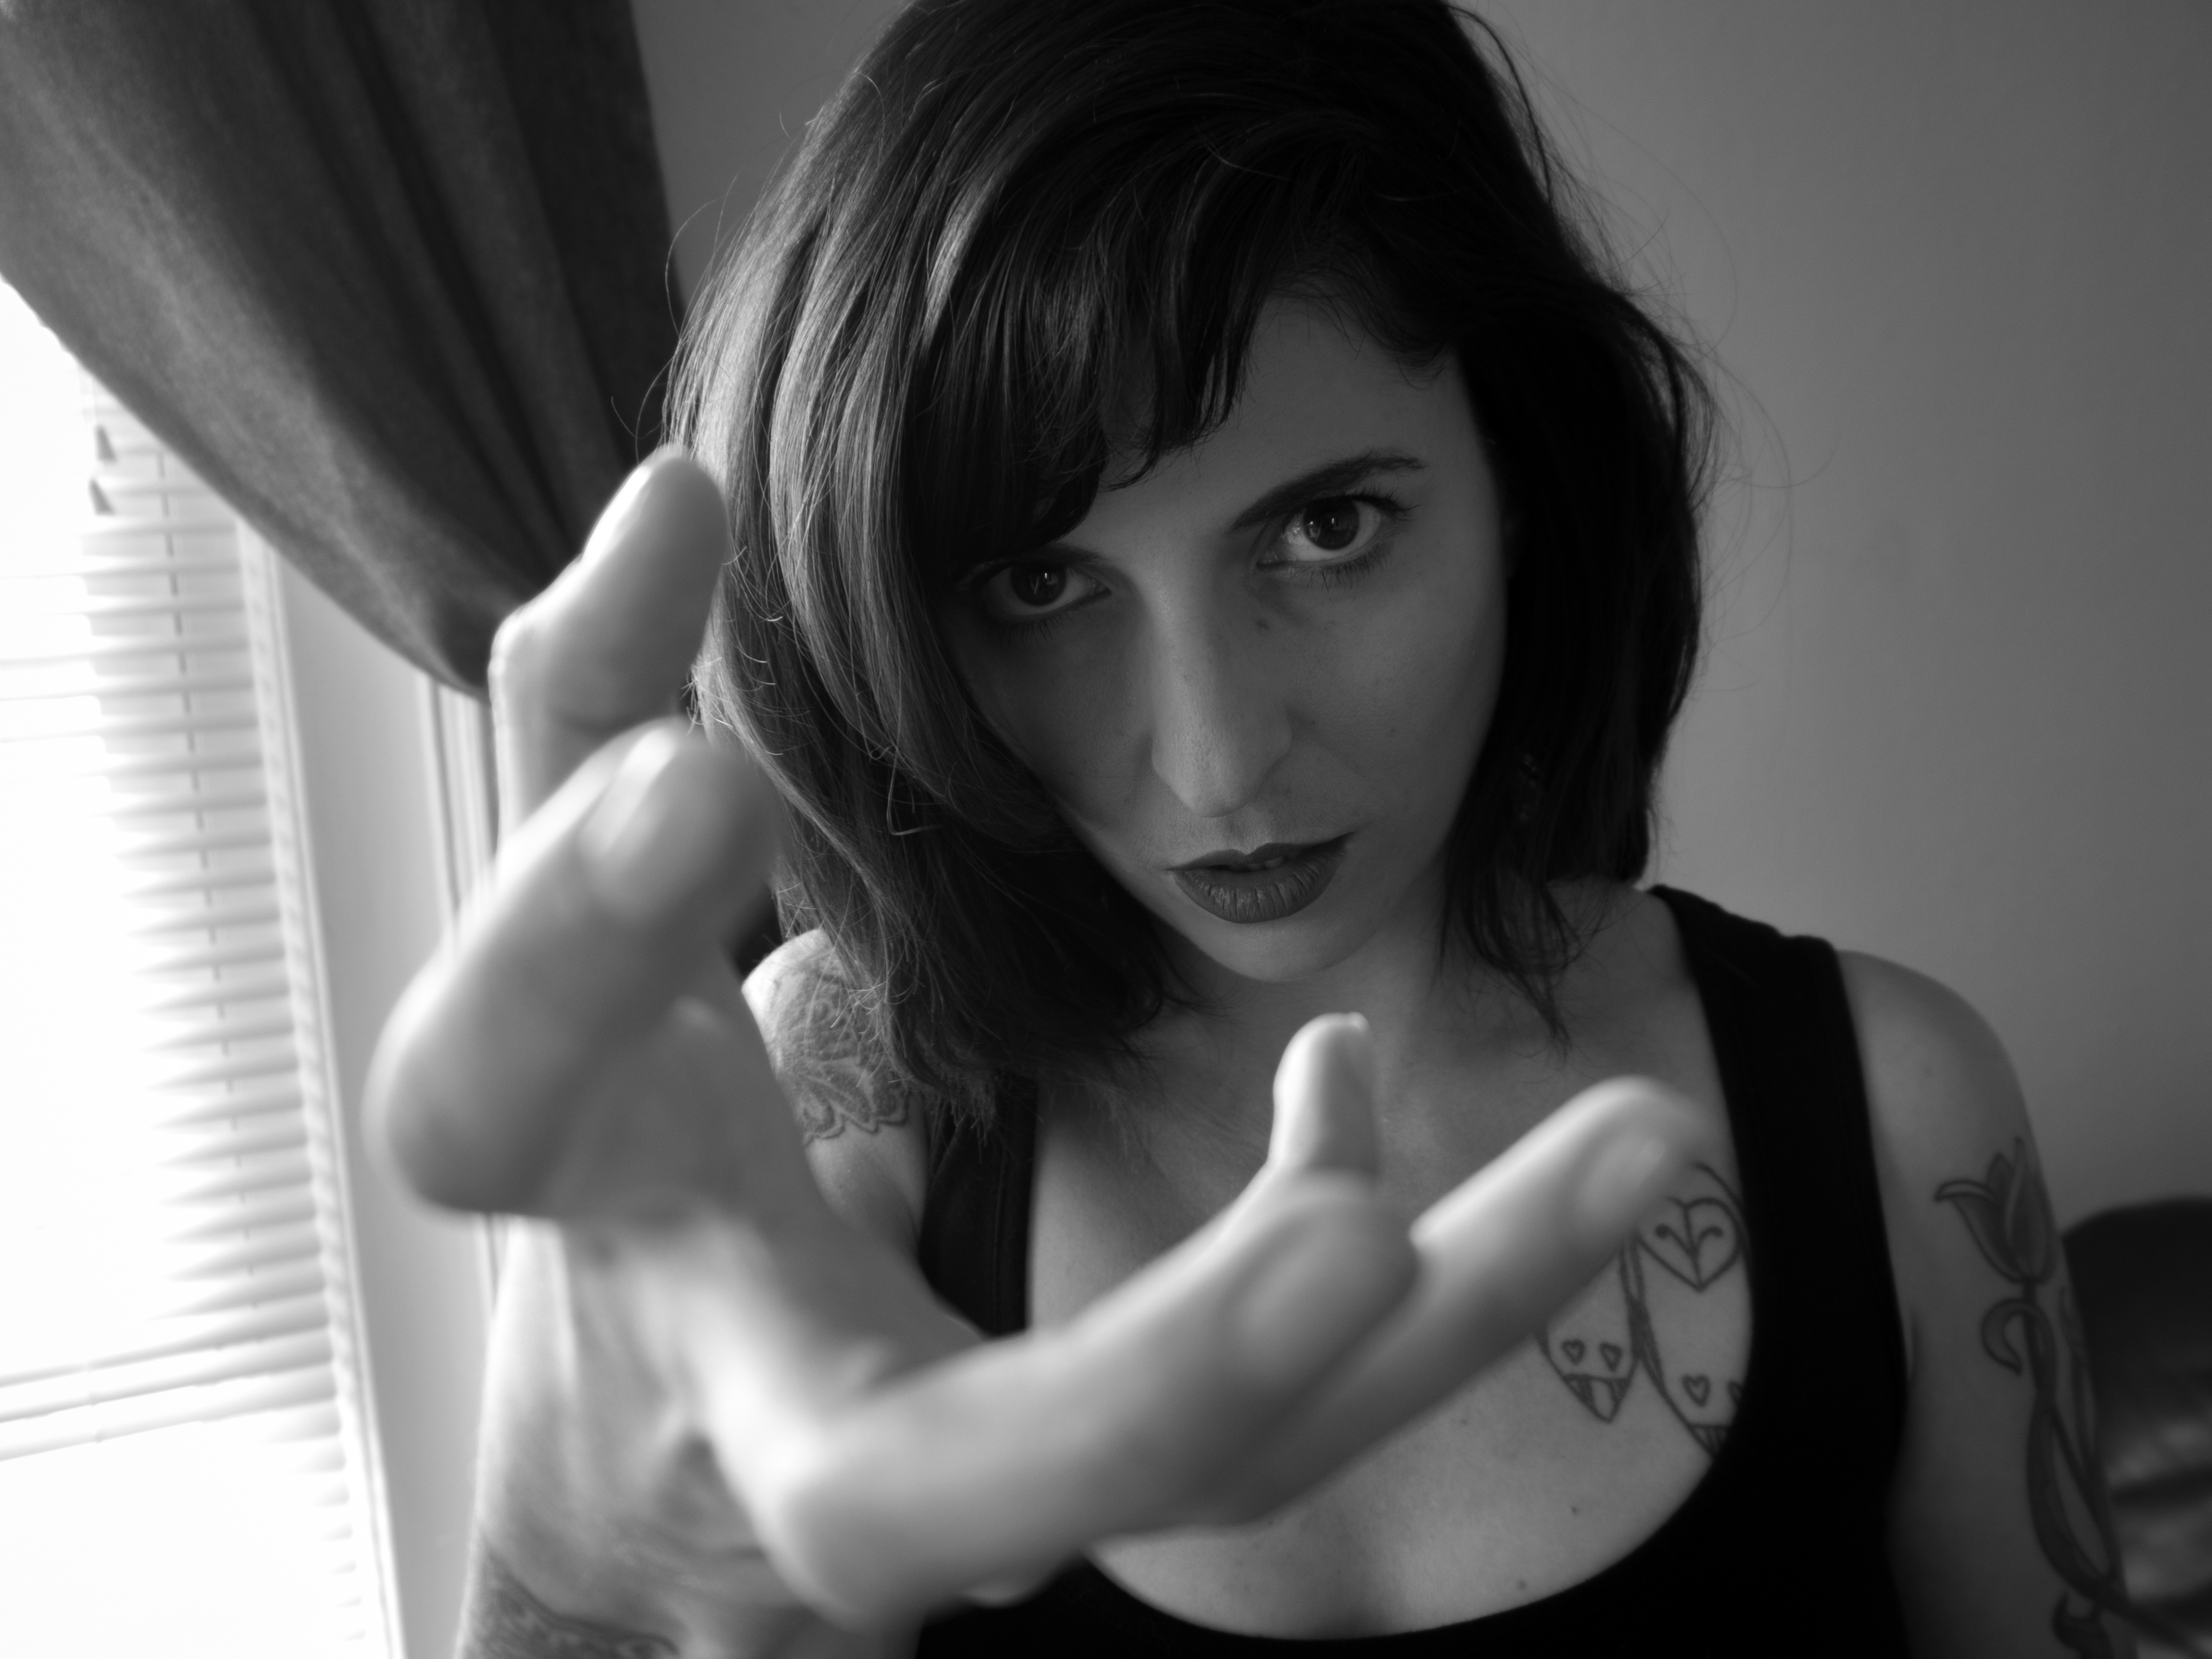
I really enjoyed this shoot. I wish I’d directed Eloise to do some more with her body language, it wasn’t until the end of the shoot that she pointed at something and I realized how good of a creepy pose that was. I’d love to shoot in this space again at the golden hour or the blue hour, but I didn’t want Eloise to have to be out there that late.
How’d I do? What would you have done differently? I can’t wait to see your shots this week.