I realized that I started my past three blogs with “hey guys!” so I really need to switch up my intros.
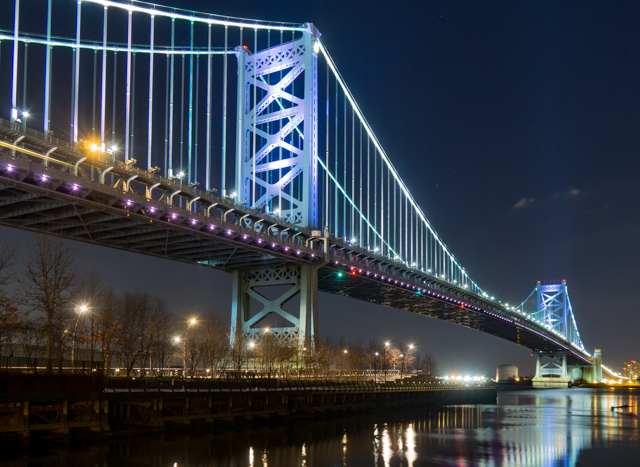
This week’s topic is landscapes, which I took some liberties with. Landscapes in February in the Eastern US are not particularly nice, so I decided to shoot a cityscape. I honestly have no idea how to shoot a compelling cityscape. I think a night shot would have worked better, so I could have eliminated some of the distracting foreground.
To set up these shots, I first researched “best views of the Philadelphia skyline” and chose my spot. I waited until the golden hour, then went there with my camera and tripod. I set my camera to aperture priority at a medium aperture and then set my camera to bracket my shots with the plan of combining them in post. Here’s a great video about image averaging and panoramas:
Once I brought my images into Lightroom I used the Photo Merge tool to combine them into HDR images. A few of them I combined into panoramas using the same tool. I then went in and adjusted the exposure and contrast, as HDR can flatten images. Here’s what I came up with!
HDR panorama f/5.6, 1/1000, ISO 200

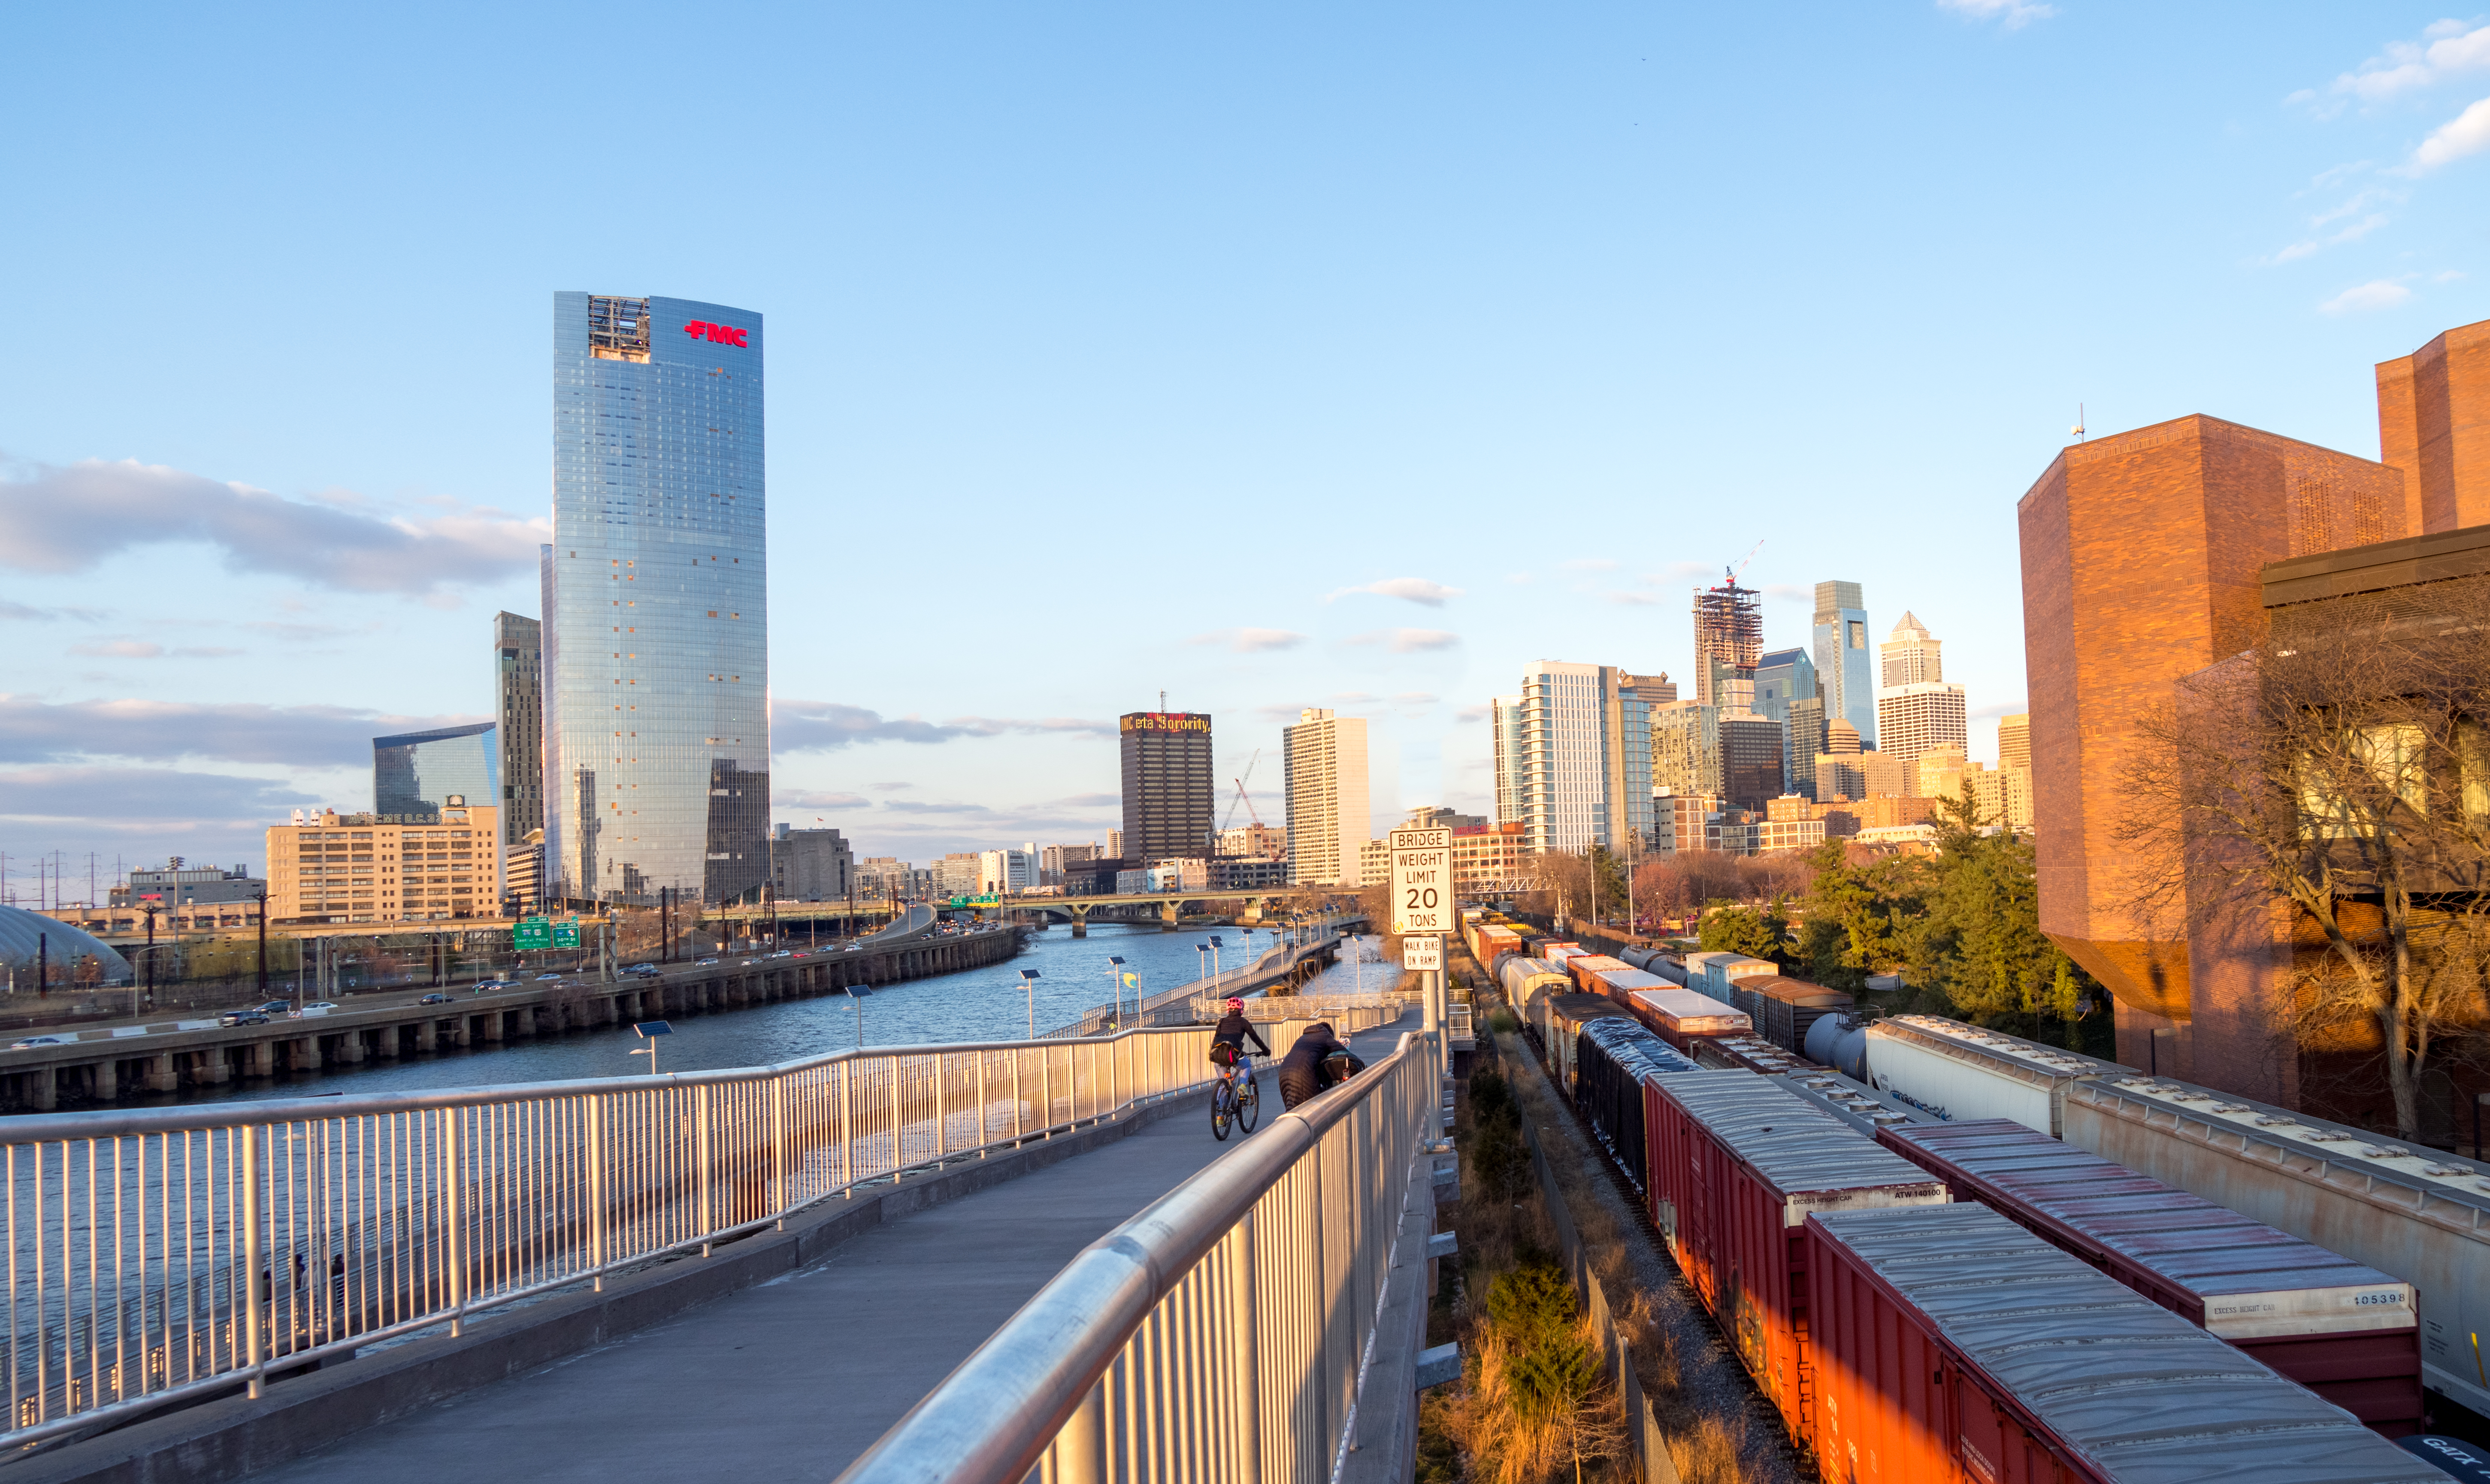
HDR f/5.6, 1/320th, ISO 200

HDR f/5.6, 1/320th, ISO 200
I honestly don’t know how I feel about these shots. They are so busy! That bridge weight sign shows up in almost every shot, so in the last one I decided to just let it be a prominent focal point. They are truly the city as I see it, busy and dirty and complex and beautiful, but I’m not sure how they come across to you all.