In this video, Chelsea shows you how to remove distracting objects from a picture using either Lightroom or Photoshop: http://www.youtube.com/watch?v=cAtgDDvxFWU As the video shows, both Lightroom and Photoshop include tools that make removing objects fairly easy. However, Photoshop’s tools are much more advanced.
How to Remove Objects with Lightroom
In Lightroom, use the Spot Removal tool, shown here:  The tool has two modes:
- Clone. Directly copies another part of the picture. This often leads to very unnatural lookign edits. However, when used carefully, cloning can be more effective.
- Heal. “Intelligently” attempts to blend other parts of the picture over the area you click. Sometimes this works great, and other times Lightroom does a terrible job of replacing the image.
The clone tool has three settings:
- Size. Controls how big the area is that you’re replacing. You can also use the scroll wheel on your mouse to quickly adjust the size.
- Feather. Controls whether your brush has sharp edges or smoothly blends into the surrounding picture. In most scenarios, you’ll want the feathering to be between 50 and 100.
- Opacity. Controls whether the section you’re replacing is still partially visible. Usually, you’ll want this to be set to 100.
How to Remove Objects with Photoshop
Photoshop’s spot removal tools are more powerful, and there are many different ways to remove a spot. However, the simplest method is to use Content Aware Fill. First, select part of the image (for example, by using the Lasso tool). Then, select Edit | Fill (or press Shift+F5). The Fill dialog appears, as shown next. From the Contents list, select Content Aware. Then, click OK. 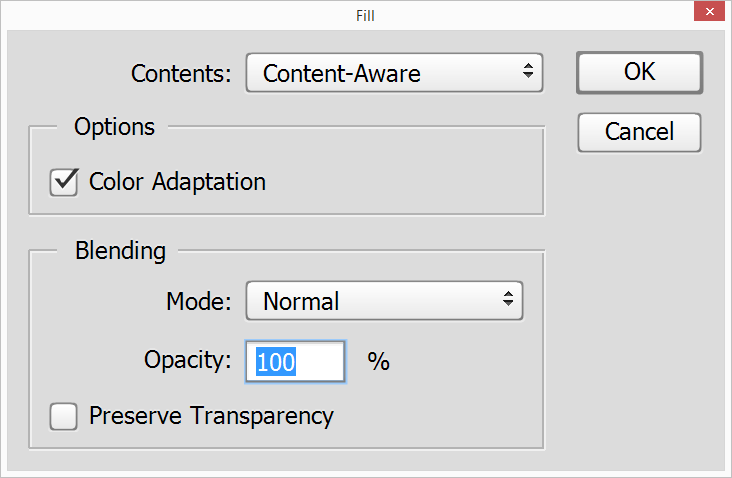 Chelsea demonstrates both tools in the video at the top of the page!