Posted on

Solar Eclipse Photography

Gear Checklist

Here are Amazon links to the gear you’ll need:

  • Solar sunglasses. You won’t need glasses when you’re looking at your camera, but you’ll want to see the eclipse with your own eyes. Buy a reputable brand CE and ISO certifications DIRECTLY FROM THE MANUFACTURER; other solar sunglasses might block visible light, but still allow dangerous UV and infrared light through, which will damage your eyes even though you can’t see it! Some sunglasses at Amazon and other retailers are COUNTERFEIT and could damage your eyes, and there’s no way to know if they’re safe unless you buy directly from the manufacturer.
  • Telephoto lens. If you don’t have a telephoto lens, try this inexpensive Opteka mirror lens for $120 on Amazon.
  • Solar filter. For the cheapest results, use a solar sheet big enough to cover the front of your lens, cut it to size, and tape it to the front of your lens. For most lenses, including the Opteka, you can use this universal filter. For best results, attach a screw-on solar film filter to the front of your telephoto lens. DO NOT USE standard ND filters; those might not block infrared light that will damage your sensor or eye.
  • Tripod. The bigger and heavier, the better! We use a Manfrotto 161MK2B and Manfrotto MVH502AH.
  • Extra memory card (optional). Format your memory card beforehand. If your camera supports two memory cards, write to them both. Either way, carry an extra memory card with you in case one fails.
  • Extra battery (optional). Carry an extra battery, just in case!
  • Sunscreen (optional). You can’t see the eclipse from the shade, so be prepared to spend time in the direct sun.
  • Sun umbrella (optional). You can’t photograph the sun from the shade; you’ll get VERY hot waiting for the eclipse. If you’re uncomfortable, you won’t have the patience to get your pictures perfect. A sun umbrella, or any umbrella, will keep you more comfortable. In the very least, wear a hat.

Camera Settings

If you don’t know how to change these settings on your camera, watch our free tutorial. The description of each video includes a table of contents so you can jump directly to the part you’re interested in.

  • RAW (not JPG). Raw files let you recover some highlights and shadows, and you’ll need that during the totality to capture the dynamic range of the halo.
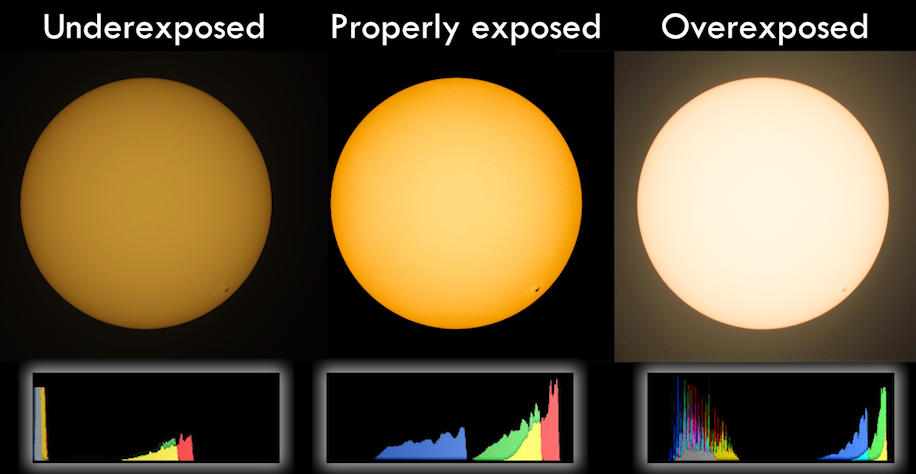
  • View your histogram. Display your histogram on your screen to prevent yourself from overexposing the sun.
  • Manual mode. Your camera’s autoexposure won’t work reliably; you’ll need manual mode to properly expose the sun.
  • ISO 100. Or your camera’s base ISO.
  • Lowest f/stop (or one stop over). The exact f/stop will vary based on your lens. However, I recommend using the lowest f/stop number possible, or raising it by one stop. Raising the f/stop higher will increase diffraction and reduce sharpness.
  • Shutter speed as needed for proper exposure. Depending on the intensity of your solar filter and the phase of the eclipse, your shutter speed might be anywhere from 1/8000 to 1/5. Check the histogram and make sure it’s peaking in the right 1/3, but not along the right side. If it peaks on the right side, choose a faster shutter speed. If the sun peaks in the middle, use a slower shutter speed.
  • Bracketing. During the totality, you should use +-3 stop bracketing to ensure you capture the dynamic range of the sun’s corona and to help you capture the perfect exposure without any guessing.
  • Live view. If you have an SLR, I do not recommend using the viewfinder. If the solar filter is damaged or you forget it, you might damage your eye.
  • Delayed shutter. A 5- or 10- second delay should be enough to eliminate the shake caused by you pressing the shutter button.

Practice Makes Perfect!

Weeks before the eclipse, you should practice shooting the sun on clear days. Setup your tripod, telephoto lens, solar filter, and solar sunglasses. Get comfortable examining the histogram, eliminating camera shake, and getting sharp shots. 

Be sure you can quickly setup bracketing–you won’t need bracketing when the eclipse isn’t happening, but you will want to quickly turn it on during the totality when you remove the solar filter from your lens.

Shooting the Eclipse

The day of the eclipse, follow these steps, starting at least 30 minutes prior to the eclipse:

  1. Optionally, clean your sensor so you won’t see dust in your pictures. Chapter 5 in Stunning Digital Photography has detailed instructions.
  2. Setup your tripod in the sun. You’ll probably want to fully extend the legs, because the camera will be pointed almost straight up.
  3. Attach the solar filter to the front of your telephoto lens, and attach the telephoto lens to your camera. The viewfinder will seem black unless you’re looking directly at the sun.
  4. Attach your lens to your tripod, if the lens has a tripod mount. If not, attach the camera to the tripod.
  5. Turn on the rear screen. If possible, tilt or flip the screen out.
  6. Enable the histogram. The histogram will let you verify that you have the perfect exposure.
  7. Point the camera at the sun and tighten your tripod head. Locating the sun is surprisingly hard; for best results, position yourself so that the camera is shading your eyes from the sun. Look down the barrel of your lens to align it with the sun.
  8. Focus your lens. DO NOT use “infinity focus” because it’s not precise enough. Autofocus if you can, but switch to manual focus since you won’t need to refocus throughout the eclipse. Zoom in using live view to precisely adjust focusing.
  9. Set your exposure. Manual mode, base ISO (usually ISO 100), lowest f/stop (or one stop higher). Then, adjust the shutter speed so that the sun is properly exposed.
  10. Set a 5- to 10-second delayed shutter. This will eliminate camera shake. Alternatively, use a remote trigger, or trigger your camera with Wi-Fi.
  11. Take a picture. Review the photo and verify that it is as sharp as possible. Check the histogram to make sure it’s not overexposed.
  12. Repeat steps 9-10 until the totality begins.
  13. If you experience a total eclipse where you are, temporarily remove the solar filter while it’s dark, and turn on +-3 stops bracketing. Replace the solar filter when you require a shutter speed of higher than 1/2000th.

You don’t have to shoot constantly; one shot every 30 seconds or so should be plenty. In-between shots, put on your CE/ISO-certified solar sunglasses and directly view the eclipse, just for your own pleasure.

If something goes wrong with your camera, don’t waste the experience trying to troubleshoot it. Just move your camera out of the sun, put on your solar sunglasses, and enjoy the eclipse. Enjoy!

Posted on

Beginner Photography: Unexpected Beauty

Hello! This week’s photo topic is a weird one. I’m pretty sure by definition you should not be able to seek out “unexpected beauty” it’s just something that happens, but I did my best. I thought this tied in pretty well with last week’s topic of “abandoned.” I love abandoned buildings, especially at the point where nature starts to take back over. Living in a big city, there are a horrifying number of abandoned buildings, but seeing nature reclaim a space is pretty satisfying. Last week I added a human element as the subject, but this week I just went searching for something beautiful in what many people just see as decay.

I’m not sure if there’s any way to teach something like this, it’s just a matter of training your eye to find something to focus on in the midst of some amount of chaos. Finding a specific object, or a pattern, or the right light. Also some willingness to get close and get dirty. I for sure climbed into some places I wasn’t meant to be.

As usual, I shot with an Olympus E-M10 on aperture priority. I shot the same things multiple times from different angles to find what looked the most pleasing to me, and did some post-processing in Lightroom to crop, straighten, adjust the exposure, etc. 


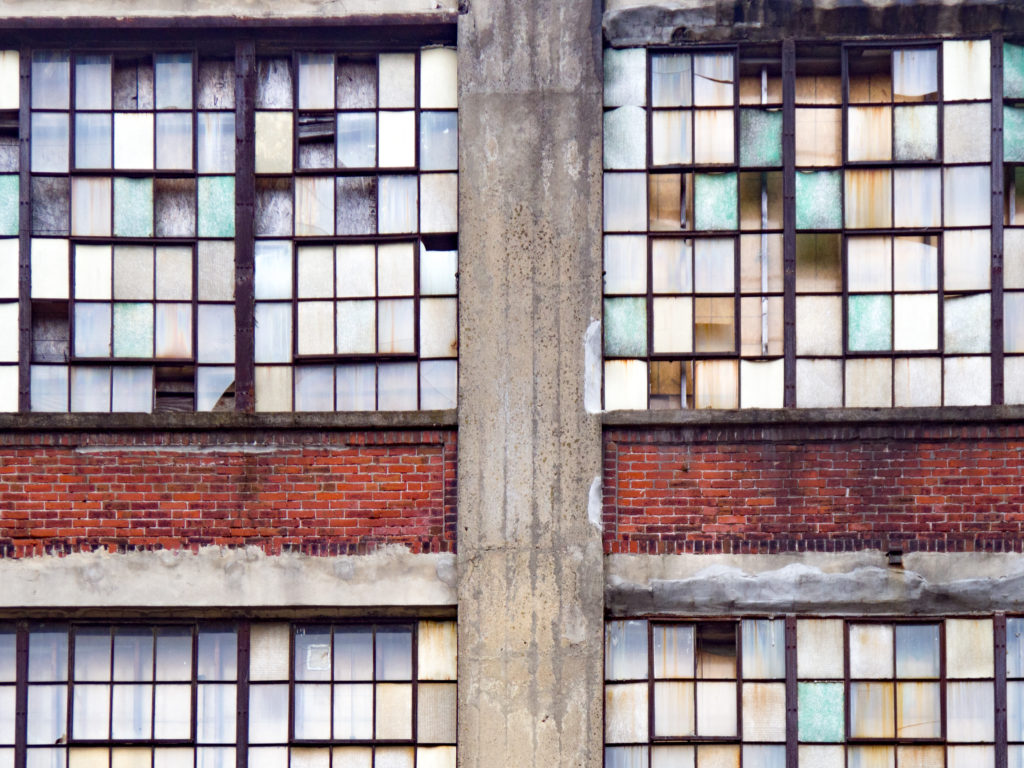
f/5.6, 1/500th, ISO 200

Not sure why my shutter speed is so fast. The colors and pattern of these windows are so beautiful to me.


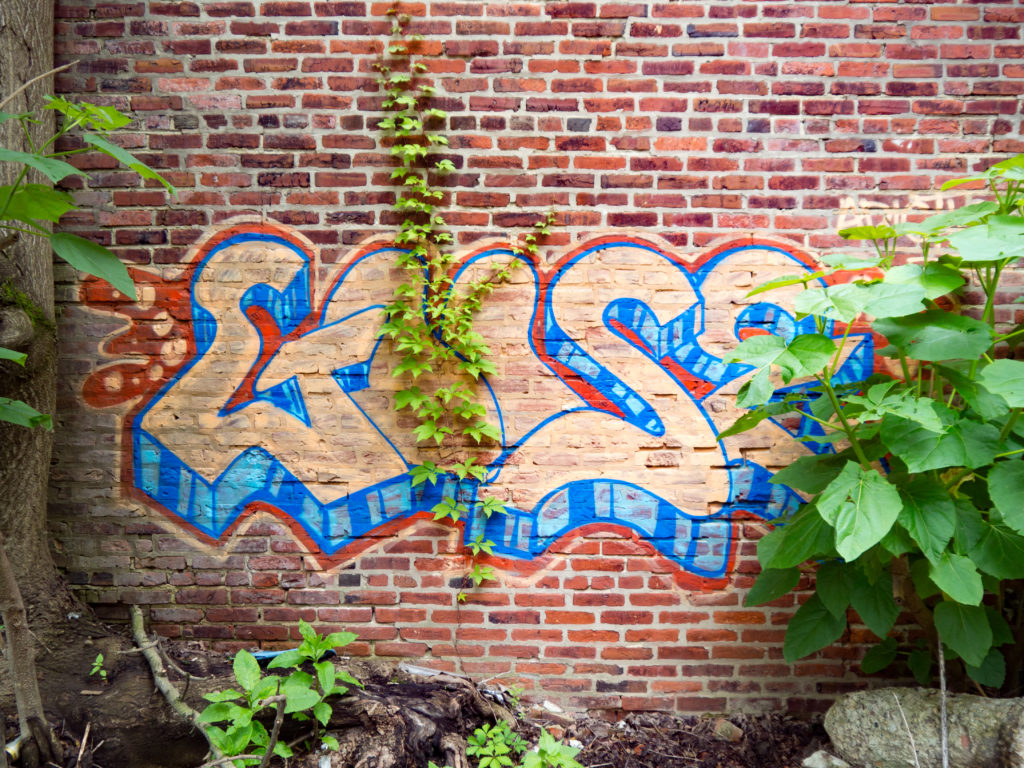
f/4.5, 1/80th, ISO 320

The vines growing through this piece and the natural framing of the leaves immediately caught my eye.


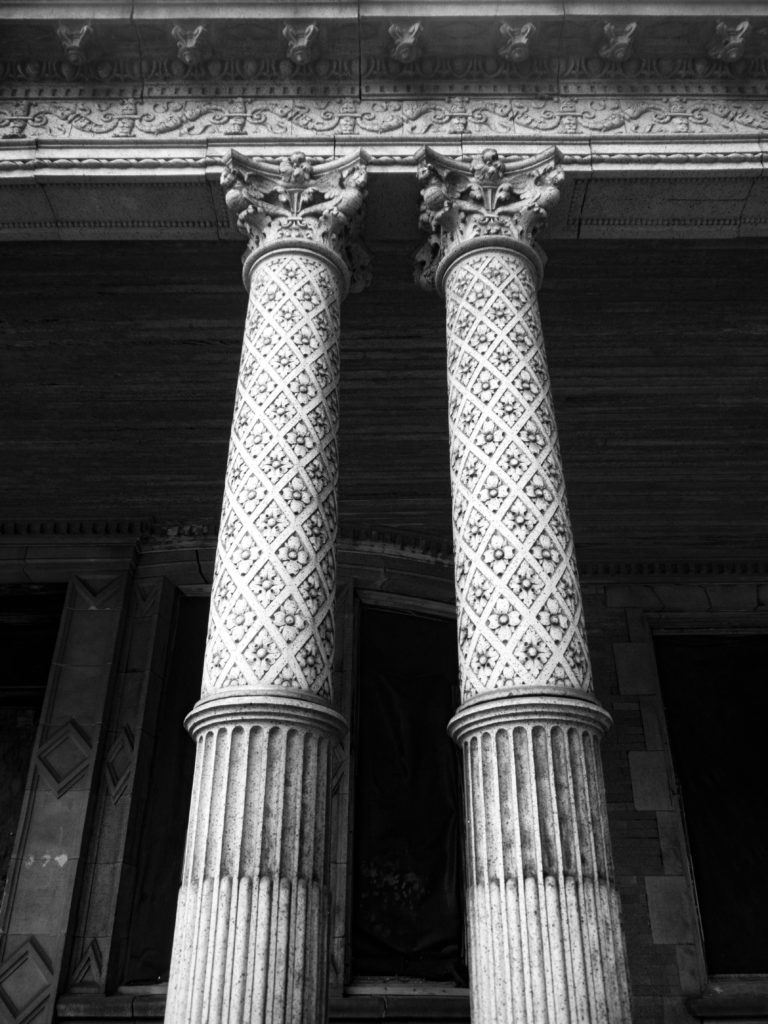
f/3.5, 1/160th, ISO 200

Ornate columns on a stunning abandoned home.


 f/3.5, 1/320th, ISO 200


So that’s what I came up with. Beauty is subjective, so I’m not sure if these will appeal to everyone, but since I was a teenager I have taken shots like this. I’ve always loved capturing age and wear on objects and seeing them change over time. 

So what do you think? Do these fit the criteria? How did you interpret “unexpected beauty”? I look forward to seeing your submissions this week!

Posted on

Beginner Photography: Abandoned

Hey folks! We’re back! The theme for the show this week is “abandoned” which is a pretty interesting subject. I love these more abstract topics and seeing the creativity they inspire.

If you want to vote on the live show topic each week, among other perks, please consider donating to our Patreon page at https://www.patreon.com/Northrup.

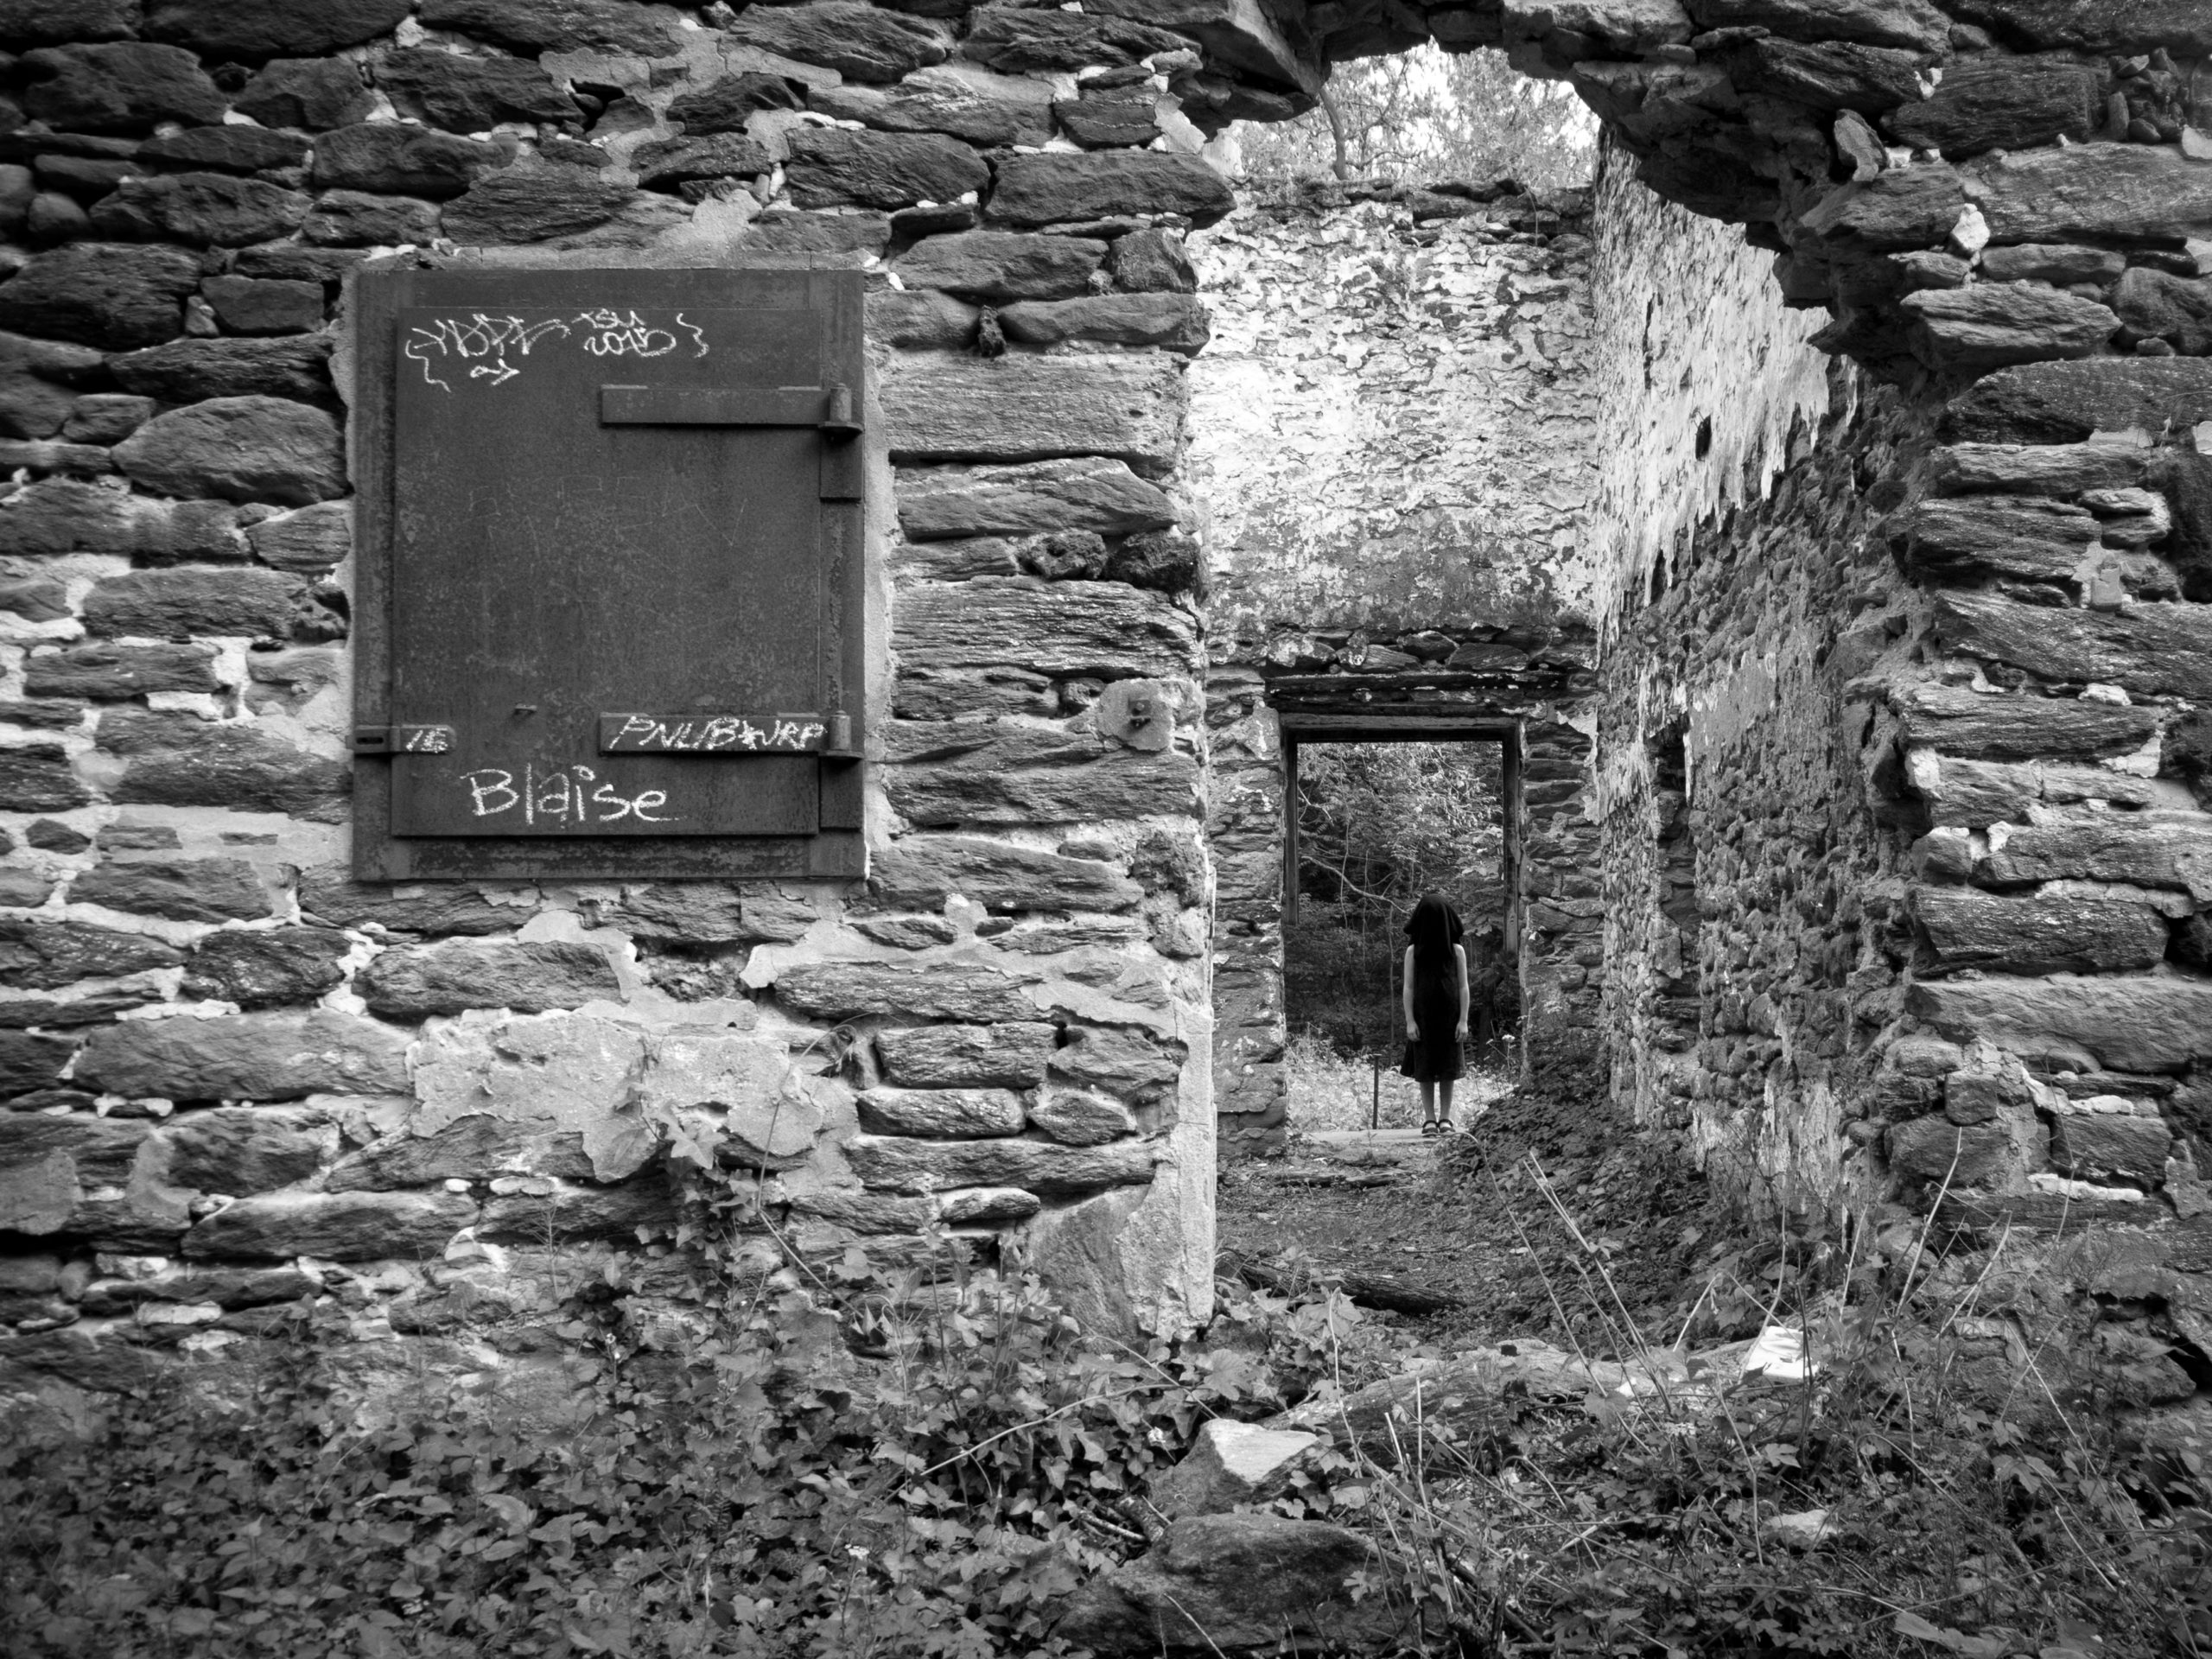
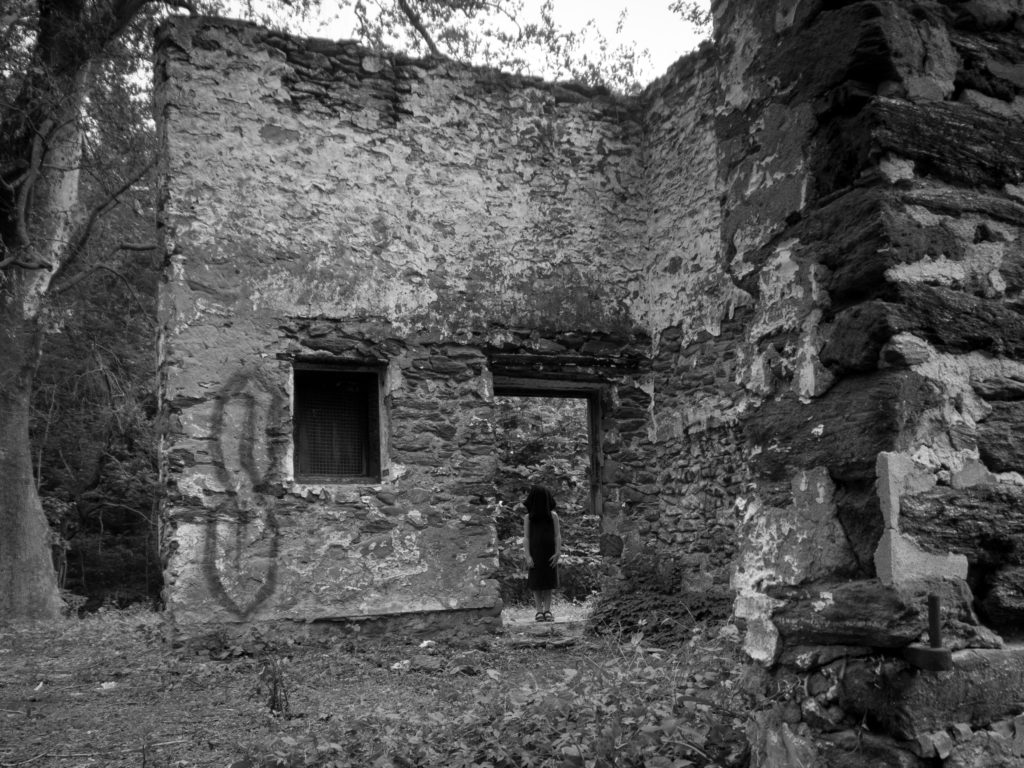
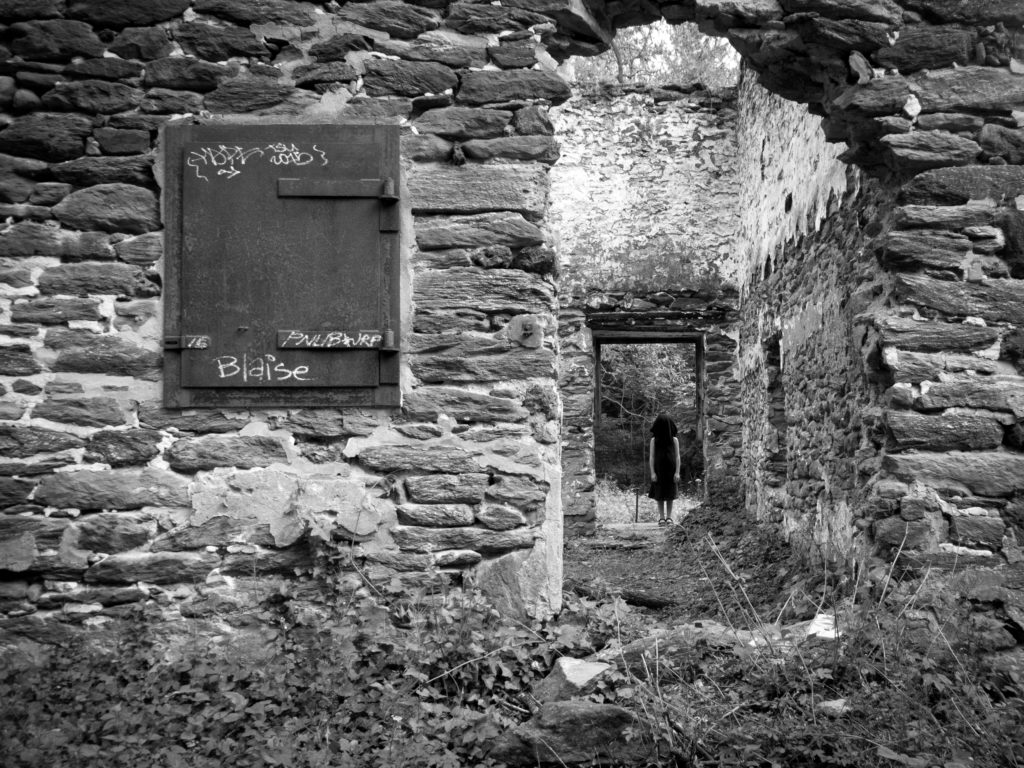
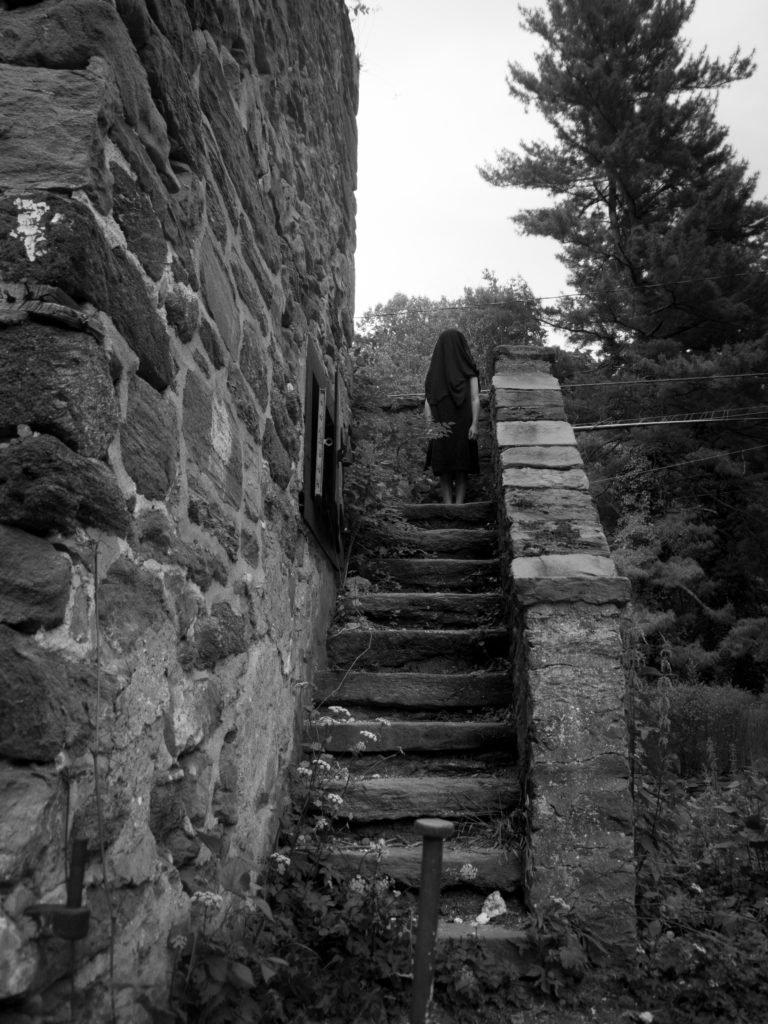
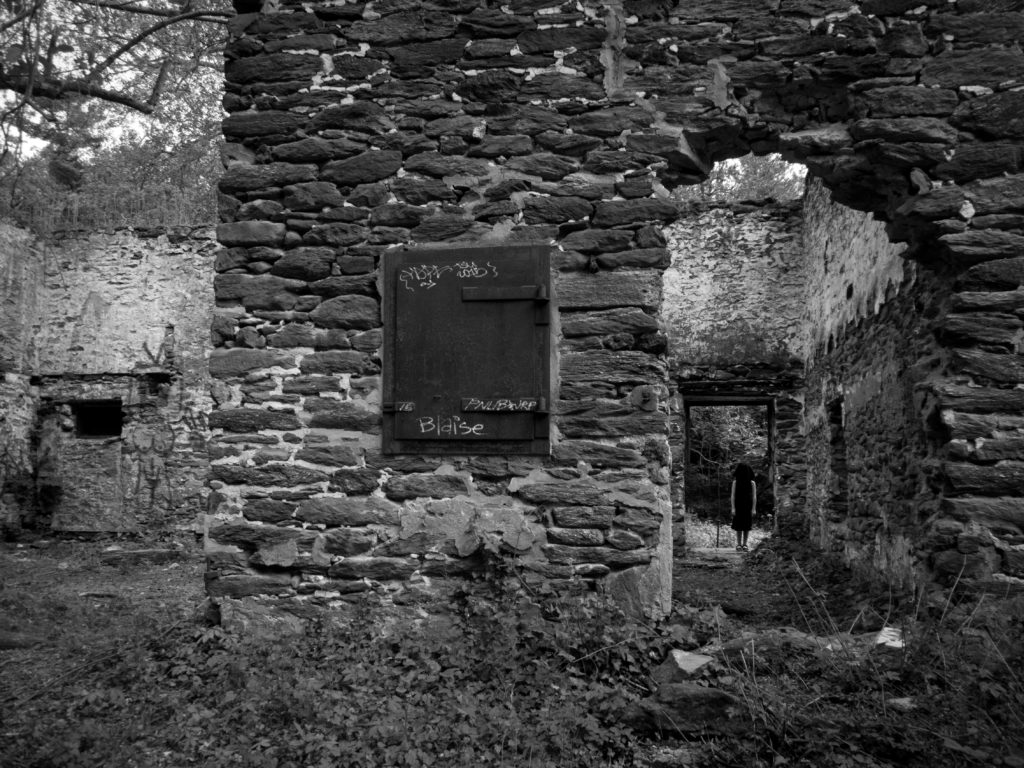
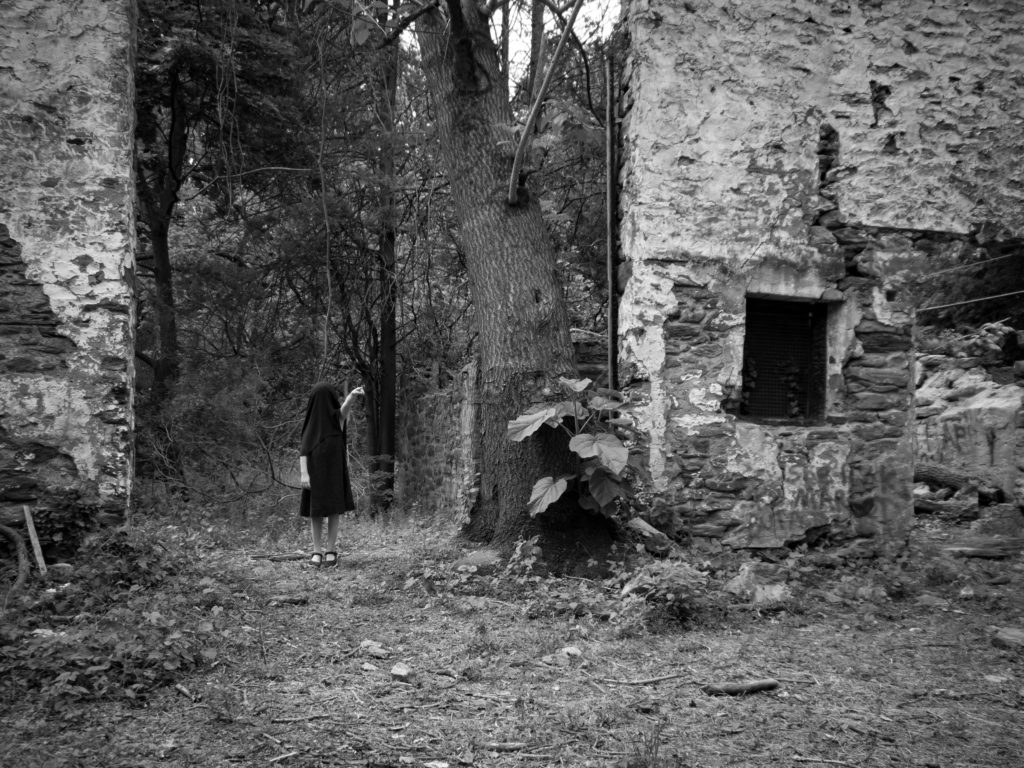
I knew exactly where I wanted to shoot this week. Philadelphia has no shortage of abandoned buildings, but there’s one in particular that I love and is near my neighborhood. What I wasn’t sure of at first was what I wanted my subject to be. But if you’ve been following my photography journey so far, you’d know that my most successful projects have been creepy and featured my daughter, Eloise. So my idea was to place her in the midst of these ruins, and I’d already made her up to look like a ghost child before, so this time I went with more of an ominous, shrouded figure.

I dressed her in a black lace dress of mine and fastened it at the back, then used a sheer black shirt of mine over her face as a shroud. My husband chauffeured us there and we sprayed our legs with bug spray before venturing into the overgrown space (I grew up in Connecticut, my tick fear is justified.)

I used my borrowed Olympus E-M10 with a Lumix 14-42mm f/3.5-5.6 as always. I had my camera on aperture priority at a low f/stop and everything else on auto. I placed Eloise throughout the space in doorways and on a staircase. I wanted her to just be a small part of the space, not necessarily a prominent focal point. 

I converted all the shots to black and white in post. The greenery and the graffiti were too distracting and took away from the eerie quality I wanted in the shots. I adjusted the exposure on them all for the white and black points:

And then used a radial filter to lighten up Eloise in some of the shots where she was a bit lost in the frame. It also gave her a bit of a glow around her. I also added some post-crop vignetting to make the shots look darker even though we were shooting in the daytime. Here’s what I came up with:

f/4, 1/250th, ISO 200


f/4, 1/200th, ISO 200


f/4, 1/250th, ISO 200


f/4, 1/200th, ISO 200


f/3.5, 1/320th, ISO 200


I really enjoyed this shoot. I wish I’d directed Eloise to do some more with her body language, it wasn’t until the end of the shoot that she pointed at something and I realized how good of a creepy pose that was. I’d love to shoot in this space again at the golden hour or the blue hour, but I didn’t want Eloise to have to be out there that late.

How’d I do? What would you have done differently? I can’t wait to see your shots this week.

Posted on

Beginner Photography: Night

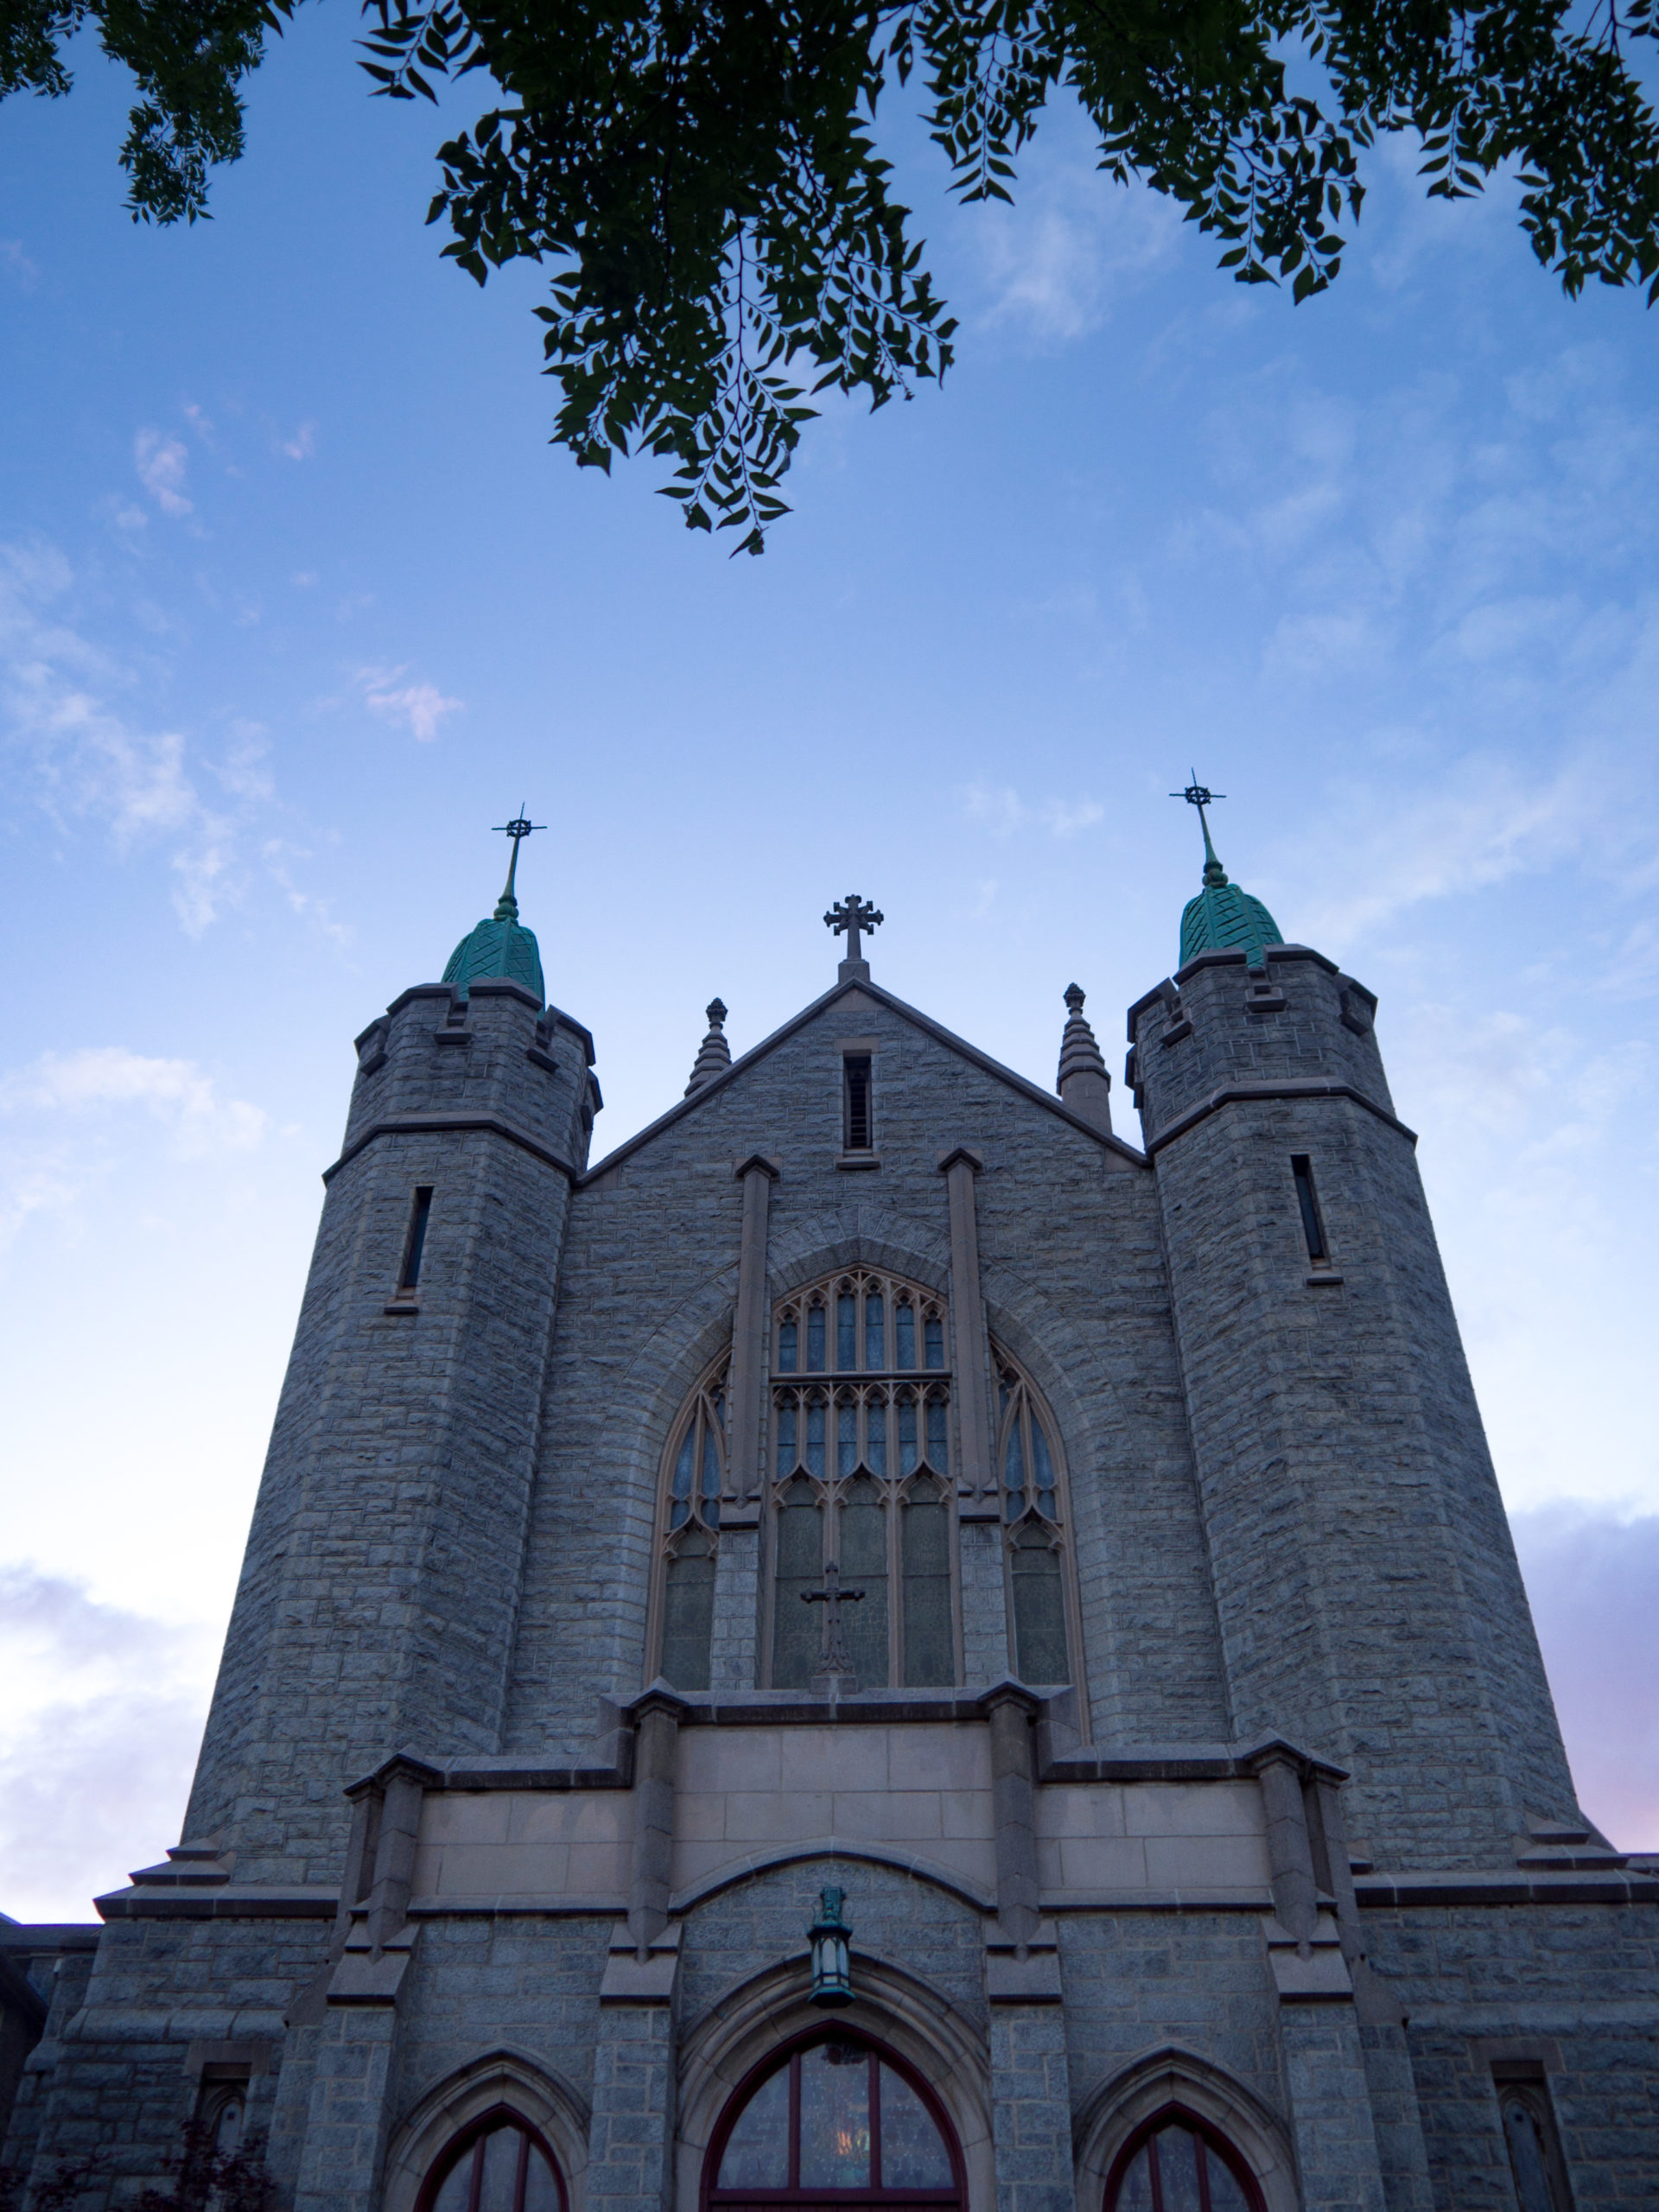
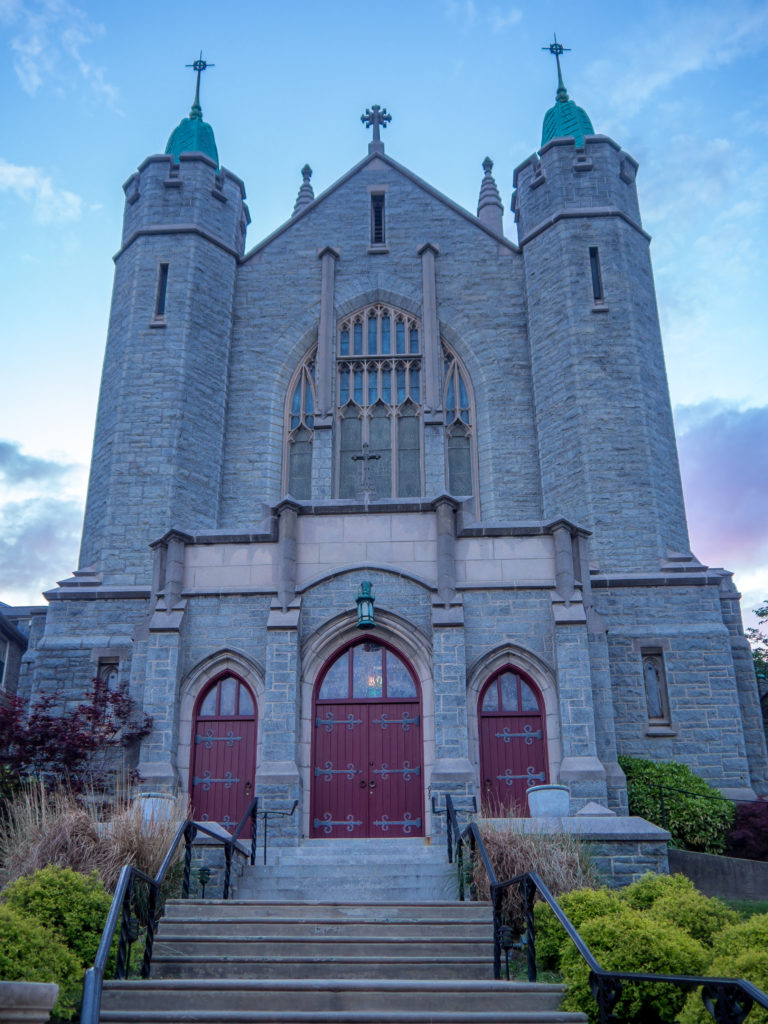
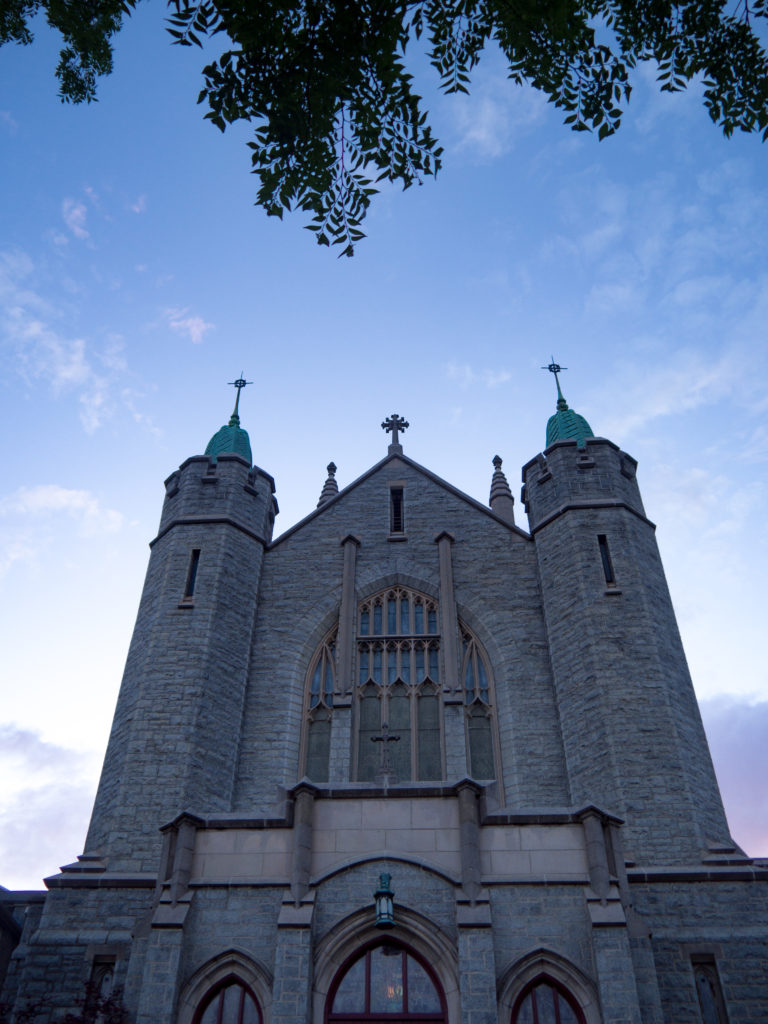
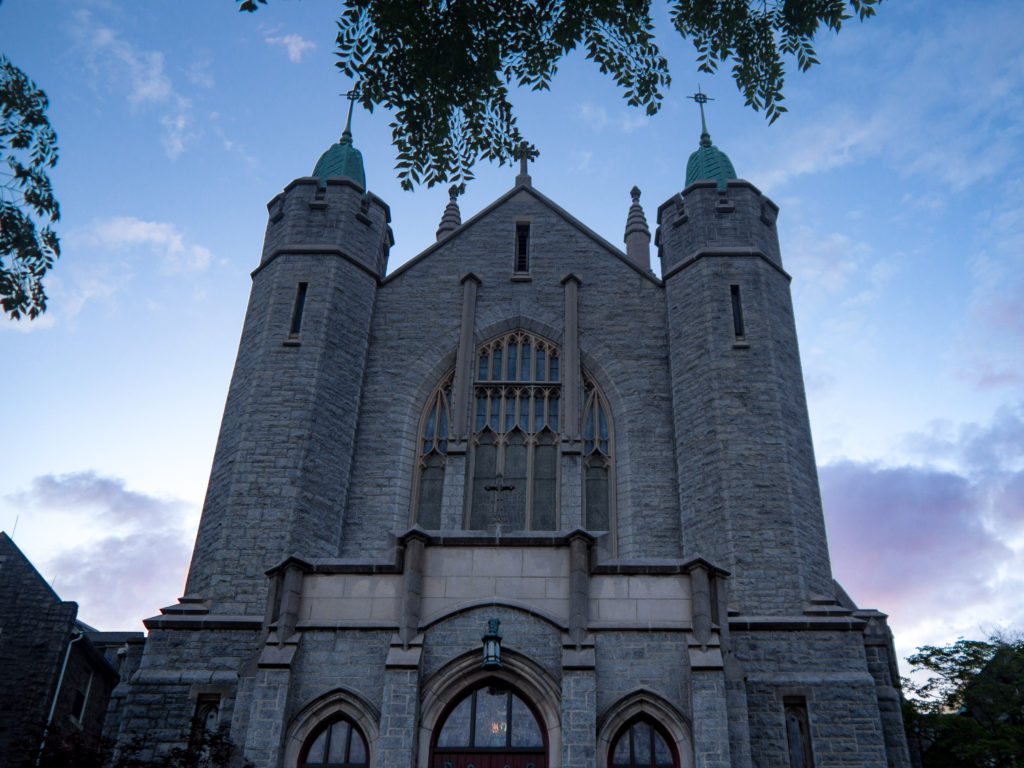
Night photography! I kind of had to phone it in this week, guys. We had one clear night and I was carless and home with my daughter, so I couldn’t go out when it was properly dark. But I knew of a lovely church within walking distance that I’ve been meaning to shoot for a while, so we trekked out there with my camera and tripod.
I’ve done night photography before, you can see my shots and my process here.

This week I tried to shoot panoramas since I was close to my subject (can’t get too far away without a road and cars in the way) but it proved to be pretty difficult. The tripod I’m working with isn’t the best and I was having a hard time panning smoothly to capture multiple shots in a row. I wound up hand-holding the camera for most of them. I shot on aperture priority with the aperture wide open to gather as much light as possible and at ISO 100, but that left parts of the scene blurry. I didn’t take enough shots of the scene to get the detail I wanted when stacking my images.

Here’s an incredibly helpful video on image stacking and panoramas, which I should have watched before I went out:

I’m not thrilled with how any of my shots came out. I really wish I’d taken more time and captured more shots of each part of the building to stitch them together.

f/3.5, 1/20th, ISO 100


f/3.5, 1/40th, ISO 100

f/3.5, 1/30th, ISO 100


I also chose to center all of these shots to make the building feel as impressive as it is, but none of them are perfectly symmetrical which just makes it feel off.

The first and third shots I made virtual copies of, then edited one to expose for the sky and one to expose for the building, merging them as HDR. I’m afraid I was a bit lazy and have some haloing around the building now that I look at it. 

Are any of you shooting on the theme each week? How are you finding it?

Posted on

Beginner Photography: Self-Portraits

Man, what is more intimidating that taking self-portraits? I love a good selfie, but it really is a delicate balance between narcissism and self-esteem crushing reality. You want to look good, but you also don’t want to look like you know you look good, but then you have to look at a million pictures of yourself vamping and think “I look like an idiot and also I have terrible skin.” Or is that just me?

T&C have a bunch of free portrait tutorials here that are super helpful. Especially this one on using natural light:

Being aware of your light source is probably the most important part of self-portraits. Face the light, understand how it casts shadows.

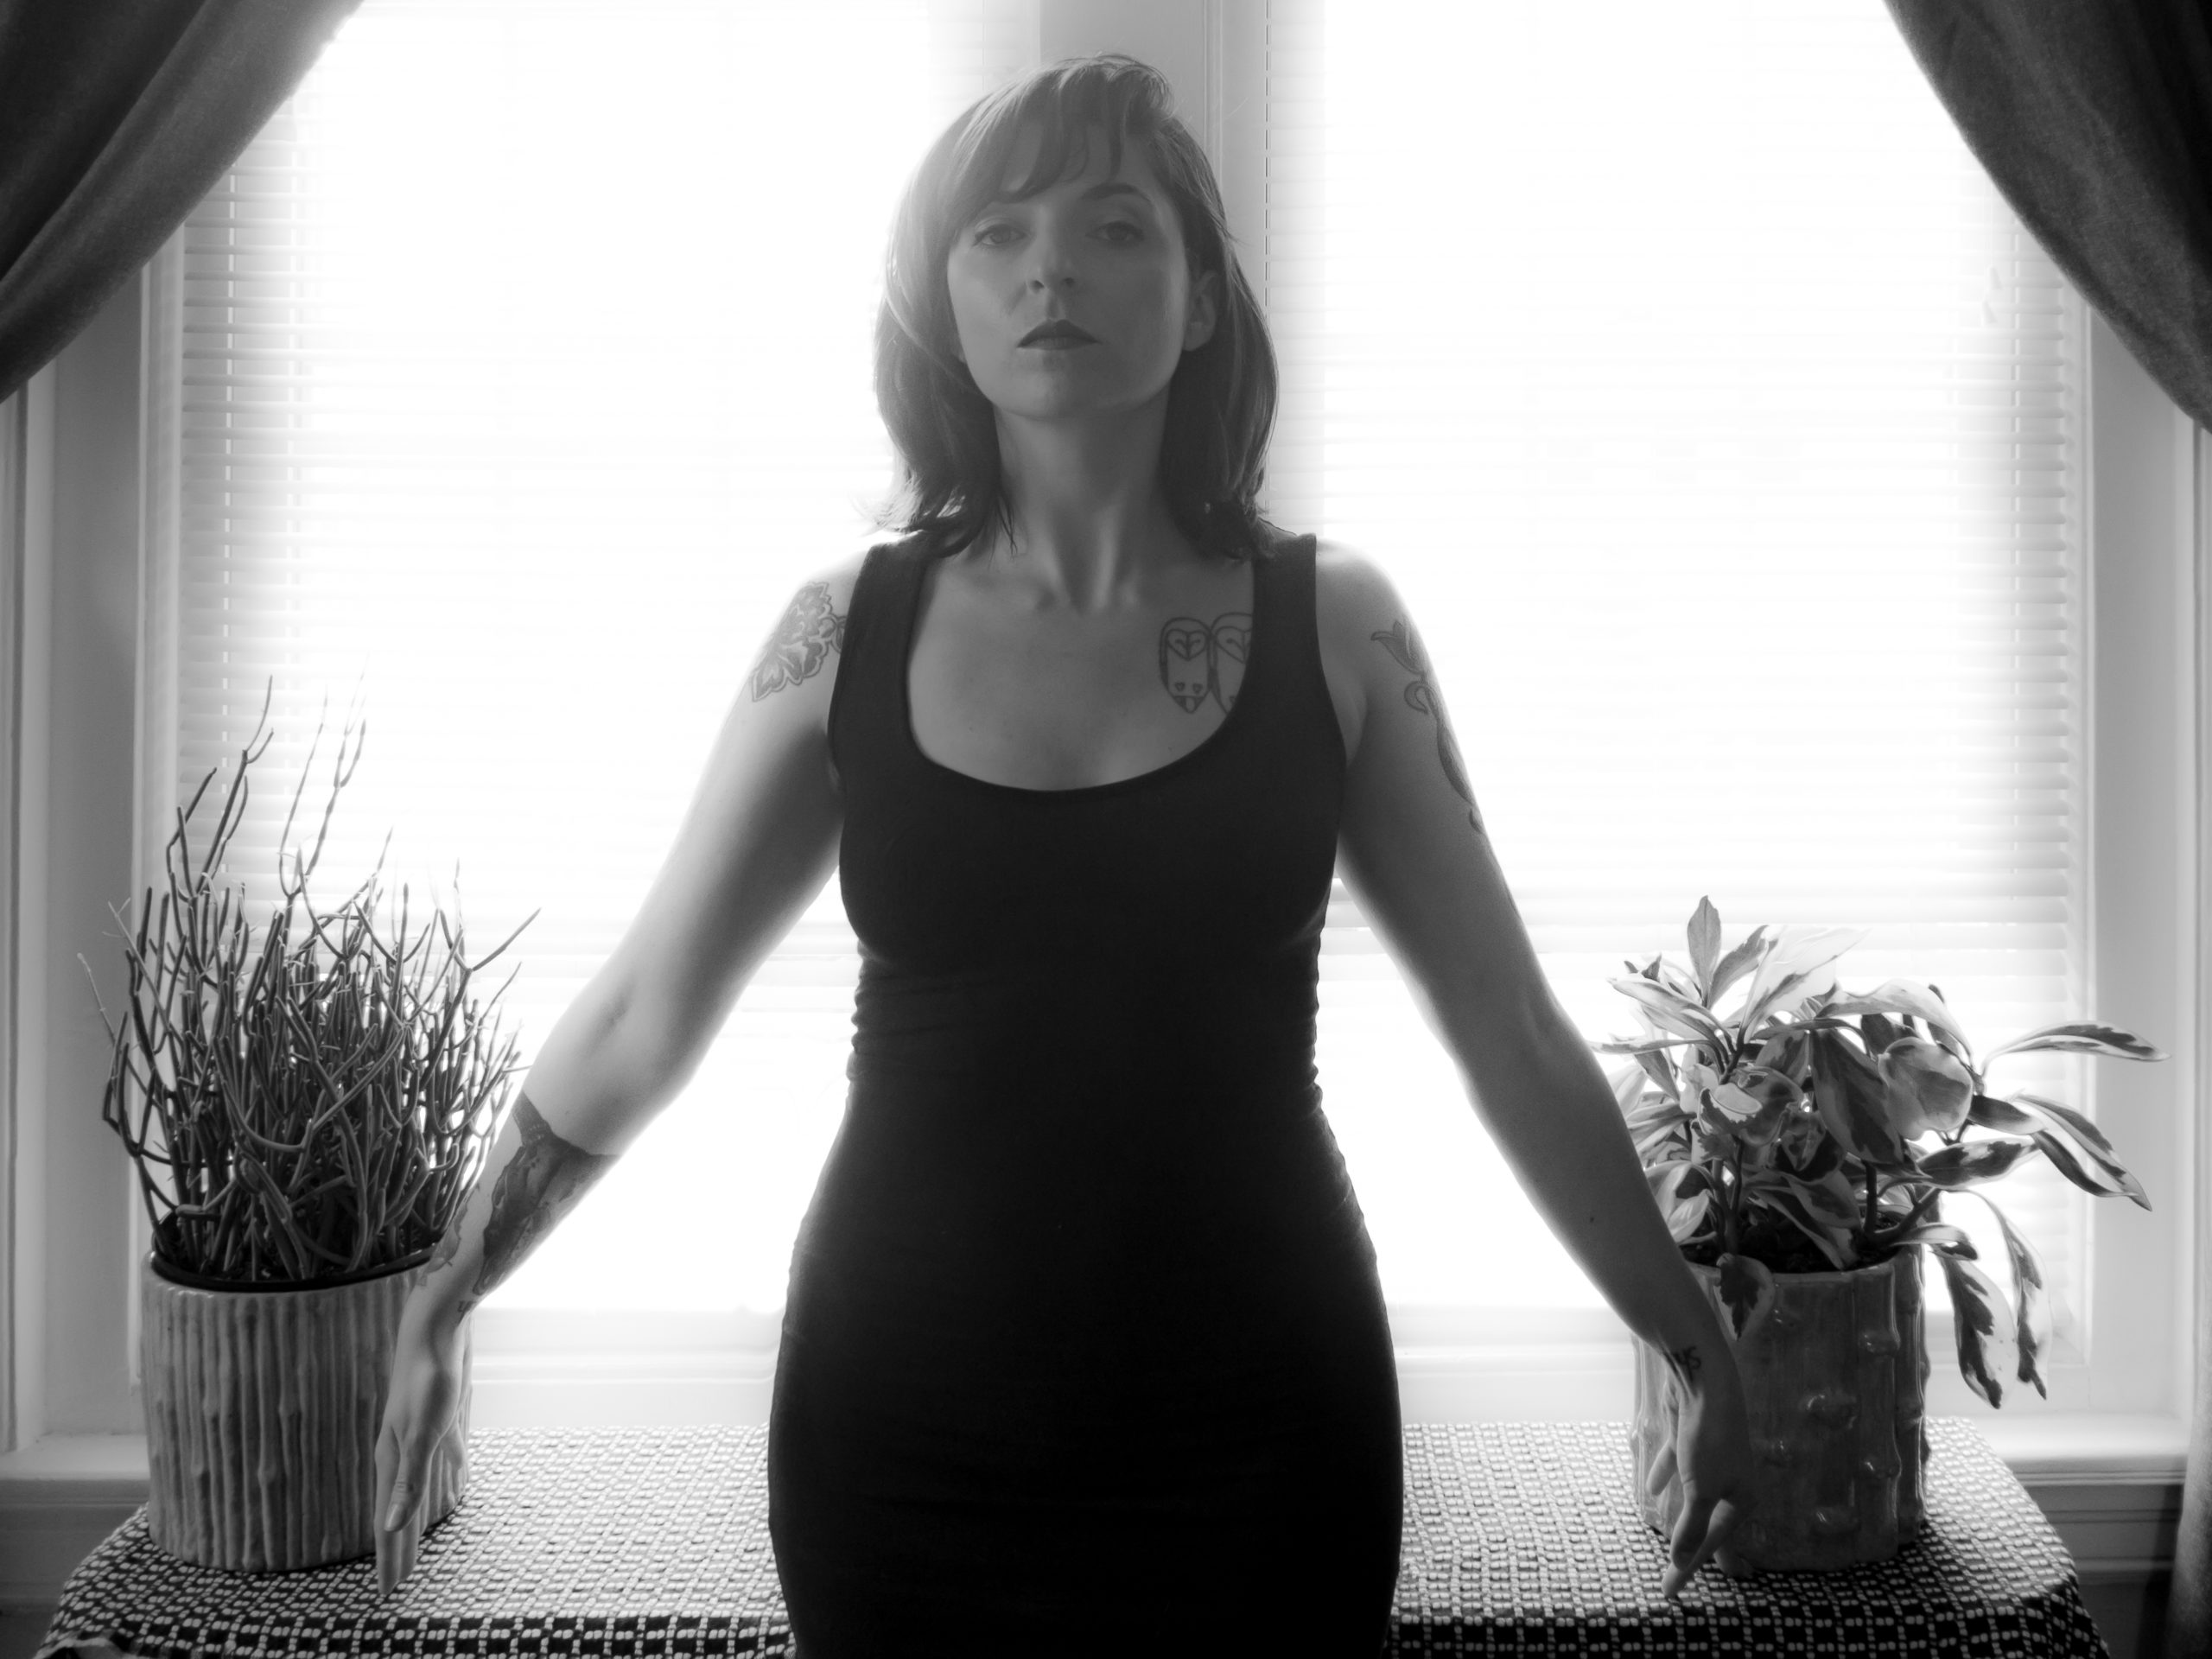
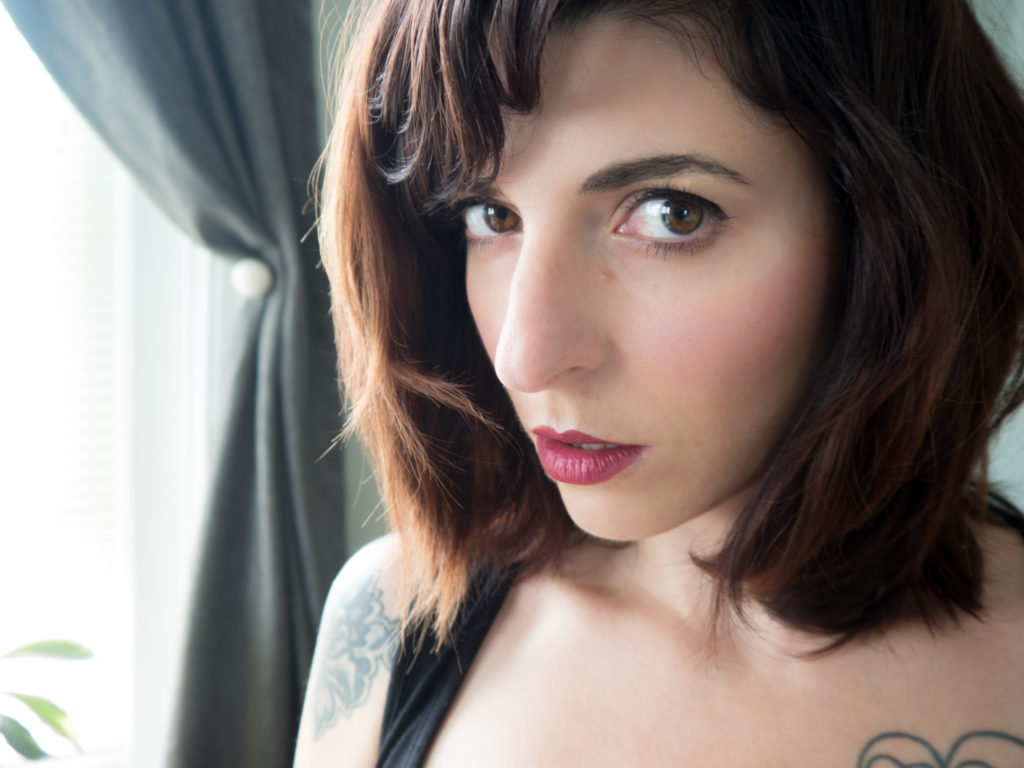
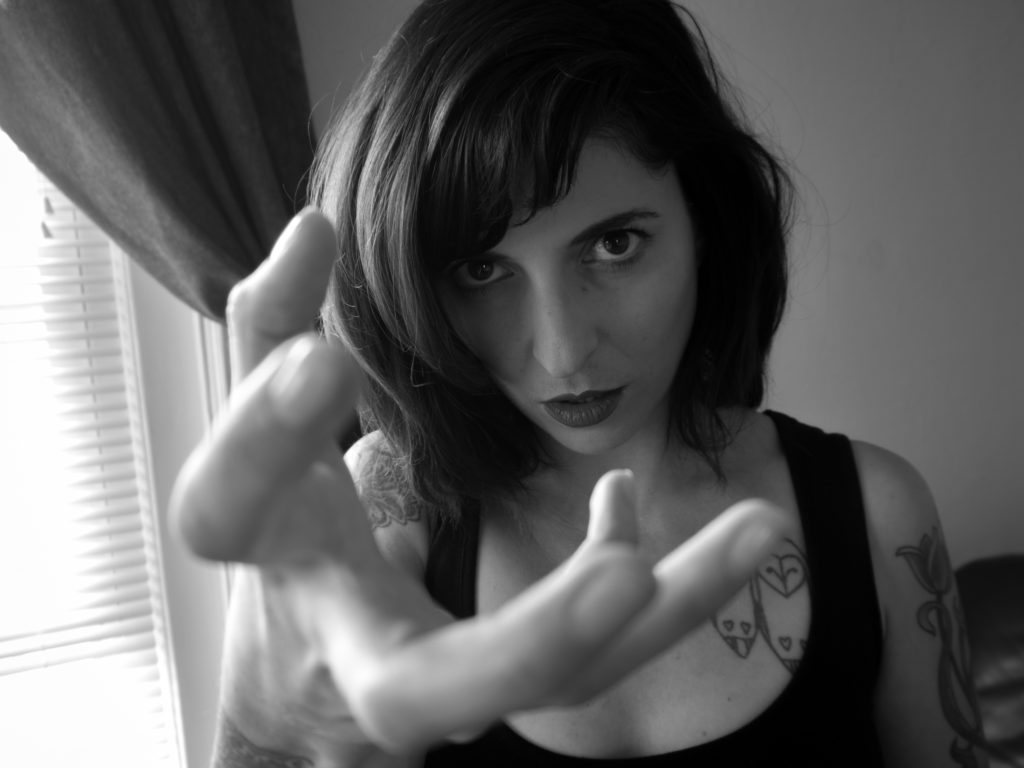
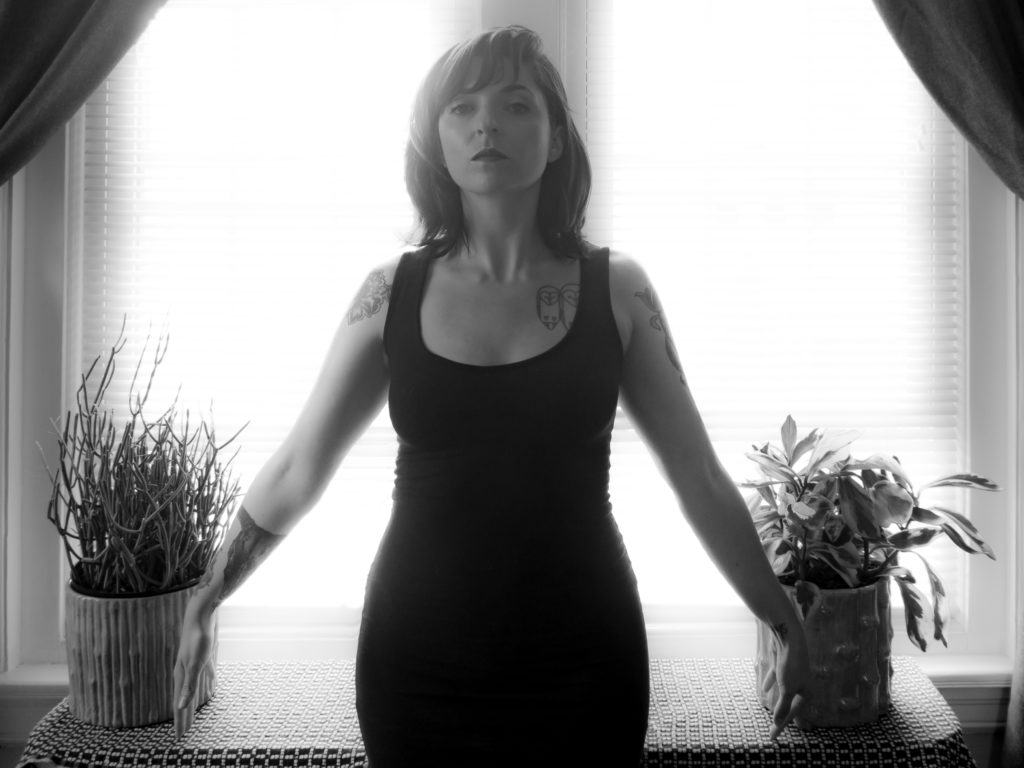
Anyway, here’s what I did. Put on basic makeup and a black dress, the simpler styling the better. I decided to take my shots in my bedroom as it has good natural light and simple decor. I tried a few different spots in the room and so many different moods. 

I set my Olympus E-M10 up on a tripod and used Olympus’ mobile app to control it from my phone, which is so incredibly useful. I shot in aperture priority with the lowest aperture to blur the background, but that made it pretty hard to nail focus on my eye. I also set my ISO to the lowest I could because my shots always end up noisy, but that wound up making my shutter speeds pretty slow which I didn’t realize until looking at them now. I really need to pay more attention to my settings.

f/4.2, 1/3 sec, ISO 100


f/3.5, 1/6th, ISO 100


Who would I be if I didn’t go spooky?

f/3.5, 1/6th, ISO 100


f/3.5, 1/60th, ISO 100

Real talk: I did quite a bit of post-processing on these. My makeup was a mess and my skin was looking rough, so I did quite a bit of smoothing, you can probably tell. This page of Lightroom tutorials is integral. 

So I don’t know how “creative” these self-portraits are, but they’re mostly non-traditional. I think the last one with the backlighting is my favorite. Whattya think?

Posted on

Beginner Photography: Landscapes

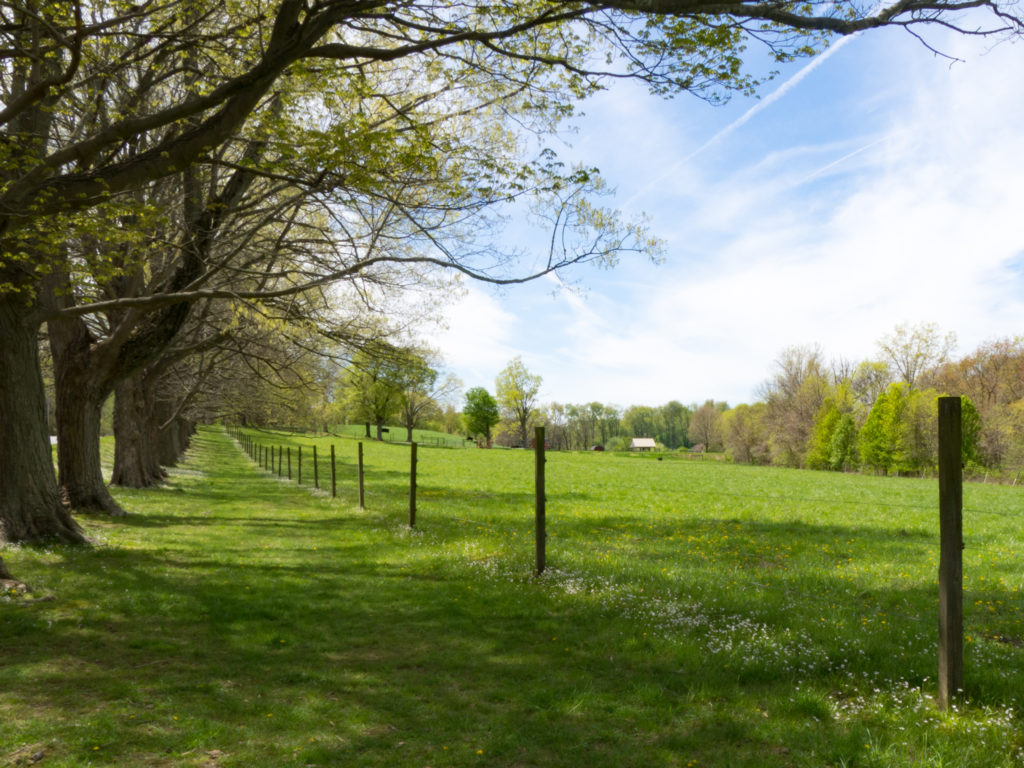
I HATE SHOOTING LANDSCAPES. There, I said it. It’s probably only because I’m bad at it, but I cannot for the life of me capture a compelling landscape. I feel like I did better with cityscapes, but even then I have a really hard time finding a focal point.

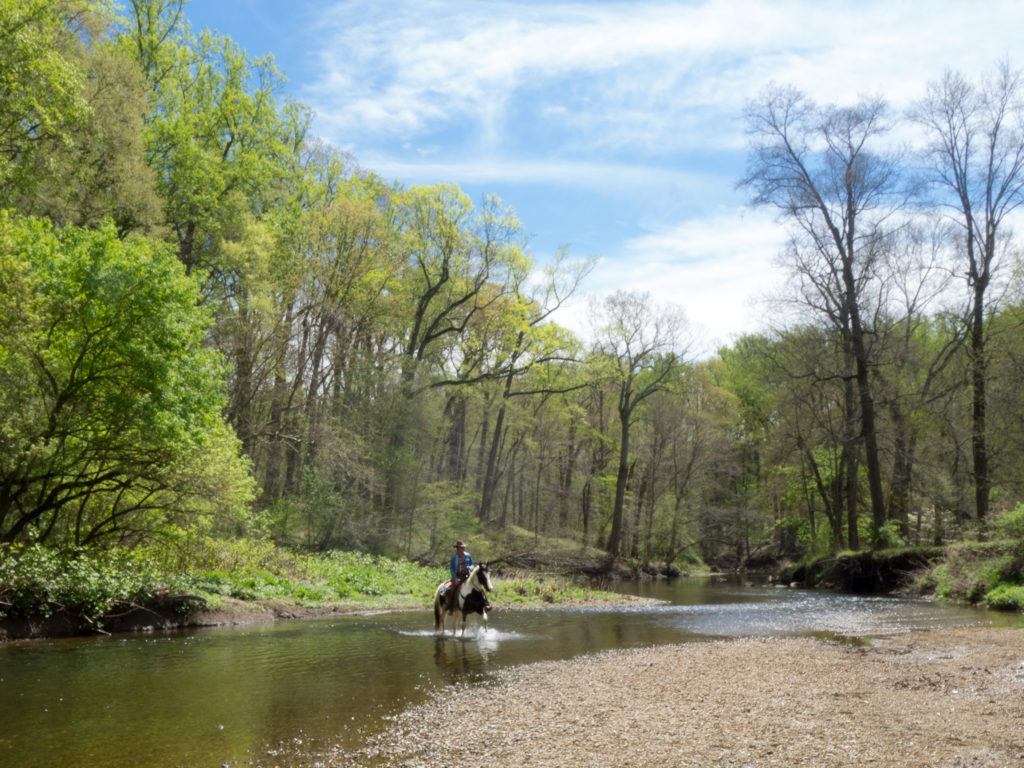
This week I went out shooting at a park I’d never been to, and I felt pretty good about it while I was shooting (which is rare) and then when I got them onto my computer I was so disappointed. Just so much green, and not much interest. I even got a shot of an urban cowboy and couldn’t make it compelling! 
I tried to capture some moving water in a stream, but every shot wound up wildly overexposed. I guess I need a neutral density filter :-/

As always, I was using my borrowed Olympus E-M10 with a Lumix 14-42 f/3.5-5.6. I shoot mostly aperture priority and often shot with the highest f/stop to get the whole scene in focus. Unfortunately that meant that I didn’t nail focus when I came across a man riding a horse. They were moving a bit too fast for me to capture, but I recovered it as well as I could in post.

I do all of my editing in Lightroom, mostly adjusting the crop, white and black points, and some luminance.

f/7.1, 1/400th, ISO 200


f/3.5, 1/1250th, ISO 200


f/22, 1/20th, ISO 100


f/20, 1/60th, ISO 250


I’m really kicking myself for not adjusting my aperture when that cowboy showed up. It could have been such an incredible capture but I really missed the mark. I’ll have to go back there and hope to see them again, there were quite a few people out riding. I’d also like to go back during the golden hour which would help with the lack of color variation in all the shots.


Posted on

Beginner Photography: Nature

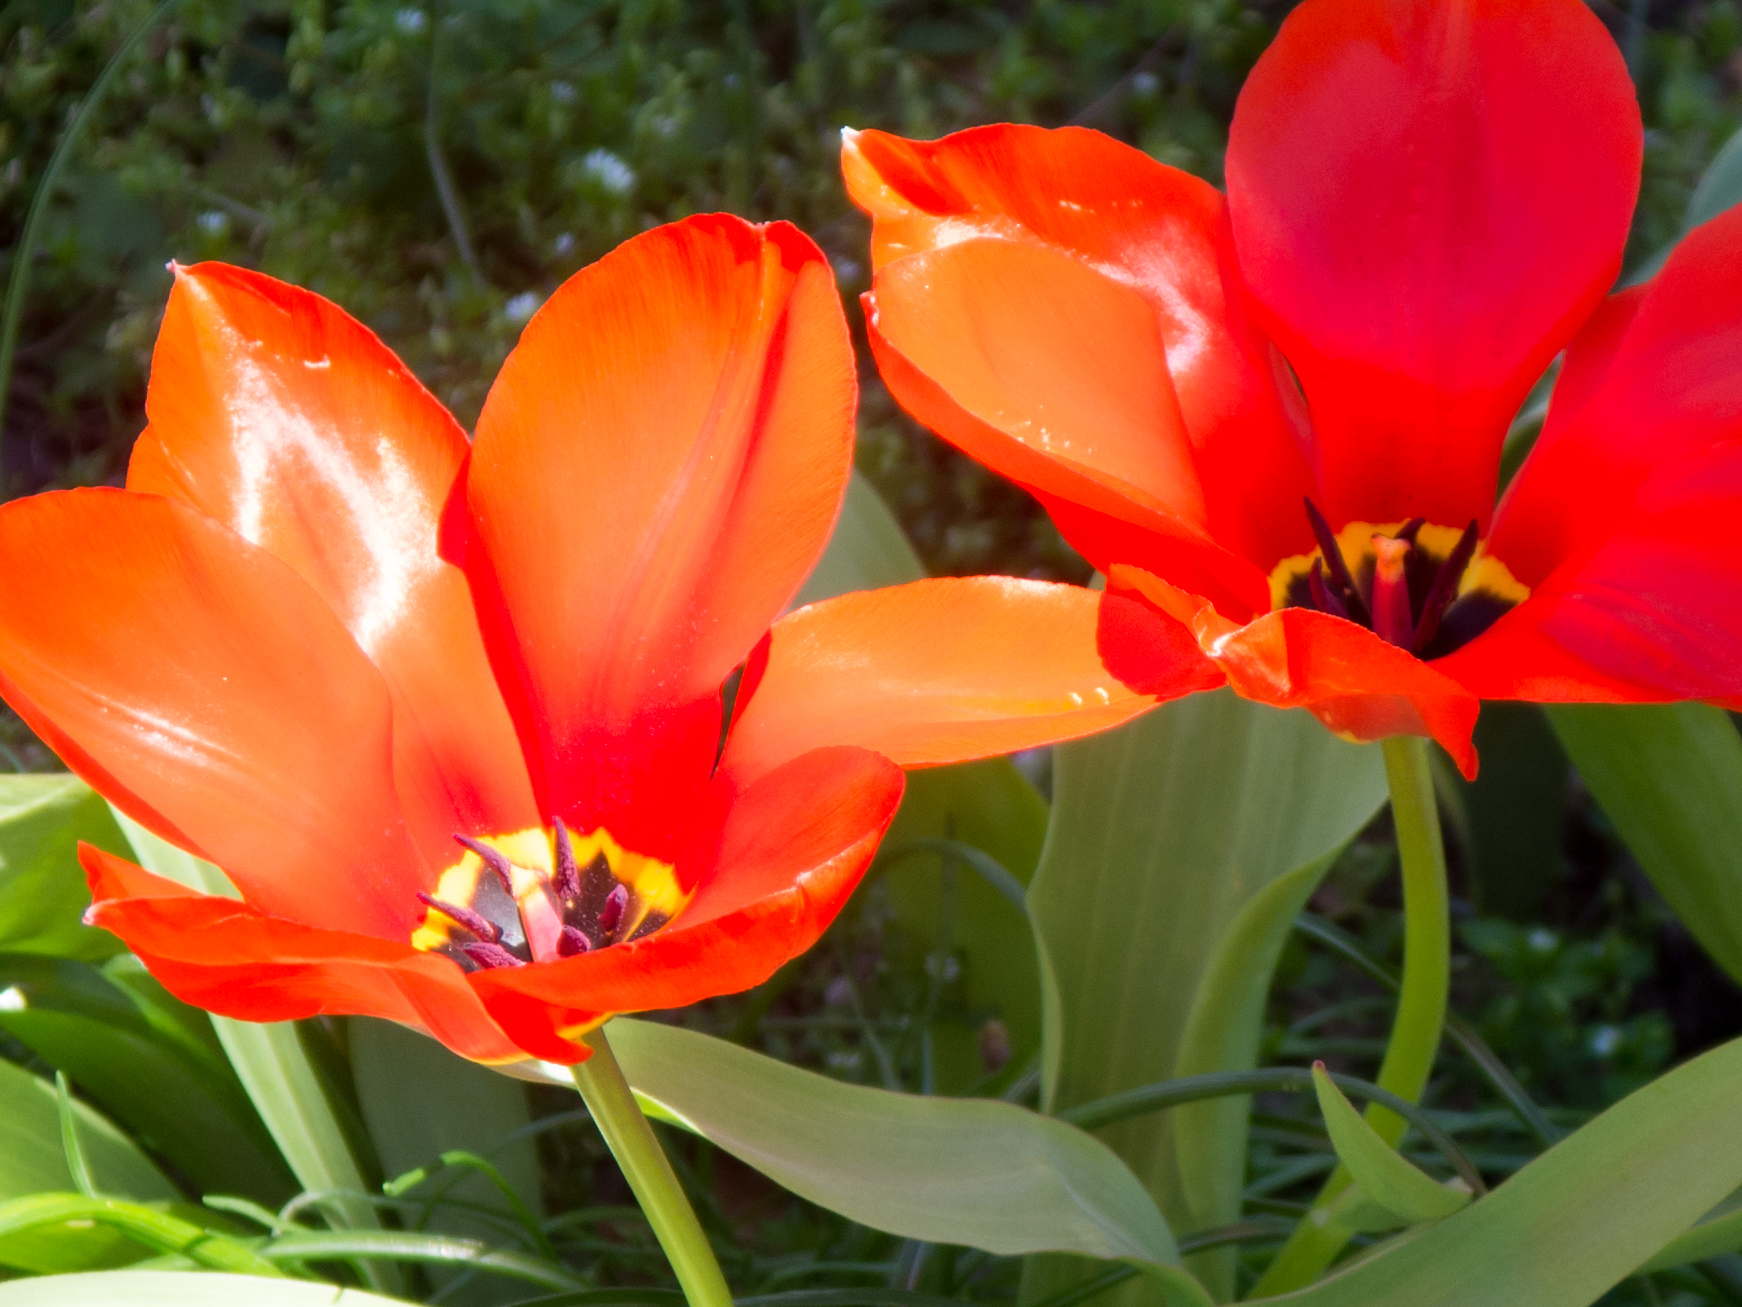
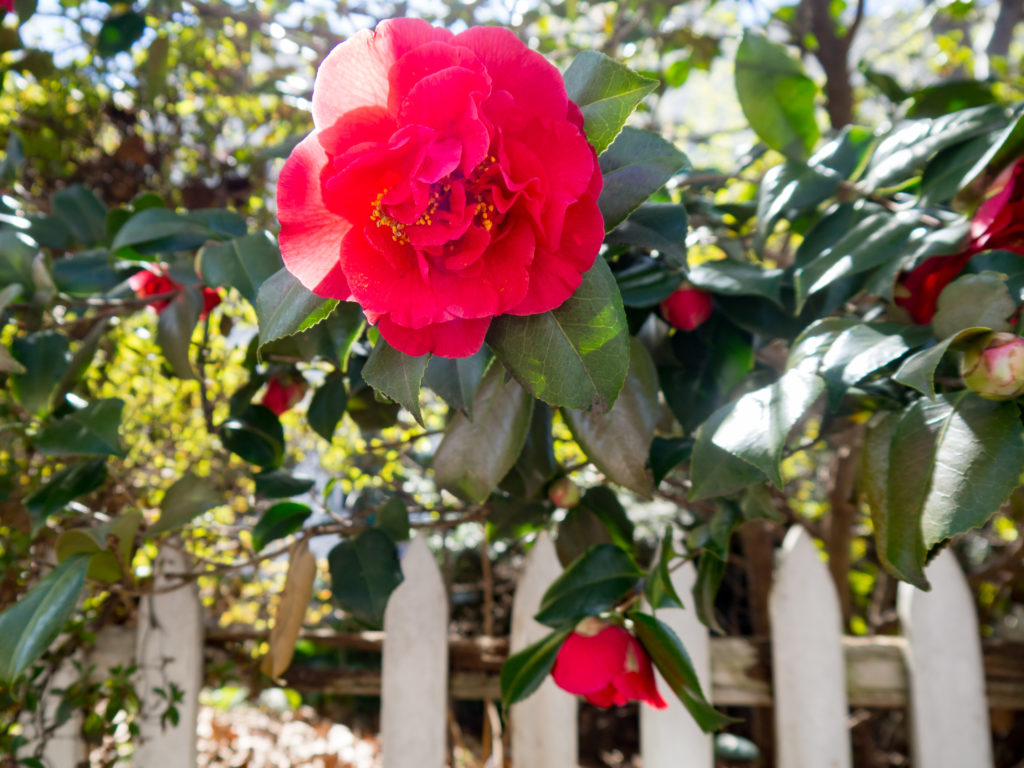
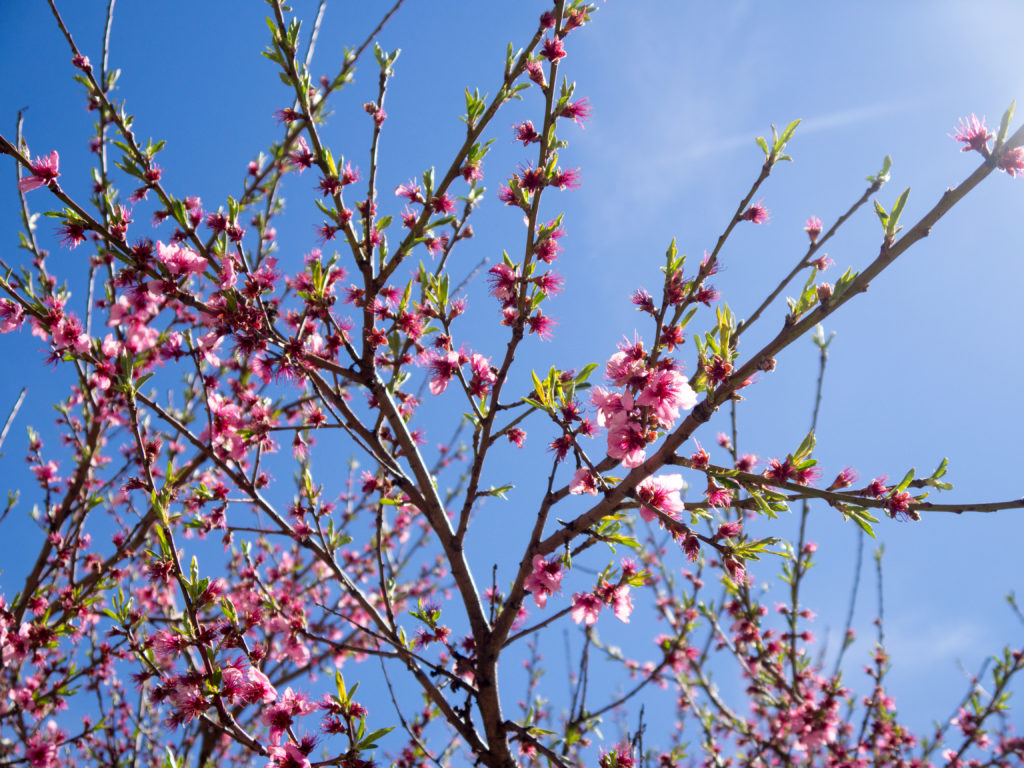
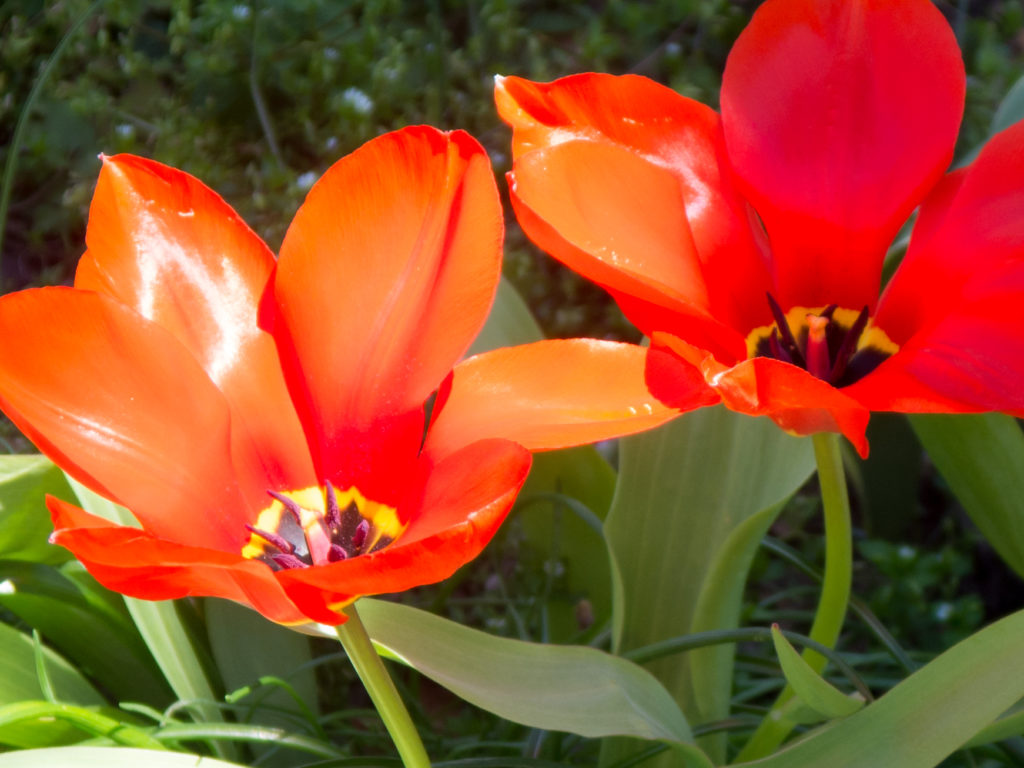
Schedule change this week! We’re having the live show tonight since Tony and Chelsea will be traveling on Thursday, so I’m also posting my blog today. Our theme this week is “nature.” While we don’t have a ton of it in the city, all the flowers in our neighborhood have started blooming, so that’s what I went with.

Honestly, nature shots don’t do a whole lot for me, so I don’t have much faith in my skills as a nature photographer. But at the very least I captured some light and color.

Nature certainly encompasses a lot, from landscapes to macro. T&C have a great video on shooting macro here:

I did end up shooting a bee this week, but I didn’t plan for it. I also wish I’d remembered this focus stacking video!

Then again, there are a lot of distractions in the city, and shooting flowers in front of people’s houses, you don’t really want to get much more than a flower or two in focus. So I was shooting with a low aperture. Here’s what I came up with:

f/4.5, 1/160th, ISO 200


f/4.6, 1/1600th, ISO 200


f/5.6, 1/160th, ISO 200


f/5.3, 1/640th, ISO 200


So that’s some nature! I dunno, none of these thrilled me. I adjusted the exposure on all of them, bumped the luminance a bit, and cropped of course. Do any of these do it for you? 

Posted on

Beginner Photography: Color

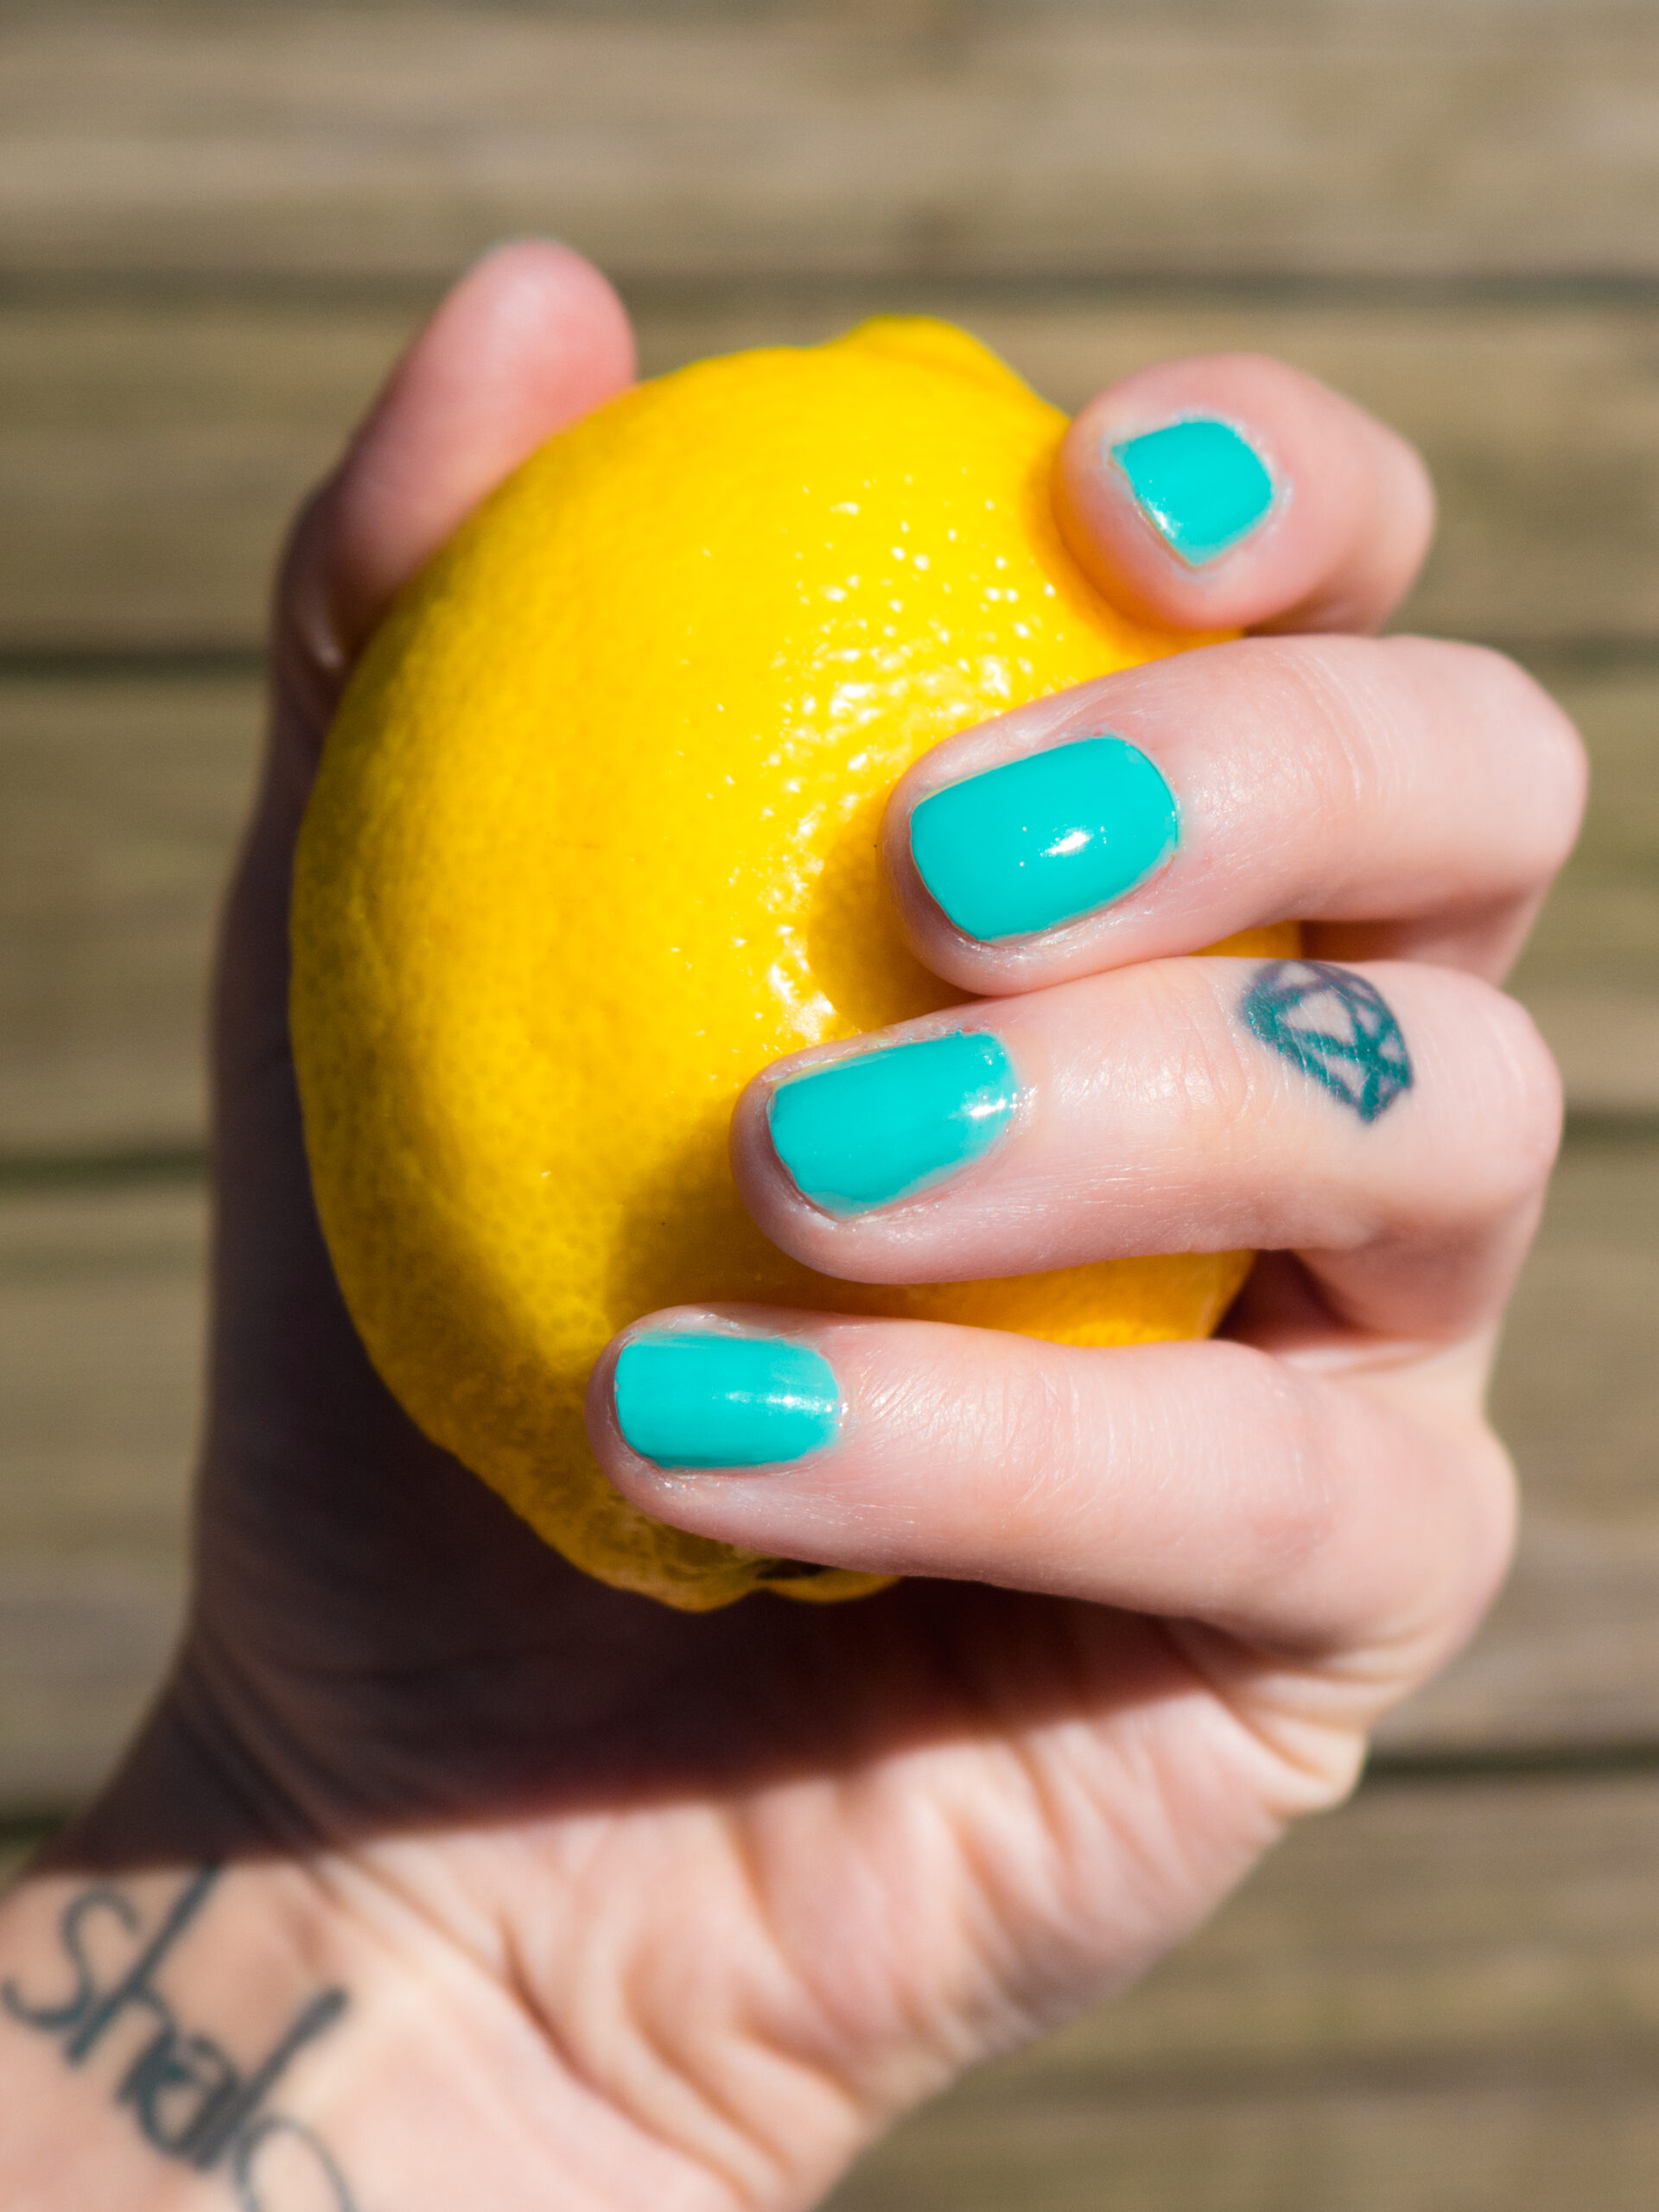
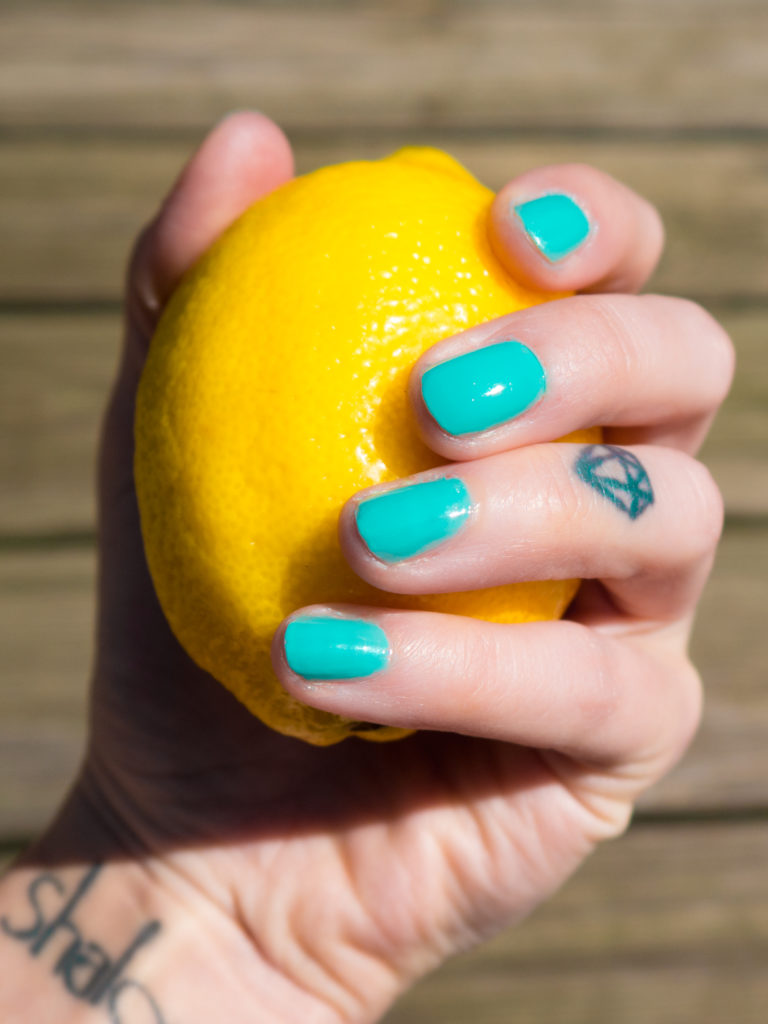
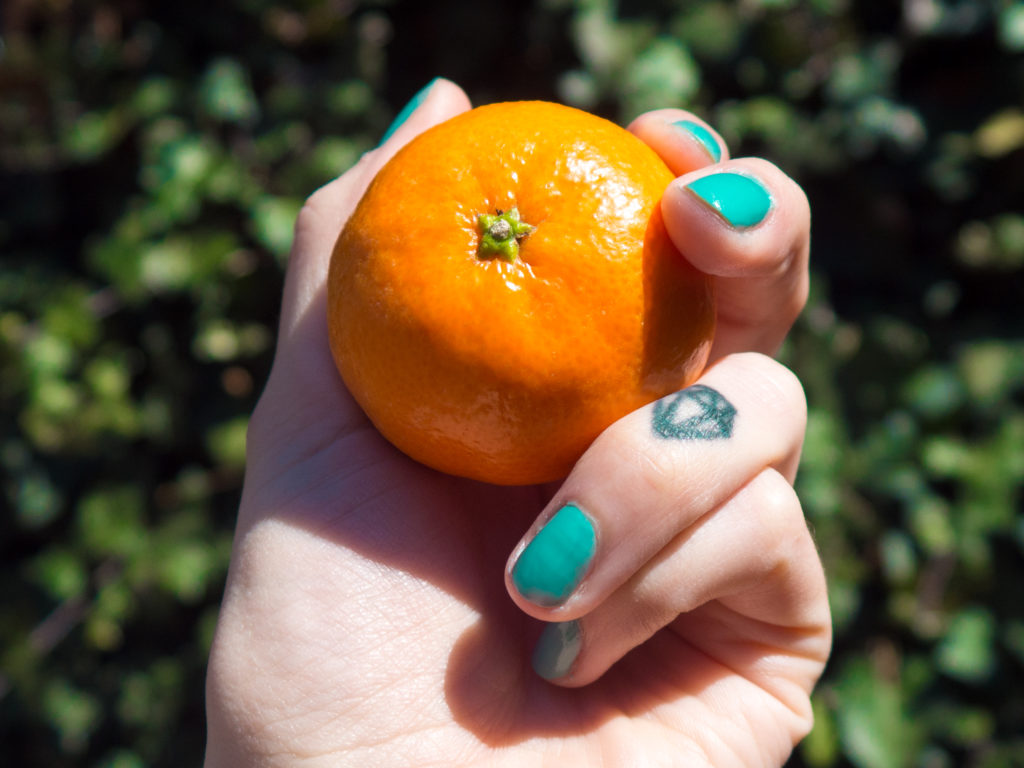
Color! The possibilities for this topic are endless. I had grand ideas of what I wanted to do, but limited resources. I had visions of bold lipstick, bold nails and a white background. Unfortunately I don’t have a studio to work with and I was my own model, so that limited my ideas a bit. But I was reminded of a shot I took for my food project of a clementine on a teal plate. 

I decided to work with the same color palette and more fruit. I painted my nails teal and found the most aesthetically pleasing clementine and lemon in our fruit bowl and took them into my back yard for the natural light. Harsh light is good for fruit because you want the specular highlights, not the flat light that you may want for portraits.

I shot in aperture priority with a low aperture to blur the background as well as I could, and took a bunch of shots of my hand holding the fruit. Some in front of the wood decking and some in front of the ivy. 

f/3.6, 1/3200th, ISO 200


f/3.6, 1/3200th, ISO 200


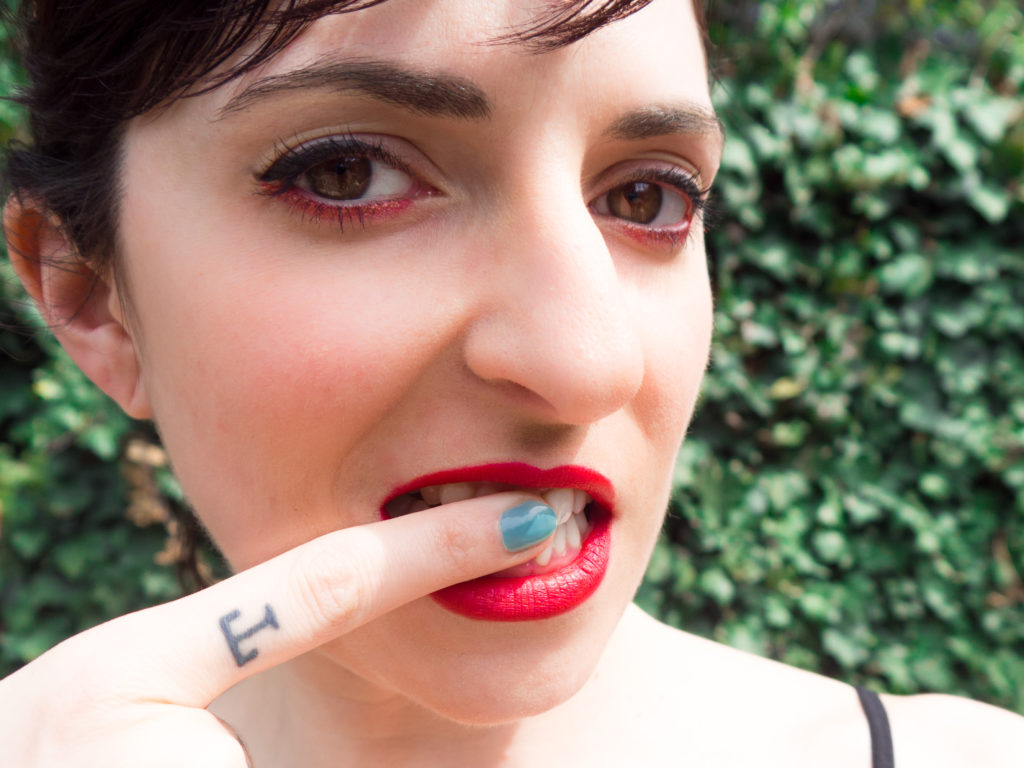
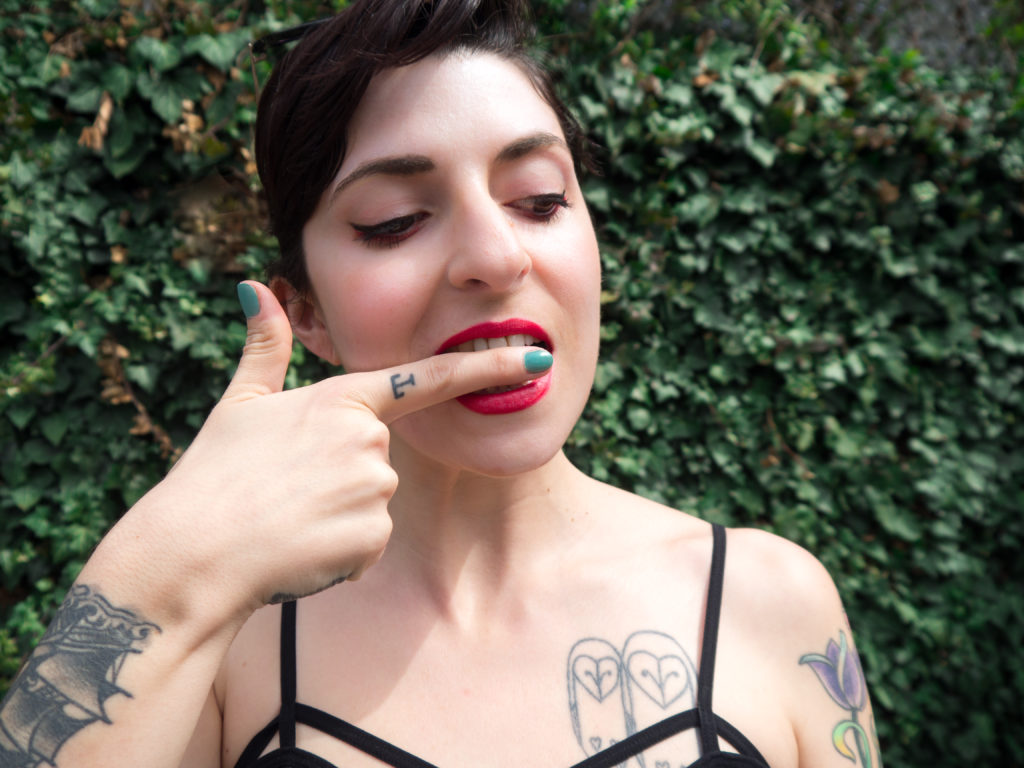
Next I wanted to shoot my lips in a bright color with the green background and teal nails. This was a bit more challenging, but I finally downloaded the Olympus app for my phone so that I could control my camera from in front of it. Compared to Canon and Nikon’s apps, this one is great. I was able to focus and shoot myself from my phone while my camera was on the tripod in front of me.

f/4.5, 1/800th, ISO 200


f/4.5, 1/640th, ISO 200


f/4.5, 1/800th, ISO 200


For all of these images I tweaked the colors so that they were more saturated and complementary to each other. I edit my skin a ton because it looked terrible, and lightened it a bit so the colors would pop more.

Chelsea has a great tutorial on changing colors in Photoshop here that might help you out, although I did all my edits in Lightroom:

Do these work for you to convey color? I think the fruit shots do for sure, but I’m not sure about the self portraits. This was a really fun project for me, and I’m feeling more inspired than I have in a while. 

Posted on

Beginner Photography: Abstract

Man, this project was a roller coaster. I decided to try out Tony and Chelsea’s abstract impressionist concept that they teach here:

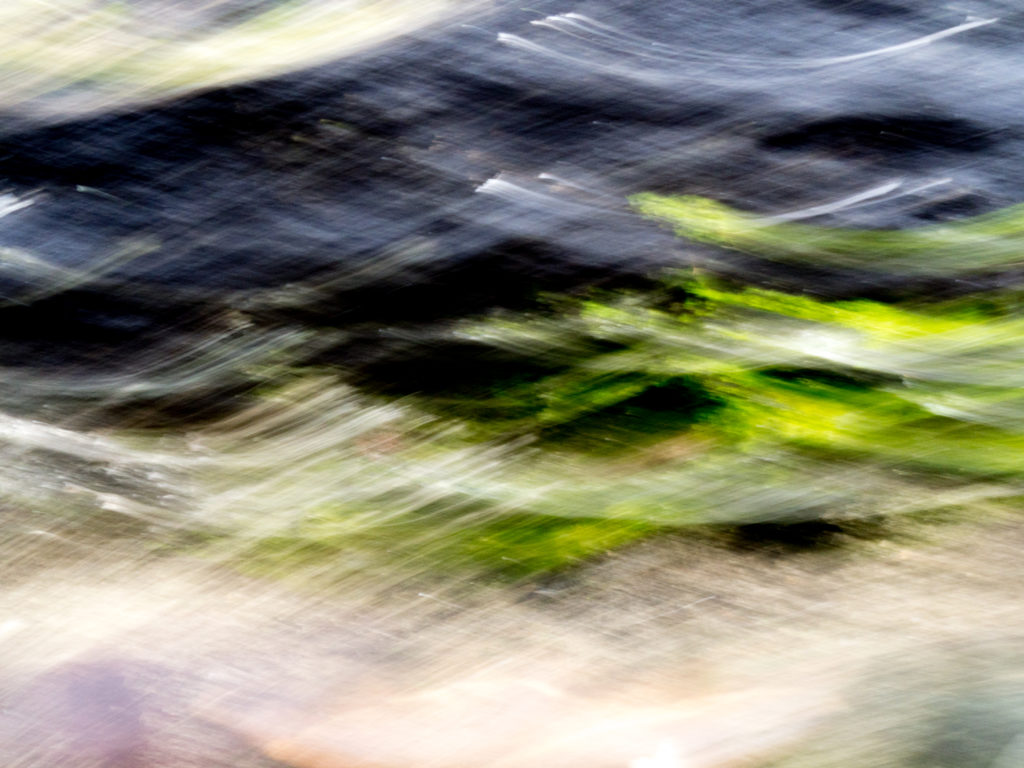
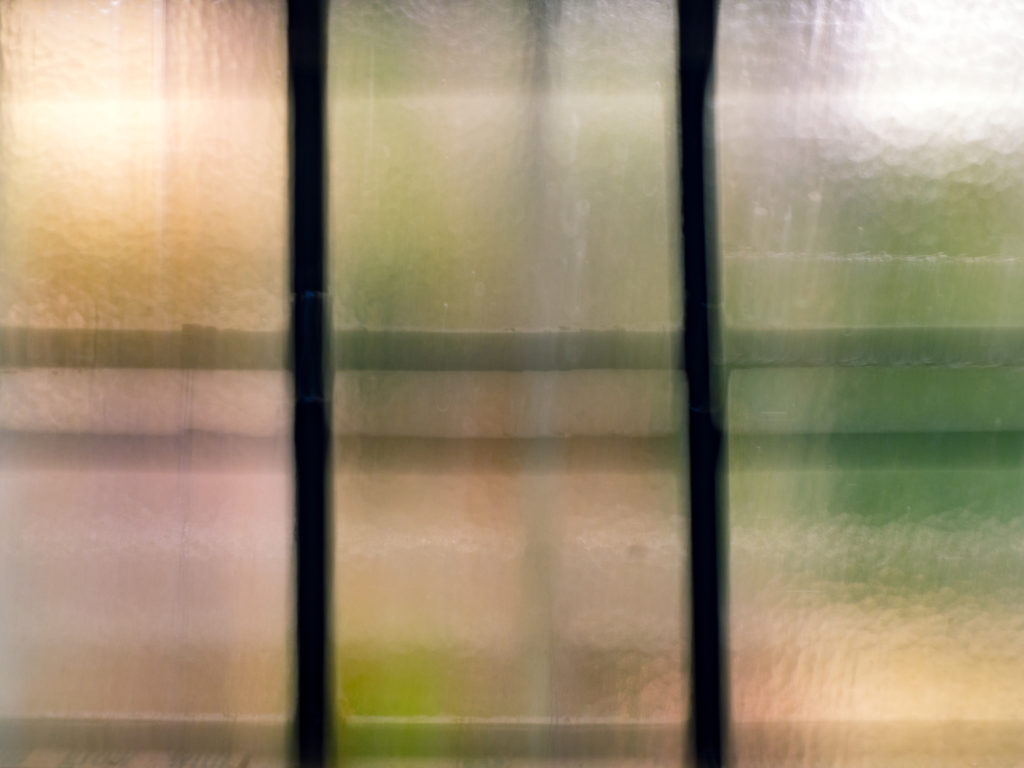
Unfortunately I don’t live near a beach or any expanse of land, really, so I attempted it on a much smaller scale. I literally just walked around my tiny yard and through my neighborhood looking for anything I could shoot with a long exposure while moving my camera. And I was certain that I got nothing usable. They all looked either too recognizable to call abstract or just so bland. But that’s why we have post-processing, right? 

First, the shooting process. I shot manual so I could set a low ISO, a high f/stop and adjust my shutter speed to taste. I made sure that the shutter was open enough to gather light but not over expose the images too bad, but still gave me enough time to move the camera while it was open. Since I wasn’t shooting a vast landscape though, it was much harder to move the camera and keep even horizontals and not have them curve. So after a while I just went with that, moving the camera in different ways to find good shapes. It really just took a whole lot of shooting crappy images and trying repeatedly.

So once I brought my shots into Lightroom I picked out a few that I thought might have potential. I looked for interesting shapes and color. Once I found that, I adjusted my exposure and contrast and then just experimented with color. I used split toning to adjust the color of shadow and highlights. Since the project was abstract, there was no reason to worry about the colors looking realistic, they just needed to be pleasing! It wound up being a really fun experiment.


f/22, 1/2 sec, ISO 200


f/22, 1/2 sec, ISO 200


f/22, 1/2 sec, ISO 200


f/22, 0.8 sec, ISO 200


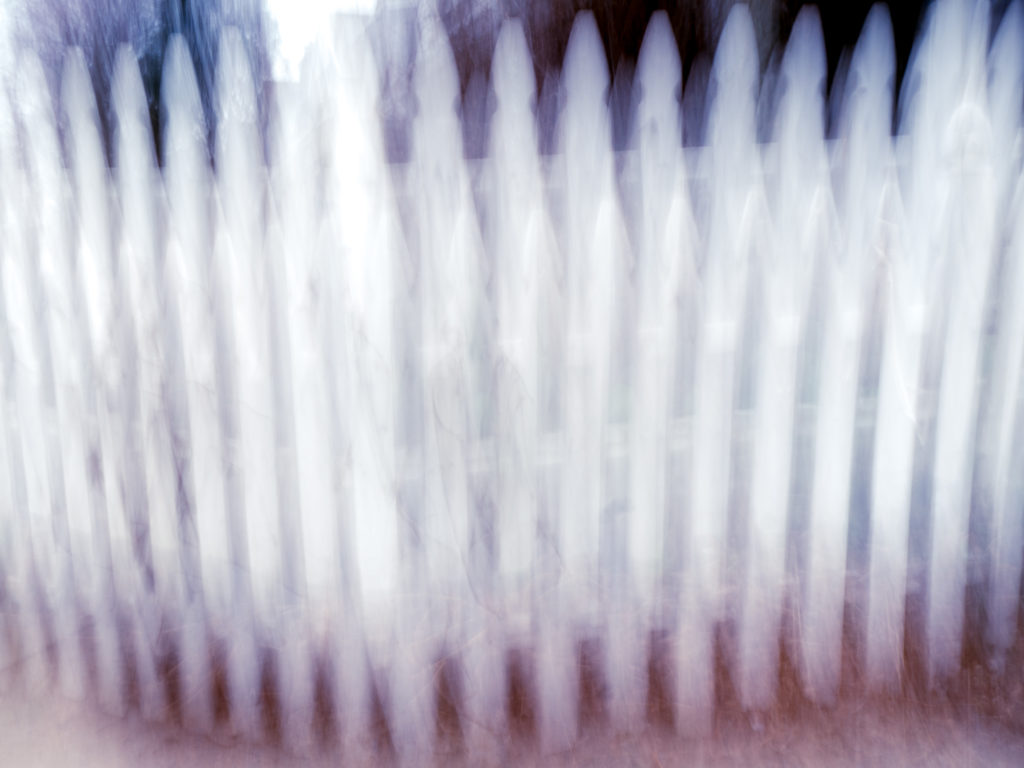
While there are recognizable shapes in each image, they are moved to the point of being surreal. The third shot is my favorite, the motion wound up looking like waves. The last shot of the fence turned out looking very sinister to me which I liked, so I leaned the colors towards red and black to add to the mood.

I think as a whole these were more successful than my first attempt at abstract last year.

What do you think? Are these visually appealing or do they just look accidental? I had a lot of fun with these in post, even though while I was shooting I felt like it was all a loss. I can’t wait to see what everyone else comes up with for the live show this week.

Posted on

Beginner Photography: Long Exposures

Happy Spring for those of you in this part of the world! It doesn’t feel like it yet, but I can’t wait for it to get warmer and drier so I am motivated to get out and shoot more.

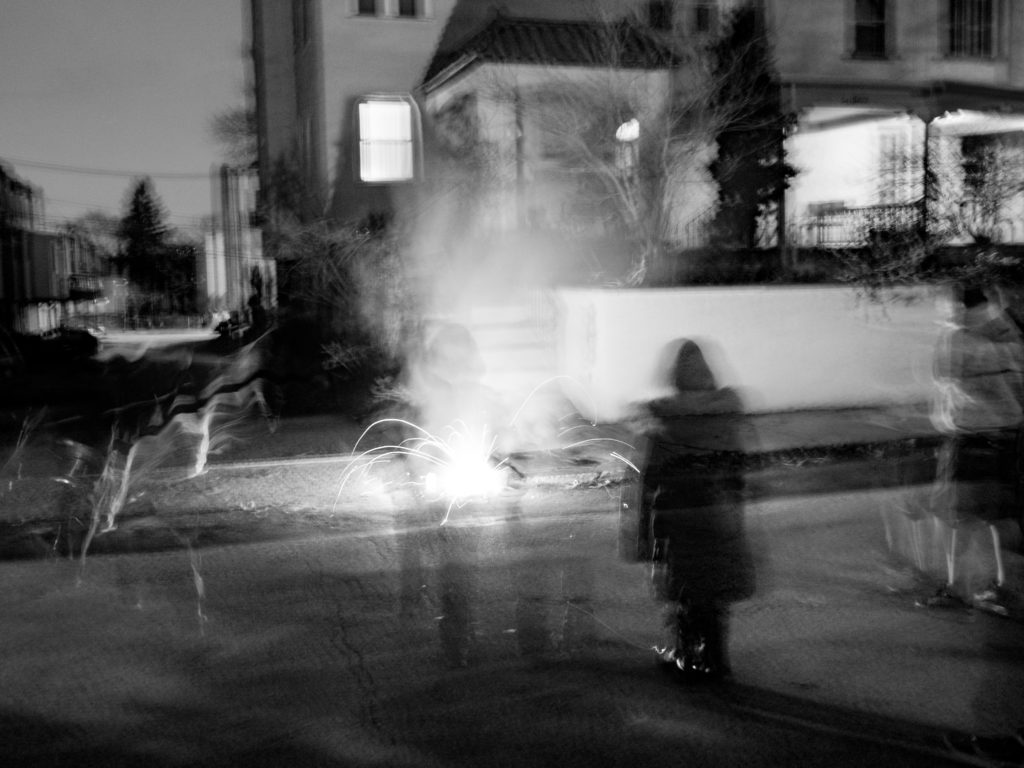
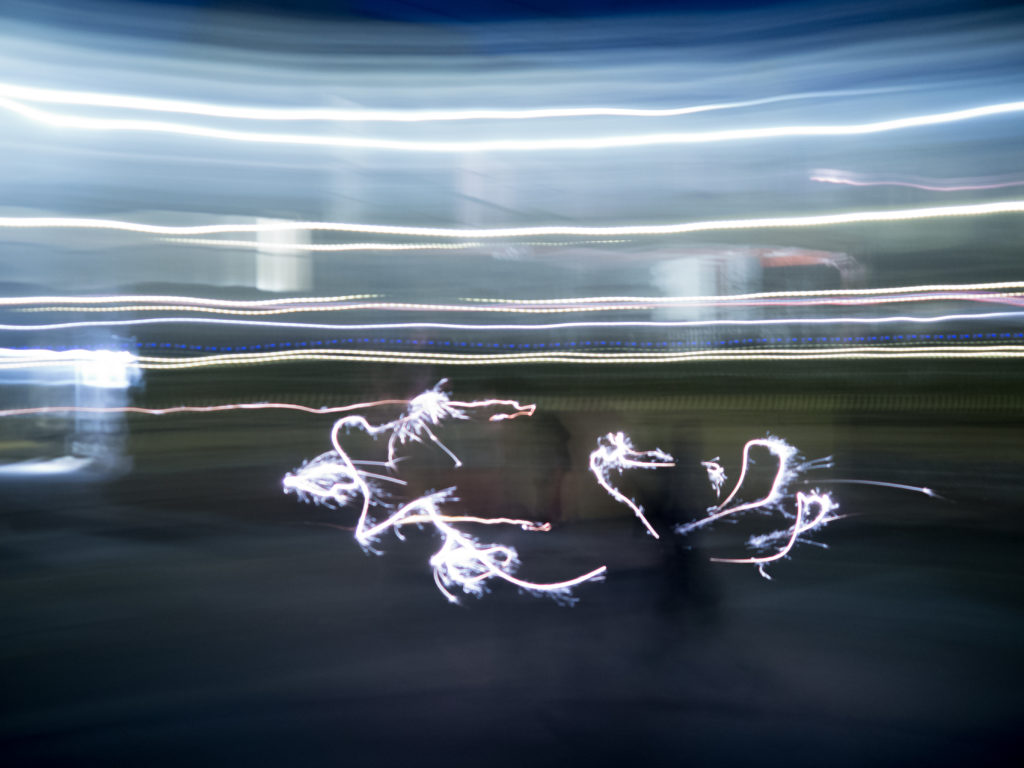
This week’s live show topic is long exposures, which I really hadn’t attempted before. But a month or so back we had a party for my stepson’s birthday and our friends brought sparklers. I thought it would be a great time to try out some impromptu light painting. These wound up being abstracts, which I love, not the intentional kind of light painting that you generally see. Those are a bit more complex and you can learn multiple ways to do it from Tony’s video here:

I think my kids would love to try those as well, so maybe we’ll attempt them in the future.

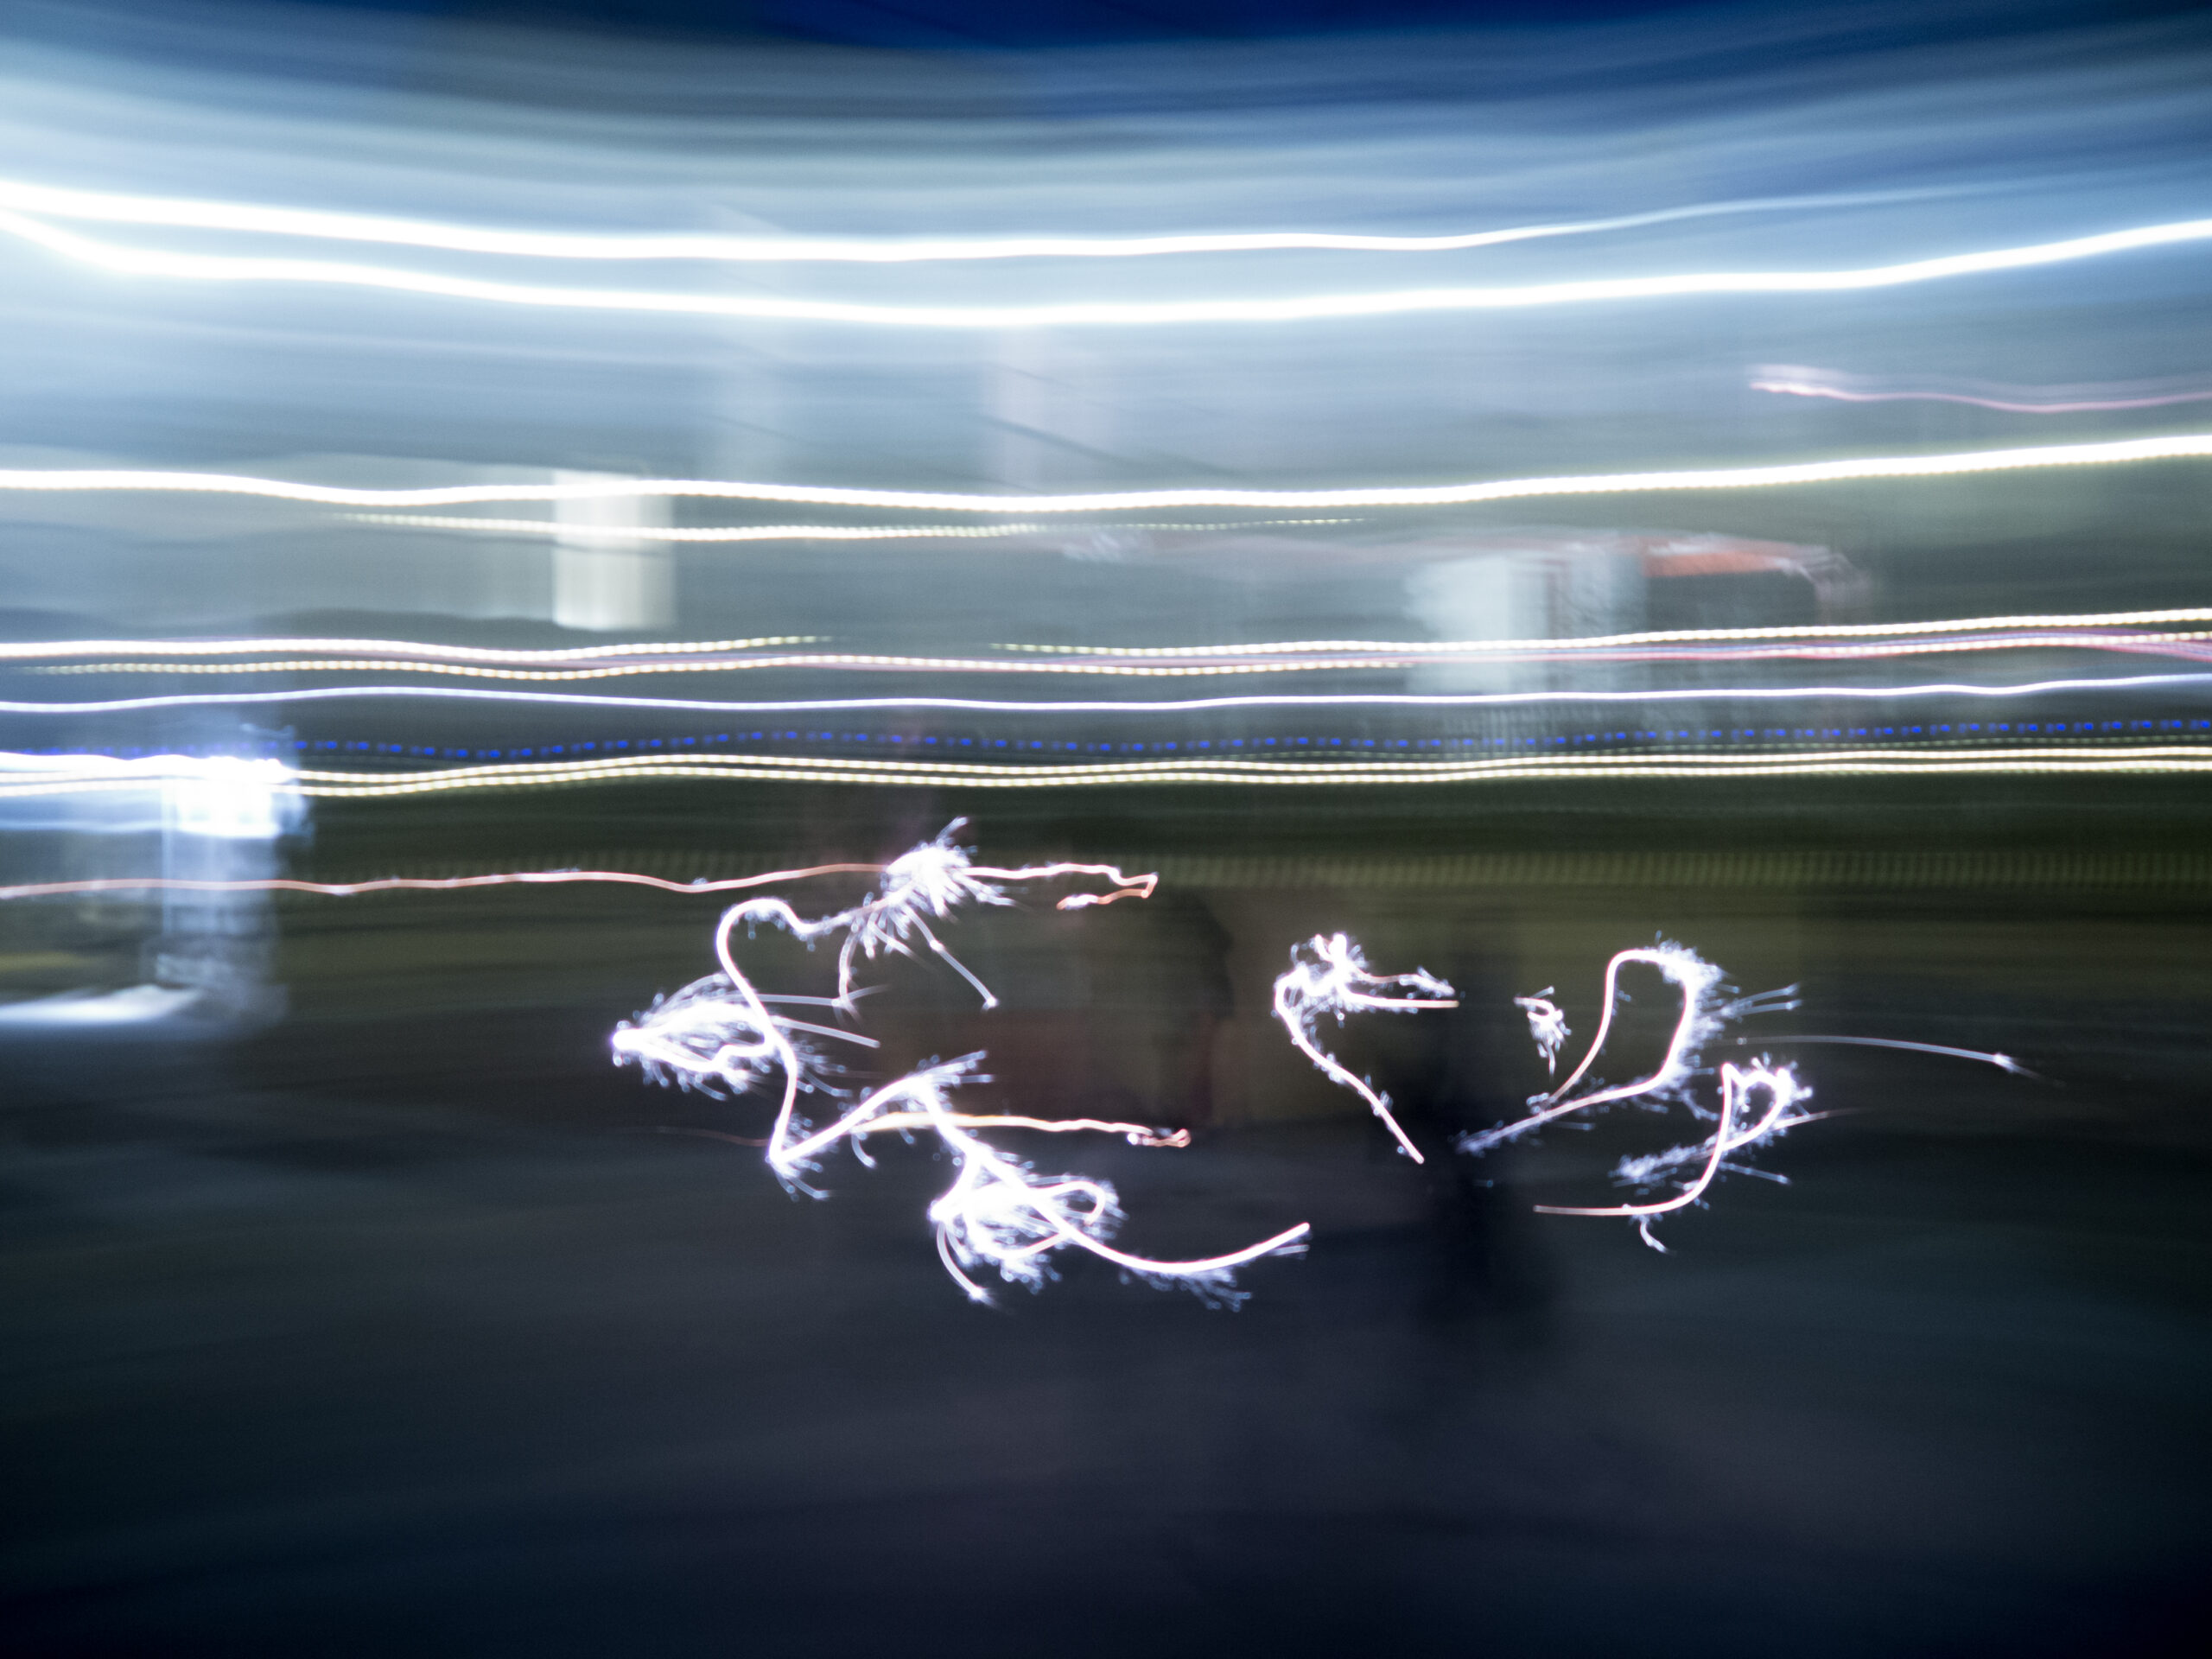
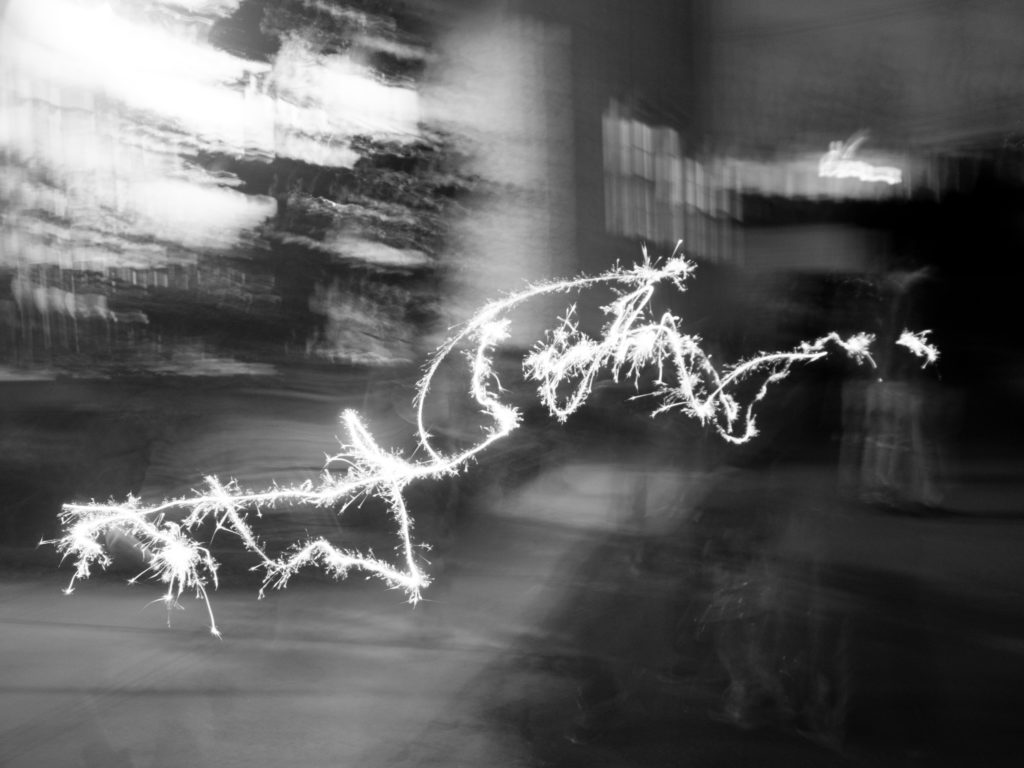
So all it took to capture these photos was some experimenting with the shutter speed. I took some of just the firecrackers burning, but I didn’t find those too compelling. The ones I liked the best had the eerie ghosting of the kids moving through the frame around the light. Others, I chose to pivot myself while the shutter was open to create light trails. 

f/3.6, 5 sec, ISO 640


f/3.6, 3.2 sec, ISO 320


F/3.6, 5 sec, ISO 1000


The first two images I converted to black and white in Lightroom and adjusted the exposure. The colors in the shots weren’t very pleasing and didn’t add anything to them. In the last shot however, I adjusted the white balance to make the yellow lights more blue and thought the abstract look of the whole thing was beautiful.

I thought these were really fun to shoot and I look forward to trying it again, a bit more intentionally next time.