Posted on

Beginner Photography: Lines

Hey folks! This week’s topic was a fun one: lines. I like these abstract topics, partially because I’m lazy and partially because I just like abstract photography. Not that these images had to be abstract, but that’s what I tend to when shooting something simple.

The problem I came across with almost all of these shots was a lack of focal point. So some of these wound up being more like location scouting for when I have a model (most likely my daughter) to put in the scene at a later date. I actually love simple, stark shots of man-made structures especially. I think it’s something about finding a rare blank space in the city.

As usual, I shot in aperture priority at my lowest aperture. Some of these shots were of repeating patterns, so it makes the most sense to choose a small focal point and let the rest of the image blur. It helps to eliminate background distractions and your brain fills in the rest of the pattern for itself.

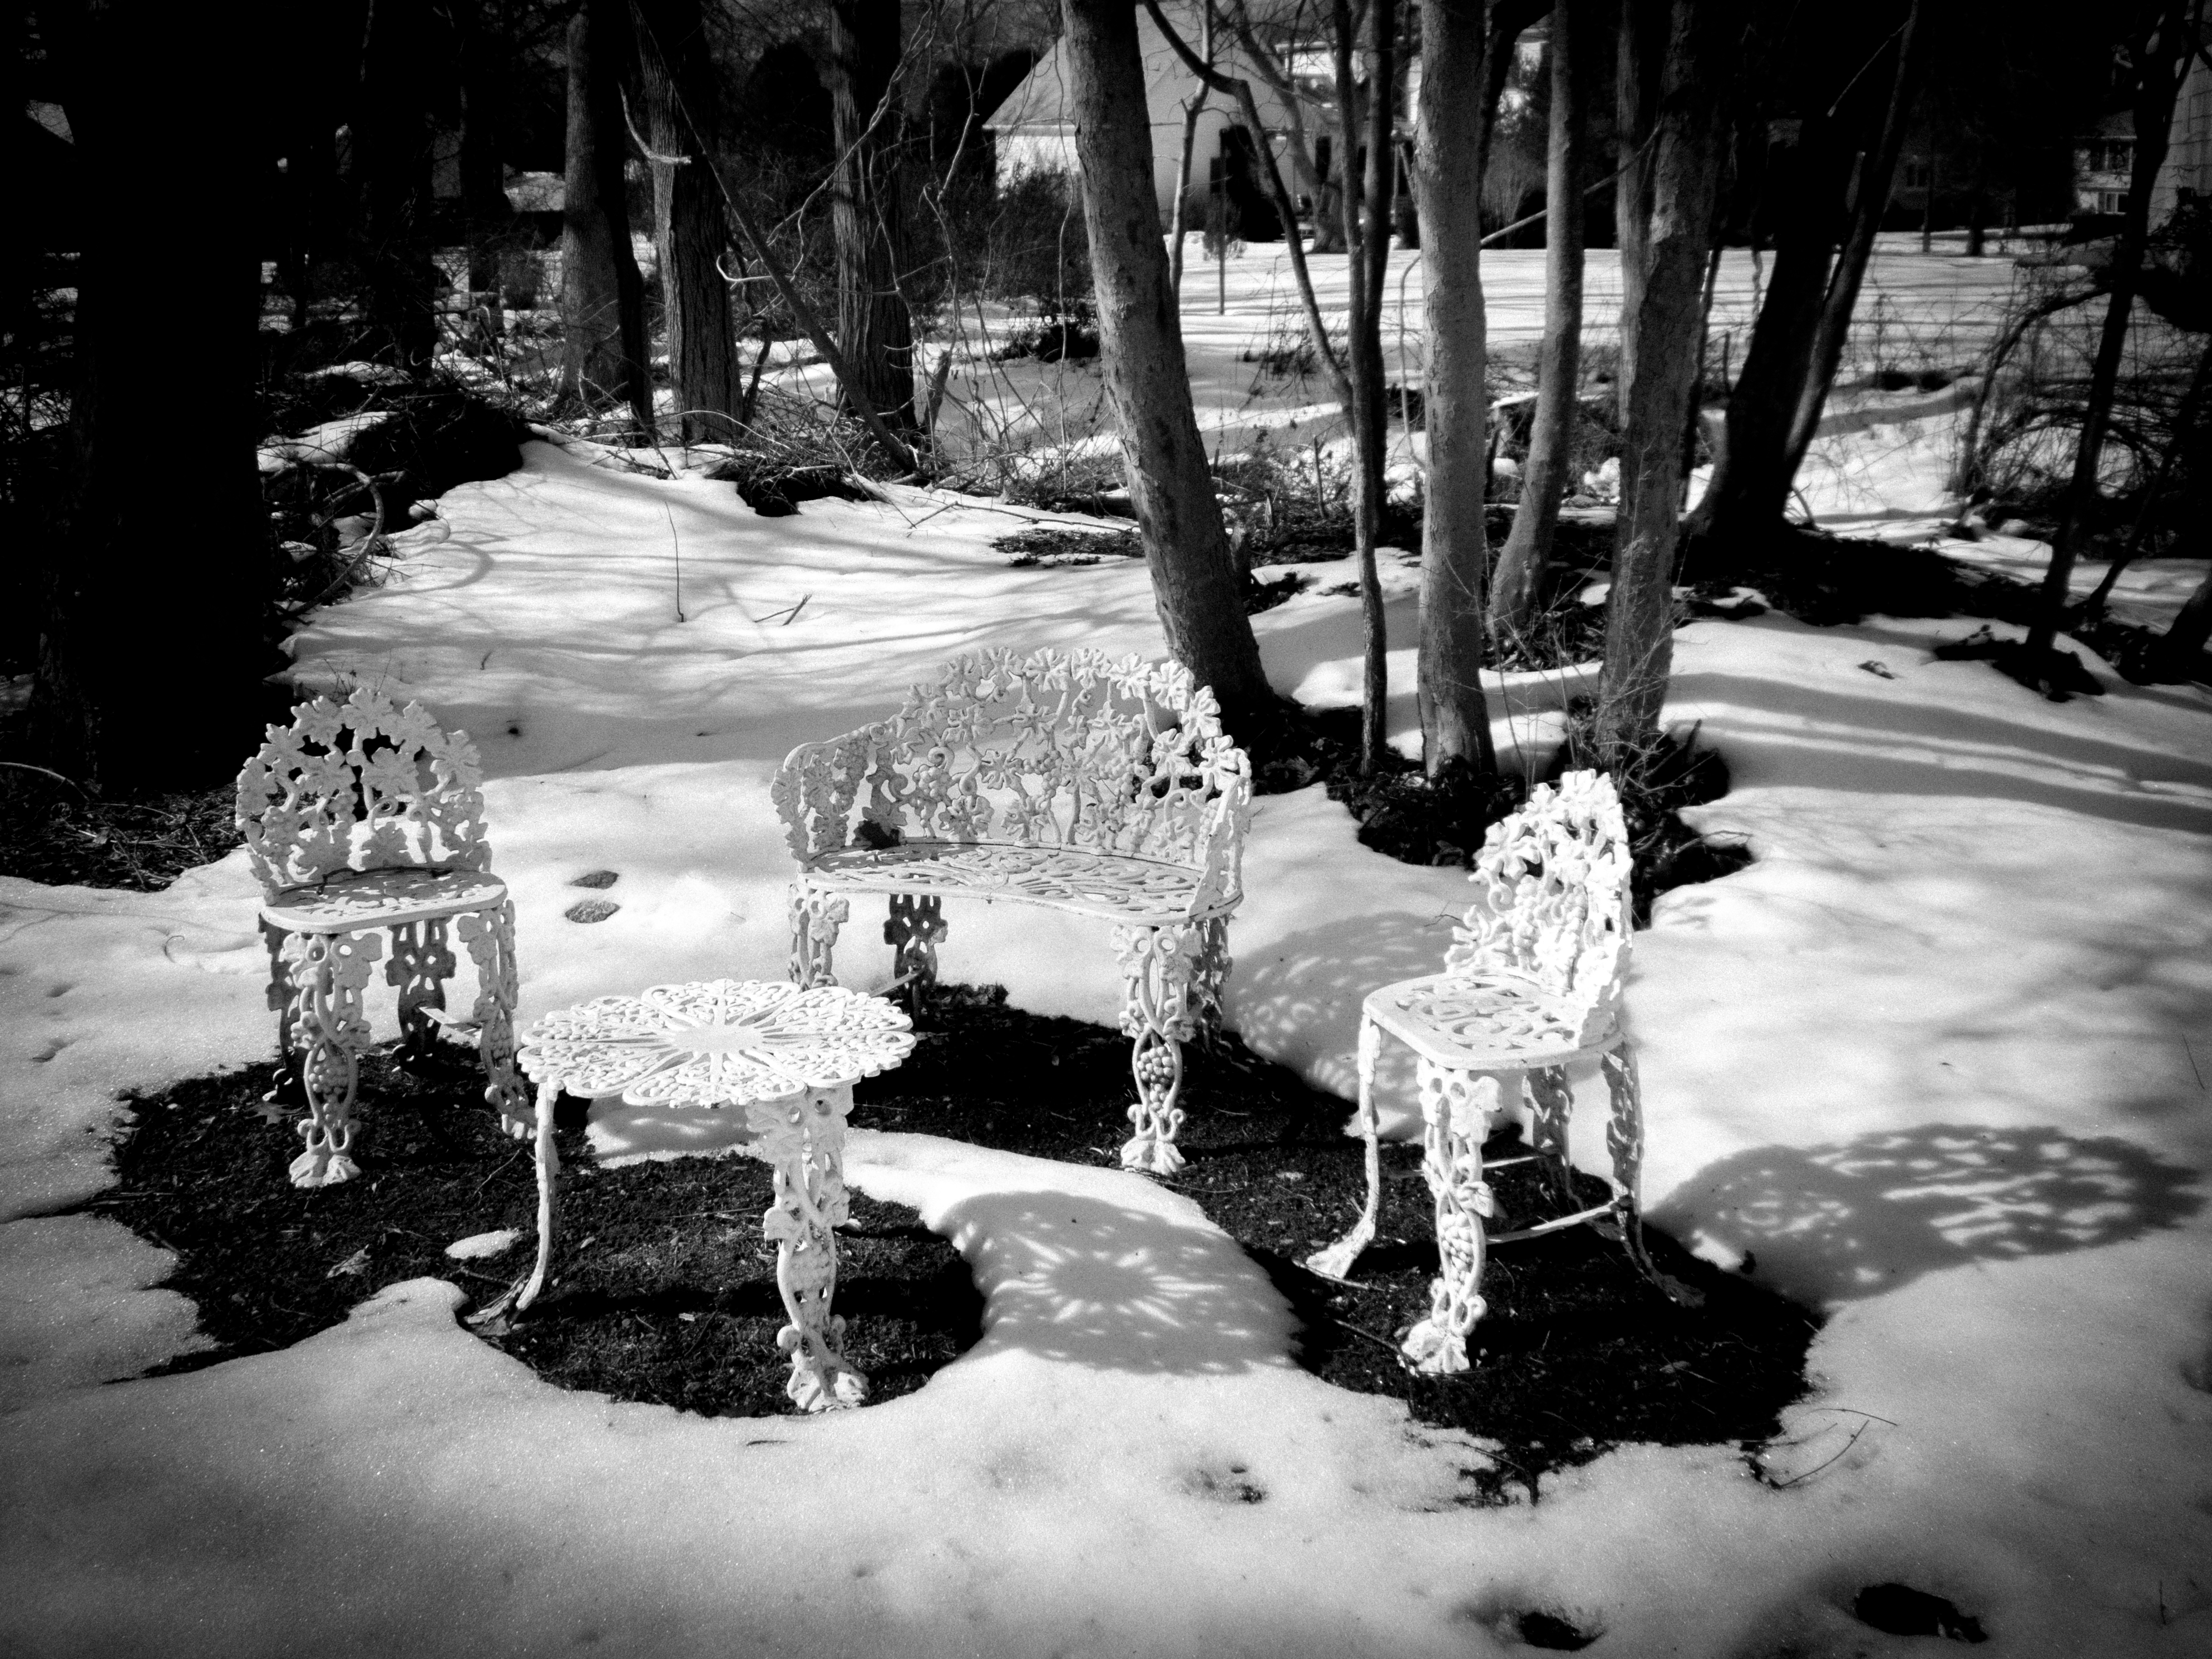
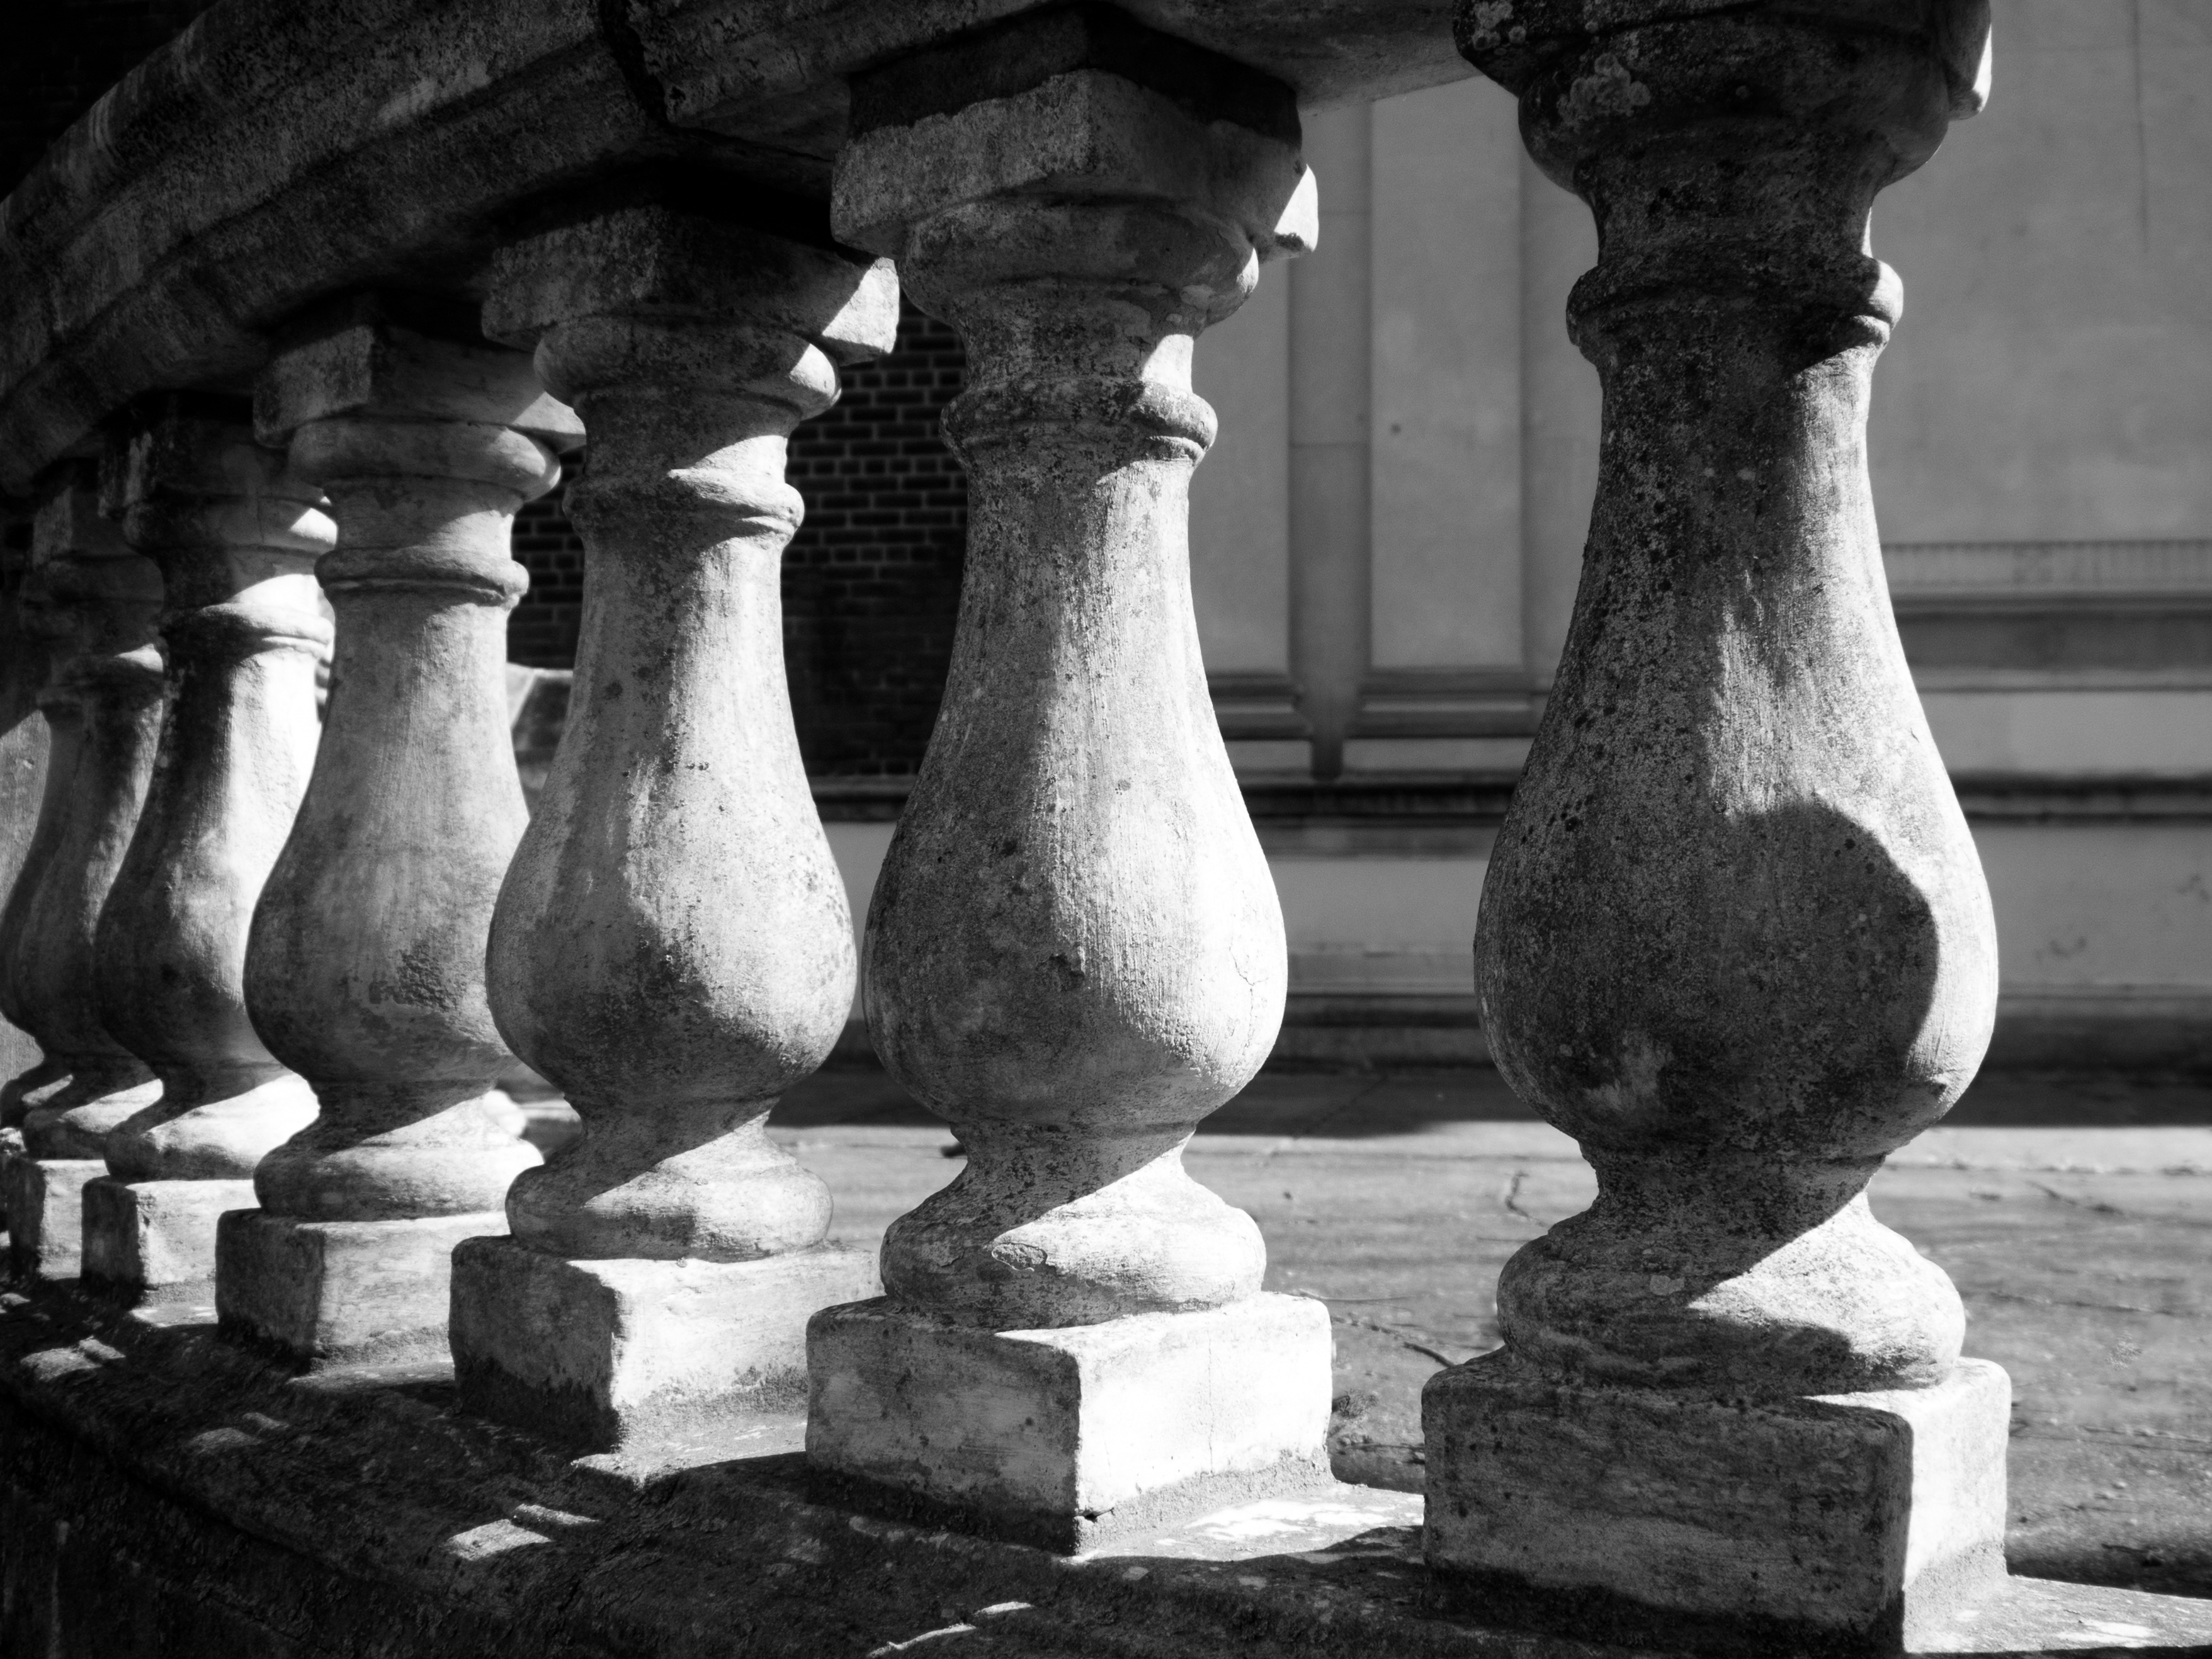
I walked around my neighborhood looking for lines and patterns. I first went to the train tracks, but where I live they are just in a straight line, which doesn’t give a very interesting leading line. Those shots wound up being unsuccessful. The sun was high in the sky, though, which made for lots of nice shadows. I sought out a few staircases that I thought would serve as a good subject. There were also a number of stone railings I liked. I converted all the shots to black and white since the pattern and texture were the focus.

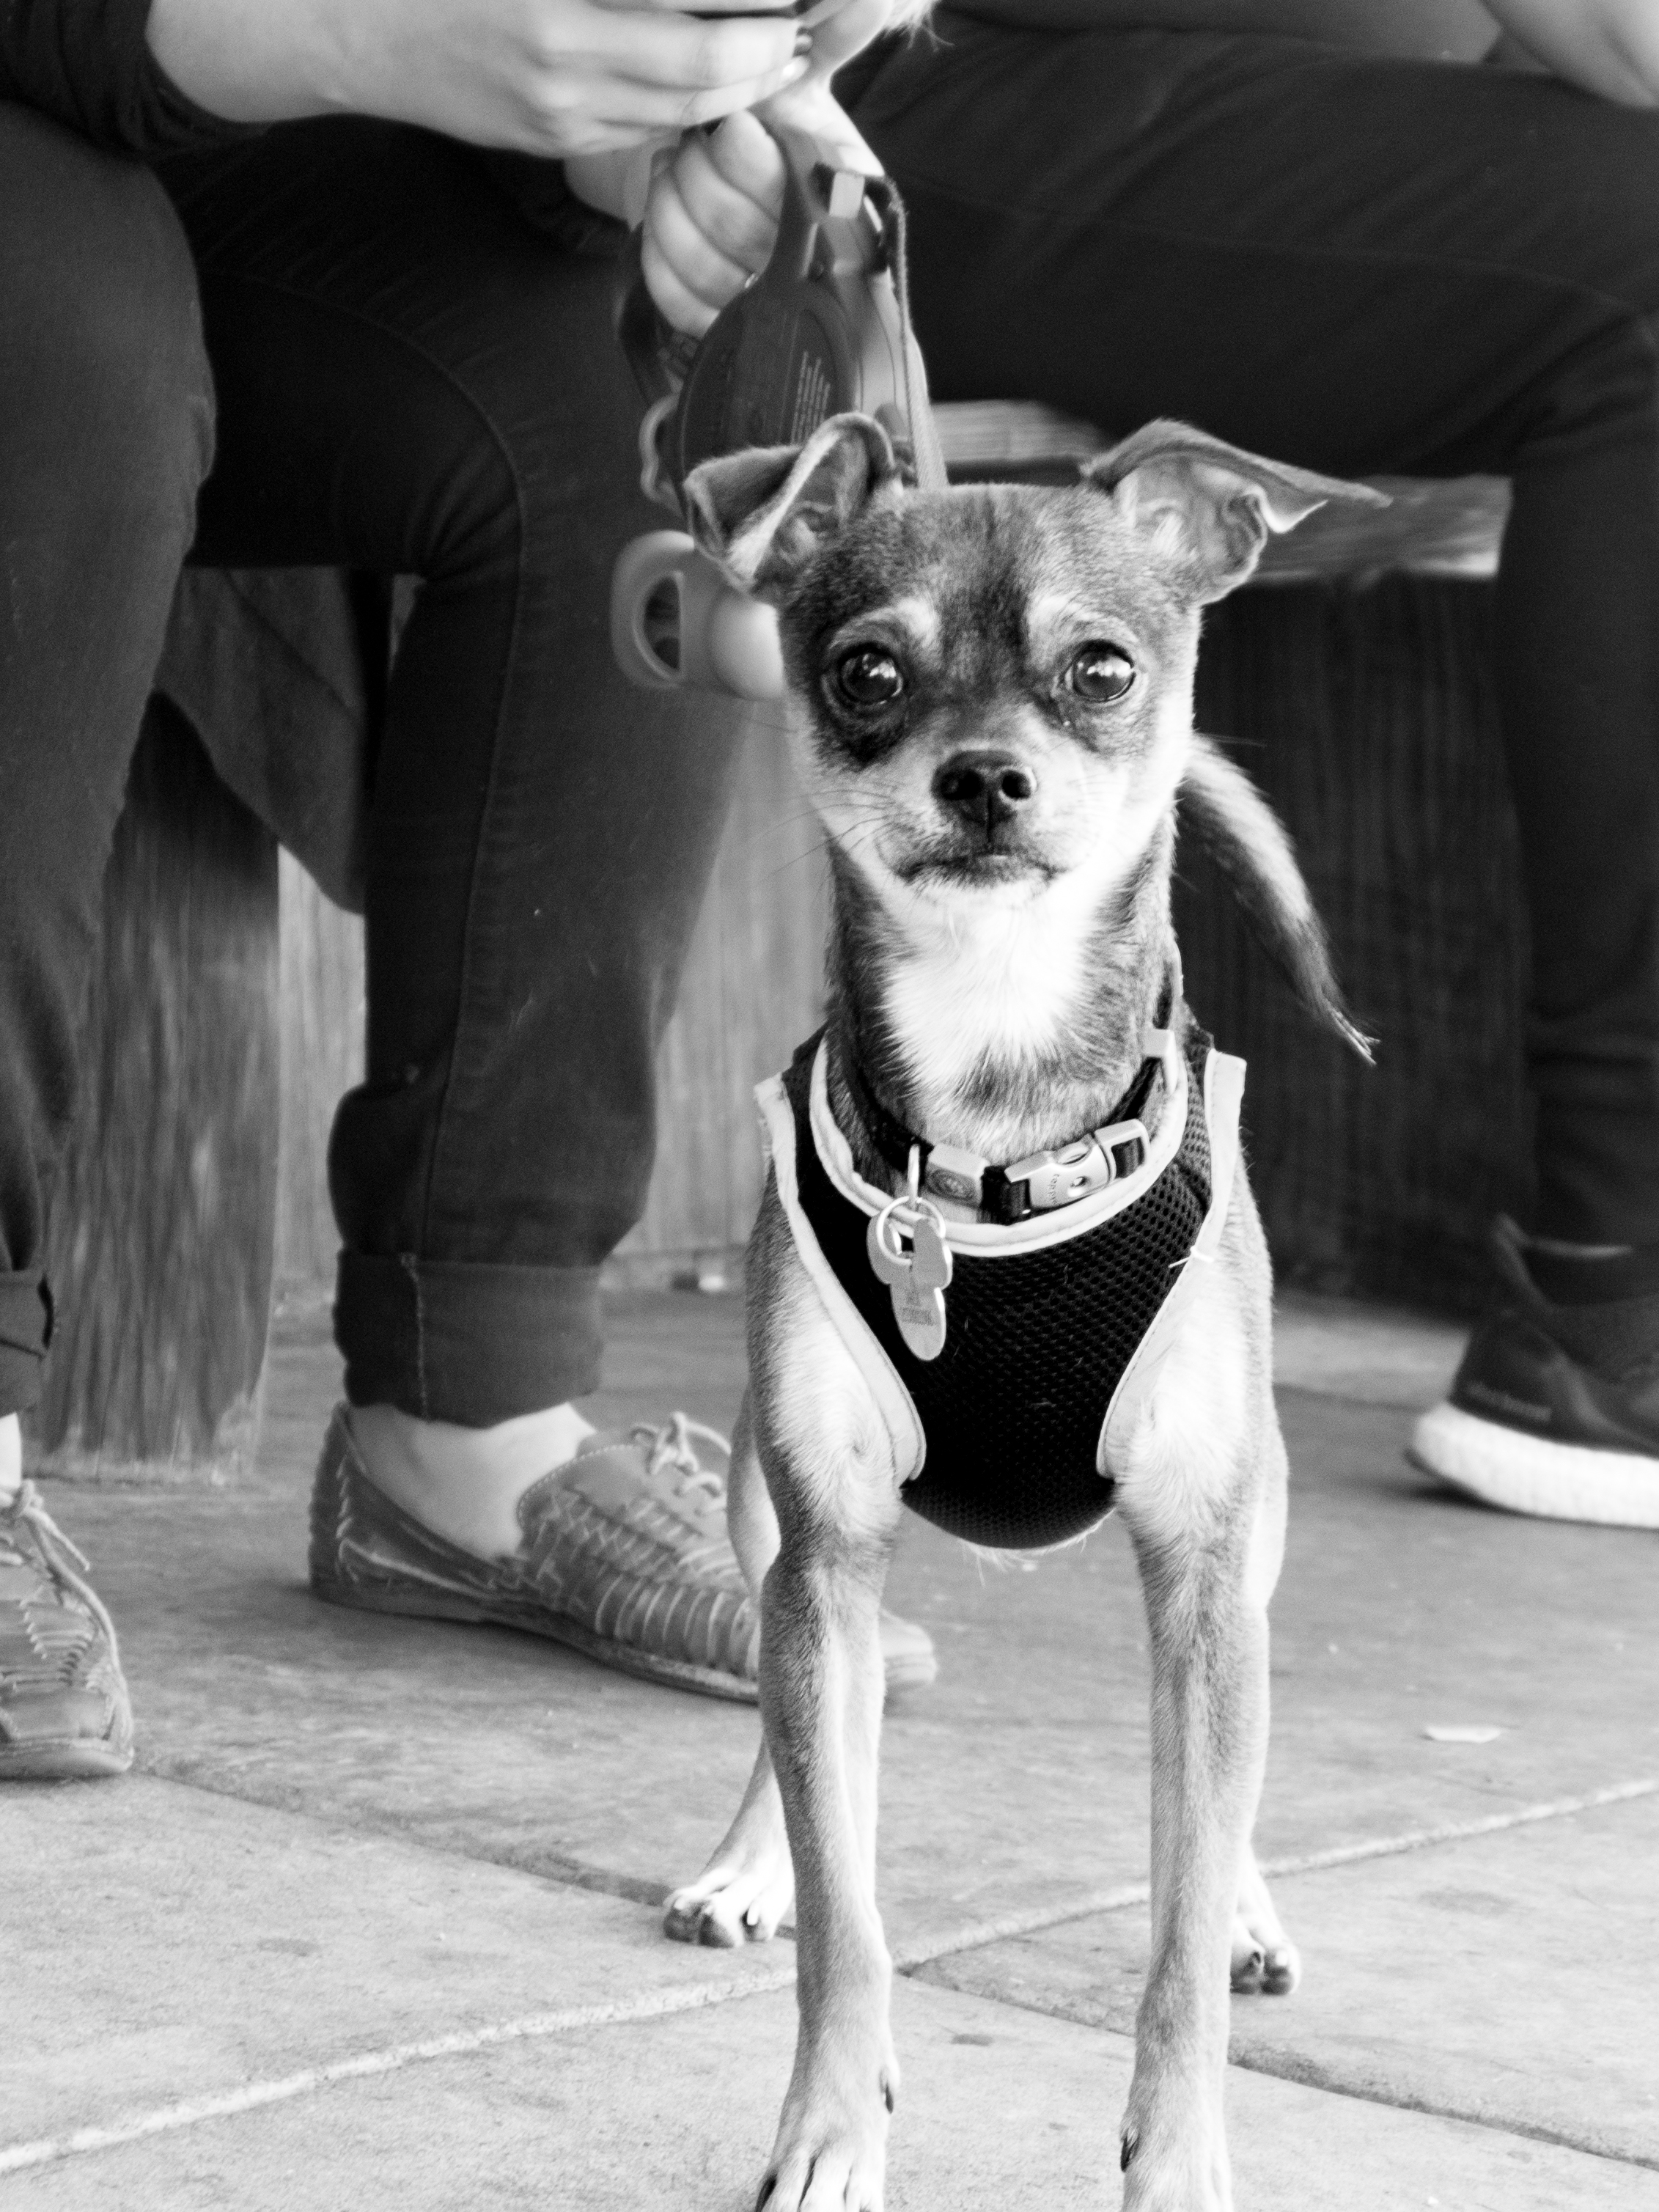
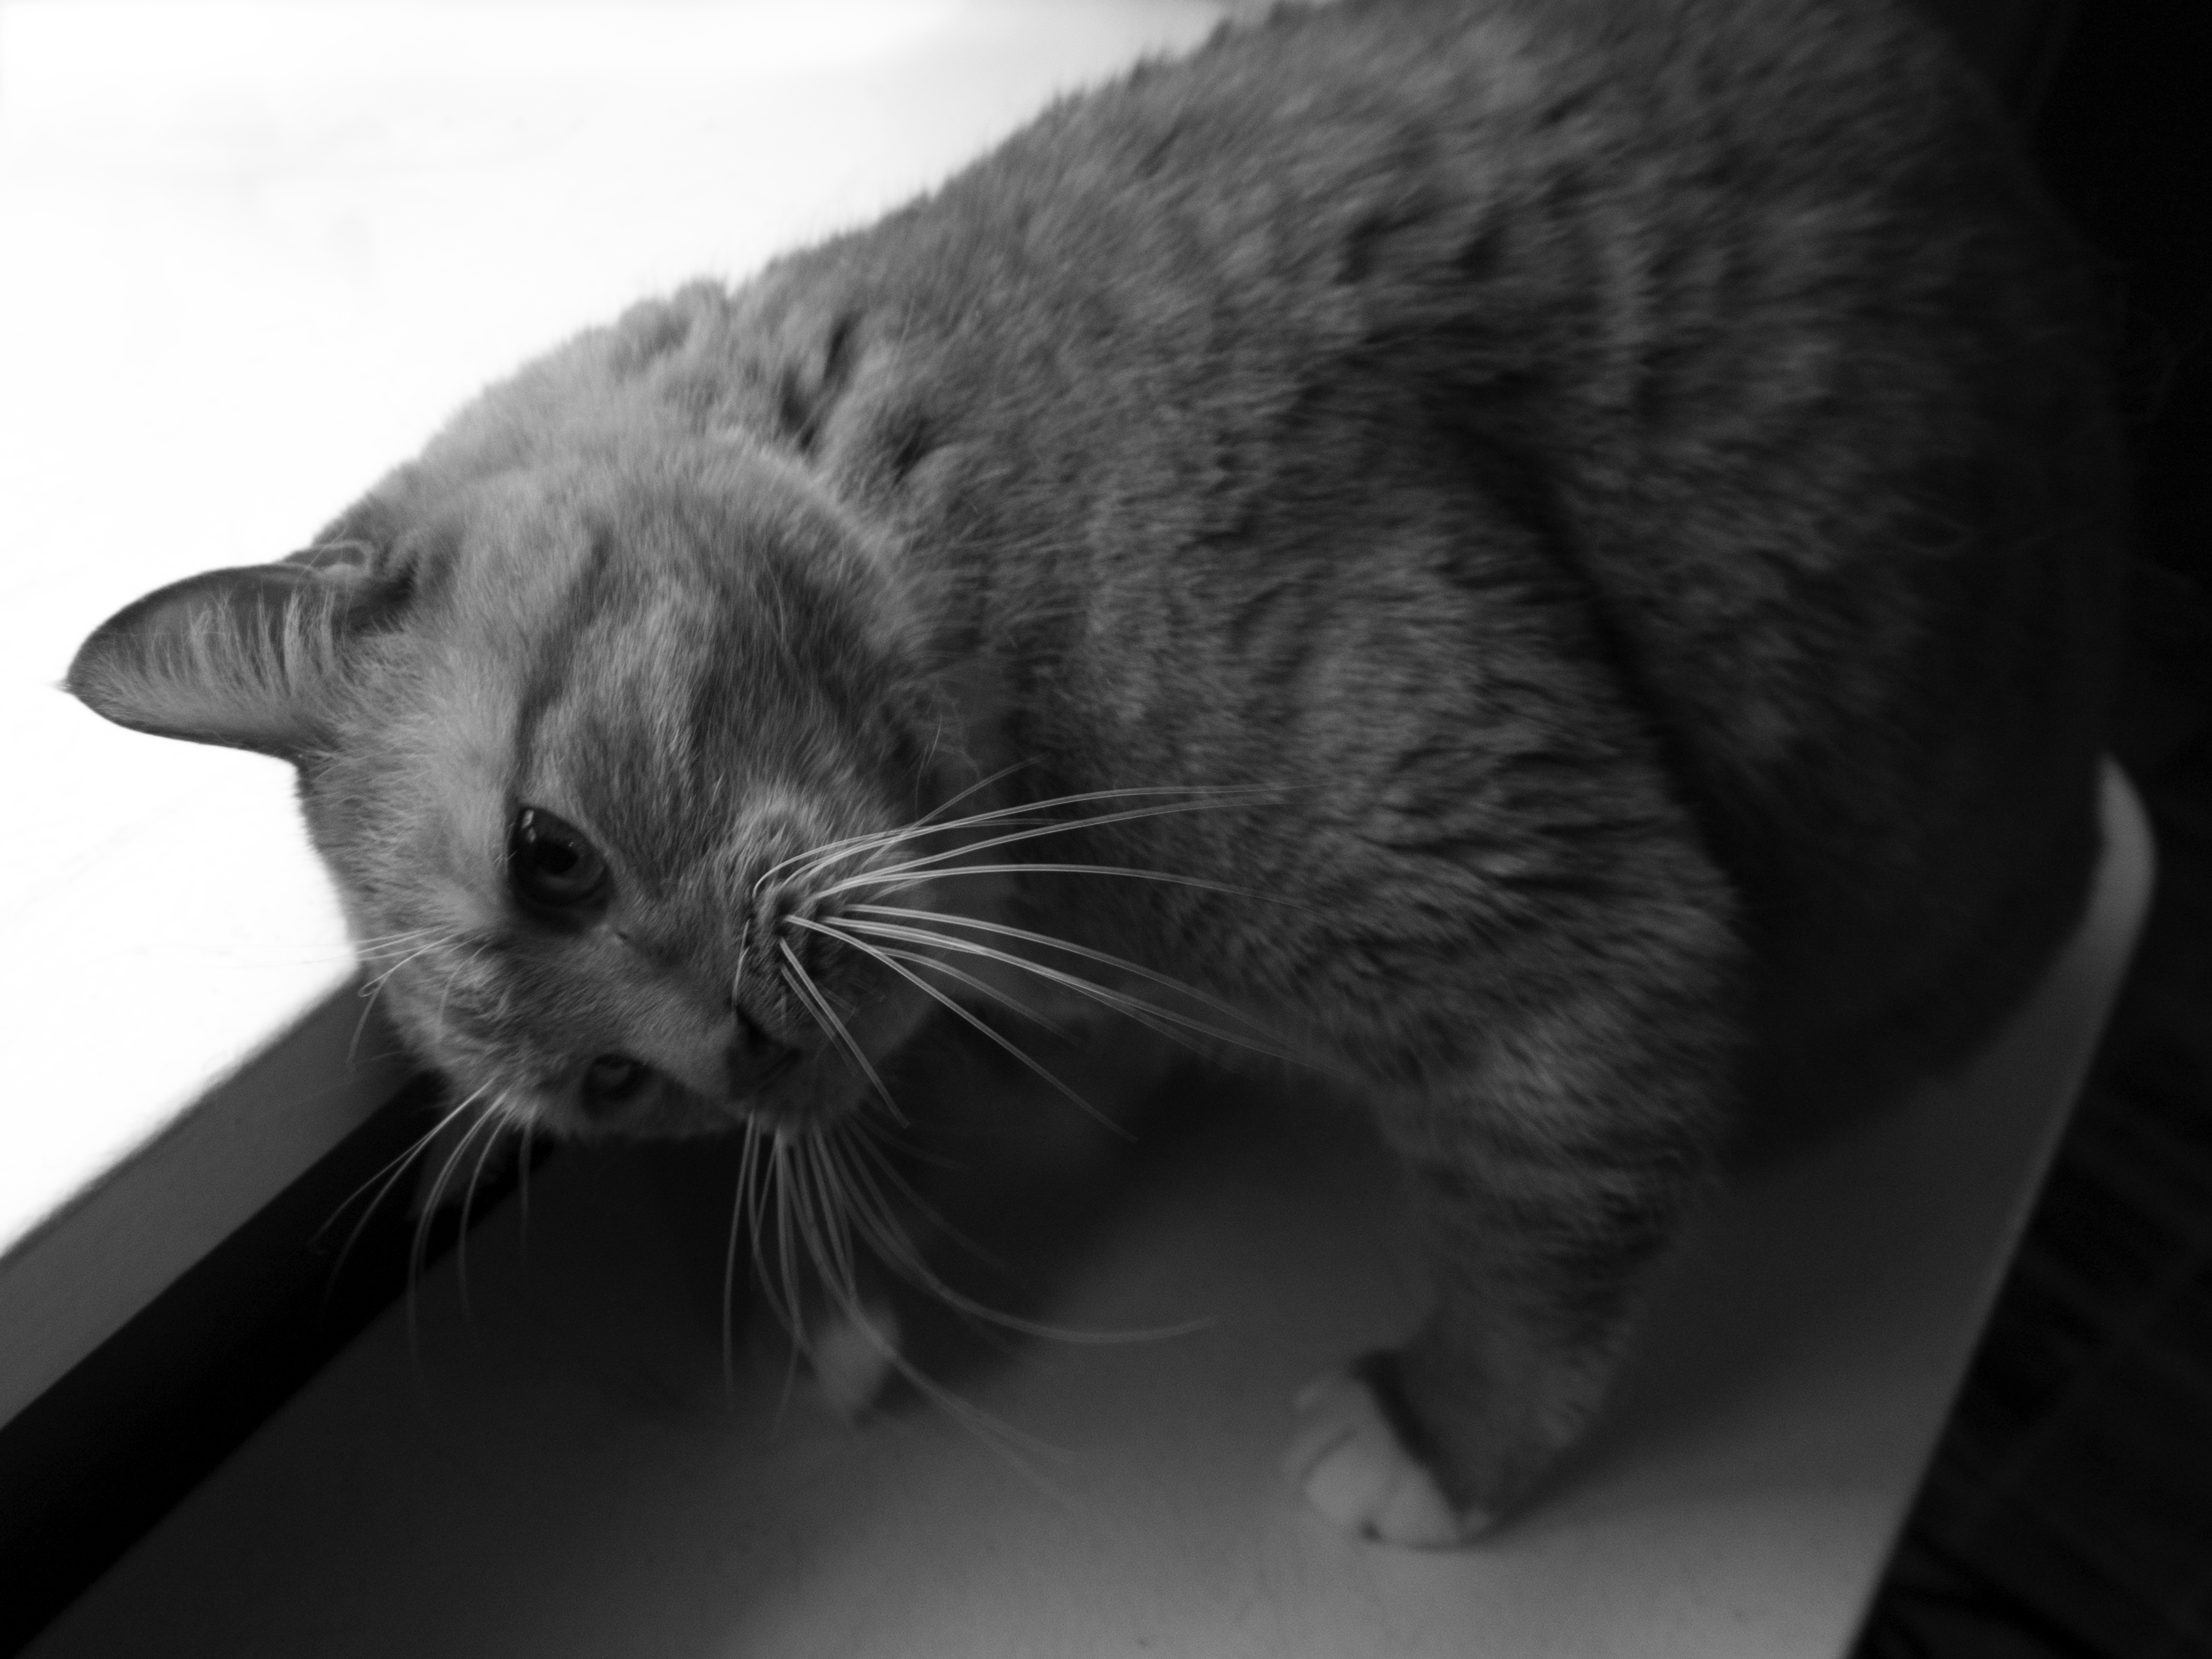
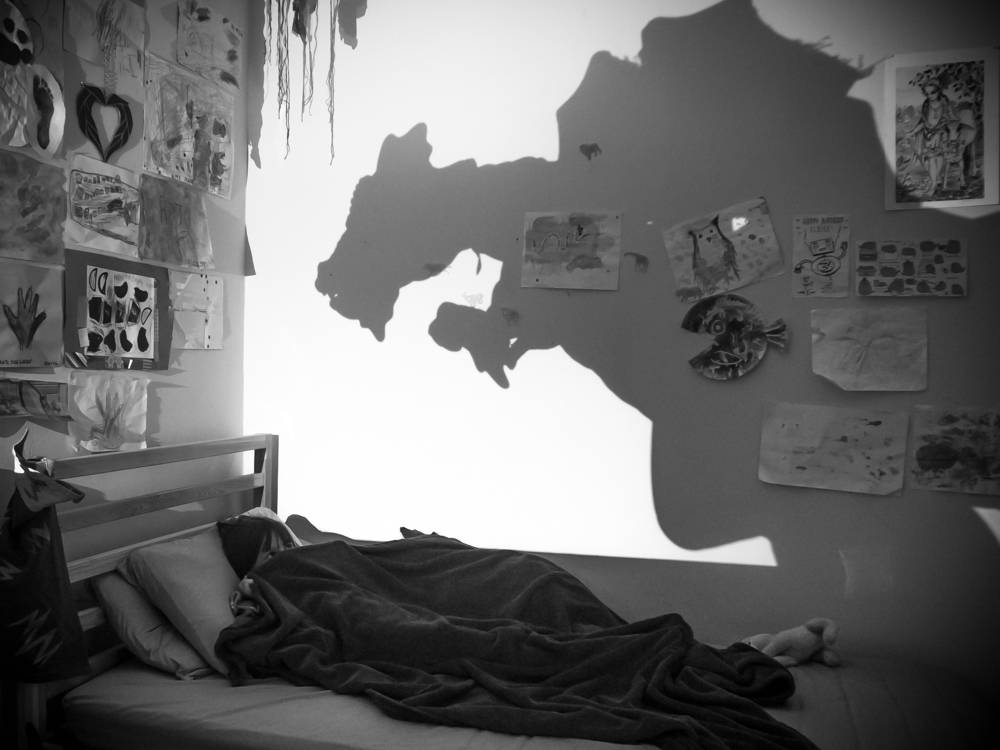
This was actually an old shot from my phone that I loved but found no use for.

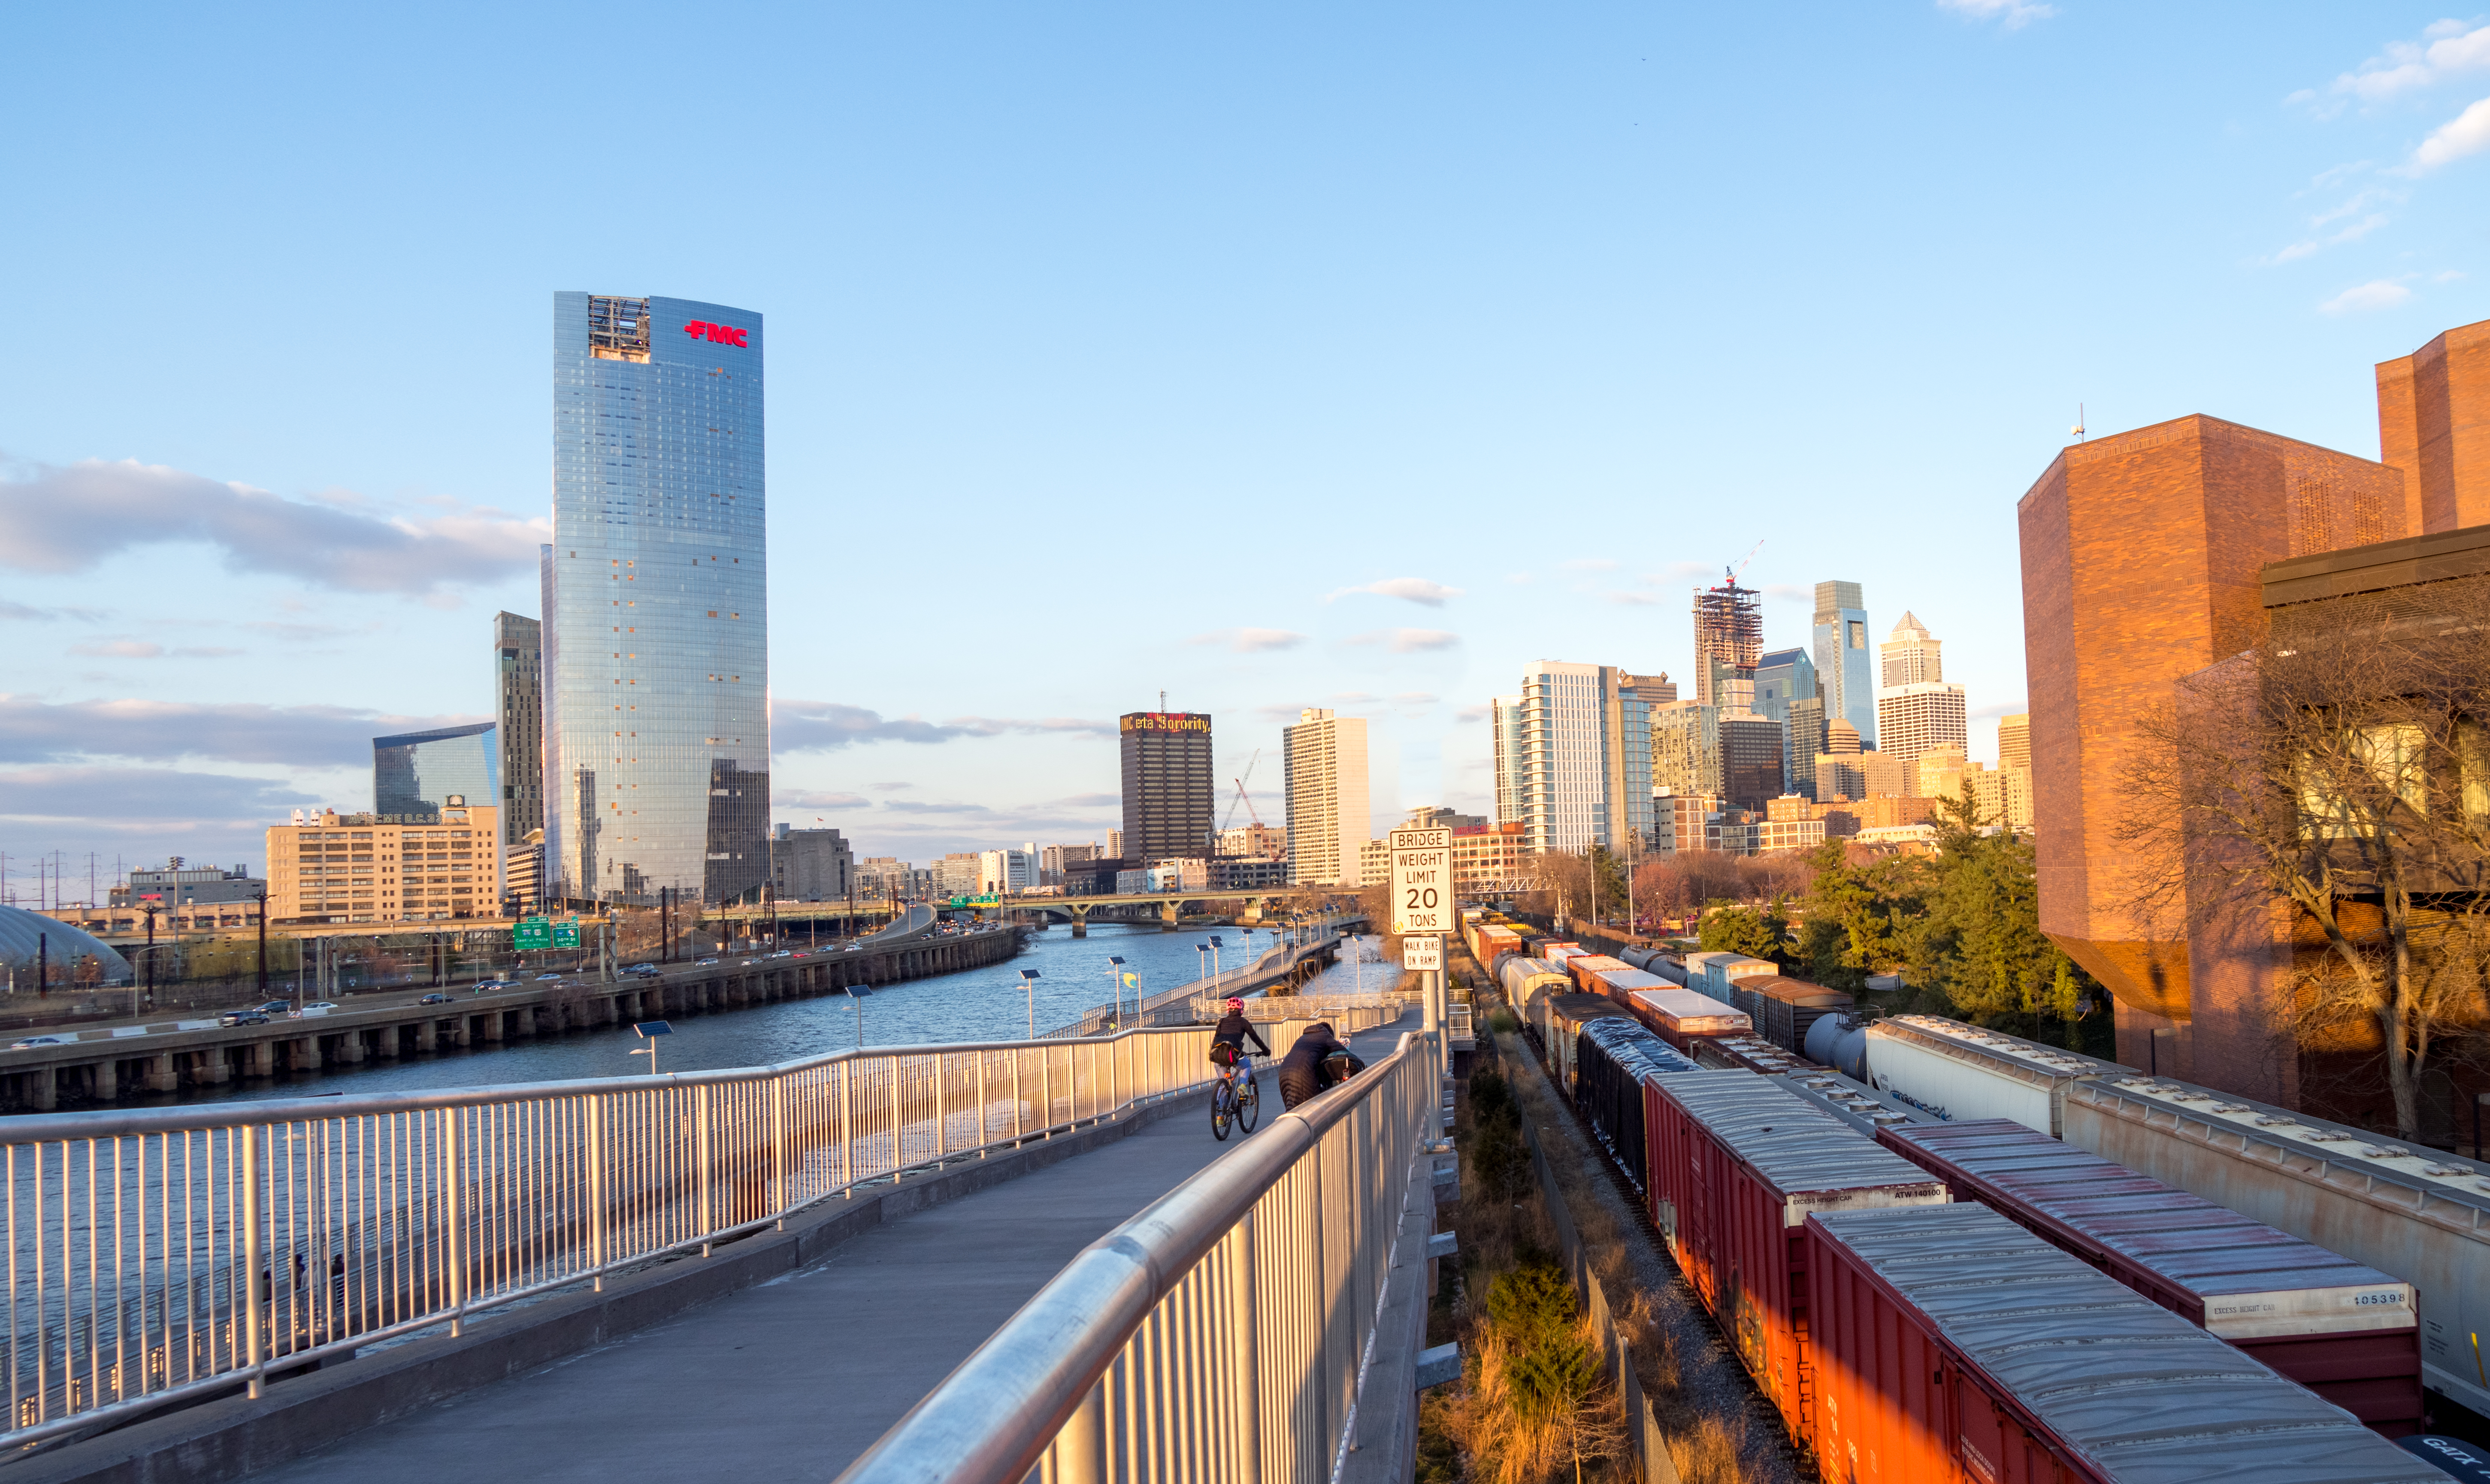
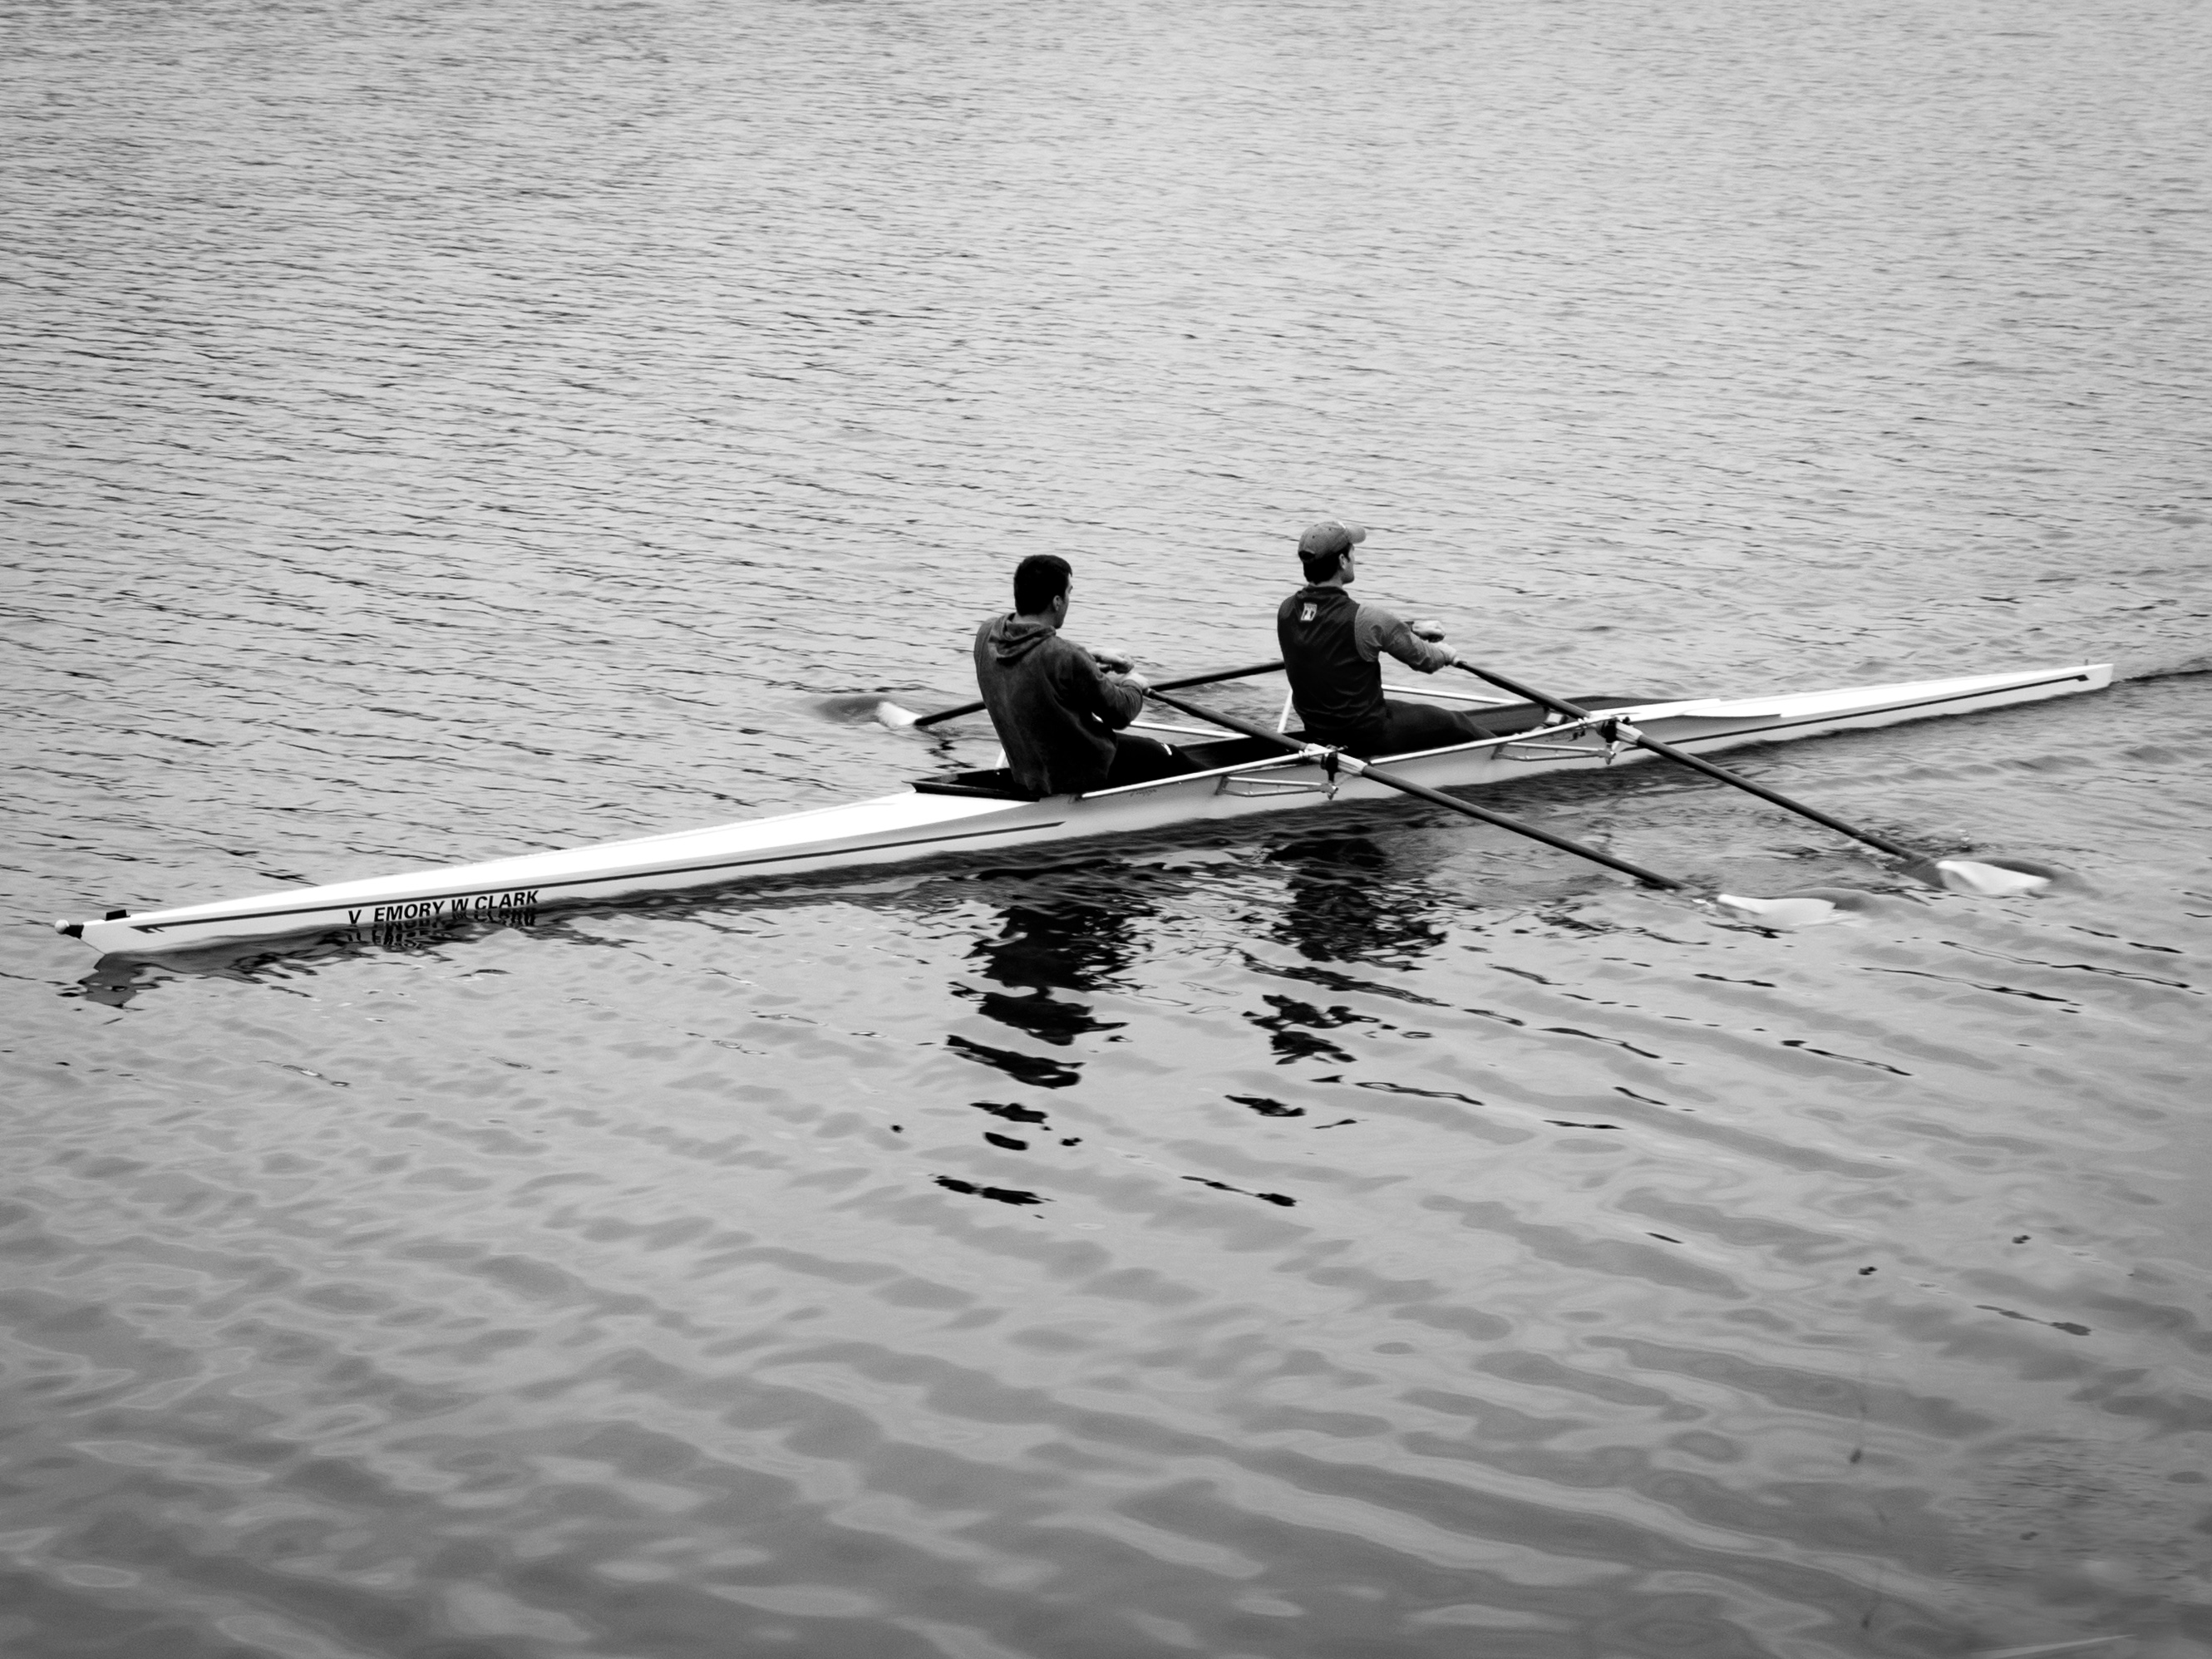
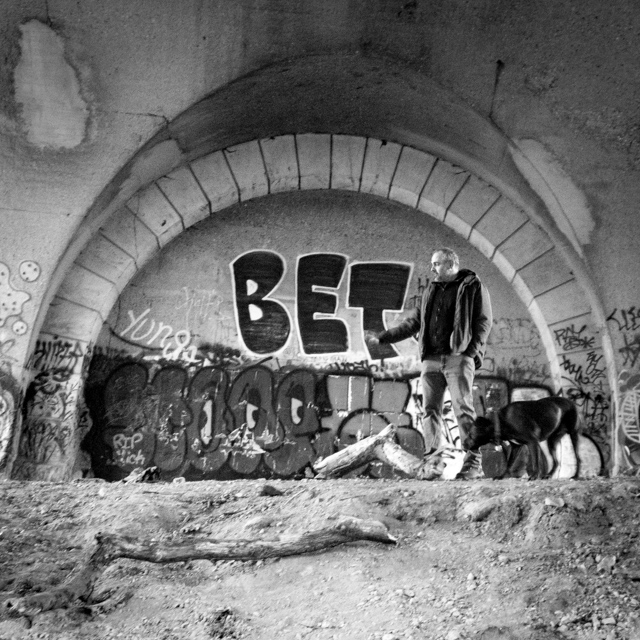
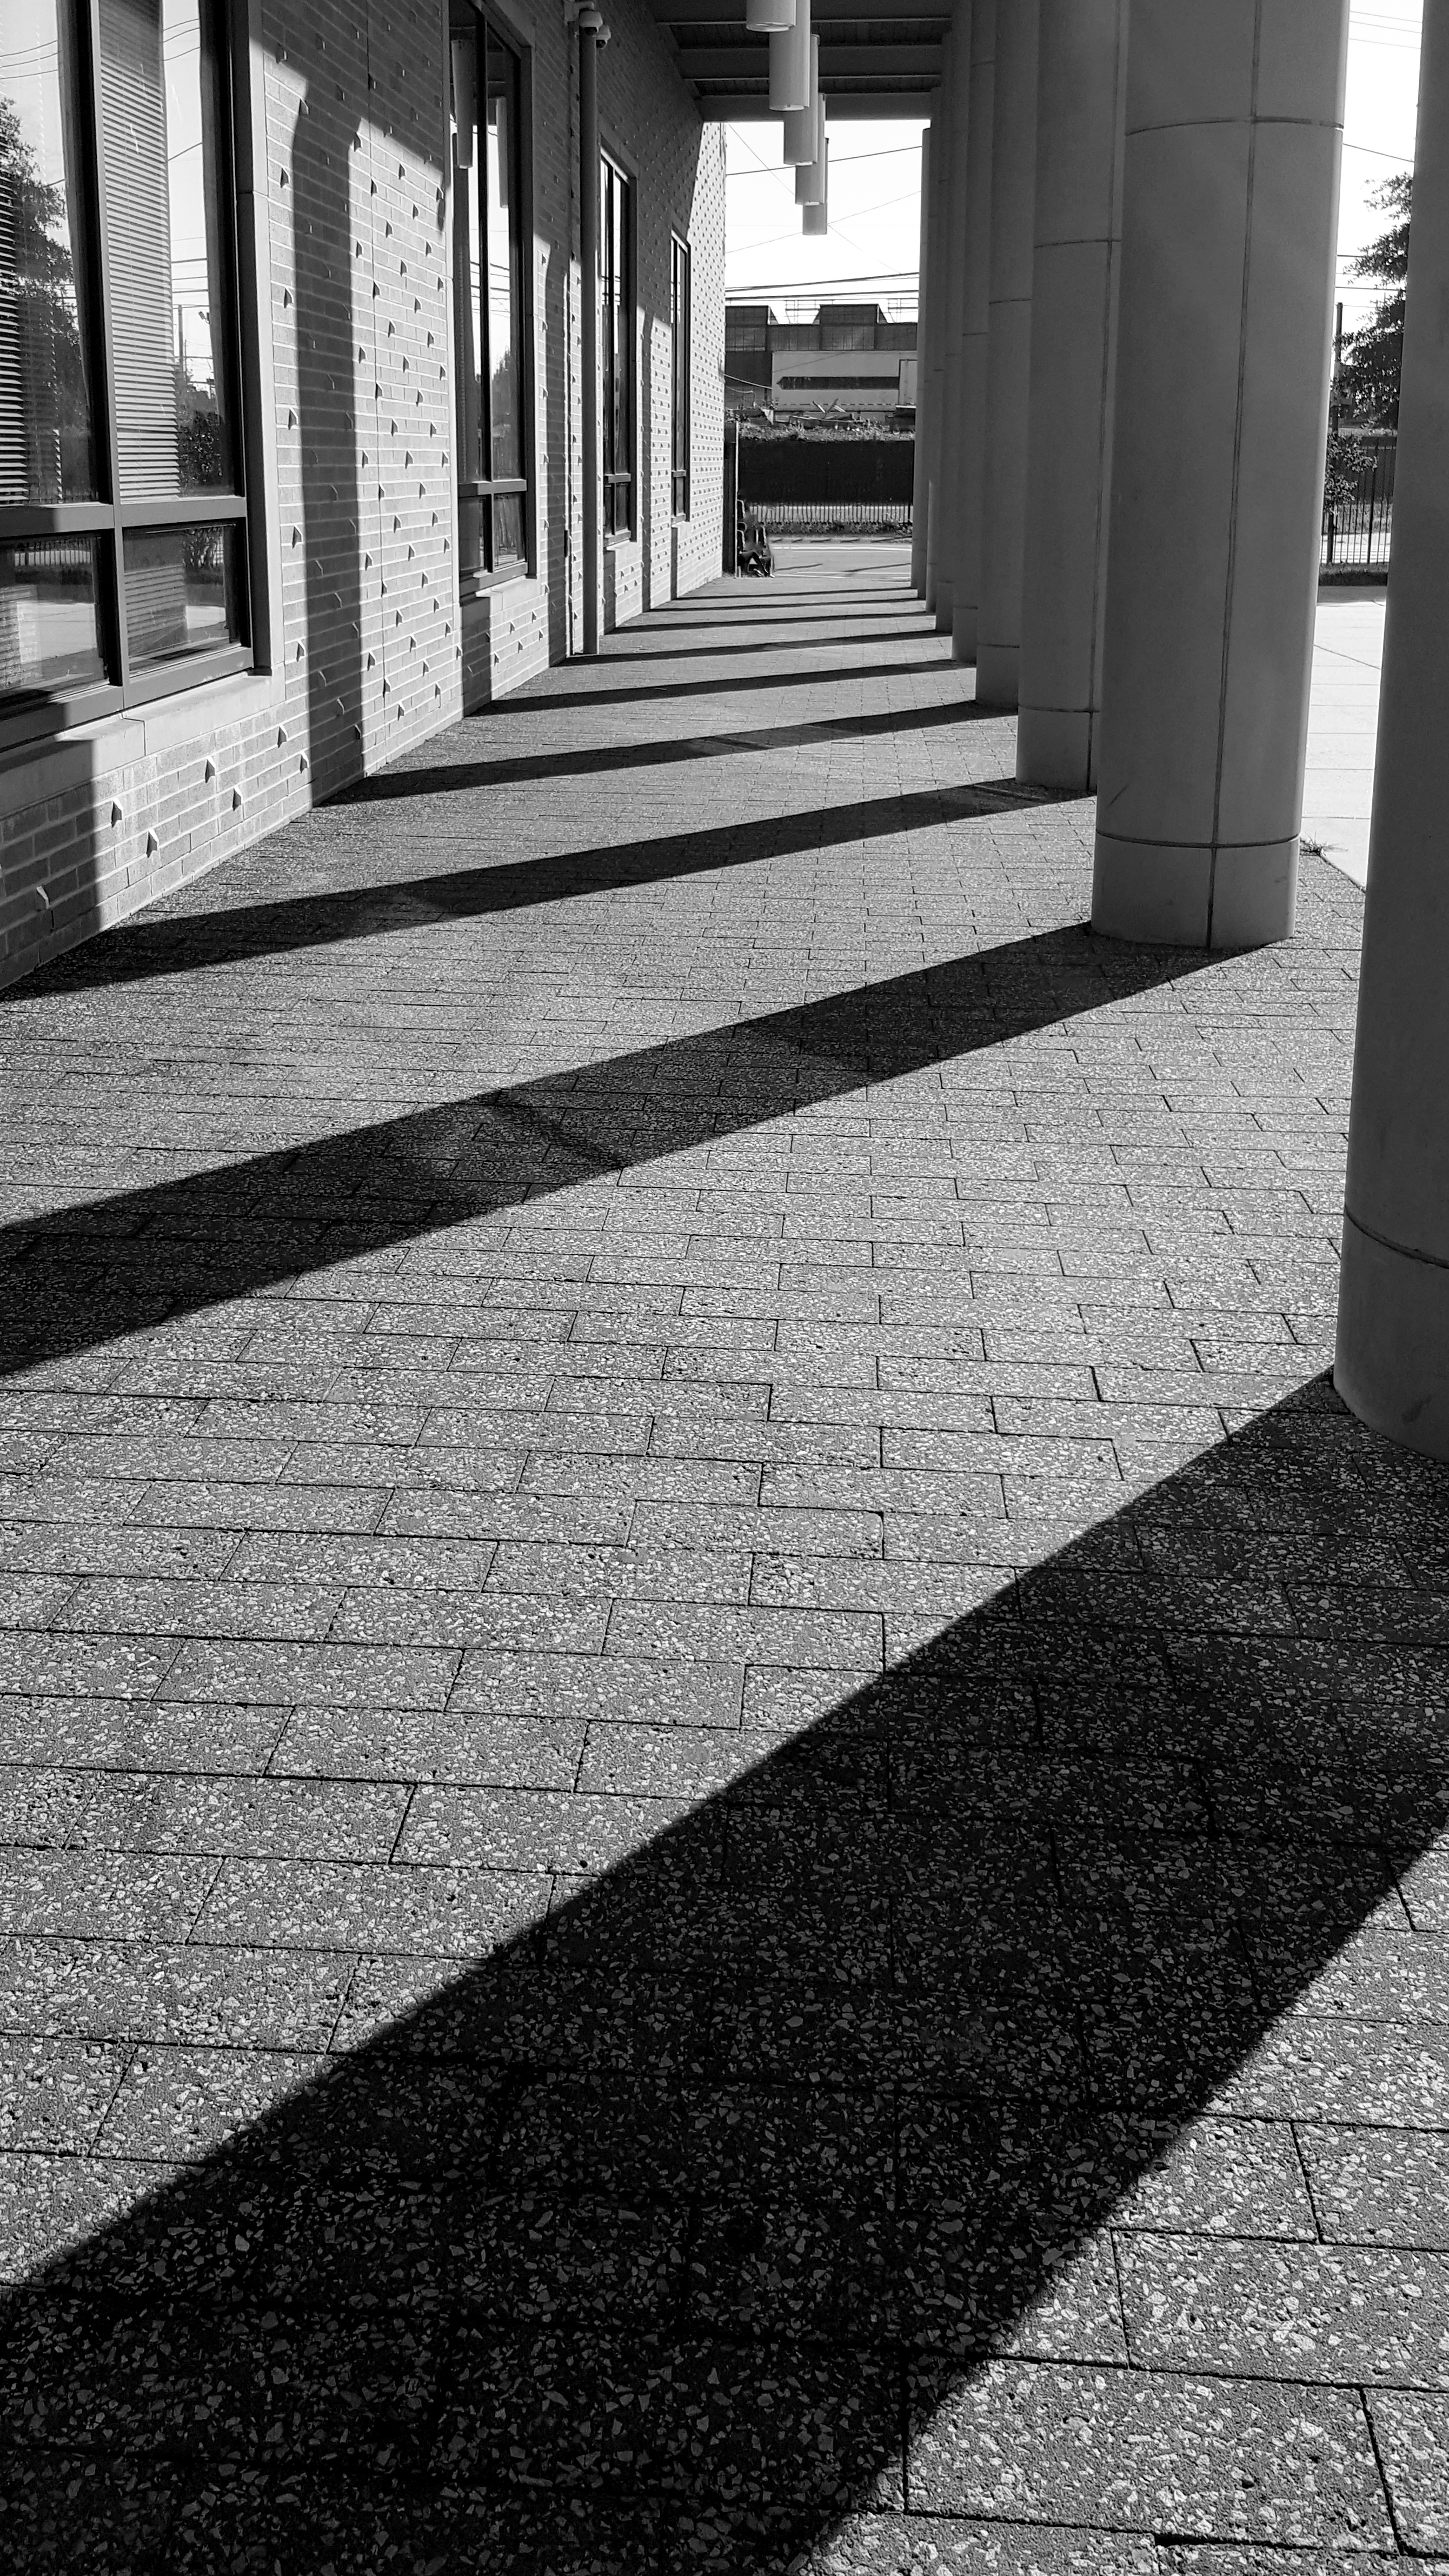
There is a person sitting at the end, but I wish they were larger in the frame.


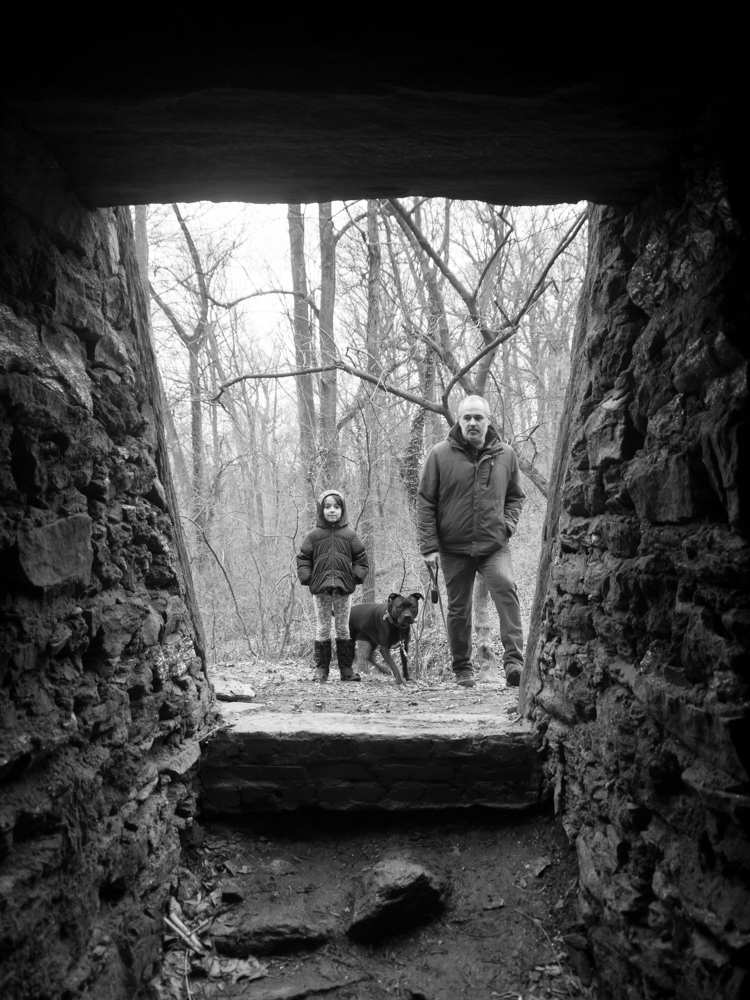
This is a spot I’ve shot before, in my post on architecture. I think this crop works a bit better.

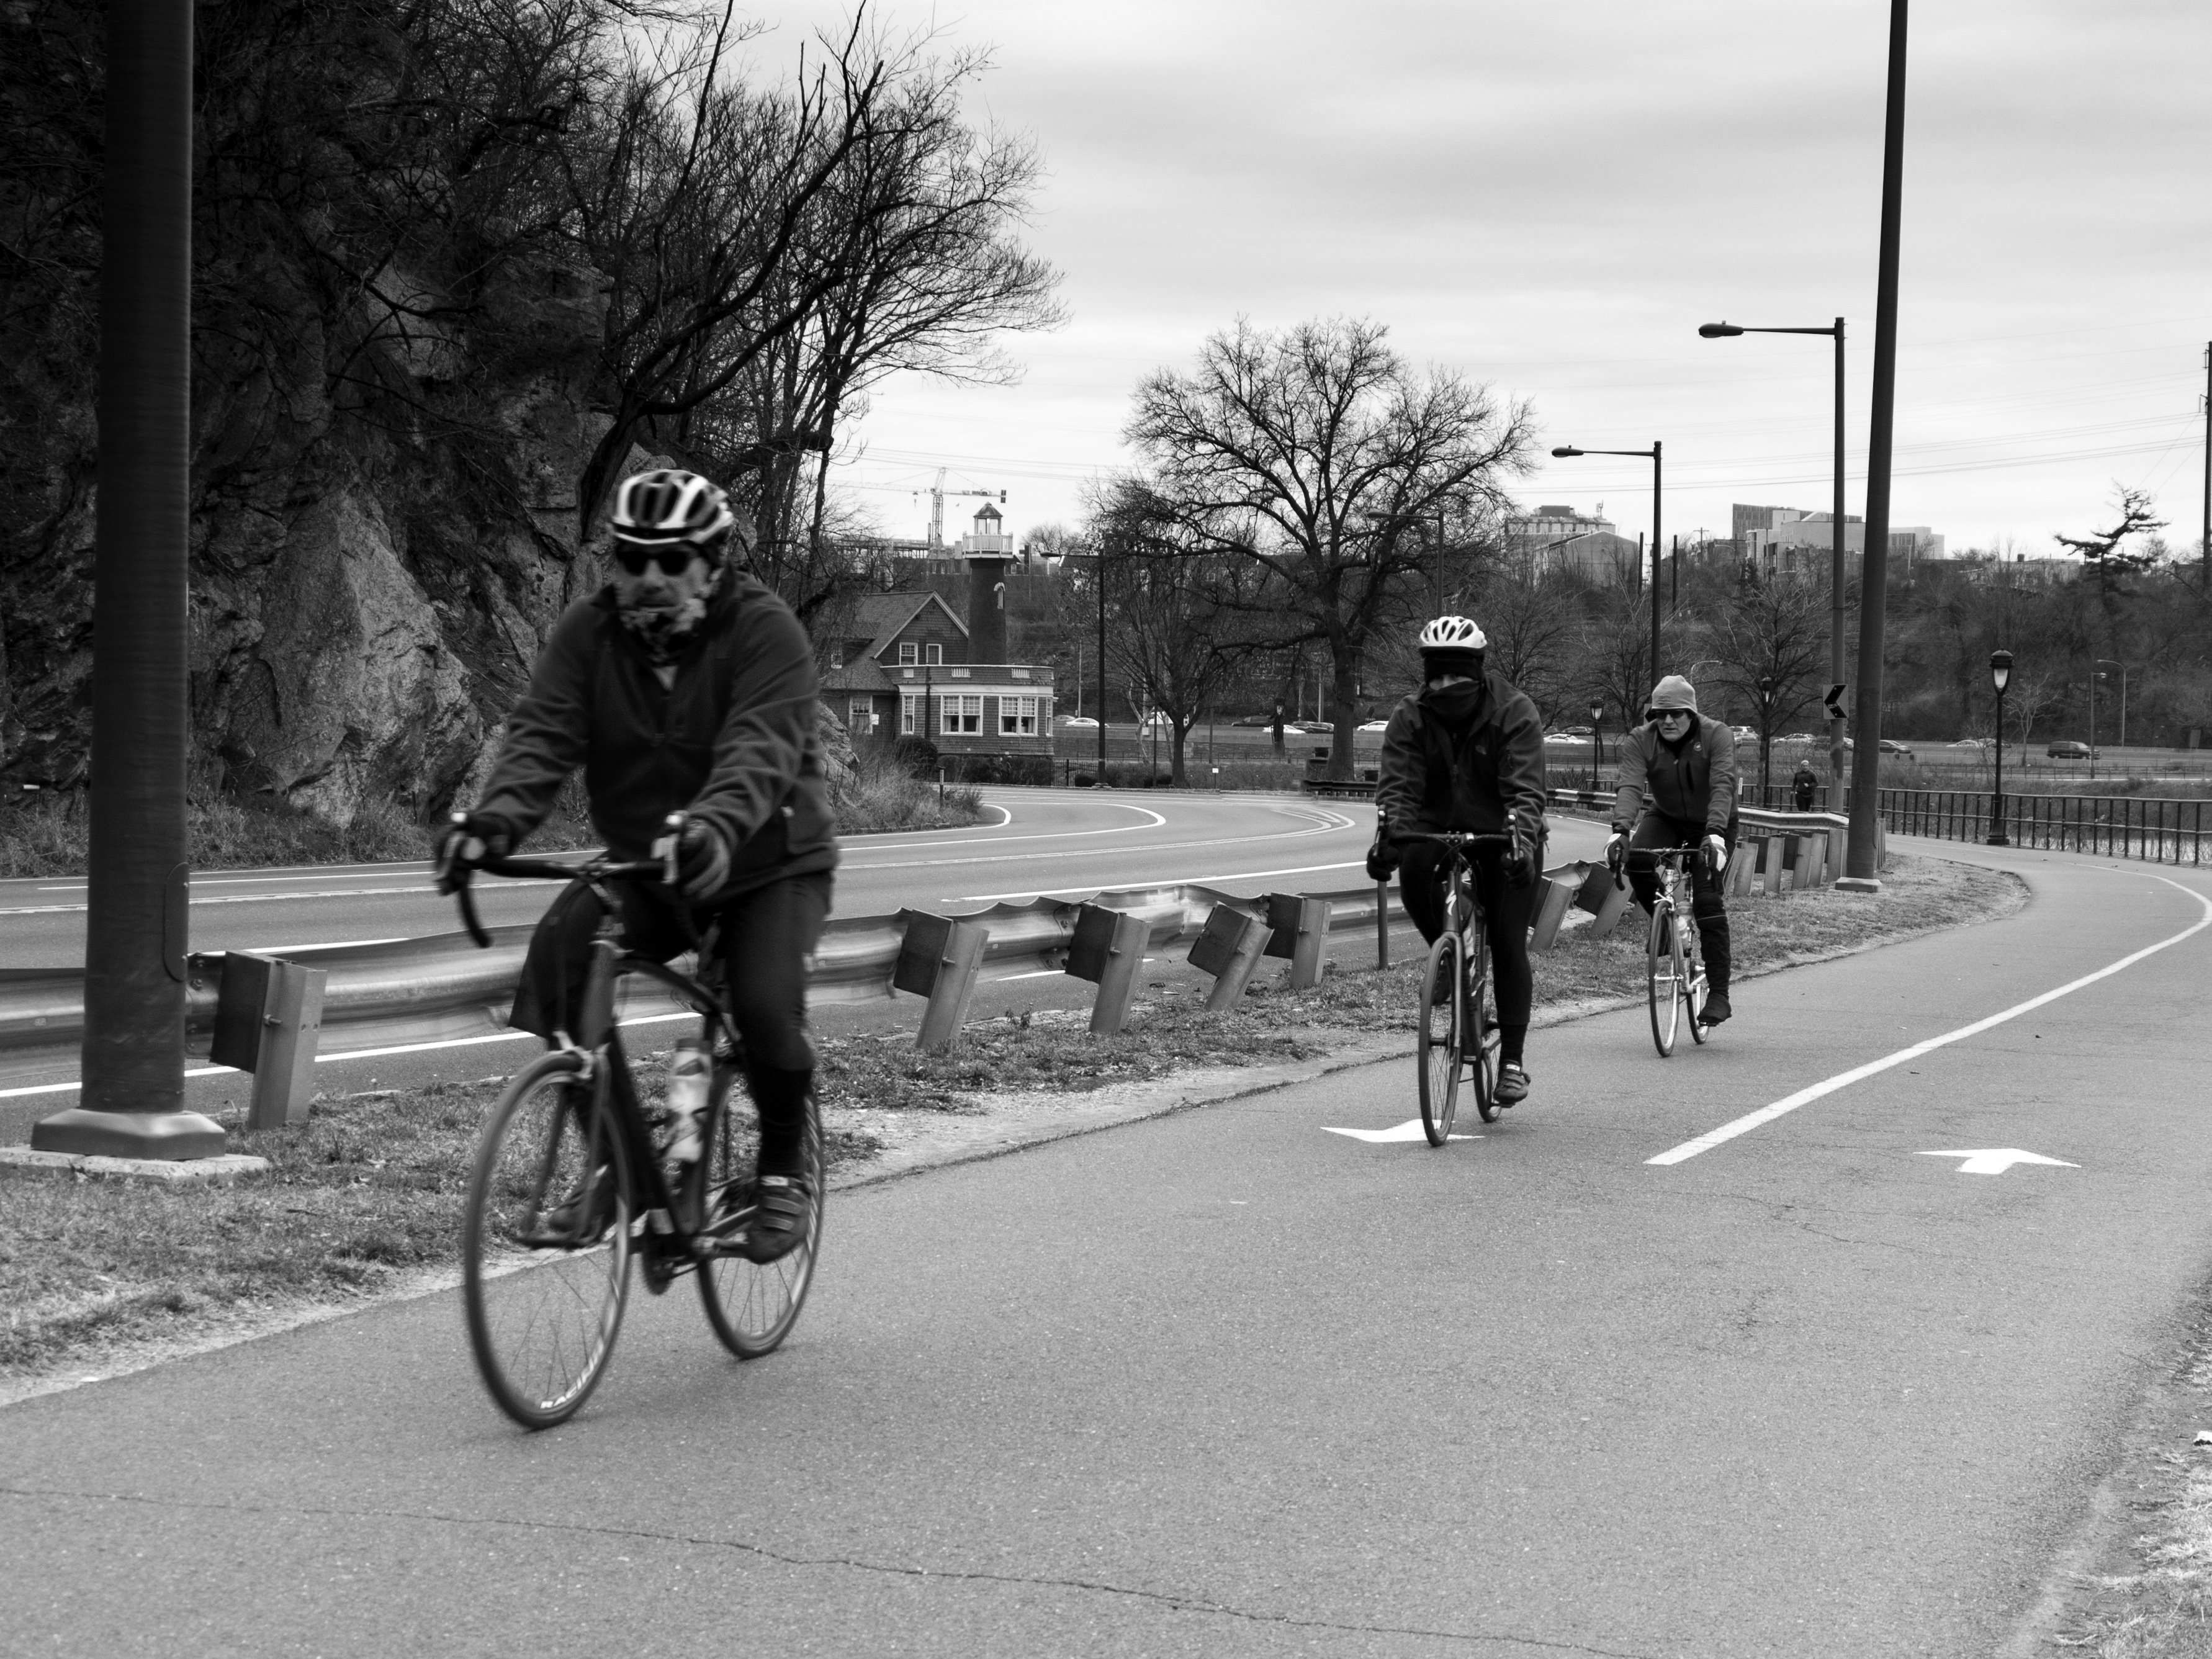
f/3.5, 1/800th for some reason, ISO 200.


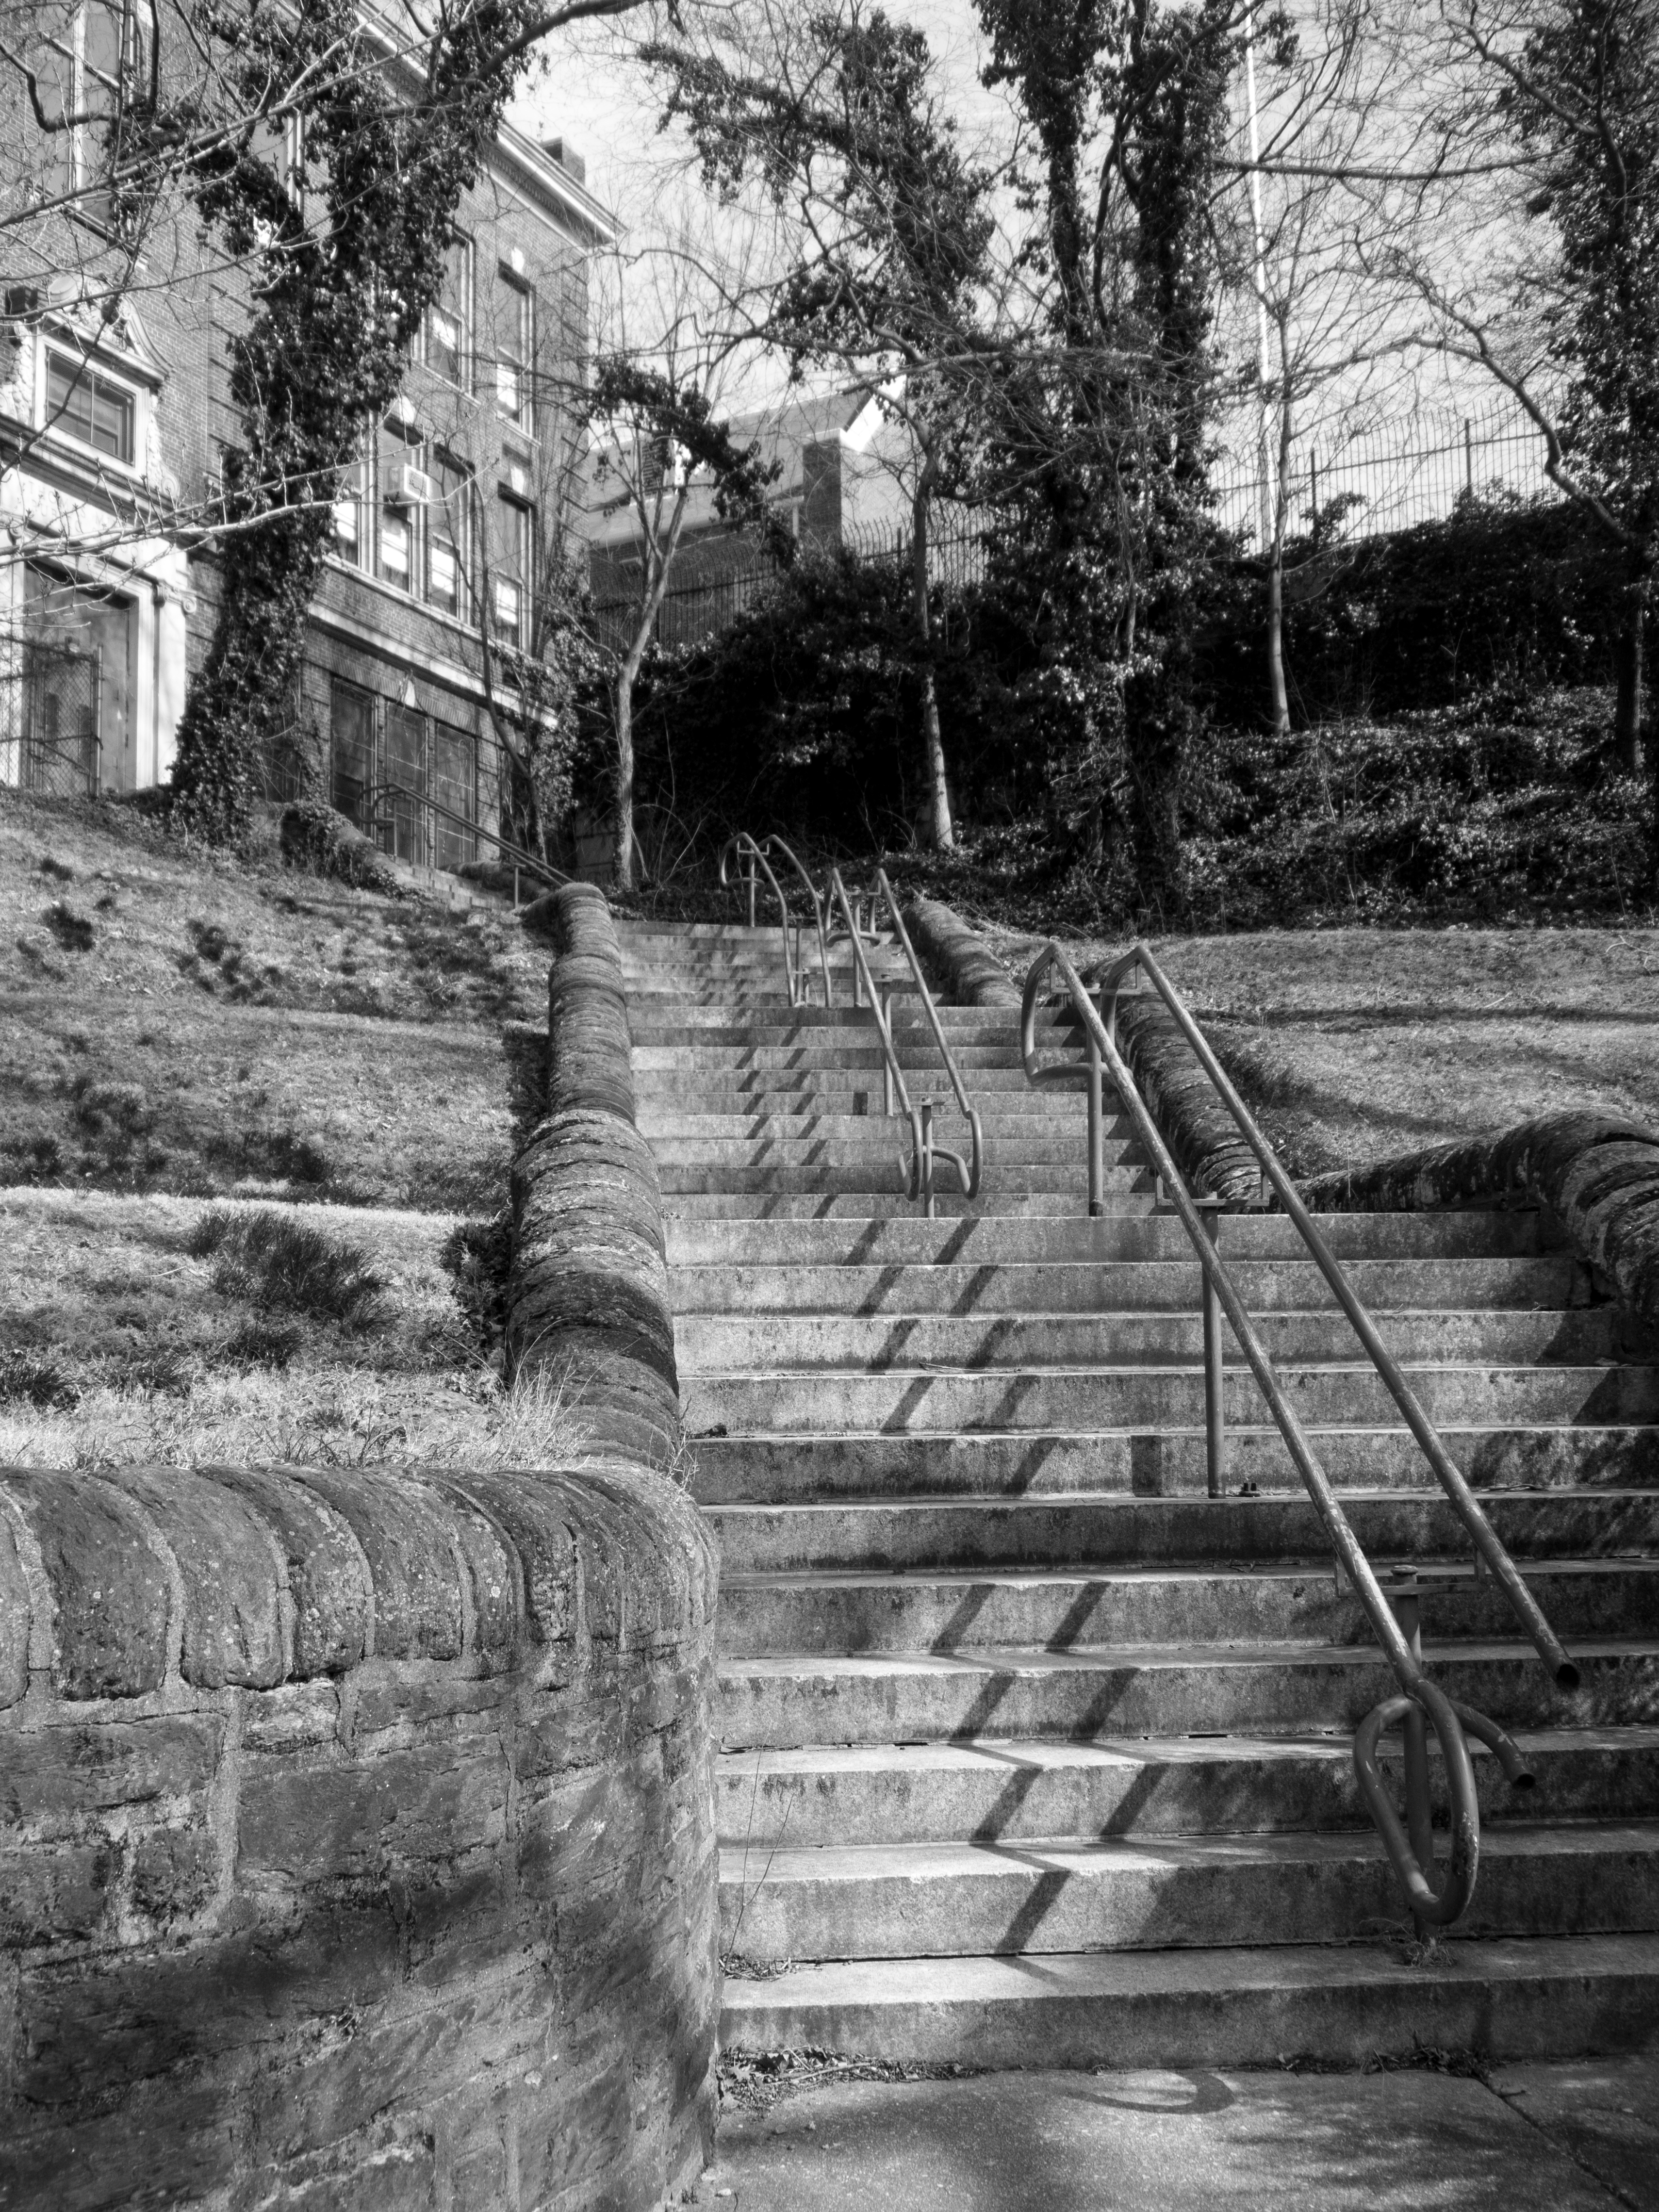
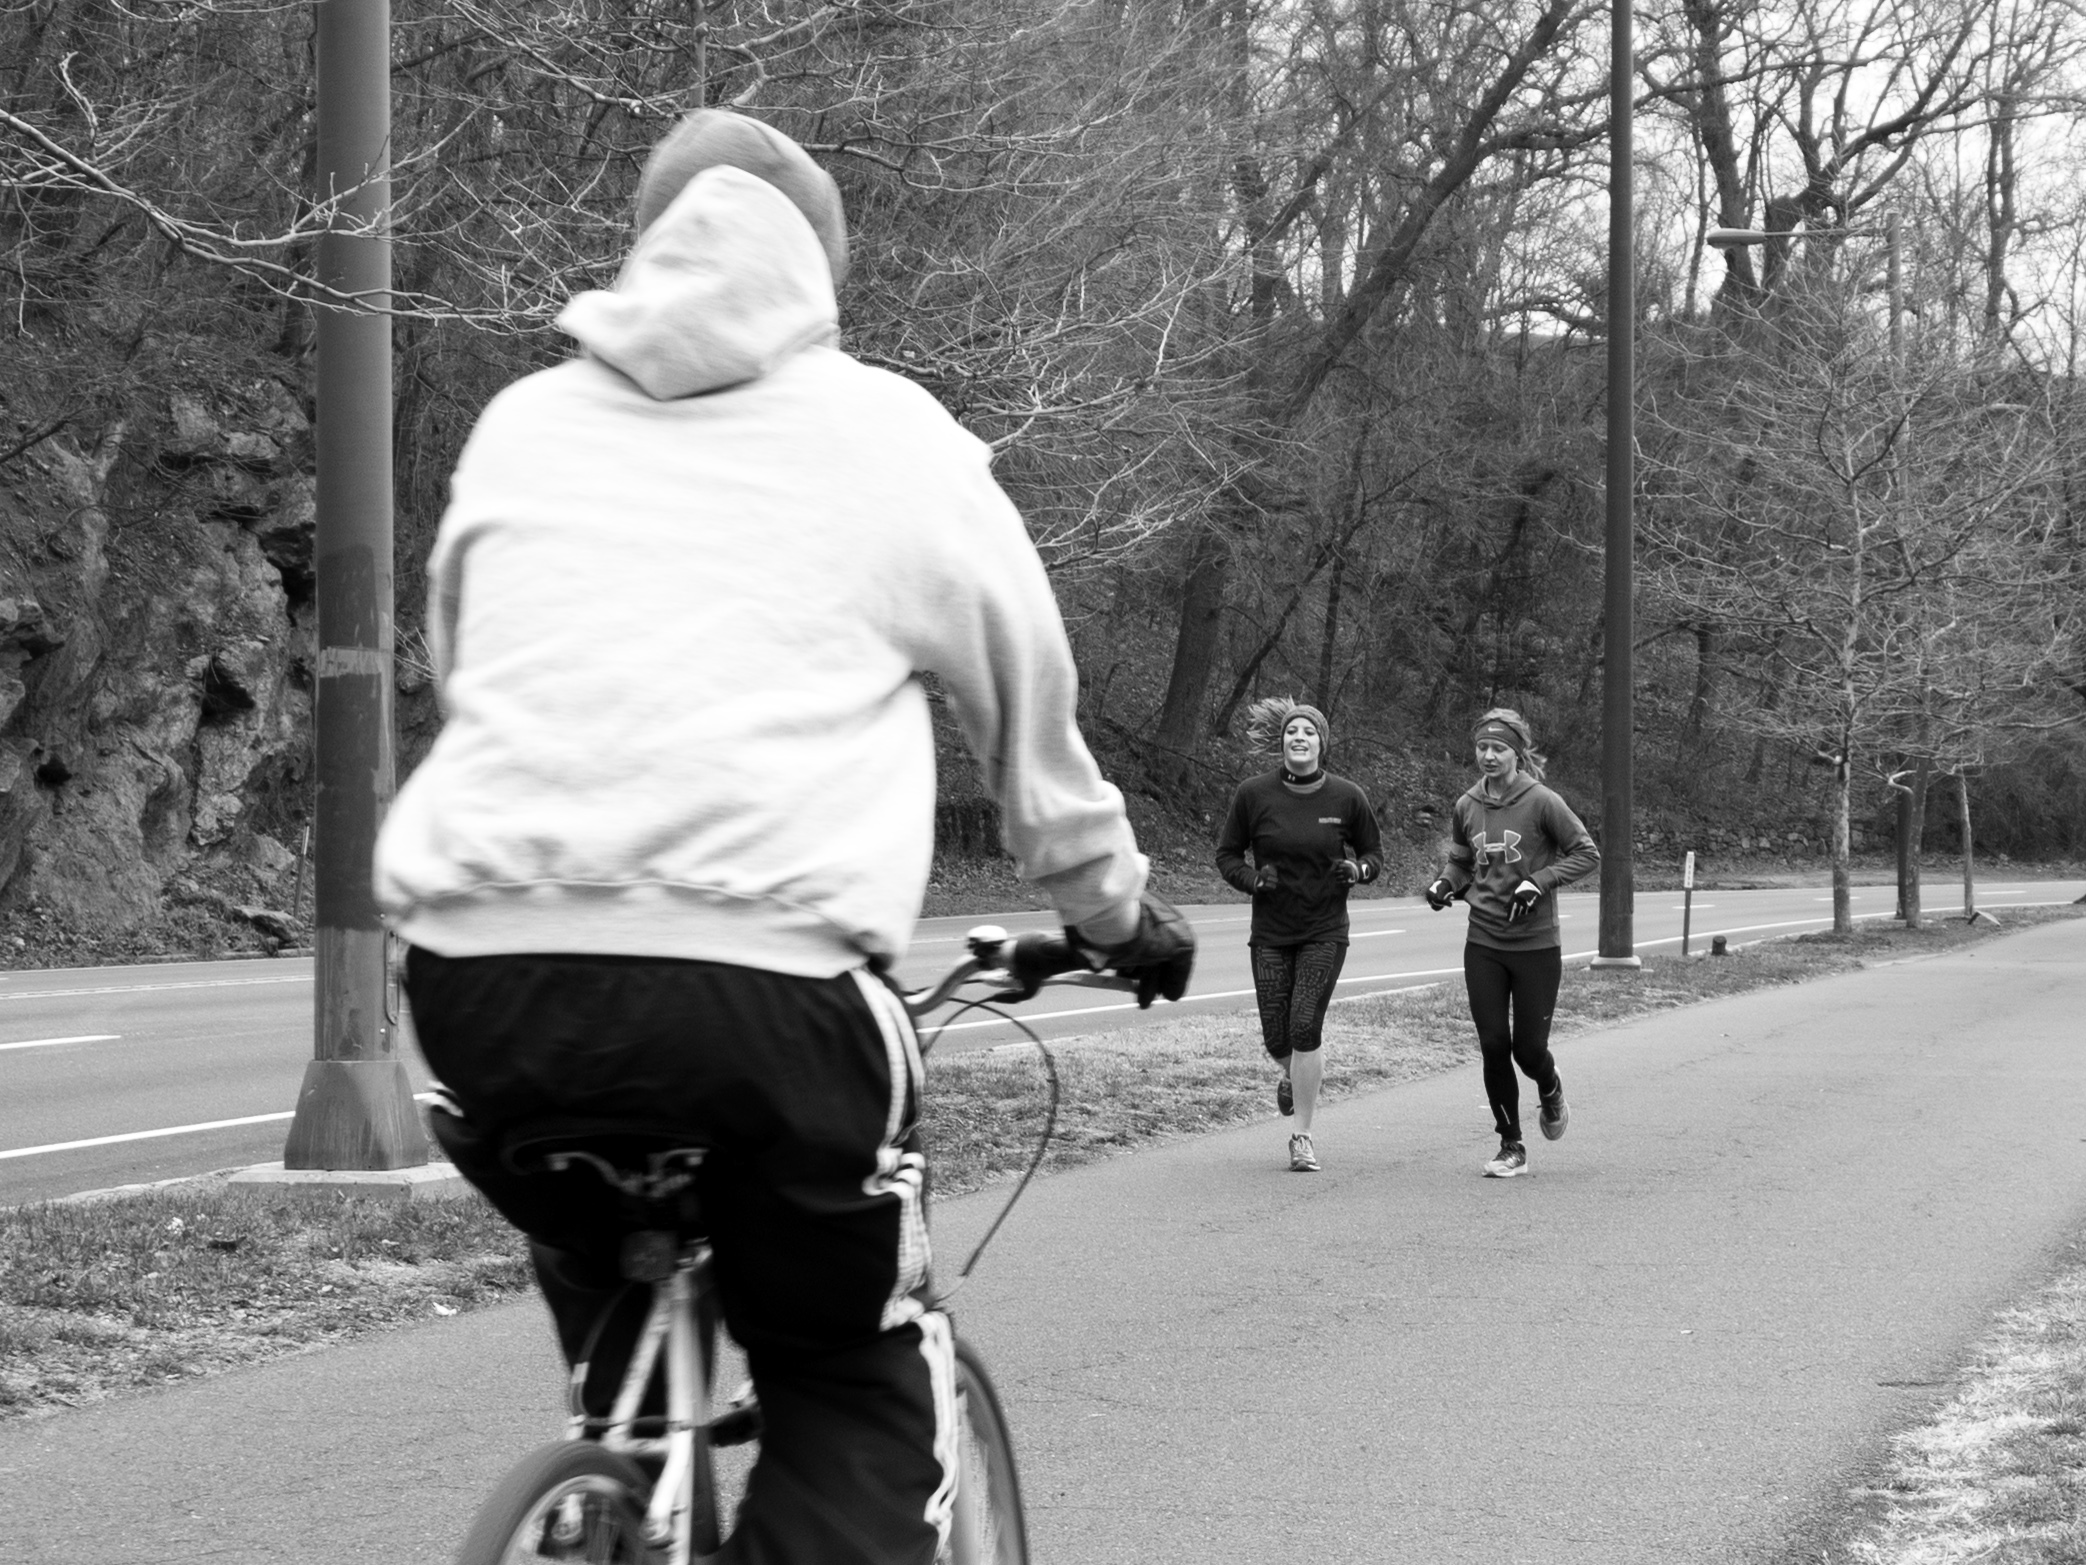
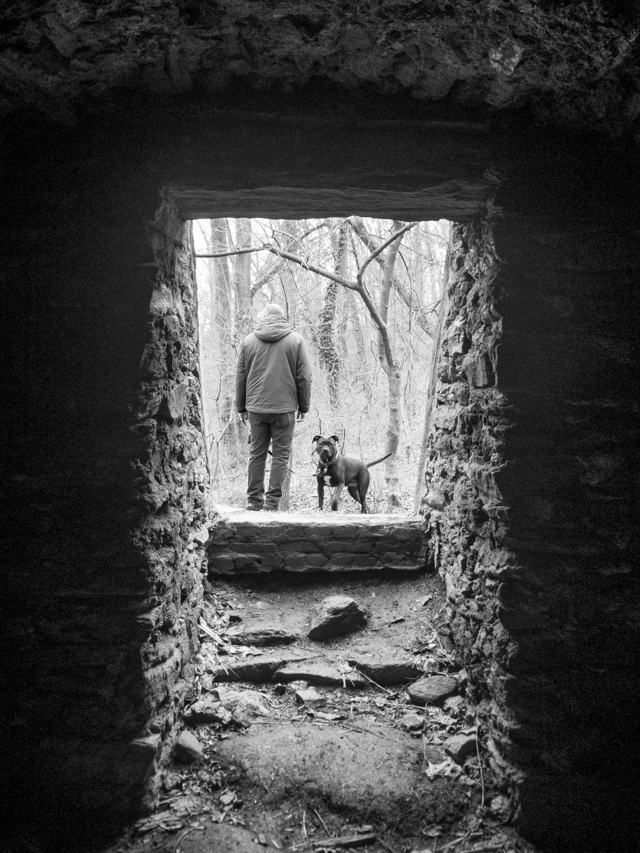
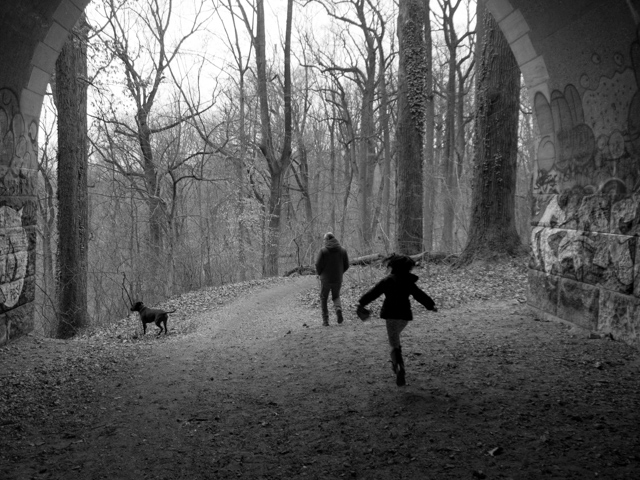
This spot you’ll recognize from my “spooky” shots here. It could certainly use a focal point, but I love the zig-zag shadows on the stairs.

f/4, 1/640th, ISO 200.


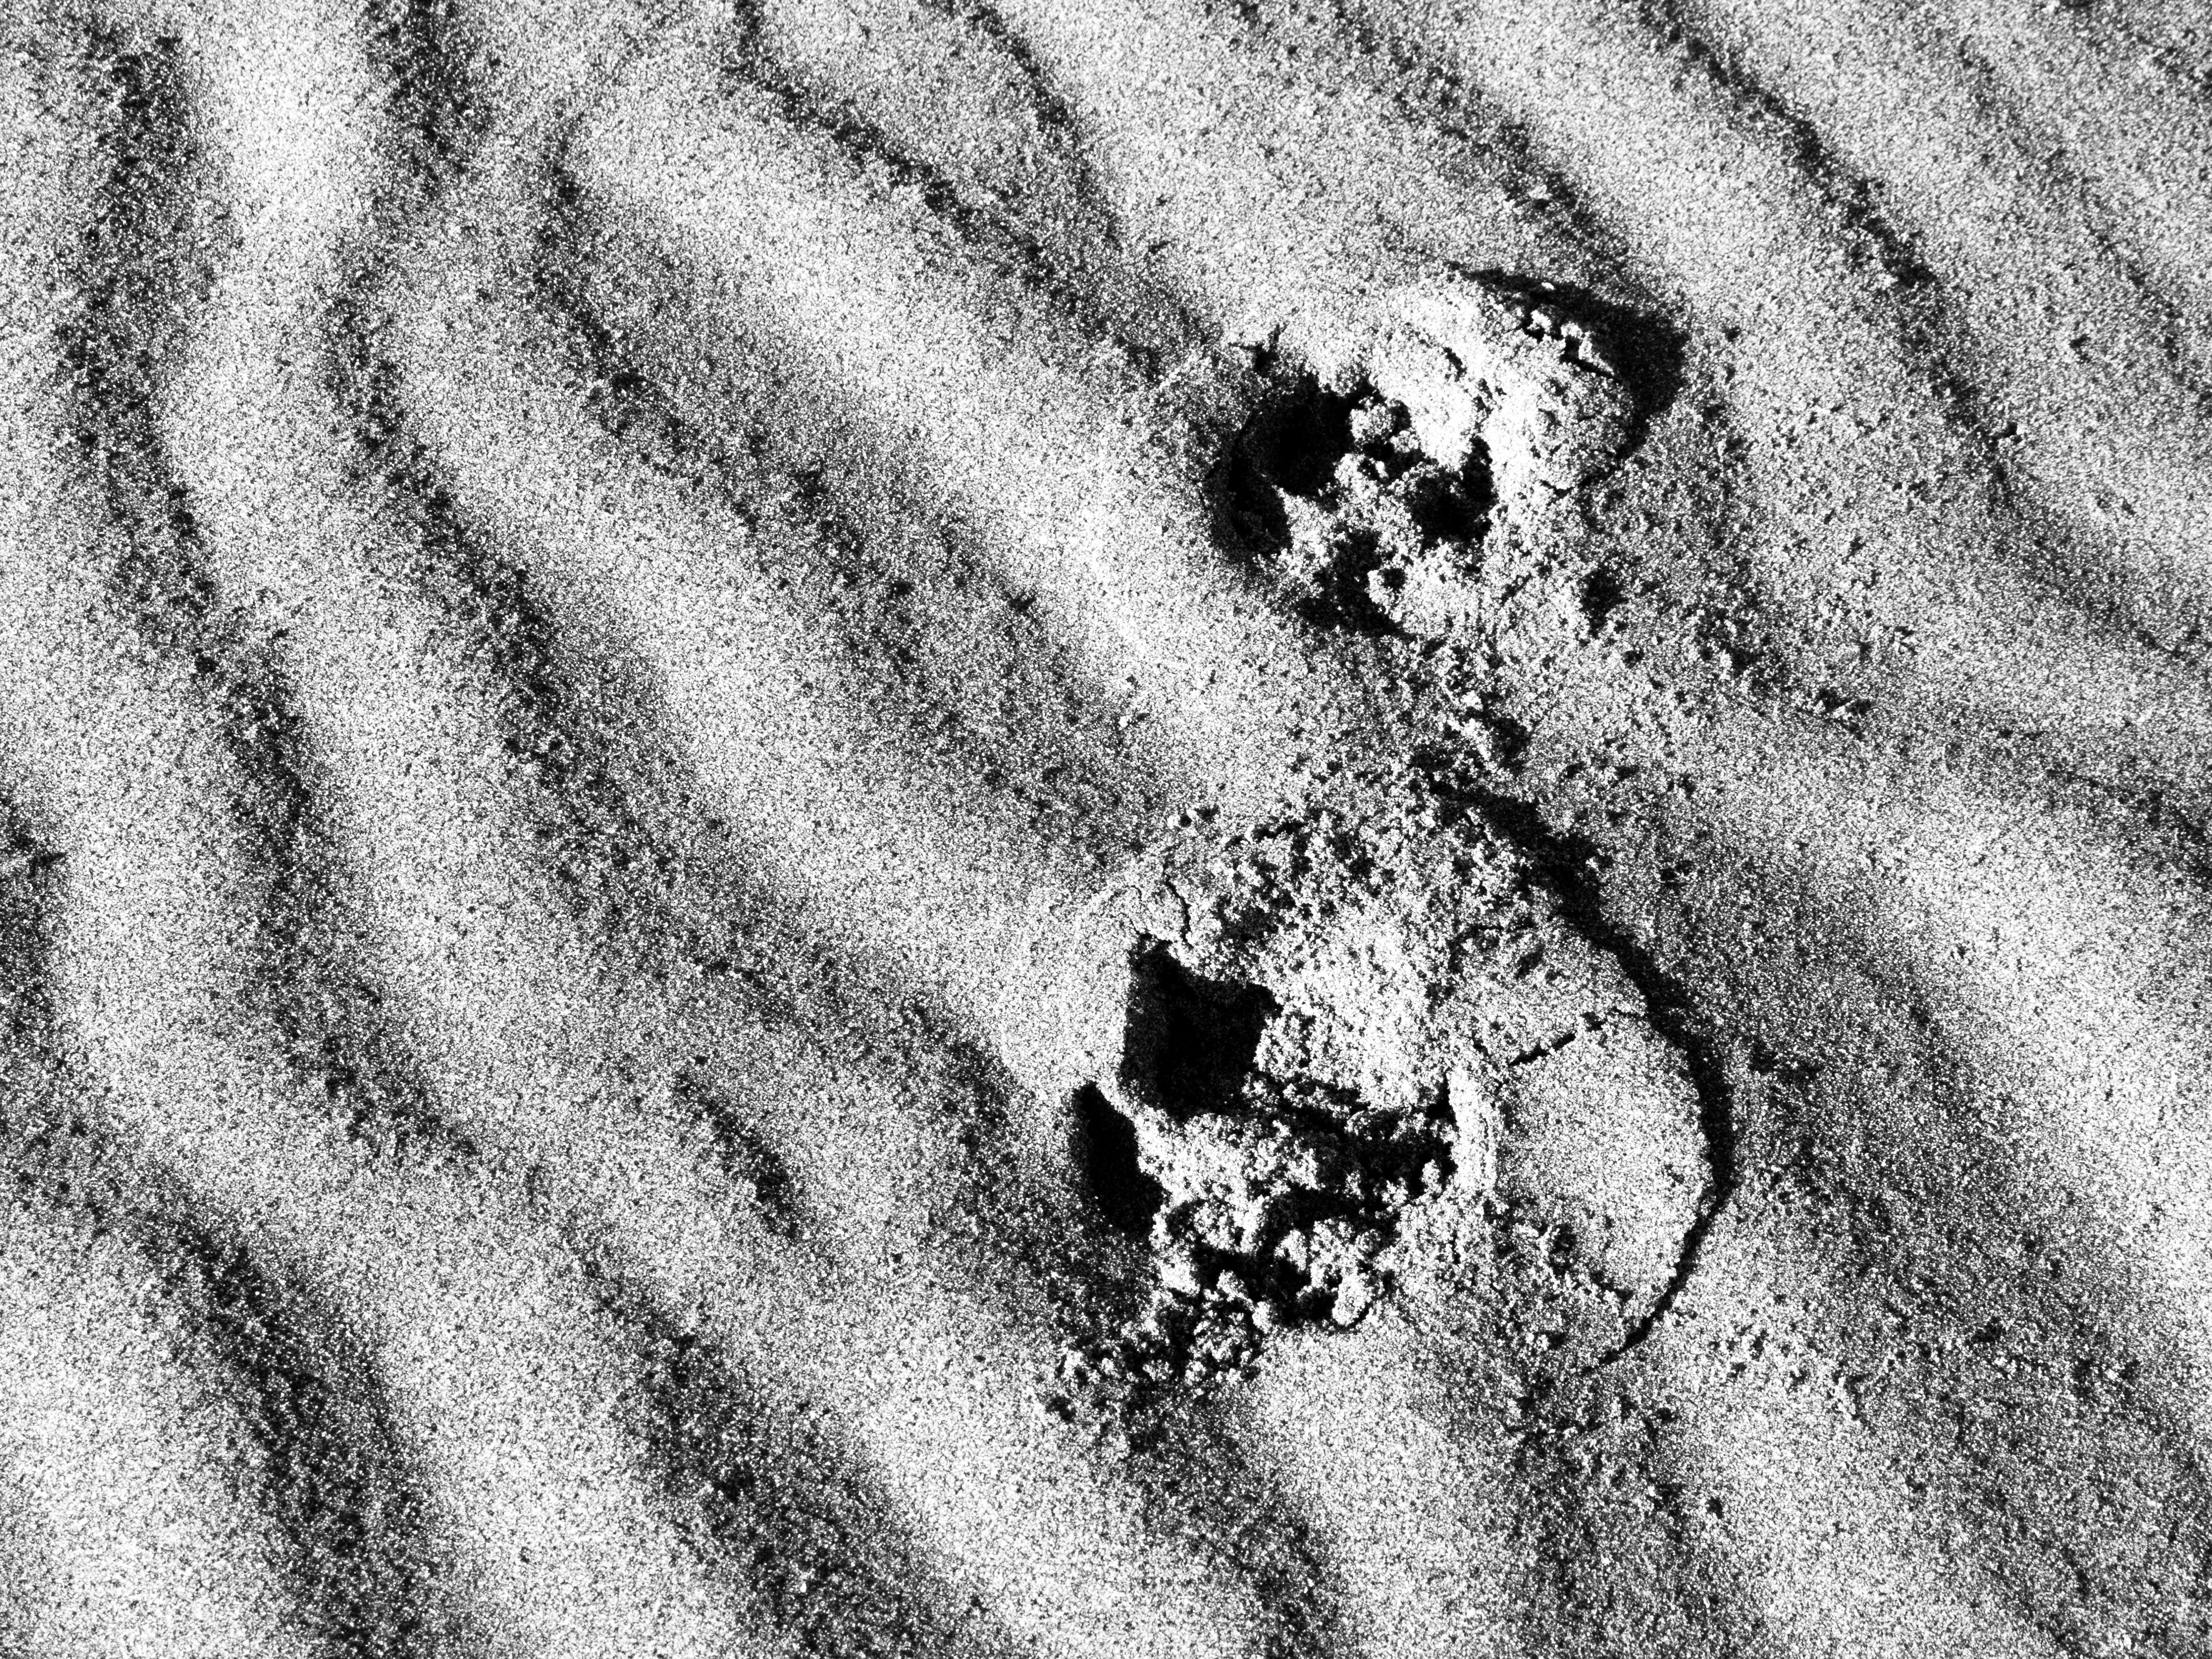
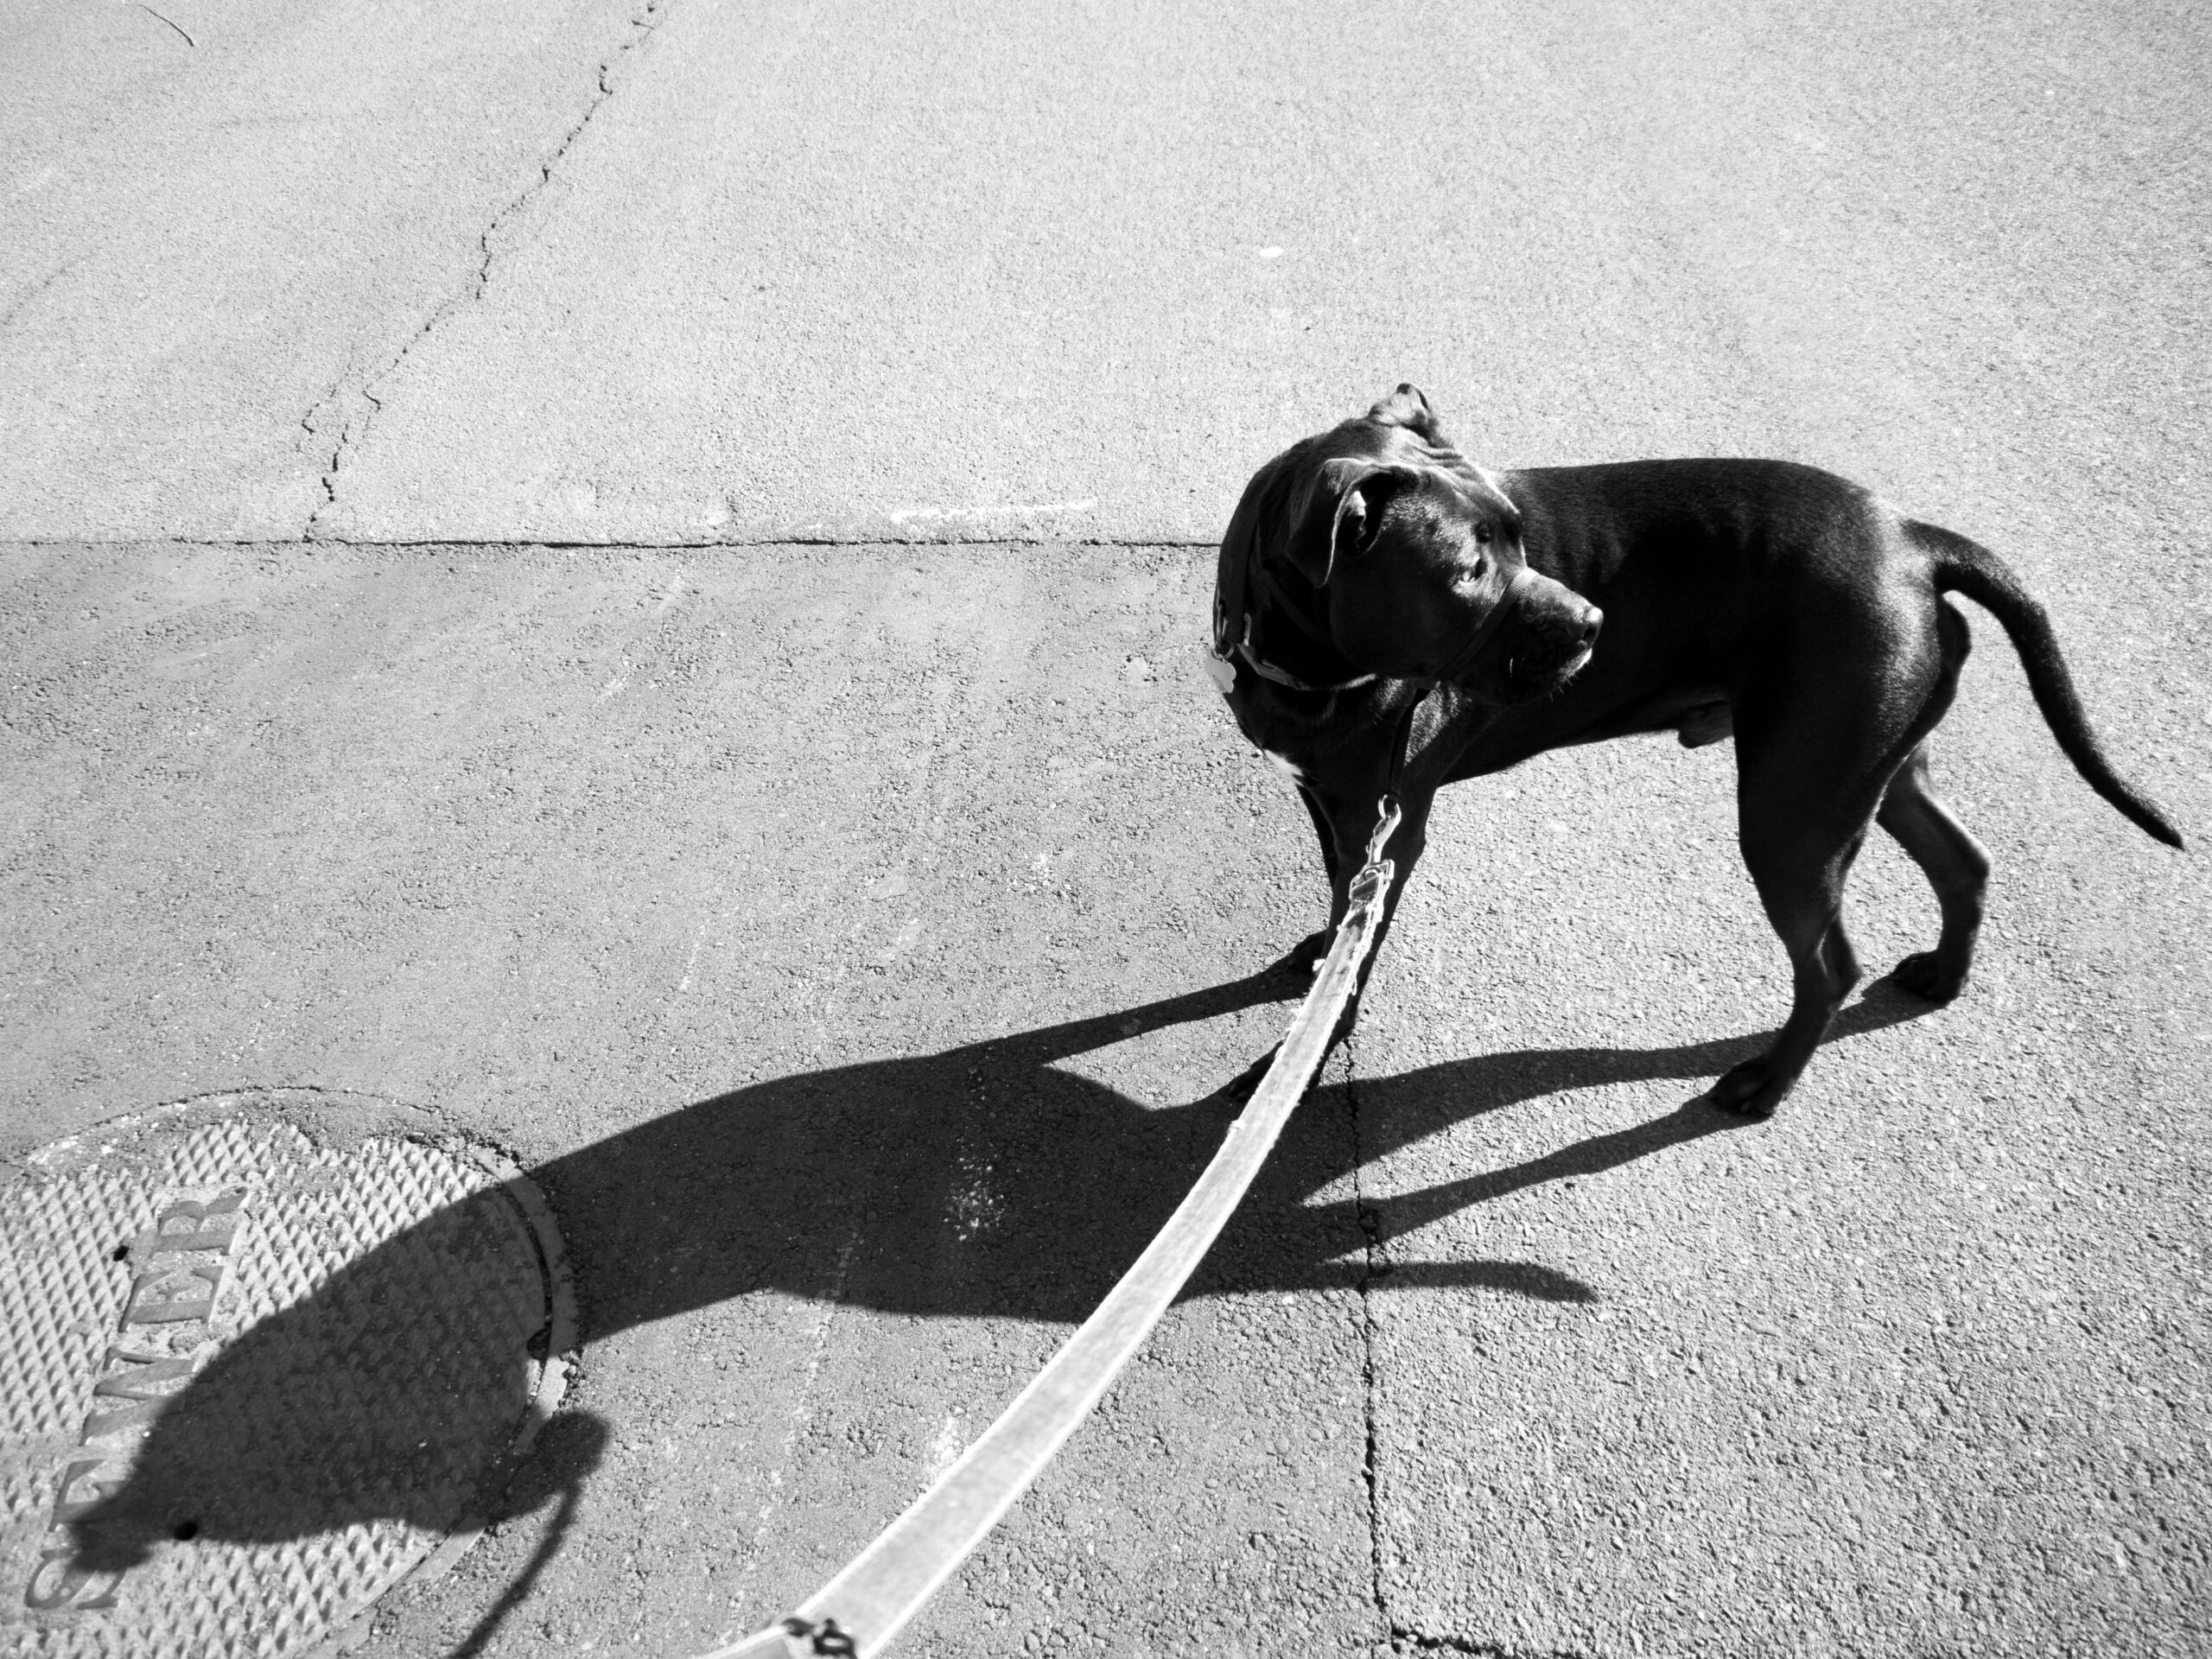
Another old shot from when I was in San Francisco. Pup prints.

f/9, 1/200th, ISO 200.


So, there’s lines! I’m really looking forward to seeing everyone’s interpretations for the live show this week. What do you think of my shots? At all compelling, or just boring? 

Posted on

Beginner Photography: Street Pets

Ok, so this one is a cheat. I didn’t go out shooting this week, we don’t have a live show and I couldn’t come up with a subject. So I decided to go through old shots and edit some, and turned up a bunch of street photos of dogs that I never had any use for. 

I was shooting street photography in San Francisco at the time, so I had my Olympus E-M10 with me, using live view on the flip-out back screen to conspicuously take shots. But you don’t really have to be conspicuous with dogs, because they have no shame. So when possible, I got down at their eye level to shoot them. Like standard street photography, I tried to get some context to their surroundings and often went black and white to eliminate distractions. 

Here’s a great video from T&C on shooting street photography:

I realized editing these shots how far I’ve come over the past few months. I had NO idea what I was doing when I shot these. My settings are insane and the shots came out noisy even though I was out in natural light. My f/stop and ISO could have been much lower.

And here are some pups:

Sadly, I cut off his front feet which is a no-no, but look at that face! 

f/5.6, 1/80th, ISO 800


I love their bodies pointing different directions but looking the same way, and the cool owner leaning against his car.

f/6.5, 1/250th, ISO 200


It is hard to expose for a white ball of fluff, and to focus on it’s eyes.

f/4, 1/50th, ISO 200


So there’s some dogs! Do they make up for me not shooting this week? Maybe. 

Next week’s topic is “lines” which I’m excited for. I love abstract topics and I look forward to seeing how everyone interprets it, myself included. 

Posted on

Beginner Photography: Landscape

I realized that I started my past three blogs with “hey guys!” so I really need to switch up my intros.

This week’s topic is landscapes, which I took some liberties with. Landscapes in February in the Eastern US are not particularly nice, so I decided to shoot a cityscape. I honestly have no idea how to shoot a compelling cityscape. I think a night shot would have worked better, so I could have eliminated some of the distracting foreground. 

To set up these shots, I first researched “best views of the Philadelphia skyline” and chose my spot. I waited until the golden hour, then went there with my camera and tripod. I set my camera to aperture priority at a medium aperture and then set my camera to bracket my shots with the plan of combining them in post. Here’s a great video about image averaging and panoramas:

Once I brought my images into Lightroom I used the Photo Merge tool to combine them into HDR images. A few of them I combined into panoramas using the same tool. I then went in and adjusted the exposure and contrast, as HDR can flatten images. Here’s what I came up with!

HDR panorama f/5.6, 1/1000, ISO 200


HDR f/5.6, 1/320th, ISO 200


HDR f/5.6, 1/320th, ISO 200


I honestly don’t know how I feel about these shots. They are so busy! That bridge weight sign shows up in almost every shot, so in the last one I decided to just let it be a prominent focal point. They are truly the city as I see it, busy and dirty and complex and beautiful, but I’m not sure how they come across to you all.

Posted on

Beginner Photography: Black and White

Hey there! This week’s live show topic (and thus my blog topic) is “black and white” photography. I would say that I convert my shots to black and white about half of the time, which I think is more than most people. This week I went out briefly to shoot with black and white in mind, which isn’t usually the case. Generally I end up converting to B&W for a number of different reasons, which I’ll detail below.

First I’ll direct you to watch this video which is relevant to all photography, but is particularly important for black and white photography:

So here are the reasons you might choose to convert your images to black and white:

  • the focus of your subject is a shape or form created by the elements of the picture
  • the colors or background of your photo are distracting from the subject
  • you want a timeless or classic feel to your shot
  • the colors in the image are naturally desaturated and the color adds nothing to it

So I’ve converted to black and white for all of these reasons. I went out and took a few shots while I was at my parents house in Connecticut this weekend and specifically kept an eye out for interesting shadows since there was still lots of snow on the ground and the sun was high.

This first shot is an example of the form being the focus, the tree and the shadow of the tree:

f/3.5, 1/1250th of a second for some reason, ISO 200


This shot is also about the form of the shadow, and additionally there was very little color in the image to start as I was shooting a black dog on a grey road:

f/3.5, 1/640th, ISO 200


This shot I decided to edit for the mood I wanted. While the sun was high and it was a nice day, I was more interested in the bare trees, the stark snow, and the old wrought iron chairs and table. I decided to convert to black and white, add some grain, and some vignetting to focus attention on the subject and make it look like a dated shot:

f/3.5, 1/1250th, ISO 200


While these are certainly not my most successful black and white images (see my posts on shadows and spooky for my favorites) I think they are decent examples of why you’d choose to convert select shots to black and white.

I look forward to seeing everyone’s shots this week, and don’t forget to check your dang histograms!

Posted on

Beginner Photography: Storytelling

This week’s subject is storytelling, in other words, being able to convey a story in a single image. I’m gonna call this project a big ole failure for me, right off the bat. I mean, I had a few concepts and I executed them, but not particularly well. 

I enlisted my husband to model for me, and although he’s easy on the eyes, he’s not much of an actor 🙂 My idea, knowing this post would go up on Valentine’s Day, was to have him proposing. The focus would be on him and the ring, with me out of focus in the foreground. I set the camera up on a tripod, positioned Eric where I wanted him holding up the ring and focused on that. I set the timer to a 12 second delay so I could get into the shot. I had the camera on aperture priority, then set my aperture to f/3.5, the lowest I could. I knew the room was a bit dim, but I didn’t have any more light to turn on! So the exposure wound up being 1/10th of a second and the ISO was 1600. It wound up being an incredibly noisy shot, and the focus missed. 

I think the story still conveys, even if it technically isn’t great

We gave that a few tries, but that one turned out the best. Next I thought we could stage a fight. We only tried this one once, because Eric couldn’t keep from smiling, which was adorable, but unhelpful.


f/4.3, 1/4 second, ISO 1600


After I gave up on our acting abilities, I decided to shoot our dog doing what he does best, vigilantly staring out our front window. He does look to be waiting for something, but I could have used an additional element like someone outside the window for context.


f/4.7, 1/10th, ISO 1600

I did a bit of post processing on these, just cropping and converting to black and white, then playing with the contrast. I tried some noise reduction, but it didn’t do a whole lot of good. 

So overall, not my best. This camera’s low-light capabilities are killing me! The noise is so distracting. I would have shot in a different location, but it was wet outside and there is nowhere in our house with better light. I’ve got a better example of storytelling in my shadows post here. If you want to see some incredibly technical and conceptual photography, check out Erkki’s project here that was featured in our book, Stunning Digital Photography.

I love more conceptual projects, even if I didn’t get the most creative this time around. I can’t wait to see what you all come up with this week! 

Posted on

Beginner Photography: Sports

Hey y’all! This week’s topic was sports, which, ugh. Not my interest, not my topic. I did watch the Super Bowl though, but I was told photographing the screen wouldn’t count.

Being that it’s winter, I didn’t have a ton of options for shooting sports outdoors, which is what I wanted to do. Indoor sports are incredibly difficult to shoot with it’s weird lighting conditions (read some tips on it here,) and I would have felt strange just showing up to some random event. As it turned out, I was even weirder. I decided to go shoot at Kelly Drive, which is a trail along the Wissahickon River in Philly where people go to run and bike year round. There’s a section of it called Boathouse Row where the colleges keep their boats for crew, so I attempted to shoot a few boats on the water as well. Turns out people who are exercising don’t like being photographed. I was as stealthy as I could be, using my little Olympus with the back screen flipped out, but they always noticed me. No one said anything though.

I have very little experience shooting action, so this was a bit rough. I used the focus trap technique Tony demonstrates here:

I shot in shutter priority at 1/160th for runners, and a bit higher for bicyclists. I wanted to show a bit of motion, but freeze most of the subject. Here’s what I came up with:

They spotted me.

f/5, 1/160th, ISO 250


I wish they were facing me, but I couldn’t capture them once they passed.

f/6.3, 1/160th, ISO 200


I had a really hard time with the crop for this one. I shot wider than this, but the women got lost. Not sure if I did well by cropping into the bicyclist.

f/4.5, 1/160th, ISO 200


Three in a row.

f/5.6, 1/160th, ISO 200


 I obviously did some editing to these shots, as they’re all in black and white. The weather was grey and most workout gear is bright, plus all the background made the shots very busy. Going black and white eliminates some of that and draws focus to the subjects. I did a bit of dodging and burning in Lightroom and sloppily cloned out a car or two in Photoshop (follow those links to see tutorials on each.)

So these aren’t the most compelling images. I would have liked to shoot some contact sports, but hopefully I can try that once it’s warm out again. Let me know how I did and what I could have done to improve! 

Posted on

Beginner Photography: Animals

Hey folks! This might feel like deja vu for some of you, as I photographed my dog a few months back here. But who gets sick of seeing dogs? A monster, that’s who.

It’s winter, so my backdrop wasn’t quite as vibrant as last time I shot in our back yard, but we still have green ivy back there. Hungry is a mostly terrible model, because if I try and get down to his level he climbs into my lap. Then when I stand up, he puts his ears back and looks guilty, so that’s mostly what he looks like in these shots. I kind of love shooting him from above, though. The perspective makes him look so tiny.

I use the lowest aperture (f/3.5 on my micro 4/3 Olympus, which isn’t really low, see video below) on aperture priority, so the camera chooses the shutter speed and ISO for me.

Pretty sure that has to do with crop factor, which you can learn about here:

So here’s what I wound up with:

Look at that seal pup

f/3.5, 1/160th, ISO 200


I got his eye in focus!

f/3.5, 1/200th, ISO 200


This shot isn’t technically as good, but I love the mood with the backlighting and urban backdrop.

f/3.5, 1/1000th (why?!) ISO 200


I also attempted to photograph my cat, Frank. He is old and barely opens his eyes. He was in the windowsill while it was snowing, so I wanted to capture all that, but was not successful. It was too bright out to capture the snow while also exposing properly for him. When he was sitting still he didn’t give me much of an expression, and when he was moving he was frantically trying to get me to pet him, and was just pacing back and forth (don’t worry, I gave him many pats). I even shot manual to try to get the exposure and shutter speed I wanted, but just couldn’t nail it.


Refusing to make eye contact

f/3.5, 1/60th, ISO 200


Giving himself head rubs.

f/3.5, 1/60th, ISO 200


I honestly don’t have much to teach you here, except that animals are uncooperative models. What did you shoot this week? What could I do to make my pets better models? Let me know in the comments, and I look forward to seeing your fur-children this week!

Posted on

Beginner Photography: Fashion

I am SO NERVOUS about this post. This week’s topic was fashion, and I’m sorry to say, but it’s just not something you can shoot and be successful at without proper resources. But it was certainly good practice, and I would love to attempt it again.

In this case I was lacking: 

  • a studio
  • clothing worth modeling
  • lights
  • a model

But I had one day that it didn’t rain, an urban setting, my dumb face, and some old coats! If you want some great tips on shooting portraits, there’s a whole page of videos here, starting with this one on outdoor lighting:

And this great video on shooting fashion and glamour (watch Chelsea’s outtakes at the end!)

So here’s what I did:

  • set up my camera on a tripod, a bit below my eye level and as far away from the background as I could
  • I chose a rolling metal garage door as my backdrop, I wanted something gritty to match my styling
  • I chose two coats to model, as it was cold out. I wore jeans, a crop top and heeled boots, items which were neutral and wouldn’t overwhelm the item I was focusing on. I wore a hat because I was having a bad hair day, and red lipstick for some pop.
  • The day I shot was overcast, so the lighting was pretty even, but it was a bit dark. I shot in aperture priority with my aperture as wide as it would go, in this case f/4.4. This means the camera was choosing the shutter speed, which wound up being 1/200th to 1/250th, which is was faster than it needed to be. My ISO was at 200, but these pictures still wound up noisy.
  • I set my camera on a 5 second delay, shooting 5 images with 5 seconds in between so I had time to pose and change positions between each shot.
  • I chose a focusing point where I though my head would be, and then just crossed my fingers for facial recognition to take over. I don’t think it worked. This is where it would have helped to have a model, or at least a stand in for myself to focus.

I think I achieved the look I was going for, but my focusing is for sure off. This shoot made me want to start working on my Photoshop skills, because I would have loved to edit my skin, change the color of my hat, and maybe blur the background a bit. (All things I can learn from our Photoshop book!)

Without those skills, though, I simply used Lightroom to adjust the exposure, straighten, and crop the photos.


I could’ve used some fill flash for my face here


 Ahhh I just noticed the shoulder piece is not through the loop on the right side. Styling, people!


Hands up


So that’s what I got. I tried some more shots with a different background, against the green ivy on our back wall, but it didn’t work quite as well. I sure wish I’d noticed that shoulder bit before I posted these. 

So how’d I do? What could I have done better? This felt very much like a test shoot, so I’d love to find ways to improve on it. 

I think I’ll use this tutorial of Chelsea’s to tool around with the editing this week:


Posted on

Beginner Photography: Natural Framing

Phew, this project was a lot harder than I expected. So natural framing is shooting through an object or structure to frame your subject. I had an idea of where I wanted to shoot, and one day to wrangle my family to get outside and do it. The whole day was clear and blue, but I wanted to wait until right before sunset to go out and shoot. So, naturally, it suddenly got very cloudy and my plans were dashed, but we went out anyway. We went hiking to a spot I knew had a cave I could shoot out of, and then to a spot with rows of overpasses covered in graffiti.

Most of these shots wound up noisy and I missed focus most of the time. While I like these shots because my family is in them, they certainly aren’t my best.

I use an Olympus E-M10 with a Lumix 14-42mm f/3.5-f/5.6, which has proven to be pretty terrible in low-light. I shot, as usual, in aperture priority with auto-ISO.

Here’s what I came up with:

 1/80th, f/3.5, ISO 250


1/60th, f/3.5, ISO 640 


1/13th, f/3.9, ISO 1600


 1/80th, f/3.5, ISO 500


I chose to go black and white with all of these shots because the framing was the most important element. I edited following the “top tip” of course:

It was particularly difficult to adjust the exposure on these shots since I was shooting from a dark place into a bright place or vice-versa. I used an adjustment brush to edit the bright areas separate from the darker areas. If you haven’t gotten it already, our Lightroom book is super helpful for all of these editing tips.

So did any of these work for you? What ideas have you come up with for natural framing? I’m excited to see everyone’s attempts this week!


Posted on

Beginner Photography: Shadows

Hey folks! I like these creative subjects Chelsea is picking for the live show these days. This week the subject is “shadows.” Not just incidental ones that you get when you photograph a subject on a clear day, but shadows that you capture as an element of the composition. I’ve certainly shot images like that in the past, as seen here:


But this week I was inspired to create a shadow as an element of a story. I had the idea to photograph my daughter, Eloise, cowering under the covers with the shadow of a monster on the wall above her. So here’s how I went about it:

First, I set up my camera (an Olympus OM-D E-M10) on a tripod in her room. I then picked through Eloise’s vast array of stuffed animals, dragon and dinosaur figurines to find a properly intimidating shape. I placed it on her dresser, across the room from her bed, and propped my phone up behind it with the flashlight app turned on. It took some maneuvering, but I finally got the proper shadow size and placement on the wall. 

For the camera settings, I had it in aperture priority mode, set to the lowest aperture, which was f/4.5. The shutter speed wound up being 1/4 of a second and the ISO at 1600, so it certainly isn’t the cleanest or sharpest picture, but the mood was more important. I went back and forth with it, but still stuck to Tony and Chelsea’s top tip and used a full white point.

I didn’t want the light from the flashlight to be too blown out and obvious, but the image was far too dark without it. I hope I was successful it making it look like night while still illuminating the subject.

Then came the post-processing. I use Adobe Lightroom for most of my editing (you can see some of our free videos from the Lightroom book here.) I converted the shot to black and white, as my daughter’s room is cluttered and brightly colored. I cropped and straightened the image, although it still feels a bit weird since I was shooting at an angle from the bed. I added some vignetting to make the room appear darker (it was shot at night, but the flashlight obviously cast a lot of light into the room) and dodged her face a bit so you could see she was there. I added some noise reduction and kept adjusting the exposure until I got what I thought looked best. 

So, there’s my process, and here’s my final image:

So what do you think? Was it successful? I hope I conveyed the universal feeling of fear of the dark that kids experience. What would you have done differently? Let me know in the comments below if you have suggestions. I look forward to seeing all your submissions for the show this week!