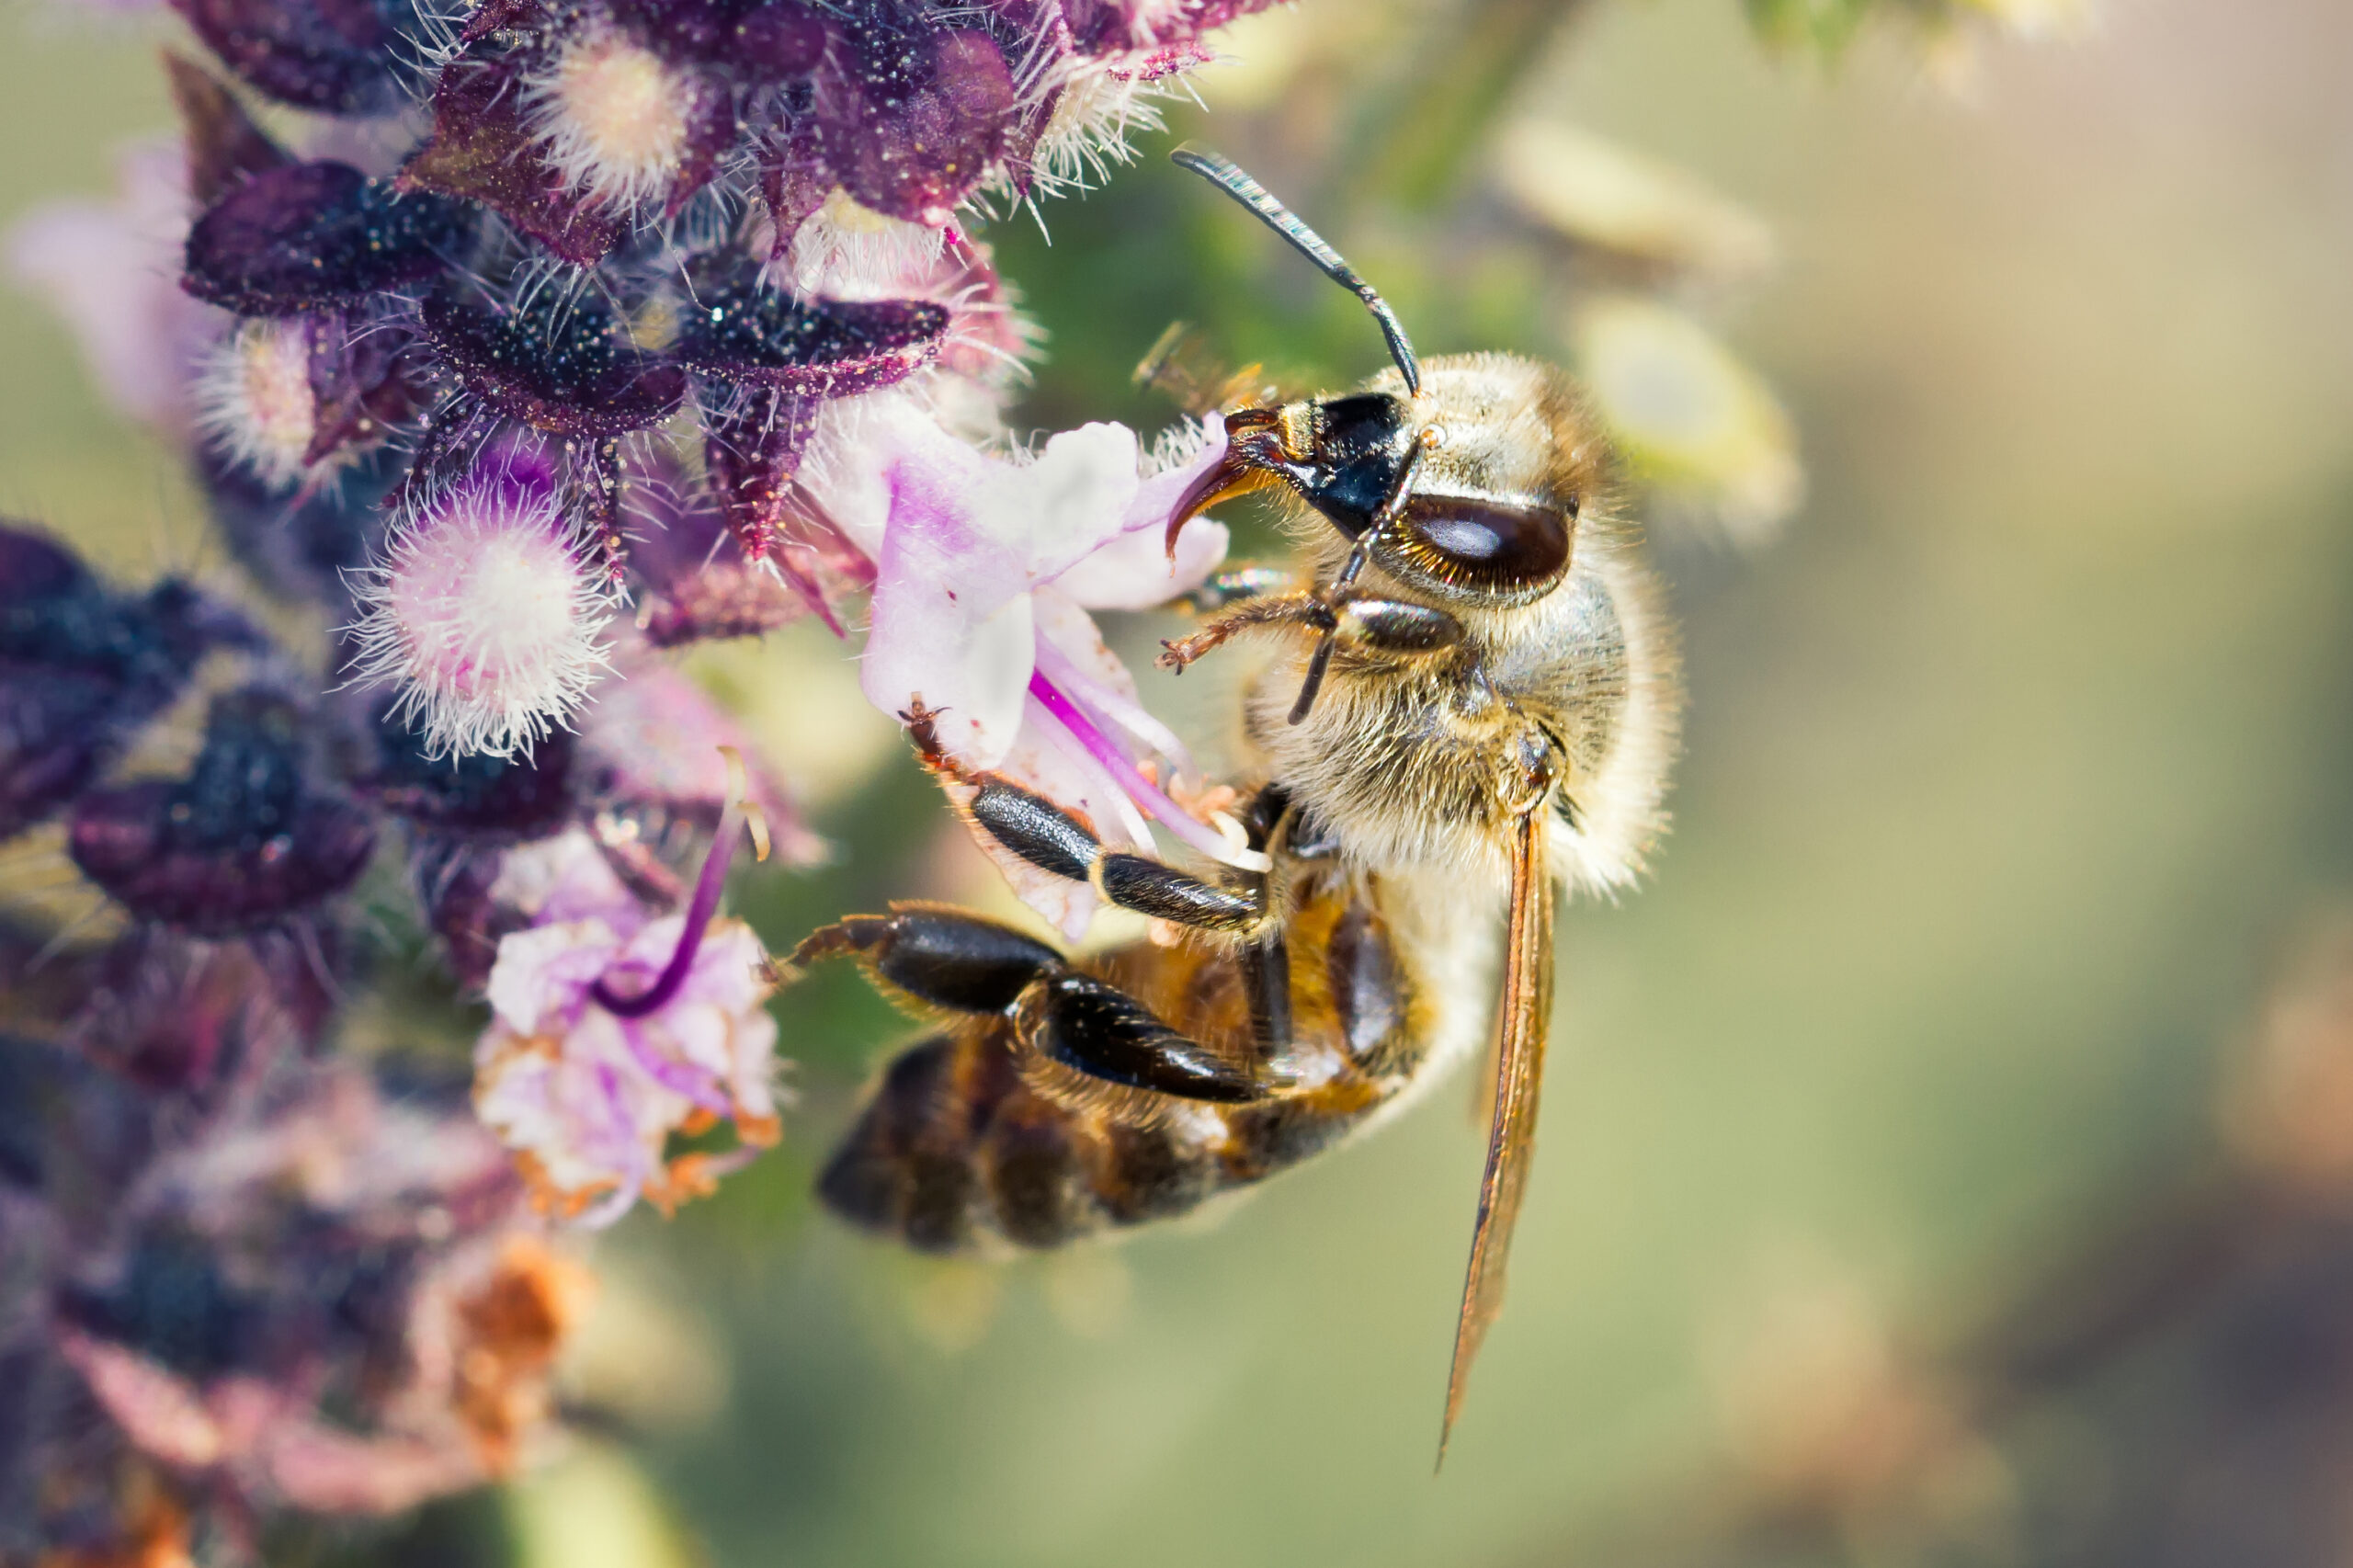
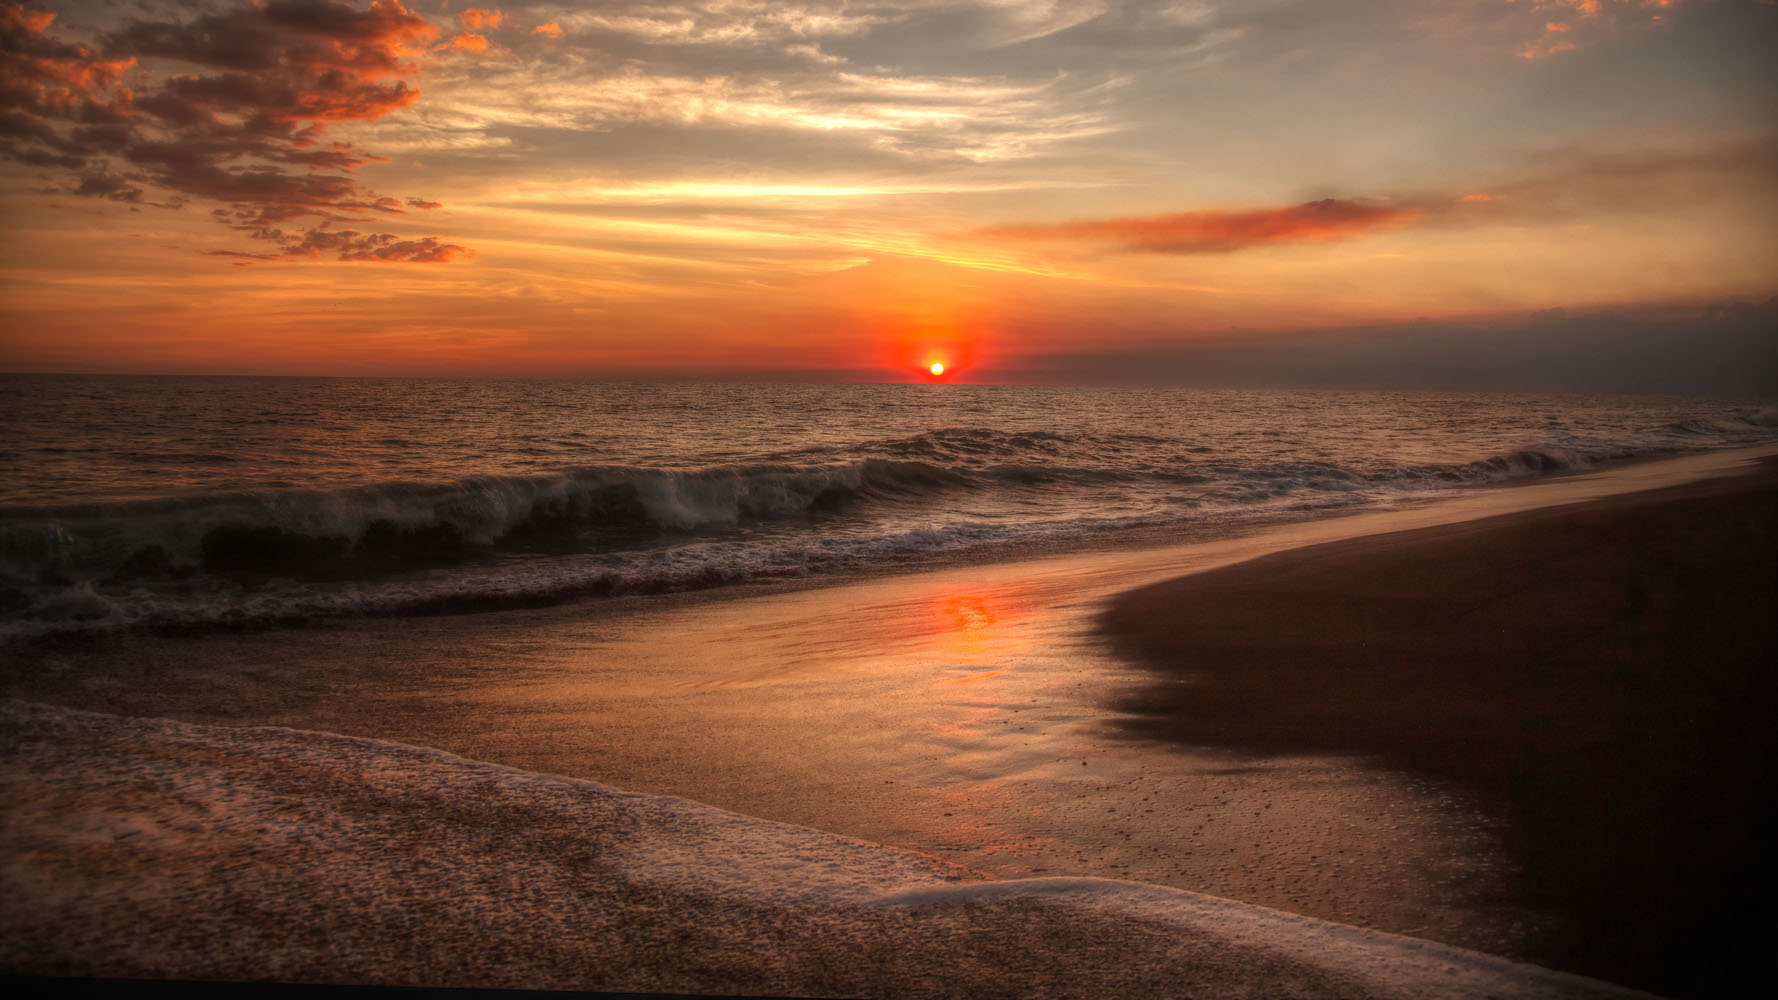
Spring is just around the corner here in the northern hemisphere, and with Spring comes a profusion of little animals that can make interesting photographic subjects. For compelling pictures of these little critters, you have to get really close.
Photographic genres seem to change all the time, and what was once called one thing is now called something else. This may be splitting hairs and I may be full of crap, but I think there’s a difference between capturing a portrait on the streets and photographing a street scene with people. I would call the first example a “street portrait” and the second example “street photography.”
I’ve been shooting portraiture for a while now and there are a few things that I think are important to know, other than how to use your camera! Some of these tips may seem of little importance but, in my experience, addressing them has improved my portraits greatly.
So you’ve mastered the exposure triangle, sorted out your post-processing and in your spare time all you think about is photography. But then………. all of a sudden your images start feeling a bit too familiar. Your next shoot feels just like the last. A friend on your favorite photo sharing site asks if your latest image was a re-post. In a flash it becomes clear; you’ve plateaued. Continue reading 5 Ways to Spark Your Photographic Creativity
Dodging and burning (“D&B”) is the process of adding light or shadow to parts of a photo to create contrast and emphasis. Put simply, when you “dodge” you are increasing exposure to that part of the photo and when you “burn” you are reducing the exposure. These names come from the physical darkroom process, but for today’s example I will do my D&B on Photoshop, and I will assume you have basic knowledge of Photoshop layers and masking for the purpose of this tutorial (if not, you can see Chelsea’s tutorial here.) There are many other editing programs that support D&B, including Lightroom. The most important thing to remember when you are dodging or burning is to keep it subtle and work with the natural highlights and shadows that already exist in the image. Done correctly, D&B is an easy way to make a portrait more life-like and impactful.
The simple answer is it ain’t easy folks. Everyone with a camera or smart-phone thinks they’re a photographer these days. The digital age has been a boon to photographers in many ways, but its brought along with it a whole host of detrimental side affects. The word professional is used to imply a certain level of competence, and when shooting film it took years to gain sufficient competency to actually get paid for your work. So if you want to make money with your photography you first have to ask yourself the question “am I good enough?” You owe it to everyone to be brutally honest with yourself and others. If you haven’t reached that level of competency yet then don’t charge for your work. Be content to provide it gratis, and just be thankful that someone is giving you the opportunity to hone your craft. So having said that here are my thoughts on making money with your photography, keep in mind that these are just my thoughts based on my own personal experience:
I have often played with the color of my images to see how it changes the mood or adds visual interest. There are a few different ways to do this and I will go through one of the easier methods.
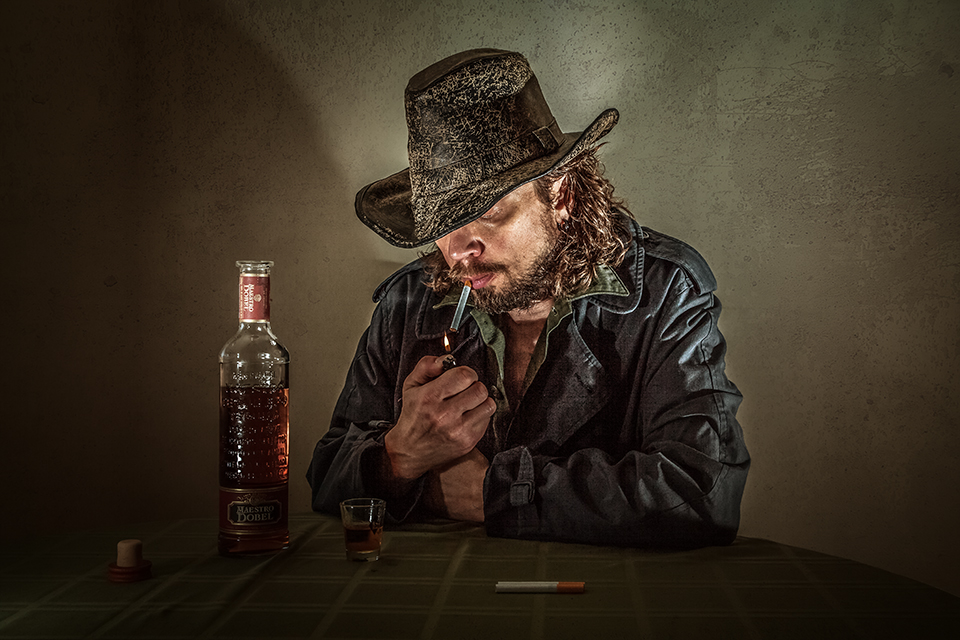
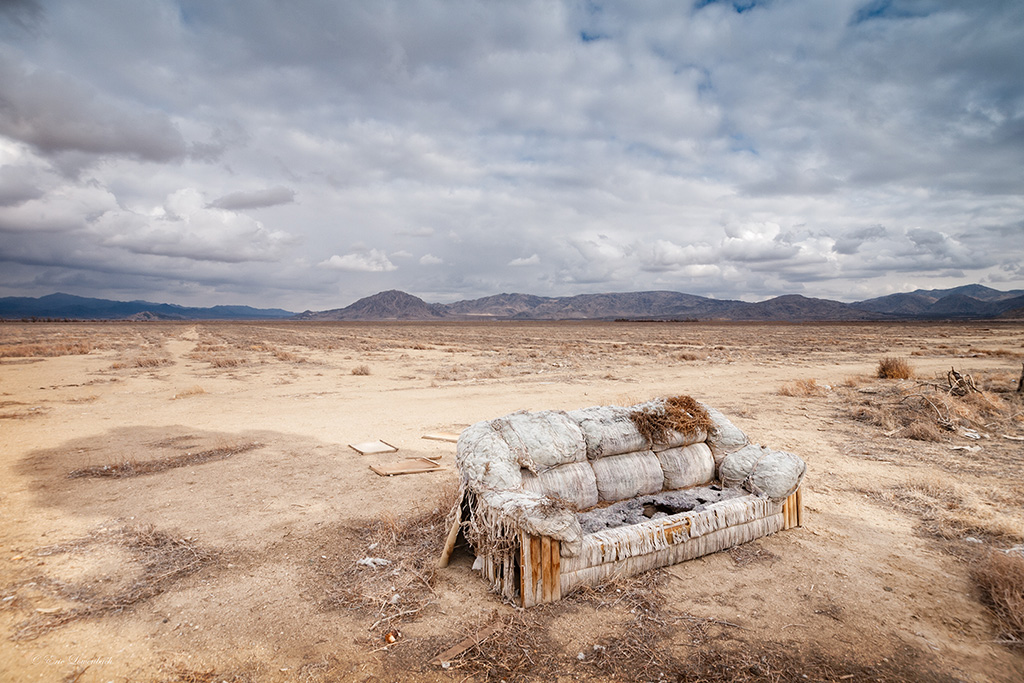
Stock images often have a concept or convey a story. This one could be “neglect.”
What is stock photography?
It’s a massive library of photos created by a variety of photographers used for a wide range of commercial purposes including advertising, packaging, book covers, magazine articles, television commercials, web banners, annual reports, textbooks, and signage. You’ll find stock images everywhere photos are used.
These days, most stock images are licensed through a handful of agencies that provide marketing, search capability, license management, and a client base in exchange for a hefty percentage of the royalties.
What’s in it for me?
Money, for starters. Not necessarily a lot of money, but some. A lot depends on the effort you put into your stock image portfolio. The more you put into it, the more you can expect to take out. It’s important to manage your expectations. You won’t get rich quick; it can take months or years to build up a good stock portfolio.
You’ll also have the opportunity to see your work published in high profile places. You’ll get a boost knowing your work was selected by someone and put to good use. Being published can help give your portfolio a professional gloss.
Finally, if you’re looking for a way to focus your photographic efforts and need a goal to help you improve your quality, shooting for a stock agency is a route to that goal.
What about “gotchas”?
It’s not all sunshine. Many people have found that it takes a lot of work for little money. It’s not just taking photo, you must also upload and keyword everything and provide releases for many of them (more on that later). It’s time-consuming and it takes months or longer before you start to make progress.
You’ll have no control over how your images are used. There’s no mechanism that allows you to decide who does what with your work. You may find your images attached to things that are embarrassing or uncomfortable, though most agencies’ contracts stipulate use for only non-pornographic and non-defamatory purposes, and in reality the vast majority of uses are gratifying rather than mortifying.
On the other hand, you may never actually see your images in use. You’ll get a statement listing the name of the client and how much your fee is, but there is no obligation for the client or agency to help you find your image being used. You may find some images by using Google’s reverse image search or hearing from friends who spot your images in the wild, but many uses are not internet-related and many are in faraway places.
Finally, there’s photo credit: You won’t get any. The client neither knows nor cares who you are or what your other photos are like. Occasionally, for editorial use, you’ll see your name by the photo.
“Empty nests” could be used a lot of ways.
What kind of photography are stock agencies looking for?
It varies. Not all collections are just pictures of businessmen shaking hands. In general, pictures with people in them sell better than landscapes, but some of us do well with landscapes. Agencies can be divided into high tier (expensive but low volume) and low tier (cheap, subscription-based licenses, high volume.)
Take a look at the images various agencies are offering. Be unique, stand out! Though it helps seeing what’s out there to get ideas of what they are looking for.
But are my photos good enough? Is my camera good enough?
Your gear is fine. There is at least one agency that even accepts images from certain models of cell phone. Agencies care about the result, not the method.
Your photos may be good enough, and if not, it’s not that hard to get there. Remember, stock photography is not National Geographic. A lot of the time it’s your least favorite, most boring photos that sell, while the emotional masterpiece at the top of your portfolio gets ignored. It’s all about utility for the clients.
Image quality matters and you’ll have to make it a priority. First, agencies accept submissions only as jpegs. Save files in the highest quality setting possible, and save them only once. Save the largest resolution your camera can make.
Photos must be properly exposed, not be plagued by noise, be well focused on the main subject, and have decent composition. These are all covered in Stunning Digital Photography. If you read and follow Tony and Chelsea’s advice, these fundamentals won’t hold you back.
Don’t over process your work. The less a photo is processed, the more versatility it has to buyers. Buyers often have their own art departments slice and dice your photo until you hardly recognize it anyway. So keep vignetting subtle, avoid monochrome, make your HDR tone mapping undetectable, keep sharpening low, don’t watermark, and never submit spot color.
How do I get started?
Pick an agency! But research first… find one that has a fee schedule you can live with. You’ll find some links below to get you going. Be aware that the highest paying agencies often demand exclusivity. This means that if you sign up with a low-paying microstock agency and later decide you want to move up the chain a little bit, any image you have already submitted to the first agency might not be accepted by the second—particularly for the coveted “rights managed” licenses. This may not be an issue if you continue to make good new content.
It’s typical for the photographer to receive only 20% – 30% of a royalty fee. This sounds like highway robbery, but it’s better than the alternative: 100% of zero.
When you sign up with an agency, read the contract carefully before signing it. All copyright for your images remains with you; you are always the sole owner. However, some agreements limit how you can use your submitted images commercially while you’re with the agency.
This image has been used for inspirational messages in advertisements.
What else do I need to know?
When you receive royalty payments, there are tax implications that vary from country to country. You may be able to write off expenses. See an accountant.
Model releases will be required for images containing recognizable people. Even if facing away, if he or she can recognize herself (from the location or the clothing,) you’ll need a model release. Having one on file makes an image more attractive to buyers anyway. The agency will provide blank model release forms and some accept forms from smart phone apps. You’ll find it easier to get releases for pictures containing your friends and family.
Similarly, property releases will be required when shooting in homes or in places that are recognizable as private property.
Beware of trademarks. Avoid images containing them, or highly distinctive brands. If a person is wearing a branded cap, have them remove it or clone out the logo later. If holding an iPhone, make sure the screen and Apple logo don’t show or that the item is small enough to look generic. Your buyer doesn’t want to advertise for some other company, so keep everything generic.
If you shoot a bunch of photos at the same time, pick only one or two to submit. The agency will not want a bunch of “similars” that only act as filler.
If you apply and get rejected, don’t despair. It’s not uncommon to have to try a couple of times.
I’ll be happy to answer any questions I can.
Here are few stock agency websites to get you started. Note that all of them have resources like lists of what they are looking for, how to prepare a file, model releases, legal terms, etc. There is a lot to read and learn about. Good luck!
Welcome to the exciting world of fashion photography! In this article, I will take you through a whirlwind 10-step process for organizing your first fashion shoot. As you will see from this list, in addition to technical merit, successful fashion photographers must be adept at managing a team and networking in a fast-paced, global industry.
I love fashion photography because I get the opportunity to work with talented & creative professionals in fun and stimulating shoots involving beautiful clothes—what more could a photographer ask for?!
1. Organize a test shoot…actually, lots of them! Your first several fashion shoots will be “tests.” Tests are a great way to improve your technique, test creative ideas or equipment, build a styling team you work well with and develop your portfolio.
2. Create a mood board. A mood board is a powerful tool to organize and direct your shoot. Mood boards consist of inspirational images collected from other sources (often fashion magazines) that will help the model and styling team understand the looks, poses, backgrounds or locations for your shoot. I collect images on Pinterest and make a detailed mood board for every shoot.
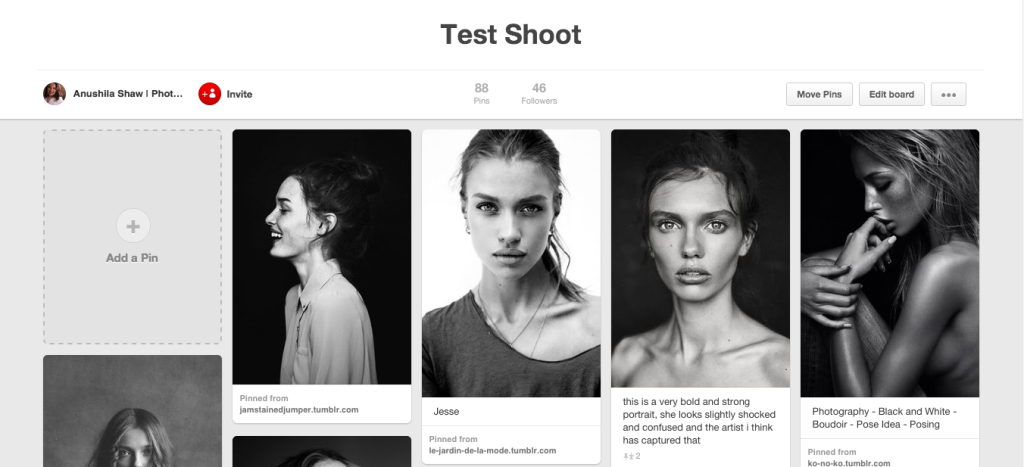
My Test Shoot mood board on Pinterest. This is a great resource for styling ideas, poses, lighting patterns and much more. Obviously, I have a thing for intense black and white portraits! You, too, may learn something surprising about your style and preferences when you collect your favorite photos into one place. Connect with me on Pinterest to see the rest.
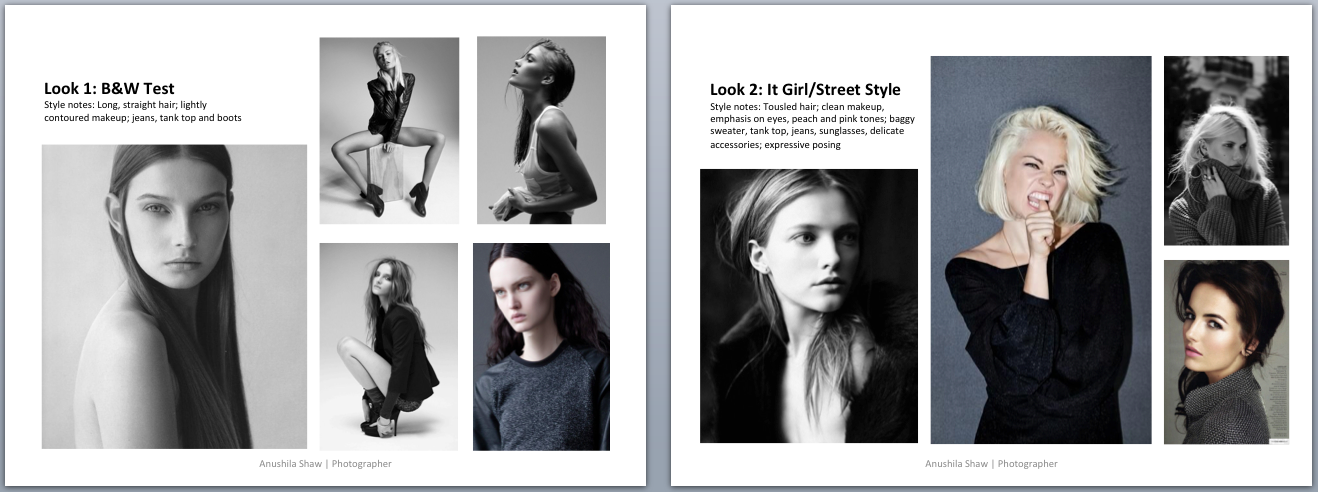
Pages from an actual mood board that I used for a shoot. Every photographer will make a different type of moodboard. Mine usually include detailed styling notes as well as images.
3. Build your styling team. Connect with creative professionals who are also getting into the industry and will contribute their skills in exchange for images from the shoot for their portfolios. Makeup and hair styling schools are a great place to meet talented and trained artists. At a minimum, you will need a makeup artist (many makeup artists are also proficient at basic hairstyling). Eventually, you may add a hair stylist, wardrobe stylist, nail technician, photography assistant and more.
4. Cast a model. “New faces” or “development models” are the newest models signed to an agency; these models are seeking test shoots to build their book and gain experience. Reputable agencies will typically ask to see samples of your work before booking a model. An agency may also request a meeting in person before your first shoot with their model. Before you approach an agency, shoot your most photogenic friends or cast models directly through industry websites like Model Mayhem or Model Management to build your portfolio.
5. Prepare each look. I typically shoot one to three looks for a test. For each look you will need to assemble the clothes and accessories as inspired by your mood board. Seek out local designers or boutiques that will allow you to “pull” (borrow) clothing and accessories for your shoot in exchange for credit or images. Fashion photography is a subset of commercial photography, the purpose of which is to sell the photographed items. Be thoughtful in how you select and photograph these items. Eventually, you may work with a talented stylist who will handle this task, but as the photographer, you still have the final word on the overall look.
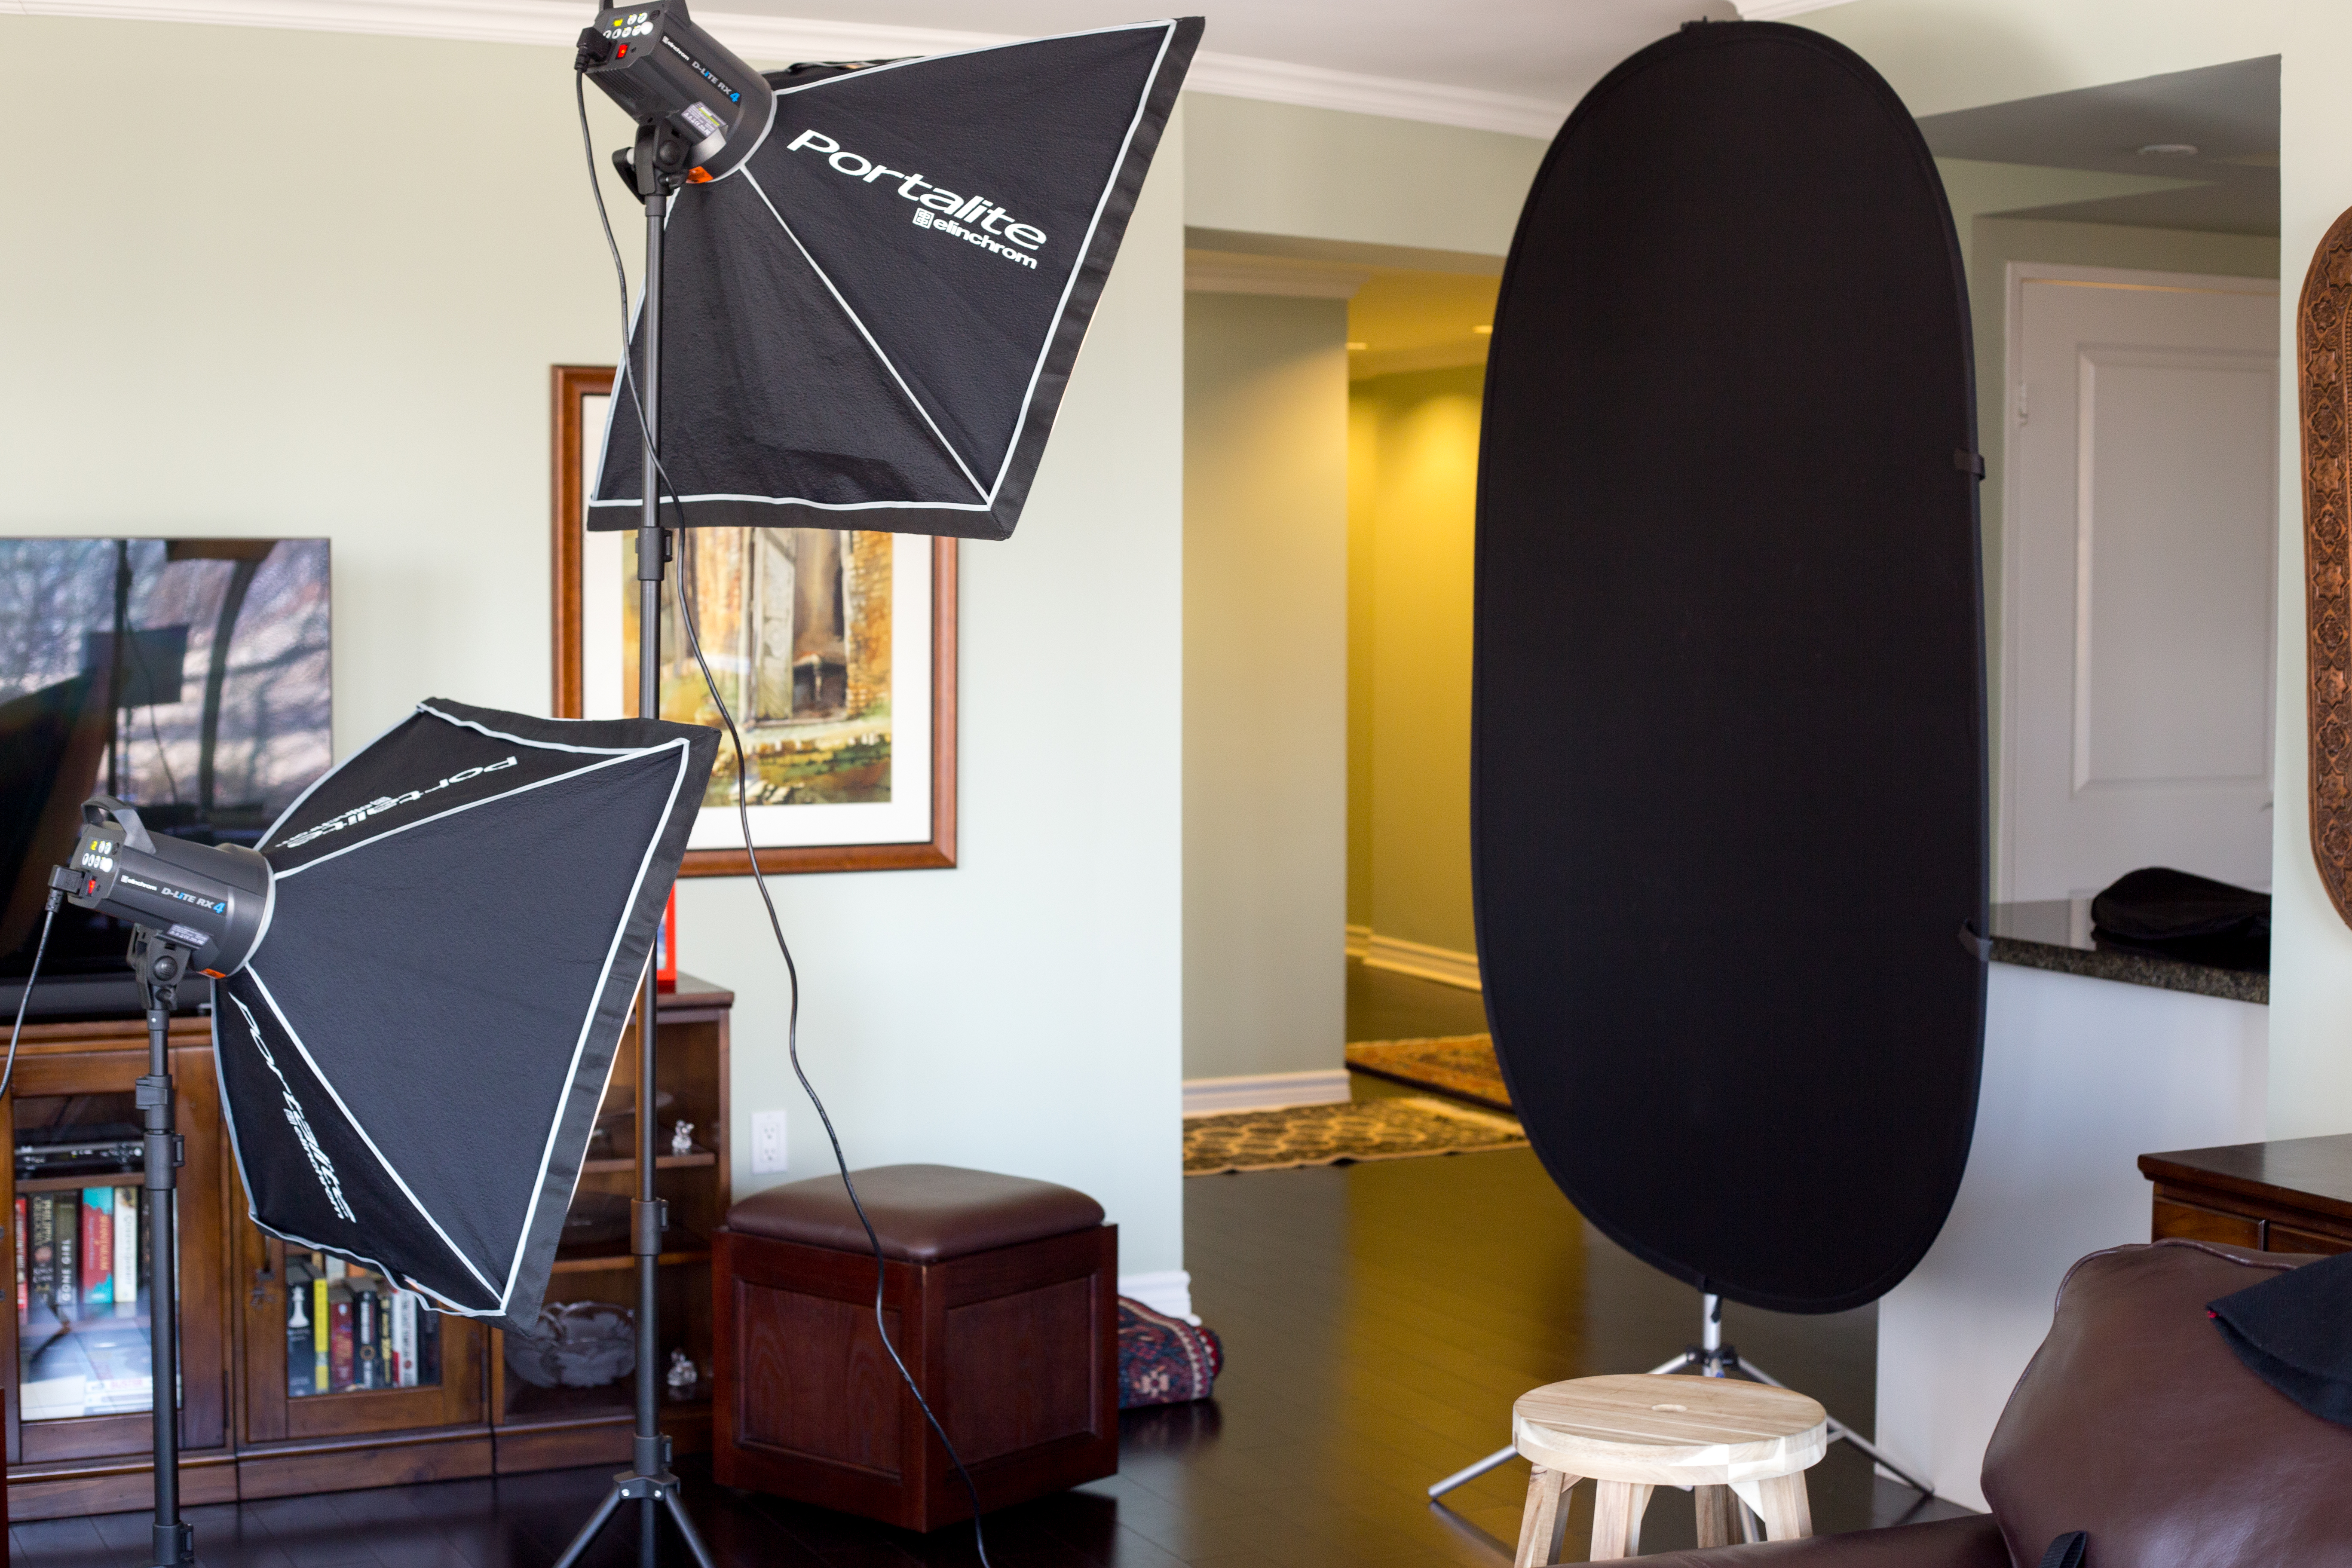
6. At the shoot. My favorite part of the entire process! I typically have my styling team arrive early for set up and to discuss the plan for the day. Once the model arrives, he or she is put into the hair and makeup station. This can take quite long—from 30 minutes to an hour—so this is a good time to set up your lights and backdrop. Finally, because fashion shoots are quite physically taxing, I like to provide healthy snacks and drinks at longer shoots to keep everyone energized. Great music will also pump up the energy and keep the good mood flowing on set.
Where the magic happens. You don’t need lots of fancy equipment, but a basic neutral backdrop and lights are essential. While natural light shoots are becoming popular in the industry, a fashion photographer is still expected to be a master of studio photography. I often shoot at home but will also rent studios and equipment when I need space to get creative.
7. Back Up. Back up your files!! Back up your files!! Back up your files!! Fashion shoots have lots of downtime during hair and makeup changes, so use this quiet time to review your work and…back up your files.
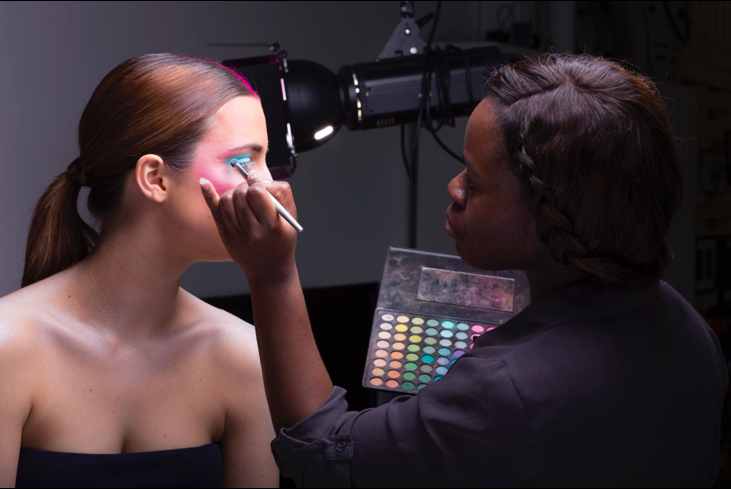
Talented makeup artist Keisha Kerr touching up model Madison (ILAND Models) on my set. My team is hard at work!
8. Review and edit. Each shoot will generate several hundred to over a thousand photos. Review your work and select the best images to process. In fashion, quality counts over quantity. You only need two to three GREAT images for each look, and you will probably spend several hours carefully selecting and processing the chosen images. Your styling team and the model’s agency may also request specific photos for their portfolios.
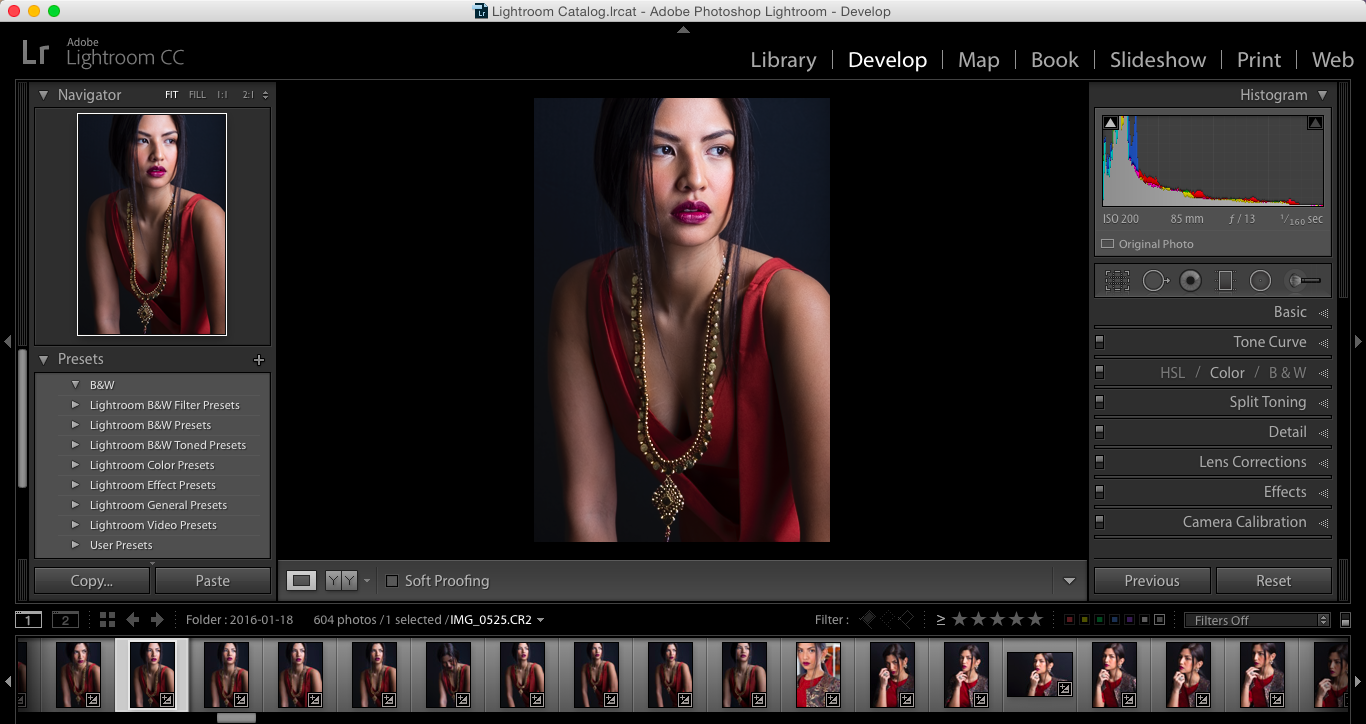
Lightroom is a powerful organizational tool. I took over 600 shots at this recent shoot, of which less than 20 are likely to be edited and shared with the world. My beautiful model above is Pilar (B&M Models).
9. Share your finished photos with the world. Marketing is everything in fashion photography. Share your best work on your website and social media, and remember to credit your team members. Facebook, Instagram and Behance are all popular social media and photo sharing sites for fashion photographers. Marketing your portfolio will build your brand and name recognition in this fiercely competitive industry.
10. Rinse and repeat. Evaluate your work with a critical eye and don’t be afraid to ask for feedback from your team members. I love this entire process, and as soon as one shoot is over I find myself thinking of and planning for the next one!