Hey there! Last night’s show was unofficially sponsored by Jameson and it was a blast. We looked at your black and white (and monochrome) shots and got some amazing ones. Thanks for watching and (attempting) to submit. If you want to know why you’d convert to black and white, read my blog post on it here.
We get into the photo reviews quickly, starting here:
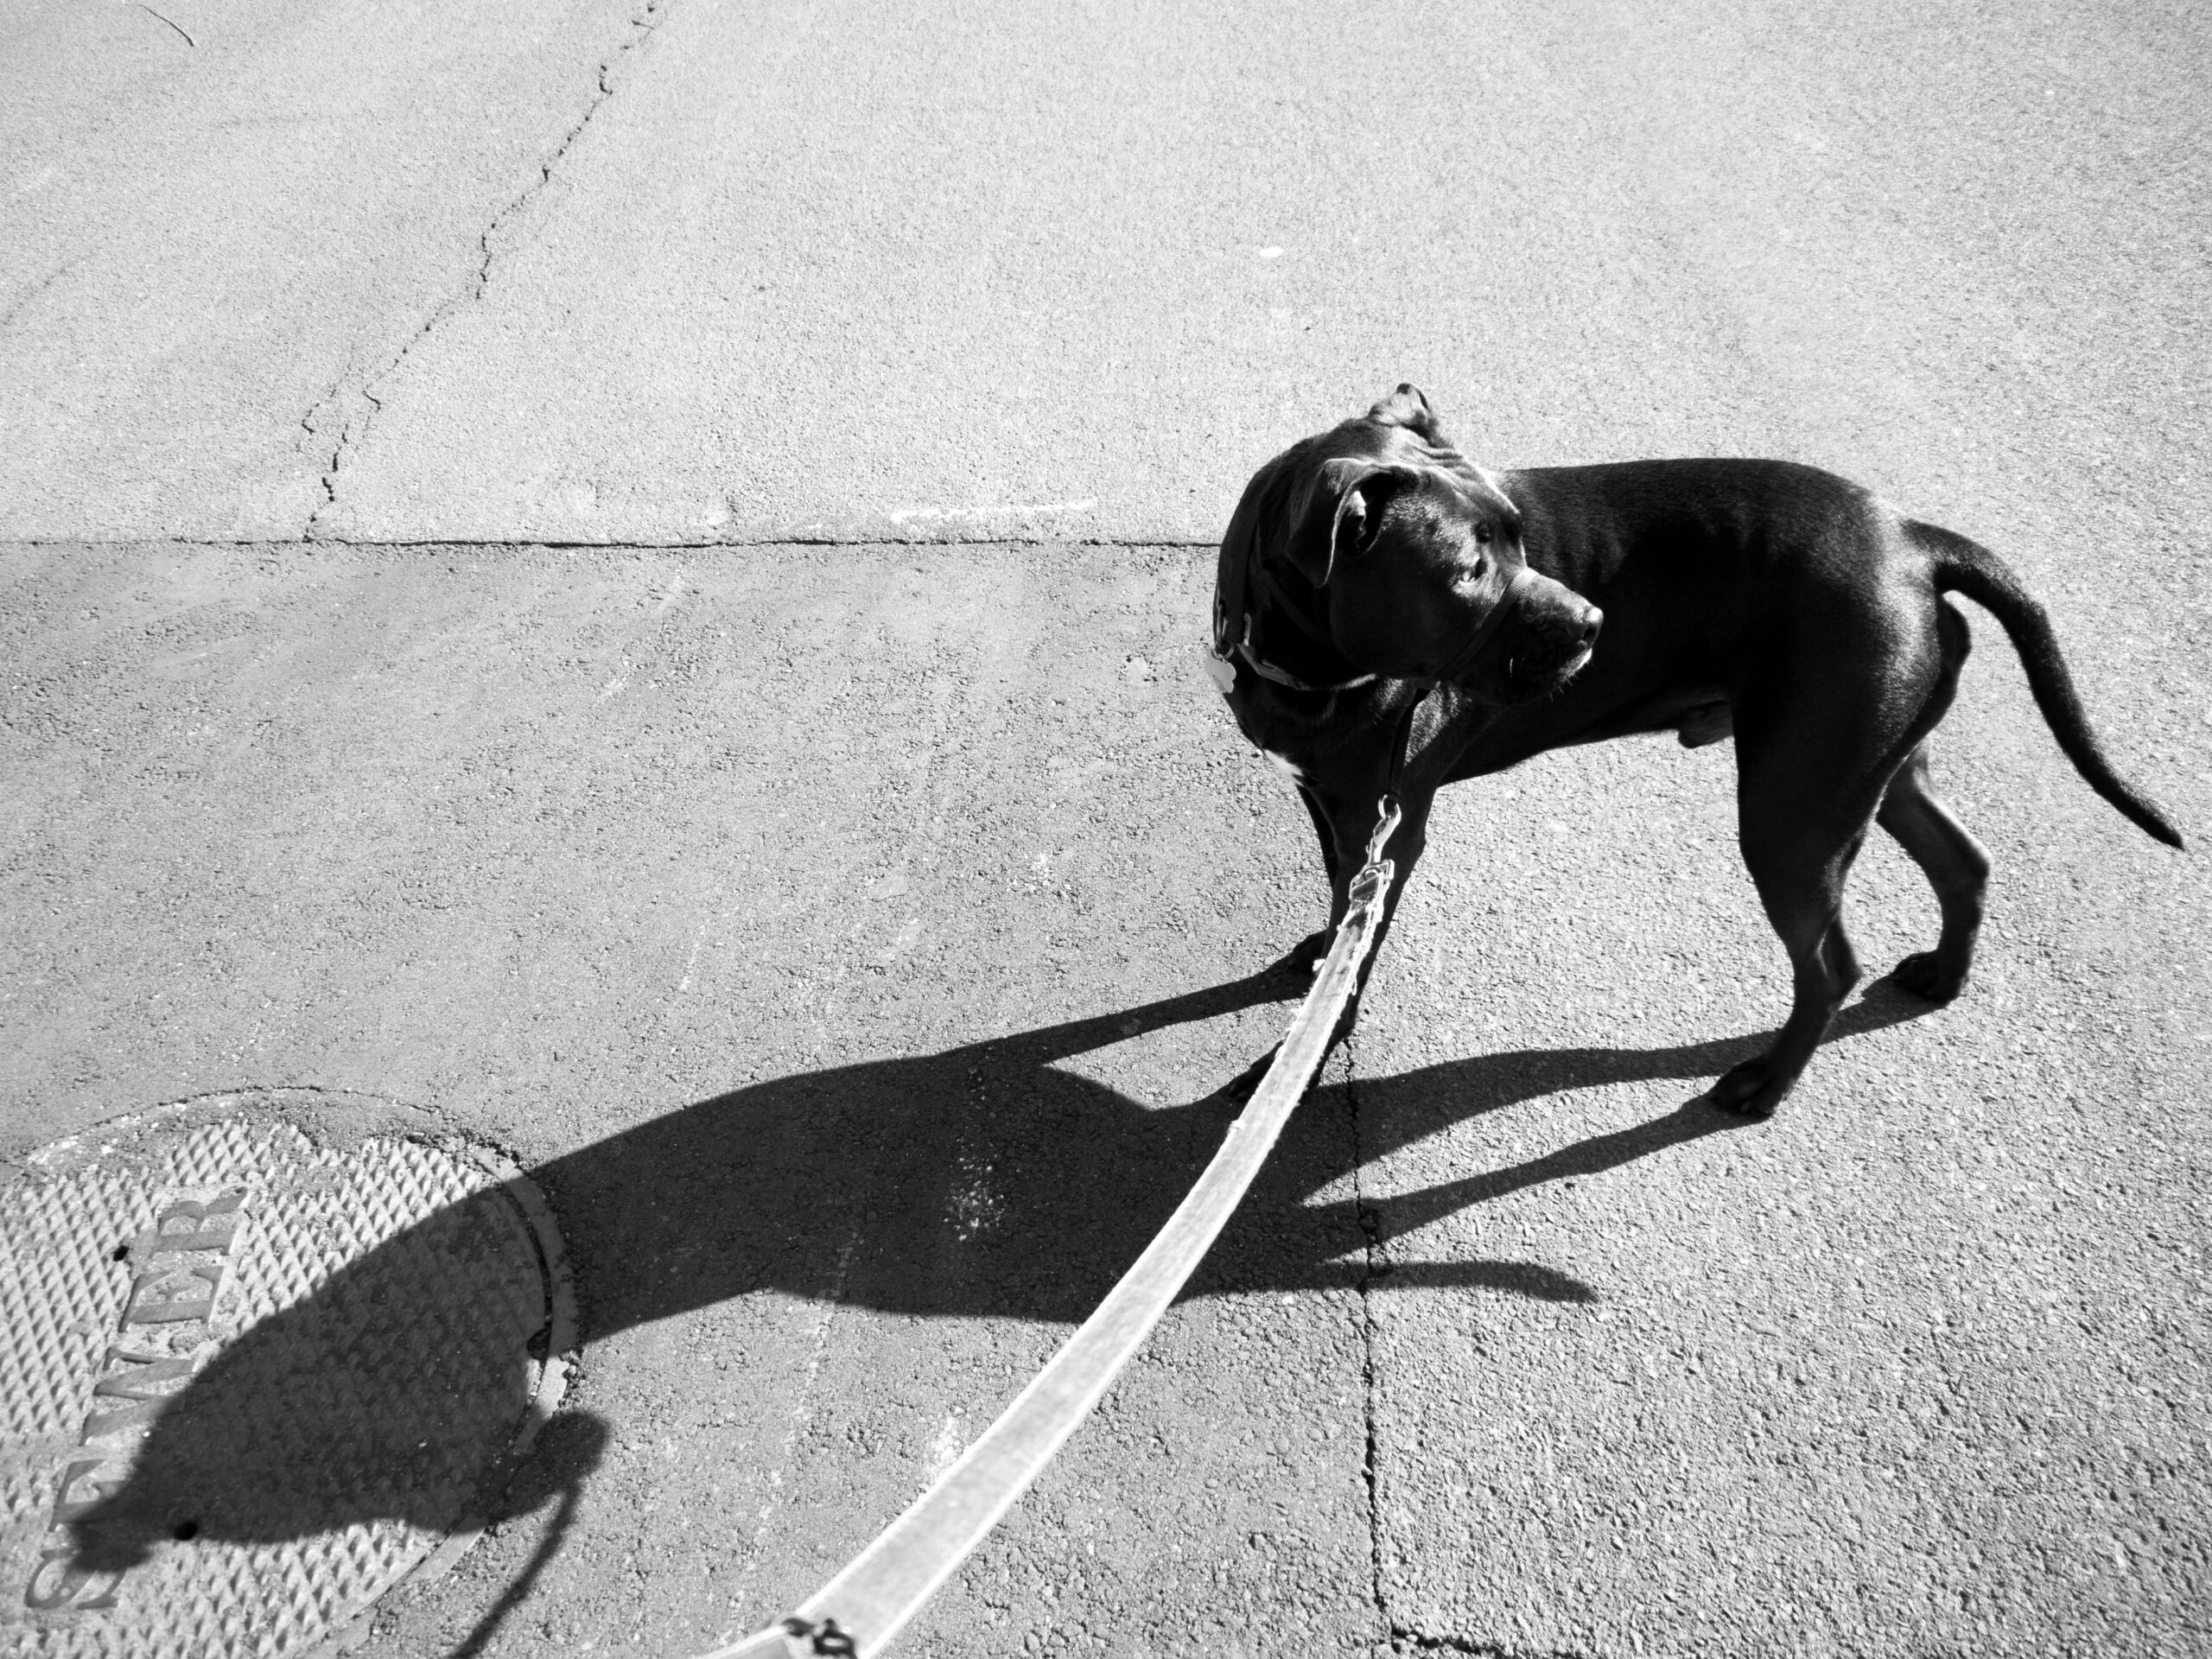
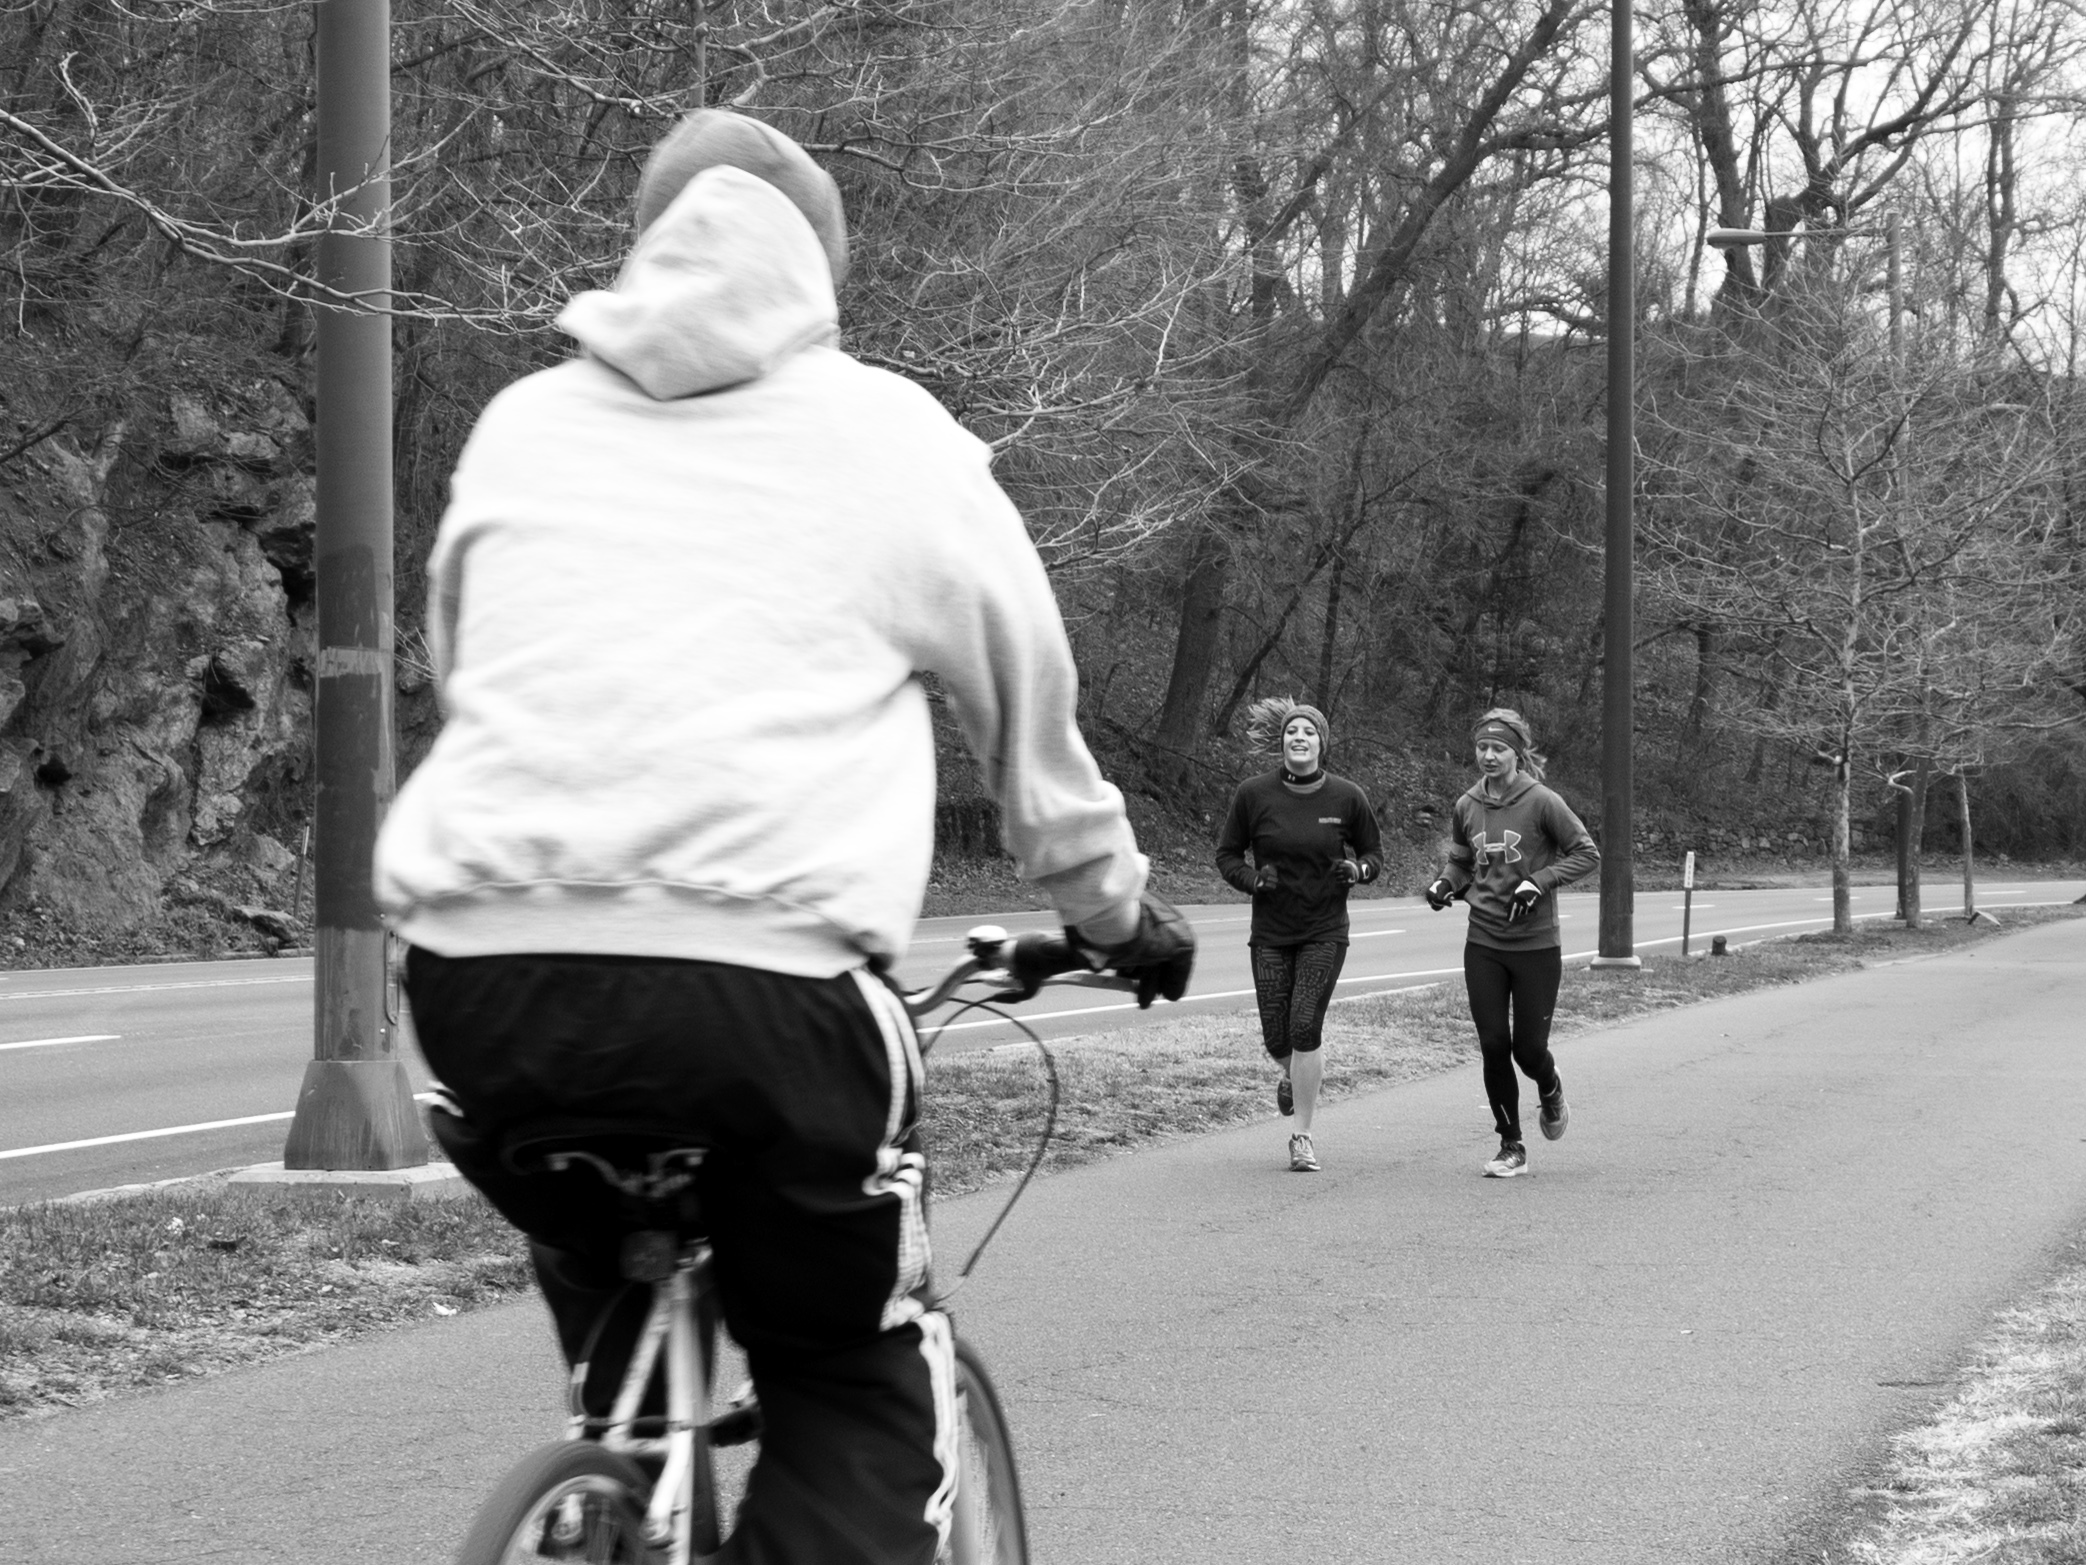
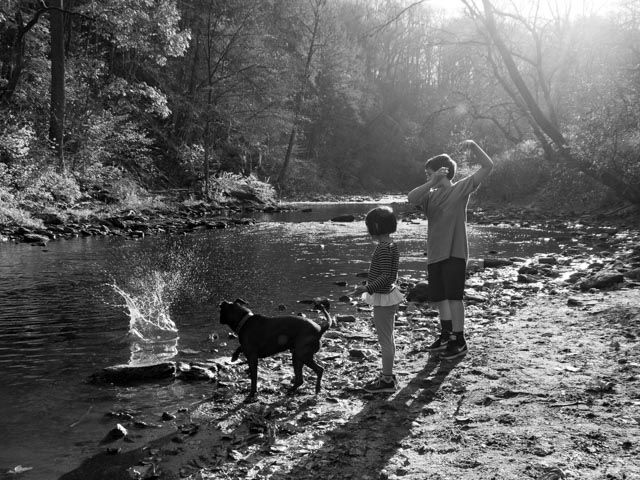
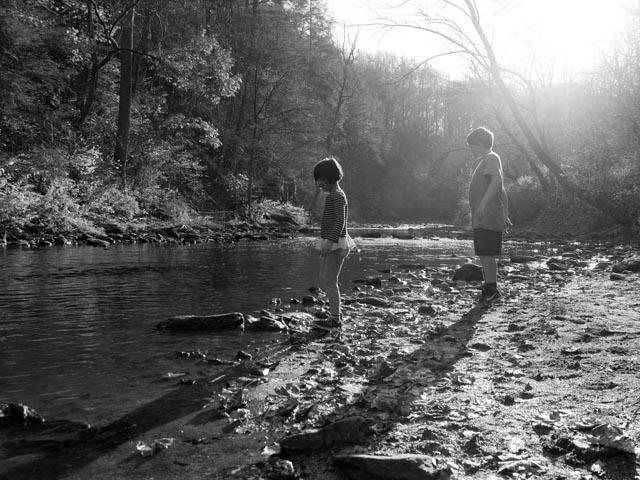
- street motion
- “cash me off guard” No, Tony.
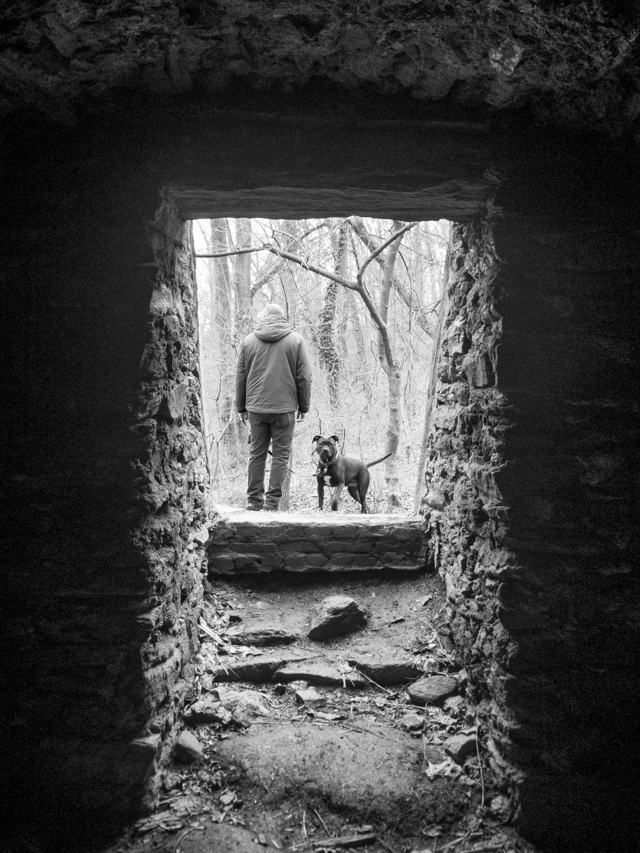
- boots on the ground
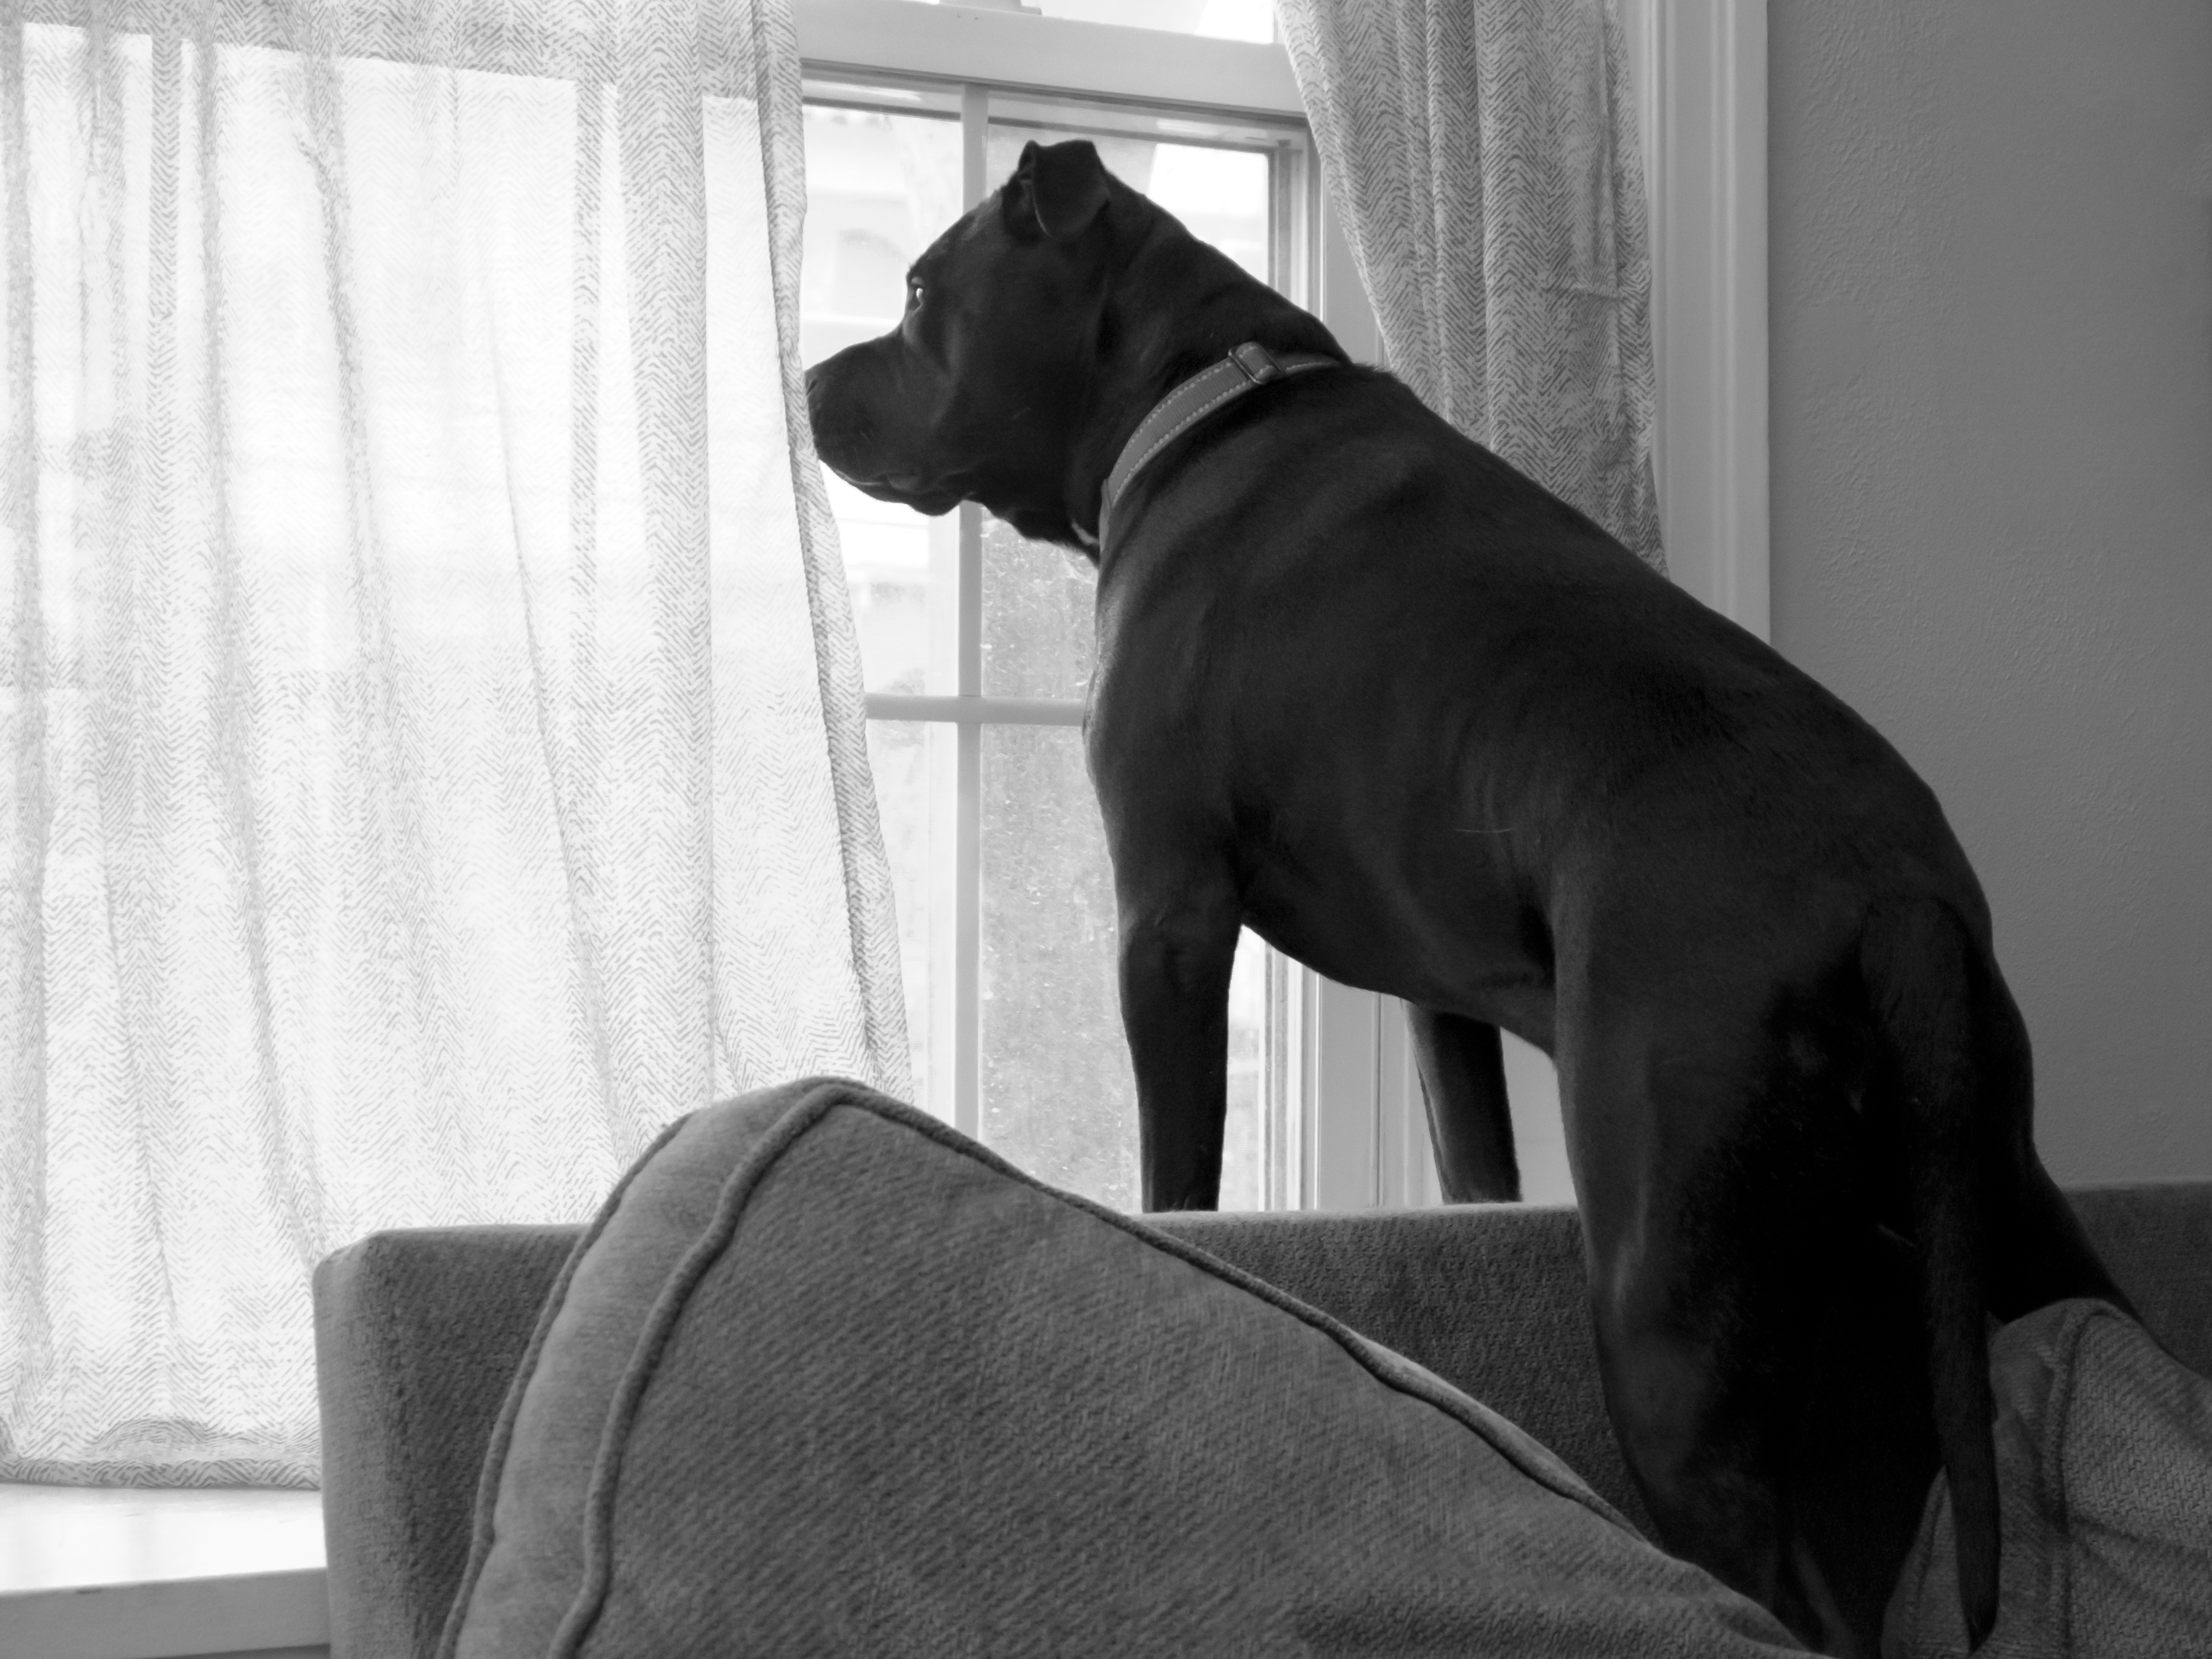
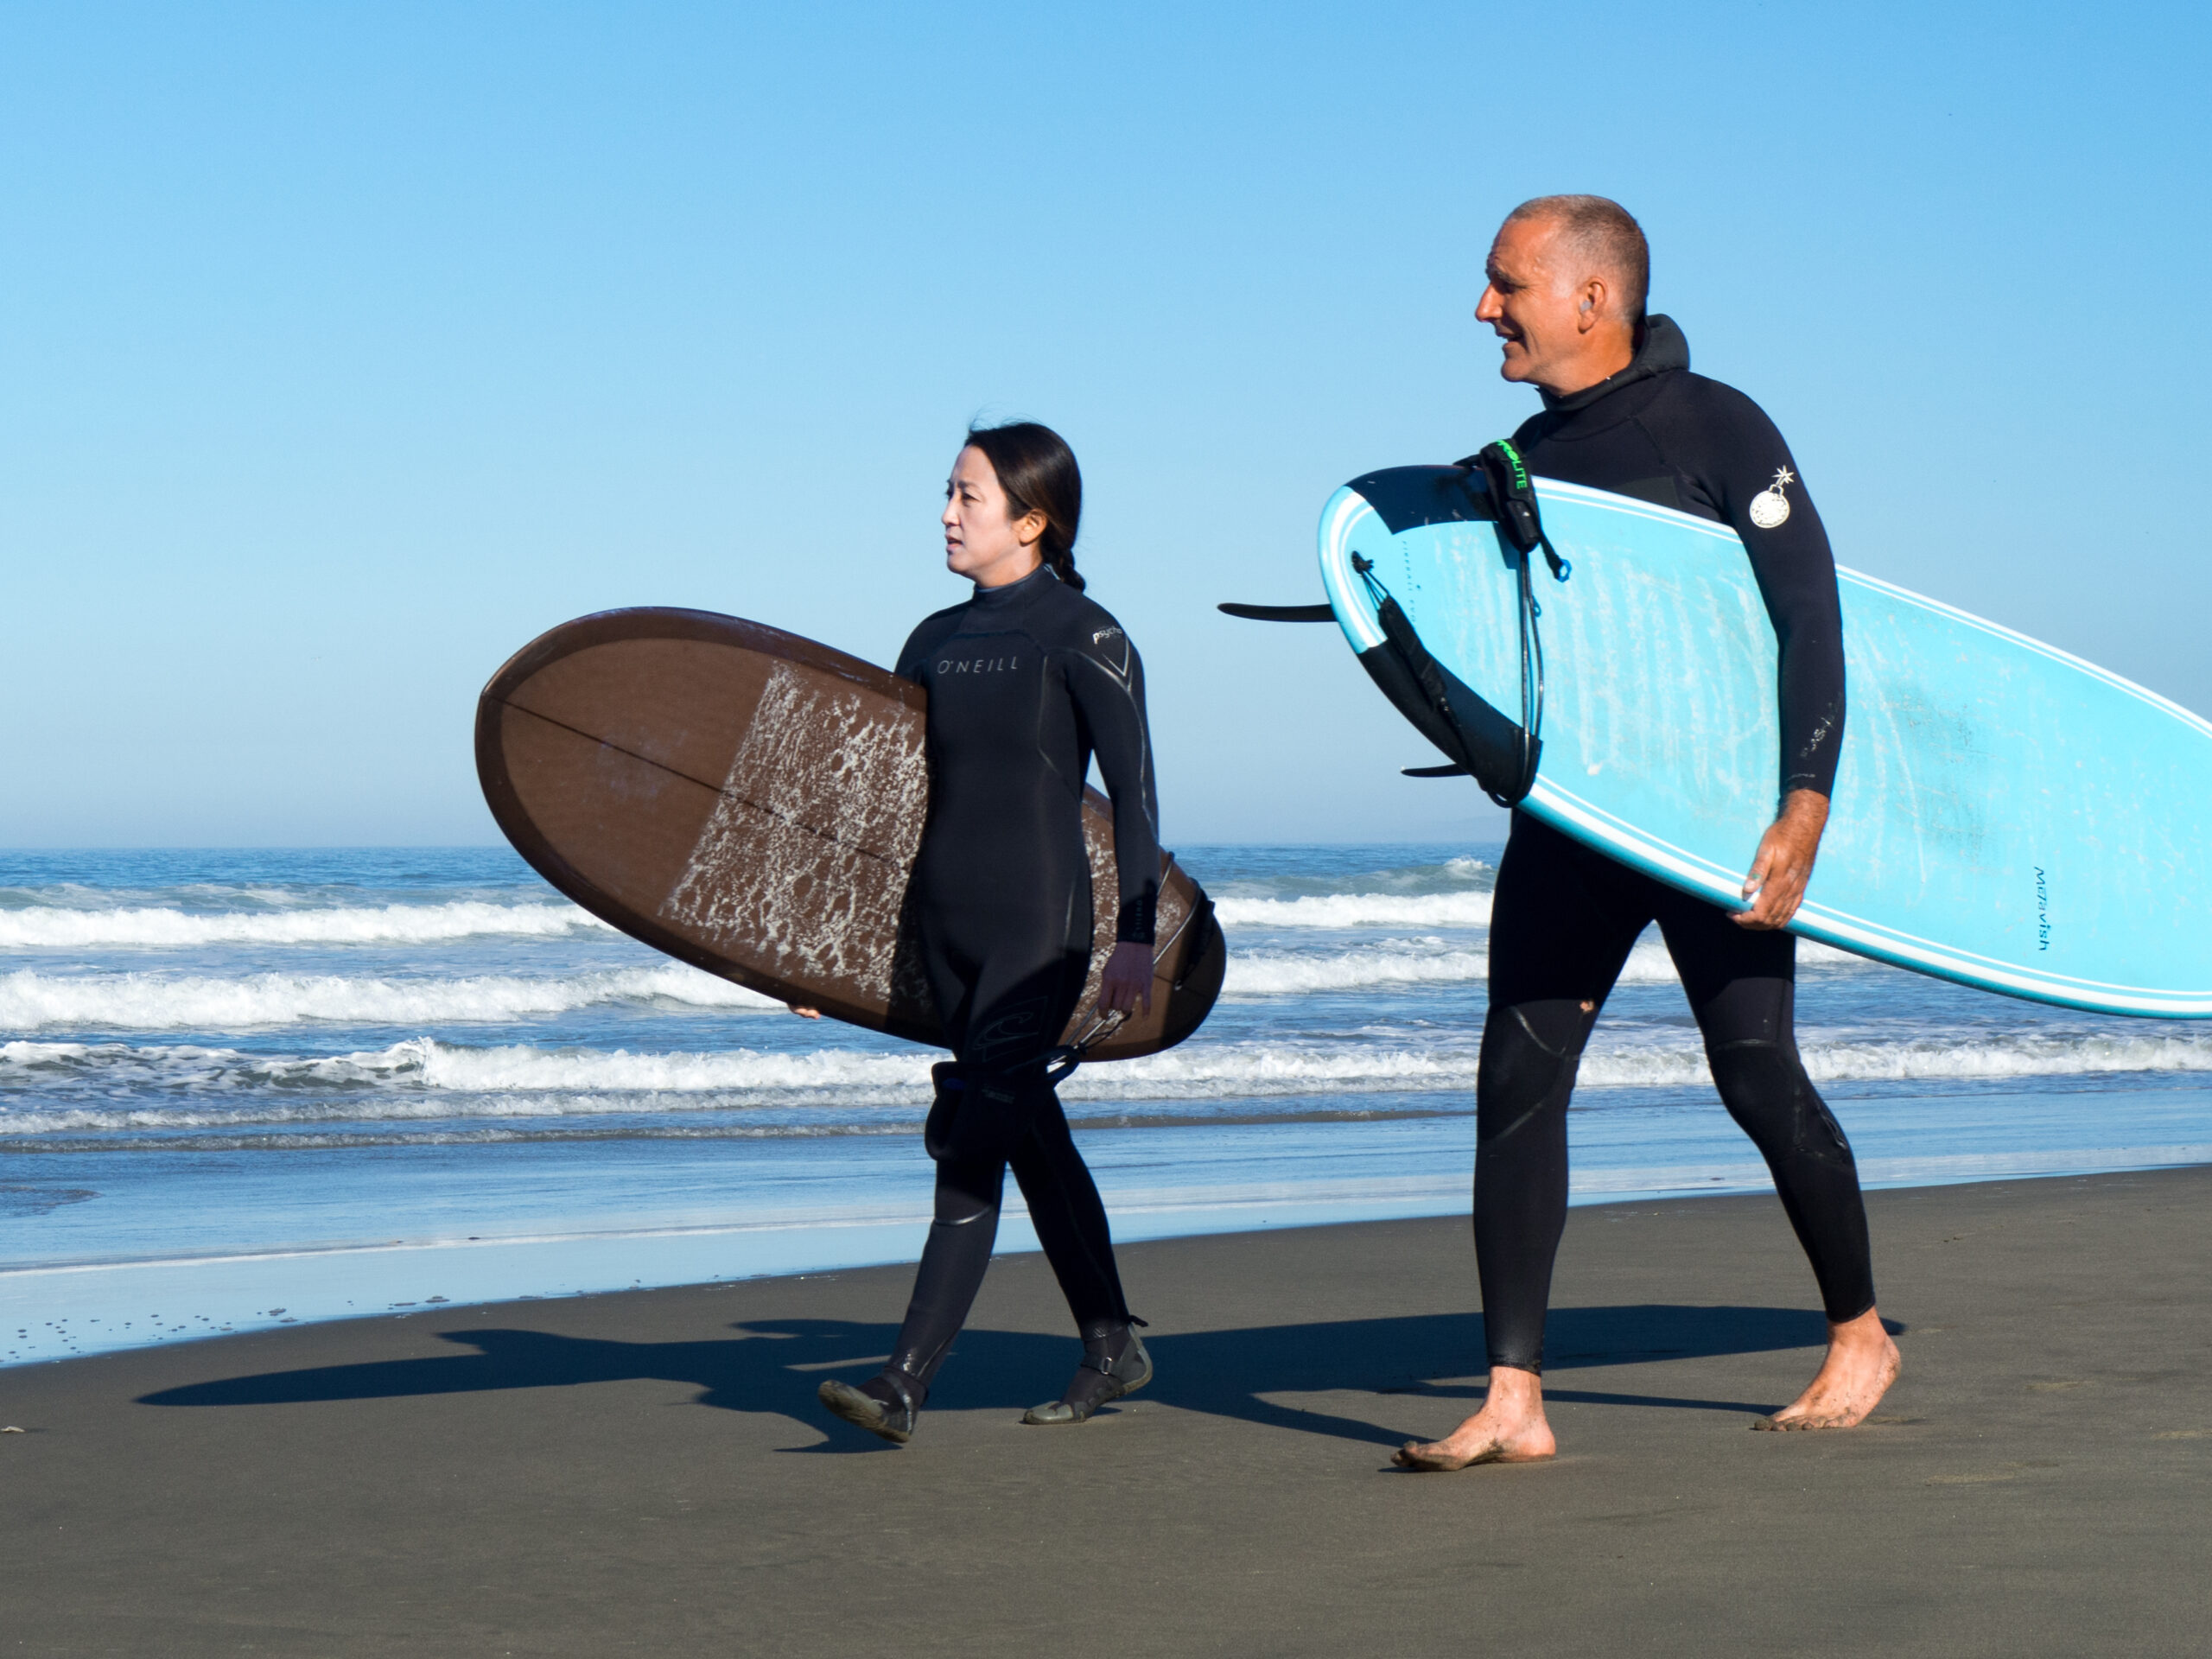
- portrait
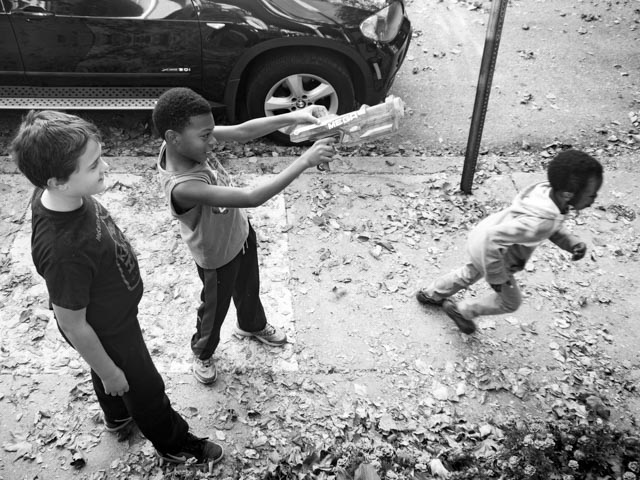
- “I don’t know what he’s about to do, but it’s gonna be dangerous, right?”
Happy birthday Kyle Wolfe! And wow, Rod, thanks for the booze! We need to do things that upset people and make them send us alcohol more often.
A bit of photo news:
- you can post multiple photos on Instagram in one post
- Sigma announced 4 new art lenses which we’re excited about
Over to me for some questions:
- how do you feel about color photography for street photos? Totally fine.
- any technical advantage to shooting in b&w verses converting in post? Not technically, but there’s an advantage to doing it to teach yourself to see in black and white.
Back to your photos:
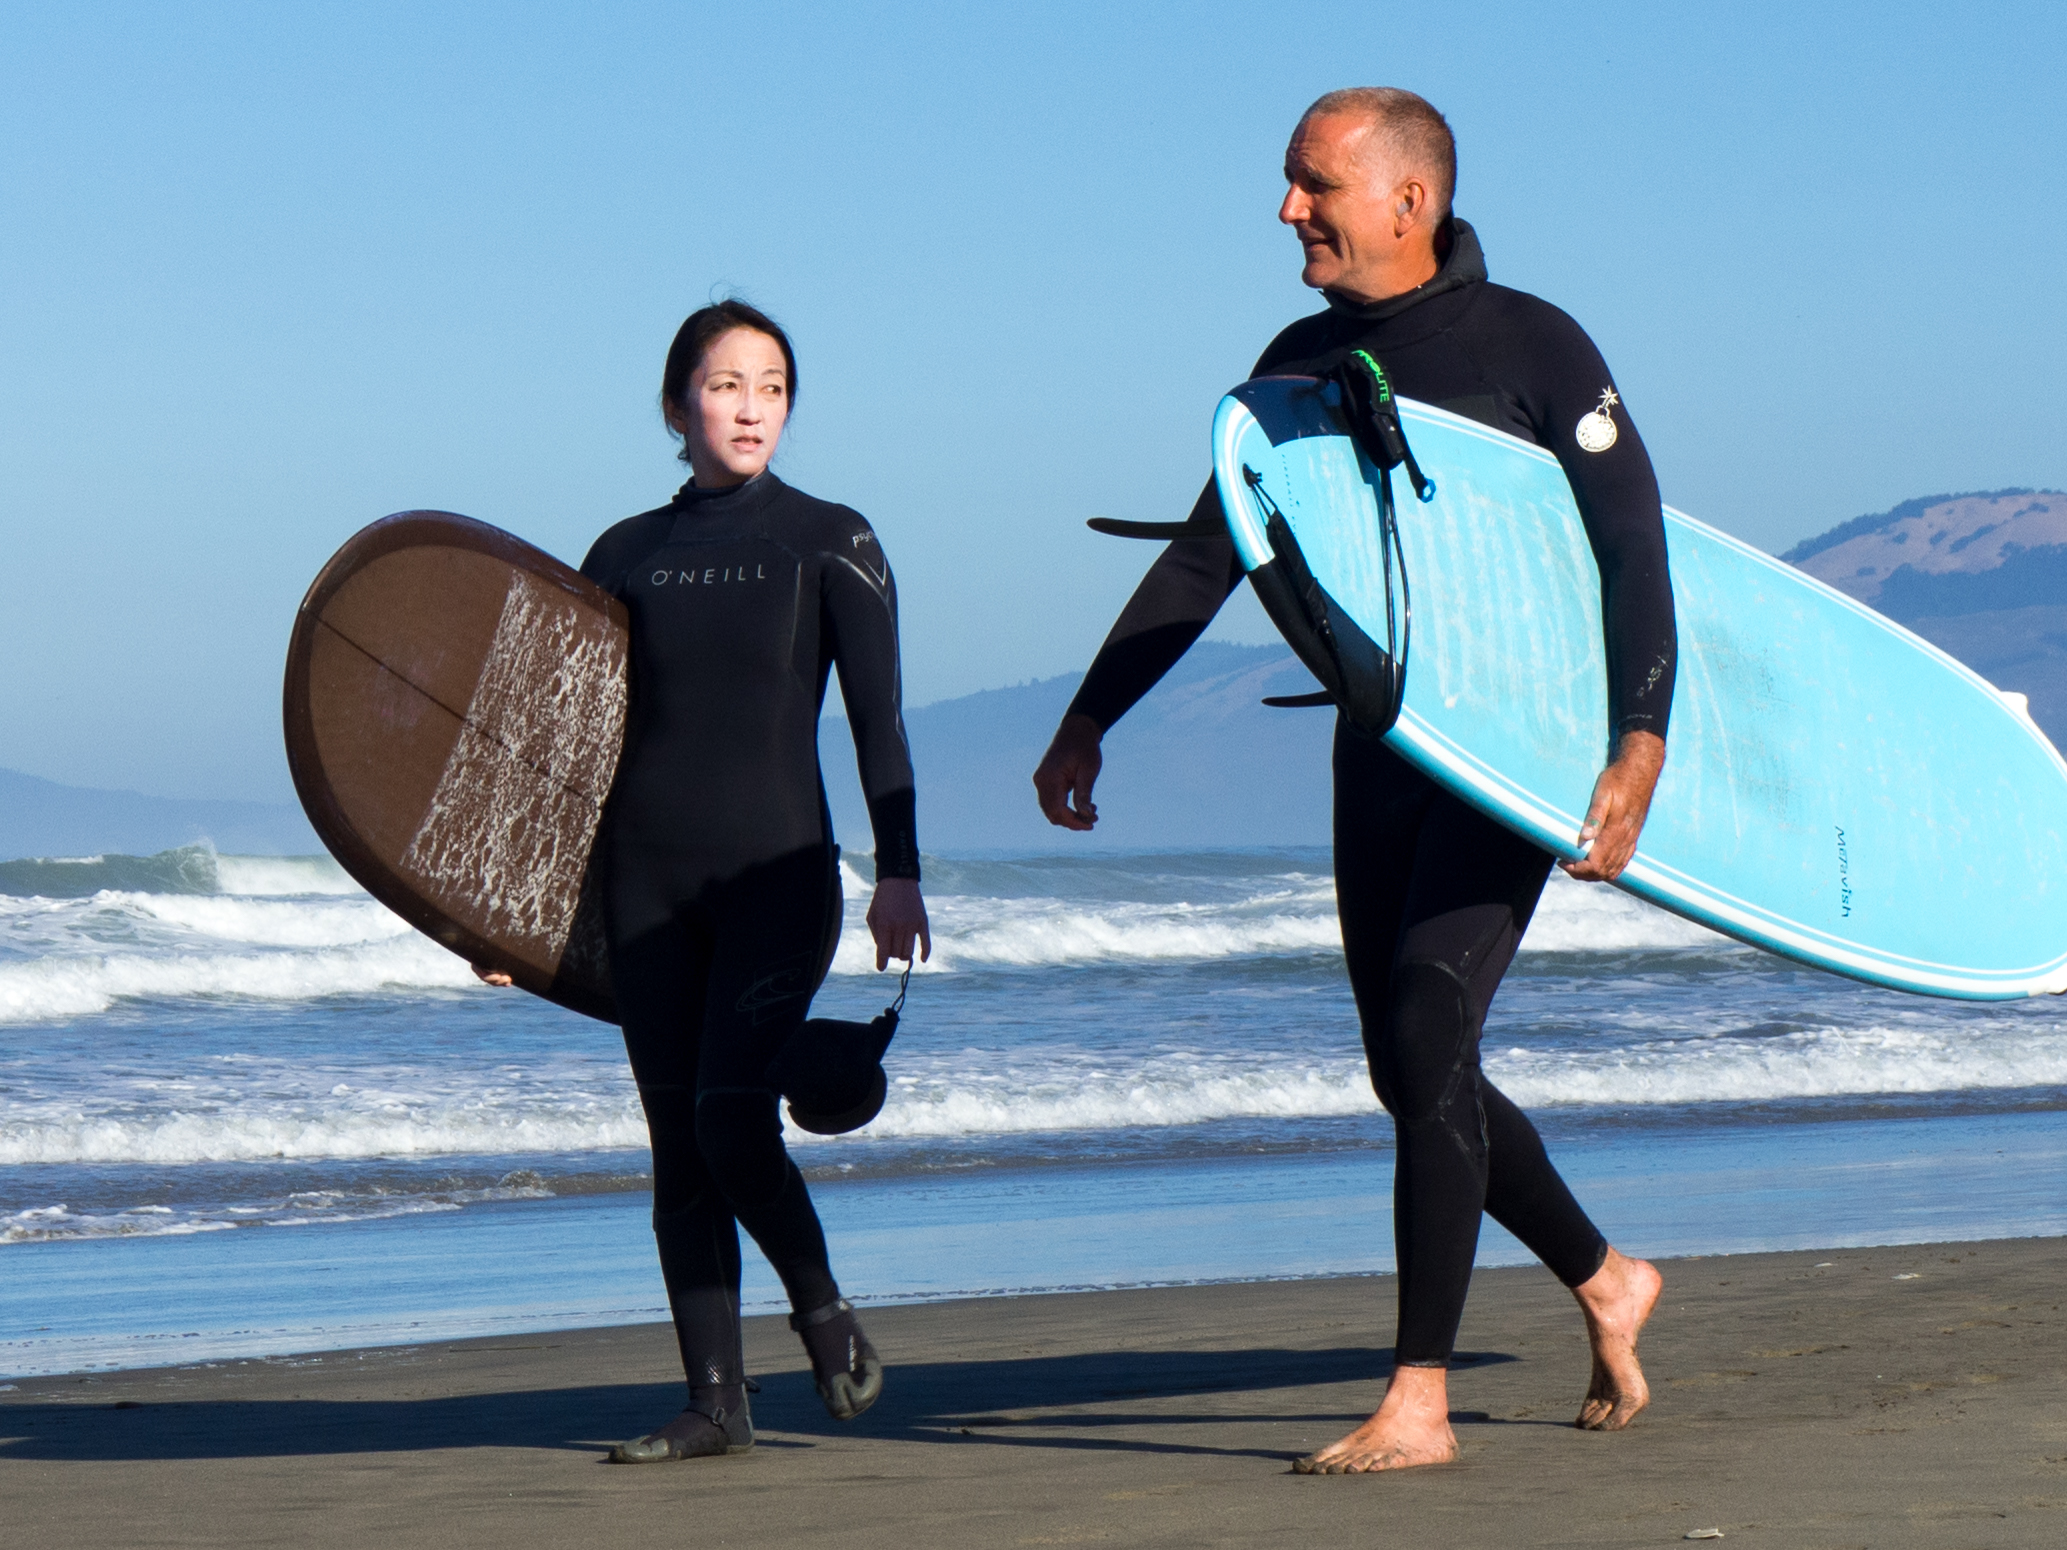
- sport portrait
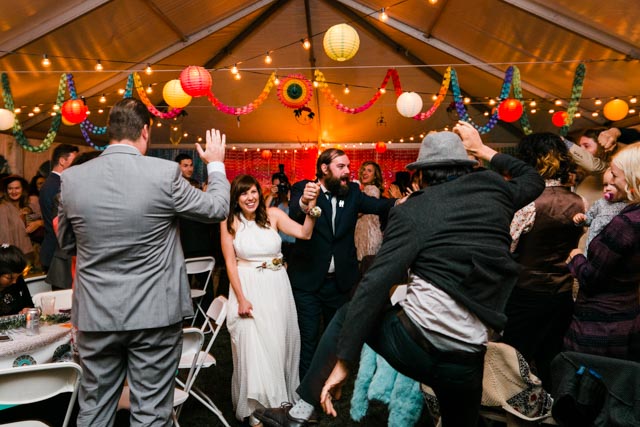
- Chelsea coined “the devil’s candy”
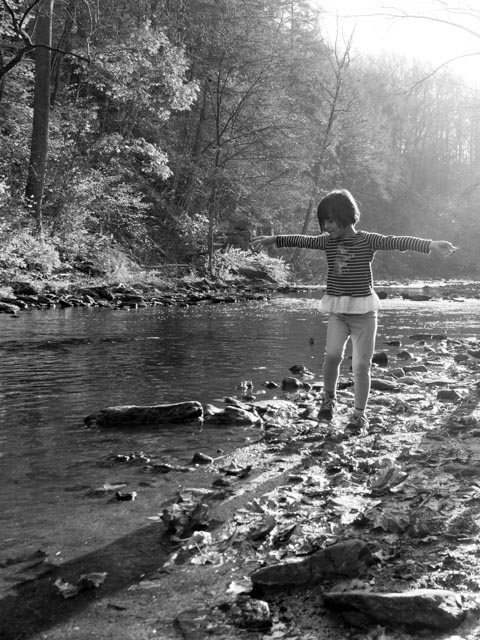
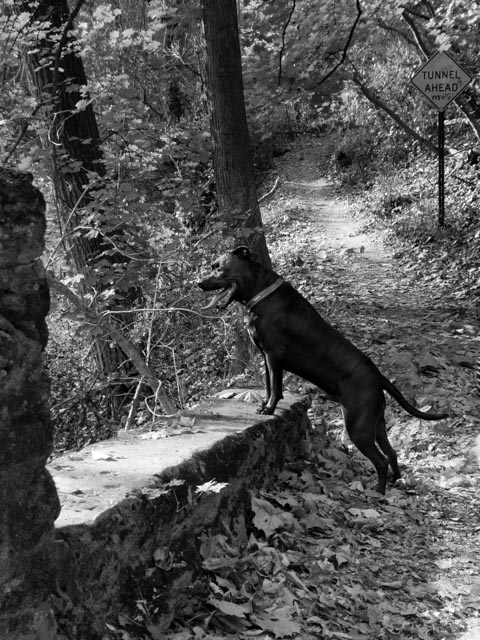
- “I don’t like people being happy in tunnels“
- guy on a cliff
- “you don’t feel like there was just too much white in there?” “I feel that about a lot of things, but not this picture.”
- much talk about the coliseum and aqua battles
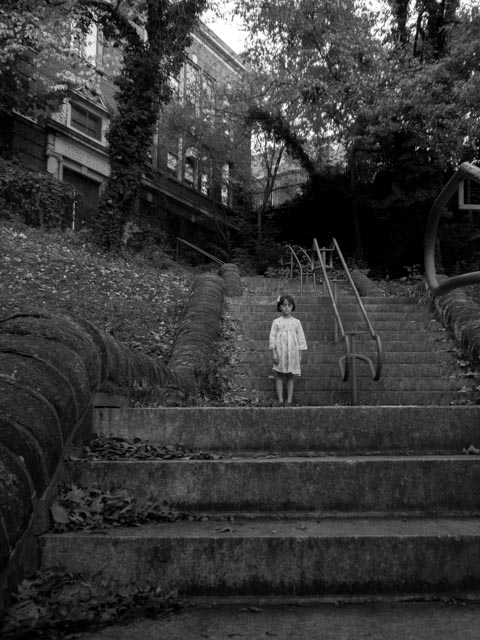
- stair case
- “damn, sexual selection at work”
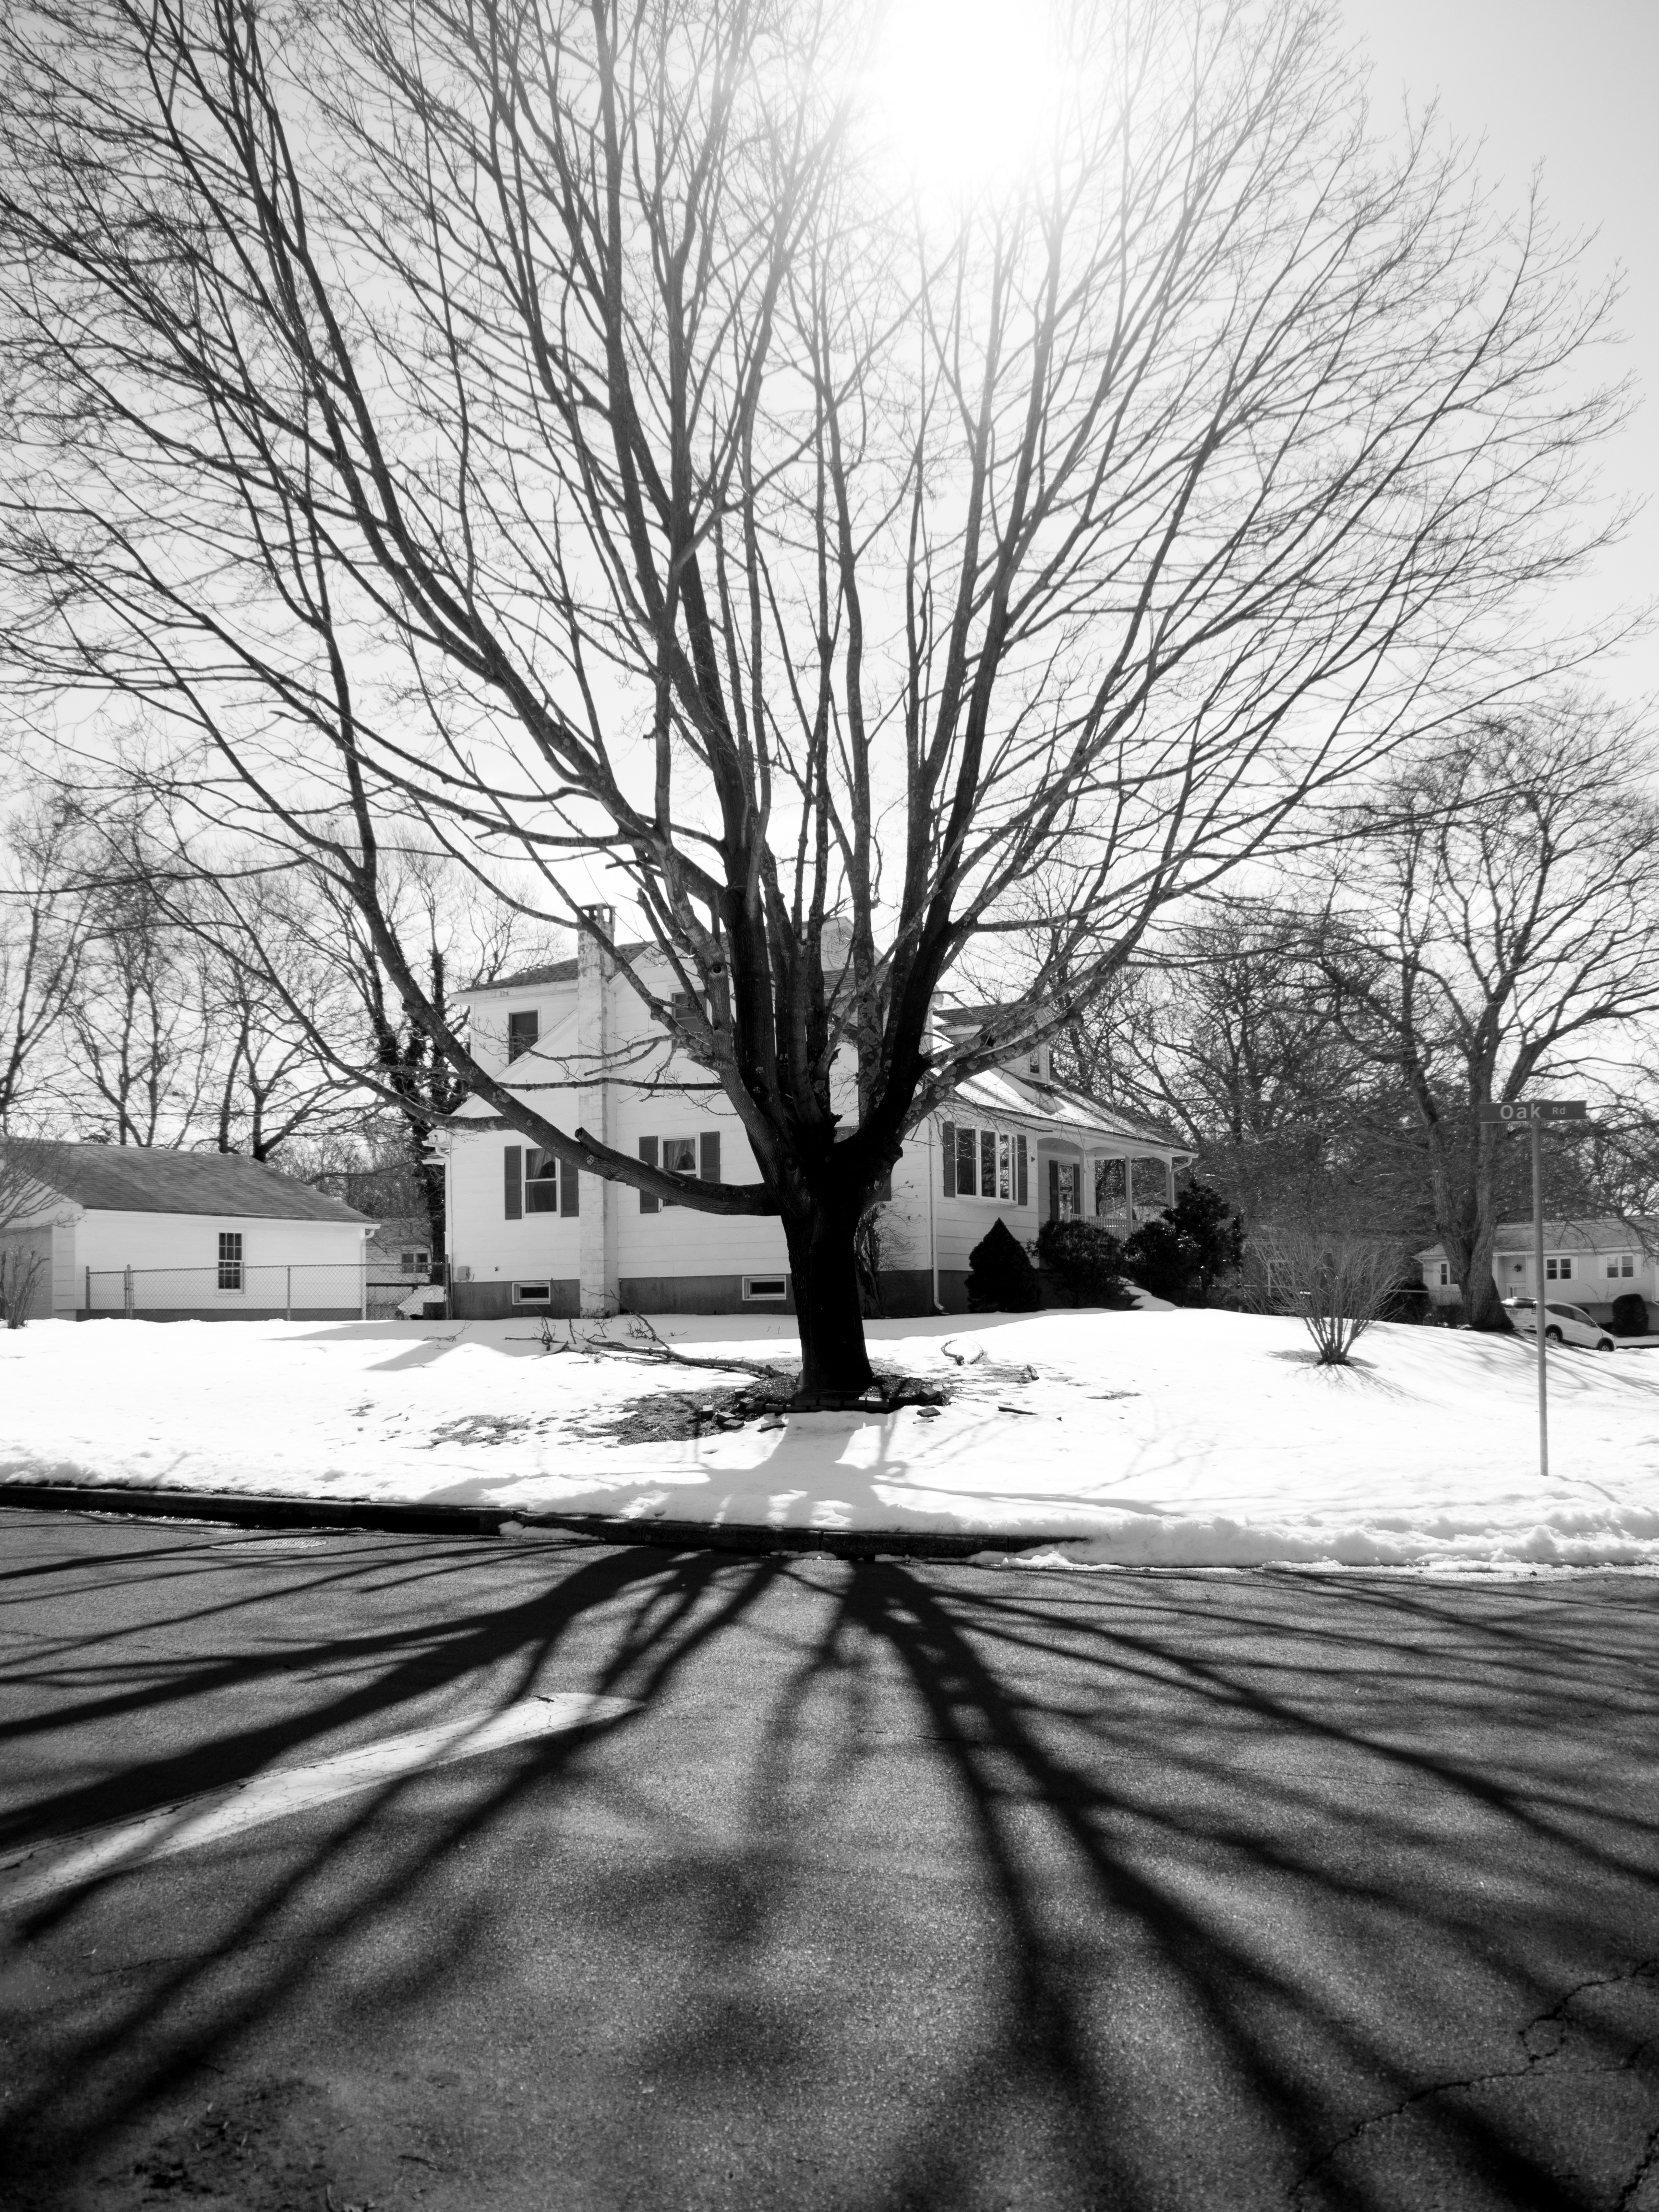
- snow
- selfie
- pigeons
- Tony trolls the nerds
- scared baby “she had a scary dream about a wiener dog” “it’s a common nightmare”
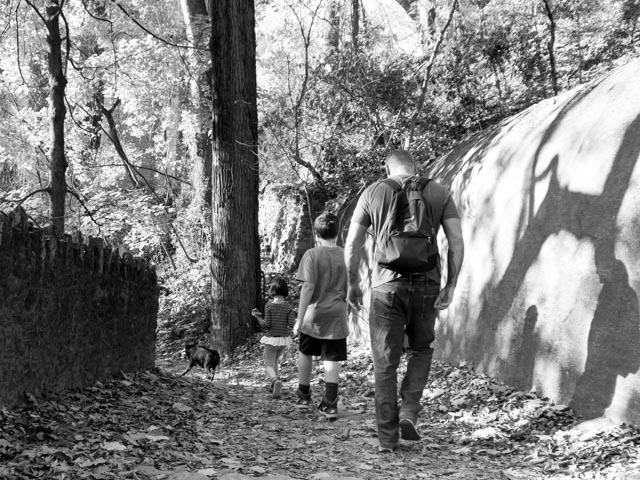
- bridge
Time for chit-chat! Our favorite part of the show where you are mean, or correct us a bunch, or say something dumb and we reply for some reason.
- that’s great, Howard. Also, “nit-pickery.”
- very disappointed in baby Jesus
- married or brother and sister? Why not both?
- “but unfortunately he chose a country that hasn’t existed for several decades.” “That sounds like a terrible, creepy way to separate yourself from your brain.”
Time to review portfolios! Justin picks one for us. “Dr. Fear Co.” Good, good golden-doodle. Good layout, just flesh it out a bit. Put a name and photo of yourself on the contact page.
Then Greg Noel’s portfolio. Lovely shots, nice layout, very well done! Take out the repeats, get rid of the watermarks. Canadian mummers.
Okay, at minute 48 the audio and video go wildly out of sync for some reason! So I’m going to end this recap here, but to make up for it, we’ll be doing a bonus live show on Monday! So keep an eye out for that. Thanks folks!