
Hey y’all! We had an early show again this week, sorry if you missed it, but we’ll be back at the regular time next week (Thursday 5pm EST) reviewing your spoooooky photos. If you want to see what the next show is each week, check sdp.io/live or subscribe to our YouTube channel to be informed!
This week we covered “the right light” which were photos which capture the perfect light. We got a ton of great submissions and I’ll highlight our favorites in this post.
Only one bit of news this week, Kodak announced the Ektra, a smartphone that is made for photography. Tony is switching back to iPhones!
Ok, let’s start looking at your photos:
- pick right off the bat for this point-and-shoot shot
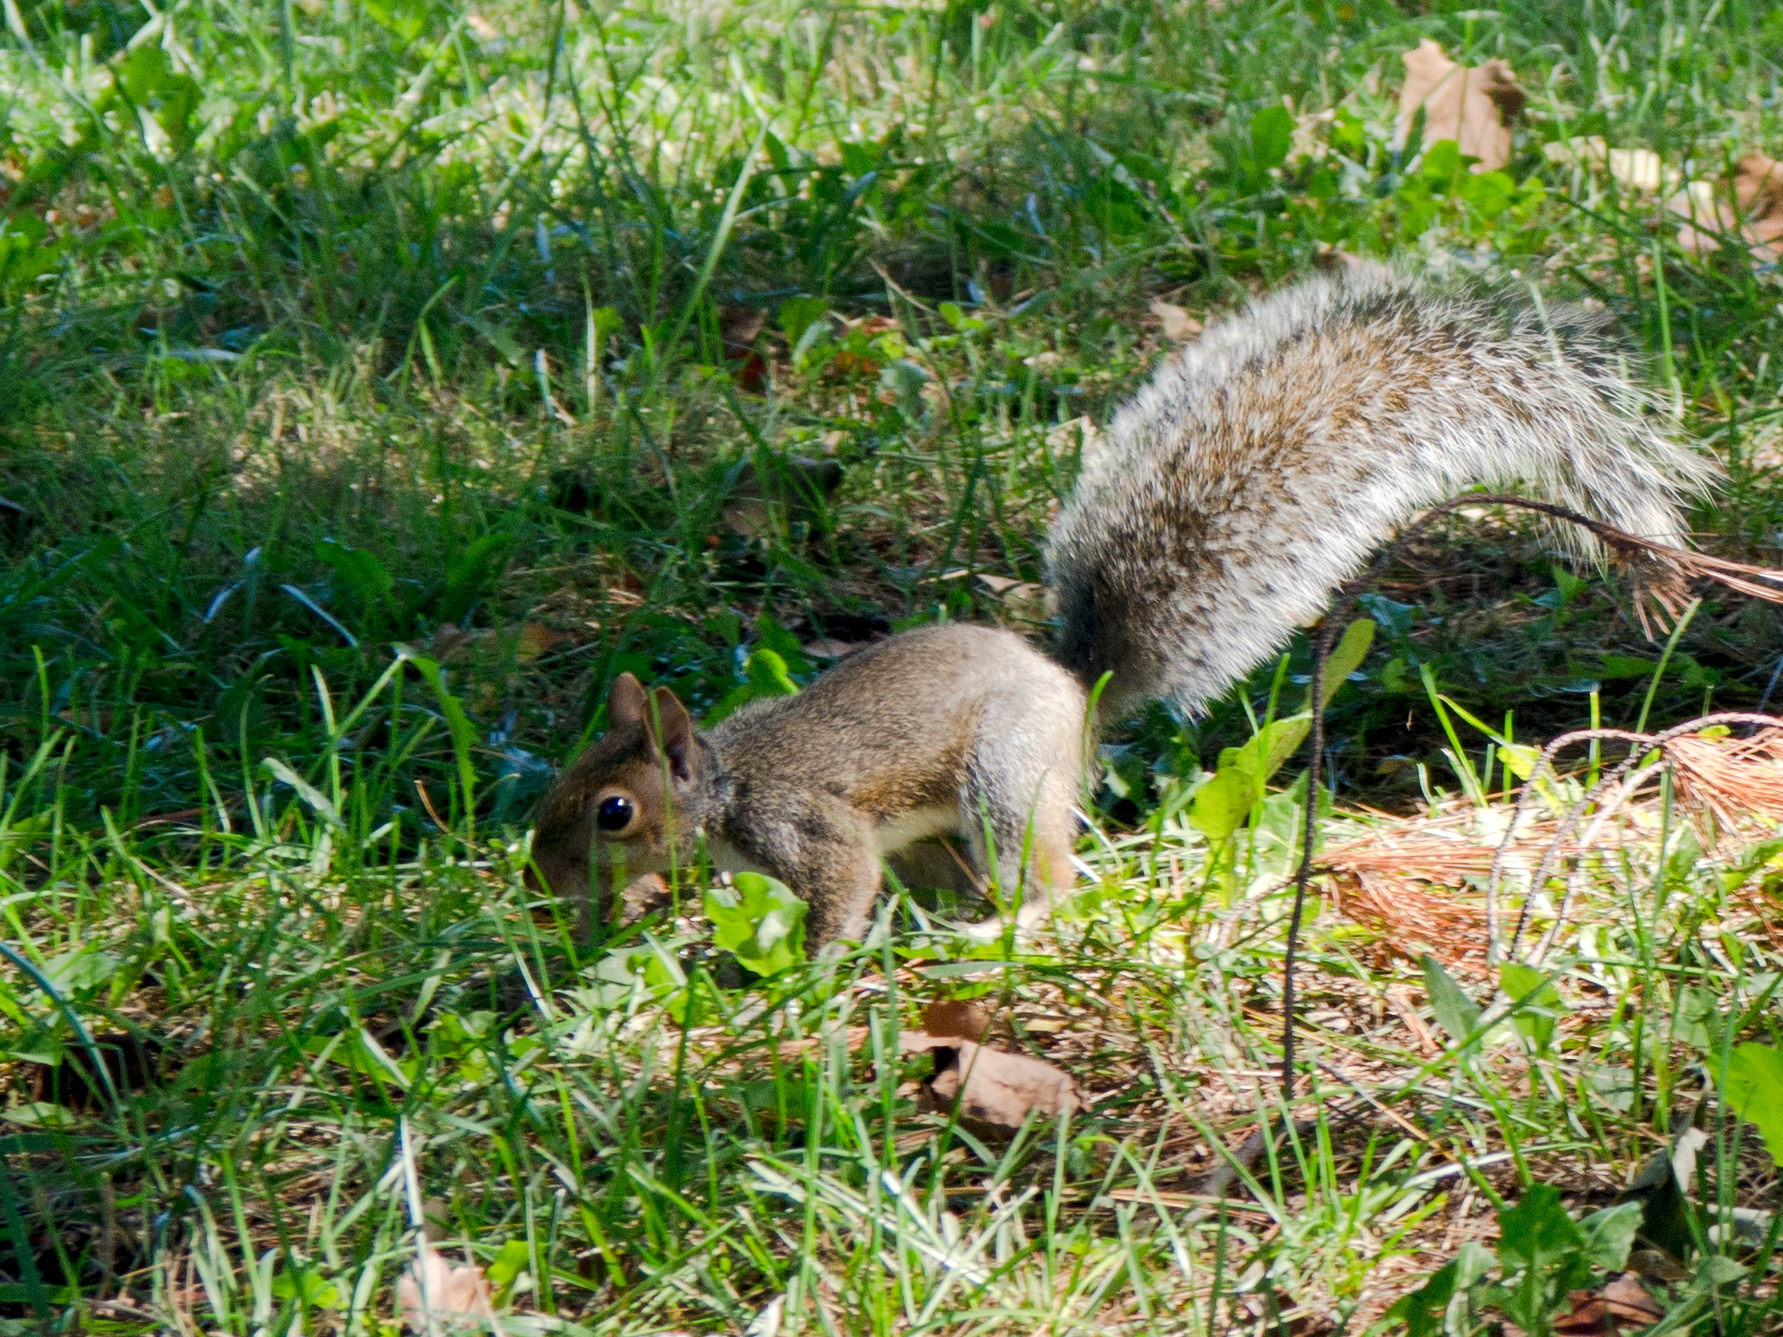
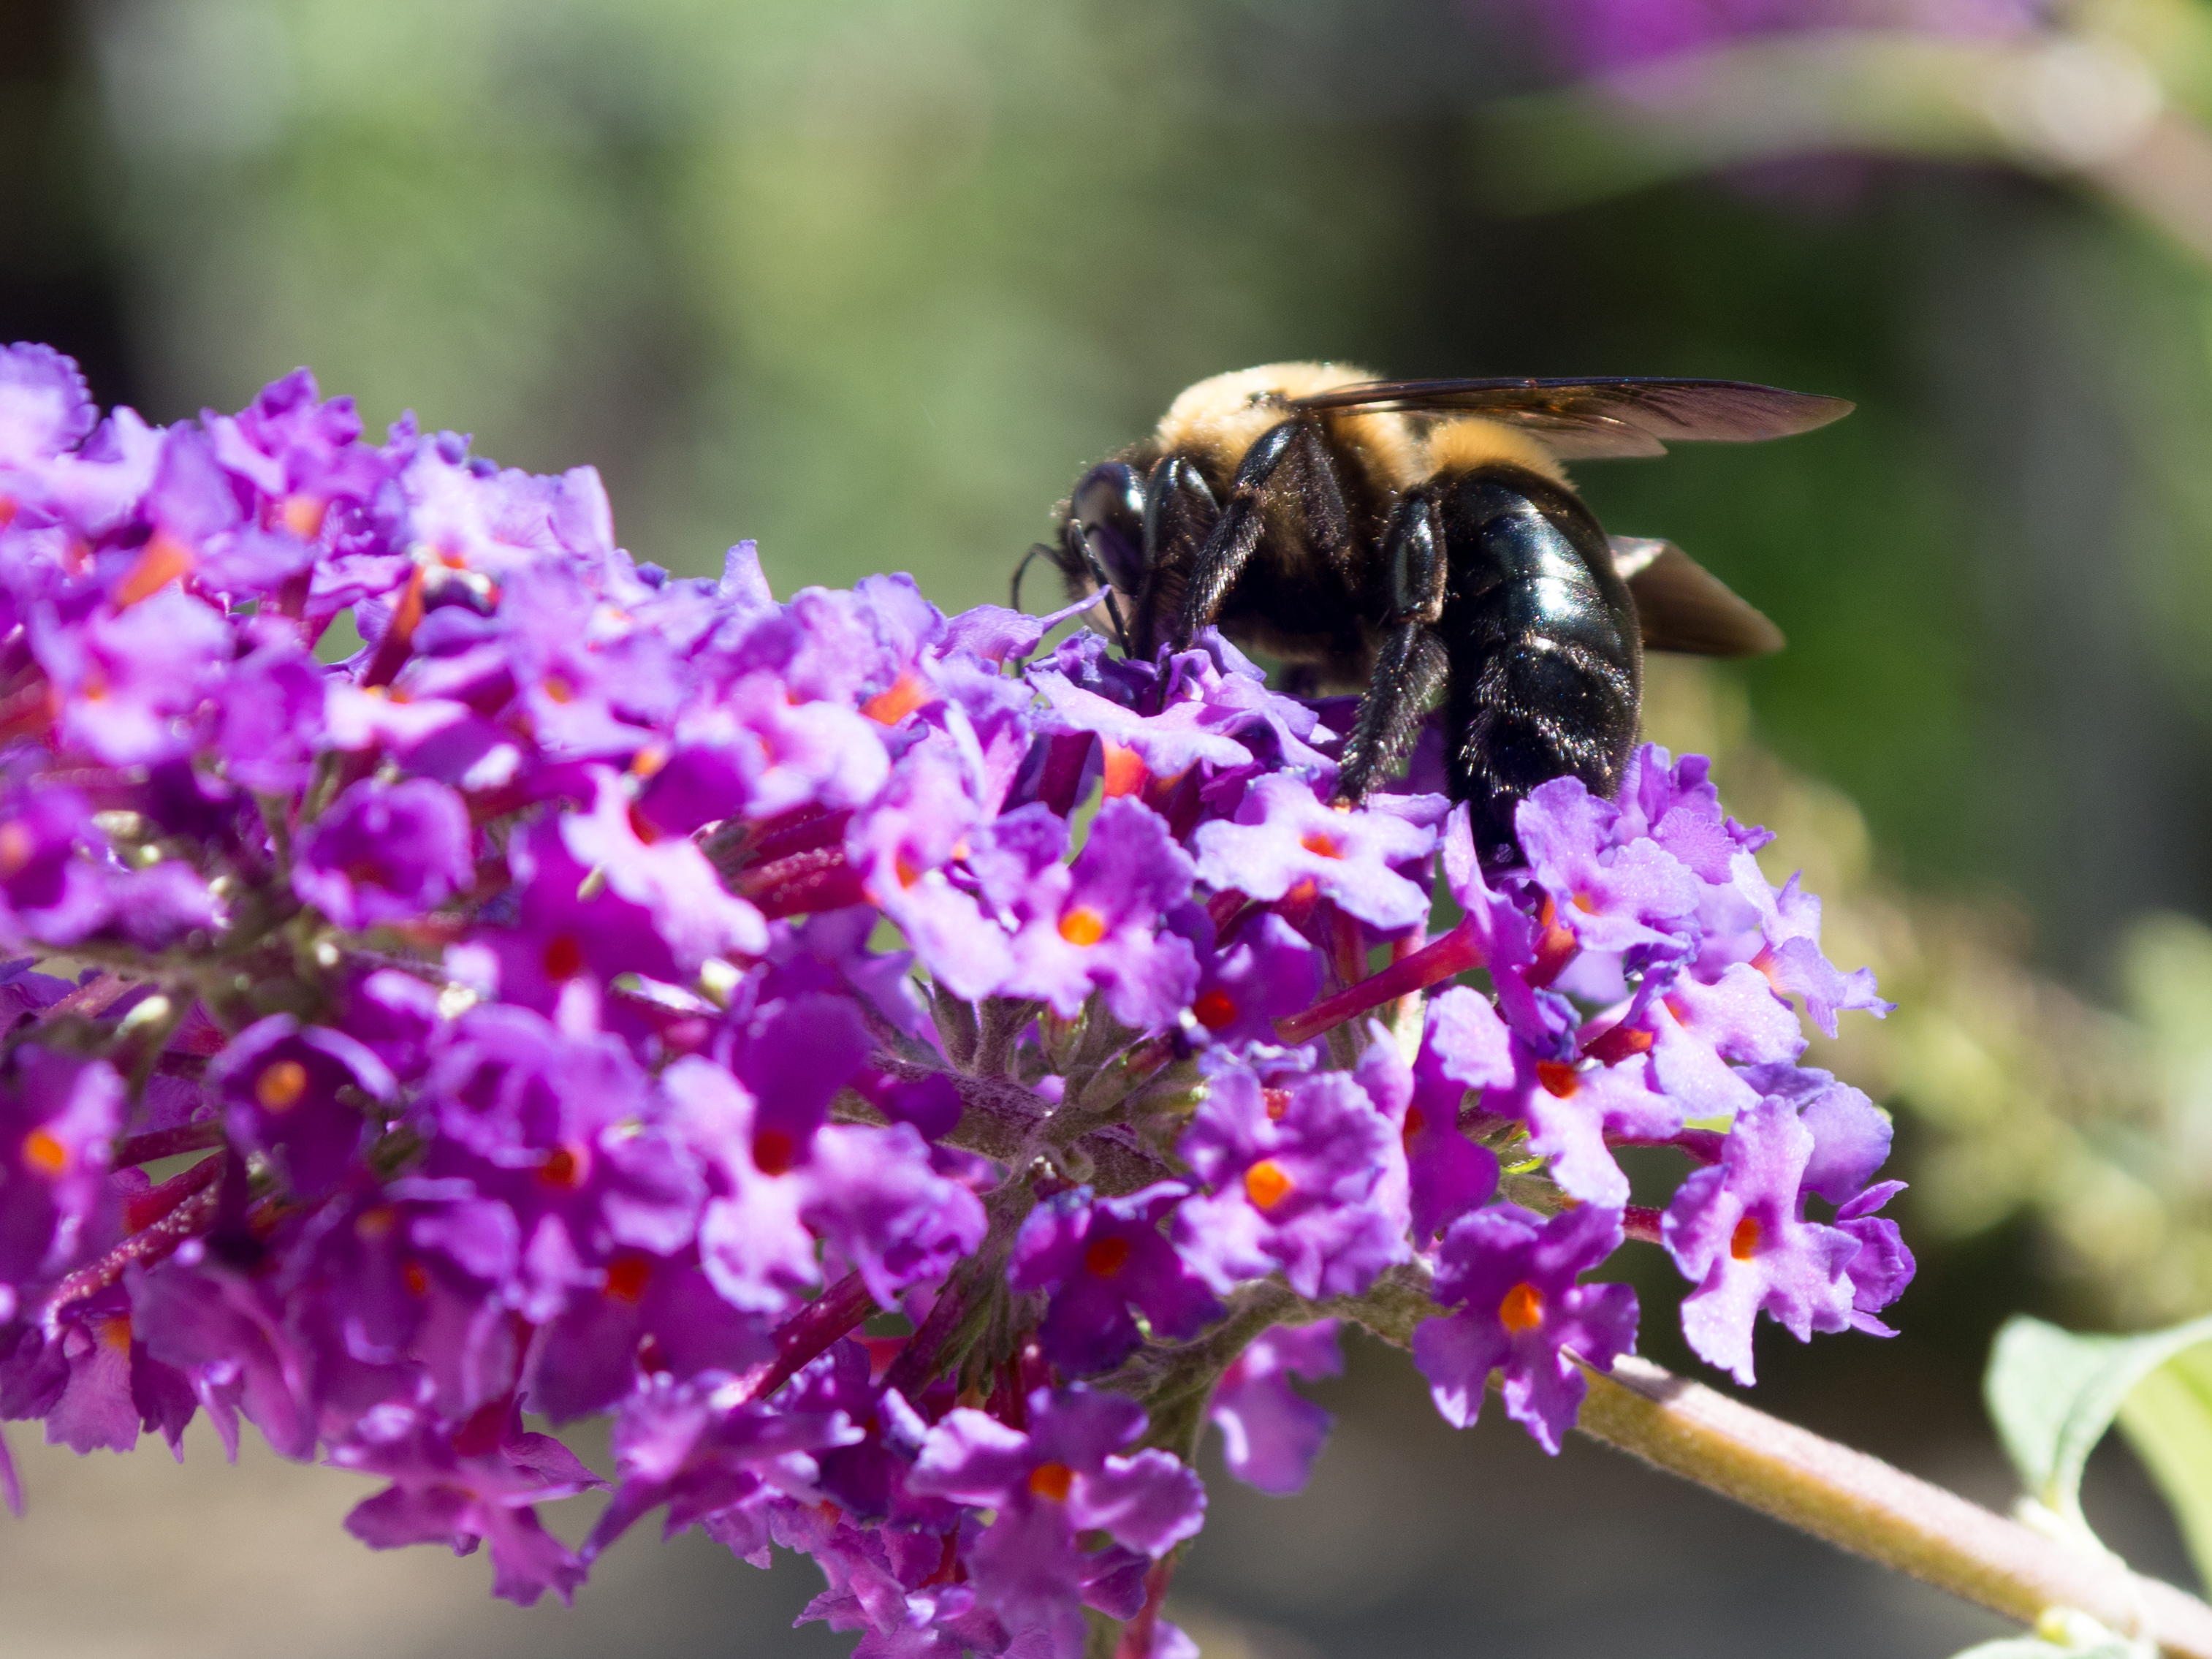
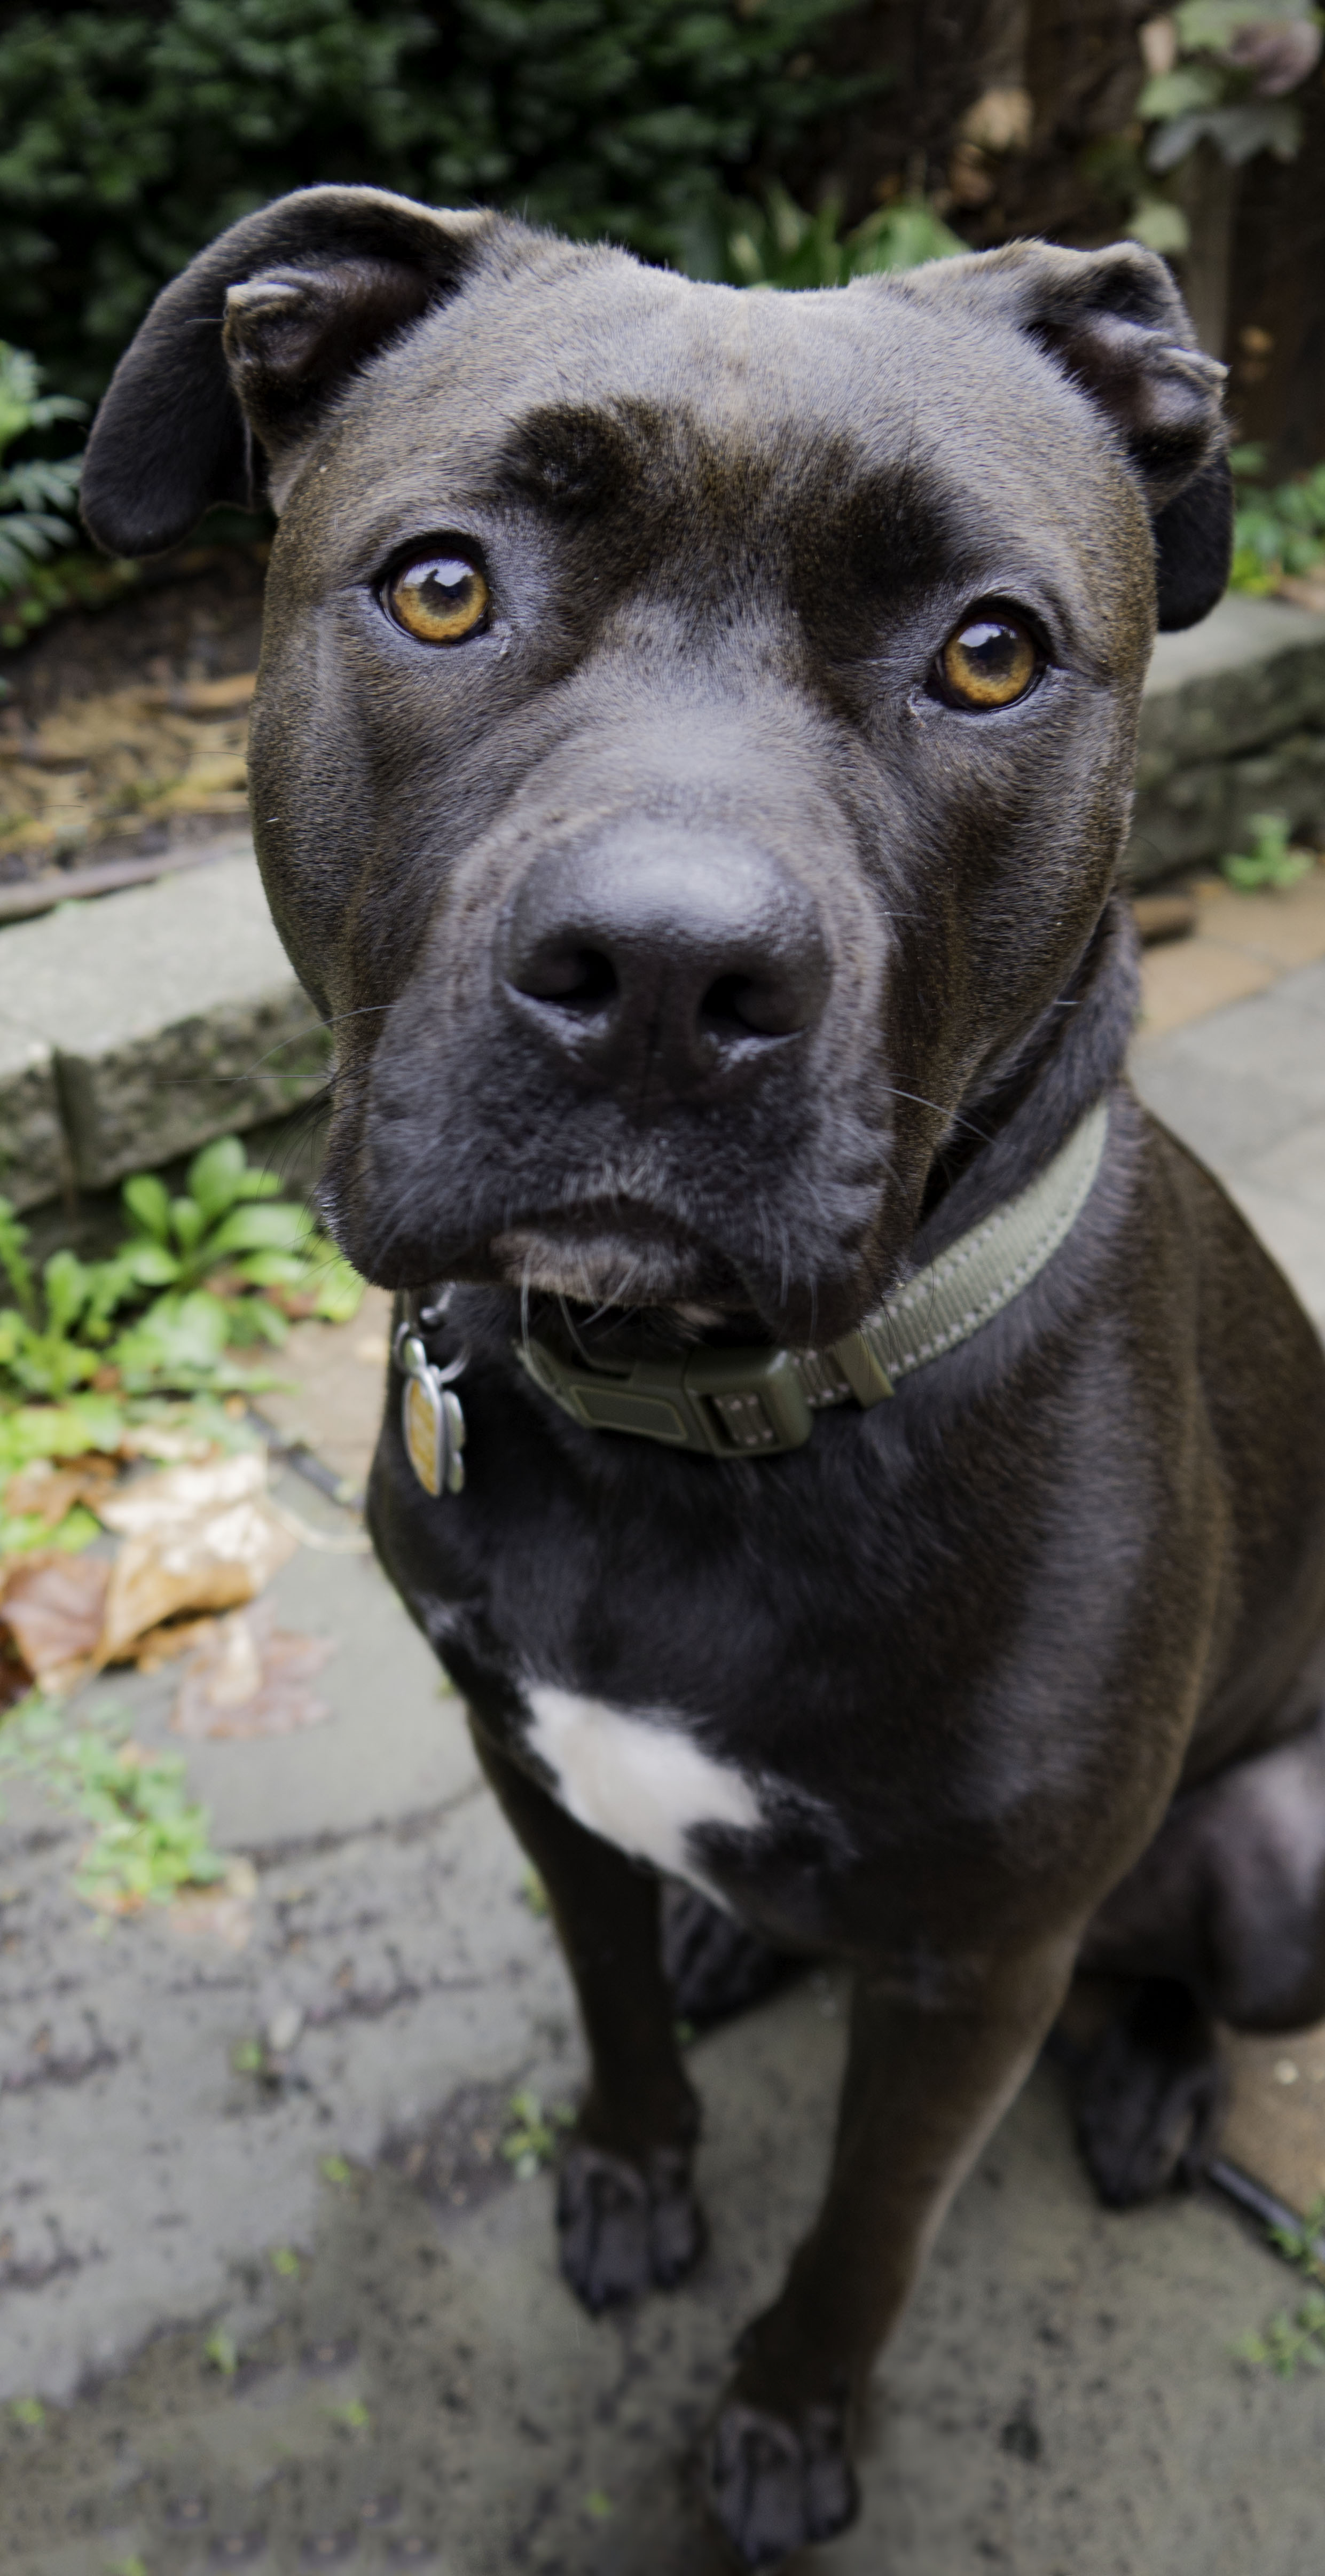
- fluffy butt
- reeds
- aurora borealis
- spooooky light
- reflection
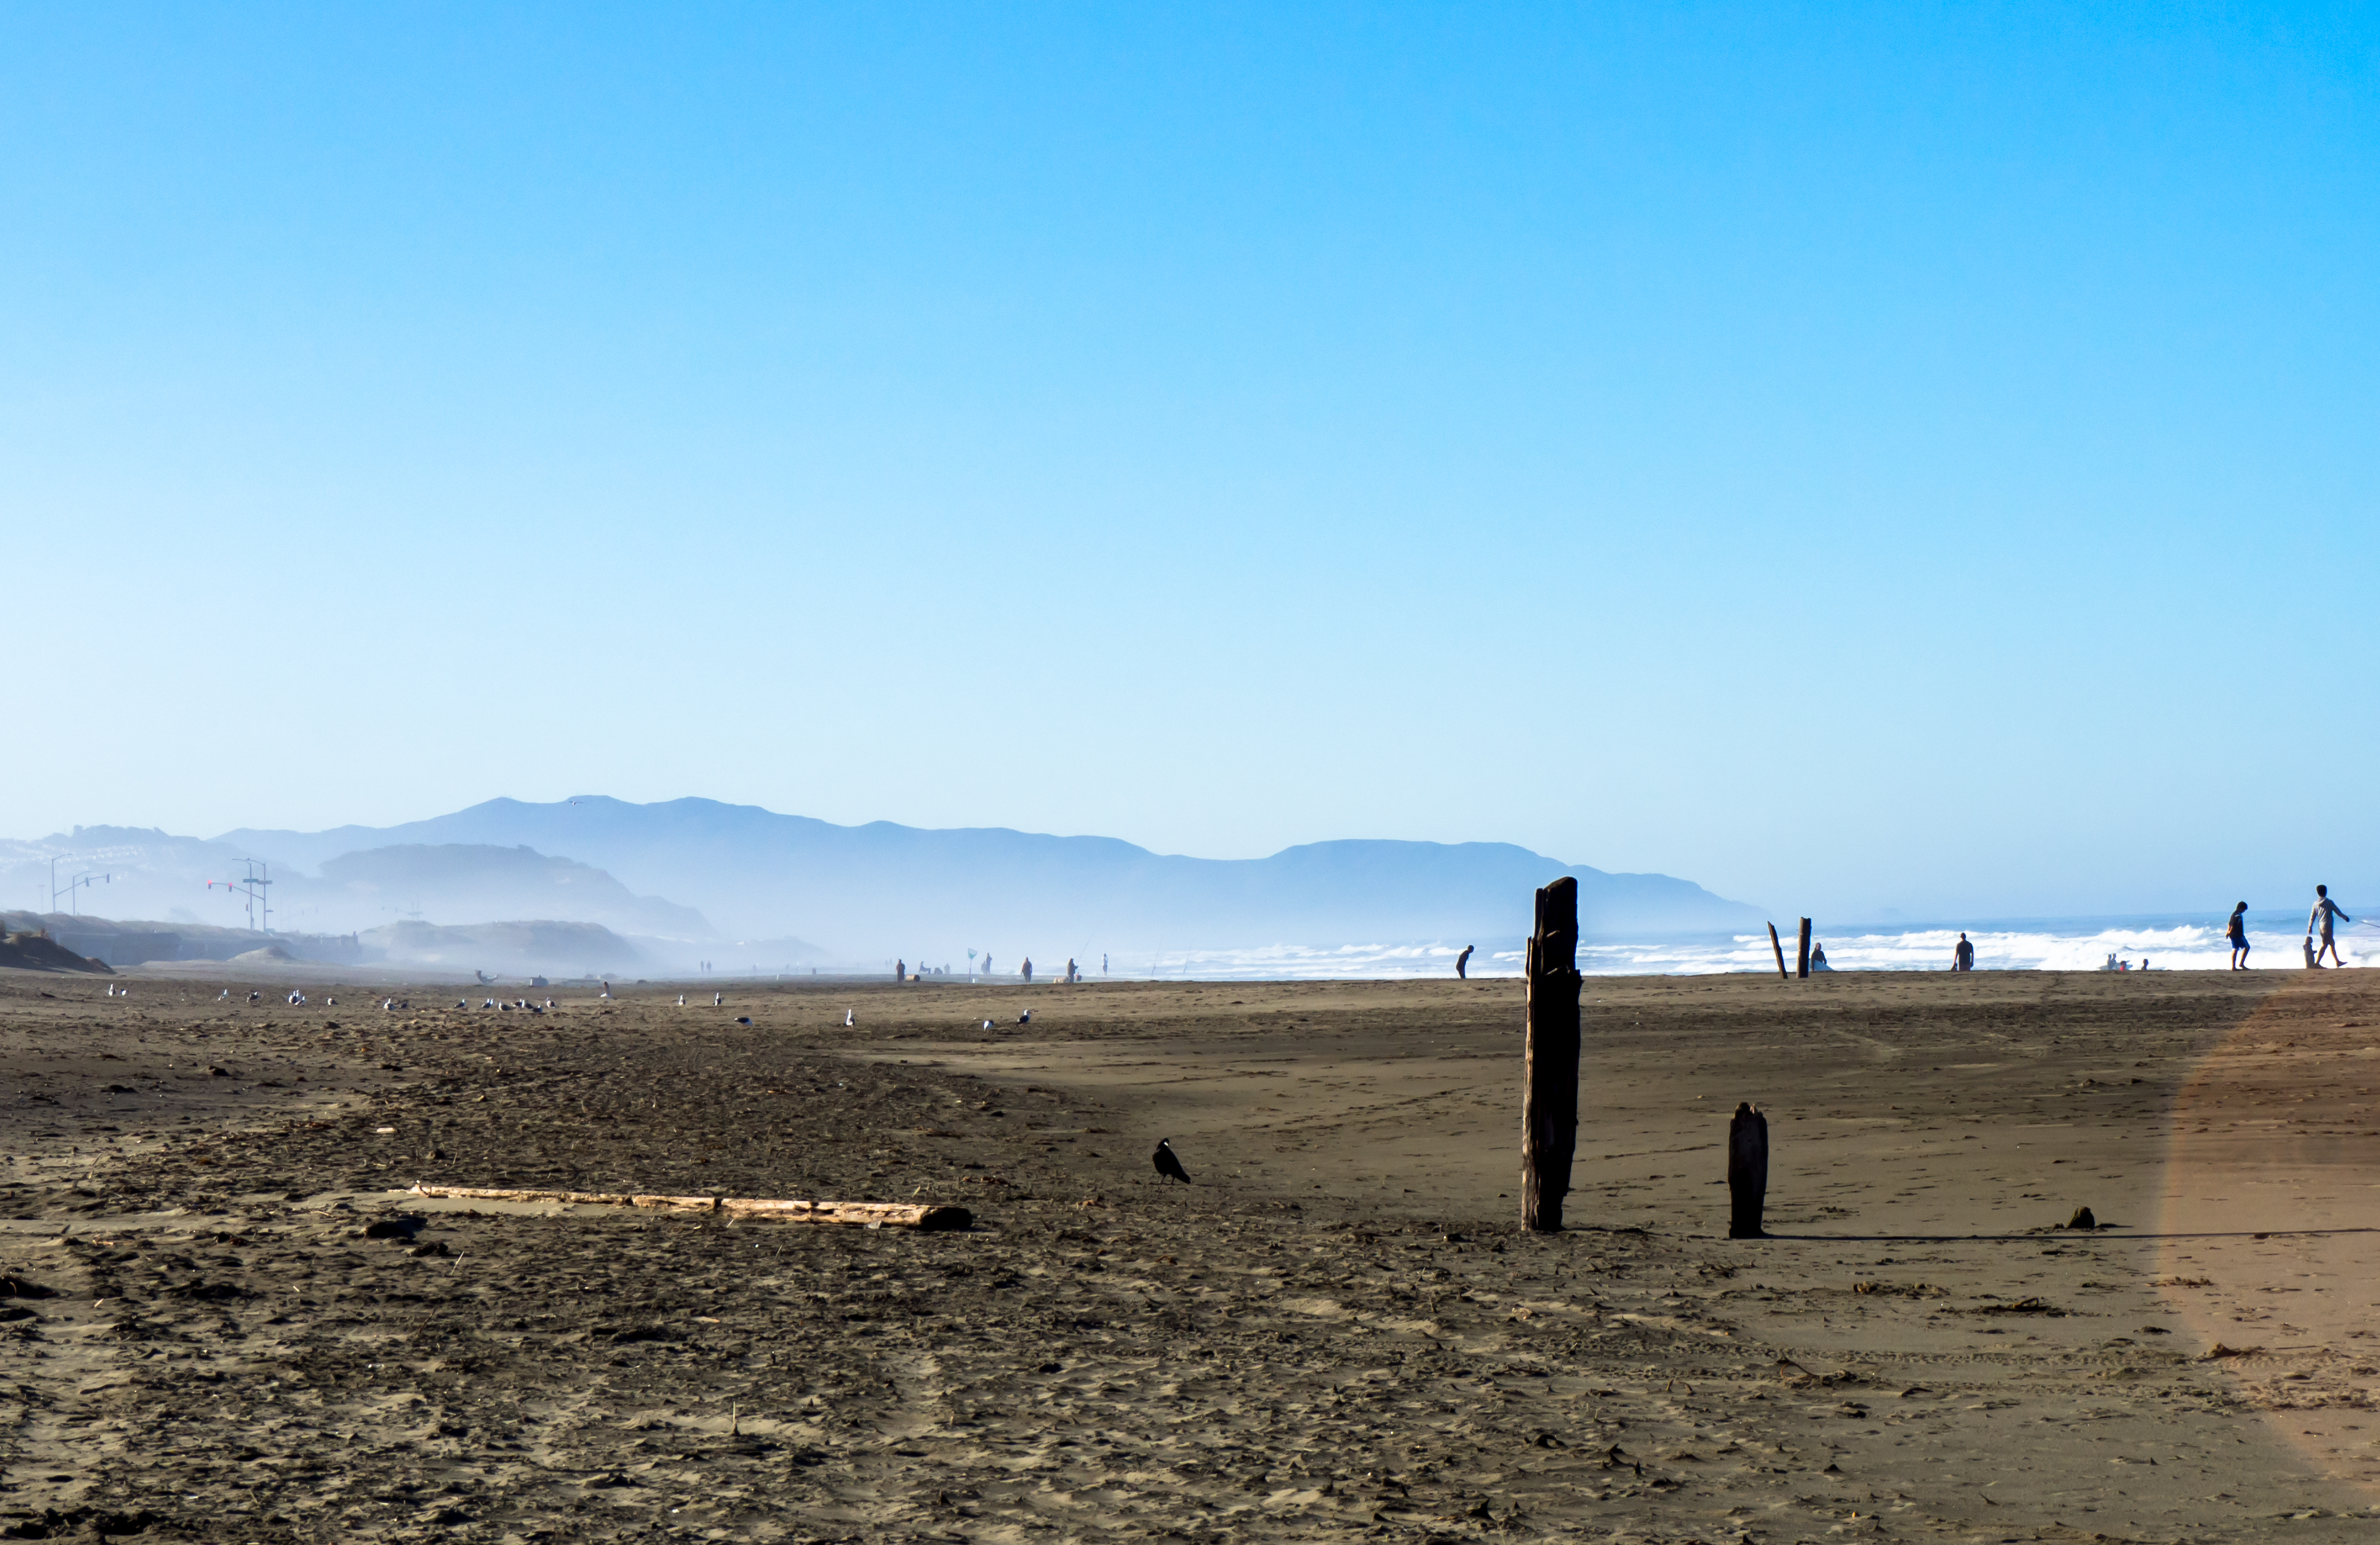
- bridge from above
- dang, Kyle
- more backlit reeds
- horses, but god, that watermark
Over to me for some of your questions:
- will Chelsea sing a lullaby for a fussy baby? Nope.
- why aren’t you drinking? Because we’re adults with jobs!
- what cool gear did we see at the expos? Nikon 70-200, Sigma 85 Art Lens, radio triggered studio lights. Chelsea did try to steal some new Olympus gear, but they were just displays.
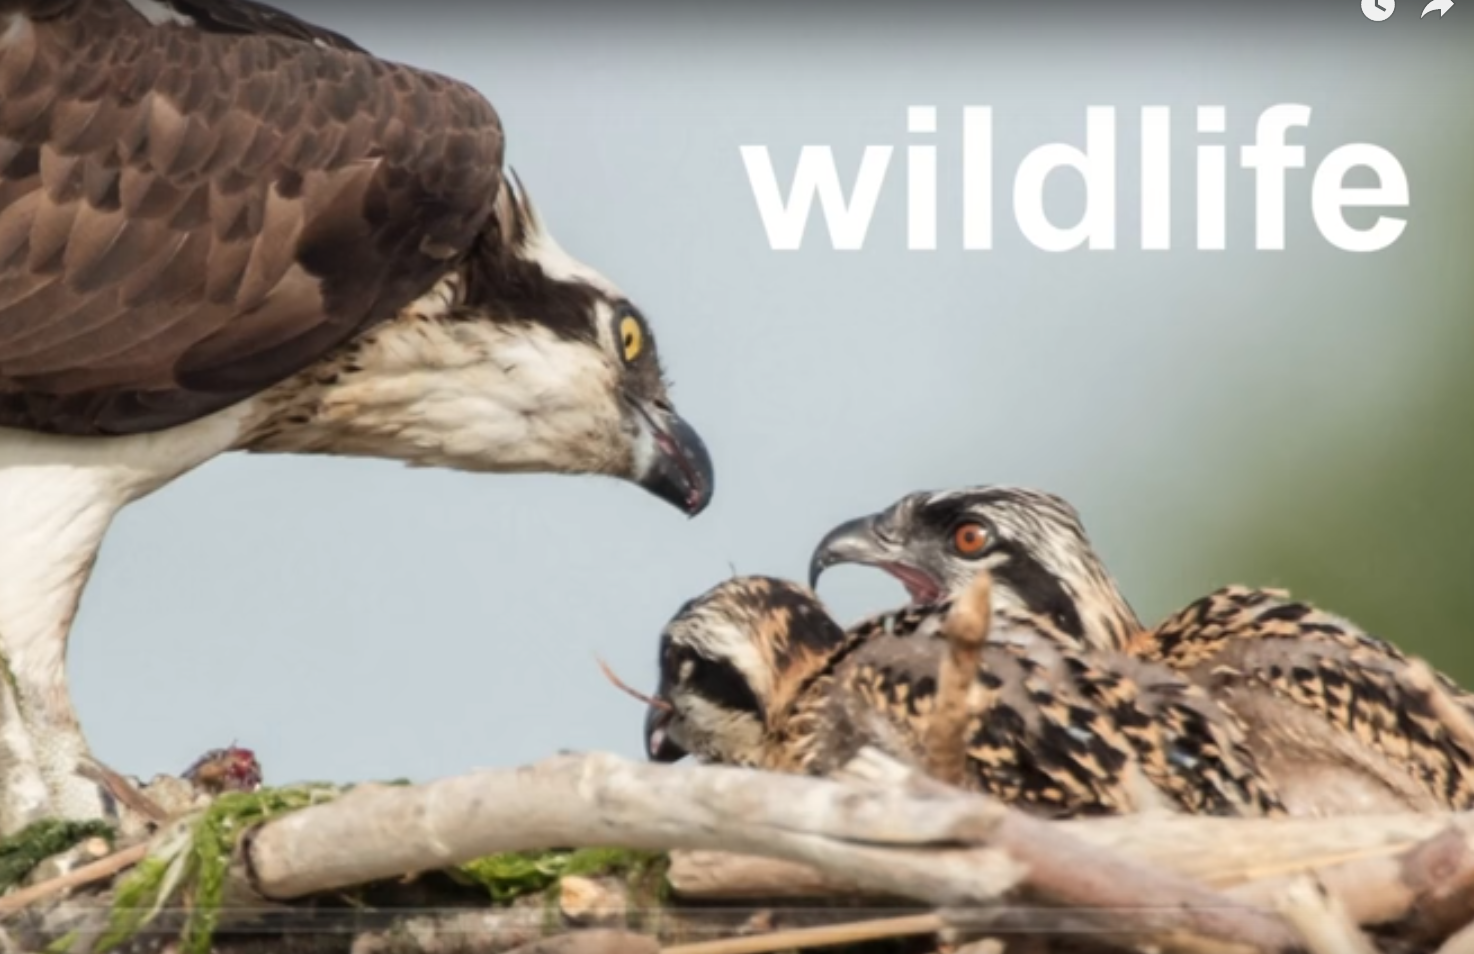
Ok, time for a portfolio. Add more pups. Great wildlife shots and portraits! But Robert, jeez. Lay off the drama in your artist bio. Add some pricing. “I’m slowly dying inside. Hire me.”
“I want to hear from Siobhan, remember her?”
- shooting jpeg with the new X-T2? Nah, stick with raw.
- blindfold your friends and make them try wine
Back to photos:
Back to me for some questions:
- y’all aren’t funny
- Profoto ocf flash systems? Yup. But Godox is cheaper.
- what is the best tripod for self defense? Three-legged thing if you want to damage their ego.
- favorite location for the perfect light? Ledgelight lighthouse.
Back to photos:
- I’m really proud of everyone for restraining themselves for the “Big Elizabeth” joke
- caption contest!
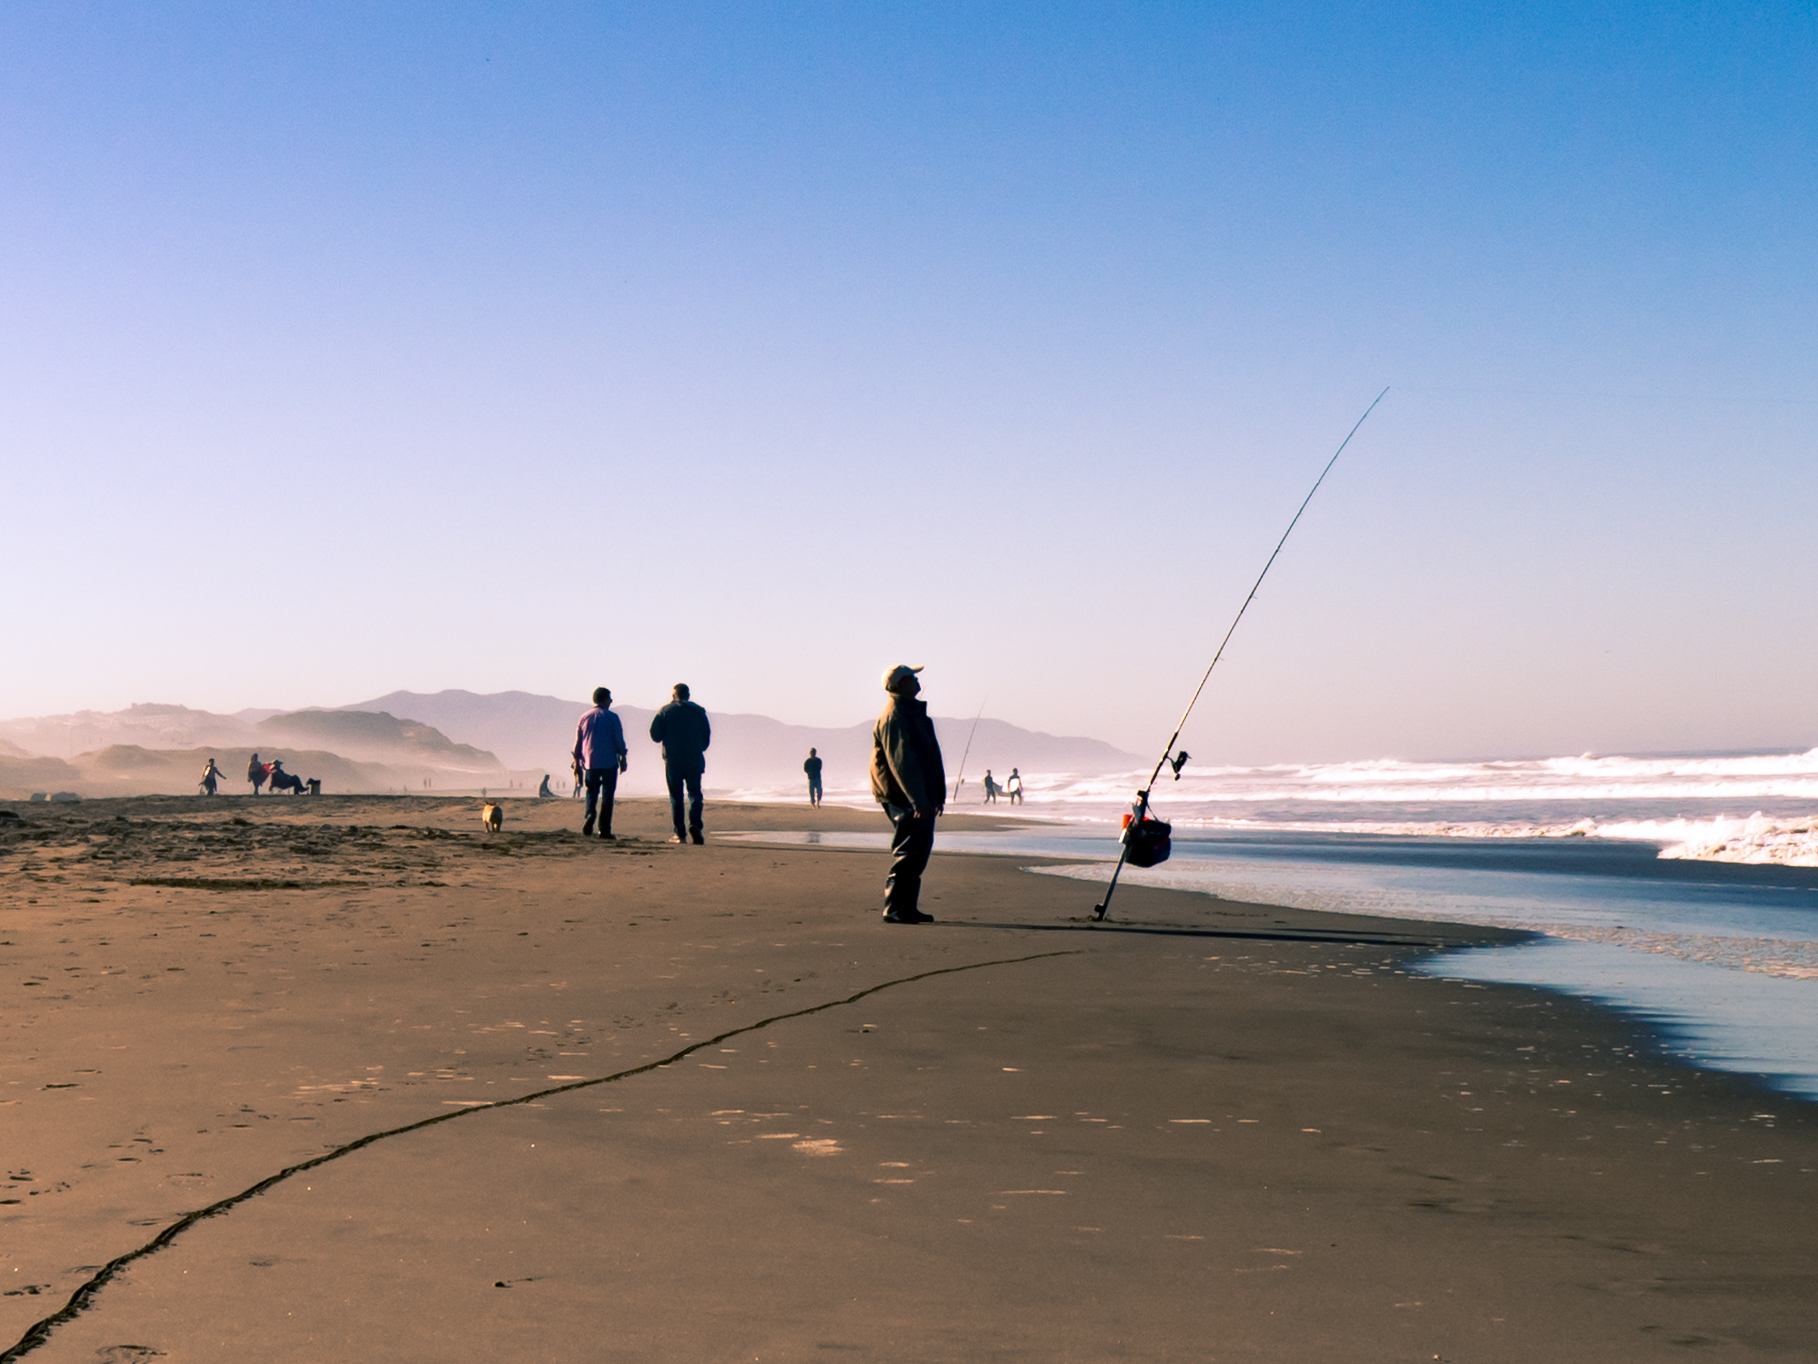
- peaceful scene
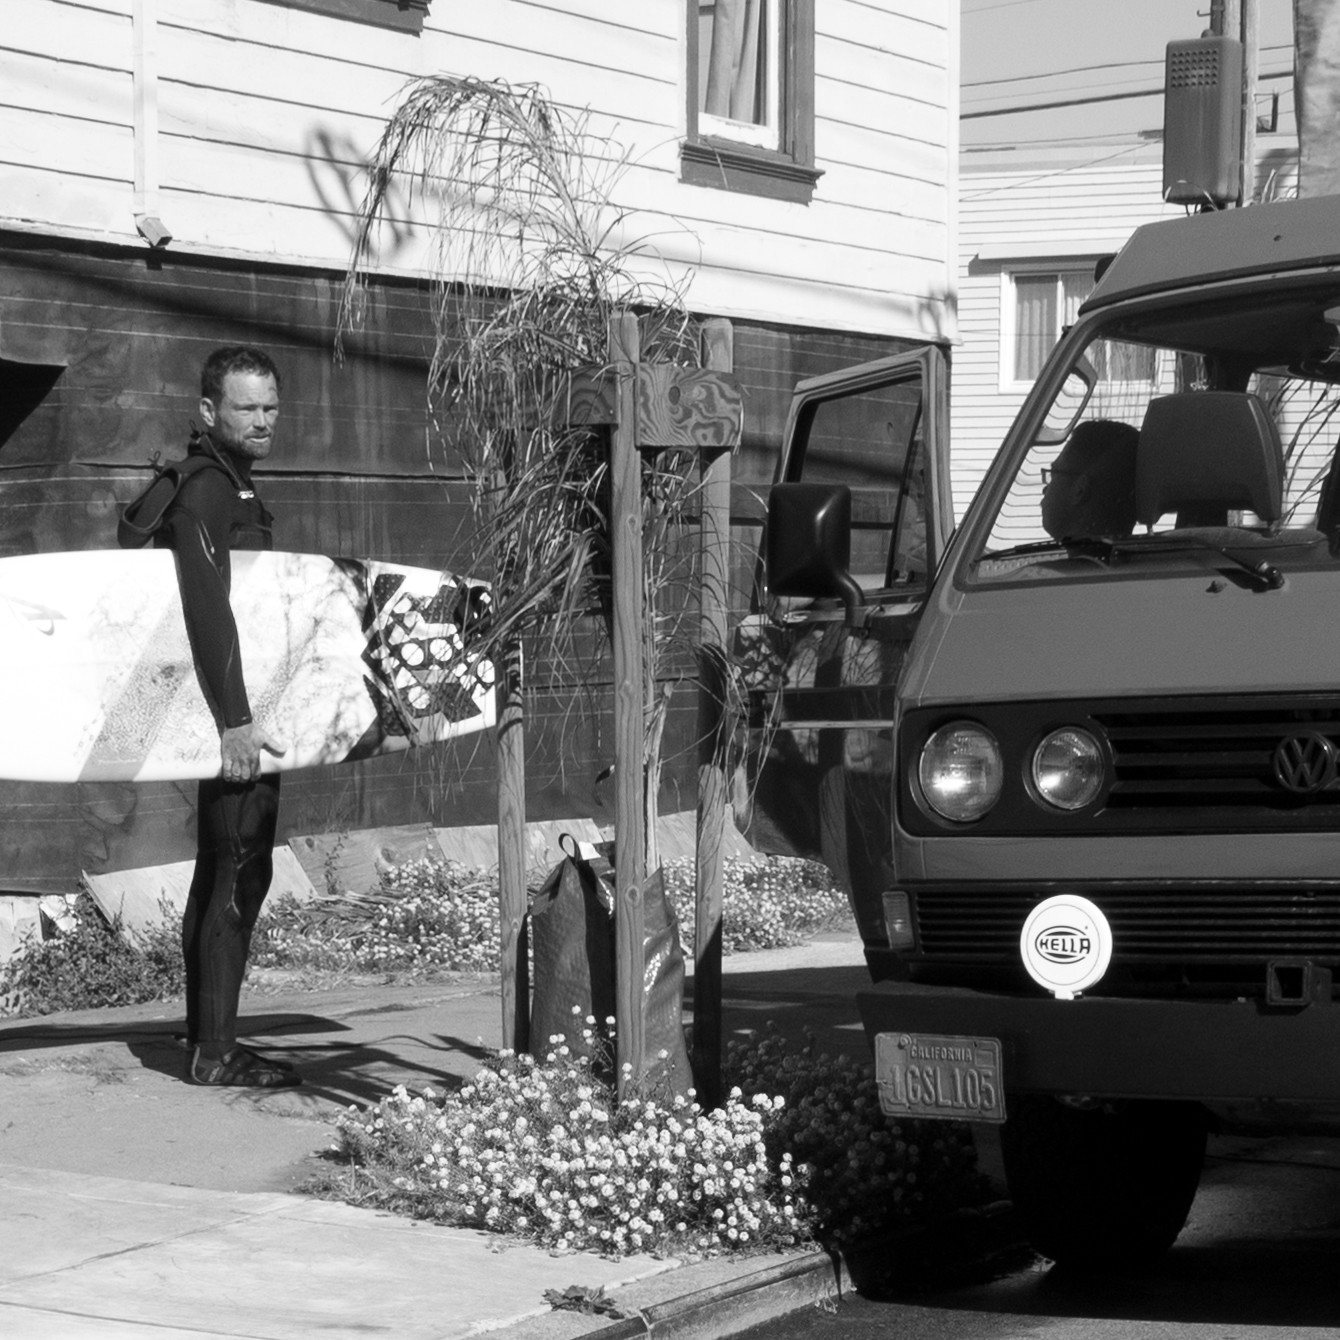
- ok, we’re speeding through them now
- all backlit reeds get picks now
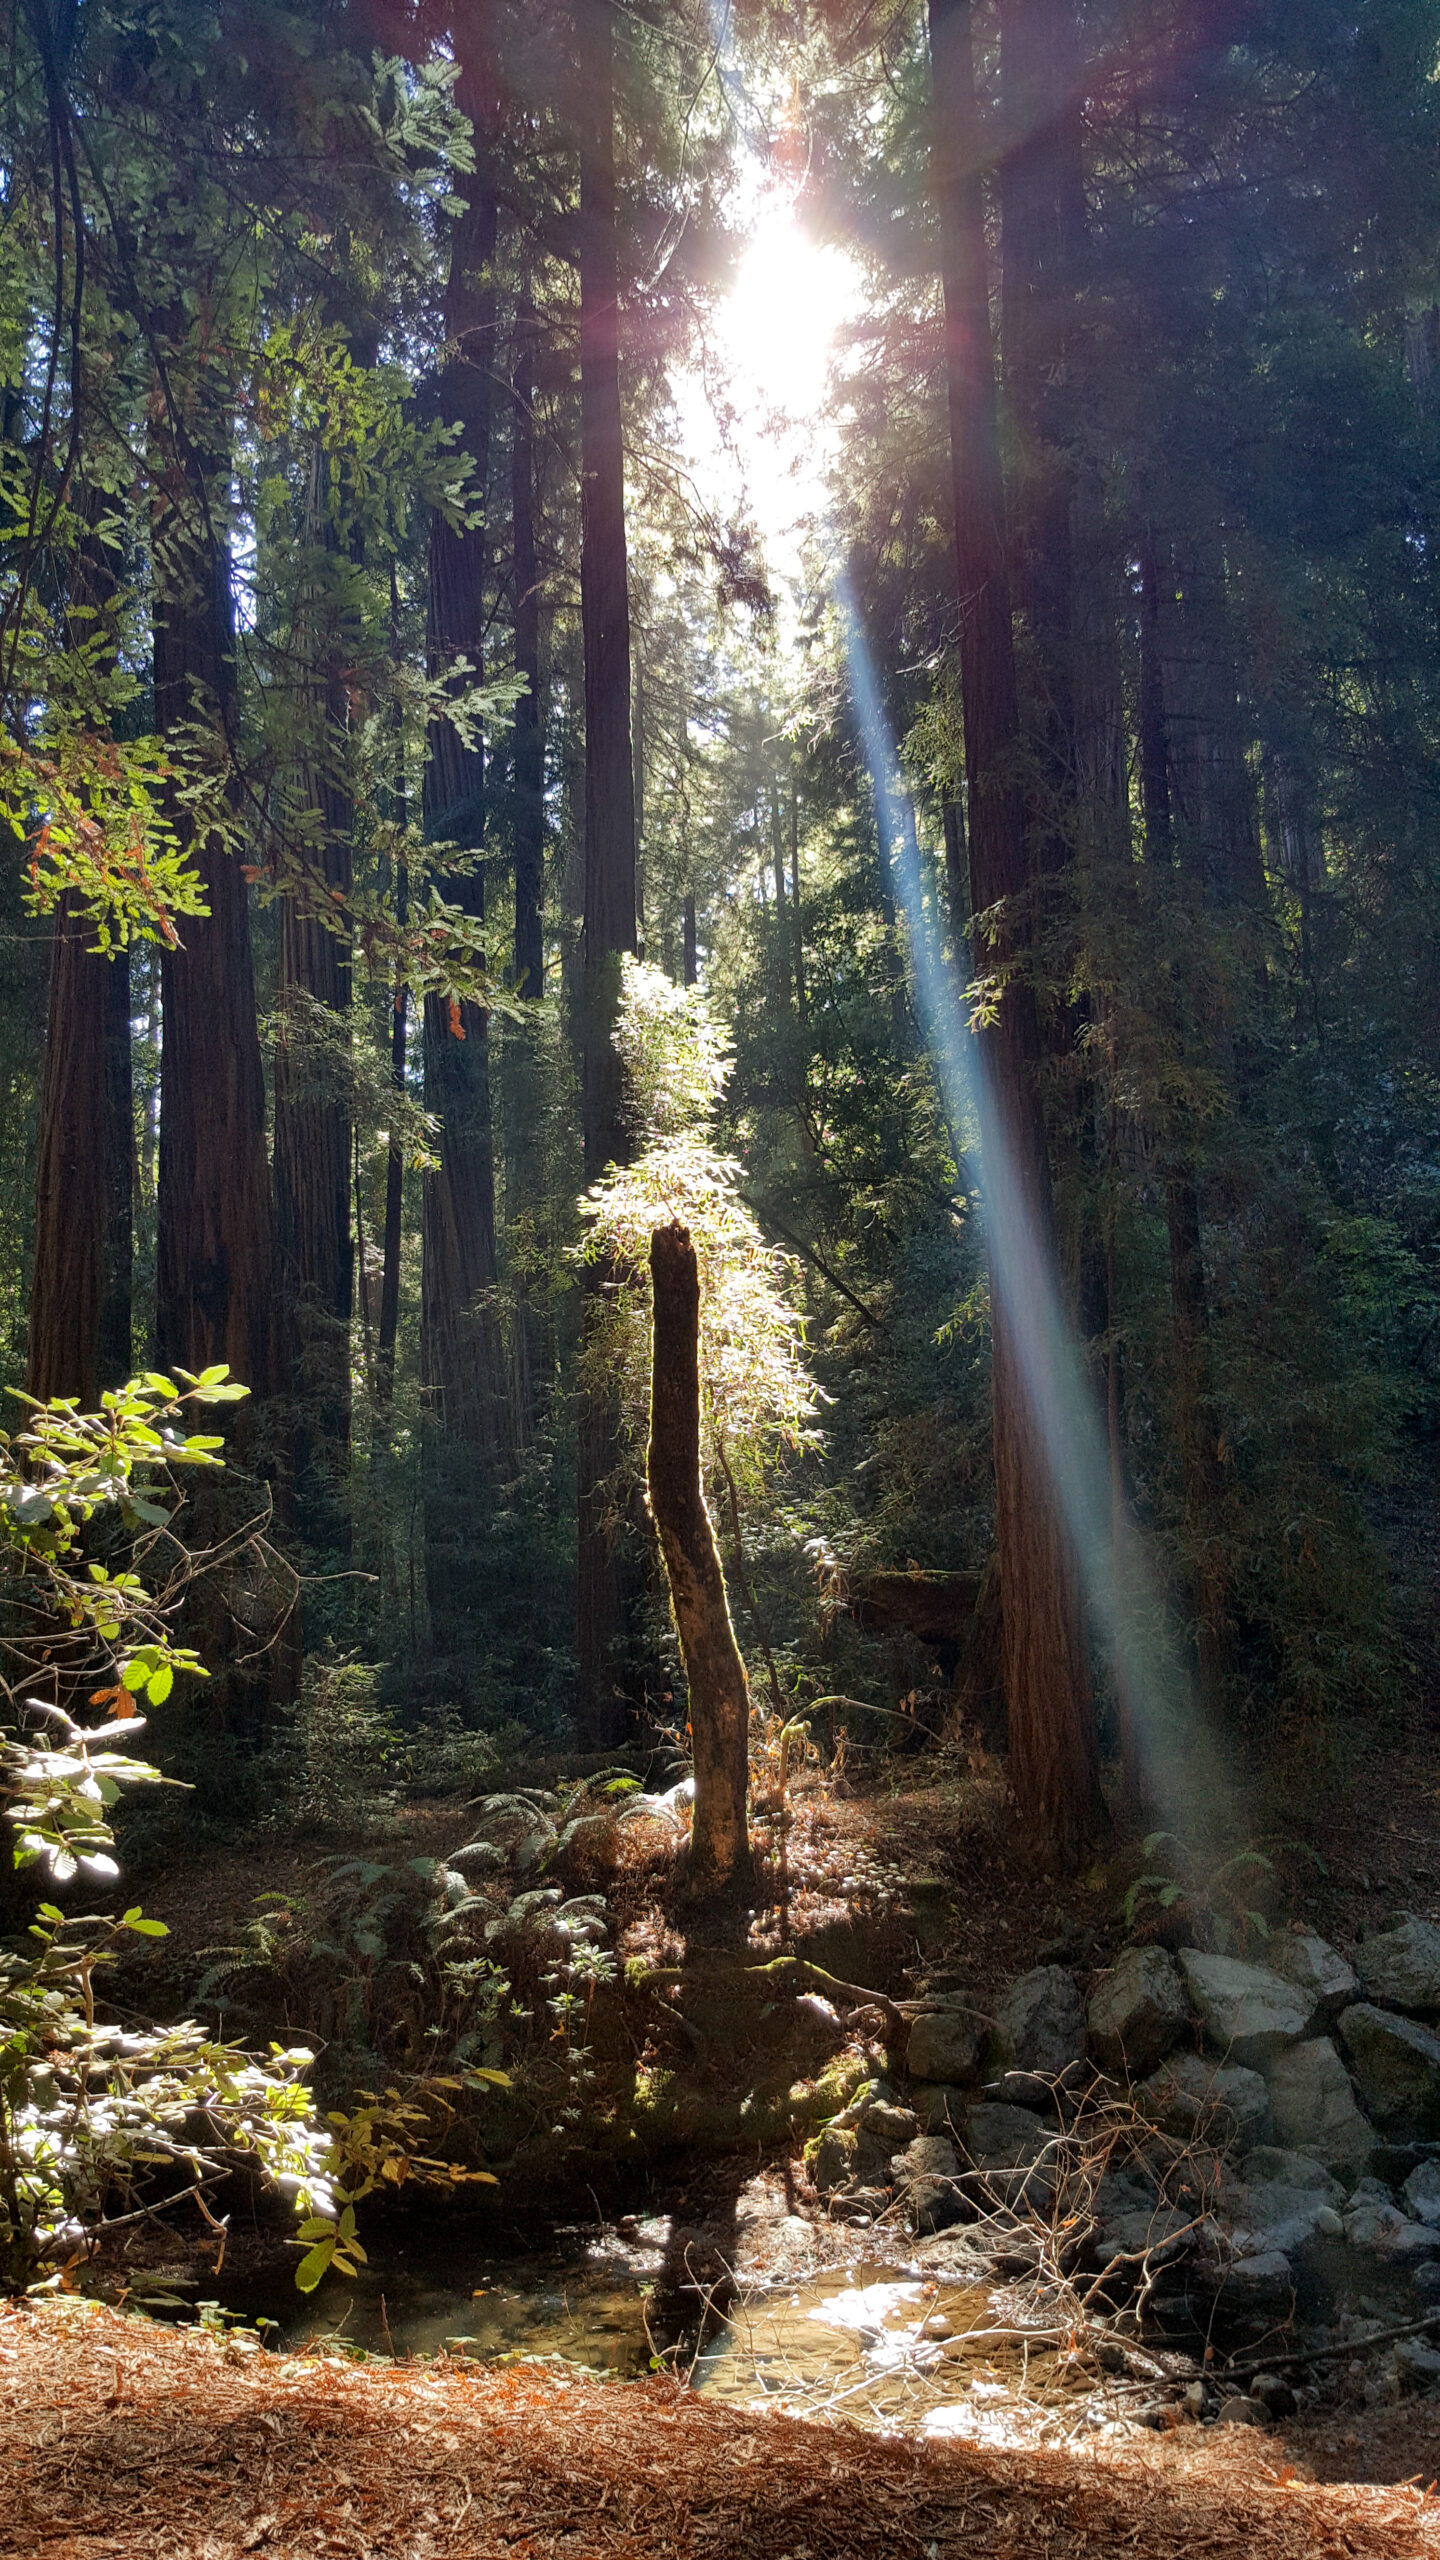
- heh, shaft
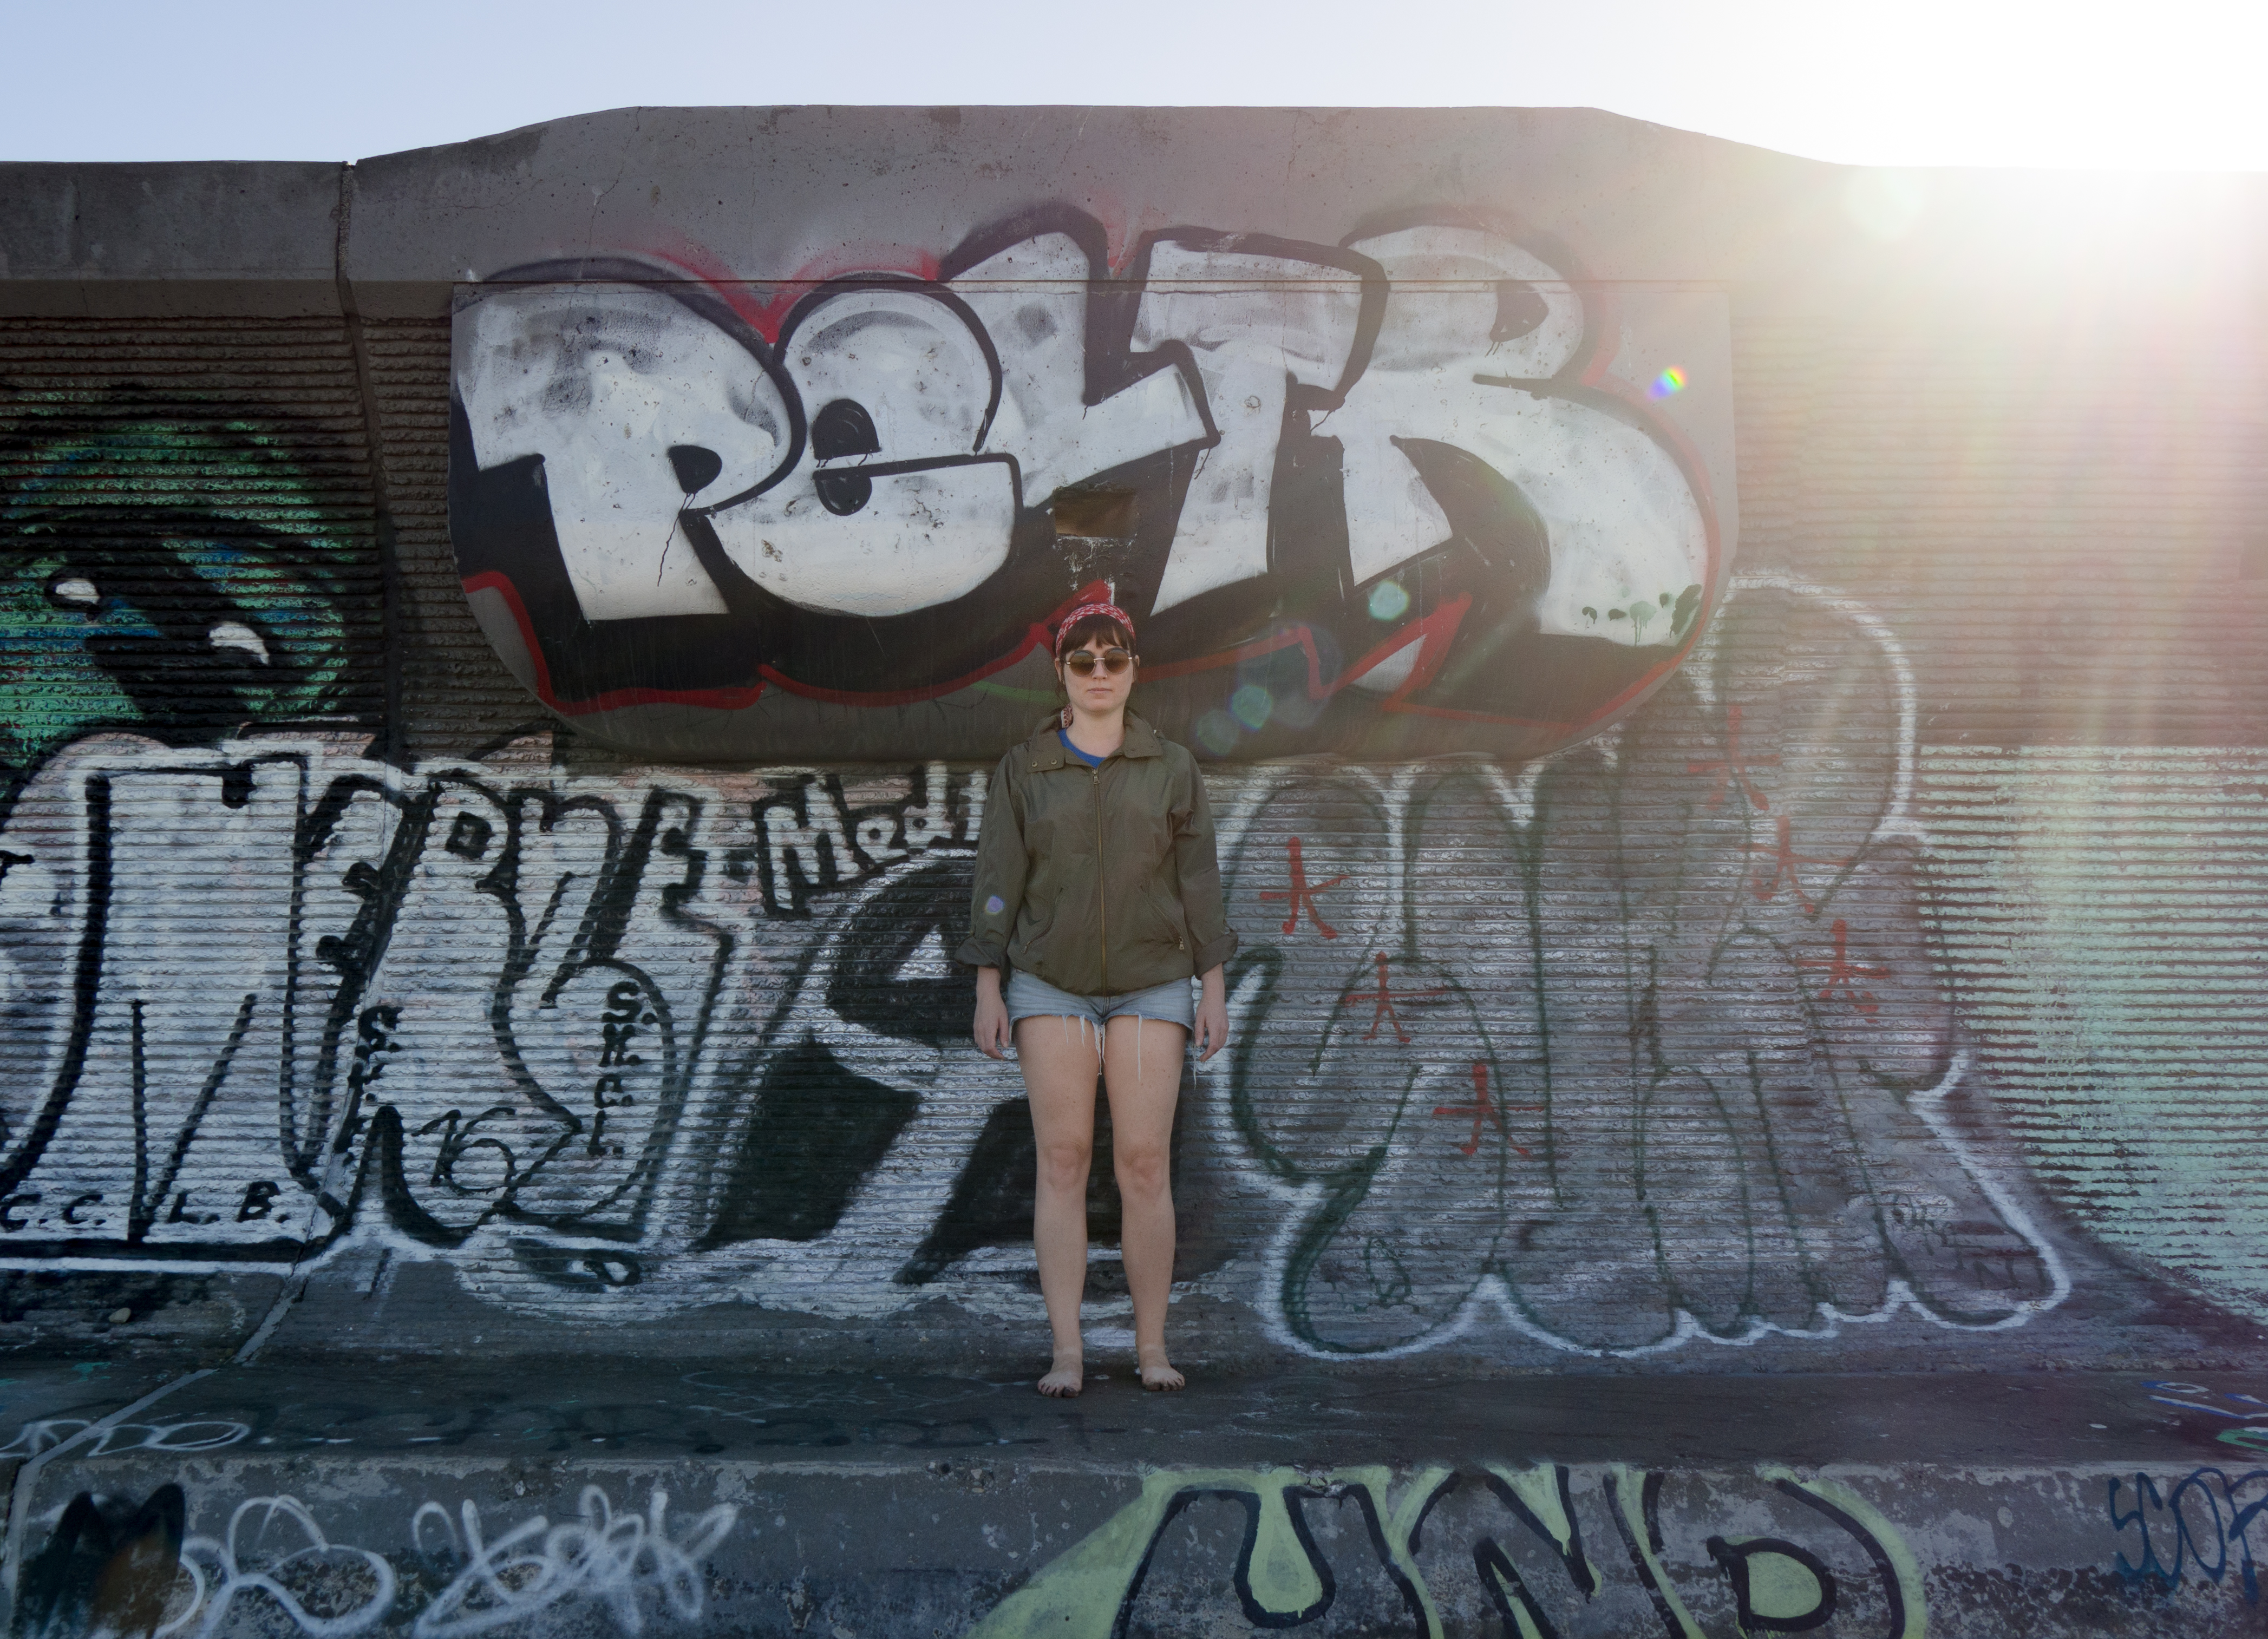
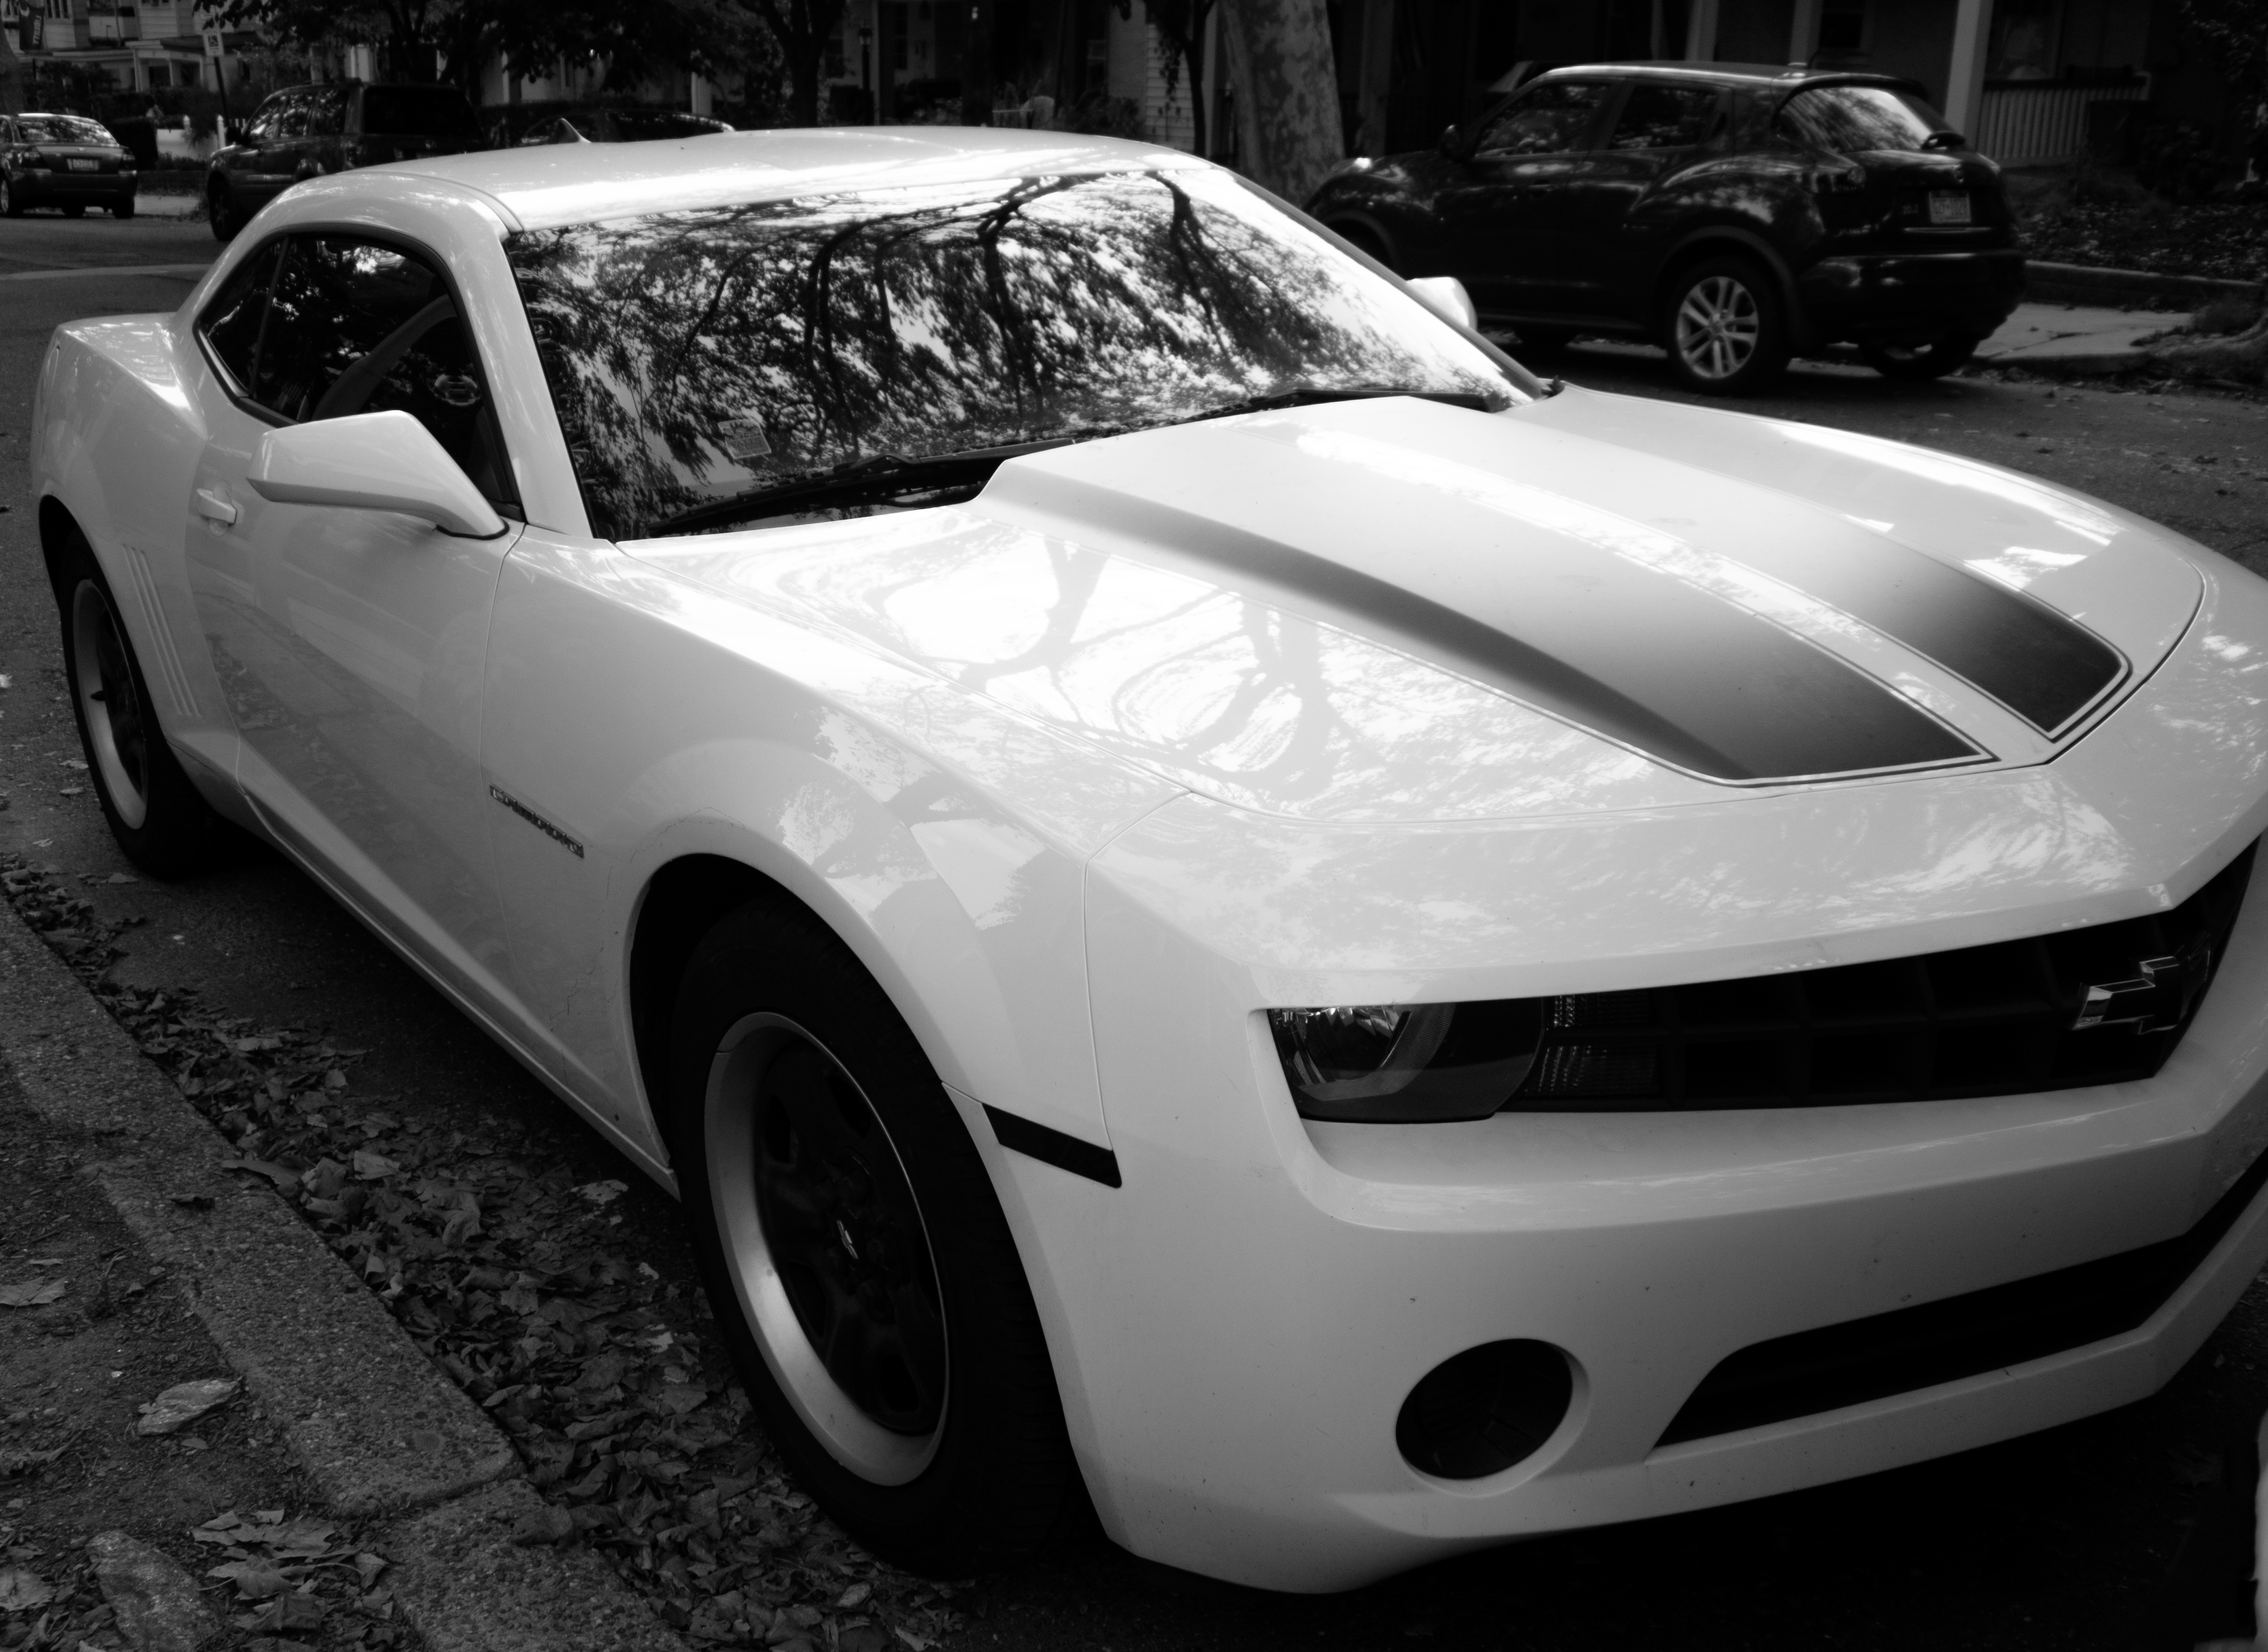
- beautiful b&w
- fog plan
- good fog plan
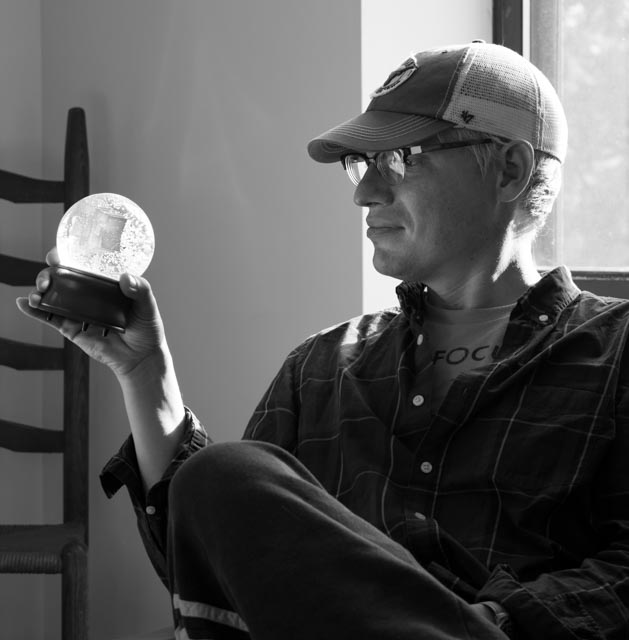
- favorite photo of the show
- happy statistical birthday!
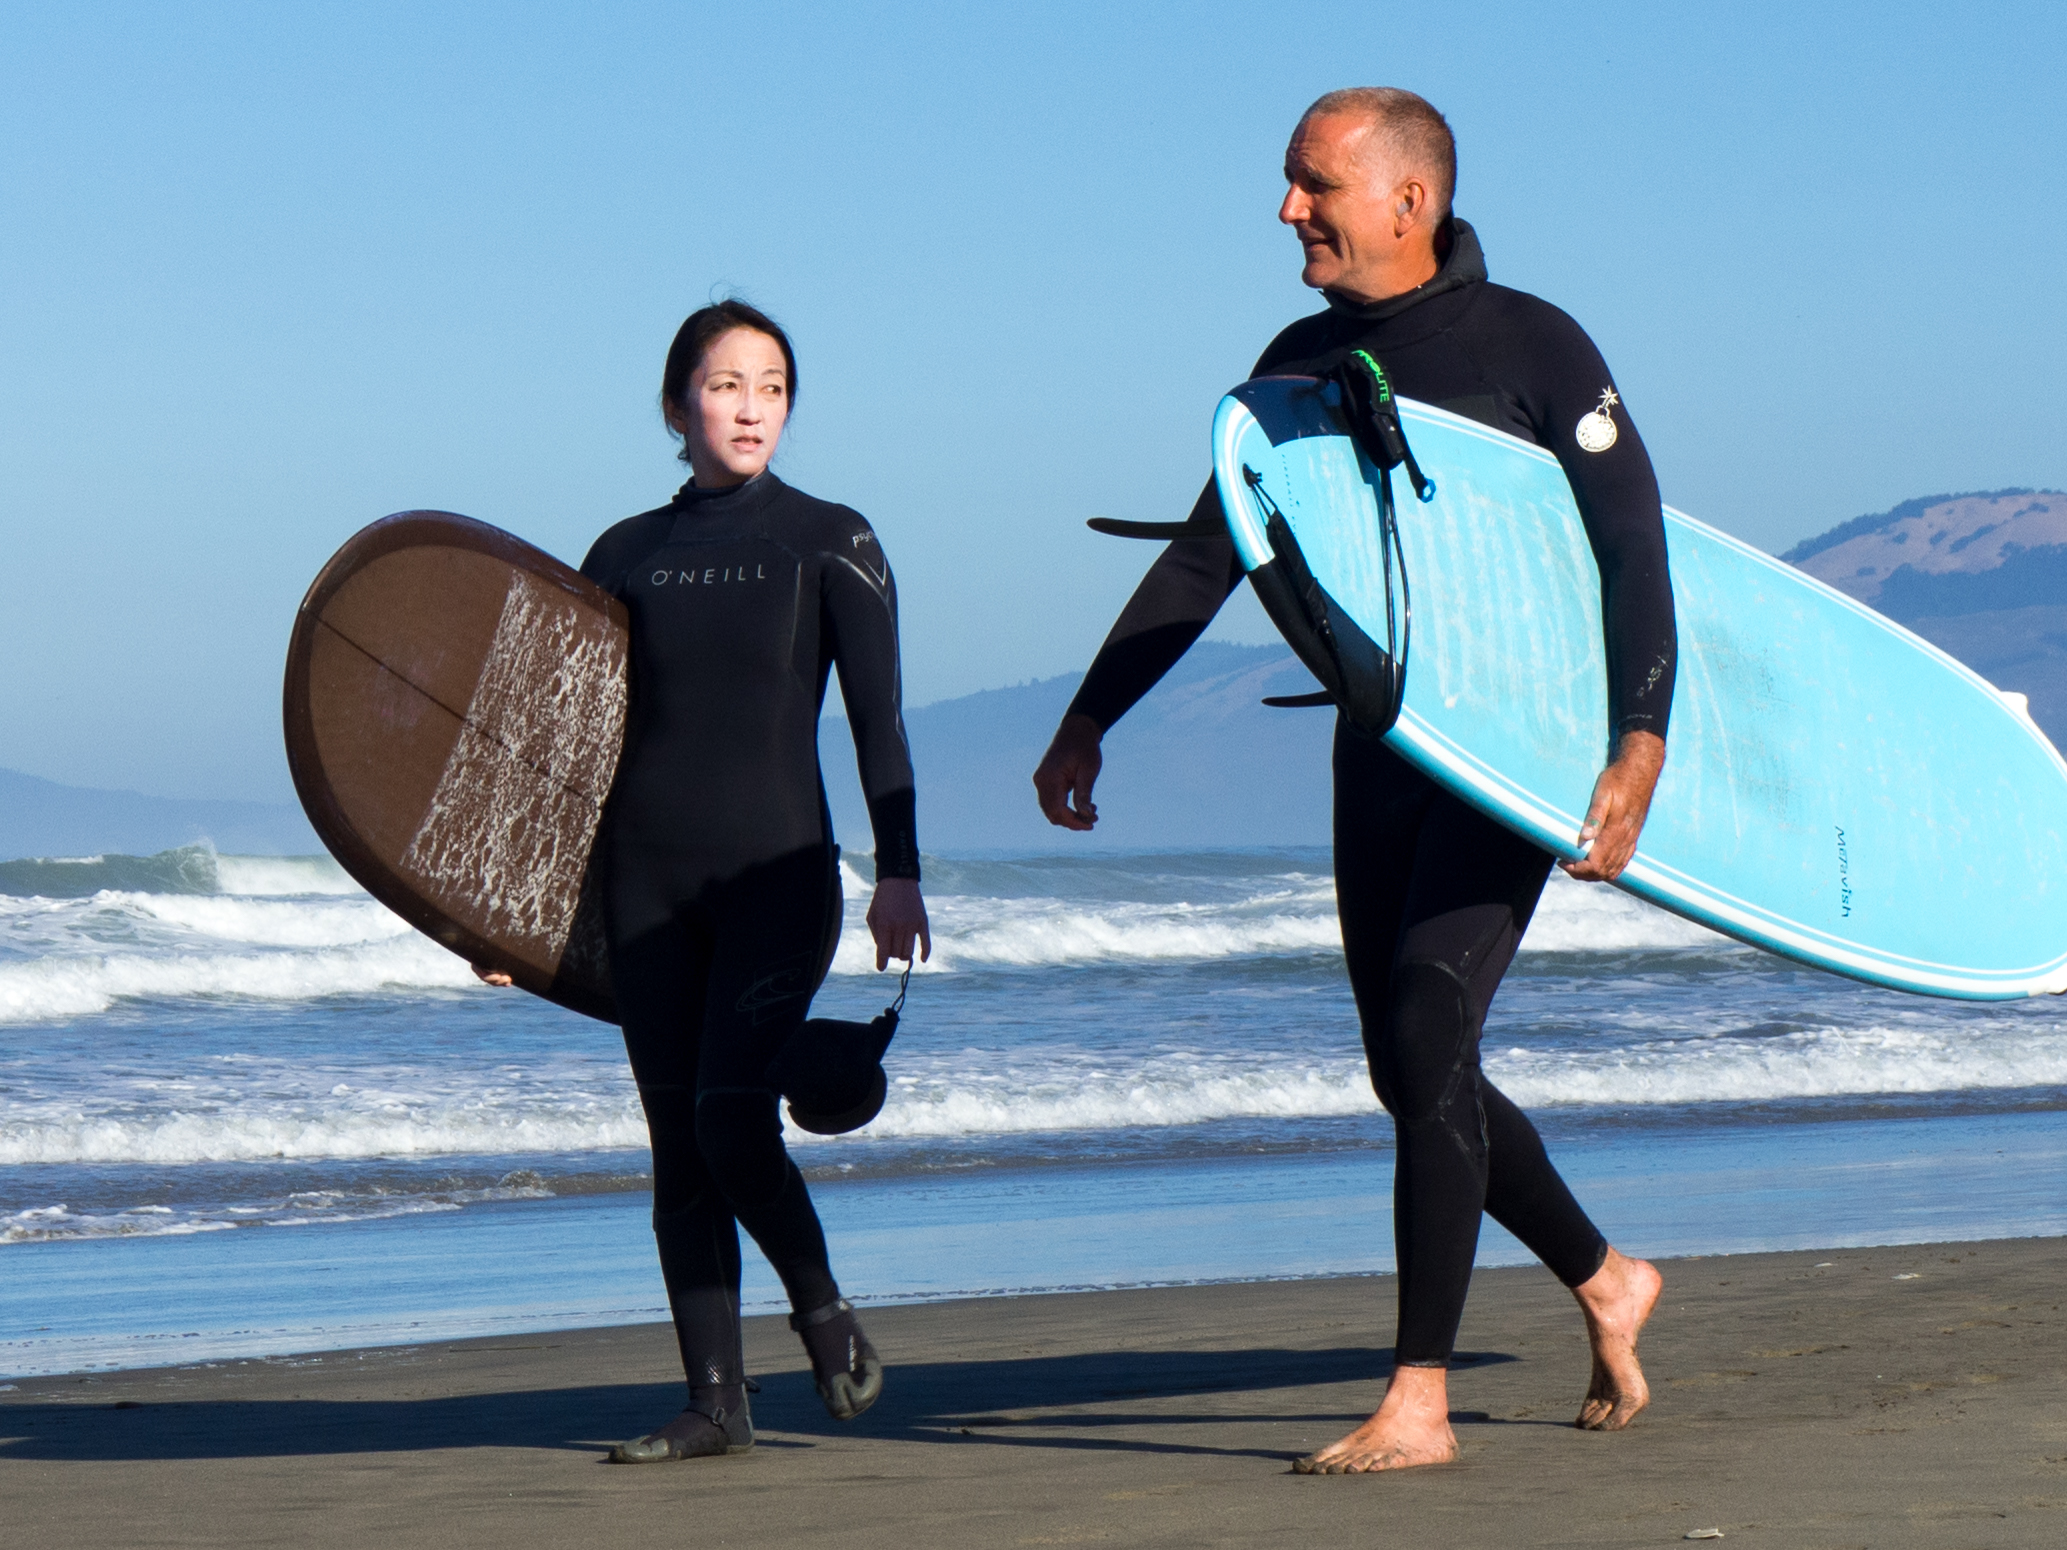
- tough chick
- “now I know it’s two people stuck in a fence”
- well lit baby
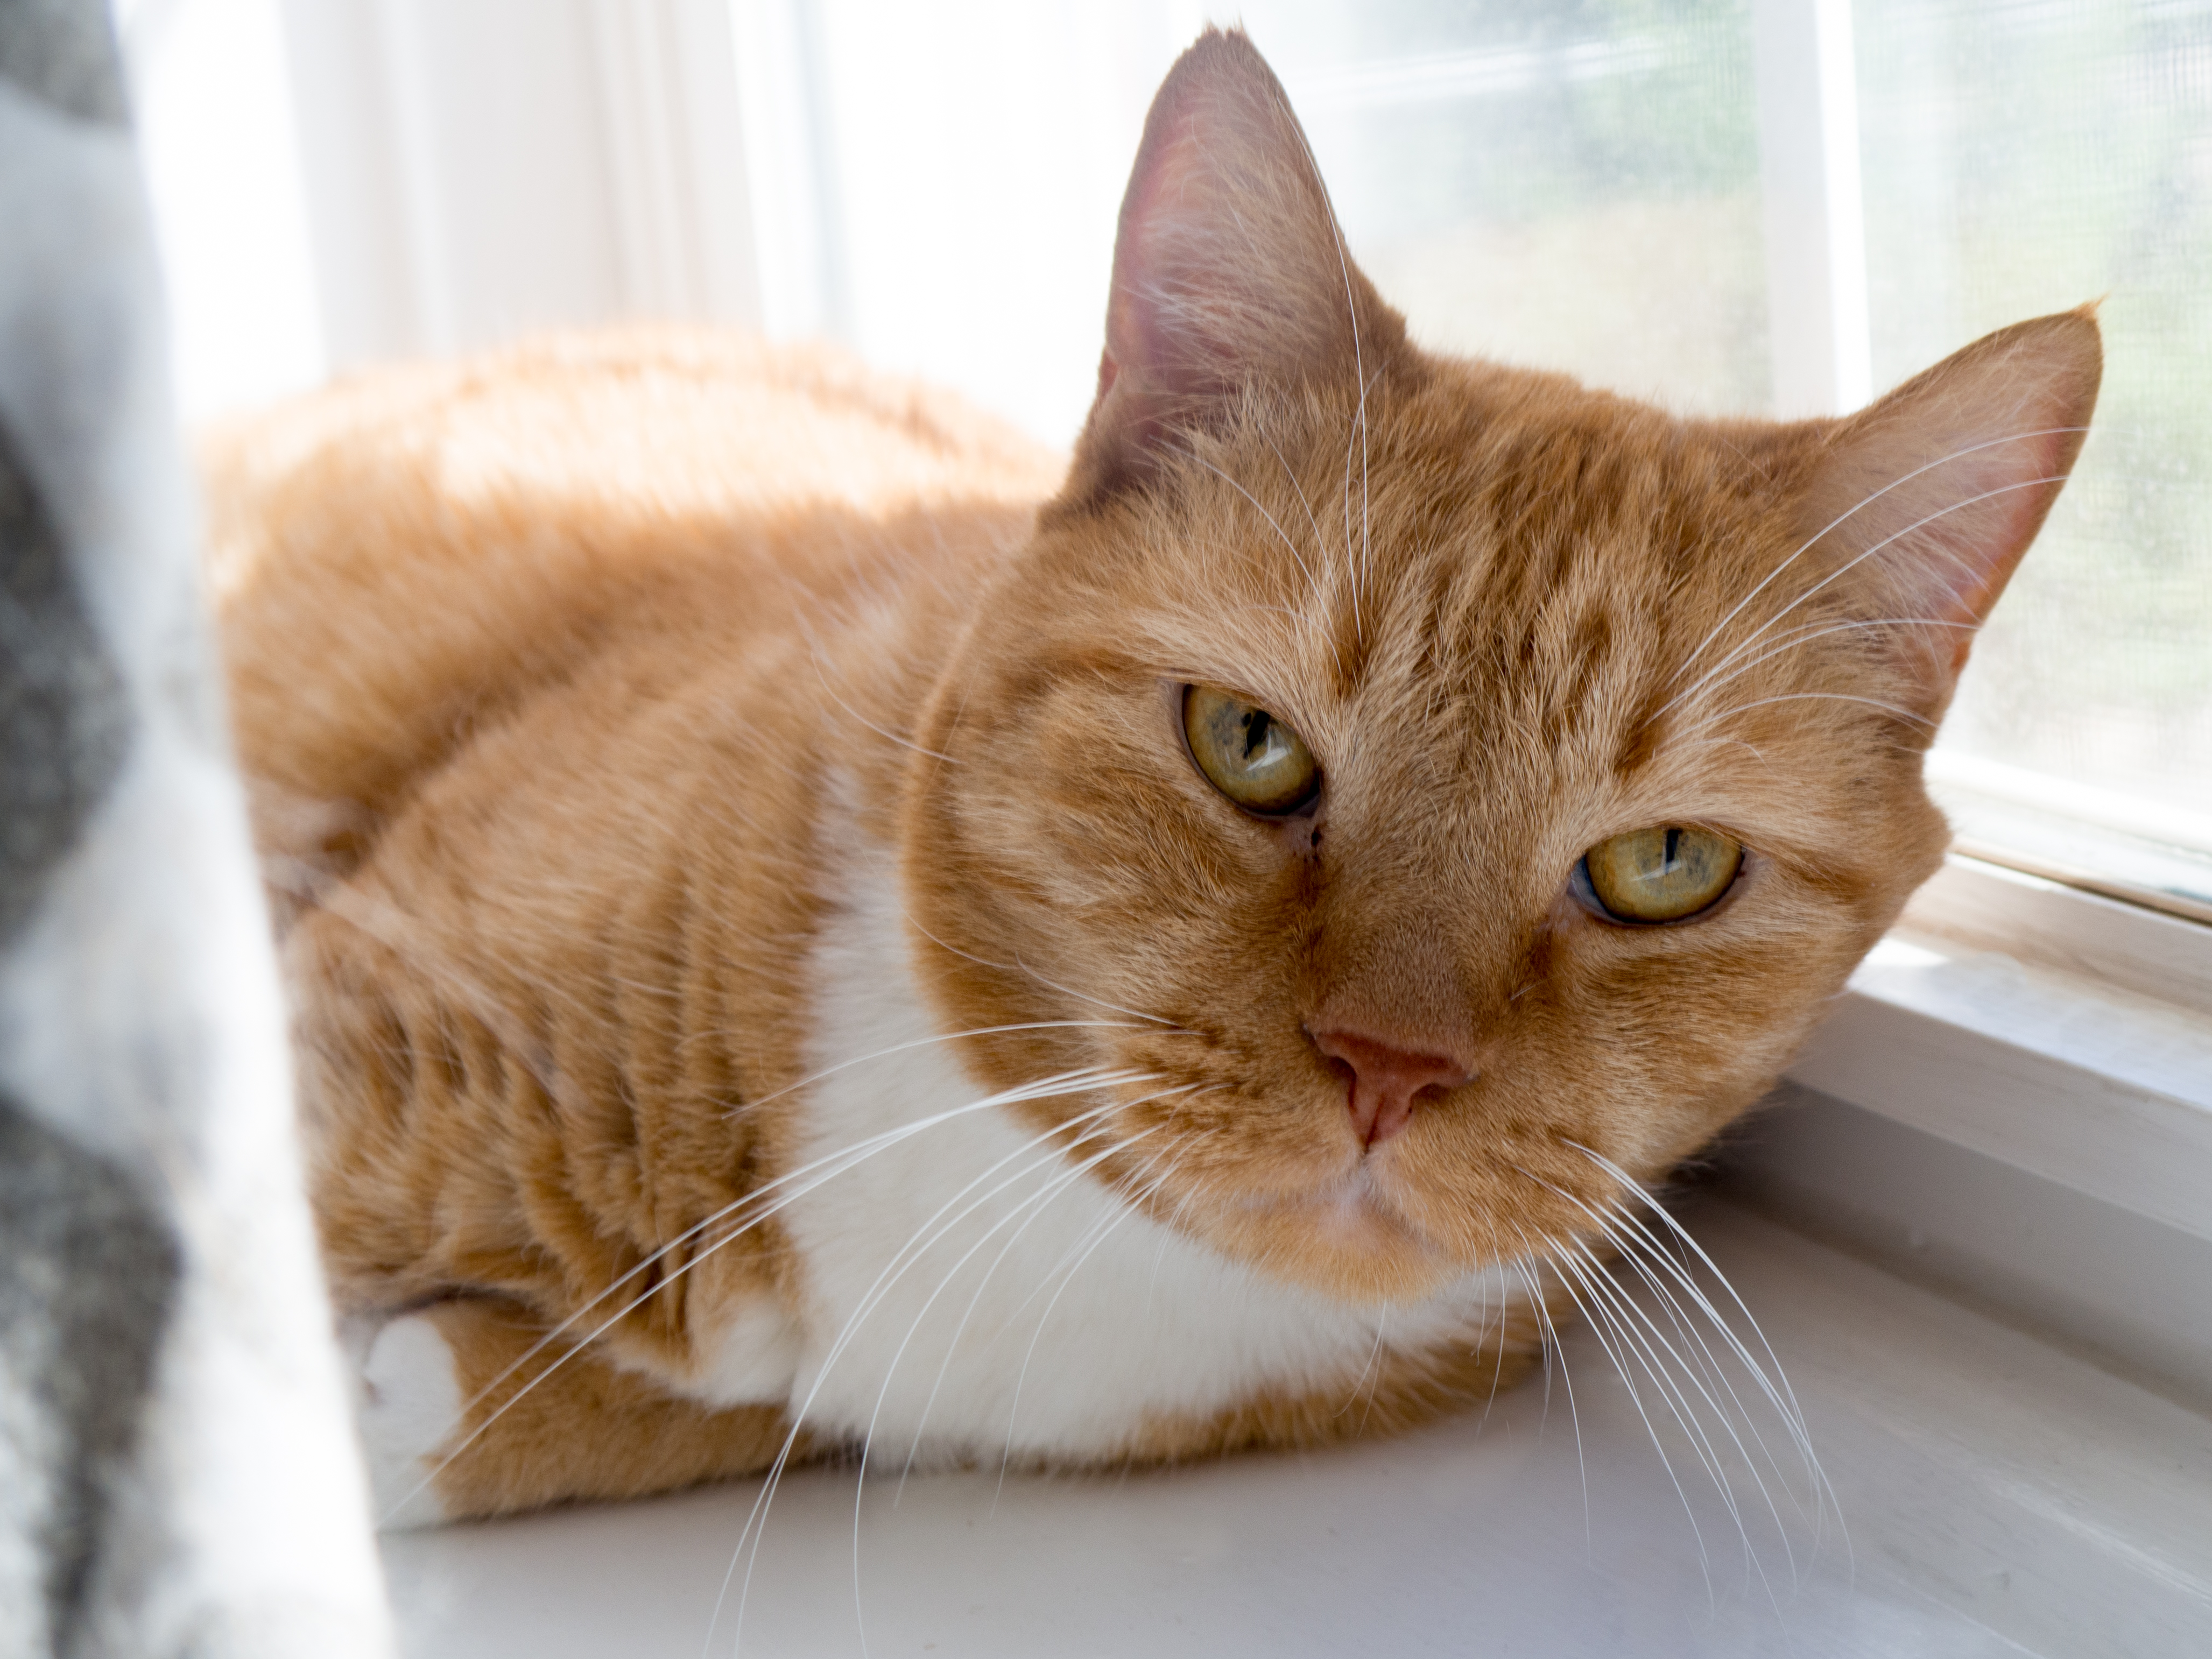
- majestic pupper
- great plane
- best fog plan
- lighthouse with fog
- shadows
- perfect light
- shadow
- another bridge
- another fog plan!
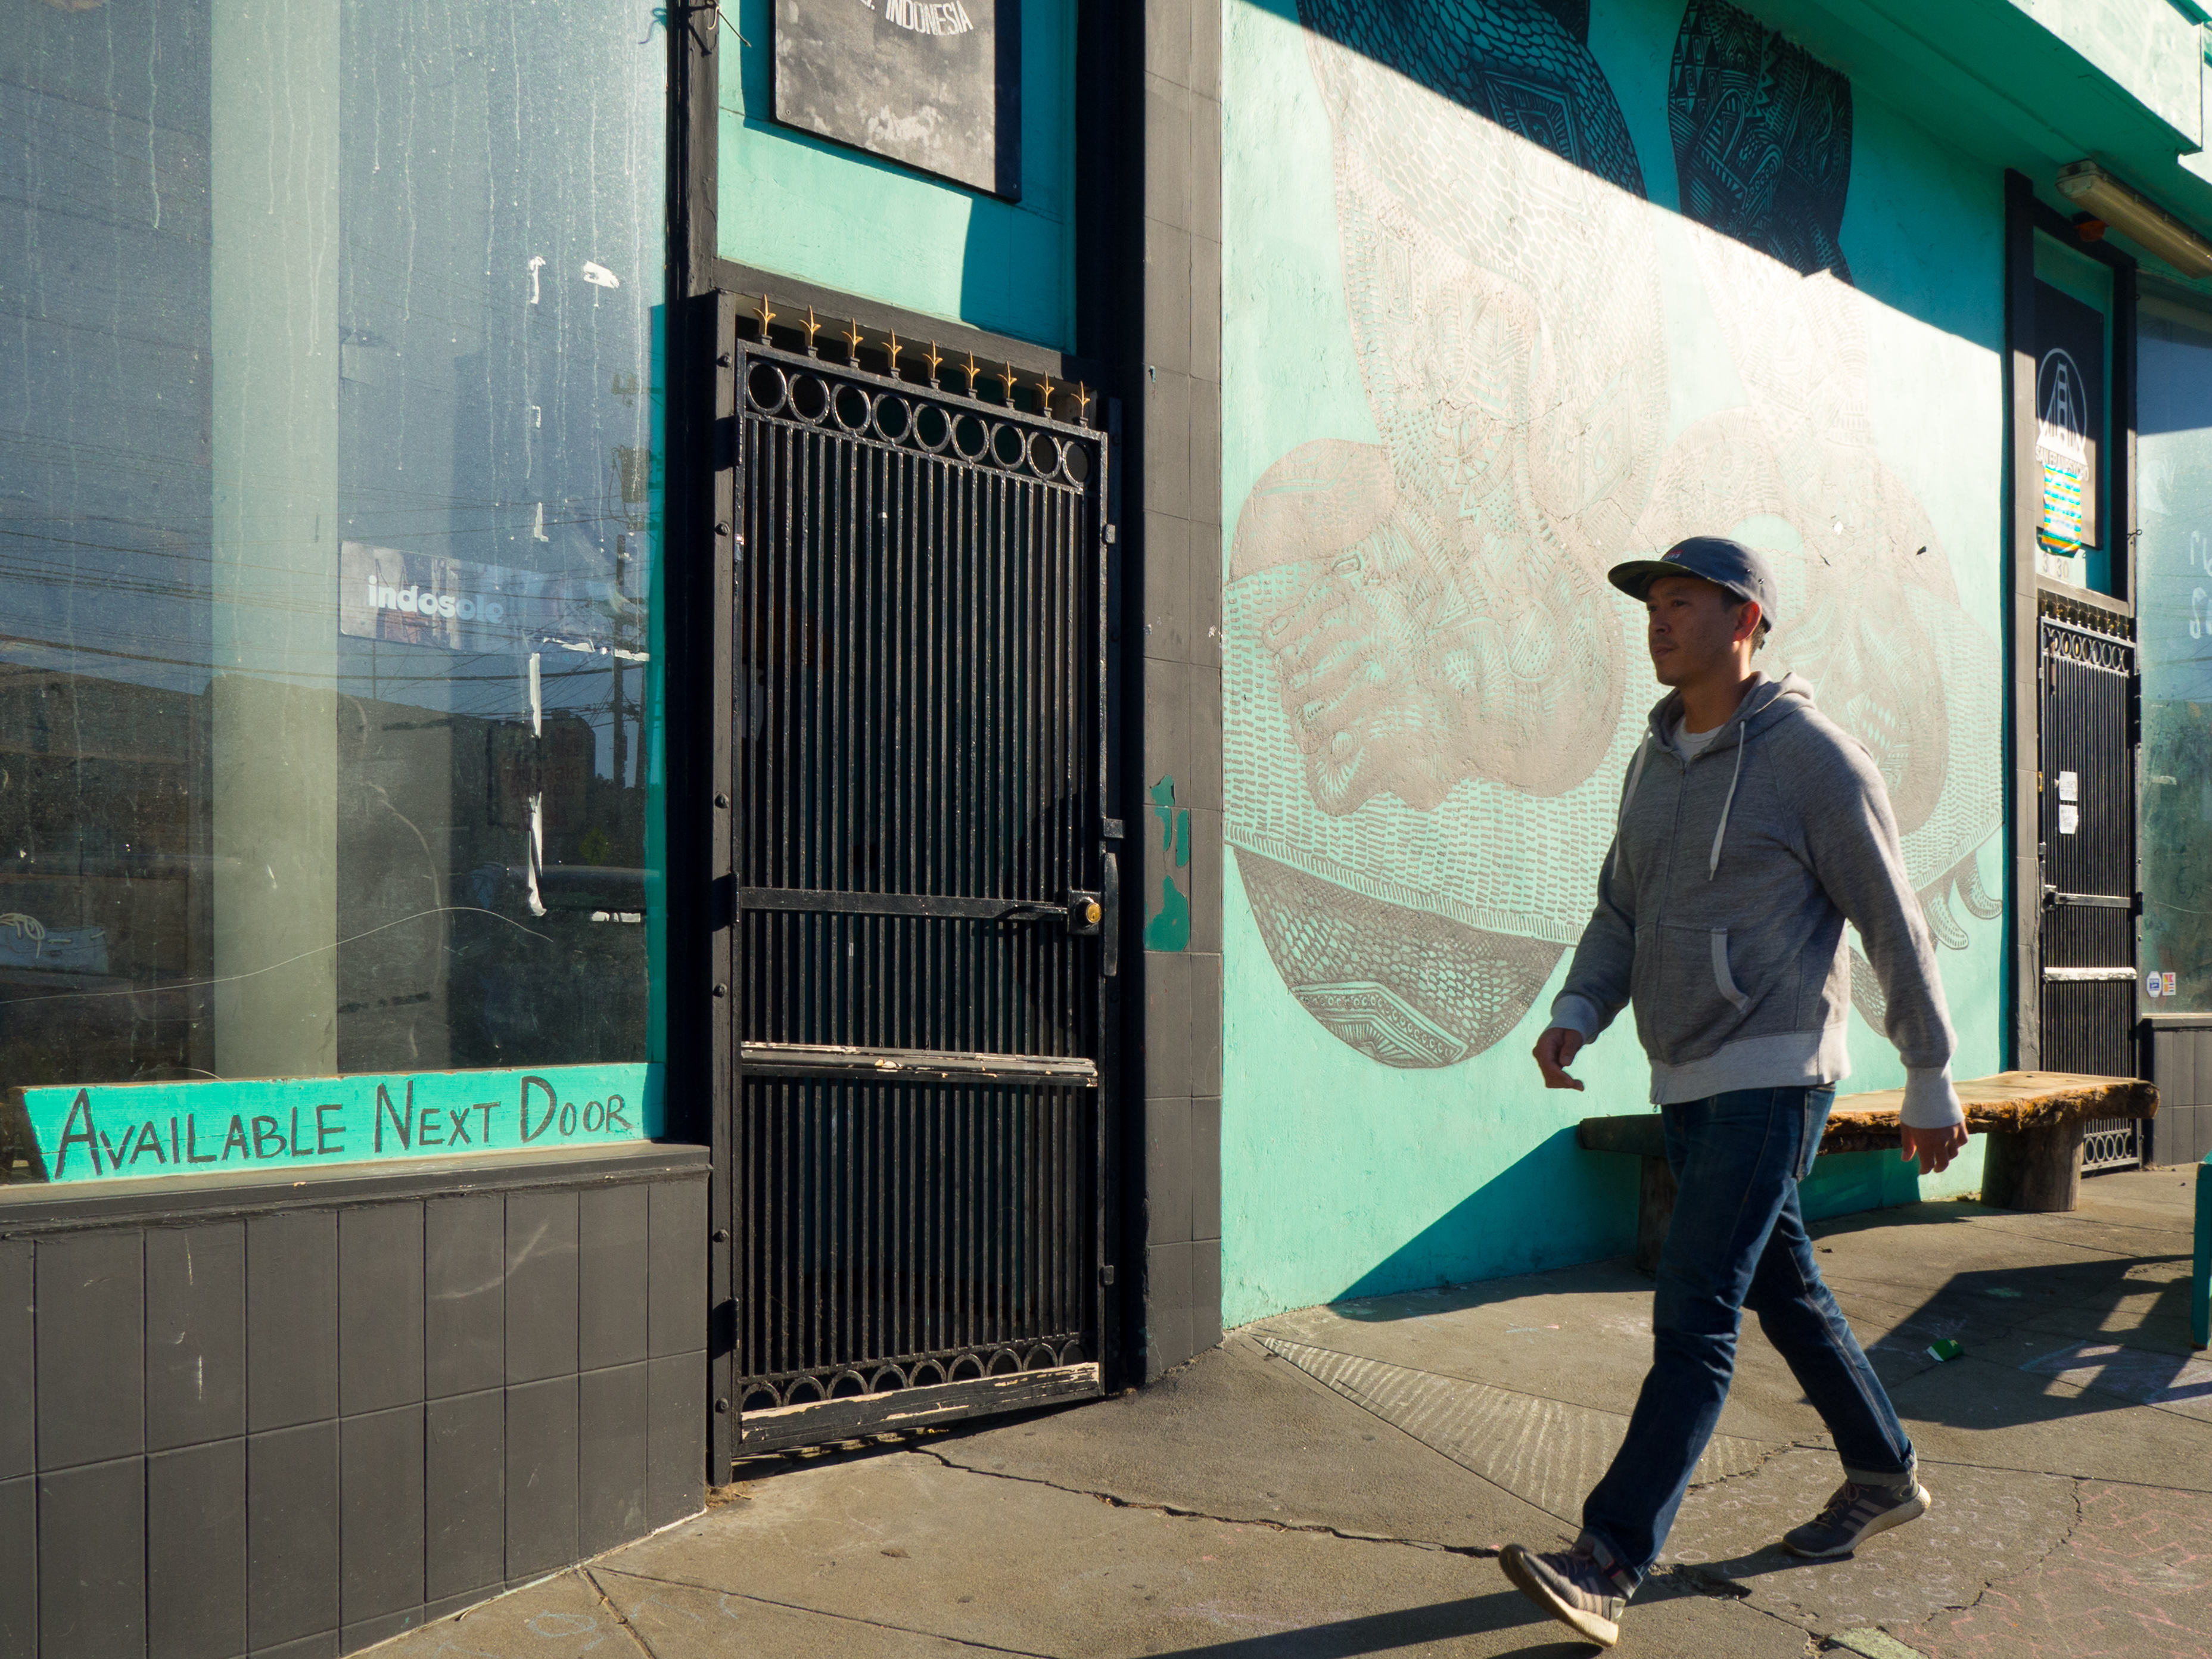
- this guy
- fire
- cheese candles
- leaves
- spooky
Last minute questions:
- good apps for best lighting conditions? Photographer’s ephemeris, not sure what else.
- MS Surface AIO? Nah.
Blowing through photos at the end here, lots of good ones.
Ok, that’s our show! Spooky pictures next week, Thursday 5pm EST.


