Posted on

Beginner Photography: Animal Interactions

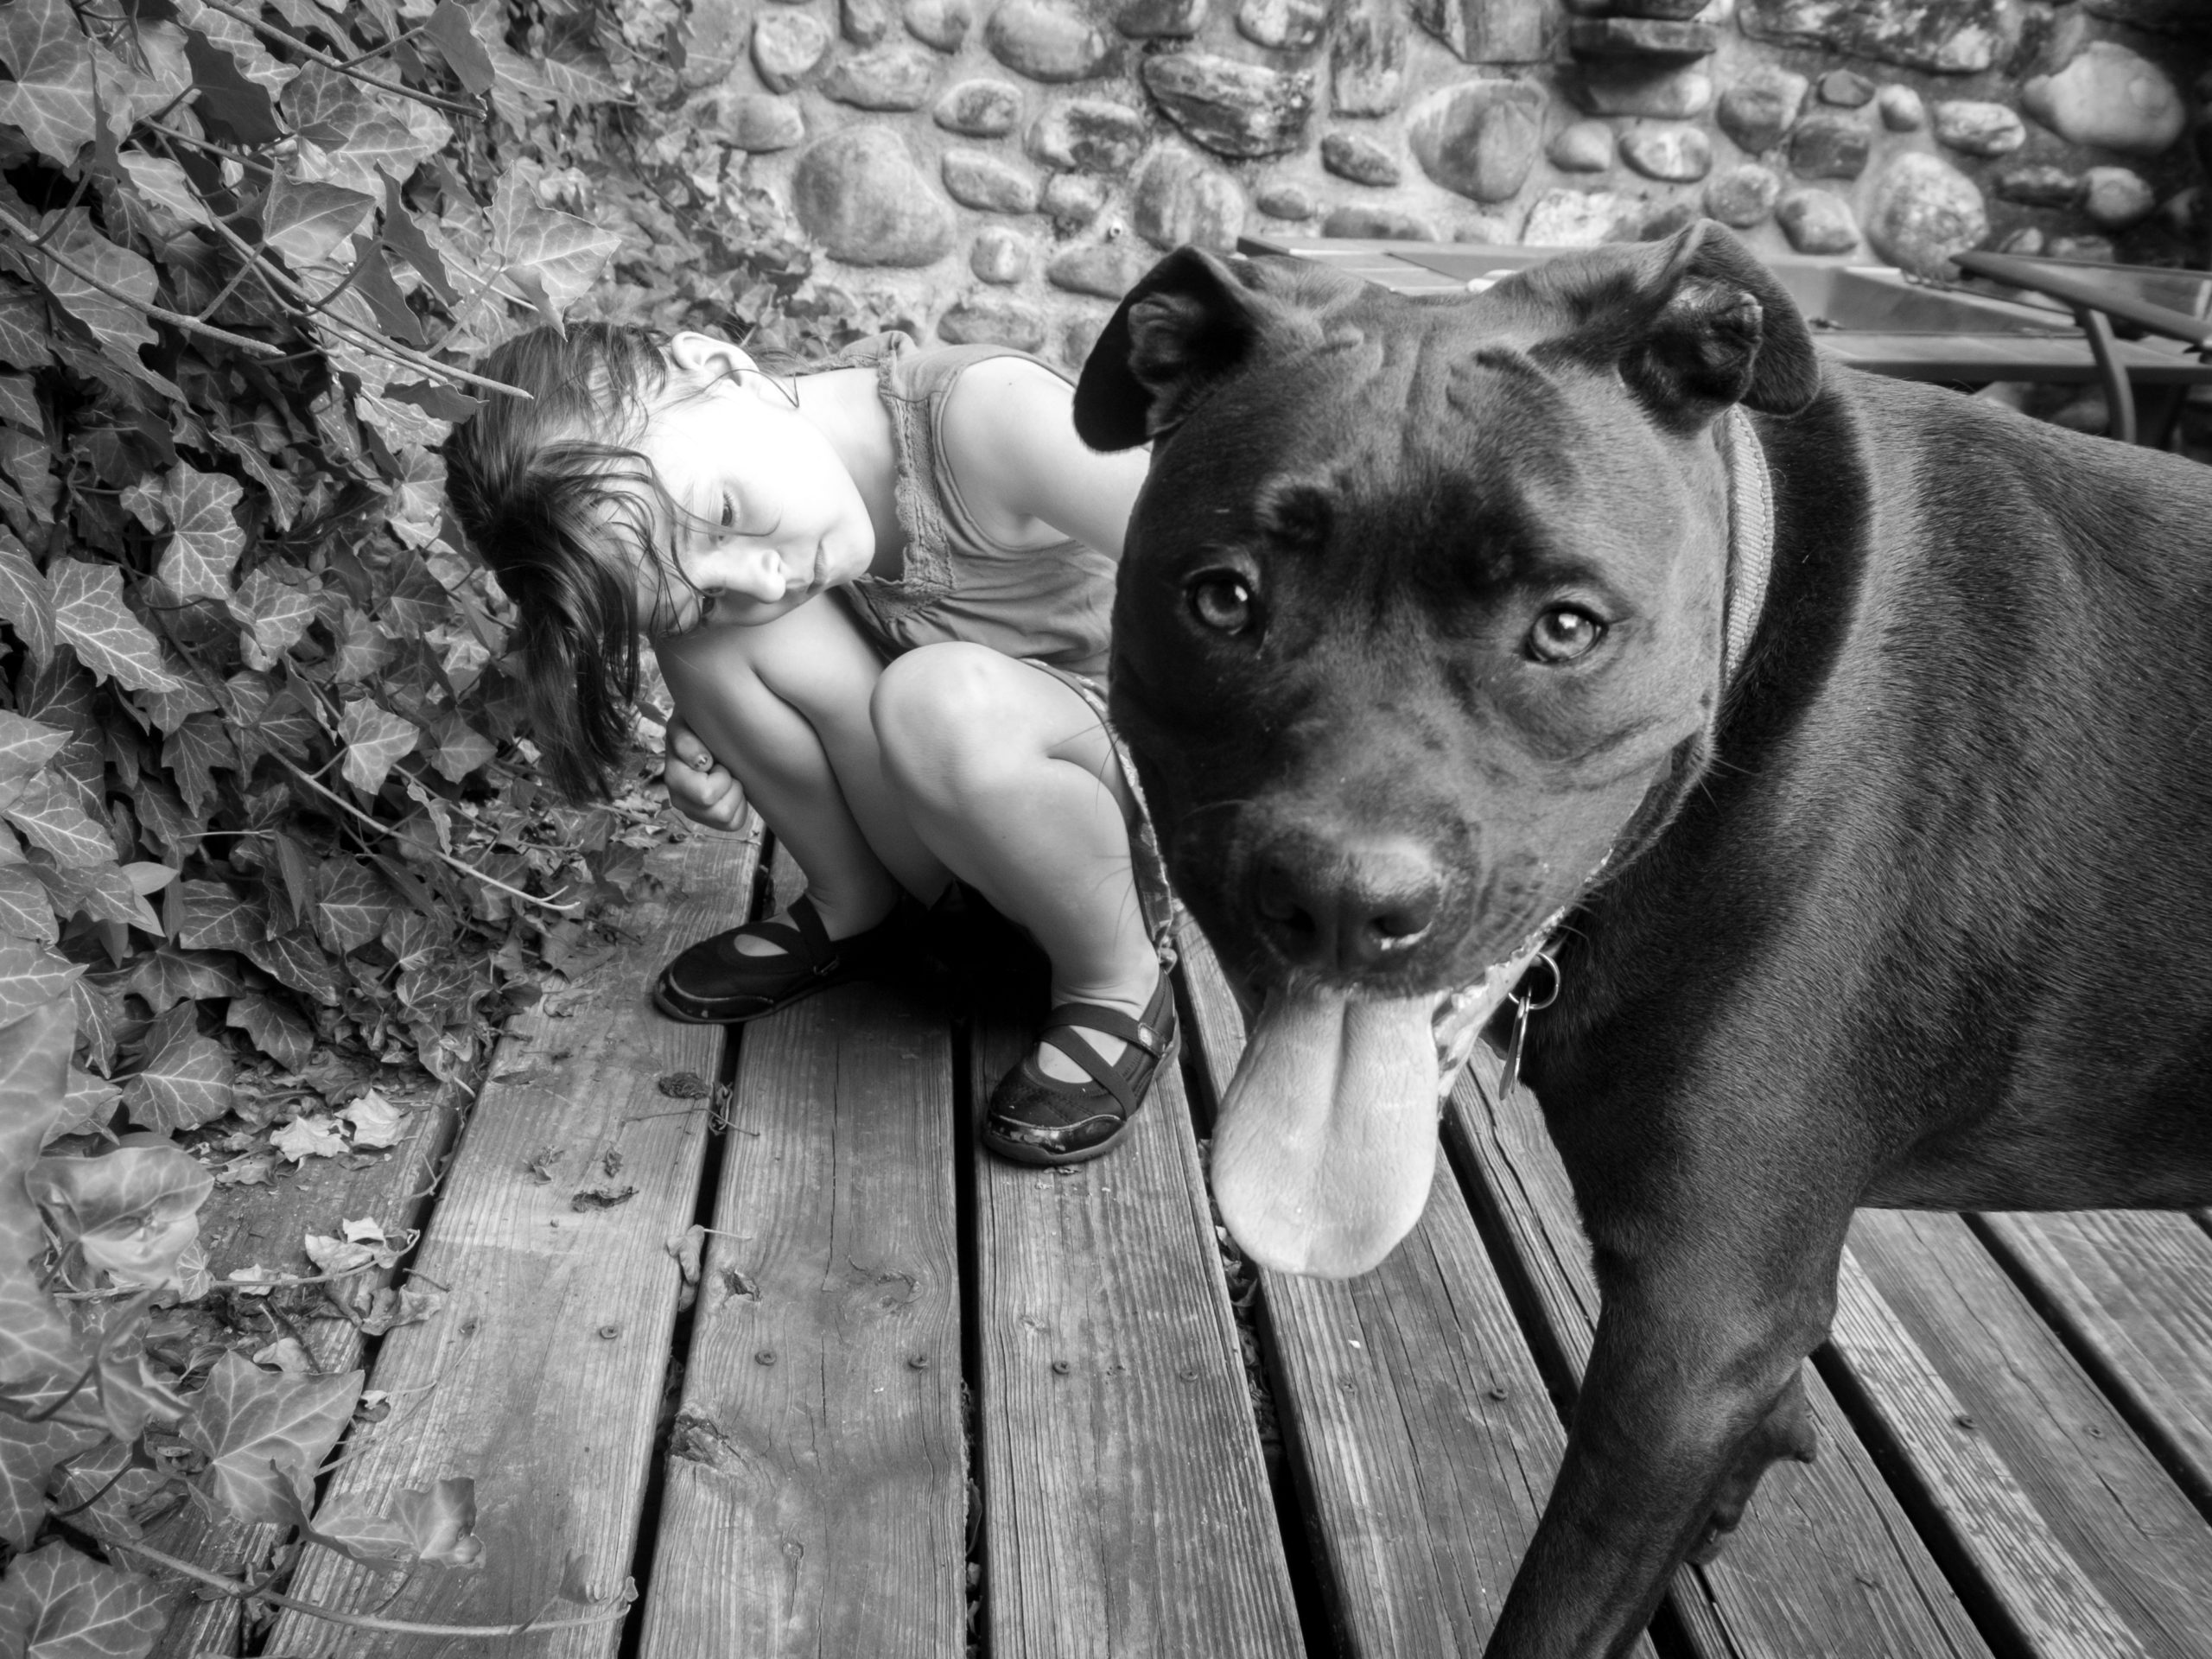
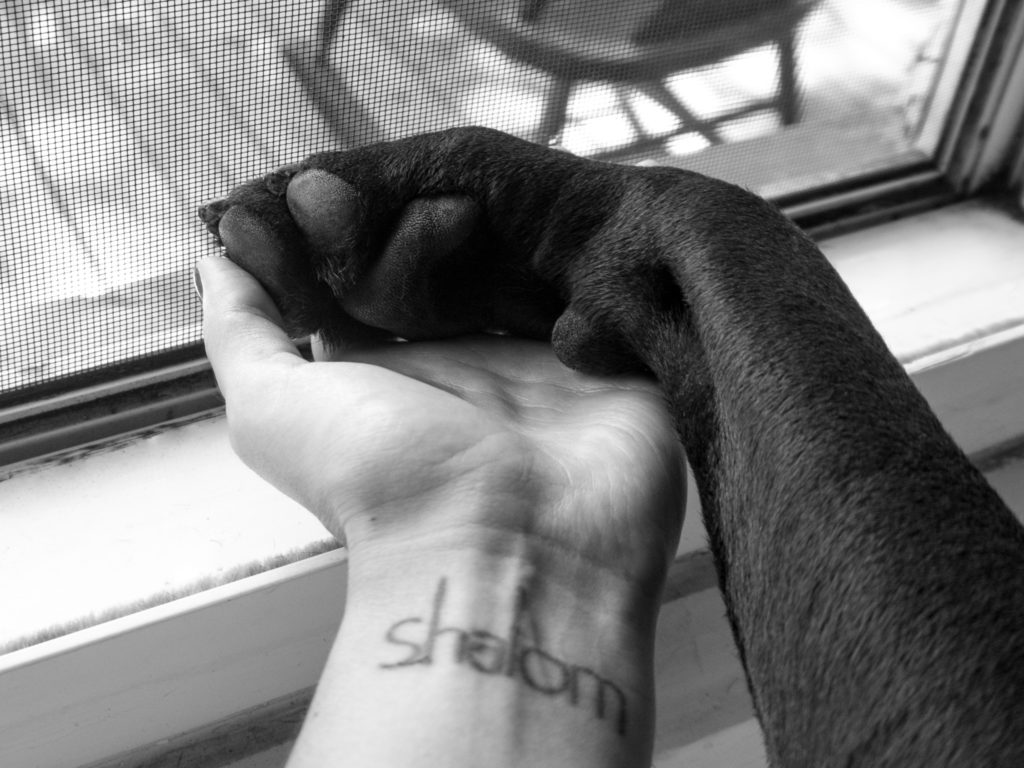
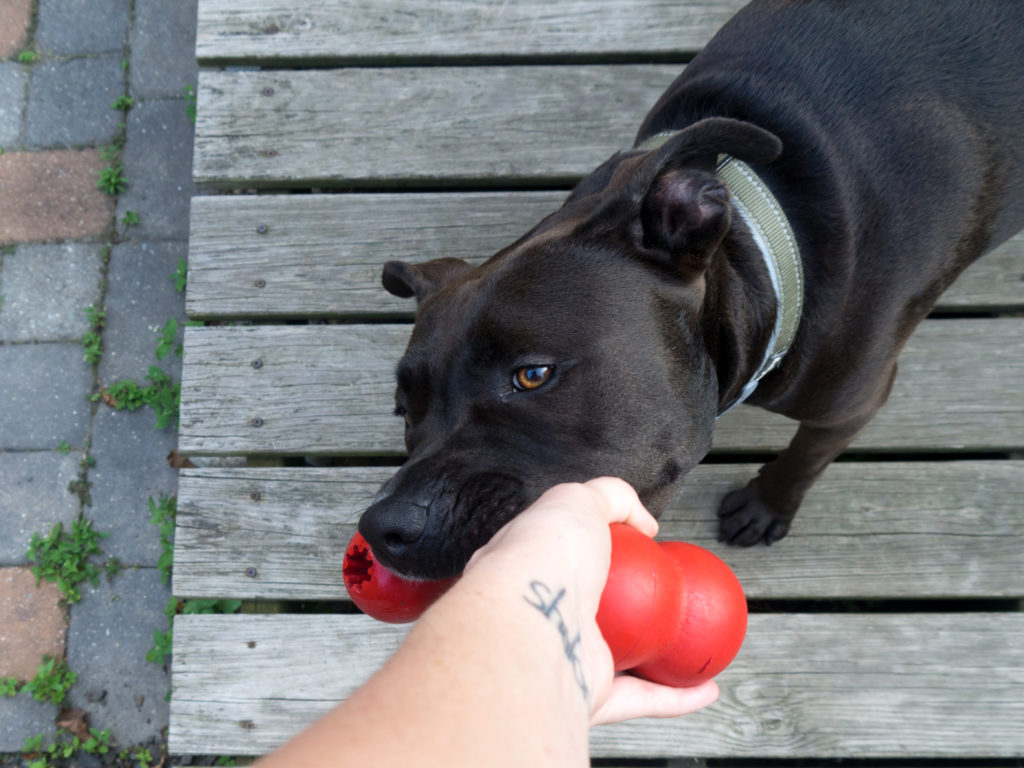
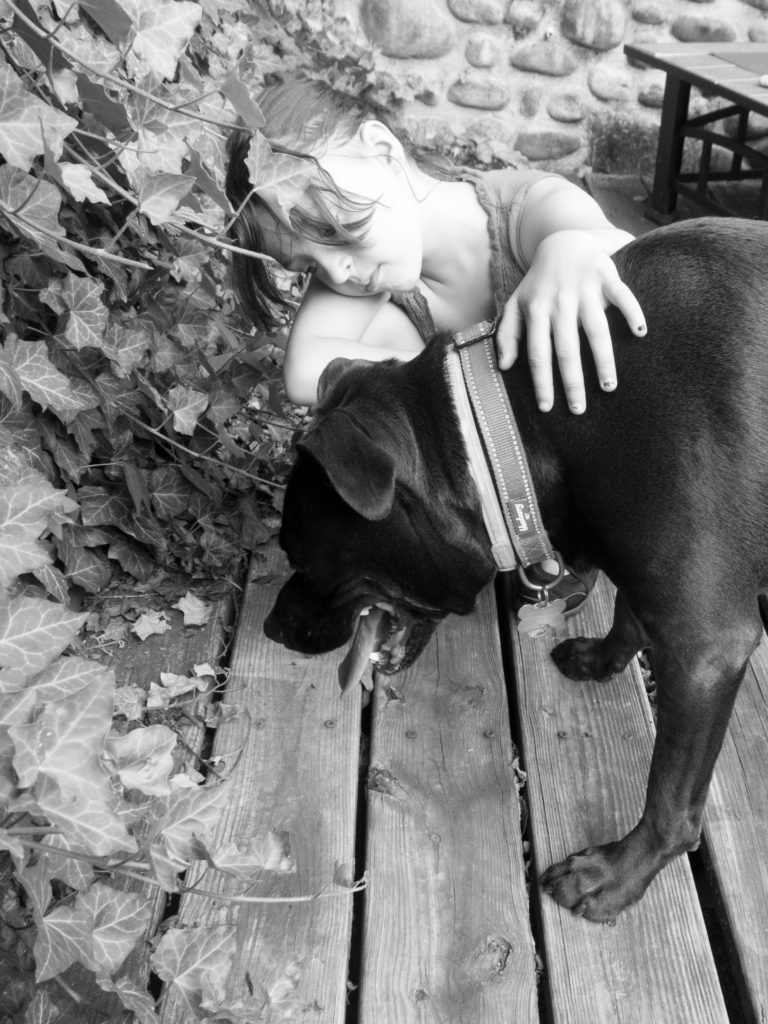
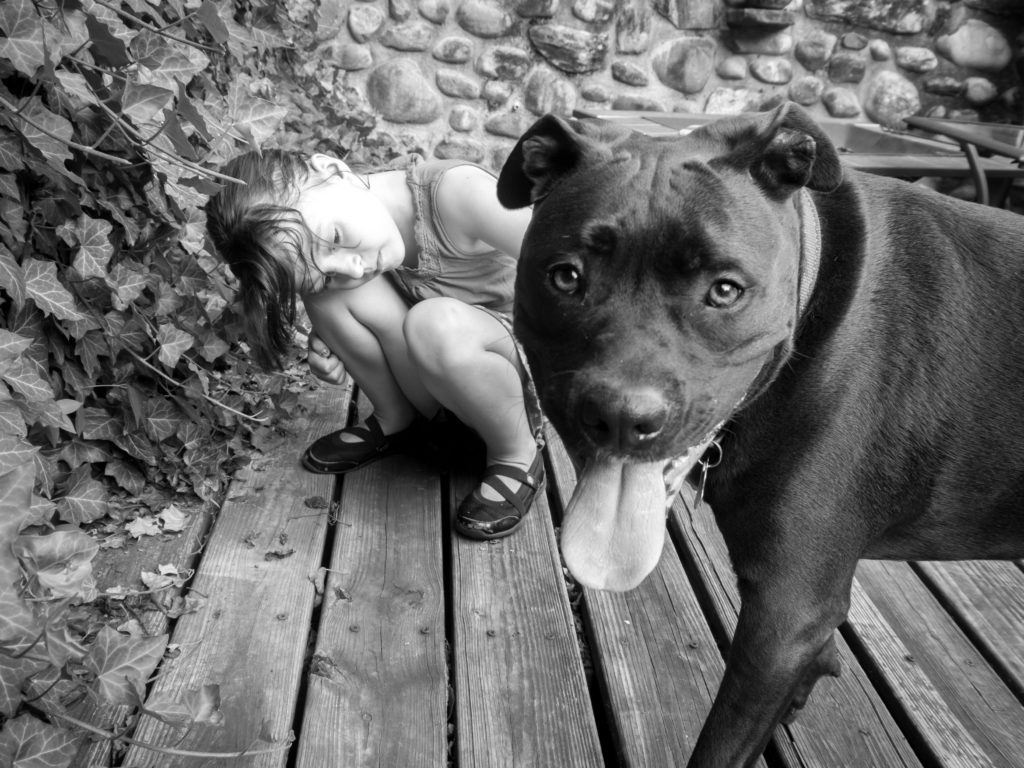
Oh, hubris. I really thought this subject would be easy. I have animals! I can interact with them! How wrong I was. First, taking pictures of animals is difficult enough. They are generally fast moving, unless you know a sloth. Also, taking pictures of yourself is hard. Selfie+moving animals? Near impossible. I attempted to at least photograph my hand petting said animals, but even that is unwieldy using a DSLR. So then I tried to enlist my daughter, who, apparently, is only a good model when she has to stand very still and be creepy (see here and here and here.)

It has also been in the 90-95F degree range the past few days, so we have all been sluggish. Which resulted in either a very sad looking dog and cat or a very sad-looking child. 

I’m going to tell you now, this project was a failure. I missed focus a dozen times, I cropped the dog’s feet, my daughter’s shirt is wrinkled. I captured a few sweet moments, but they are still technically terrible. Here’s a funny video to make up for it:

So as usual I shot in aperture priority, but using a higher aperture to attempt to get Eloise and Hungry both in focus. Somehow that still often resulted in missing focus. I shot outside in natural light which worked fine, but my cramped back yard resulted is some busy backgrounds. I almost never got both of them looking at the camera. Ah well, this is what I wound up with:


f/3.5, 1/80th, ISO 200


f/5.6, 1/80th, ISO 200


f/5.6, 1/80th, ISO 640 (?!)


f/5.6, 1/60th, ISO 500


I don’t know. Looking at them now, I’m quite fond of them, but I just see everything about them that’s wrong. I need to work on manually choosing my settings and probably give back button focus a try.

Do any of these shots work for you? How would you have done things? I look forward to seeing so many animals on the show this week (and I’ll be there in studio!)

Posted on

Beginner Photography: Fashion

I am SO NERVOUS about this post. This week’s topic was fashion, and I’m sorry to say, but it’s just not something you can shoot and be successful at without proper resources. But it was certainly good practice, and I would love to attempt it again.

In this case I was lacking: 

  • a studio
  • clothing worth modeling
  • lights
  • a model

But I had one day that it didn’t rain, an urban setting, my dumb face, and some old coats! If you want some great tips on shooting portraits, there’s a whole page of videos here, starting with this one on outdoor lighting:

And this great video on shooting fashion and glamour (watch Chelsea’s outtakes at the end!)

So here’s what I did:

  • set up my camera on a tripod, a bit below my eye level and as far away from the background as I could
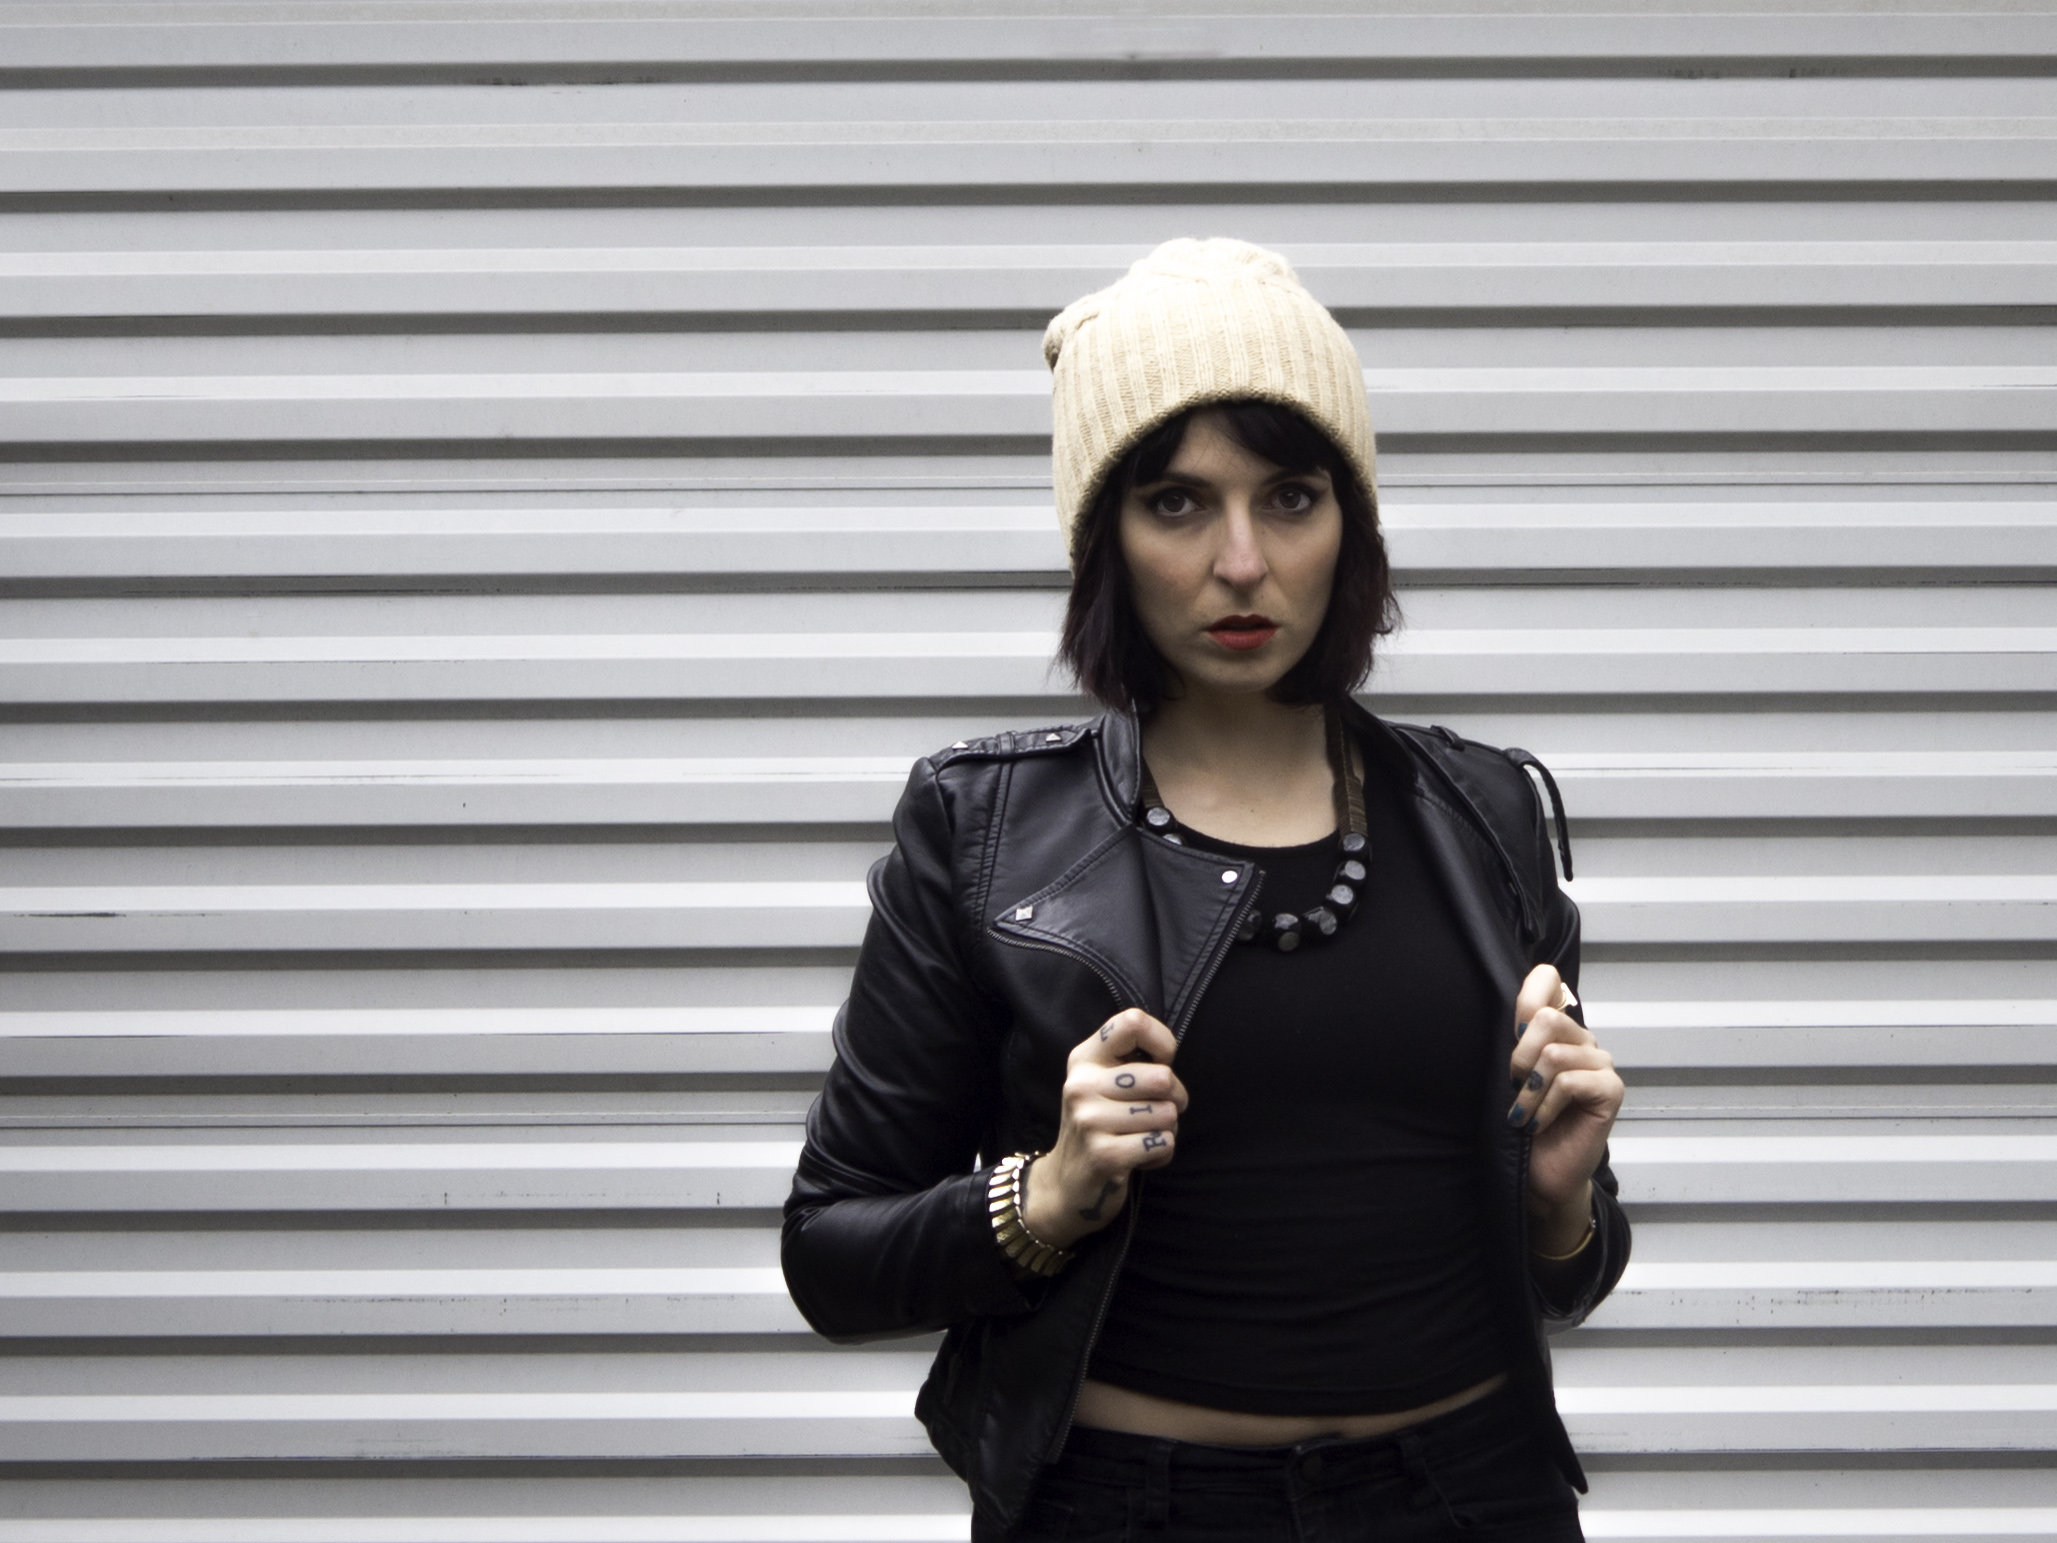
  • I chose a rolling metal garage door as my backdrop, I wanted something gritty to match my styling
  • I chose two coats to model, as it was cold out. I wore jeans, a crop top and heeled boots, items which were neutral and wouldn’t overwhelm the item I was focusing on. I wore a hat because I was having a bad hair day, and red lipstick for some pop.
  • The day I shot was overcast, so the lighting was pretty even, but it was a bit dark. I shot in aperture priority with my aperture as wide as it would go, in this case f/4.4. This means the camera was choosing the shutter speed, which wound up being 1/200th to 1/250th, which is was faster than it needed to be. My ISO was at 200, but these pictures still wound up noisy.
  • I set my camera on a 5 second delay, shooting 5 images with 5 seconds in between so I had time to pose and change positions between each shot.
  • I chose a focusing point where I though my head would be, and then just crossed my fingers for facial recognition to take over. I don’t think it worked. This is where it would have helped to have a model, or at least a stand in for myself to focus.

I think I achieved the look I was going for, but my focusing is for sure off. This shoot made me want to start working on my Photoshop skills, because I would have loved to edit my skin, change the color of my hat, and maybe blur the background a bit. (All things I can learn from our Photoshop book!)

Without those skills, though, I simply used Lightroom to adjust the exposure, straighten, and crop the photos.


I could’ve used some fill flash for my face here


 Ahhh I just noticed the shoulder piece is not through the loop on the right side. Styling, people!


Hands up


So that’s what I got. I tried some more shots with a different background, against the green ivy on our back wall, but it didn’t work quite as well. I sure wish I’d noticed that shoulder bit before I posted these. 

So how’d I do? What could I have done better? This felt very much like a test shoot, so I’d love to find ways to improve on it. 

I think I’ll use this tutorial of Chelsea’s to tool around with the editing this week:


Posted on

Dreamy Outdoor Portraits

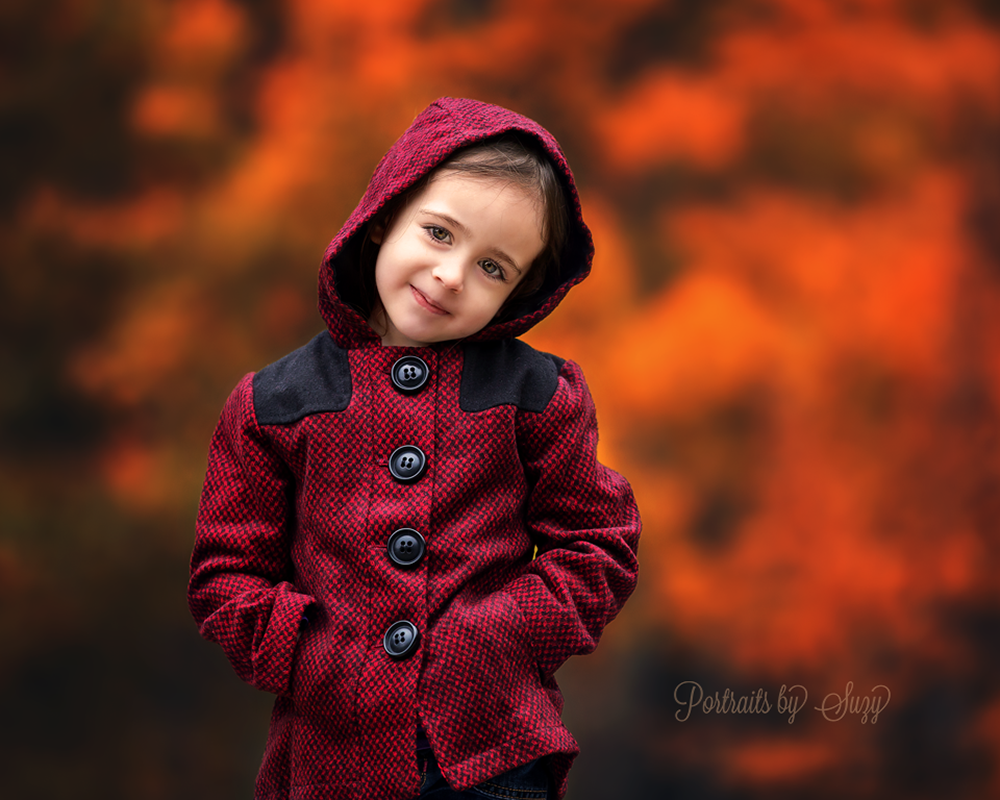
Often times I am asked how I achieve the soft, dreamy bokeh backgrounds in some of my outdoor natural light portraits. I would love to share with you some of my techniques for this look. The majority of this technique is done in camera.

redcoat

My favorite backdrop for portraits such as these are the leaves of trees. Often times though, my subject is a child and the leaves of the trees are too high up to be behind them! To adjust for this I like to set my subject on top of a picnic table, standing on a boulder, or on the top of a hill. This brings them up to the level of the tree and I let my angle, lens, and focal compression do the rest. When placing a child on top of a table or high surface be sure to have an assistant or your model’s parents right next to them for safety.

A few tips for maximum depth of field, bokeh and soft creamy blur:

  • Long focal length. I prefer 100-­300mm. Zoom your lens in as far as it can go, this will give you the softest blur. My go-to lenses for these types of portraits are the Canon 70-­200 2.8 and the Canon 135mm f/2L. Any long focal length and wide aperture lens can achieve the same look.
  • ­Wide aperture. I prefer 2.8 or wider. This really helps isolate your subject from the background, and will make them pop.
  • ­Distance of background to subject. The farther your background is from your subject the better!
  • ­Distance of subject to your camera. For this I will get the closest to my subject that will allow me to be zoomed all the way in to frame them.
  • ­Angle. Angle your camera to get in as much of the background behind your subject as you can, being careful not to shoot straight up at your subject but to be around their eye level.

Here is an example of Little Cash with his doggy standing on a hill with the background very, very far away.
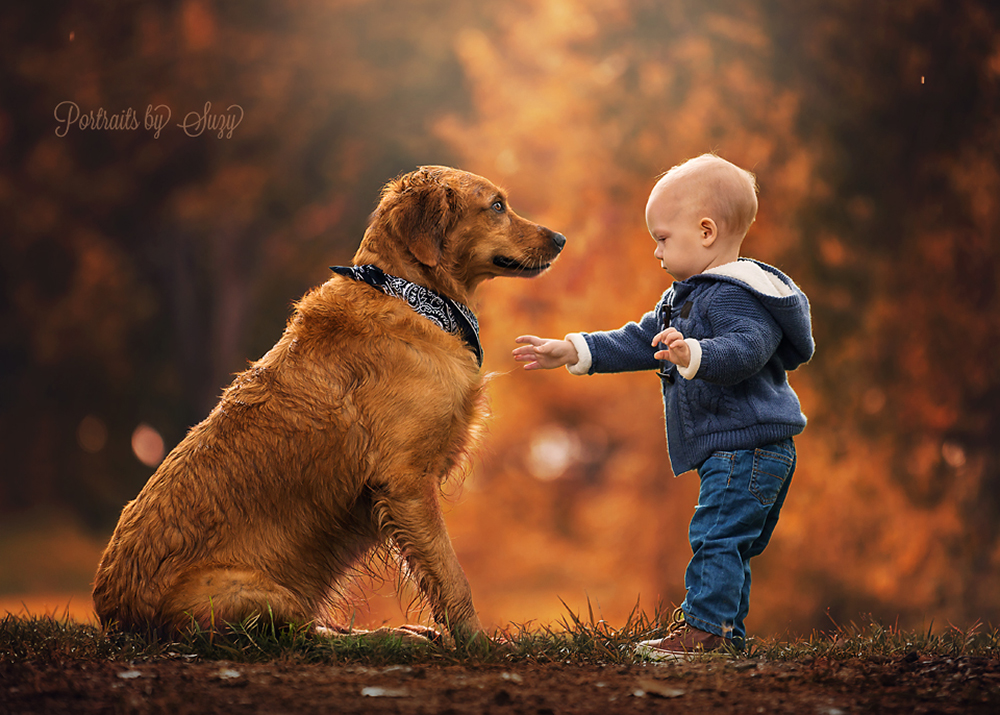
Baby and dog

A few tips for great light using only natural light.

I decided to learn to use available light and natural light for the sole purpose of being able to concentrate more on my subject. I find extra gear cumbersome and will even bring just one lens to a shoot. I photograph children and find it easier to work without extra gear.

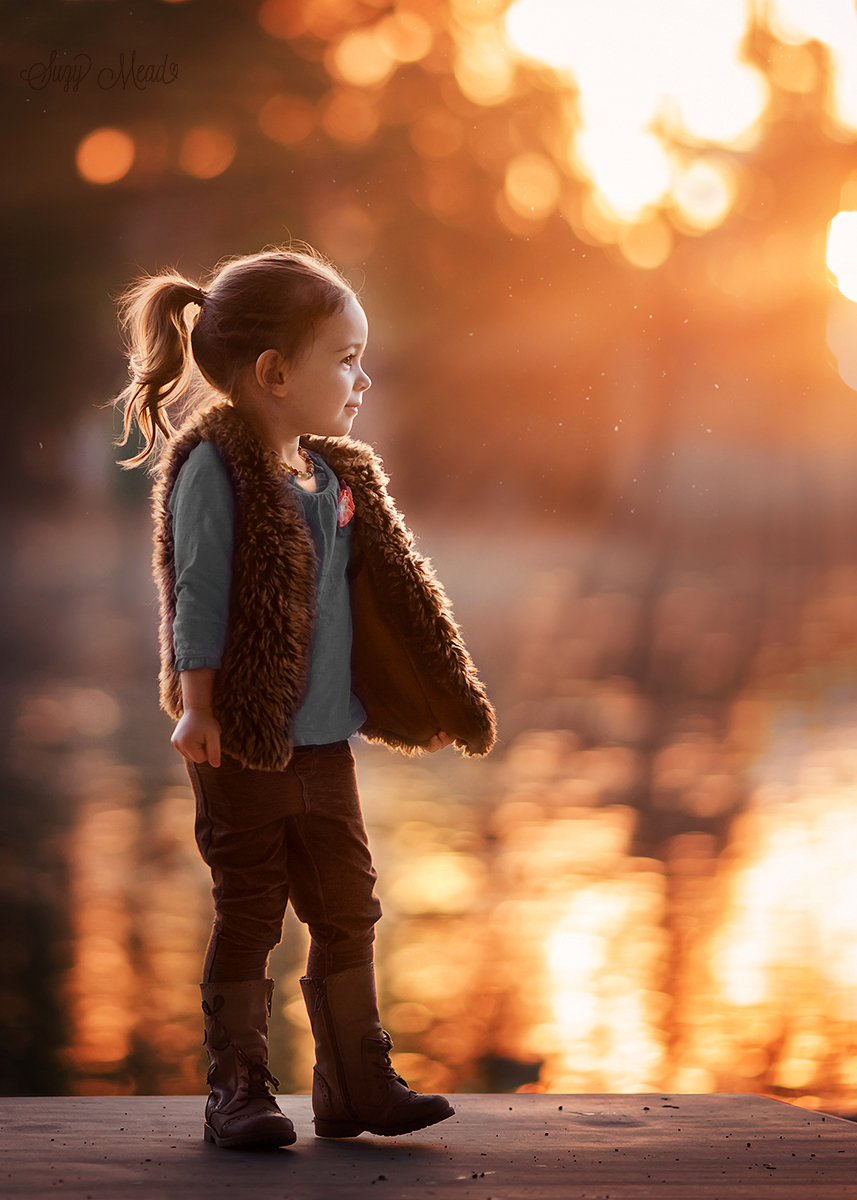
  • ­Position of the sun. Try to use a location where the sun will be barely peeking through the leaves of the tree behind your subject. This can add rim light to your subject and bokeh in your background.
  • ­Position of your subject. Try to have your subject facing a big open sky, but not facing the sun. A big open sky without trees will let maximum light get to your subject, lighting them up and adding pleasing catch lights to their eyes.
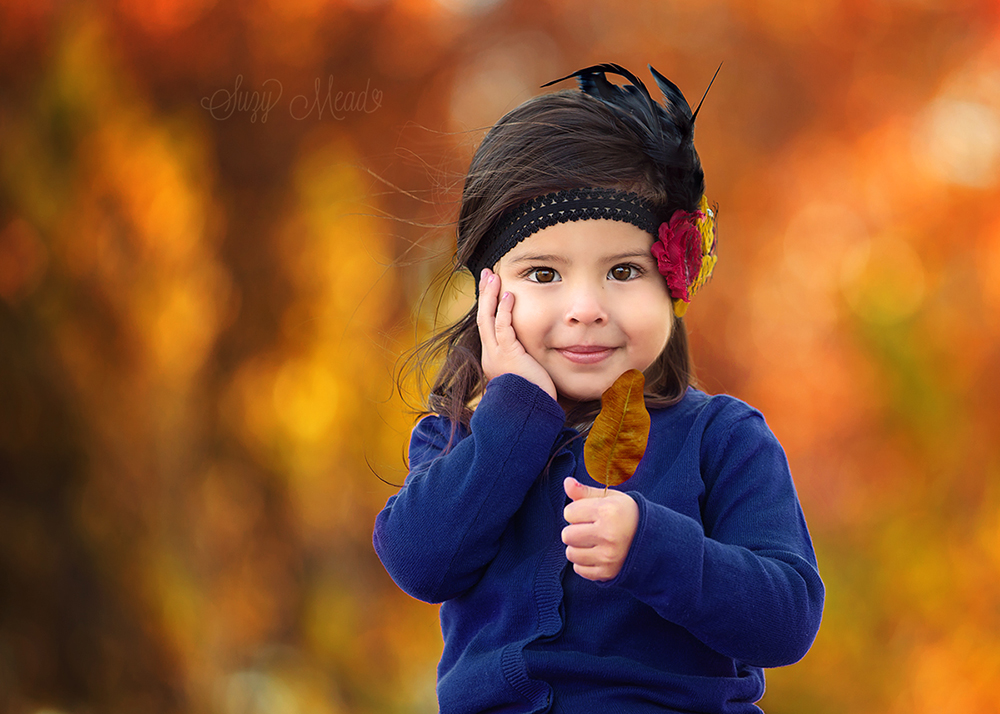
dakota

A few tips for child portraiture.

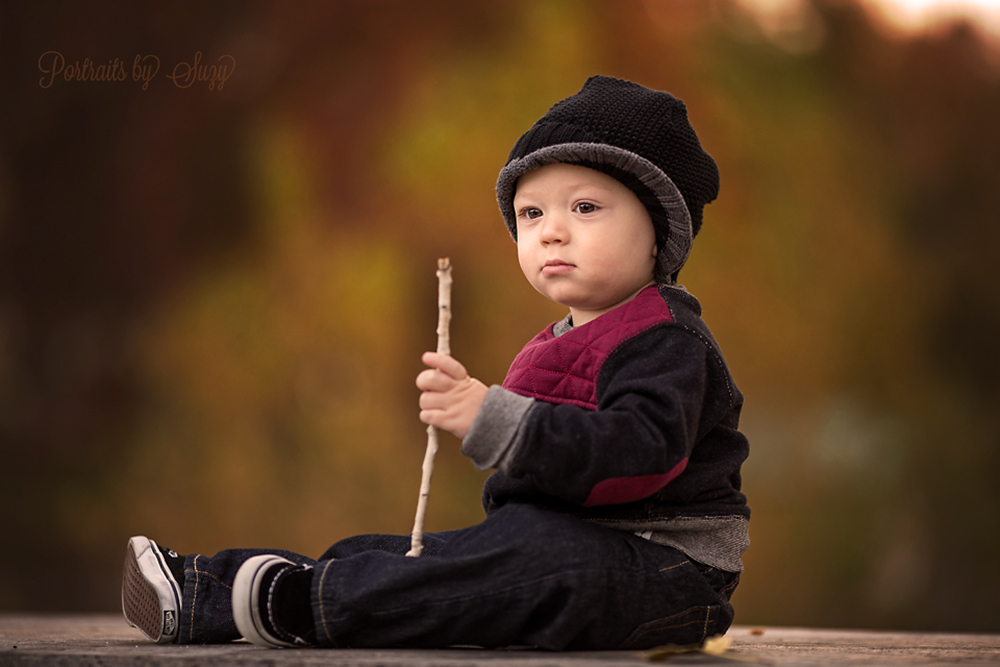
Children feel more secure and relaxed when they are able to hold something. I like to find something outdoors for them to hold. You can use a pine cone, a leaf, a stick or a favorite toy. For very young subjects playing peek­a­boo behind your camera is a great tactic. Try to ask for a pose, say “can you do this?” And then show them! Sometimes it works, sometimes not but it is worth a try! My favorite is the hand on cheek pose and I’ve been lucky to get it a few times.

  • ­Fast Shutter speed. Children move very fast and that perfect expression may be so short you will be lucky to capture it. This lucky shot of Norah was literally a fraction of a second long. Don’t be afraid to do some rapid firing when photographing small children. This portrait is also an excellent example of using complimentary colors, orange and blue.
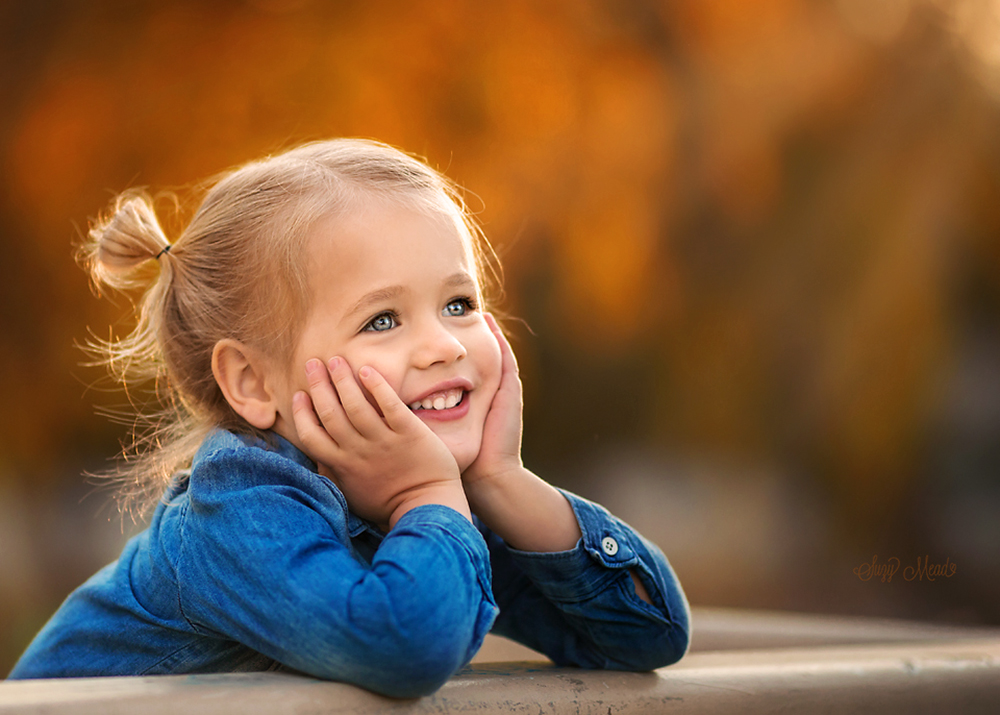
norah

Lastly I would like to talk about wardrobe. Choosing the right outfit, accessories and colors for your subject to wear can make a huge difference in the overall quality of your portrait. Texture in clothing is wonderful for portraits, it adds a sort of 3d quality to your image without being distracting. Think lace, knit, corduroy, fur and embroidery.

Colors are important as well. Think about the background you will be using, will the tree be green? Will it be fall colored? Orange, red, green or yellow? Then use a color wheel to find a contrasting, complimentary or monochrome color to coordinate, or choose a neutral color like brown or cream. Solid colors are best; prints, stripes and plaid can all distract from your subject. I tend to stay away from white as it is so bright and can distract from your subject.

A simple sweater, or textured shirt is great and can stand the test of time, when you view the portrait years from now will it look dated? This is something to consider.

Here is an example of Mia wearing textured neutral clothing and doing the hand on cheek pose.
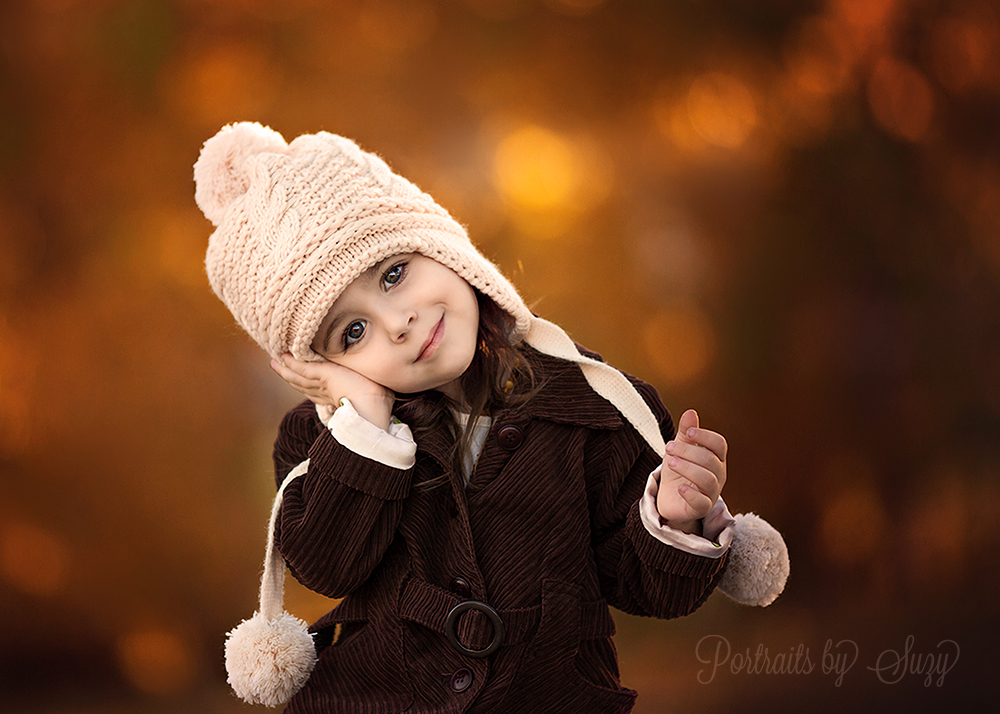
sweet mia

A few more examples of texture in portraits:
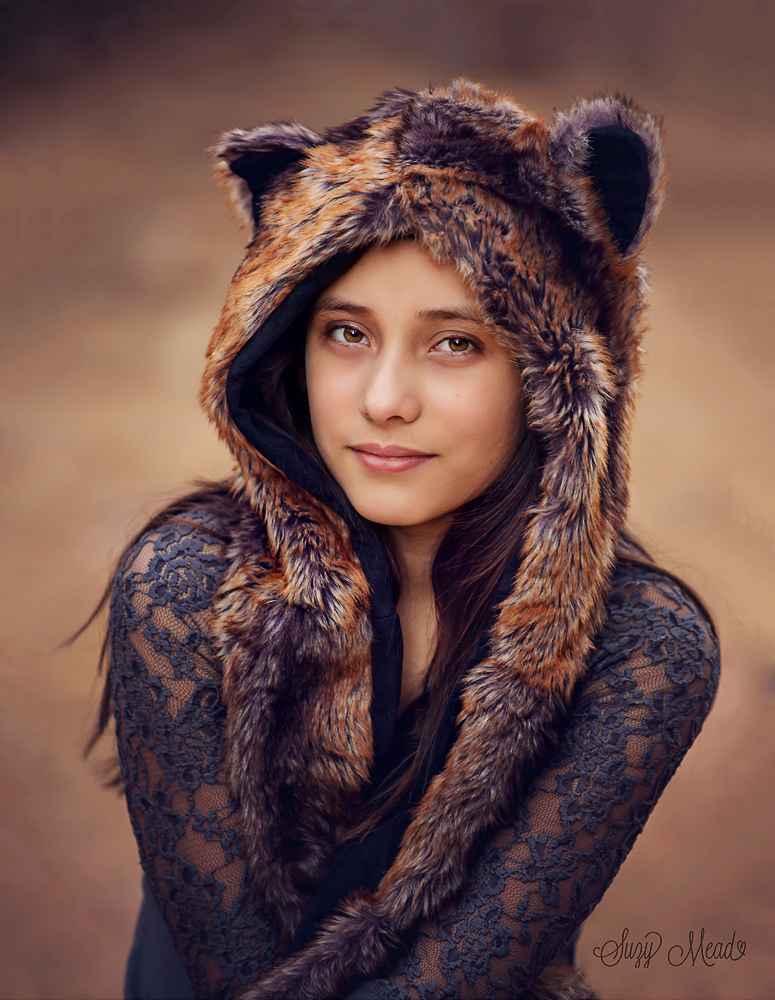
texture portraitboy holding stick

Little girl in autumn light. Beautiful rim light at sunset

by Suzy Mead at http://www.portraitsbysuzy.com/

Catch up on our other photography tips here!