Have you ever come across a portrait that seems to reach out and grab you? For me, it’s National Geographic’s “Afghan Girl” cover photo by Steve McCurry—her haunting beauty, direct eye contact and the juxtaposition of complementary colors make an unforgettable and iconic portrait that’s difficult to turn away from.
Whether it’s strong eye contact, unusual composition or dramatic colors (or black and white), there are many ways to create your own eye catching and heart stopping portraits.
Pick An Interesting Subject
The first step to an interesting photo is an interesting subject. The best subjects are comfortable in front of the camera and understand how to portray emotion. I often work with actors as they can express a wide range of emotions with their whole body.
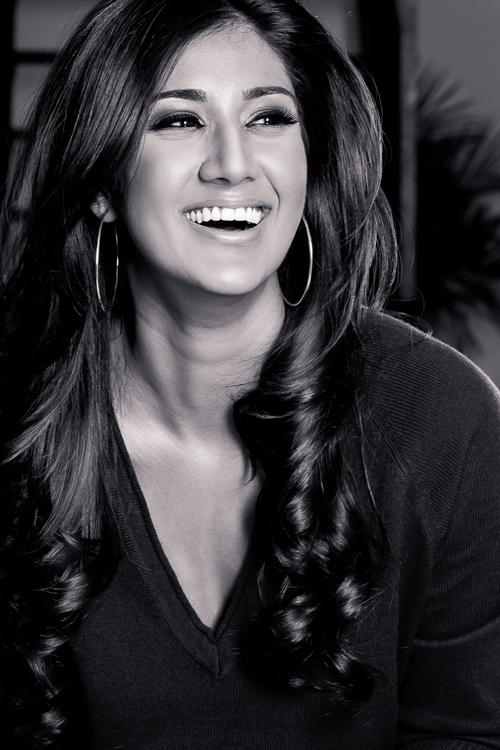
Once you find your model, identify a single eye-catching feature—a subject within a subject. I often look for beautiful eyes, unusual coloring or an engaging smile. Work with your model to create storyline for your shoot—this will guide your model’s posing and allow him or her to emote accordingly. Dramatic portraits convey real emotions that the viewer can connect with.
Focus Your Photography
In real estate they say it’s all about “location, location, location!” To create a dramatic portrait you need to “simplify, simplify, simplify!”
Get close to your subject—I tend to use relatively wide lenses, 50mm and 85mm focal length prime lenses on a full frame camera—and focus your mind and your camera on that single interesting feature you identified (the subject within your subject). Give your model plenty of direction, feedback and encouragement as you shoot. Because you will be very close to your model, watch for small changes in tension around his or her eyes and mouth for the Decisive Moment.
Meter your camera’s exposure for your subject. A blown out or shadowed background is your friend and will add to the dramatic and eye-catching nature of the portrait. If you choose to show the background, make it part of the story—have your model interact with an interesting setting.
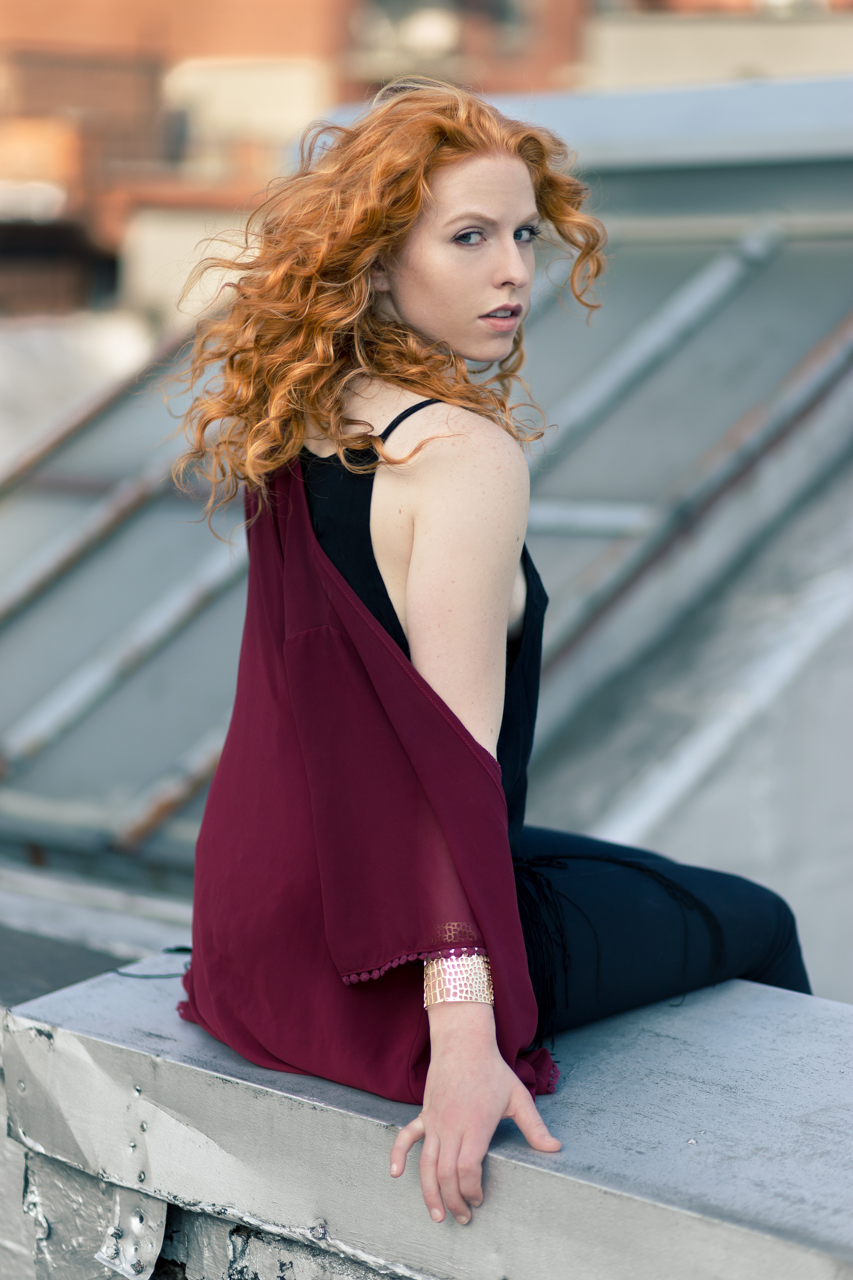
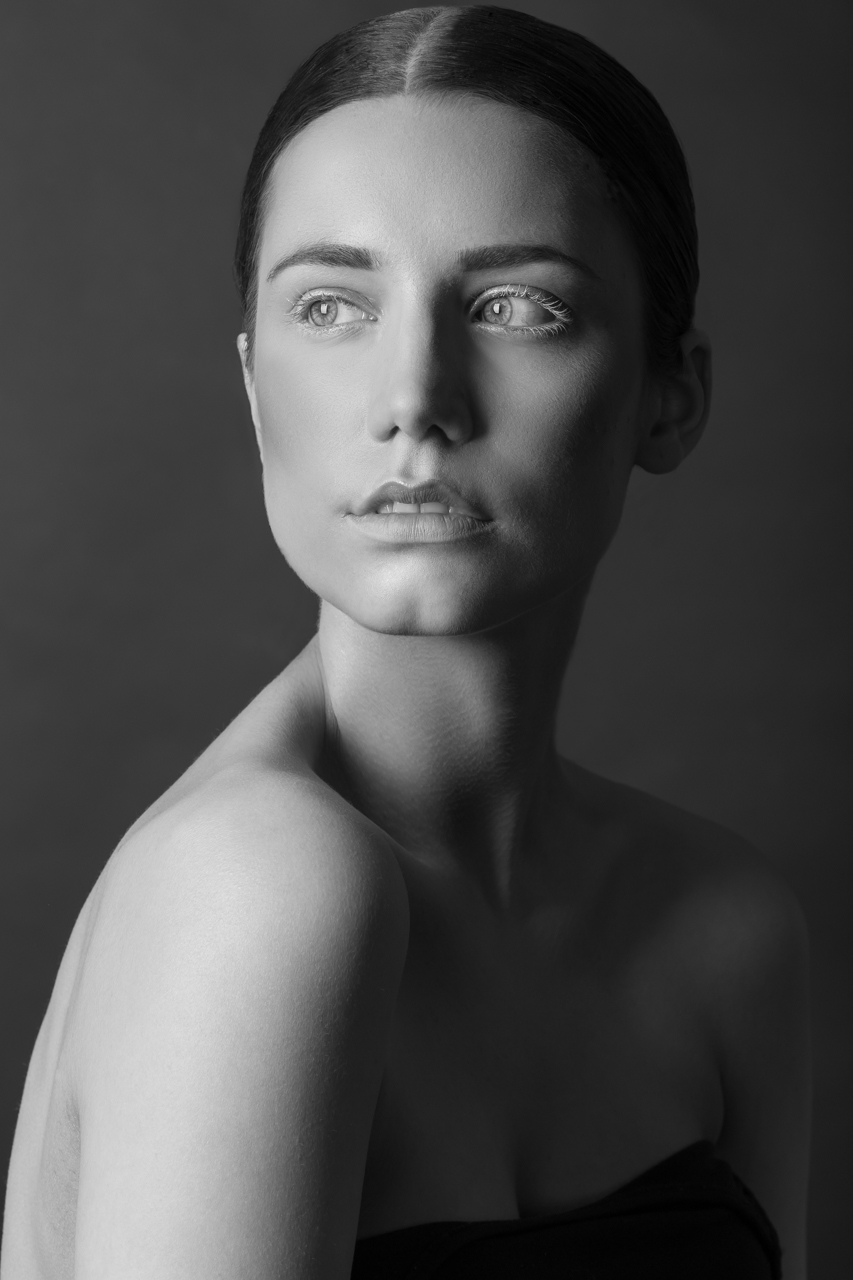
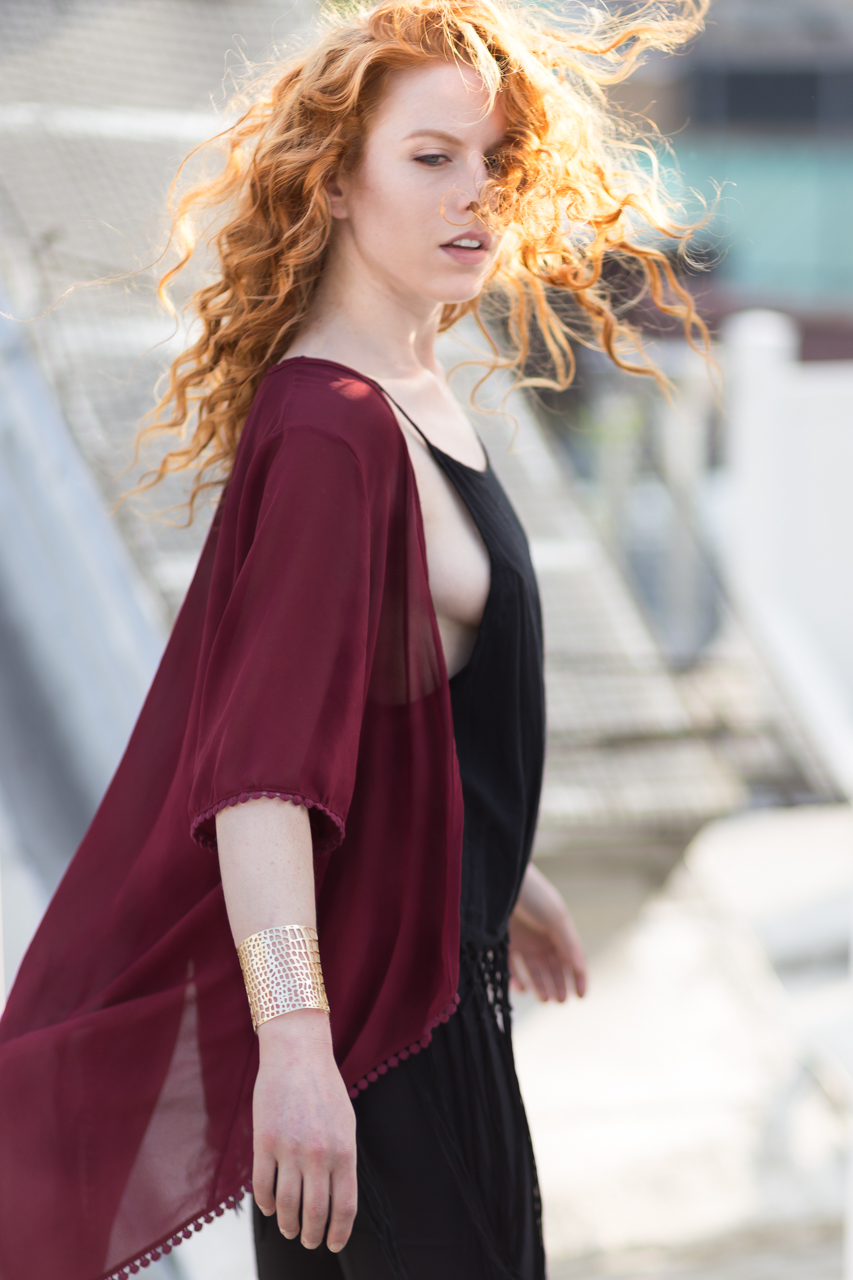
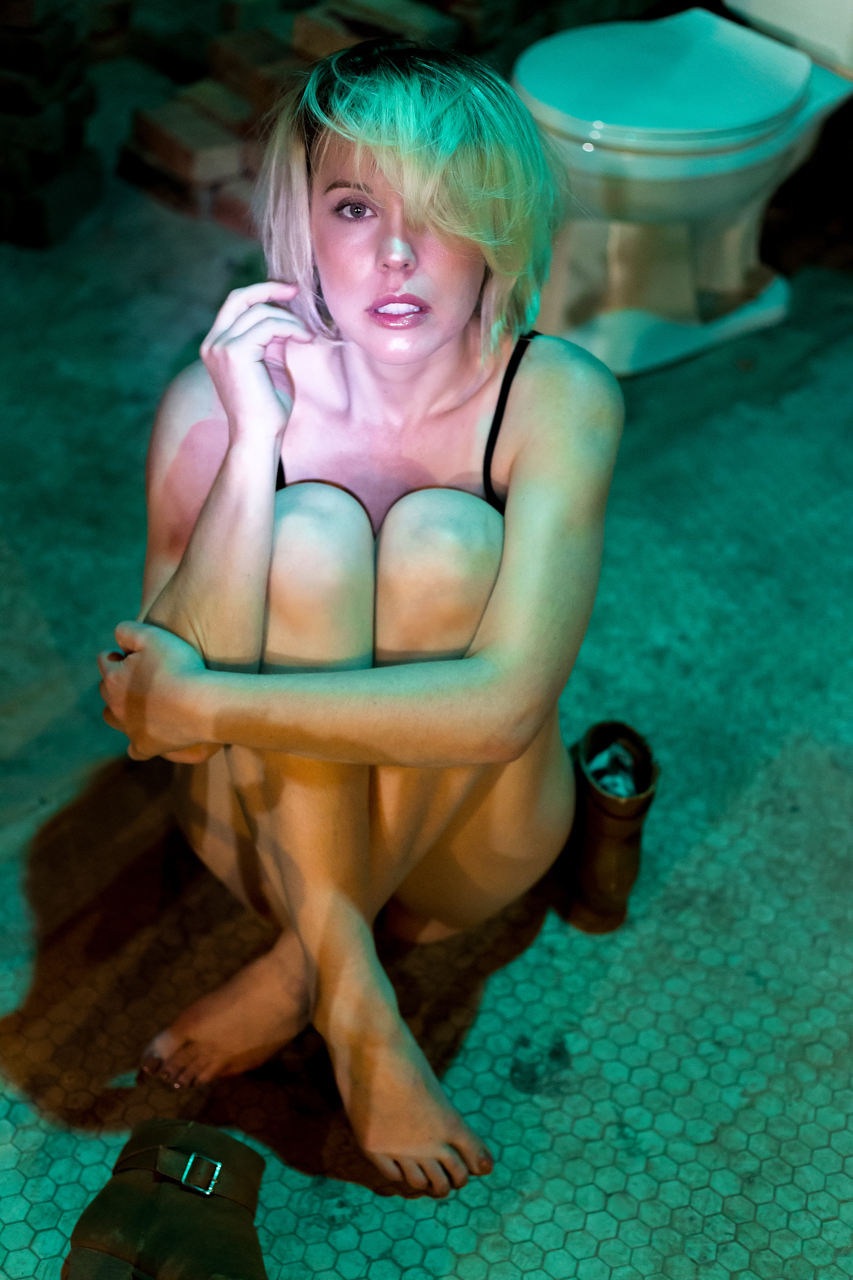
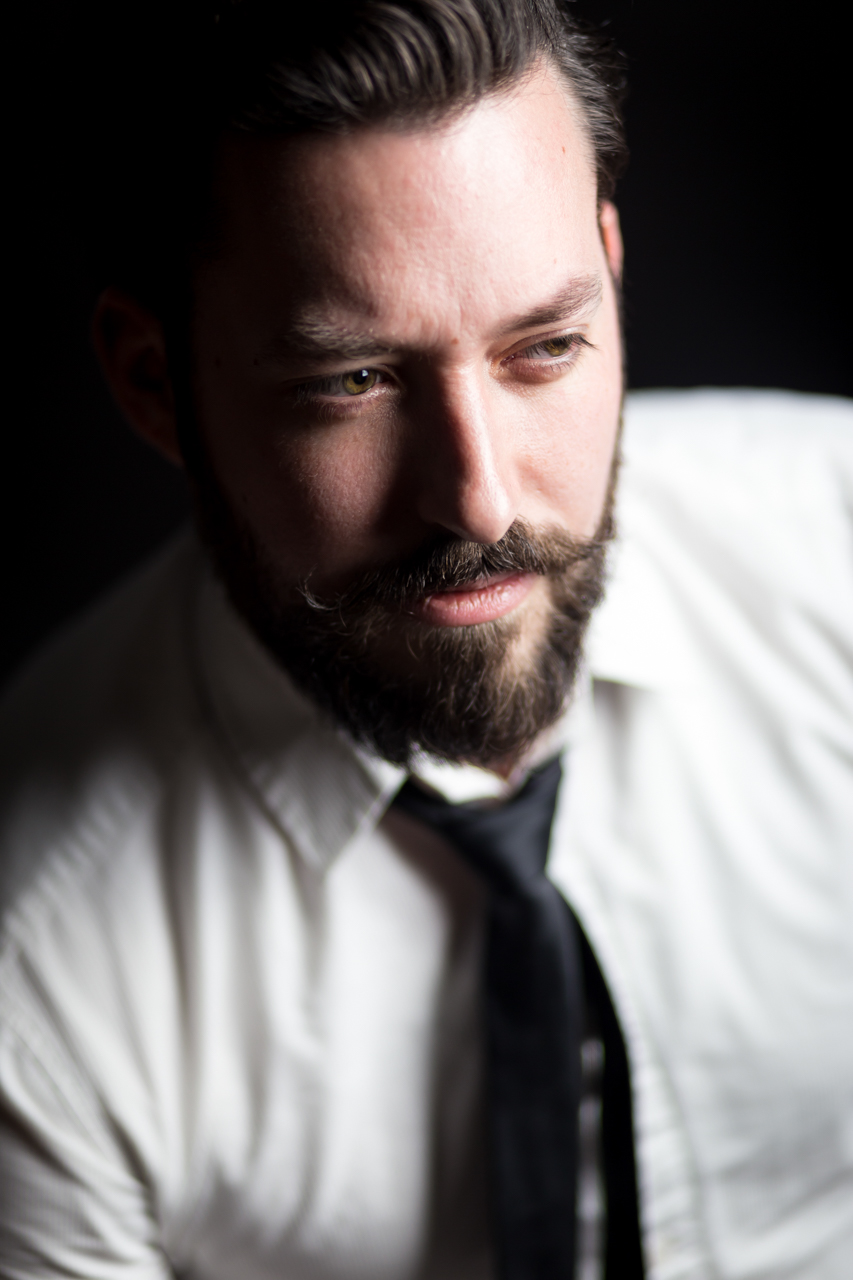
Finally, whether I’m using studio lights or natural light, I tend to find or create areas where shadow meets light and pose my model in the middle. Dramatic photos can benefit from strong, even harsh, lighting. In both the images below, my models are posed halfway between the dark and light parts of the frame; both are lit by a single studio strobe through a medium rectangular softbox.
Because of my lighting technique, my unprocessed RAW photos often already have powerful highlights, deep shadows and high contrast color.
The Post Processing
I process RAW images in Lightroom and Photoshop. First I import, review and select my favorite images in Lightroom. I use flags and the star rating system to divide my photos into three tiers (definitely yes, maybe later, probably not.) Next, I import my selected images into Photoshop for spot retouching.
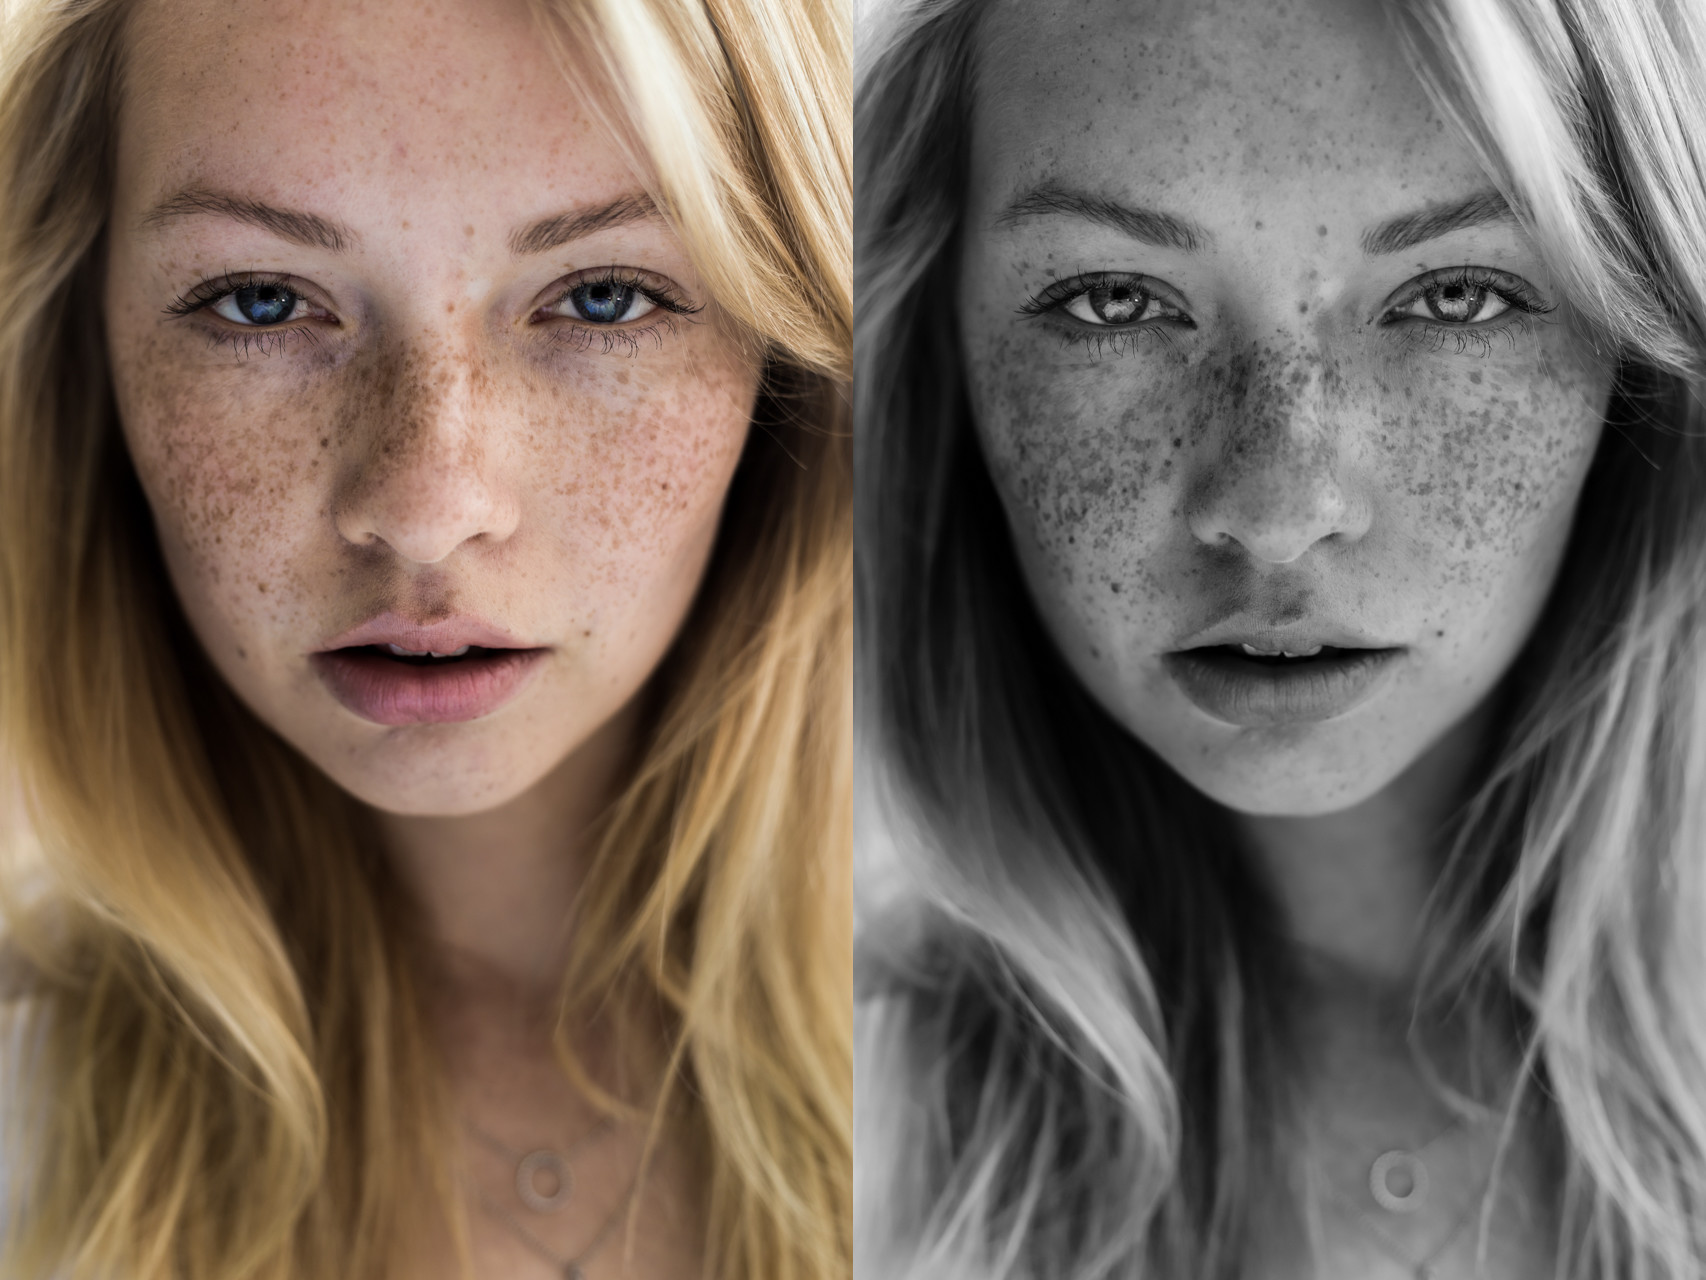
I use the Healing and Spot Healing tool brushes to clean up small marks on the skin (acne, dust and stray hair); this is the most time-consuming task. A low flow and low opacity clone brush will easily handle distracting skin discoloration. I sample from many different spots around the effected area to create a natural result. Finally, I use two 50% grey curves layers to subtly dodge and burn. If you haven’t used dodging and burning before, here’s a tutorial Chelsea made:
However, it’s important to preserve the model’s unique features and imperfections. Freckles, moles, wrinkles and even scars are as much a part of the story in a portrait as a smile is.
Finally, I import the partly edited image back into Lightroom for color grading or black and white conversion. When an image has interesting lines, shadows or textures I convert the photo to black and white. Images with bright and interesting colors will be processed in color. I often focus on just one color or two complementary colors and slightly desaturate all other colors in the image. This adds a dramatic effect while simplifying a color portrait.
Finally, I crop my nearly finished image. I like tight crops and, as a fashion photographer, I frequently use a Fashion Crop. This cropping style cuts off the image near the model’s crown (but never crop the chin!) My pictures usually follow the Rule of Thirds’ vertical margins, but the model’s eyes are often well above the horizontal margins.

And we’re done! I hope you enjoyed this glimpse into my process. I have loved shooting each of these images. Besides creating a beautiful final product, I thoroughly enjoyed each experience while working with my models and other creative professionals.