It’s always frustrating when you have an idea but either don’t have a handy subject, are too shy to ask, or are just really impatient and want to try it ASAP! This is why self-portraiture is such a great option. Another good reason would be If you are interested in trying a few new techniques but aren’t confident with how it may turn out.
Have you ever come across a portrait that seems to reach out and grab you? For me, it’s National Geographic’s “Afghan Girl” cover photo by Steve McCurry—her haunting beauty, direct eye contact and the juxtaposition of complementary colors make an unforgettable and iconic portrait that’s difficult to turn away from.
Whether it’s strong eye contact, unusual composition or dramatic colors (or black and white), there are many ways to create your own eye catching and heart stopping portraits.
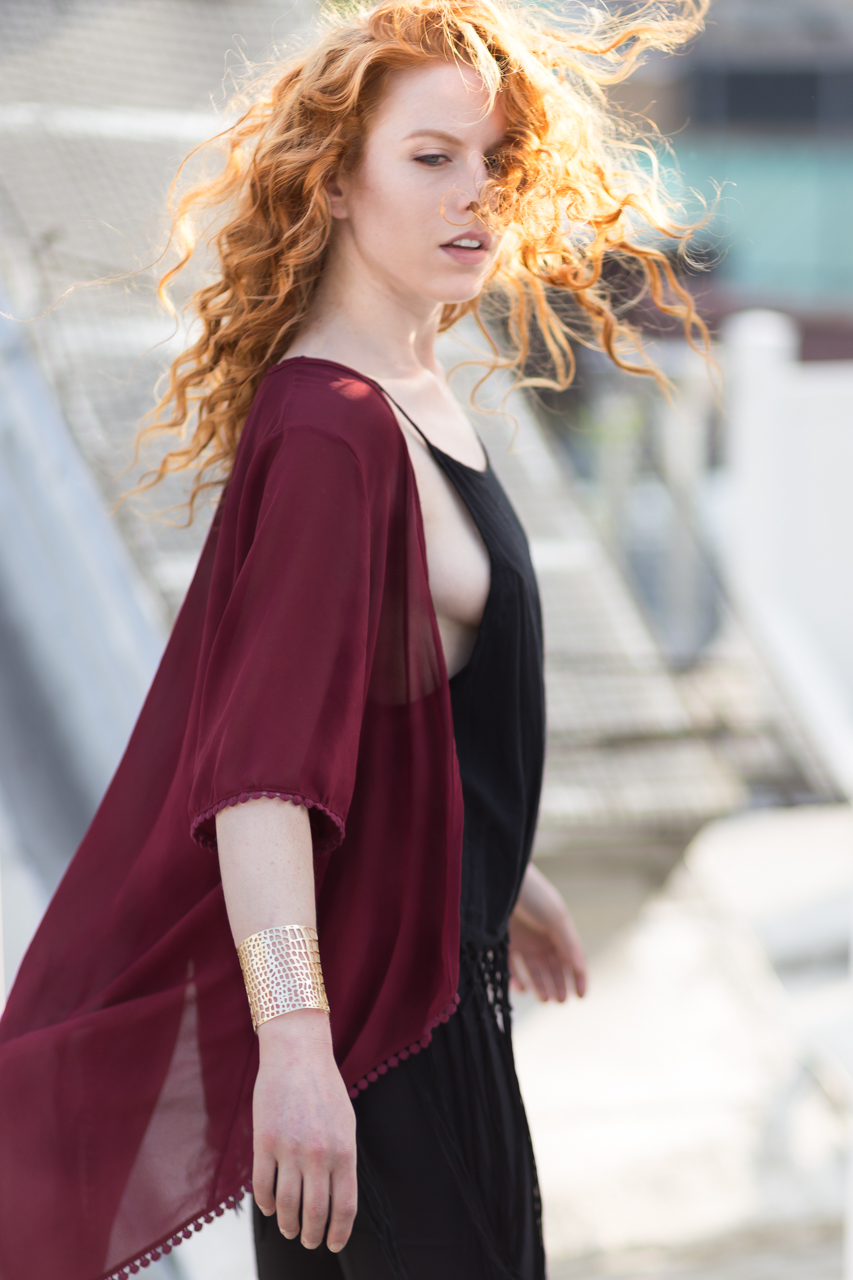
Model & actor Brittany Rose
Pick An Interesting Subject
The first step to an interesting photo is an interesting subject. The best subjects are comfortable in front of the camera and understand how to portray emotion. I often work with actors as they can express a wide range of emotions with their whole body.
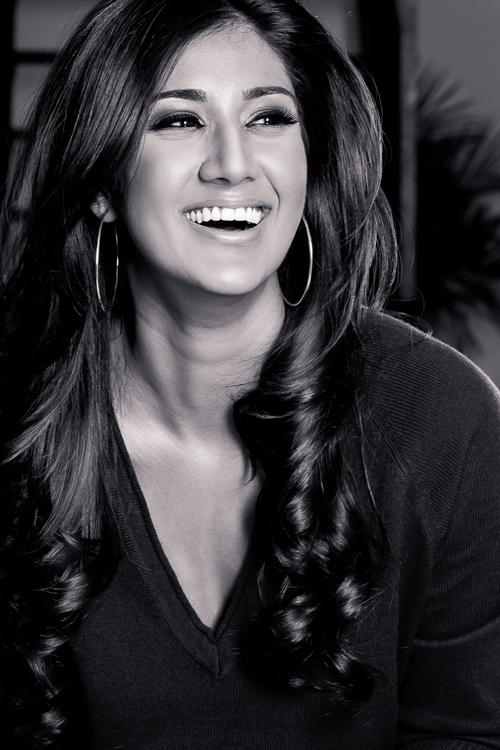
Blogger Preeya of Beauty Cubed. Preeya is a good friend and we talked and laughed throughout the shoot. I often photograph my models while we talk to capture nuanced and genuine expressions.
Once you find your model, identify a single eye-catching feature—a subject within a subject. I often look for beautiful eyes, unusual coloring or an engaging smile. Work with your model to create storyline for your shoot—this will guide your model’s posing and allow him or her to emote accordingly. Dramatic portraits convey real emotions that the viewer can connect with.
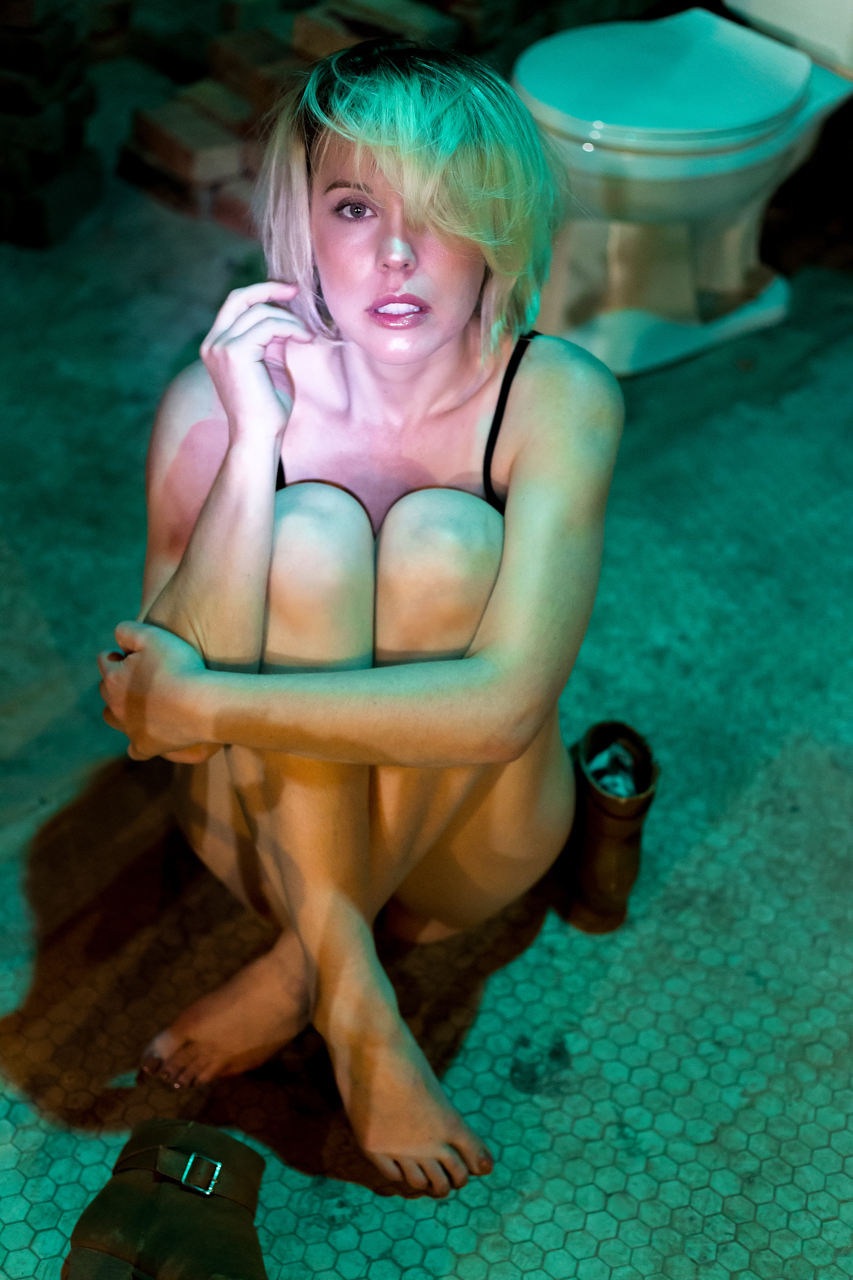
Model Gabrielle. We had a lot of fun at this shoot! Gabrielle and I came up with an elaborate backstory about her character, a young girl trapped alone in the strange basement we were shooting in. I surprised her by shining a flashlight on her and snapped this image as her head came up.
Focus Your Photography
In real estate they say it’s all about “location, location, location!” To create a dramatic portrait you need to “simplify, simplify, simplify!”
Get close to your subject—I tend to use relatively wide lenses, 50mm and 85mm focal length prime lenses on a full frame camera—and focus your mind and your camera on that single interesting feature you identified (the subject within your subject). Give your model plenty of direction, feedback and encouragement as you shoot. Because you will be very close to your model, watch for small changes in tension around his or her eyes and mouth for the Decisive Moment.
Meter your camera’s exposure for your subject. A blown out or shadowed background is your friend and will add to the dramatic and eye-catching nature of the portrait. If you choose to show the background, make it part of the story—have your model interact with an interesting setting.
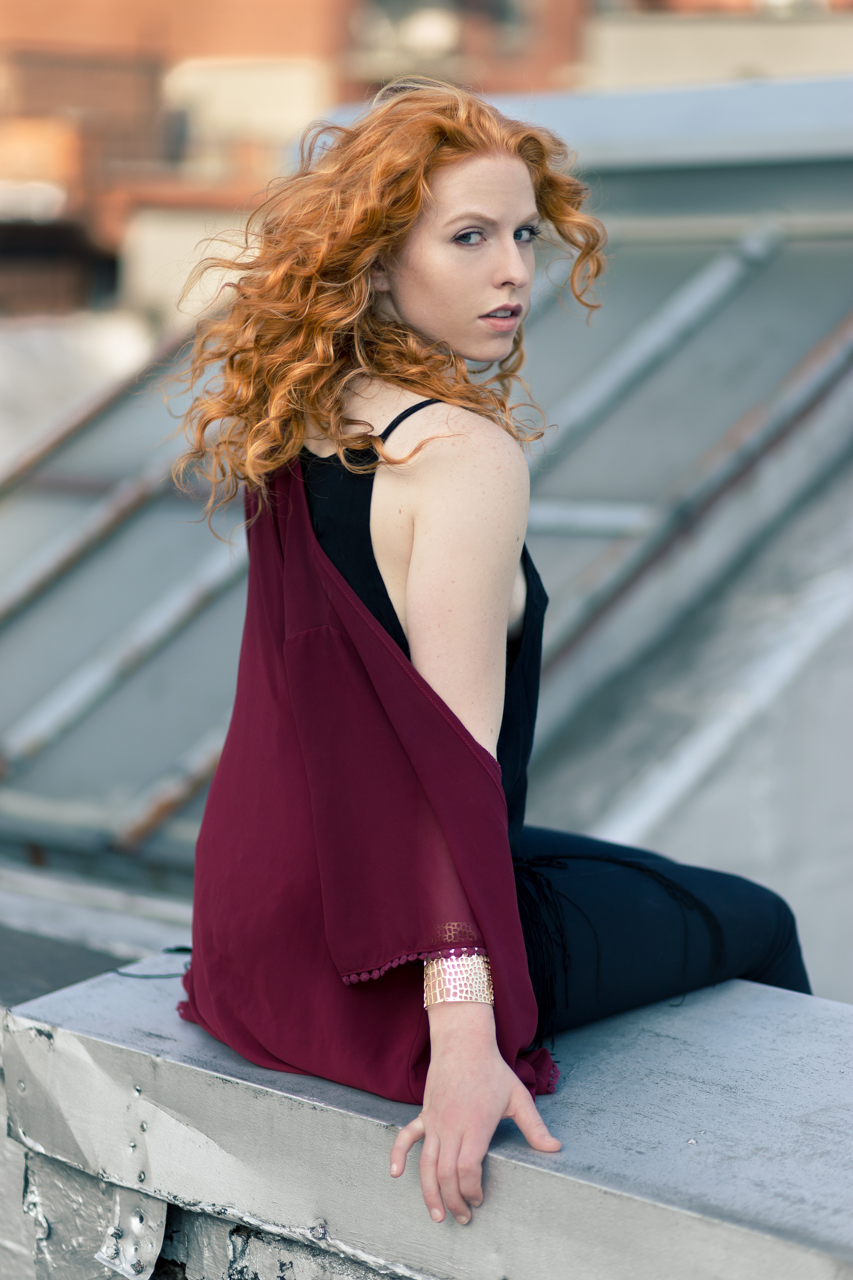
My model, Brittany, titled this image “Cat on a Hot Tin Roof.” I loved it!
Finally, whether I’m using studio lights or natural light, I tend to find or create areas where shadow meets light and pose my model in the middle. Dramatic photos can benefit from strong, even harsh, lighting. In both the images below, my models are posed halfway between the dark and light parts of the frame; both are lit by a single studio strobe through a medium rectangular softbox.
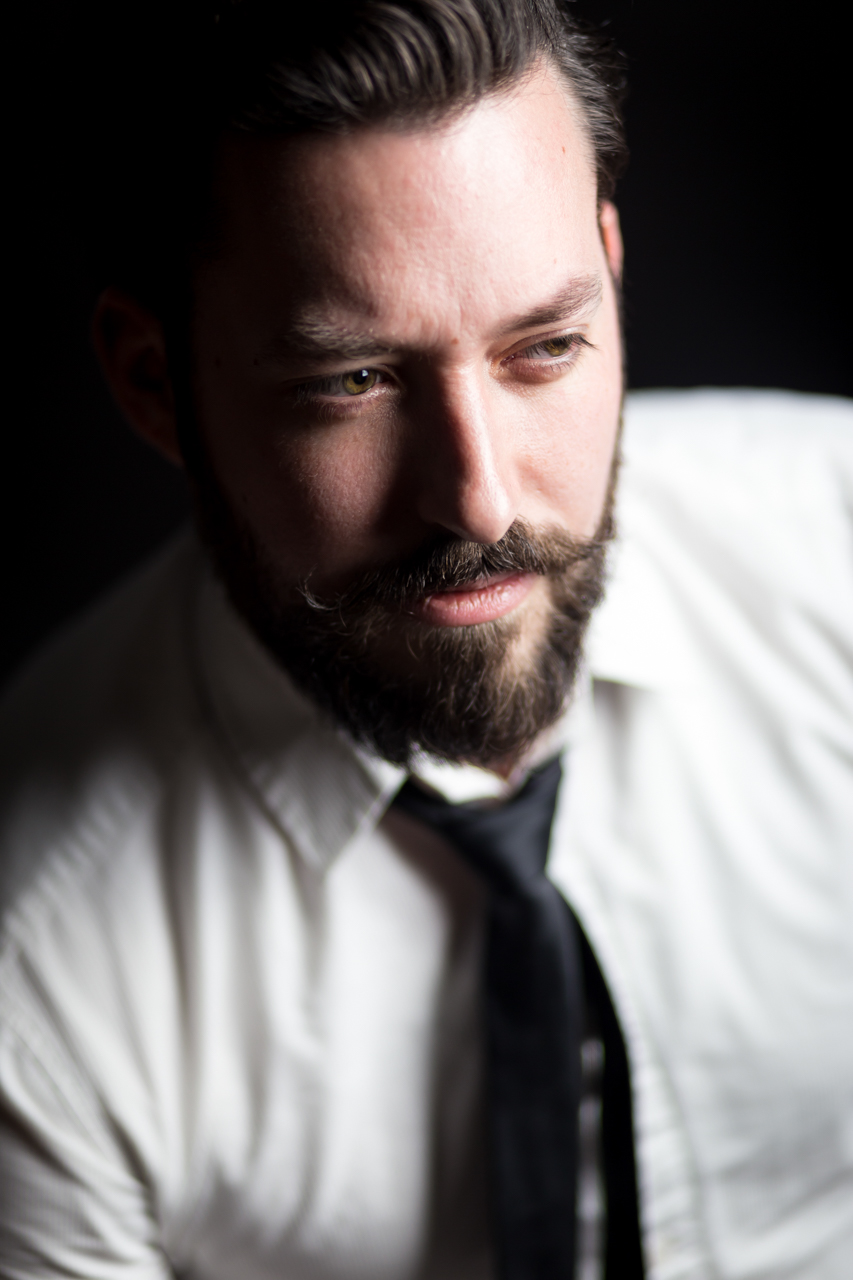
Dan, a fellow photographer. I used a neutral density filter to shoot with an open aperture despite using a powerful studio strobe light. This allowed me to get close to my subject and use aperture to create a dramatic look.Model Madison (ILAND). This is an outtake from a colorful beauty shoot. I loved how the lighting created fluid-like shadows on my model.
Because of my lighting technique, my unprocessed RAW photos often already have powerful highlights, deep shadows and high contrast color.
The Post Processing
I process RAW images in Lightroom and Photoshop. First I import, review and select my favorite images in Lightroom. I use flags and the star rating system to divide my photos into three tiers (definitely yes, maybe later, probably not.) Next, I import my selected images into Photoshop for spot retouching.
I use the Healing and Spot Healing tool brushes to clean up small marks on the skin (acne, dust and stray hair); this is the most time-consuming task. A low flow and low opacity clone brush will easily handle distracting skin discoloration. I sample from many different spots around the effected area to create a natural result. Finally, I use two 50% grey curves layers to subtly dodge and burn. If you haven’t used dodging and burning before, here’s a tutorial Chelsea made:
However, it’s important to preserve the model’s unique features and imperfections. Freckles, moles, wrinkles and even scars are as much a part of the story in a portrait as a smile is.
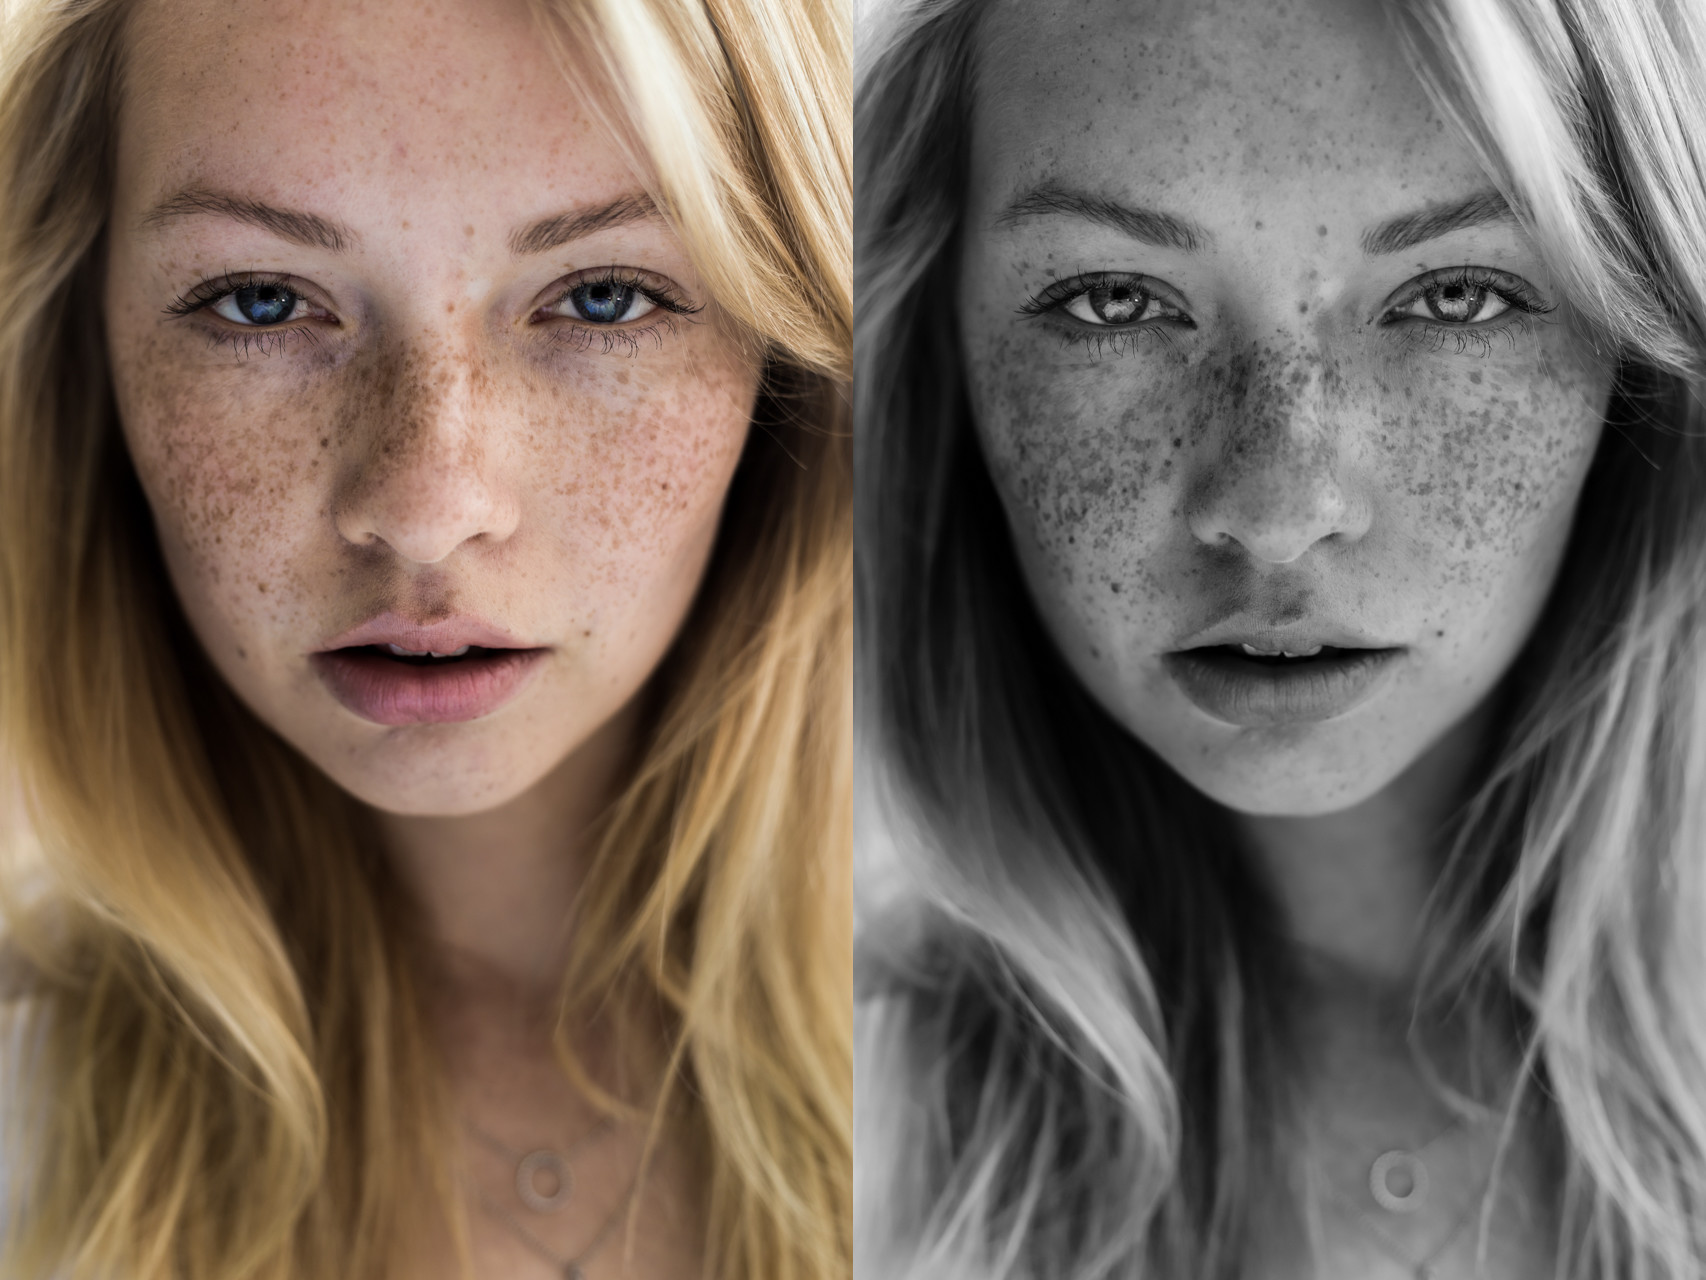
Finally, I import the partly edited image back into Lightroom for color grading or black and white conversion. When an image has interesting lines, shadows or textures I convert the photo to black and white. Images with bright and interesting colors will be processed in color. I often focus on just one color or two complementary colors and slightly desaturate all other colors in the image. This adds a dramatic effect while simplifying a color portrait.
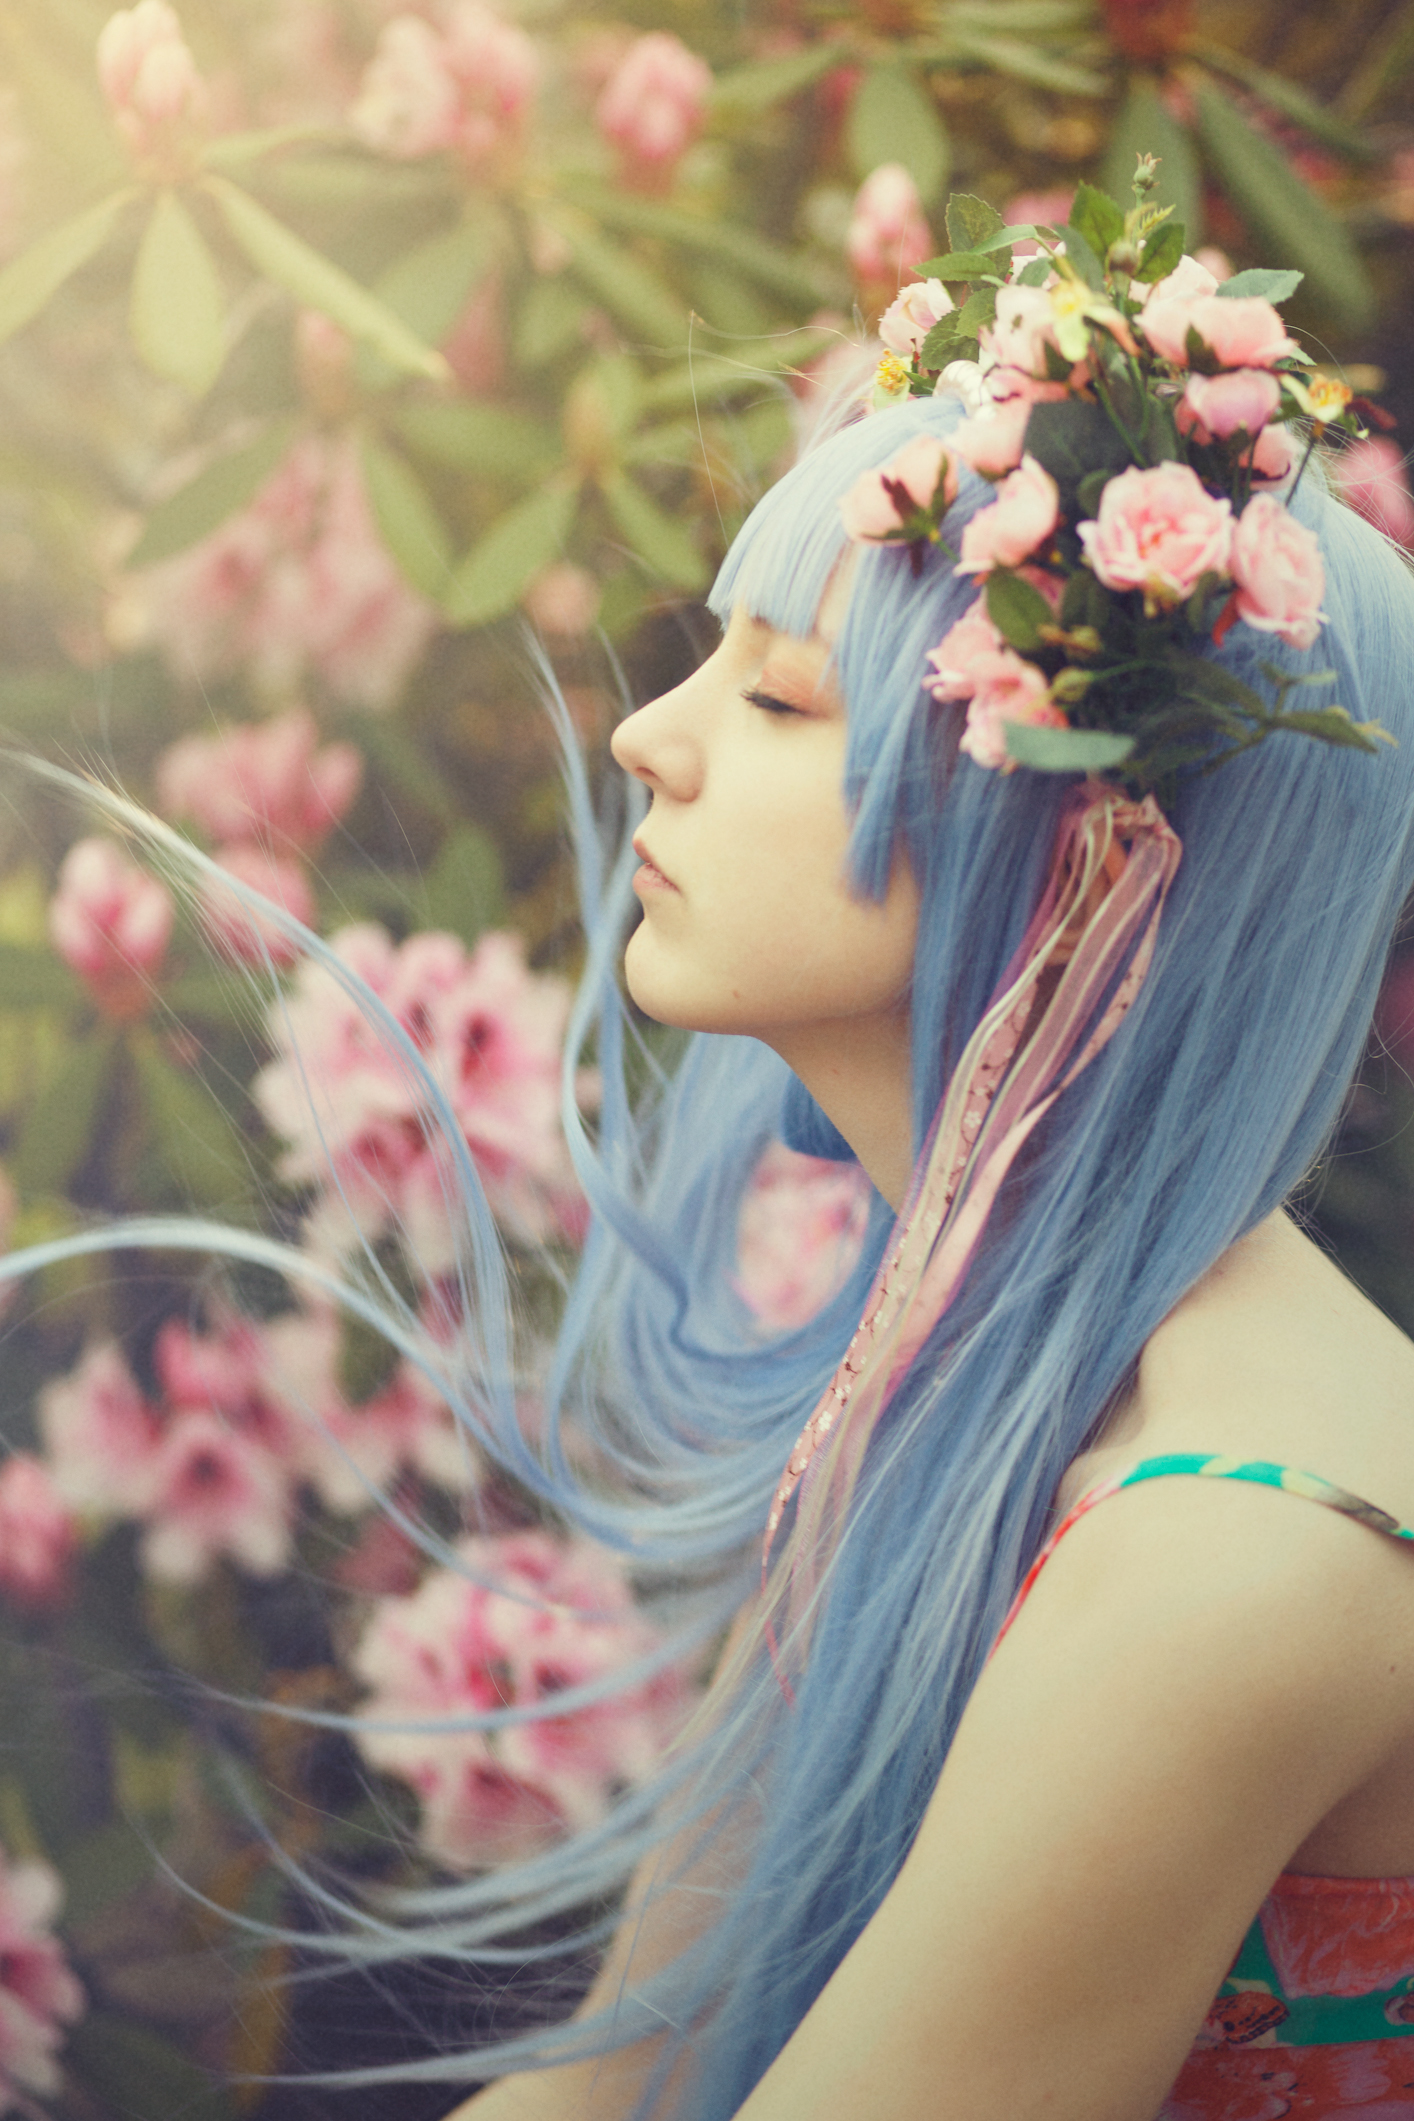
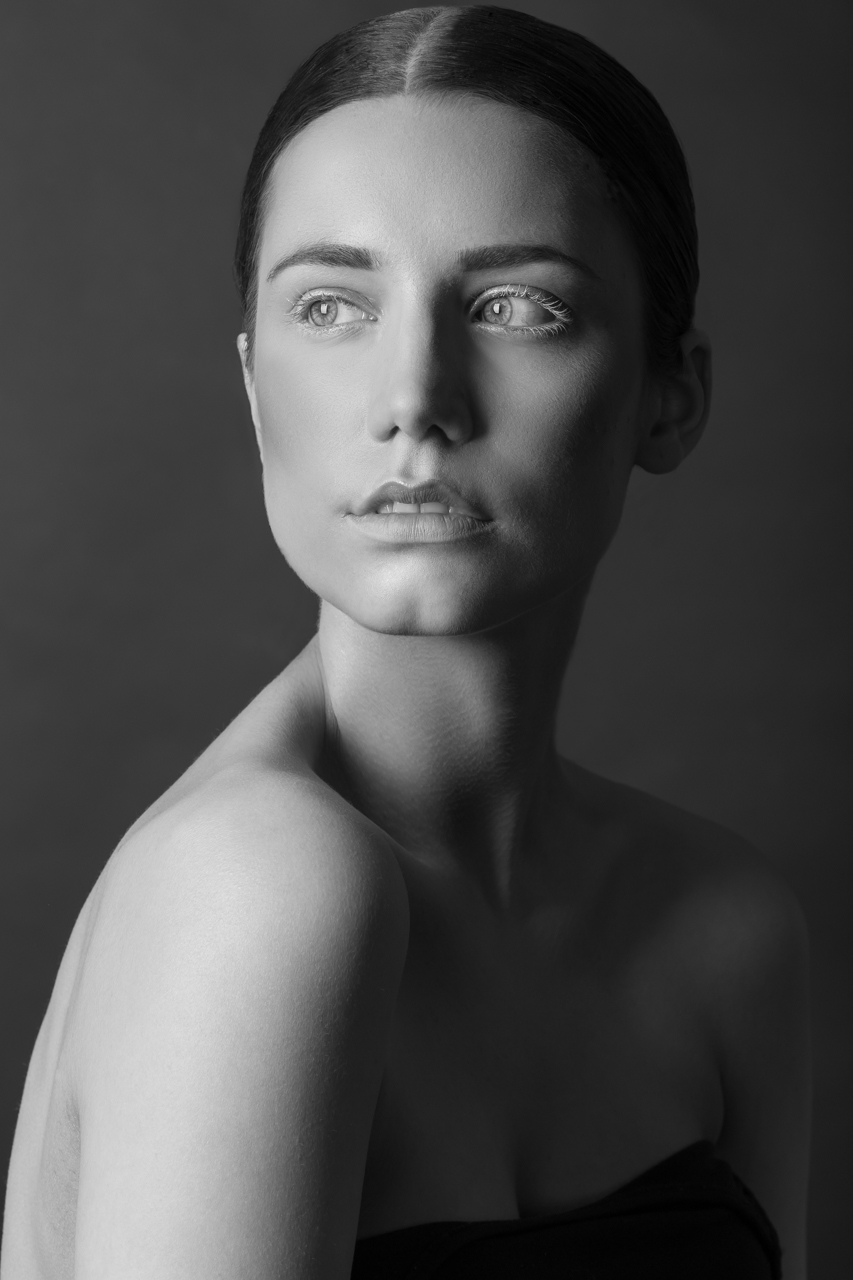
Model & makeup artist Emma. The color image emphasizes Emma’s deep blue eyes. In comparison, the textures in Emma’s hair, skin and eyelashes are much more apparent in the black and white version. I often use a small silver reflector to create a catchlight when I’m shooting in natural, diffused light.
Finally, I crop my nearly finished image. I like tight crops and, as a fashion photographer, I frequently use a Fashion Crop. This cropping style cuts off the image near the model’s crown (but never crop the chin!) My pictures usually follow the Rule of Thirds’ vertical margins, but the model’s eyes are often well above the horizontal margins.
Actor & model Mike. This is a classic fashion crop.
And we’re done! I hope you enjoyed this glimpse into my process. I have loved shooting each of these images. Besides creating a beautiful final product, I thoroughly enjoyed each experience while working with my models and other creative professionals.
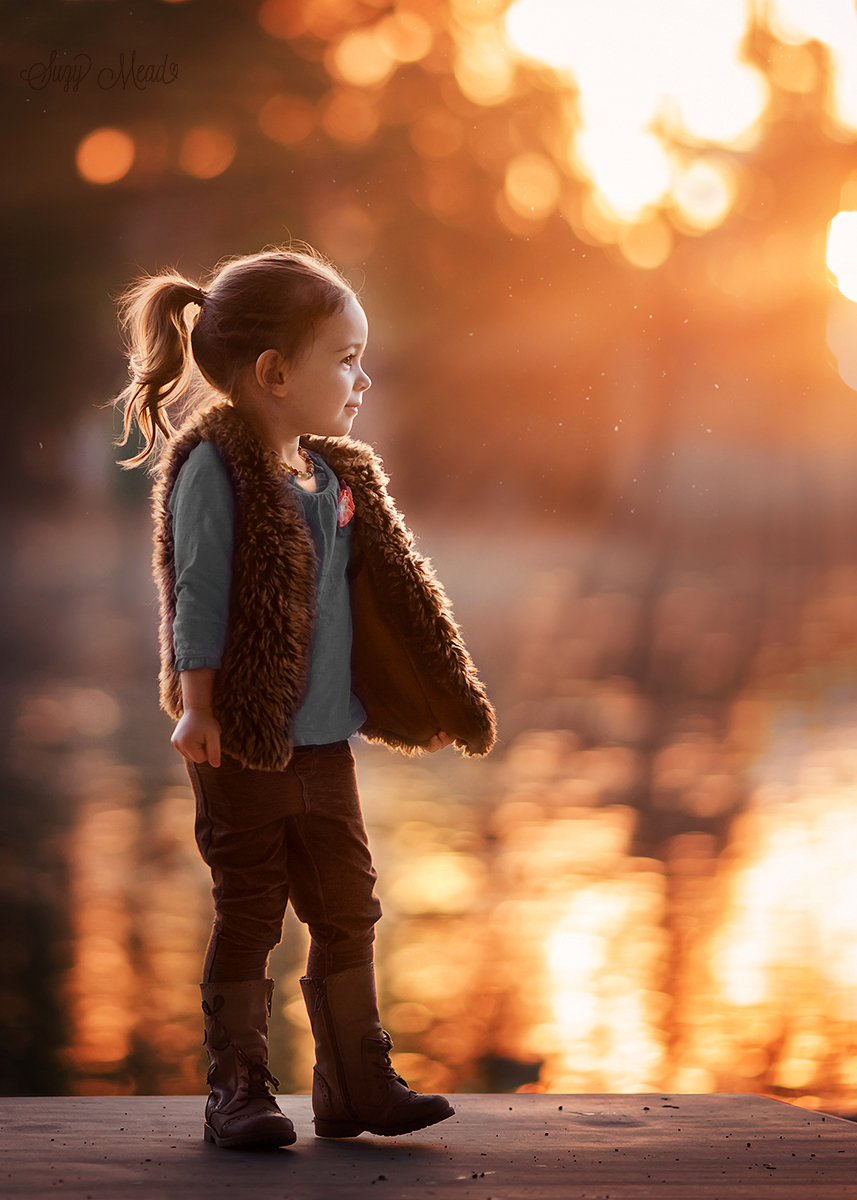
Often times I am asked how I achieve the soft, dreamy bokeh backgrounds in some of my outdoor natural light portraits. I would love to share with you some of my techniques for this look. The majority of this technique is done in camera.
My favorite backdrop for portraits such as these are the leaves of trees. Often times though, my subject is a child and the leaves of the trees are too high up to be behind them! To adjust for this I like to set my subject on top of a picnic table, standing on a boulder, or on the top of a hill. This brings them up to the level of the tree and I let my angle, lens, and focal compression do the rest. When placing a child on top of a table or high surface be sure to have an assistant or your model’s parents right next to them for safety.
A few tips for maximum depth of field, bokeh and soft creamy blur:
Long focal length. I prefer 100-300mm. Zoom your lens in as far as it can go, this will give you the softest blur. My go-to lenses for these types of portraits are the Canon 70-200 2.8 and the Canon 135mm f/2L. Any long focal length and wide aperture lens can achieve the same look.
Wide aperture. I prefer 2.8 or wider. This really helps isolate your subject from the background, and will make them pop.
Distance of background to subject. The farther your background is from your subject the better!
Distance of subject to your camera. For this I will get the closest to my subject that will allow me to be zoomed all the way in to frame them.
Angle. Angle your camera to get in as much of the background behind your subject as you can, being careful not to shoot straight up at your subject but to be around their eye level.
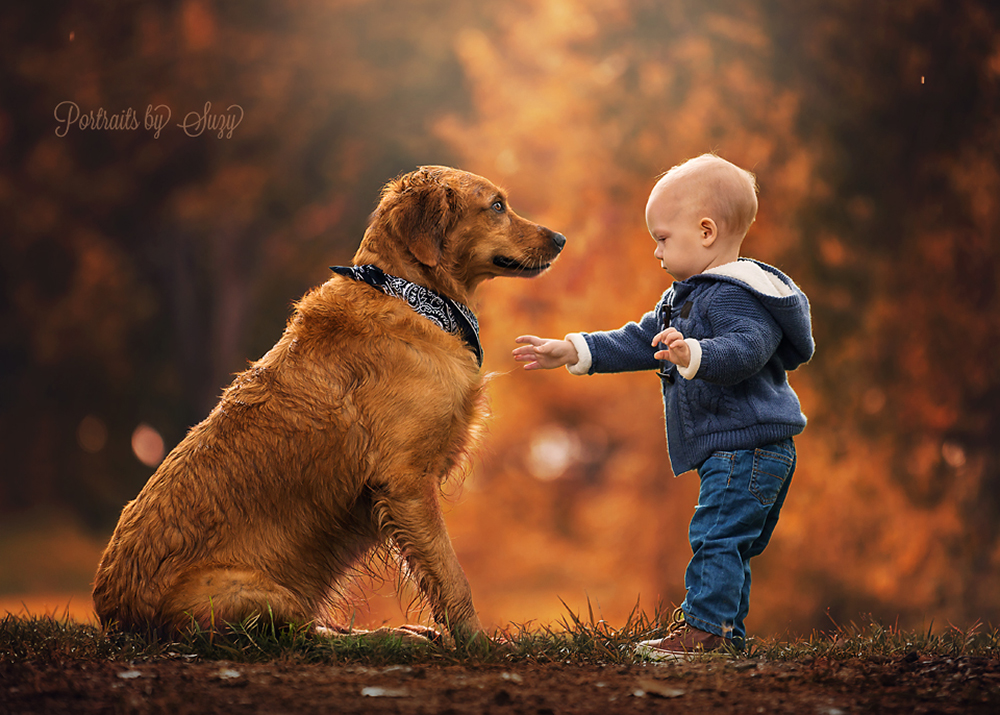
Here is an example of Little Cash with his doggy standing on a hill with the background very, very far away.
A few tips for great light using only natural light.
I decided to learn to use available light and natural light for the sole purpose of being able to concentrate more on my subject. I find extra gear cumbersome and will even bring just one lens to a shoot. I photograph children and find it easier to work without extra gear.
Position of the sun. Try to use a location where the sun will be barely peeking through the leaves of the tree behind your subject. This can add rim light to your subject and bokeh in your background.
Position of your subject. Try to have your subject facing a big open sky, but not facing the sun. A big open sky without trees will let maximum light get to your subject, lighting them up and adding pleasing catch lights to their eyes.
A few tips for child portraiture.
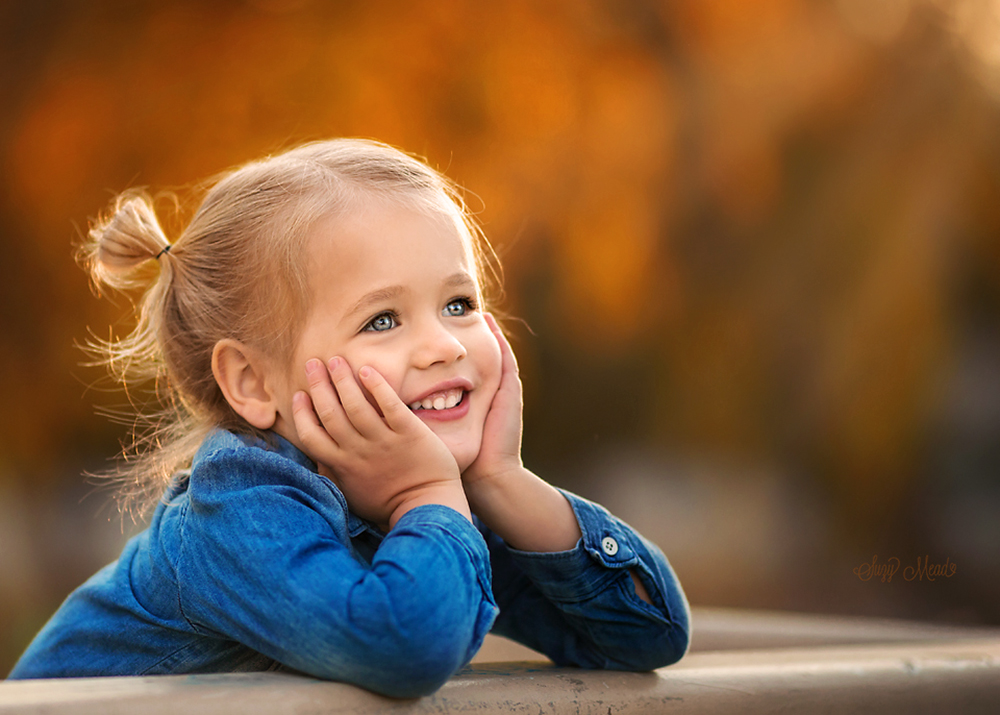
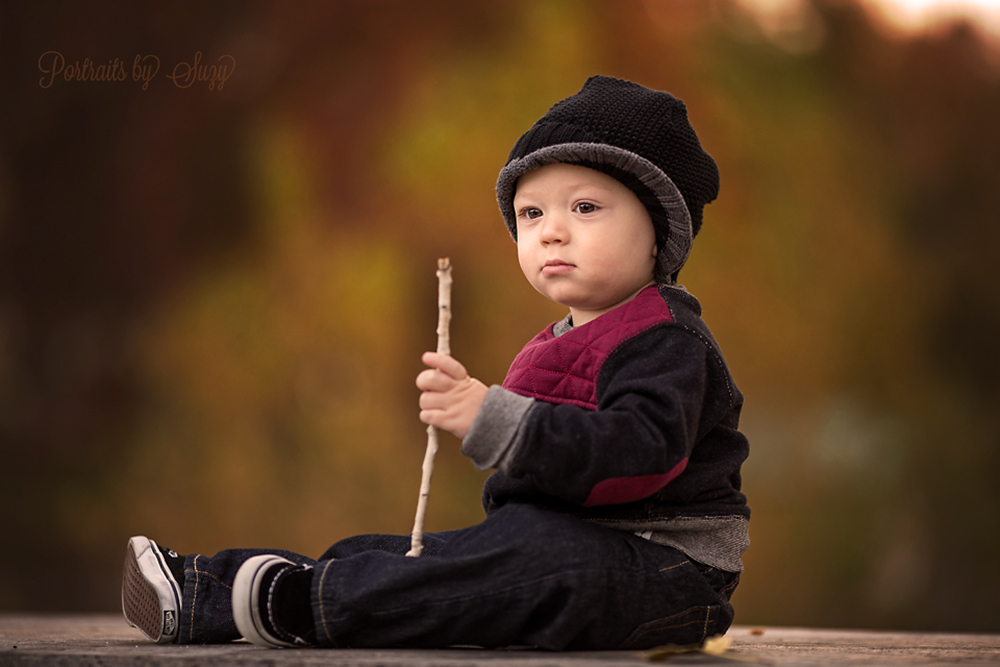
Children feel more secure and relaxed when they are able to hold something. I like to find something outdoors for them to hold. You can use a pine cone, a leaf, a stick or a favorite toy. For very young subjects playing peekaboo behind your camera is a great tactic. Try to ask for a pose, say “can you do this?” And then show them! Sometimes it works, sometimes not but it is worth a try! My favorite is the hand on cheek pose and I’ve been lucky to get it a few times.
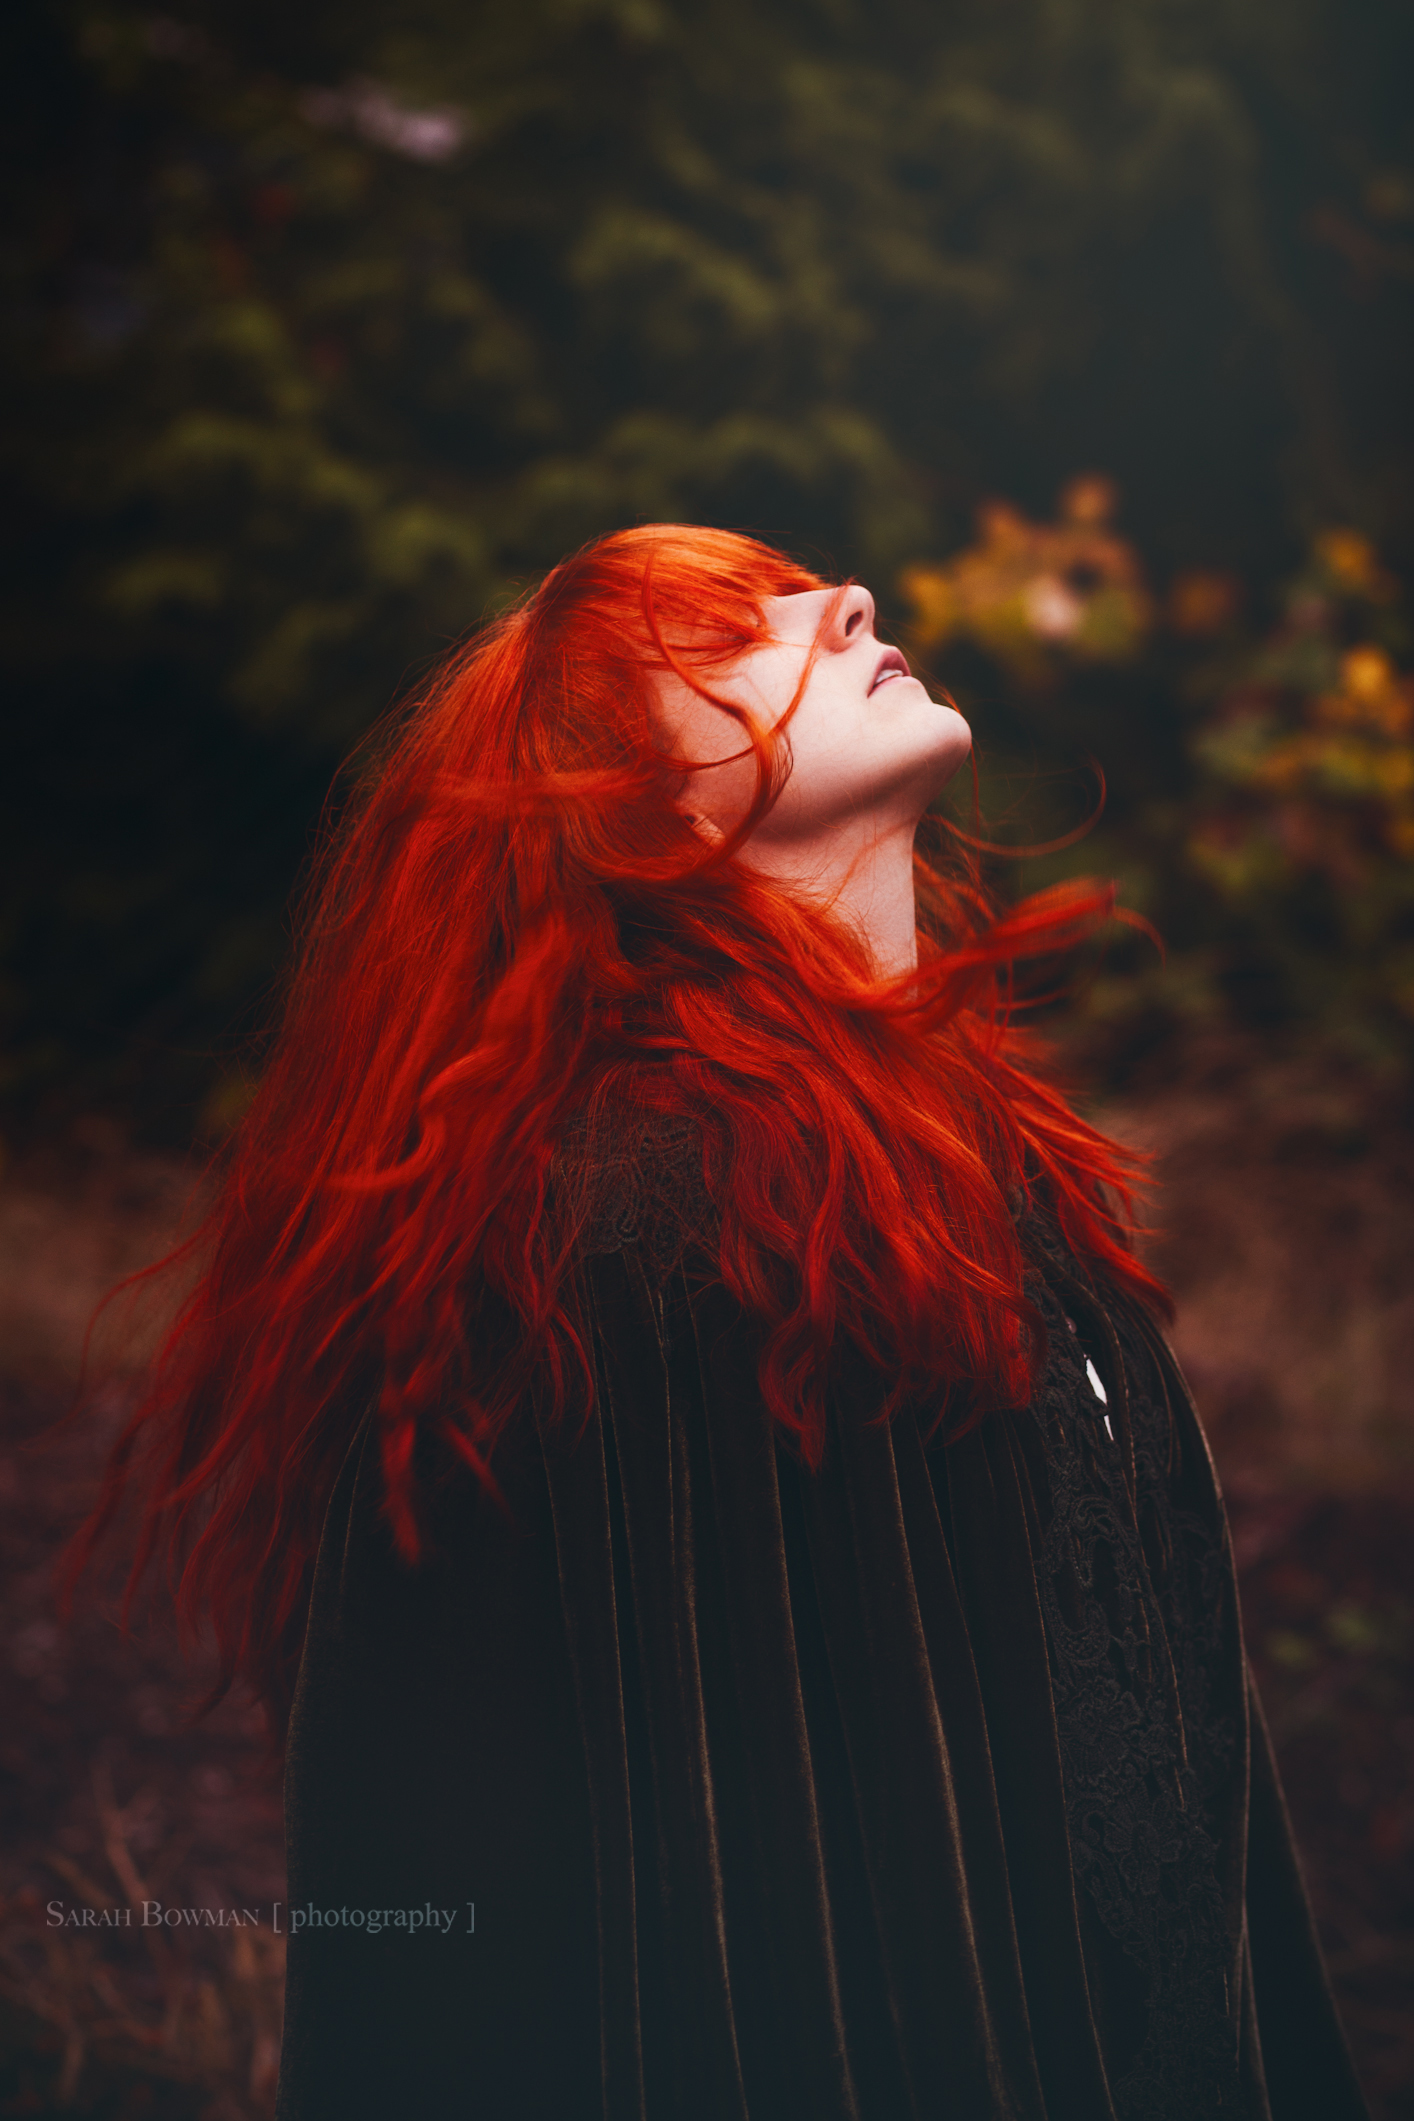
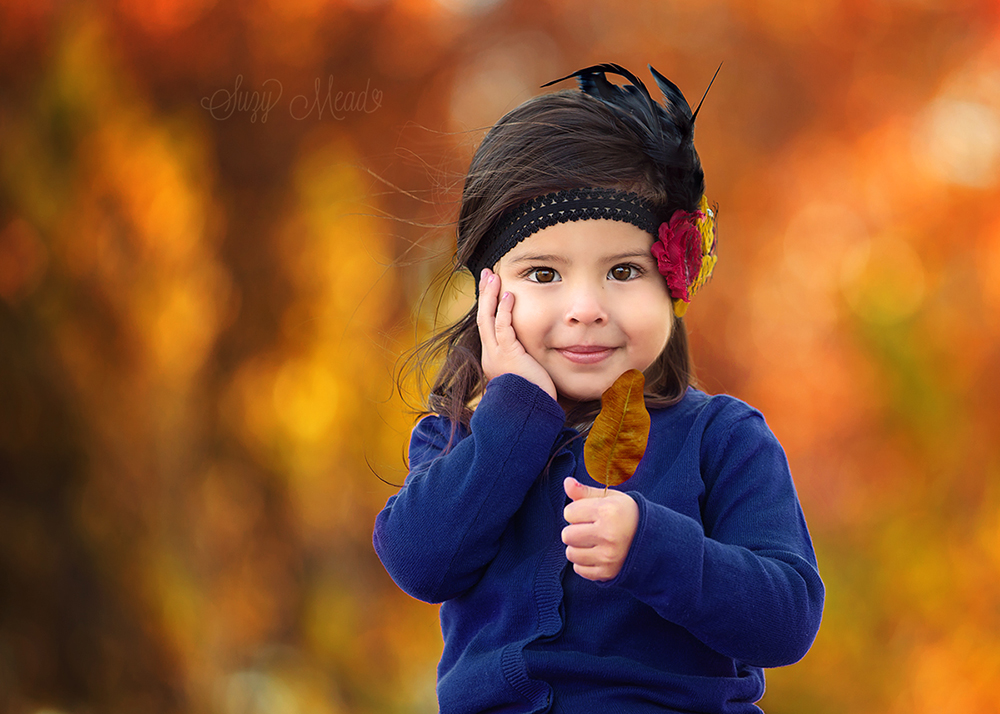
Fast Shutter speed. Children move very fast and that perfect expression may be so short you will be lucky to capture it. This lucky shot of Norah was literally a fraction of a second long. Don’t be afraid to do some rapid firing when photographing small children. This portrait is also an excellent example of using complimentary colors, orange and blue.
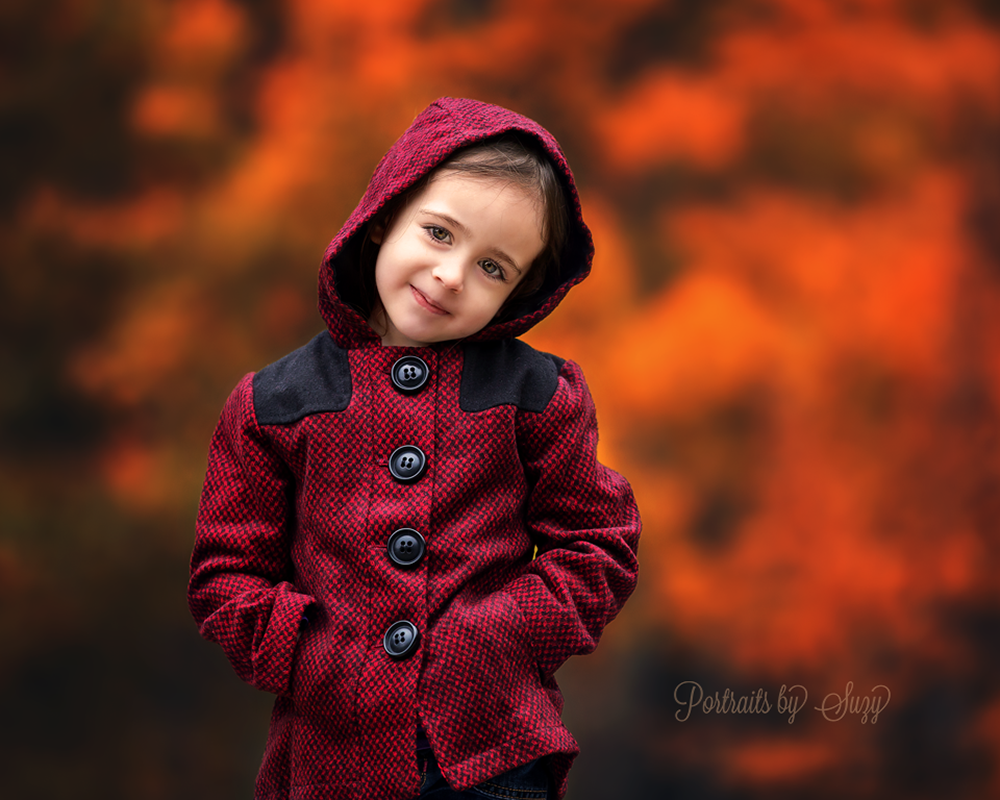
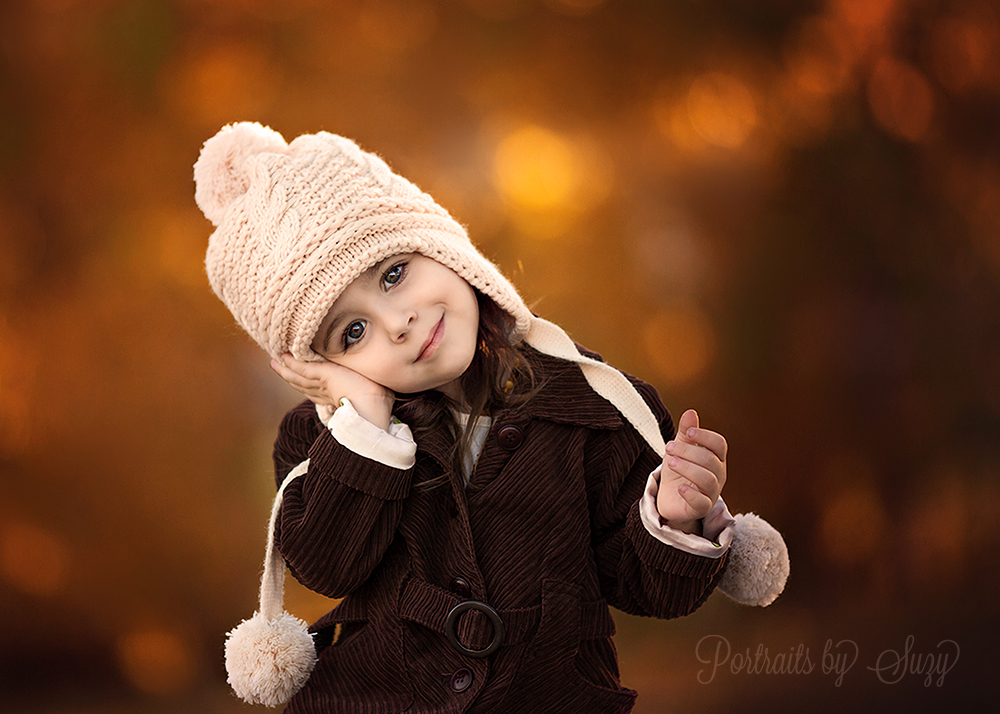
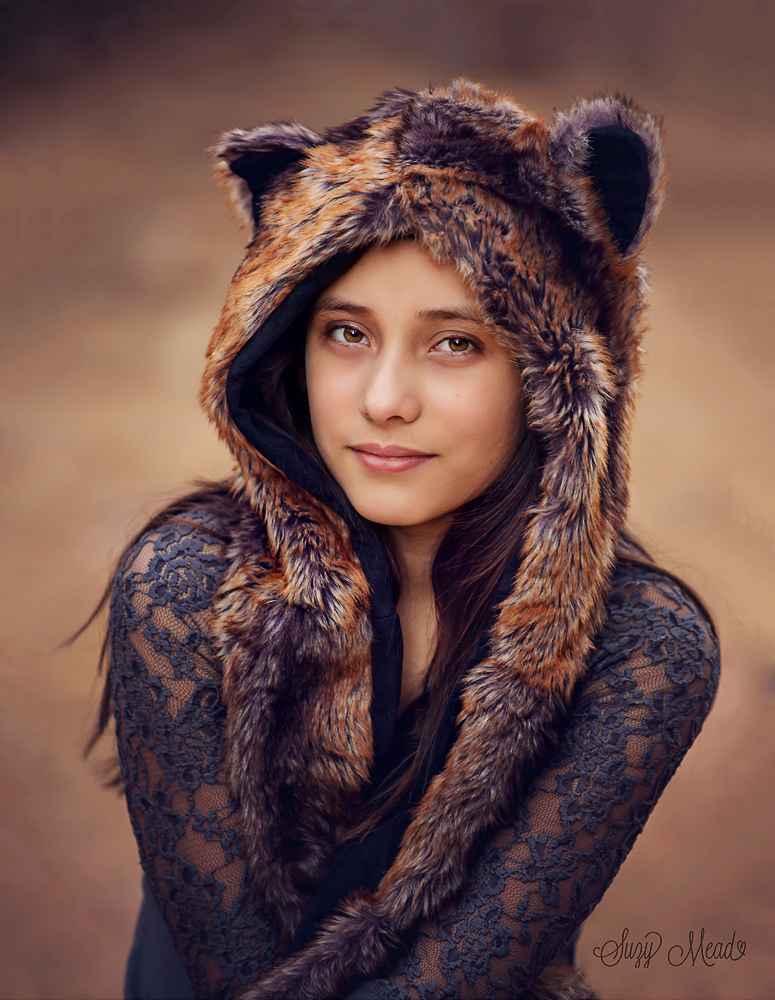
Lastly I would like to talk about wardrobe. Choosing the right outfit, accessories and colors for your subject to wear can make a huge difference in the overall quality of your portrait. Texture in clothing is wonderful for portraits, it adds a sort of 3d quality to your image without being distracting. Think lace, knit, corduroy, fur and embroidery.
Colors are important as well. Think about the background you will be using, will the tree be green? Will it be fall colored? Orange, red, green or yellow? Then use a color wheel to find a contrasting, complimentary or monochrome color to coordinate, or choose a neutral color like brown or cream. Solid colors are best; prints, stripes and plaid can all distract from your subject. I tend to stay away from white as it is so bright and can distract from your subject.
A simple sweater, or textured shirt is great and can stand the test of time, when you view the portrait years from now will it look dated? This is something to consider.
Here is an example of Mia wearing textured neutral clothing and doing the hand on cheek pose.
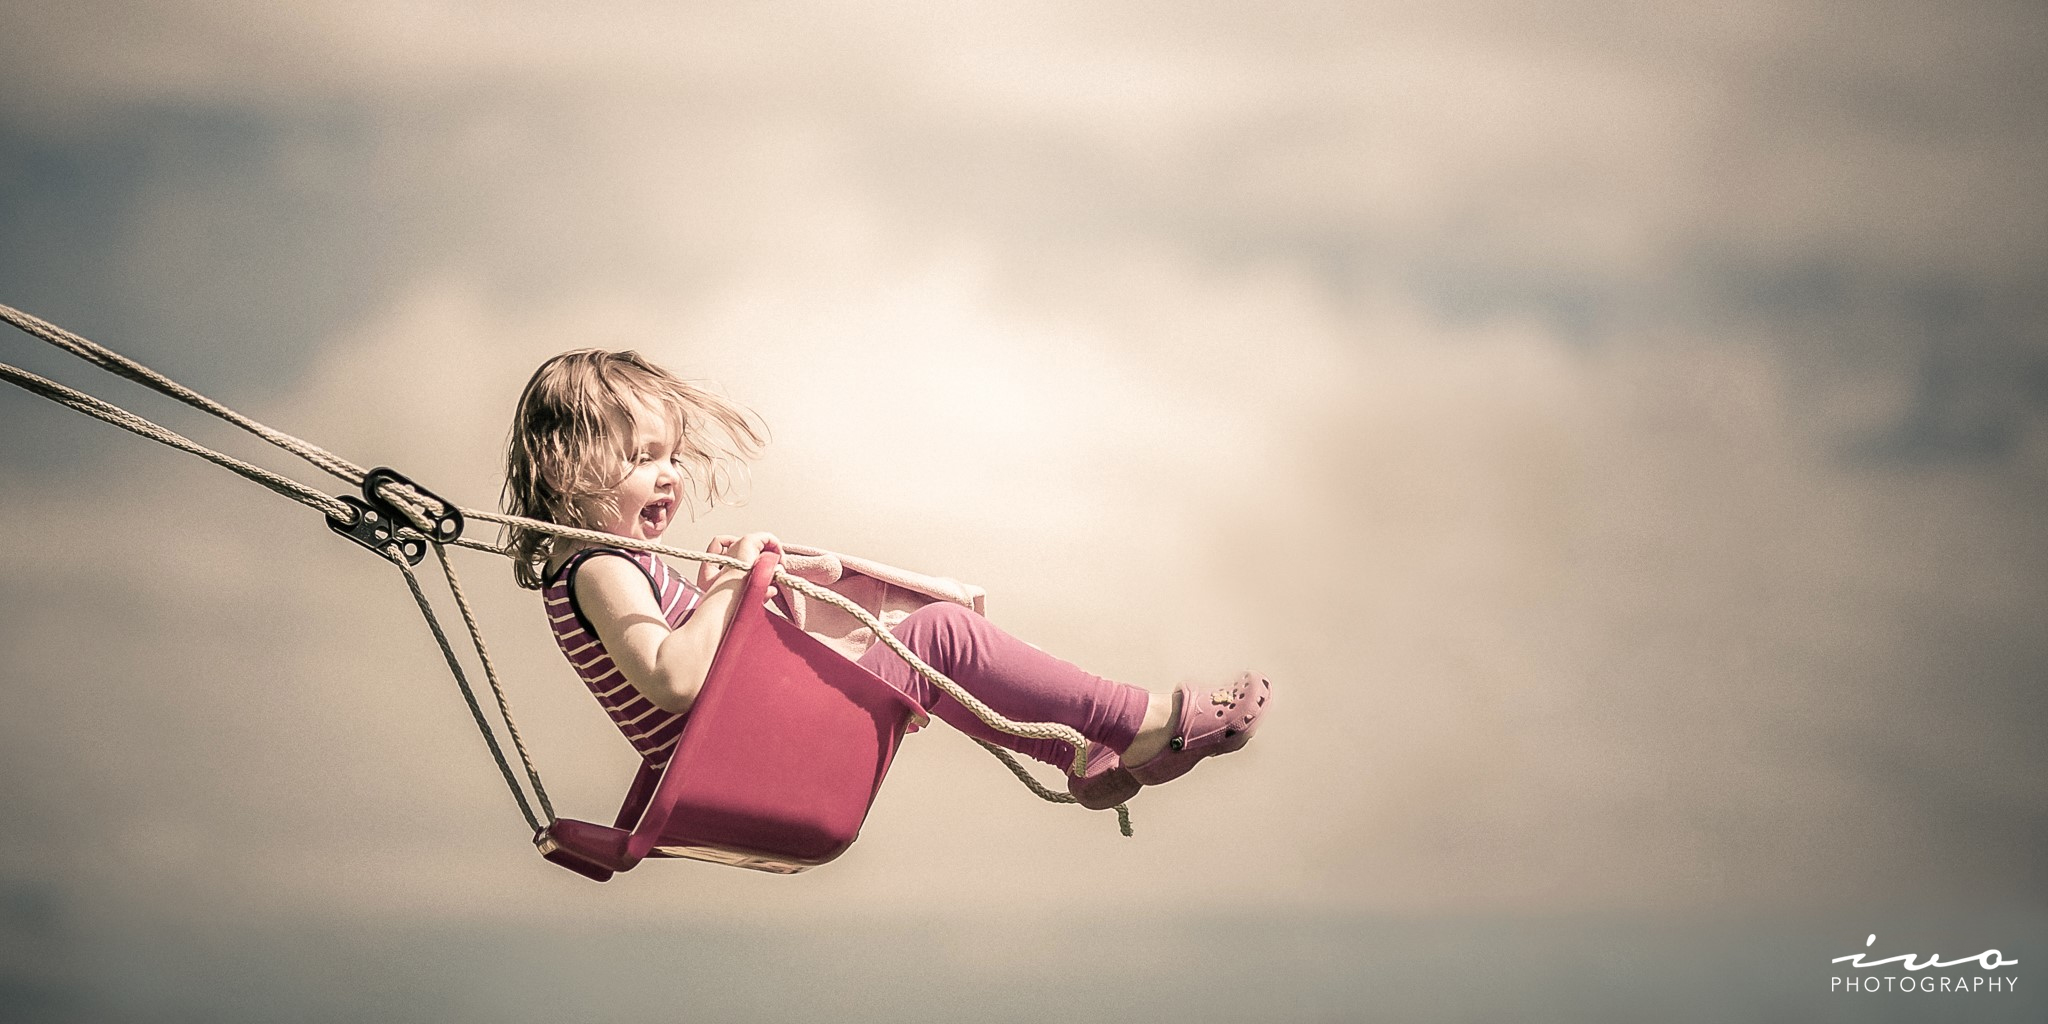
Flying High (winner of a View Bug Editor’s Choice Award)
Inspiration
Let me tell you about an image which is truly special for me. My middle daughter, Amy, loves to swing. As I watched her enjoying herself, the scene brought me back to the carefree times of my own childhood. I quickly ran inside the house and grabbed my camera to capture the moment. I asked my wife to give the swing some extra speed so that Amy would come up higher in the sky, giving the photo that “I’m flying!” feeling.
To me, this capture sums up the best things about being a kid: being young and free. To laugh and seize the moment, not having to think about yesterday, today, or tomorrow. Life has its simple yet profound moments, and this was one of them.