
Dodging and burning (“D&B”) is the process of adding light or shadow to parts of a photo to create contrast and emphasis. Put simply, when you “dodge” you are increasing exposure to that part of the photo and when you “burn” you are reducing the exposure. These names come from the physical darkroom process, but for today’s example I will do my D&B on Photoshop, and I will assume you have basic knowledge of Photoshop layers and masking for the purpose of this tutorial (if not, you can see Chelsea’s tutorial here.) There are many other editing programs that support D&B, including Lightroom. The most important thing to remember when you are dodging or burning is to keep it subtle and work with the natural highlights and shadows that already exist in the image. Done correctly, D&B is an easy way to make a portrait more life-like and impactful.
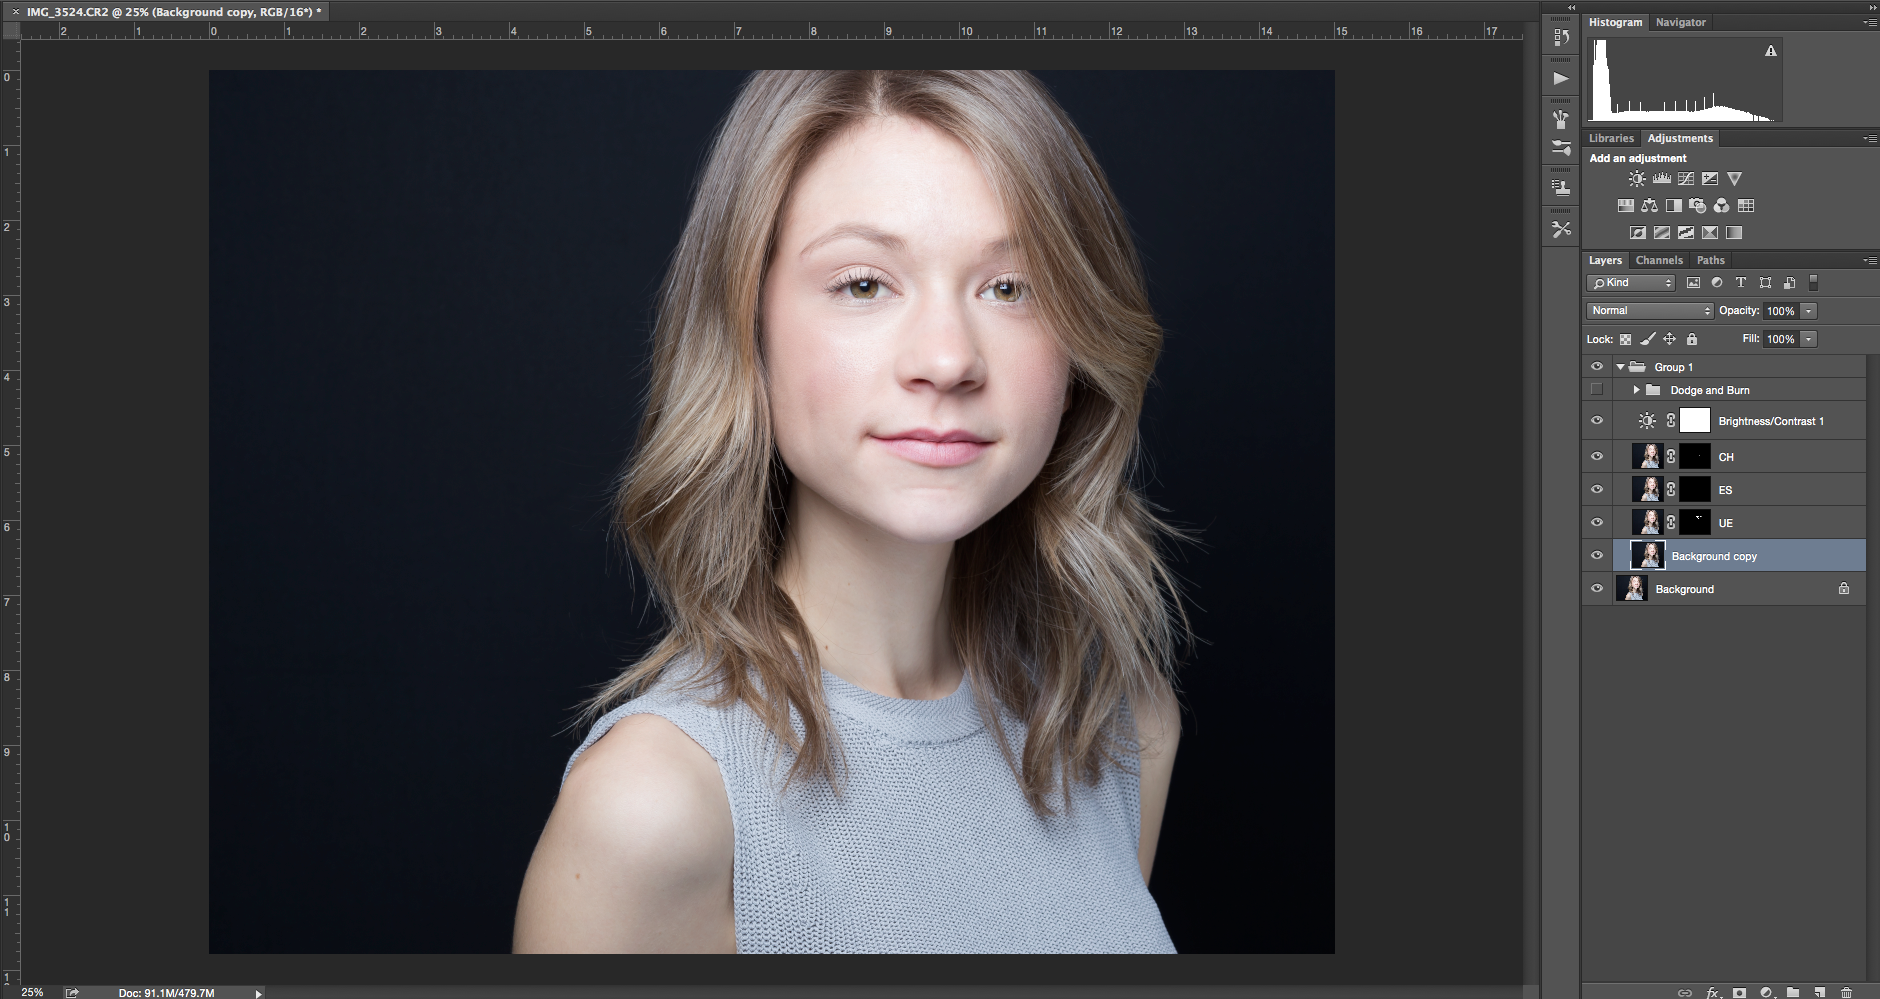
While you can dodge and burn at any point in the workflow, I like to do it in the middle. I always finish any skin edits first, including spot healing, cloning, local hue & saturation adjustments and frequency separation. Once those are complete, I will usually do D&B next, followed by color grading or conversion to black and white. Here’s the photo I’m working on today. My model is the beautiful Kate F. She’s a university student and aspiring actress who dropped by to have a headshot taken. Headshots should be attractive and eye-catching, but they should also be a reasonably honest representation of the subject–after all, a casting director needs to know what the person who’s going to walk into the studio actually looks like! I’ve already done some preliminary spot edits to this image. Because my D&B process is non-destructive, I can always do further spot and color edits if necessary after I dodge and burn.
Step 1: Pick a D&B Method and Stick With It
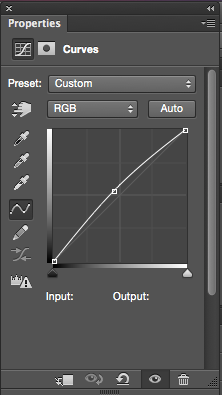
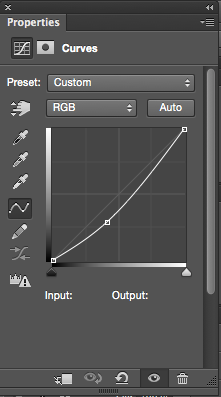
There are many ways to do D&B, for example, by using two 50% grey layers or even frequency separation. I find it simplest and get the best results from creating two curves layers, one for dodging and one for burning. I use a preset so I can make the exact same layers every time—that way my results are uniform across a series of photos and I know exactly what settings to use for the rest of this process.
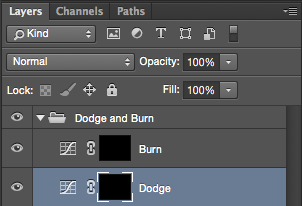
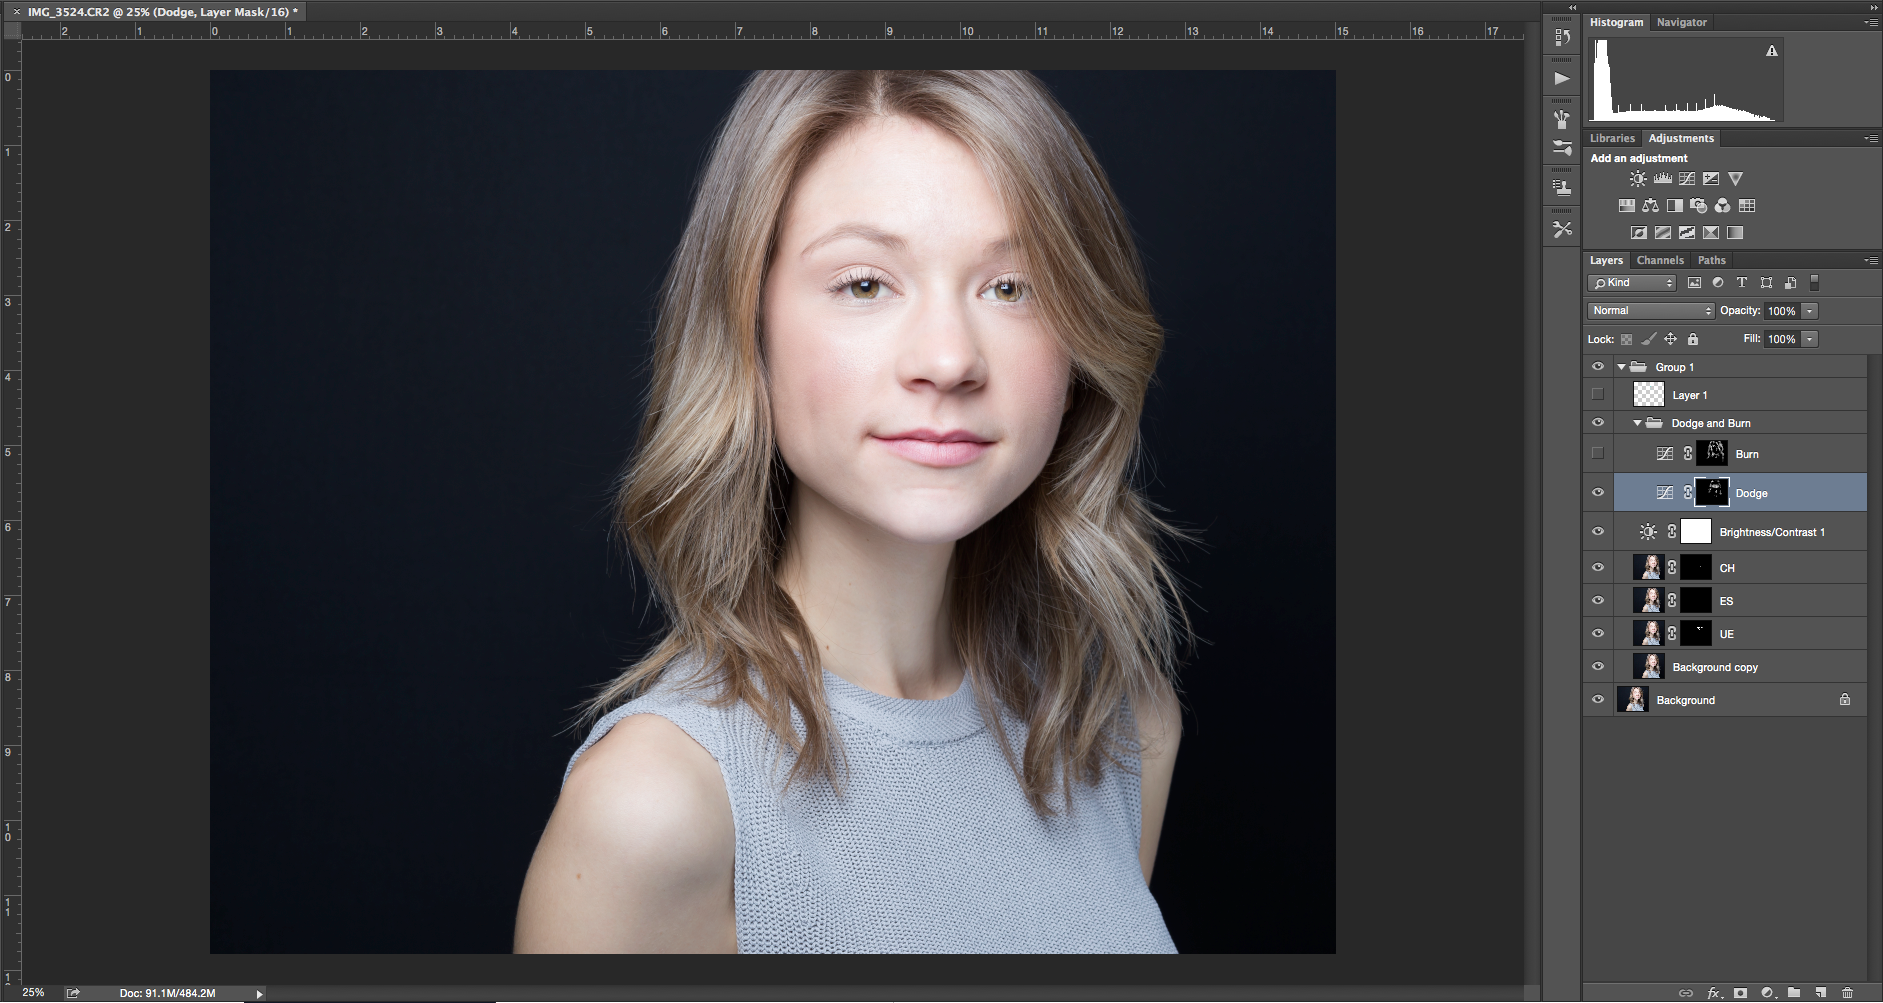
Here are the curves layers that the preset created. Notice that the change is very small. This is more than sufficient to make highlights lighter and shadows darker.
Step 2: Set Your Paintbrush
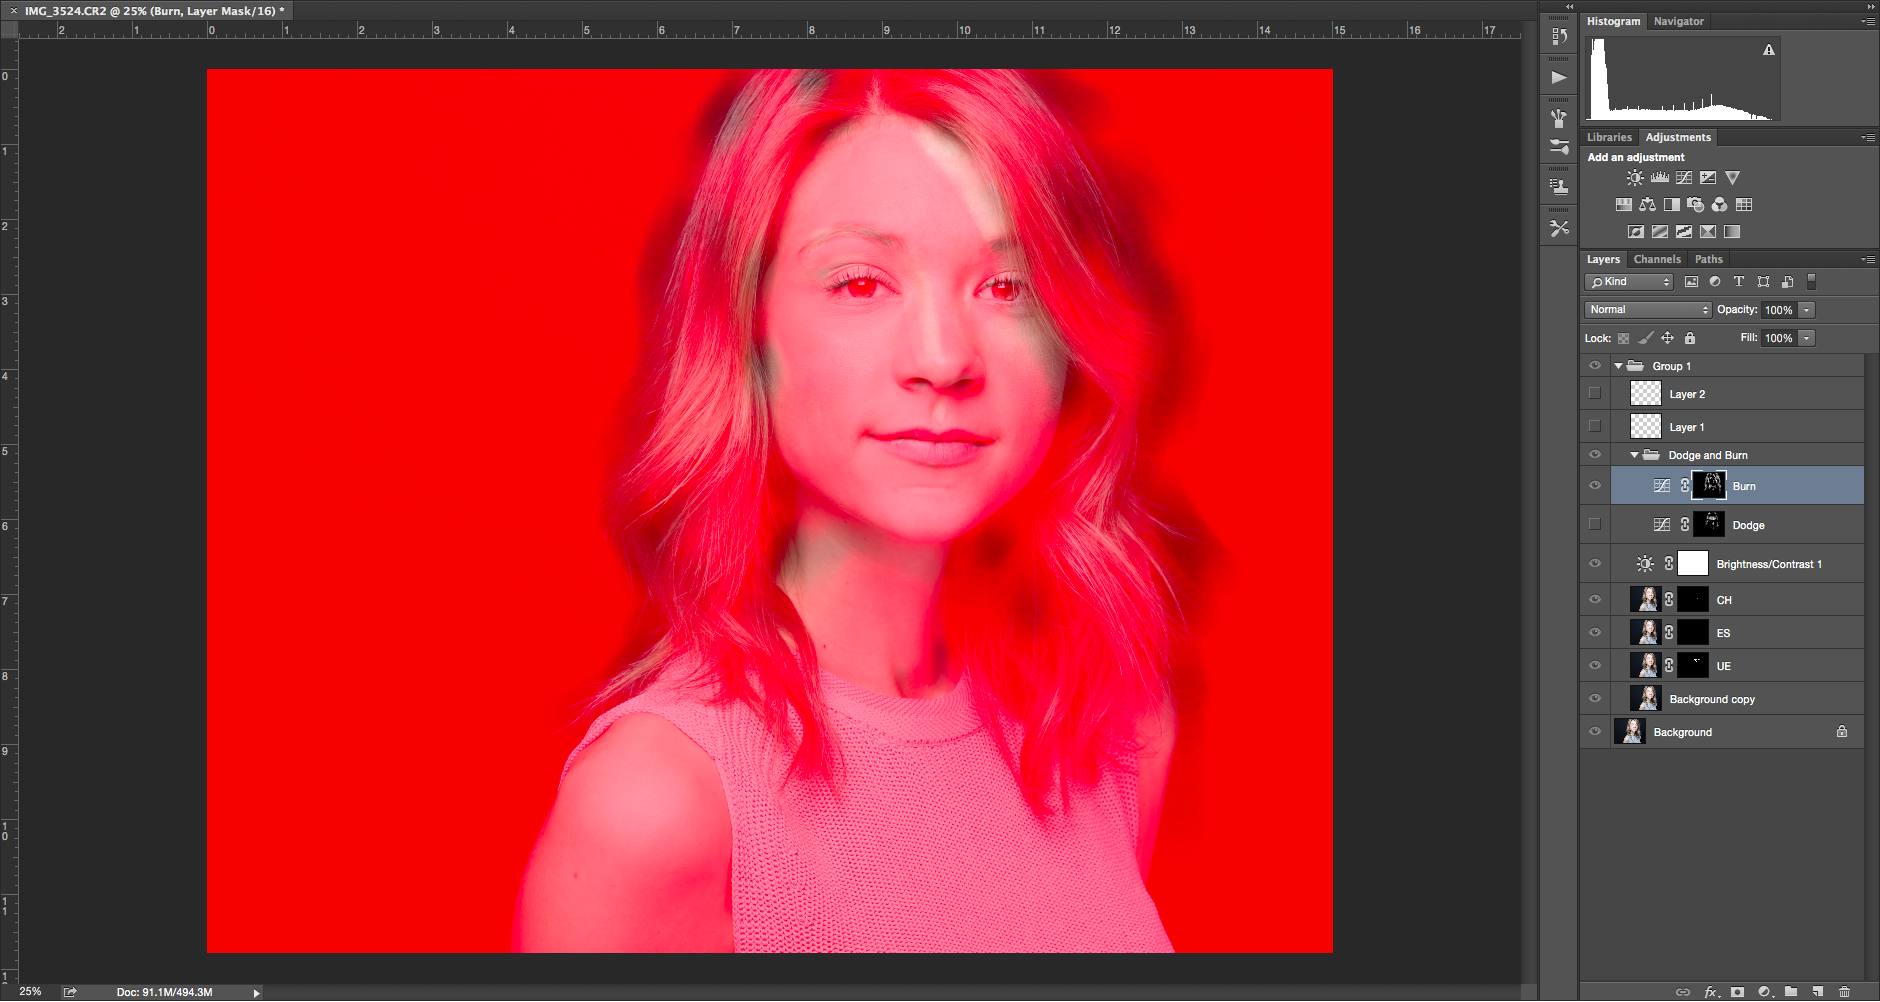
The effect of my dodge and burn layers is hidden by a layer mask, so I will use the paintbrush tool on the masking layer to reveal either the dodge or the burn in only the areas I want to. In order to keep the effects subtle and controlled, I used a paintbrush set to 100% opacity and only 3% flow. By keeping the flow very low, the effect is very subtle at first; I can build the dodge or burn by going over the area several times. Because of the way I shoot, I prefer to add more light than shadow, so I may reduce flow to as low as 1 or 2% when I’m burning the image. A soft round paintbrush (0% hardness) will serve you best.
Step 3: Dodging
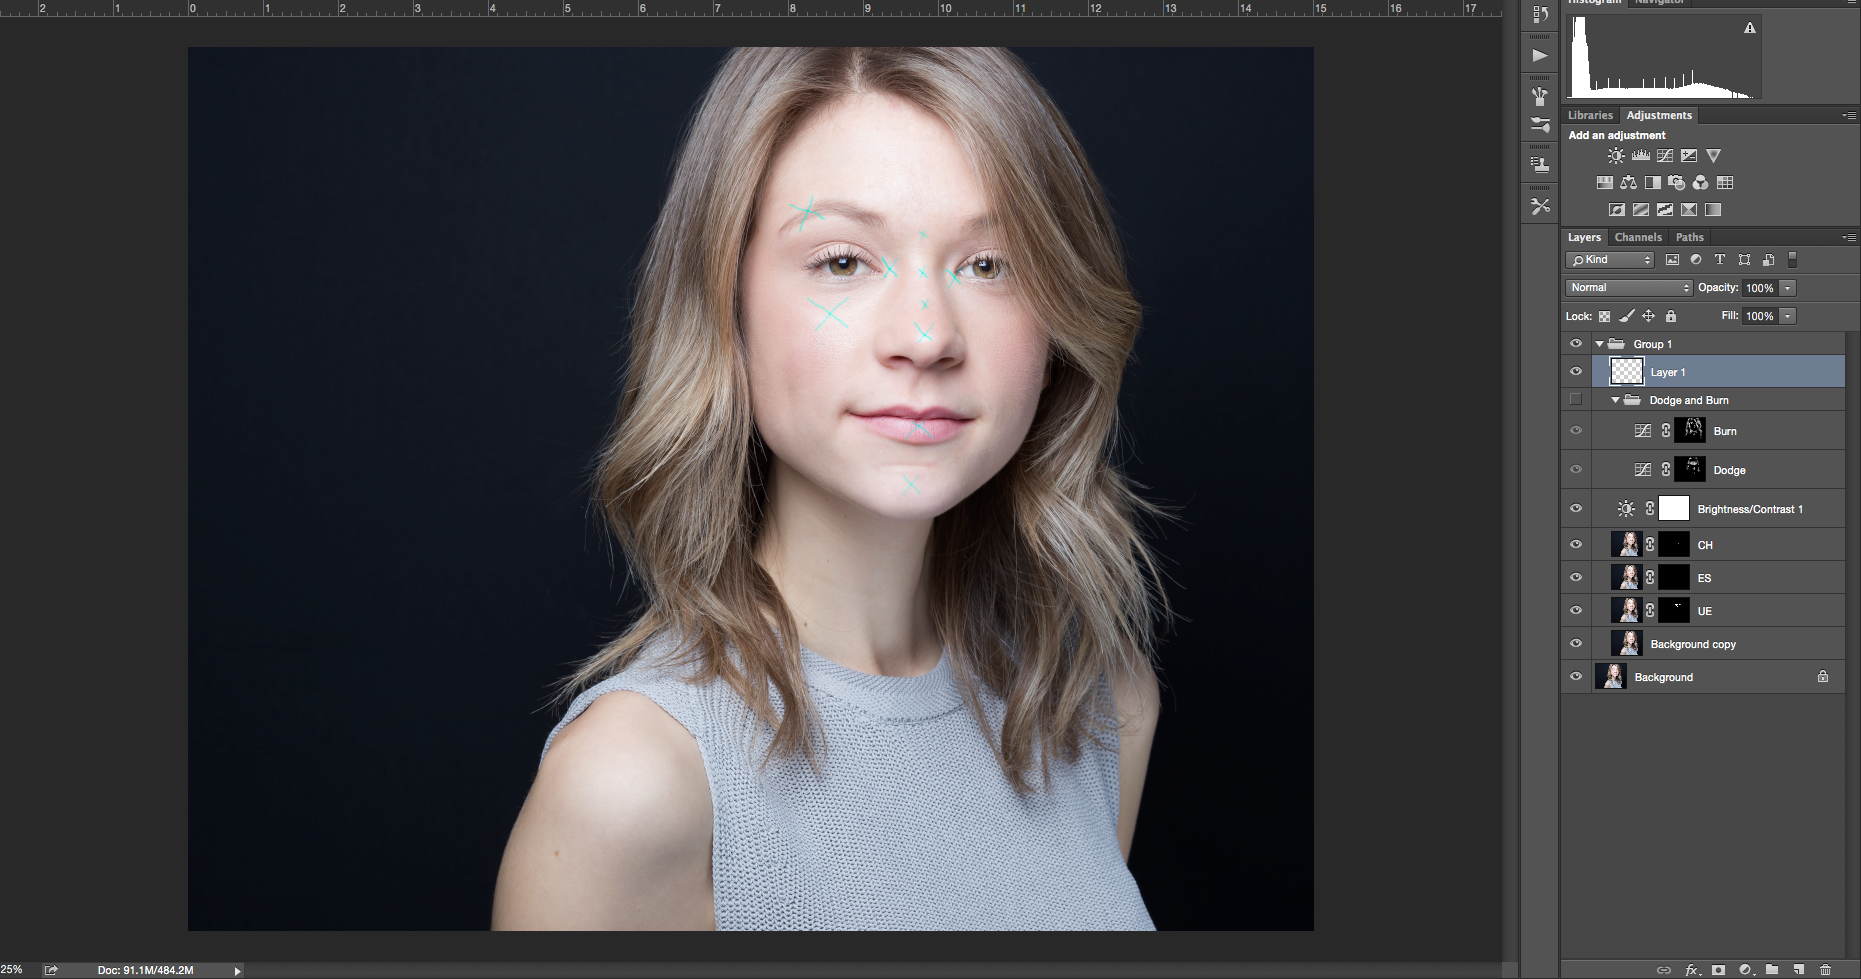
When you are picking where to dodge, use the natural contours of the face and the existing highlights in the photo to figure where to add more light. Remember, D&B is not there to fix an exposure mistake and you shouldn’t use this tool to force a dark area light (or to make a light area dark). Instead, figure out what you want to emphasize. On my model, I have decided to emphasize her eyes, lips, and bridge of the nose.
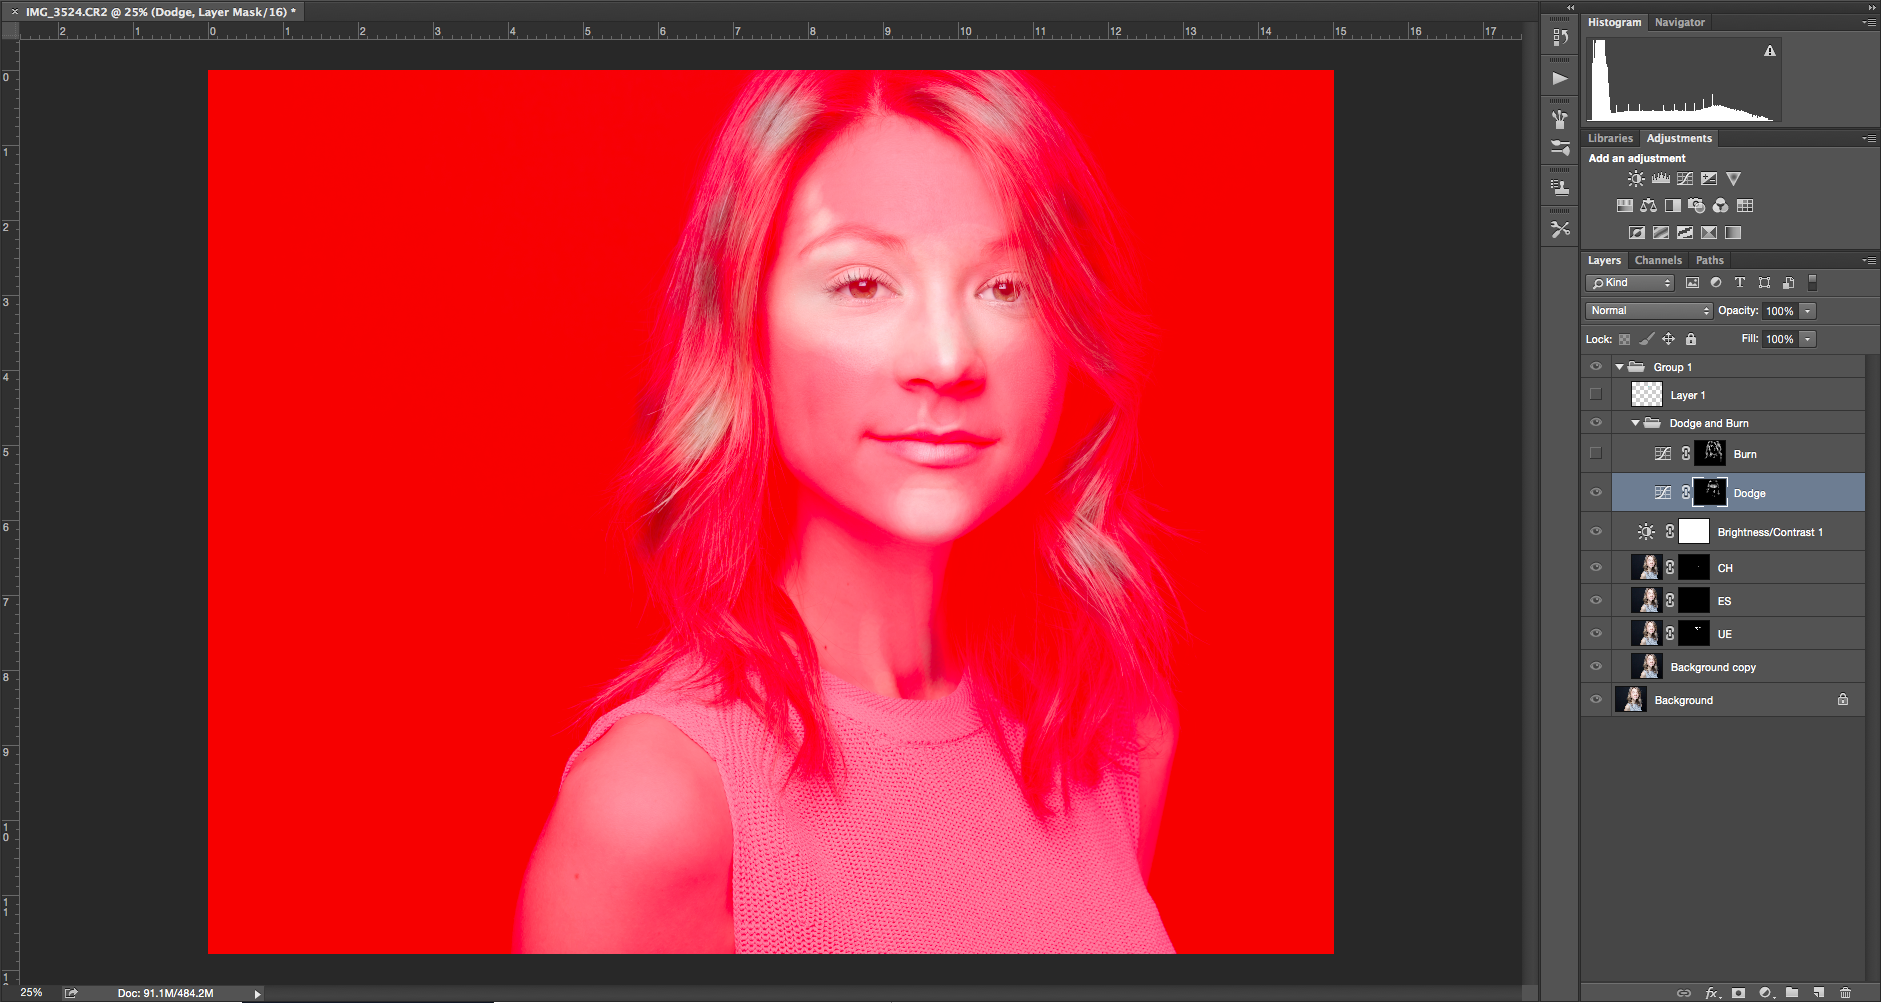
Step 4: Burning
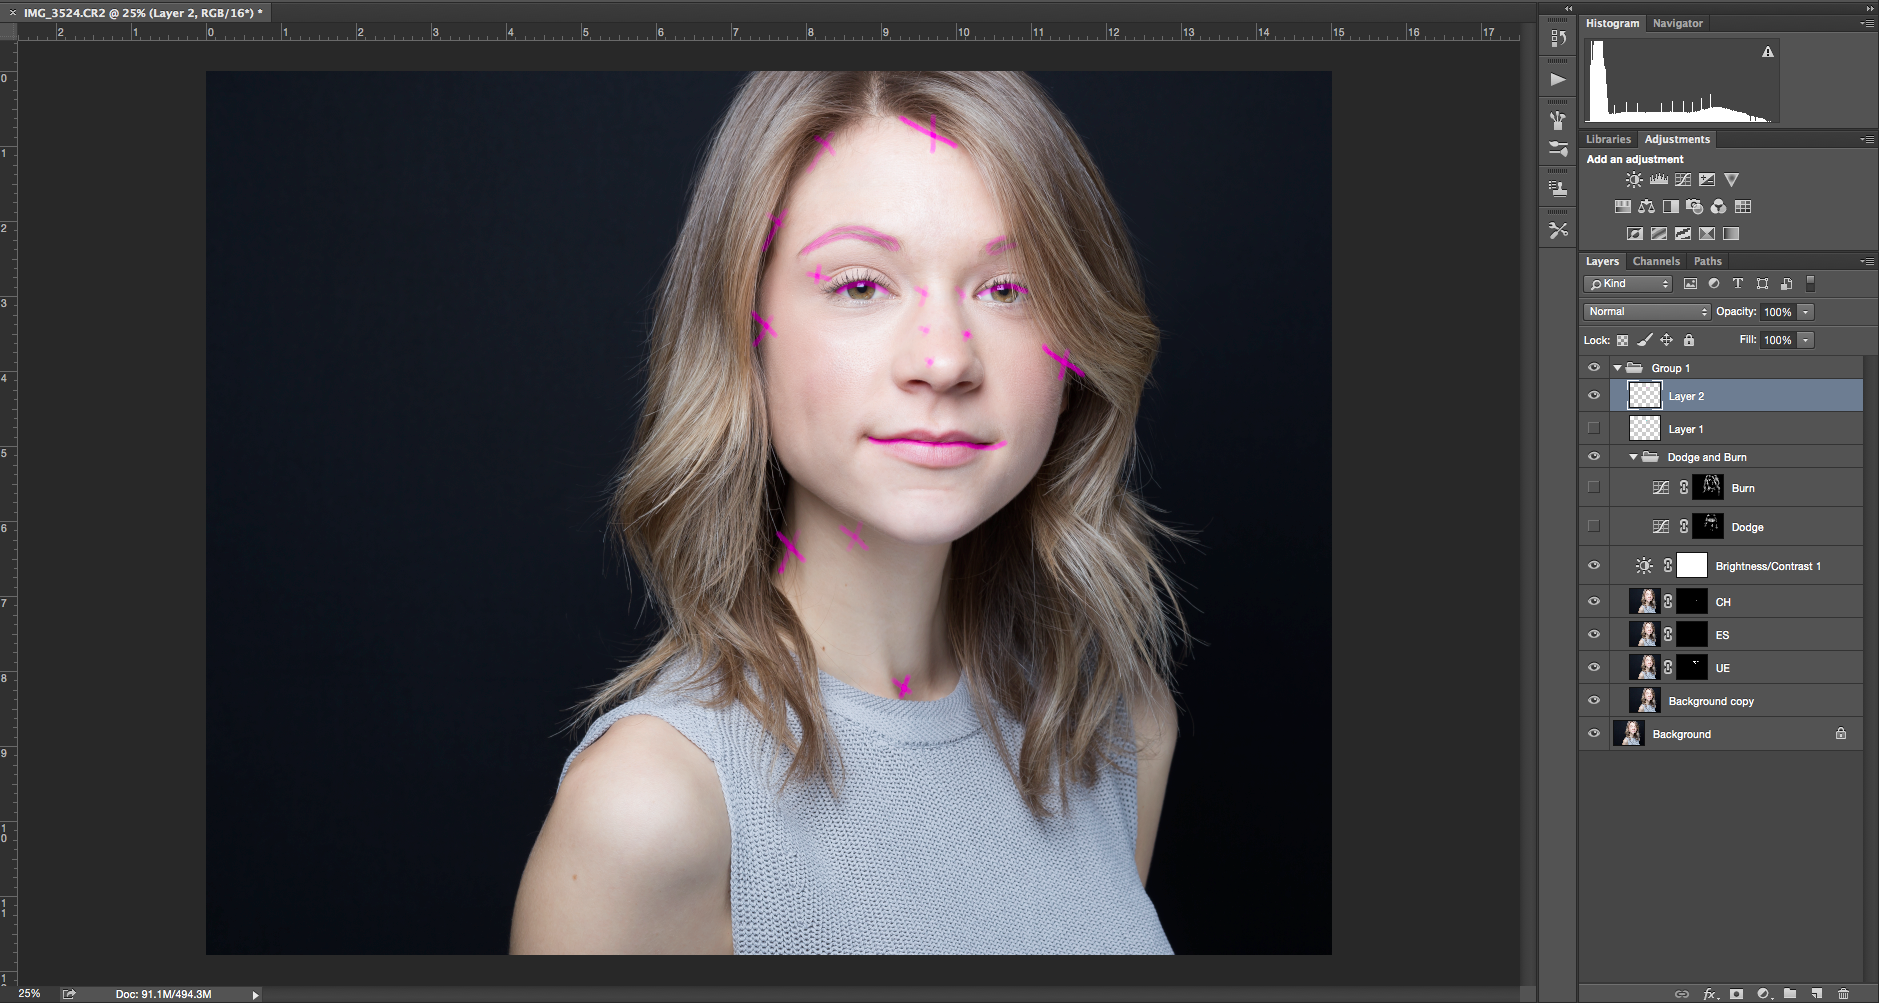
Next, I’ve marked the areas I’m going to burn in pink. I like to darken the brows, lashes, eye socket, cheekbones and the sides of the face. This gives a 3D effect to the photo and makes the model’s face pop from the hair. For female models, I also burn the sides of the neck and in the grooves in the collarbones.
Step 5: Pay Special Attention to the Iris
The iris is the only place where I will increase the flow to get a stronger result on the first pass. I may go as high as 15% flow for a dodge and 10% flow for a burn. However, this only works well on models with significant natural highlights and lowlights in their eyes. This is usually found on blue, grey and some green eyes; brown and hazel eyes tend to have less color variation and don’t require much, if any, D&B. In this case, I did not D&B Kate’s irises, but the technique would be the same as what I did above.
Step 6: Check Yo’ Self!
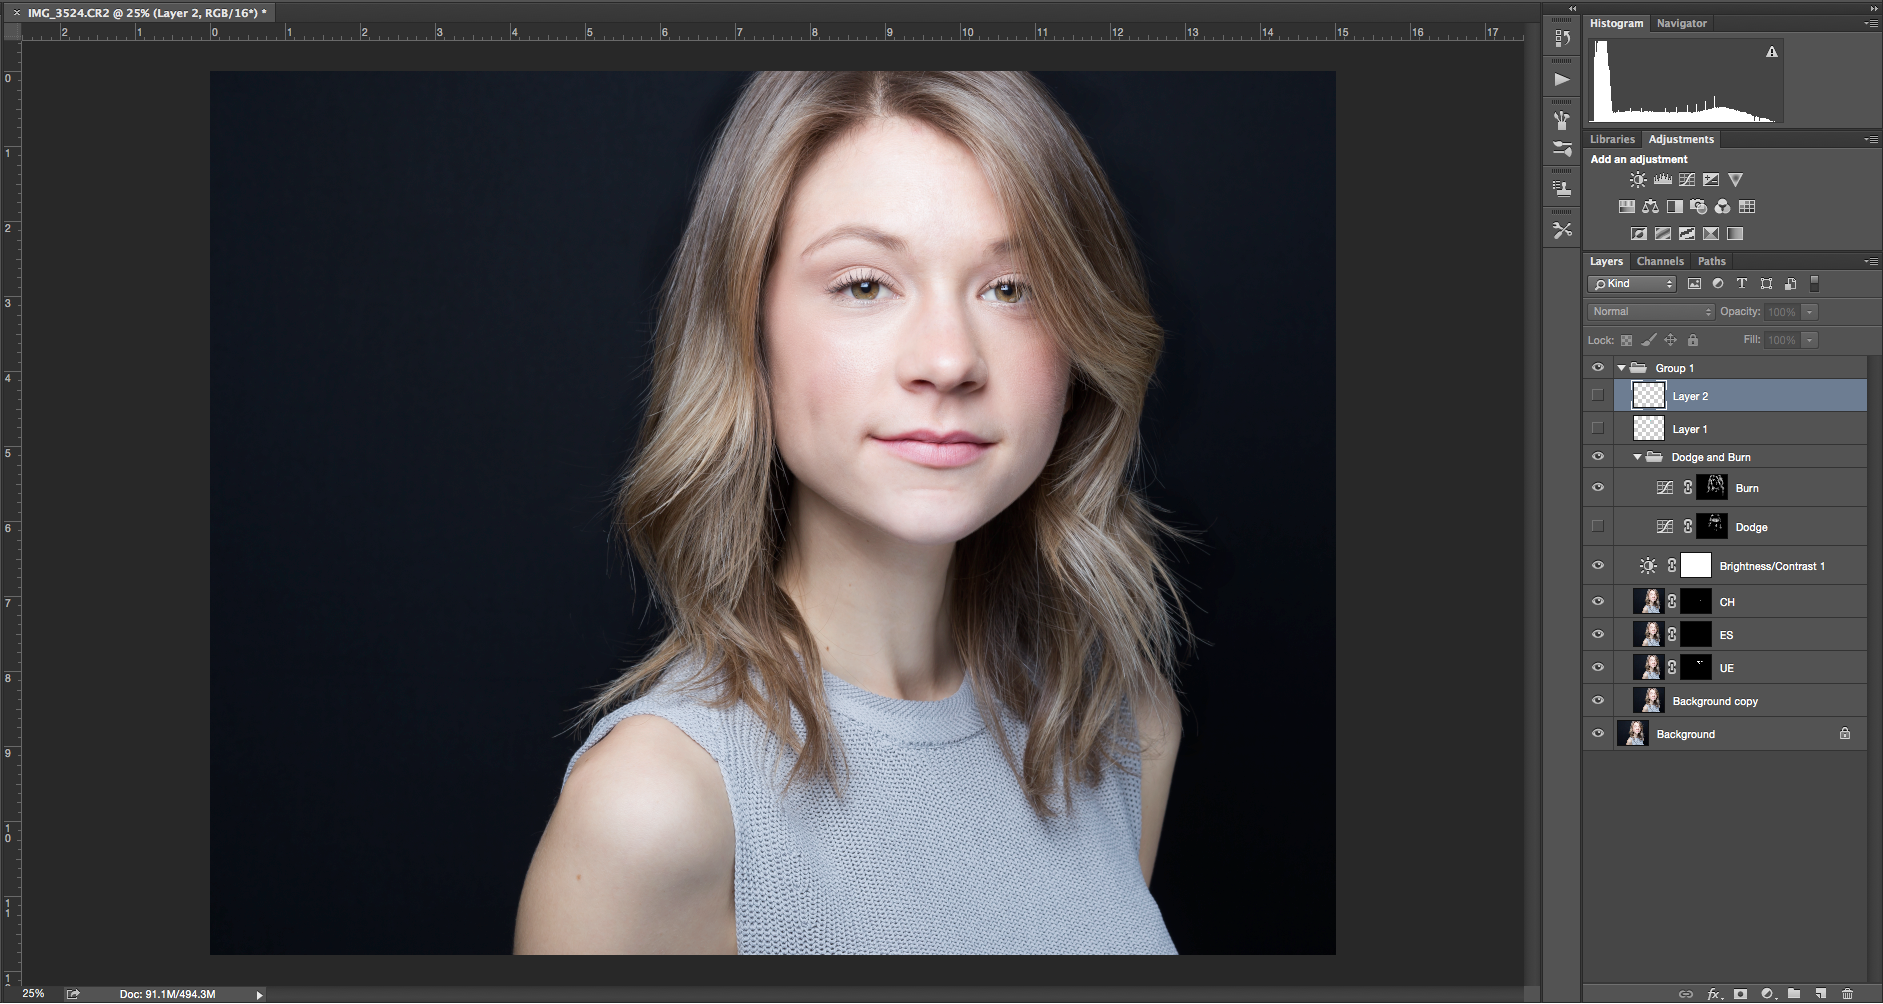
It’s very important to check your D&B by comparing the before and after images. I do this by rapidly toggling the layer on and off many times so I can see all the changes at once. Sometimes it’s quite difficult to actually spot the change while you’re making it because the effect is so subtle.
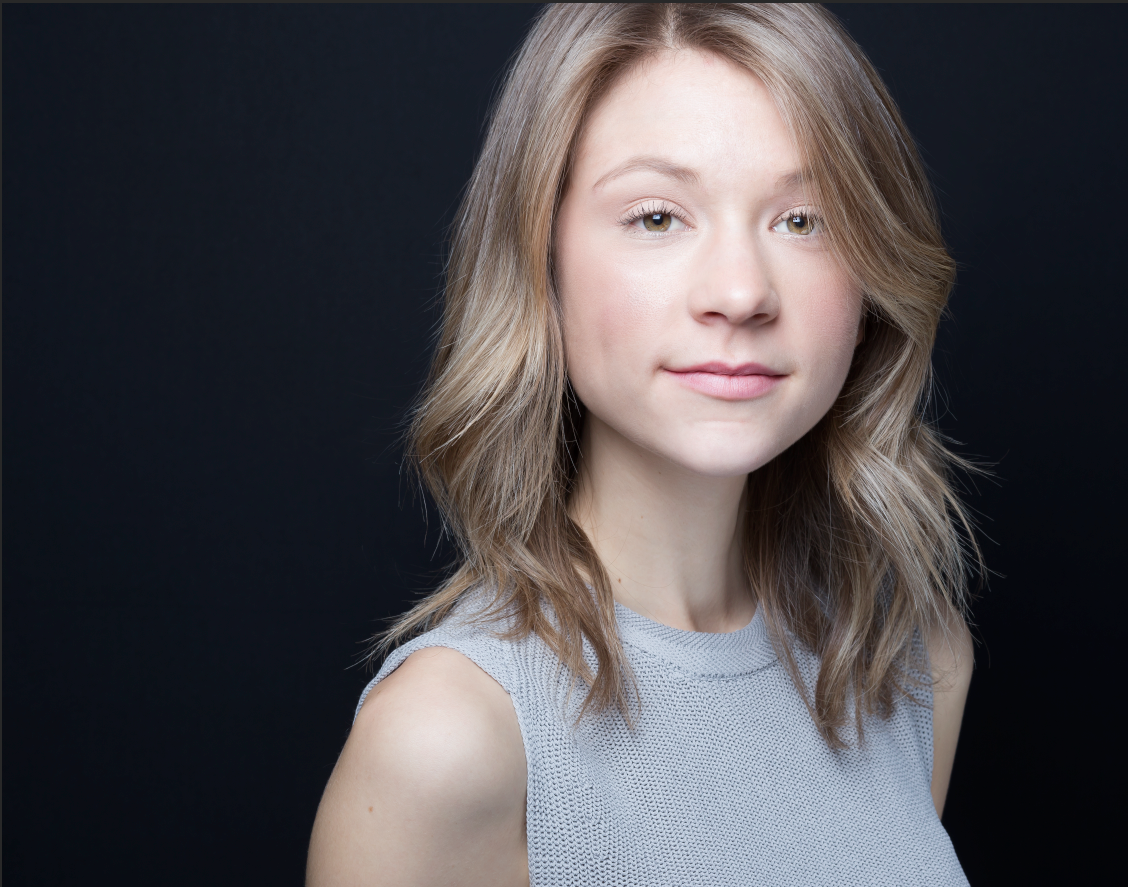

And I’m done! Next, I will take this picture back into Lightroom for my final color edits. For more information on my overall workflow, check out my earlier article How To Create Dramatic, Eye-Catching Portraits.
You can watch Chelsea’s Lightroom tutorials here, and Photoshop tutorials here.



Comments are closed.