
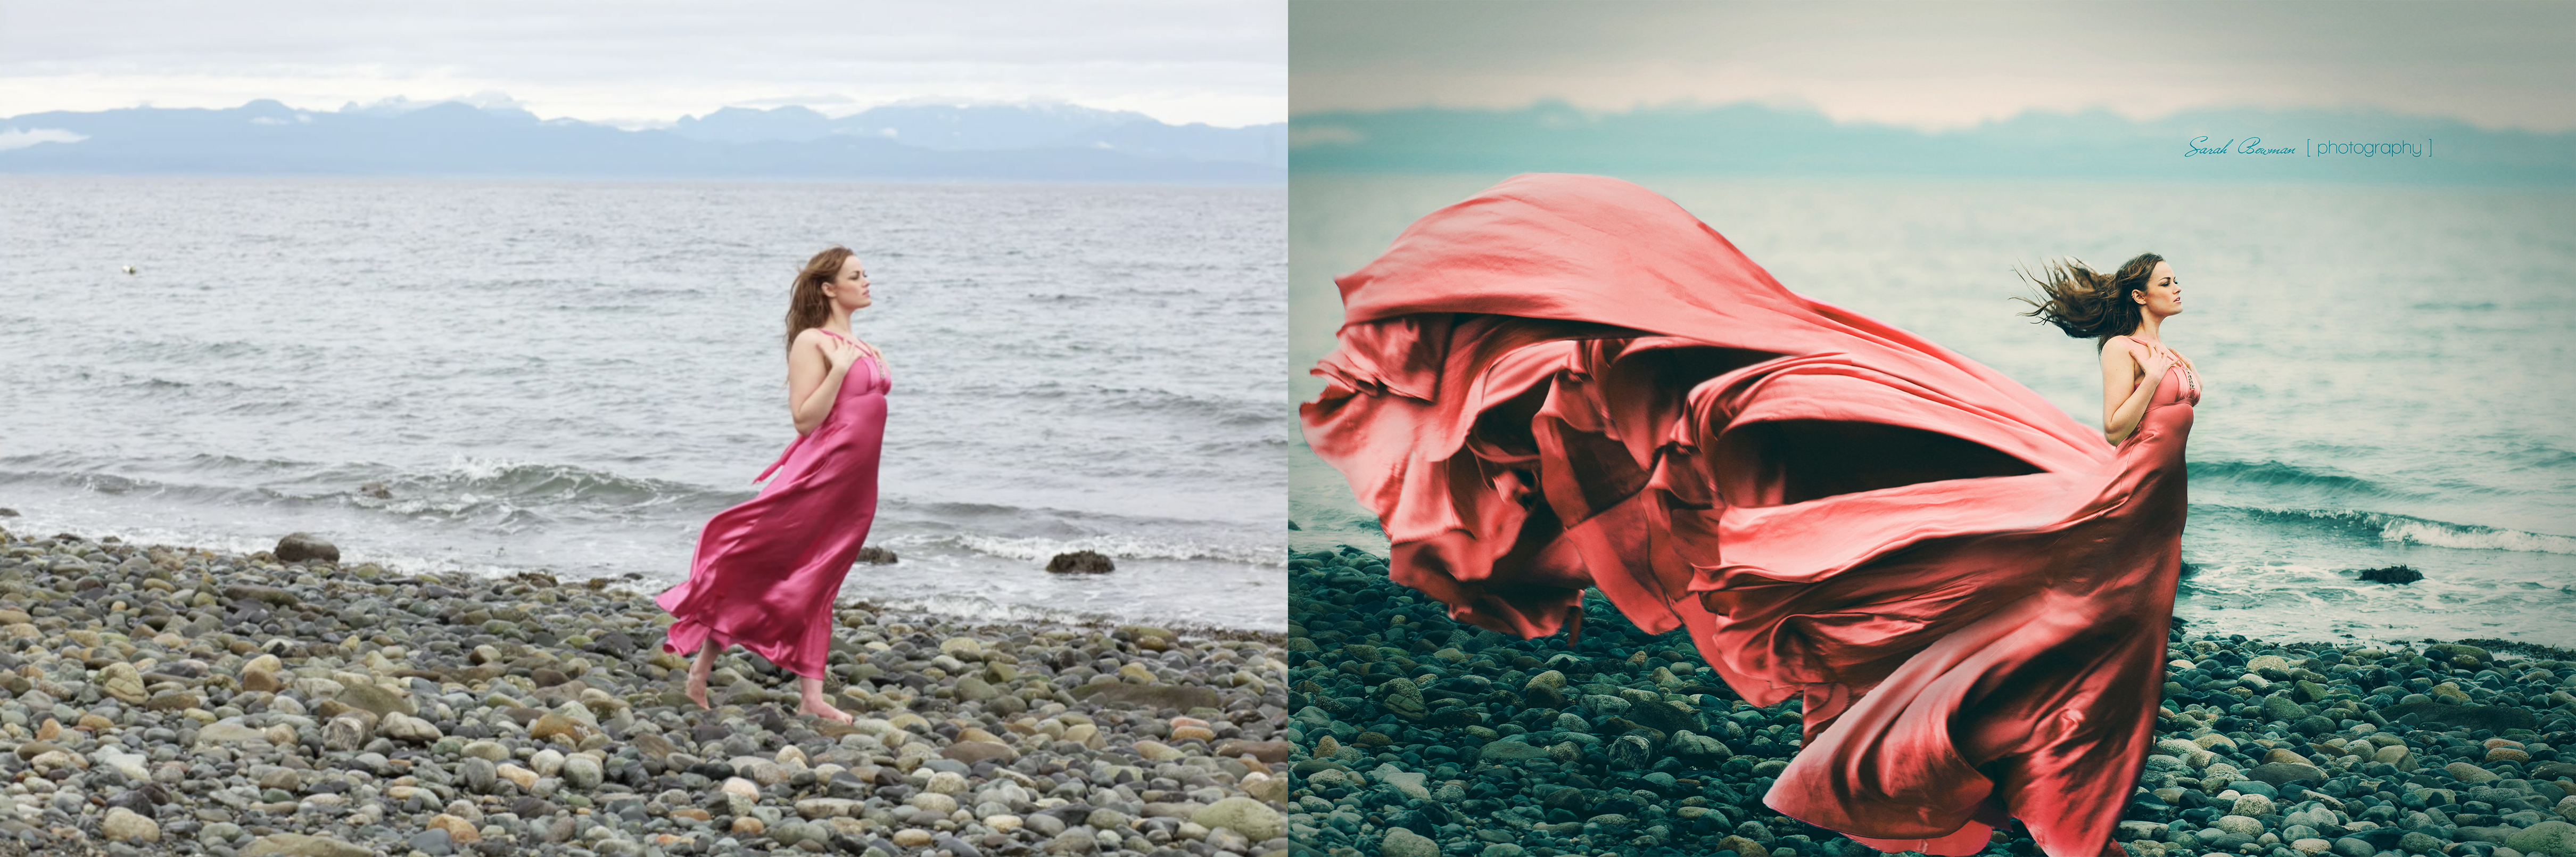
Creating ethereal images is what I absolutely love, and sometimes this means changing the subject’s garments into something more surreal. Making an image look believable can be a challenge though, so If you are interested in the process that I use to composite dresses then keep on reading!
What you will need:
- Camera & lens
- Tripod
- Model
- Fabric/dress
If you have a friend or assistant who can help, it will be even better! Also, make sure the model has clothing they can switch into so you can take separate pictures of the dress.
The Shoot
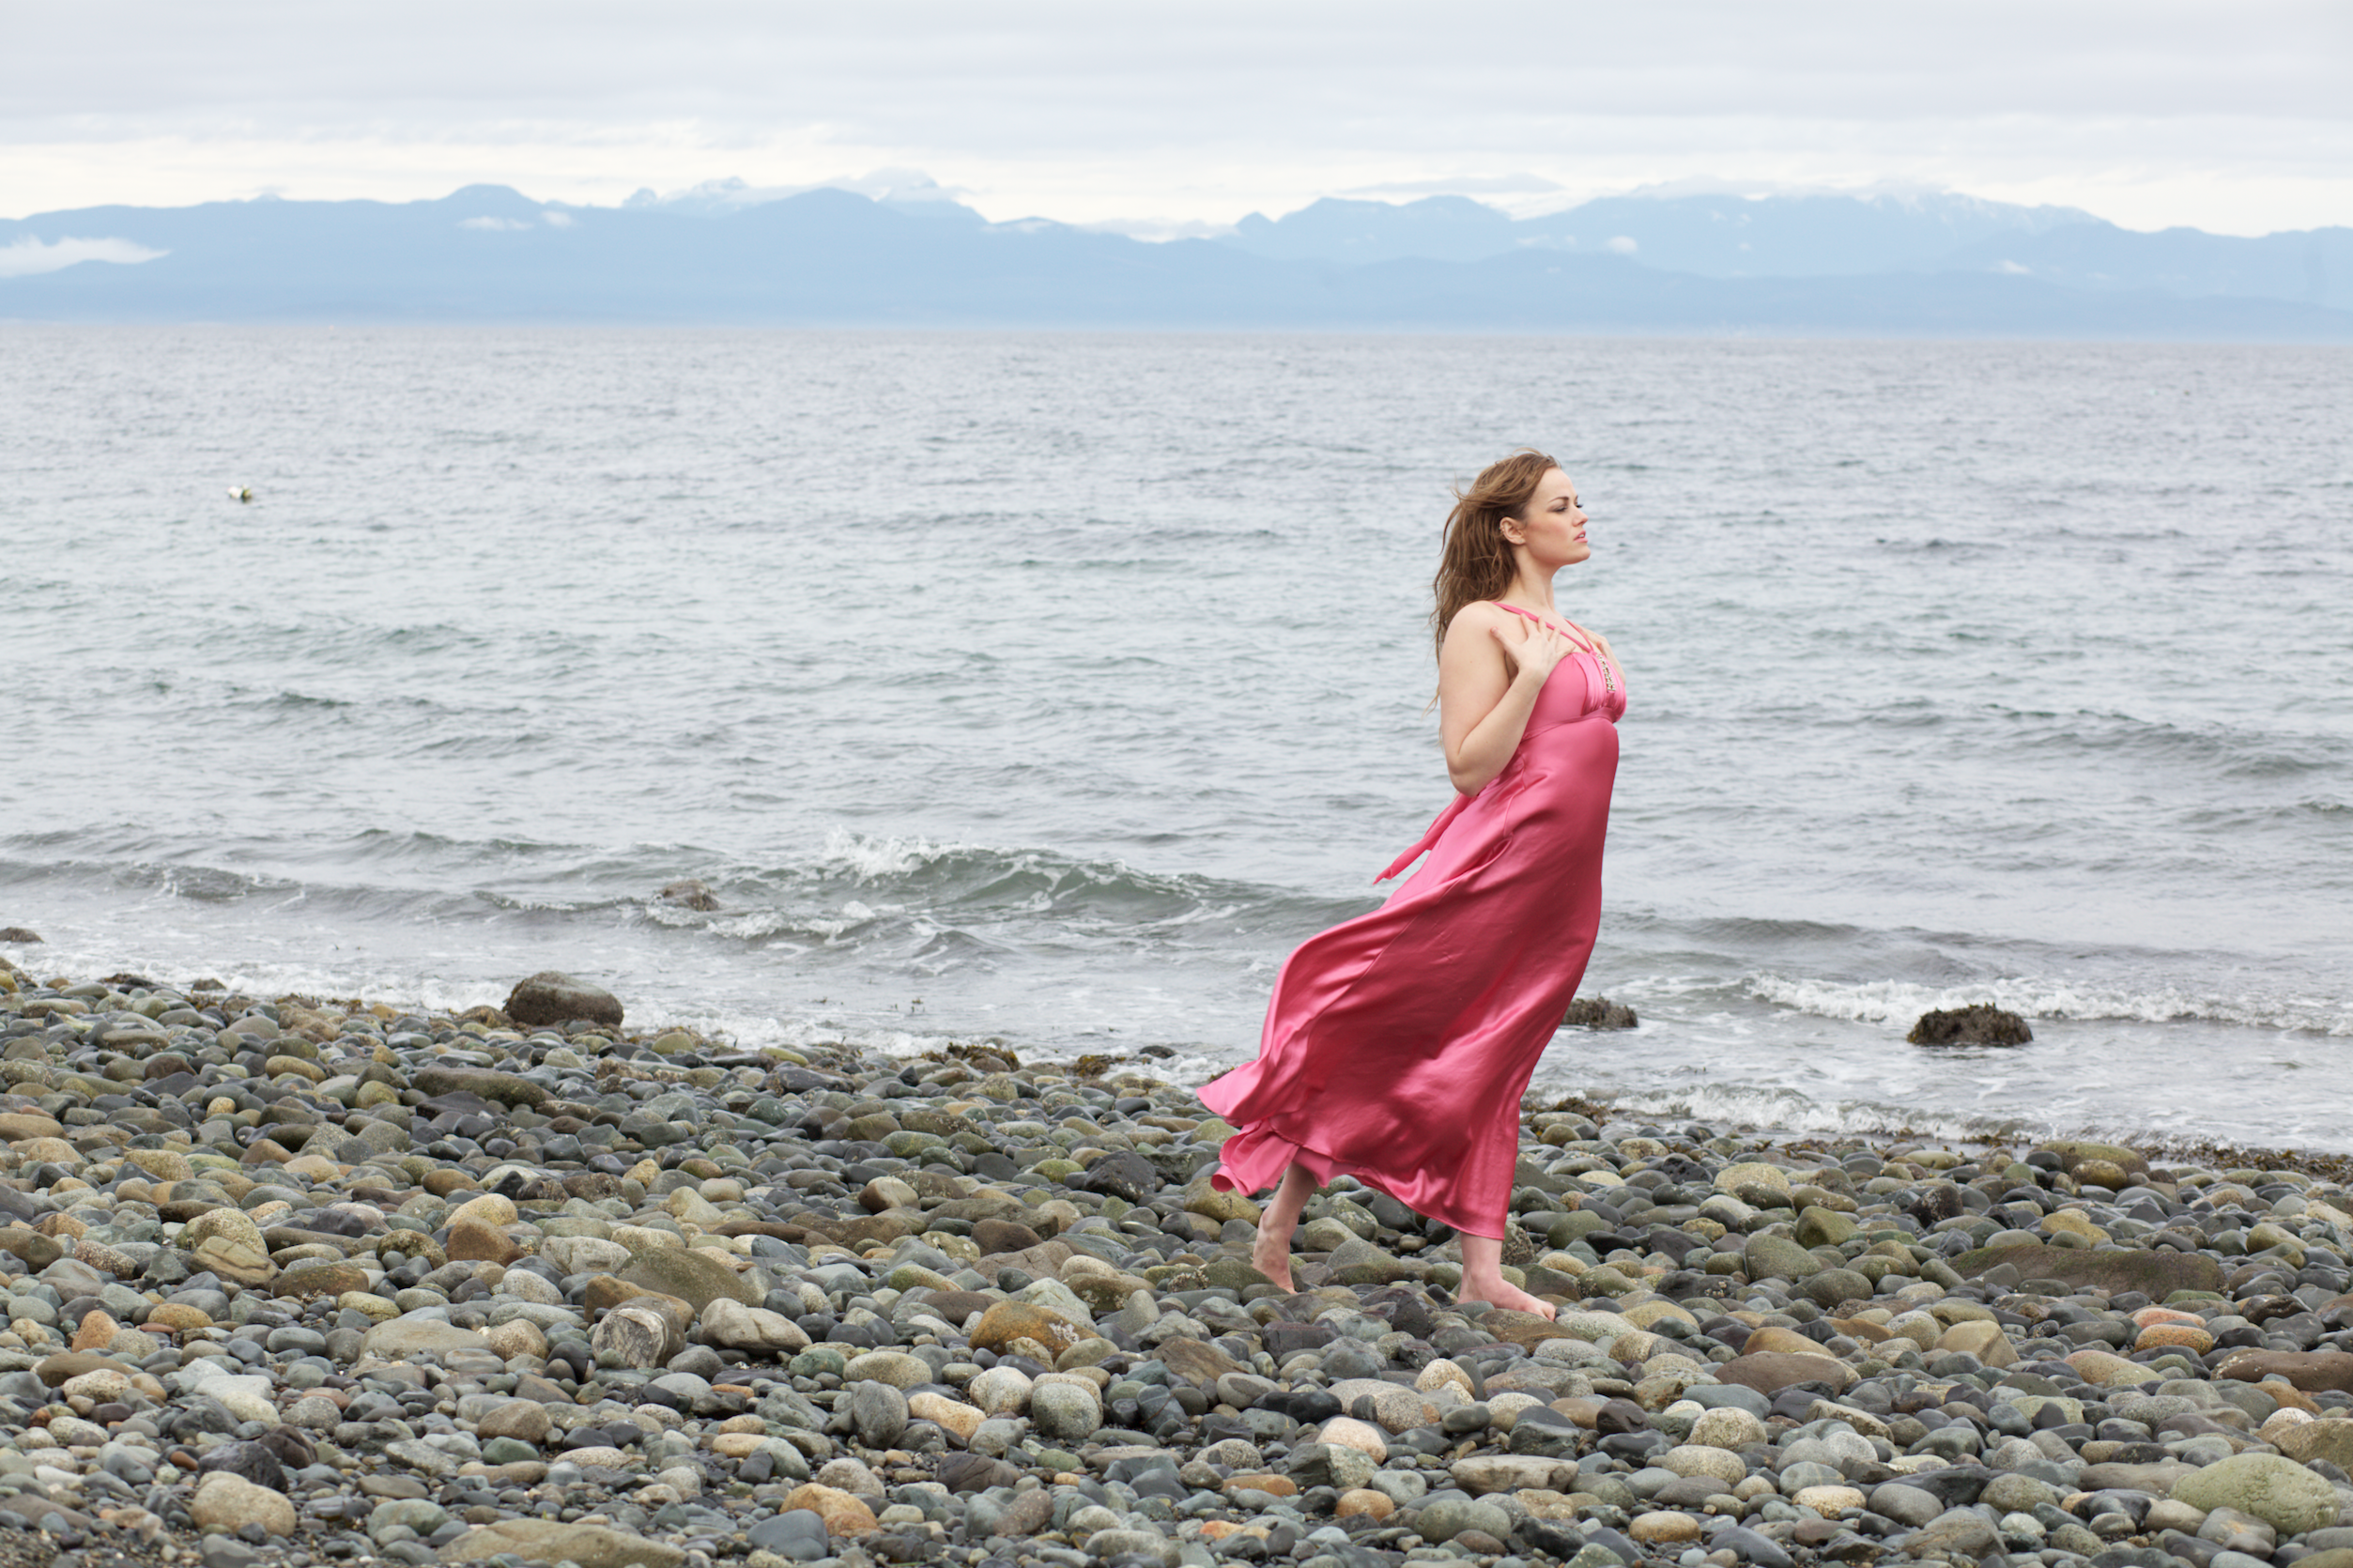
You will want to start with shooting your main image. Be sure to use a tripod! The benefit of having the tripod is that every picture you take will be at the same focal length and proportion which is critical when you are trying to blend aspects from different images into one final piece. It will also be best to keep the camera settings the same for every picture you take.
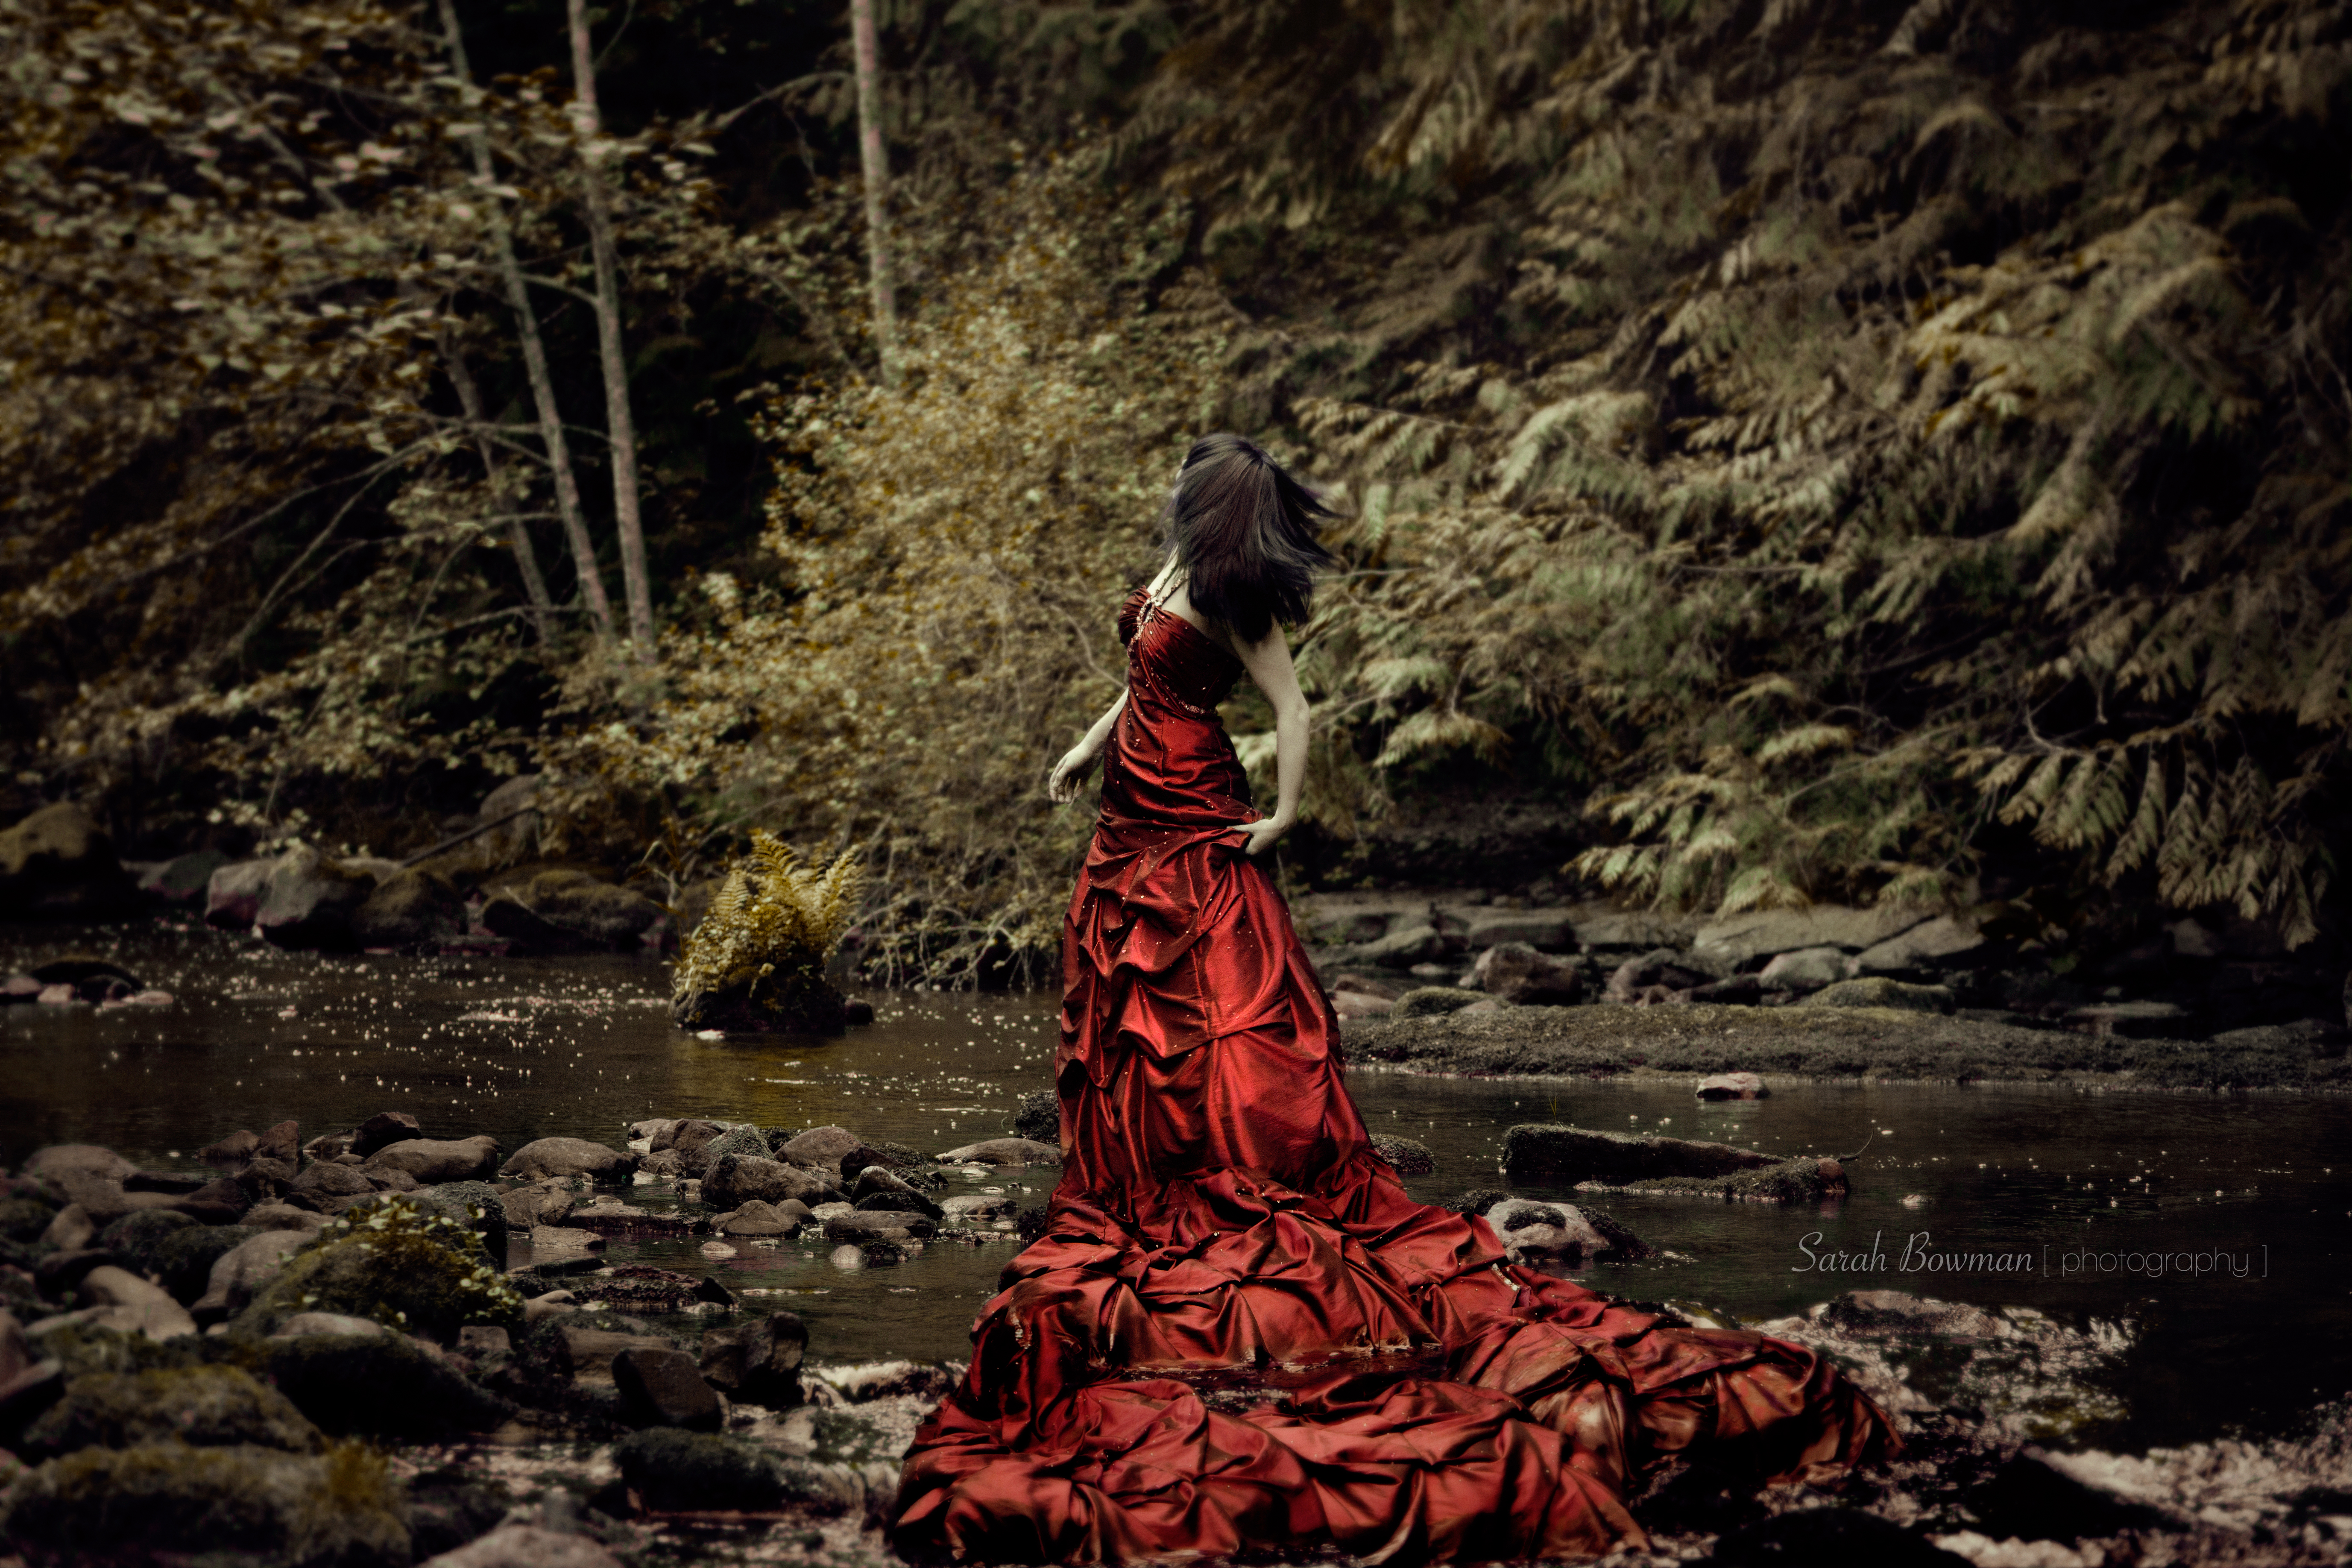
Here is the main image that I decided on:
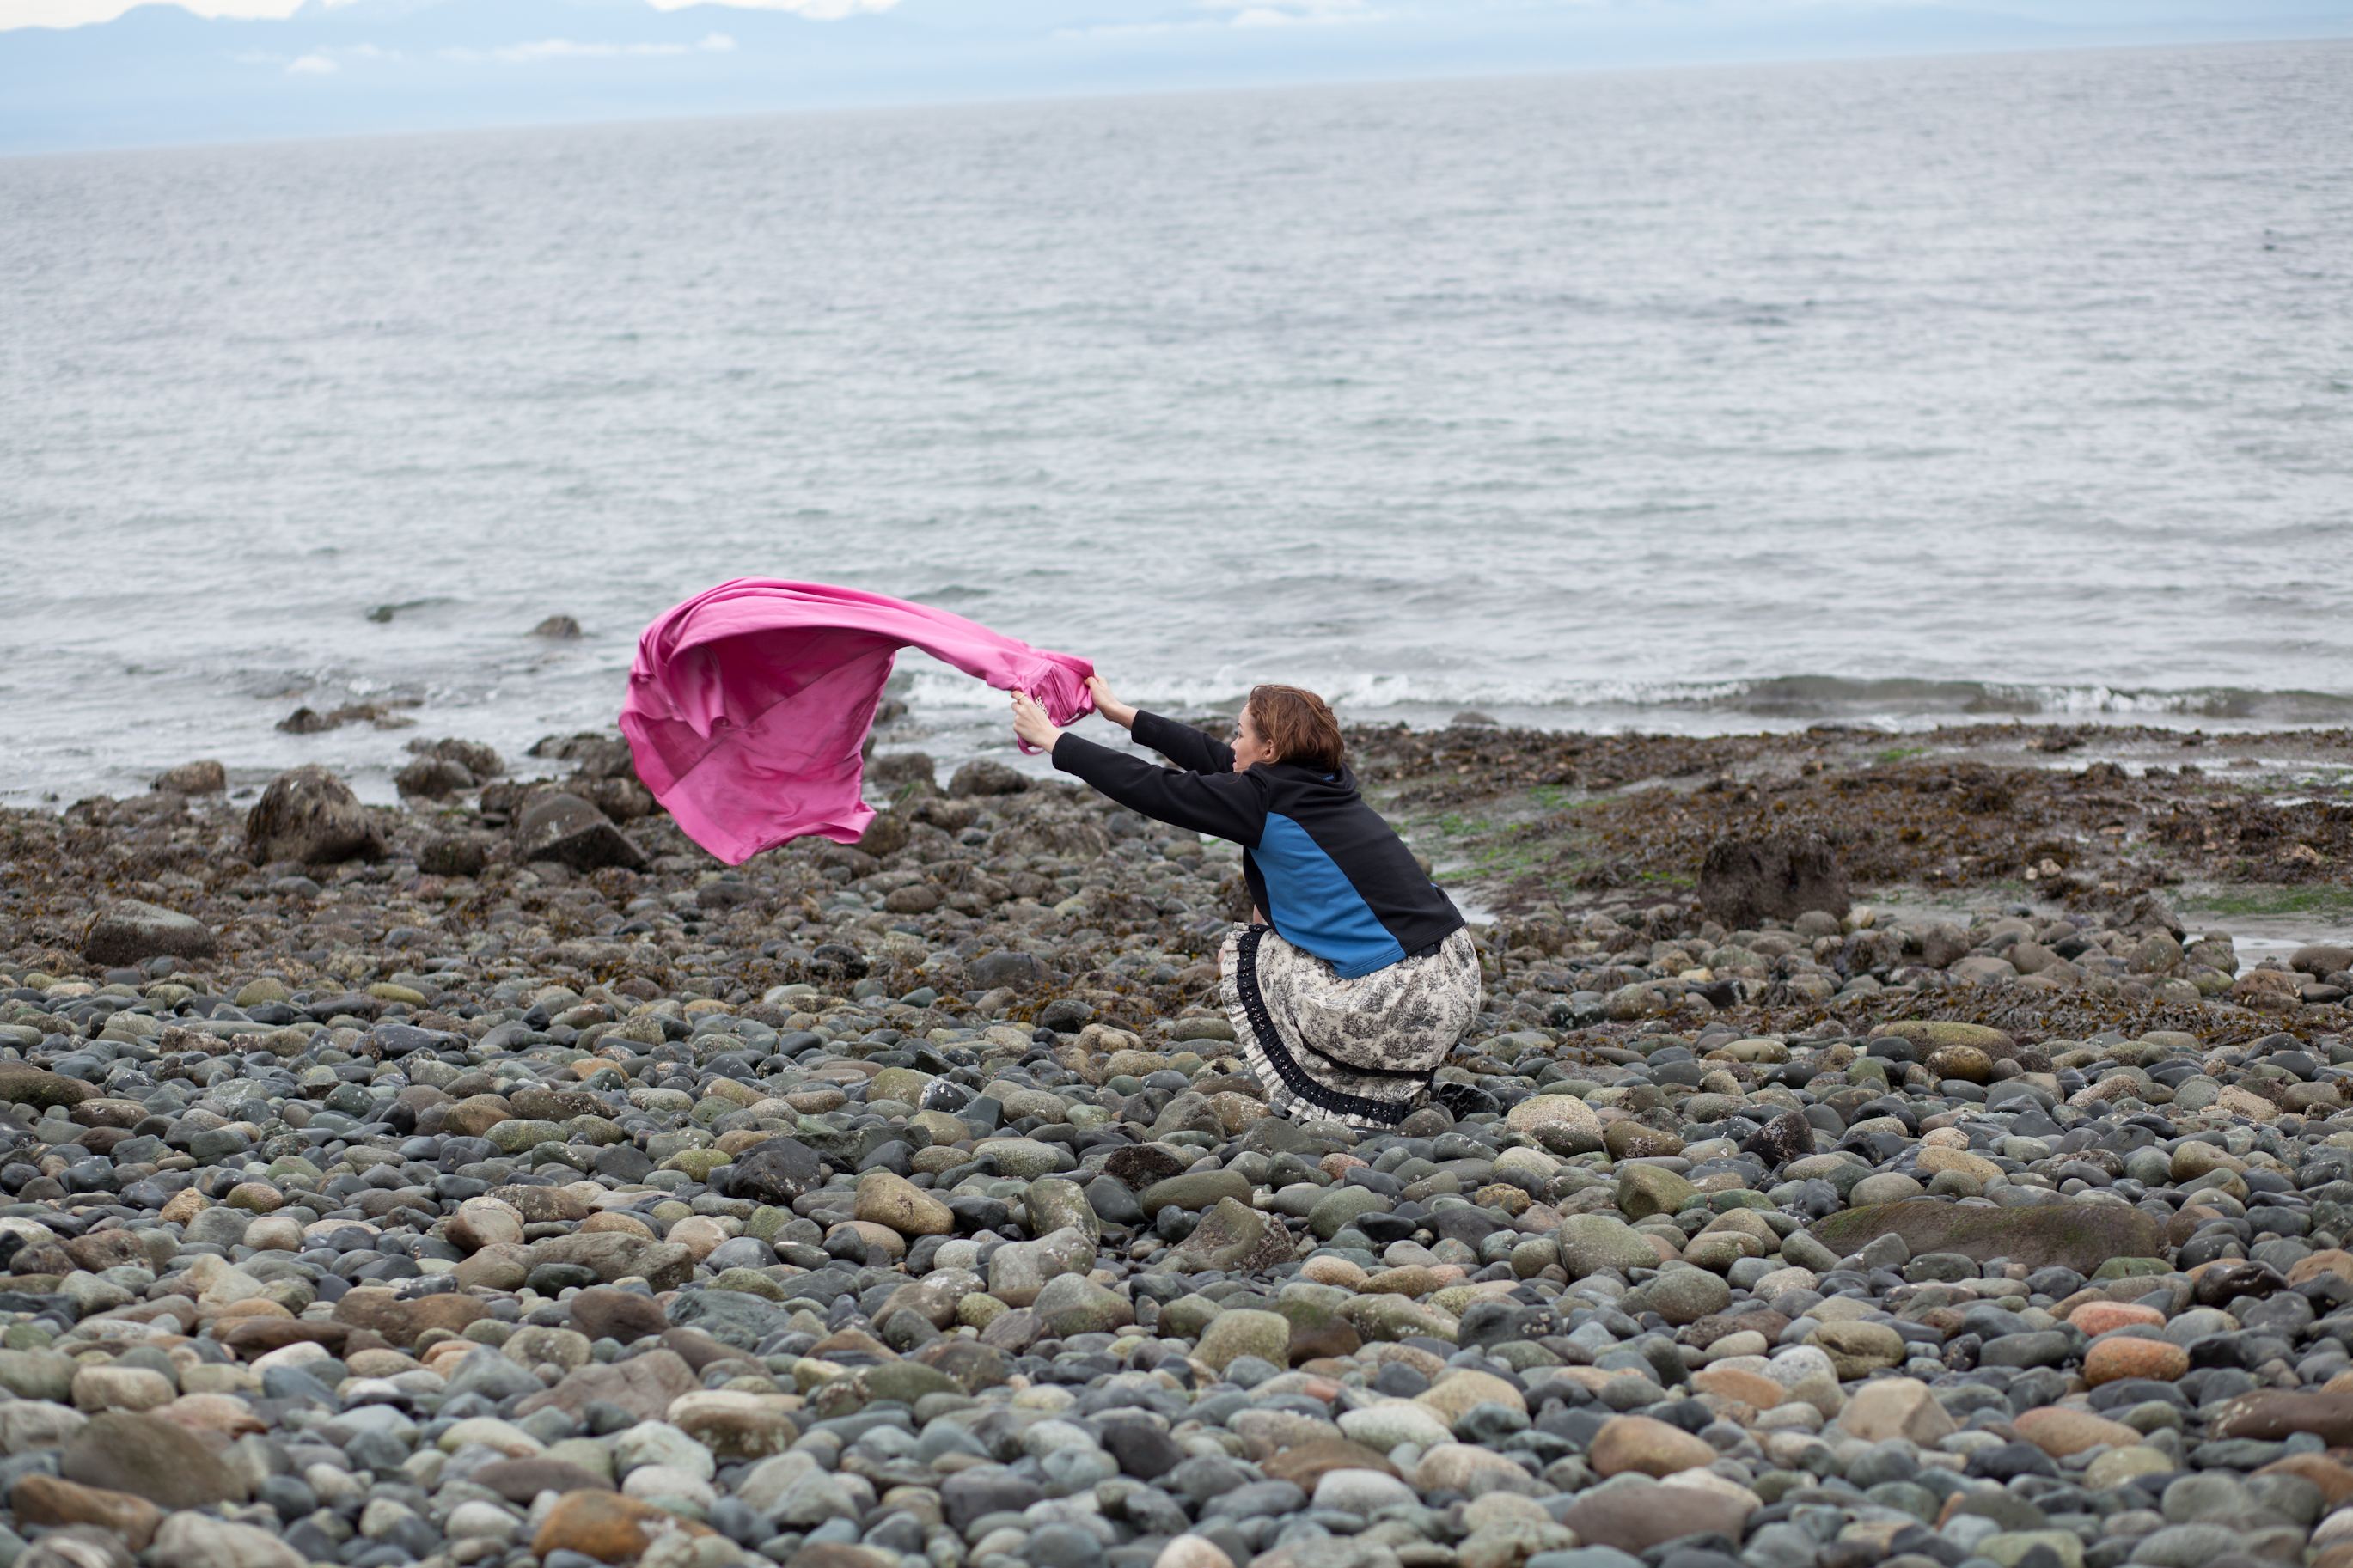
I asked the model to change into her warm clothes and to wave the dress in the wind so that I could composite more of the dress into the final image.
Photoshop
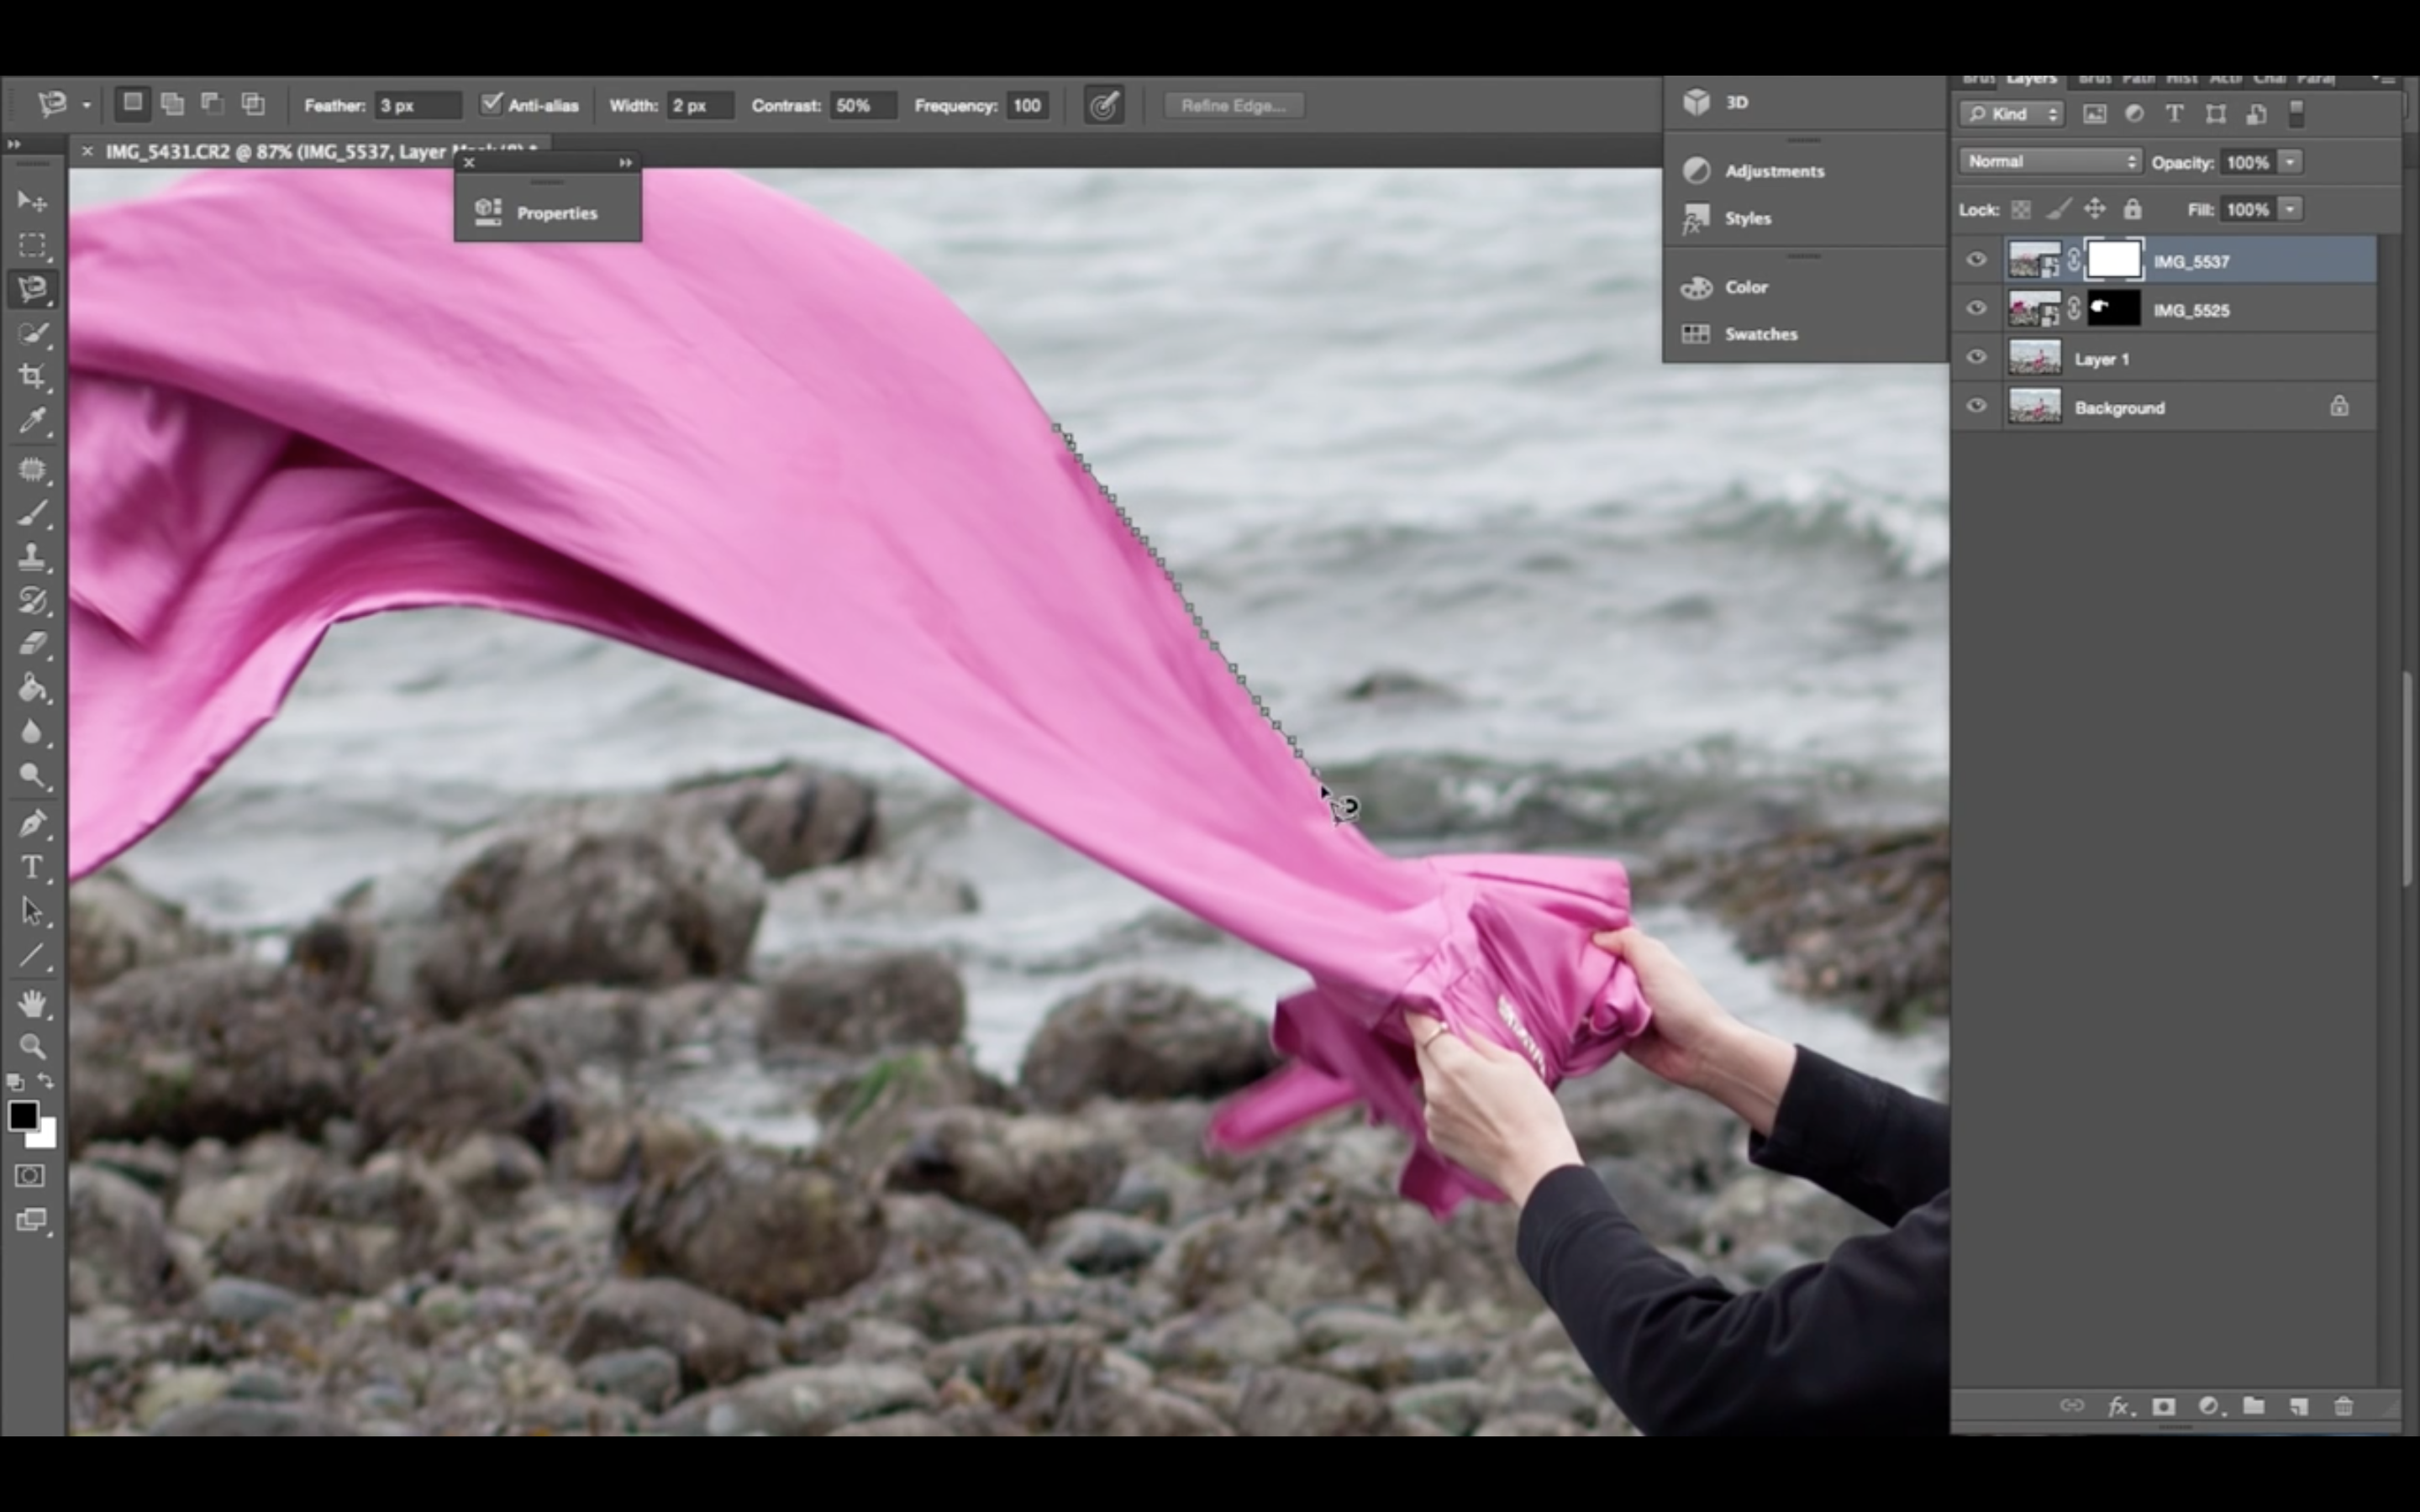
Open the main image in Photoshop and start by placing one of the images of the flowing fabric on top.

Use the magnetic-lasso tool with a small amount of feathering (the more the fabric is blurry the higher the feather). When the selection is complete, right-click the image and choose select inverse. Add a layer mask and paint black where you want the layer to be hidden. Do this for each layer of fabric that you are adding; you may need to go back and forth between each to make it look like one seamless piece.
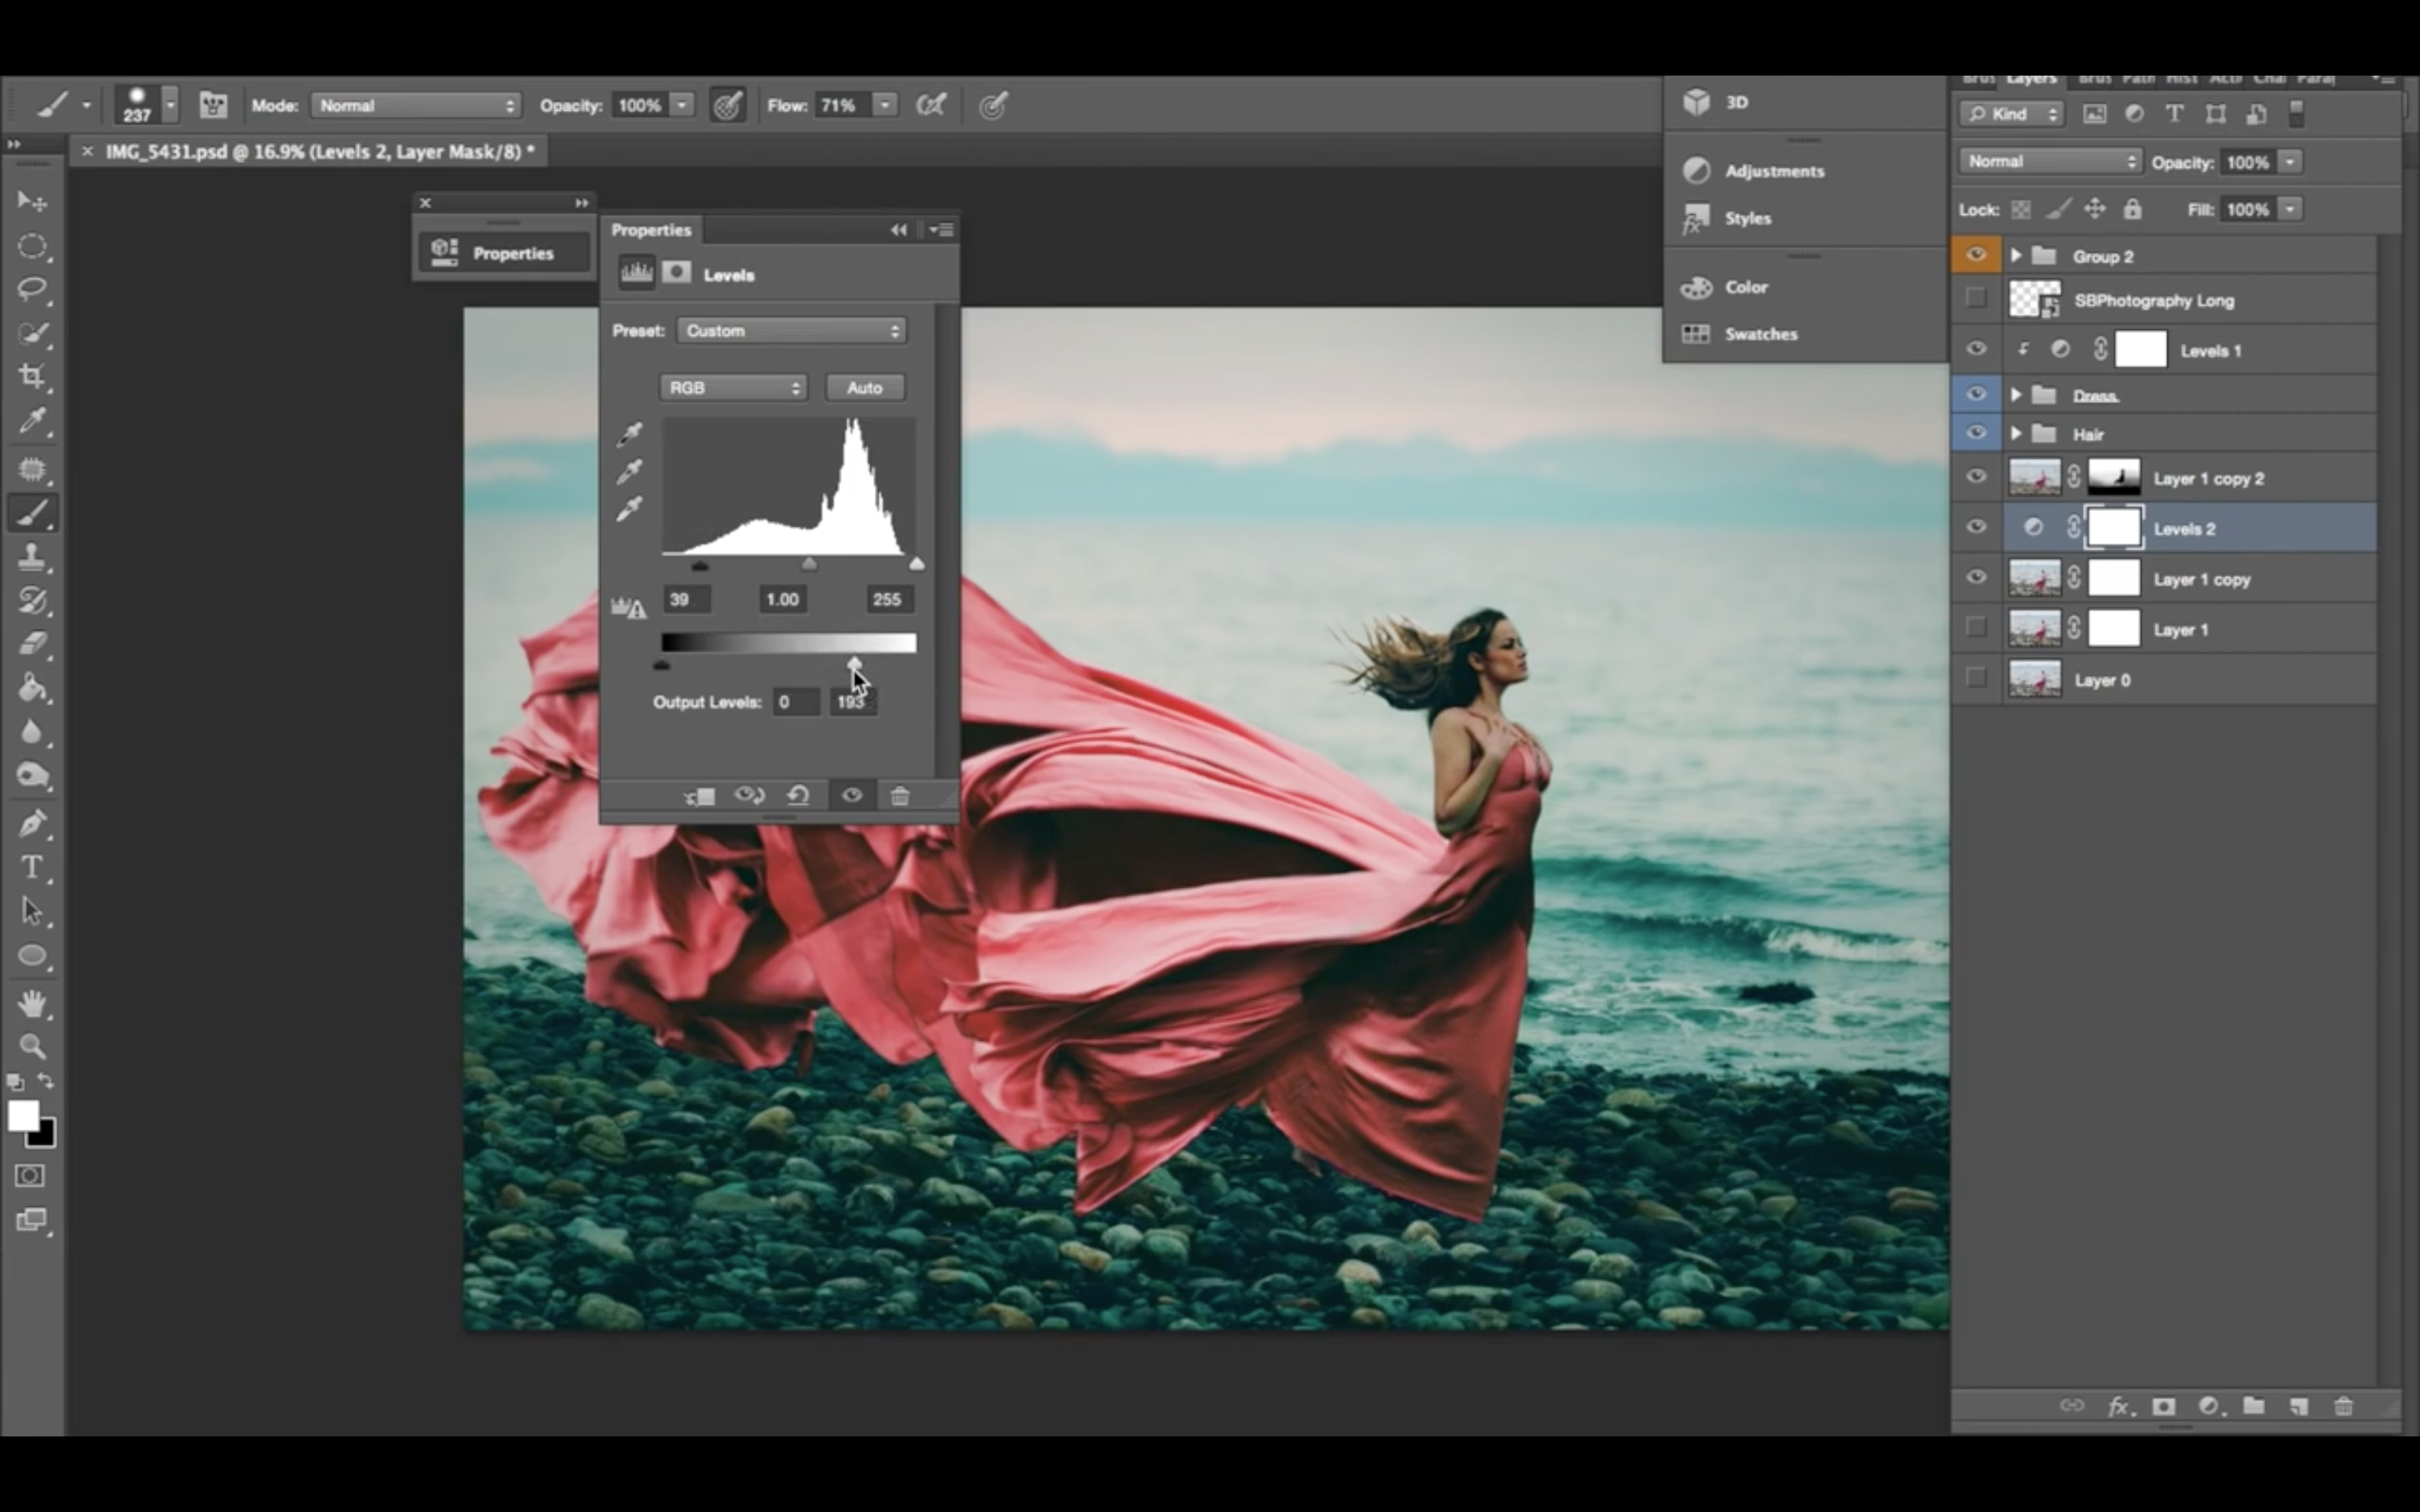
Now, you will need to make a shadow for your newly created item! There are a few ways to do this and here is one of them: create a levels adjustment layer and lower the levels. Invert the layer to fill it with black (Cmd+I Mac/Ctl+I PC). Lastly, paint with white where you want your shadow to be and adjust the opacity of the layer.
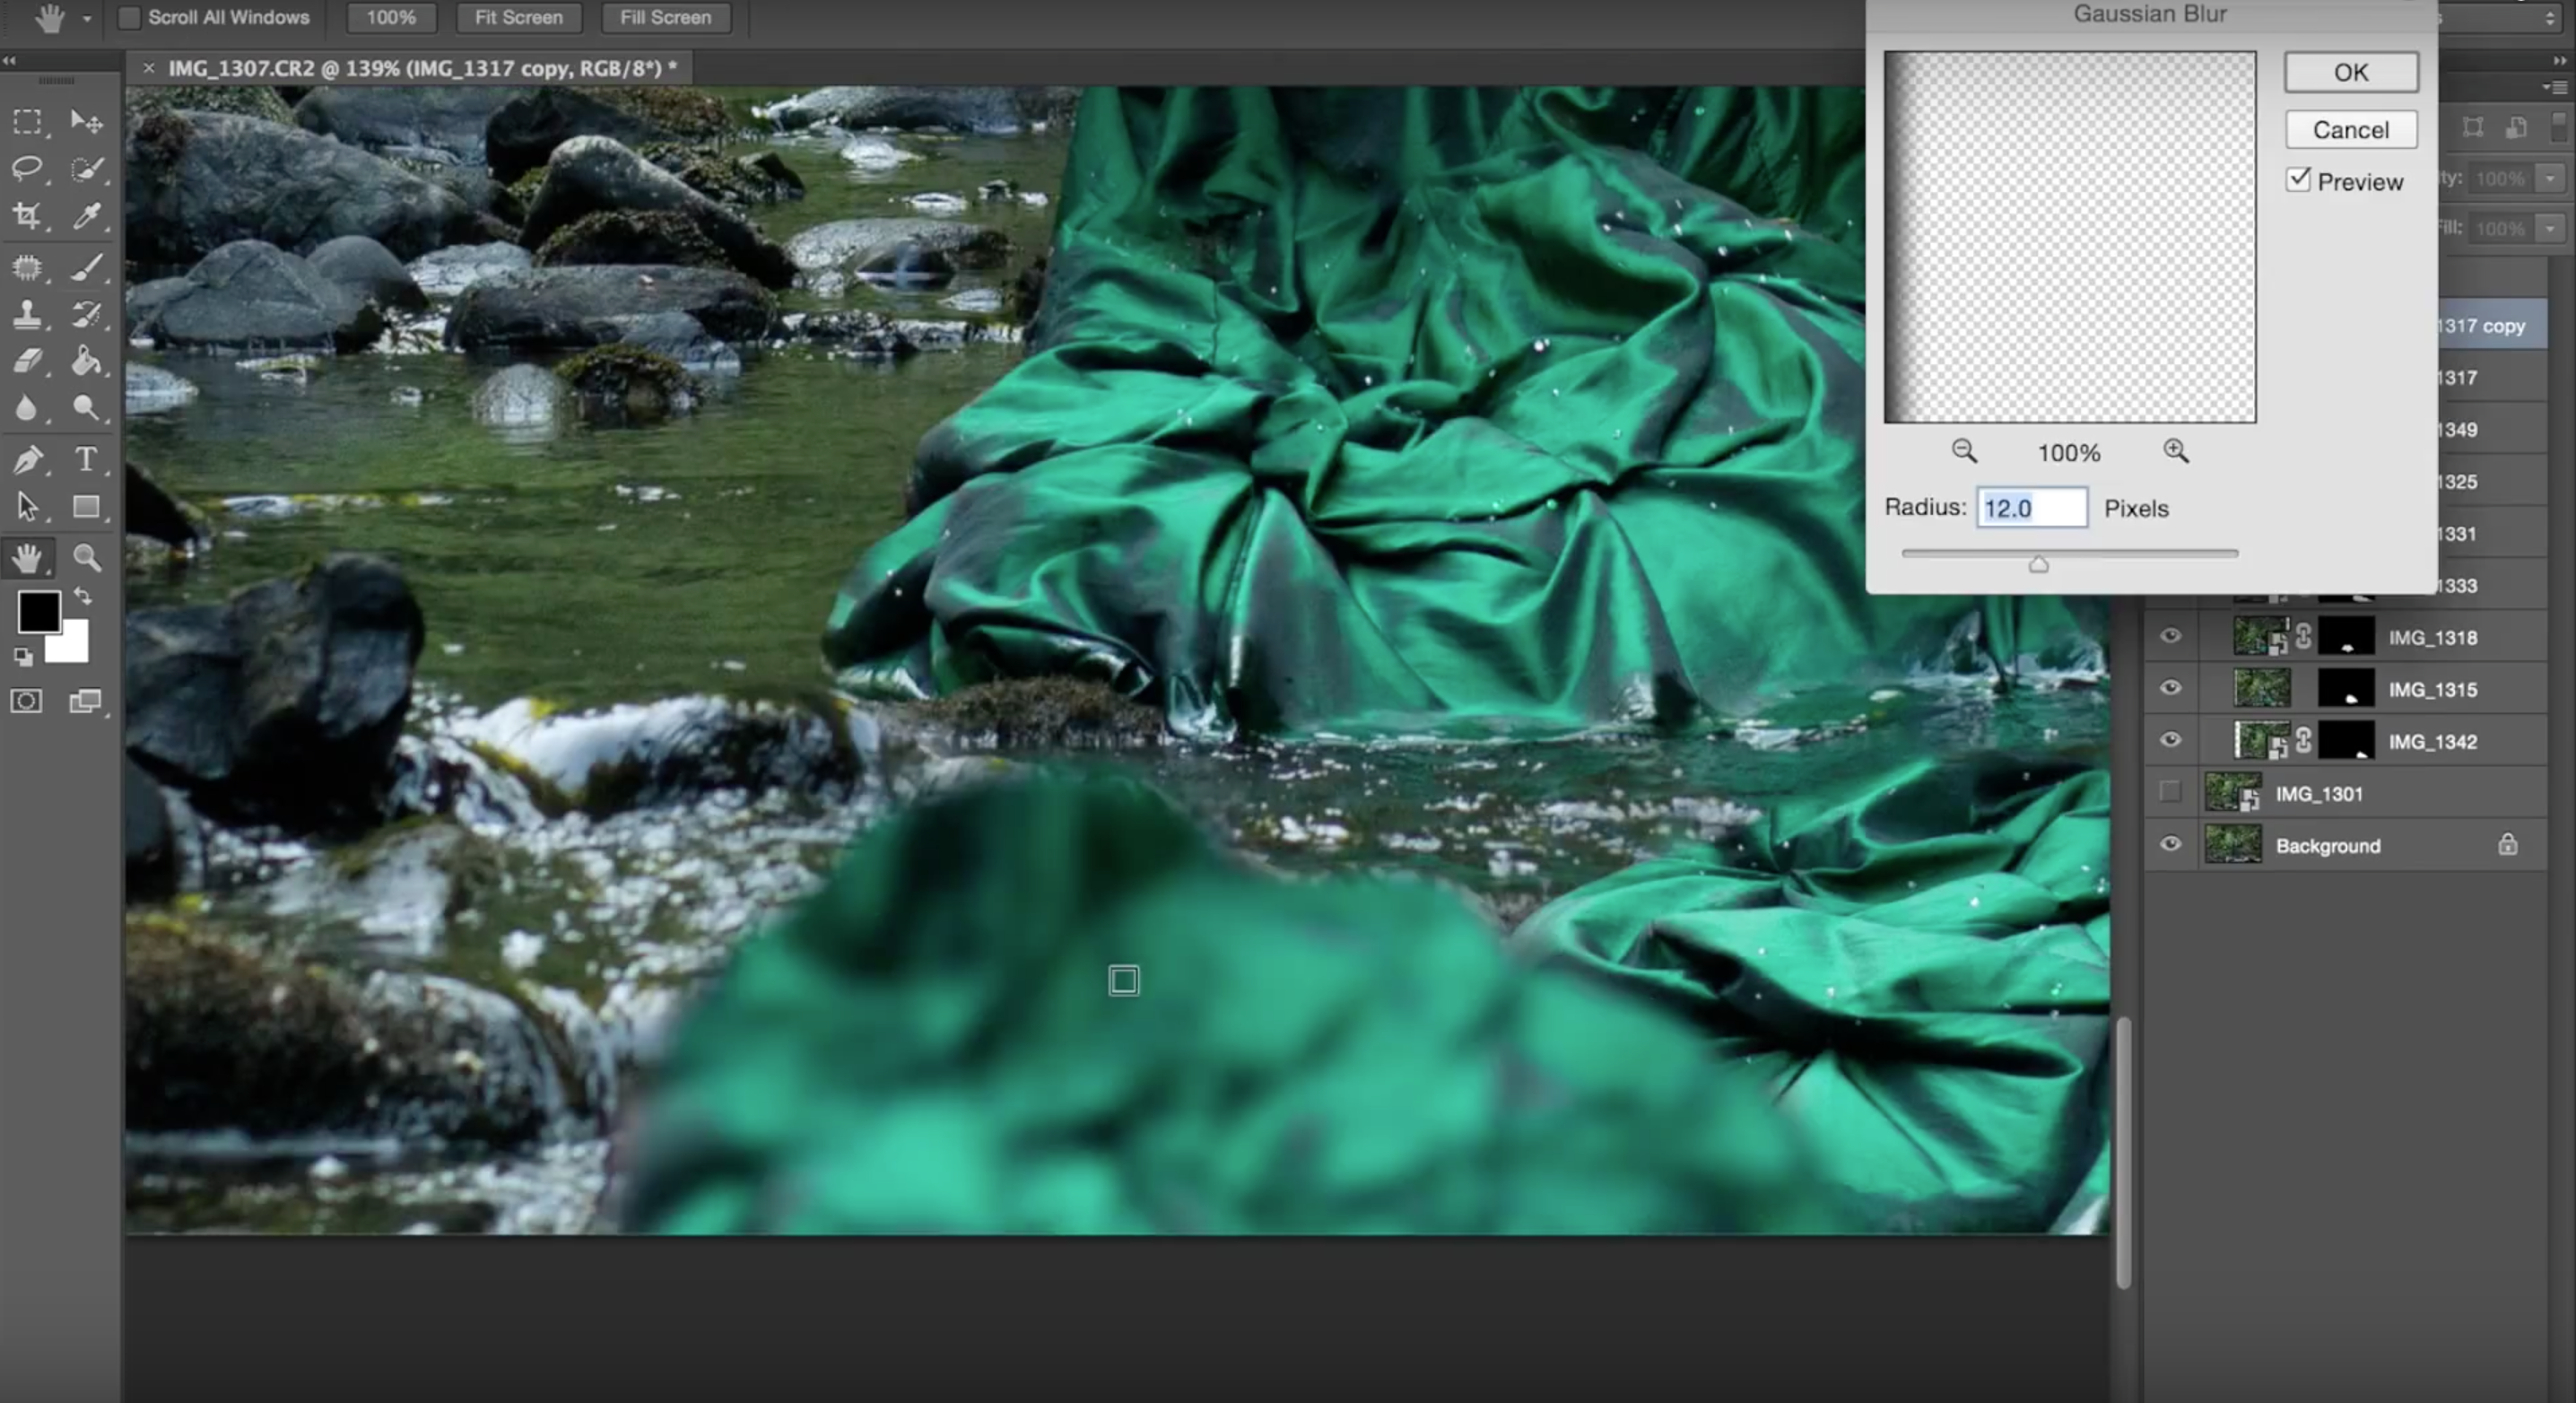
In some instances, you may need to match the blurriness of the fabric to the focal point that it will appear at. In this next image, I needed to do this process to the fabric that was closer to the camera.
To do this, you must select the fabric layer and add a gaussian blur. Play around and see what helps make it fit the most. You may also need to make the edges of the fabric less sharp by painting on the layer mask with a soft brush in black.
If you still notice that the fabric doesn’t look right then try to also burn/dodge certain areas where the light would (or wouldn’t) be hitting it.
I have also created Photoshop speed edit videos for both of these images, if you would like to see the entire process.
Bloom Speed Edit
Marzanna Speed Edit
You can also check me out on these social media platforms:


Comments are closed.