

We’ll have a full video coming soon, but in the meantime, here’s a quick review after spending three days with the $1,800 Sony FE 85mm f1/4 GM, with sample pictures.
Sharpness
First, sharpness isn’t a concern here. It’s impressively sharp. That’s not something I would normally say unless I’d compared it side-by-side to the competition to, say, the Batis 1/8 or the Nikon 85mm f/1.4.
I can say this lens is sharp enough because it’s a portrait lens, designed specifically to give flattering proportions and blur the background. For typical portrait use, the vast majority of the picture will be blurred, anyway, so sharpness is irrelevant. The eyes and eyelashes are sharp, but the tip of the nose and the ears are blurred.
Does it Match your Camera?
SHORT ANSWER: Get the 85mm G-Master for the a6300 or a7R II. For any other body, buy the Rokinon 85mm f/1.4 and manually focus.
You’ll be happy with the sharpness on APS-C bodies like the a6300, where it takes pictures similar to those taken with a 128mm f/2.1 lens. On those APS-C bodies, you’ll have more working distance than you do on full-frame bodies like the a7R II, and facial features will be a bit more compressed. Either way, you’ll have plenty of background blur at your disposal.
I can’t recommend this lens with a body like the a7S, a7 II, or a6000, because they lack the powerful phase detect focusing features of the a6300 and a7R II. The a6000 and a7 II do have phase detect, but it’s less dense than the a7R II and a6300, and doesn’t work as effectively in our testing.
Without phase detect, the focusing accuracy on this lens is going to be very low at f/1.4, and this is a lens that you’ll want to be shooting at f/1.4. Before you spend $1,800 on this lens, you might choose to put that money towards upgrading your body for improved focusing.
If you don’t have phase detect, your best bet is probably to manually focus the lens, and for work like tight headshots wide-open (which this lens is designed for) you’ll have a low-percentage of your shots that are perfectly focused on the eyes. There are definitely people who manually focus an 85mm f/1.4 with good results (our Lightroom book cover was photographed with manual focus). It’s a fun challenge. But manually focusing an 85mm f/1.4 isn’t something I’d recommend to photographers who want to quickly get a shot that is perfectly in focus.
If you are planning to manually focus this lens, buy the Rokinon 85mm f/1.4 instead (which I used to make the Lightroom book cover). It’s not as nicely built, but it’s $270 and still “sharp enough.” It’s also lighter.
Another reason this lens is best matched to the a7R II is that the a7R II has SteadyShot Inside, which reduces hand shake. Without that feature (for example, if you were using the a6300), you’d want to shoot with shutter speeds of 1/200 or higher. That won’t at all be a problem with sunlight or studio lights, but in lower light, that requirement will push you to use higher ISOs and thus reduce your image quality.
Handling
Handling is more important to me than sharpness for this lens. On APS-C bodies, the camera will be extremely front-heavy. This is a big lens; you’ll be placing the camera on the lens, and not the other way around. If you were to mount the camera to a tripod, it would be tough to keep it from tilting forward.
That didn’t bother me, but photographers always ask me if a lens balances well. It’s fine, but it’s definitely not balanced.
I absolutely adore having the aperture ring on the lens. It’s definitely not a necessity; I never minded changing the aperture with the main dial on the camera. Either are equally functional but I just enjoy having the aperture ring on the lens.
The focusing ring is perfect.
Autofocusing
The best way I found to use the lens is with eye-detect autofocus. If you use any of the standard methods of autofocus, like face detect, it will focus on the forehead or nose, and your picture will be noticeably out-of-focus.
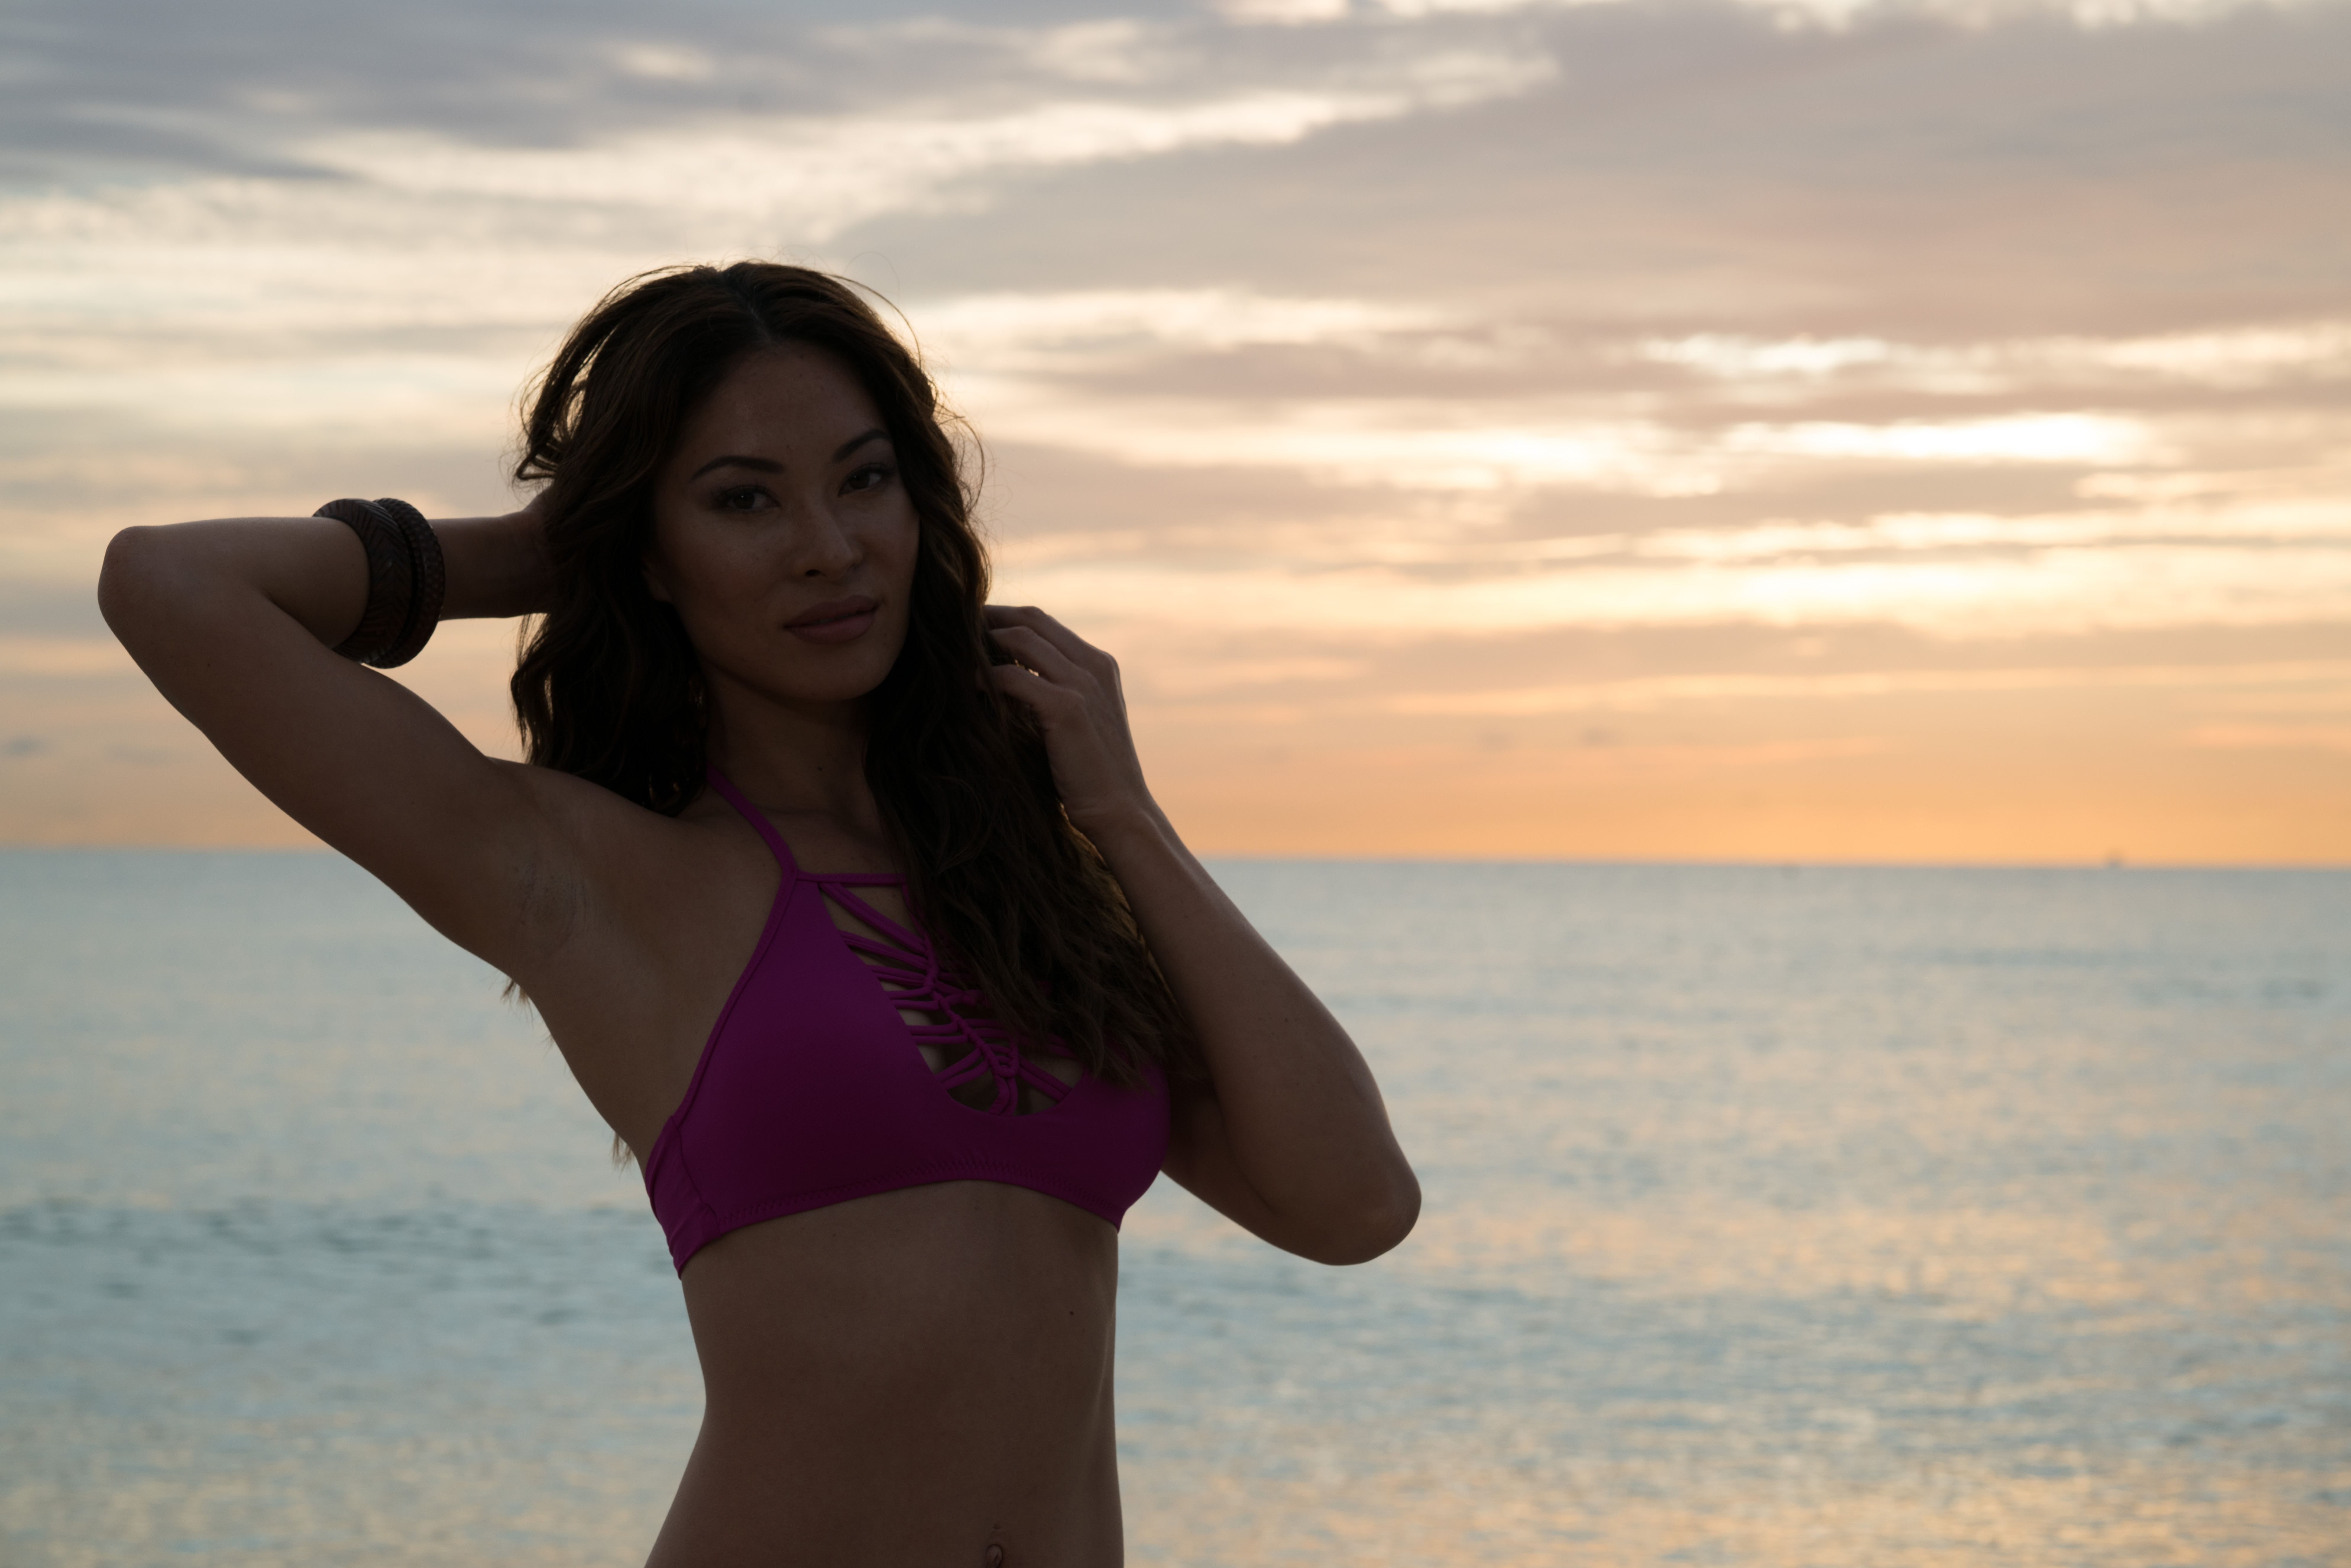
Unfortunately, eye-detect AF is still not 100%. In backlit situations, like shooting into a setting sun, eye-detect failed completely, requiring me to manually focus or auto-focus on the face, rather than the eye. Both techniques produced a lower percentage of sharp shots, which is frustrating.
In well-lit situations, eye-detect AF occasionally failed to find the eye (perhaps the model turned her head or was blinking) and would need to hunt. The camera would take an extra second or so while it hunted. That might not be a problem for your style of shooting; if you’re shooting a family portrait, you can probably wait. But when you photograph a skilled model, you tend to develop a rhythm with the model, like pose-shoot-pose-shoot-pose-shoot, with around a second of delay between shots. When you don’t fire because eye-detect AF has failed, there’s an awkward delay while the model tries to hold her pose, or wonders whether you simply don’t like it and don’t want to waste the frame.
In other words, using this lens in the way it’s intended requires fast, precise, and consistent autofocus. I had the best luck with eye-detect AF, which was fast and precise, but not quite consistent. Nonetheless, it got the job done. It’s definitely not a deal-breaker, and I talked to the folks at Sony about the challenge I had, so perhaps we’ll see a firmware update that improves eye-detect.
Using single-point AF also worked, but that requires you to keep the AF point on the model’s eye. It’s a more primitive focusing system, and closely resembles the system used by DSLRs. With my favorite portrait DSLRs, the Canon 5DS-R and Nikon D810, I use the joystick to place the focusing point on the model’s eye.
Unfortunately, Sony cameras lack a way to specify a focusing joystick, so manually selecting a focusing point takes longer. On DSLR’s, it might take 1/4 to 1/2 a second. On the Sony, it’s more like 3/4 to 1 second. That one second might not impact your style of shooting, but it does break the rhythm of my fast-paced portrait shooting style.
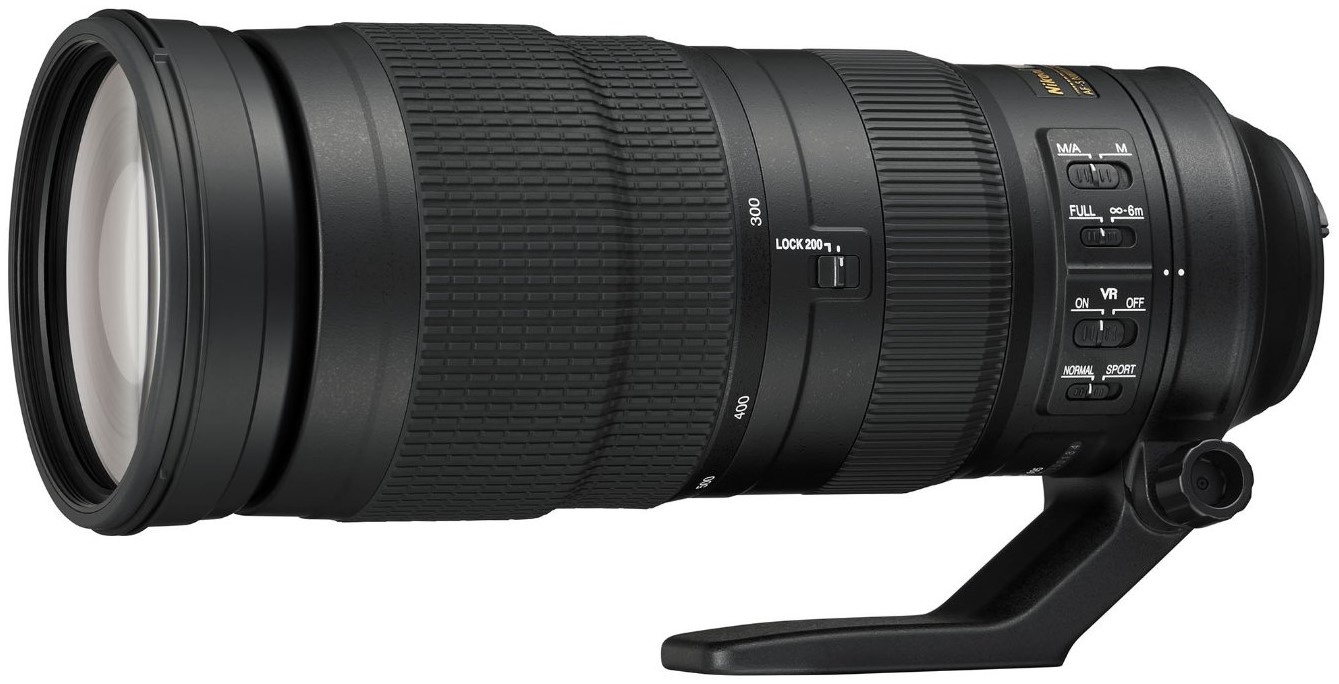
This is not a sports lens, according to a Sony rep I talked to. The focusing system just isn’t up for fast-paced focus tracking. You’ll be happier with the 70-200 f/2.8 G-Master when it’s available.
Note that Sony’s releasing a firmware update for the a6300 and a7R II to help with these cameras. It’s not yet publicly available, but neither is the lens. Make sure you install it for best results with this lens.
Images
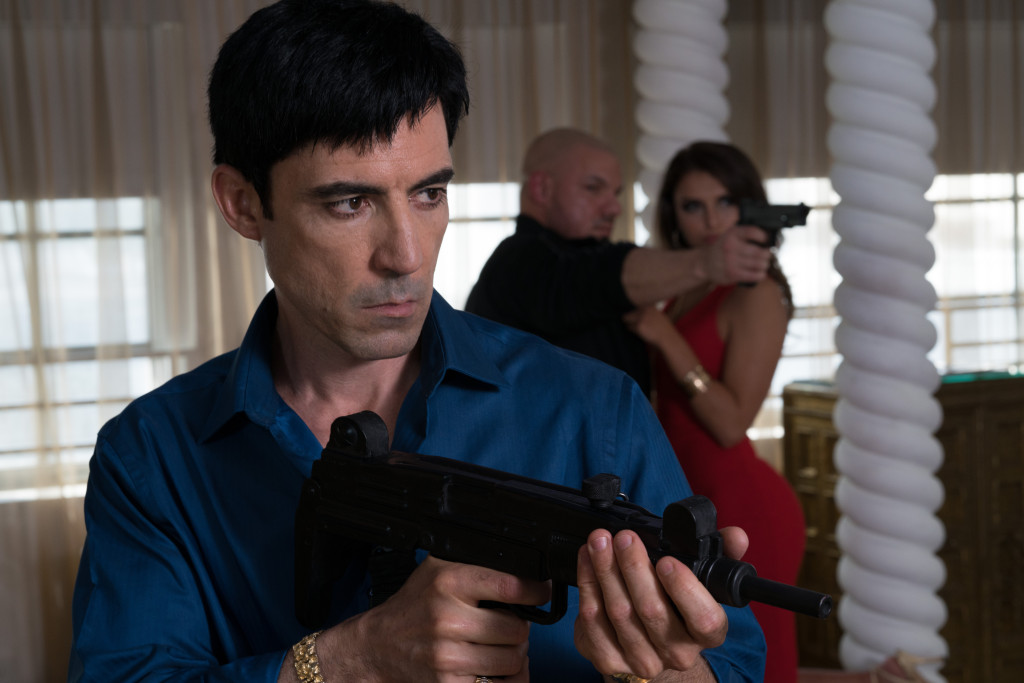
An 85mm f/1.4 lens creates a distinct look that many portrait photographers, including us, just love. The bokeh on this particular lens is nice and round, exactly as I prefer it.
Contrast when shooting into a bright background is a common problem with lower-quality lenses. However, even with a completely blown-out background, contrast seemed perfect. That’s the sign of really high-quality glass.
Click the images to get the full-sized version.

Here’s the original and (lightly) edited versions of another high-contrast shot:


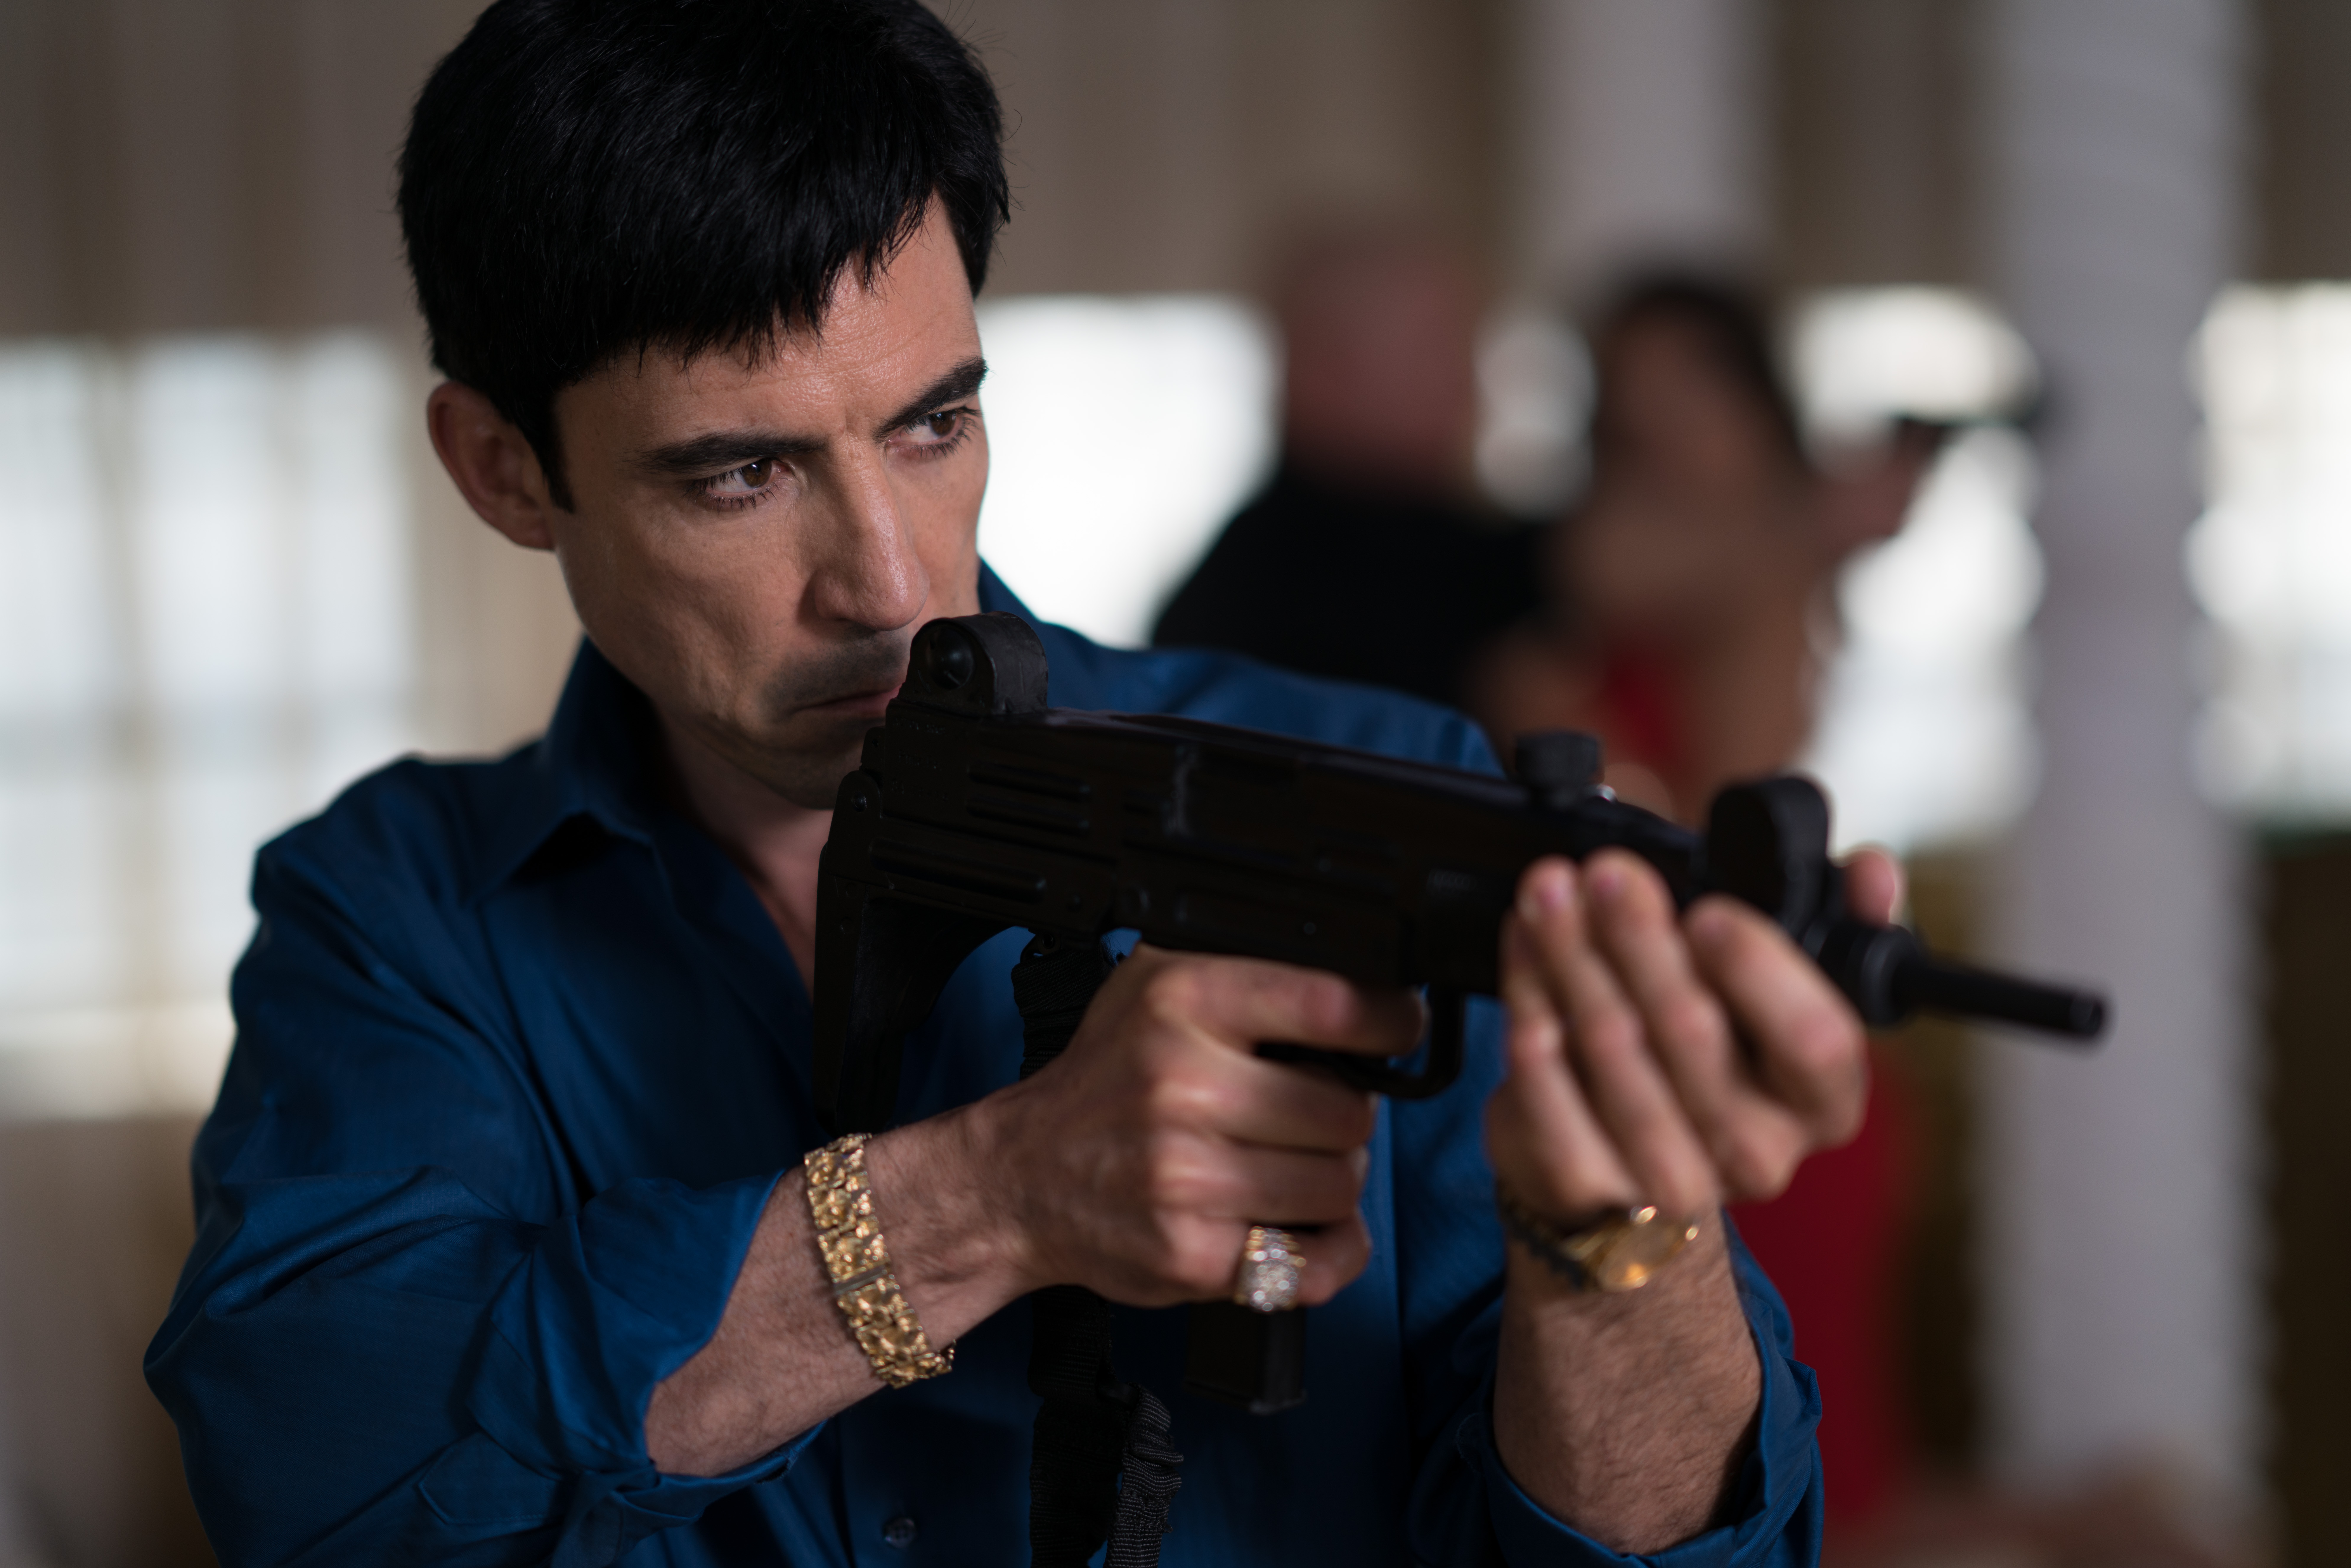
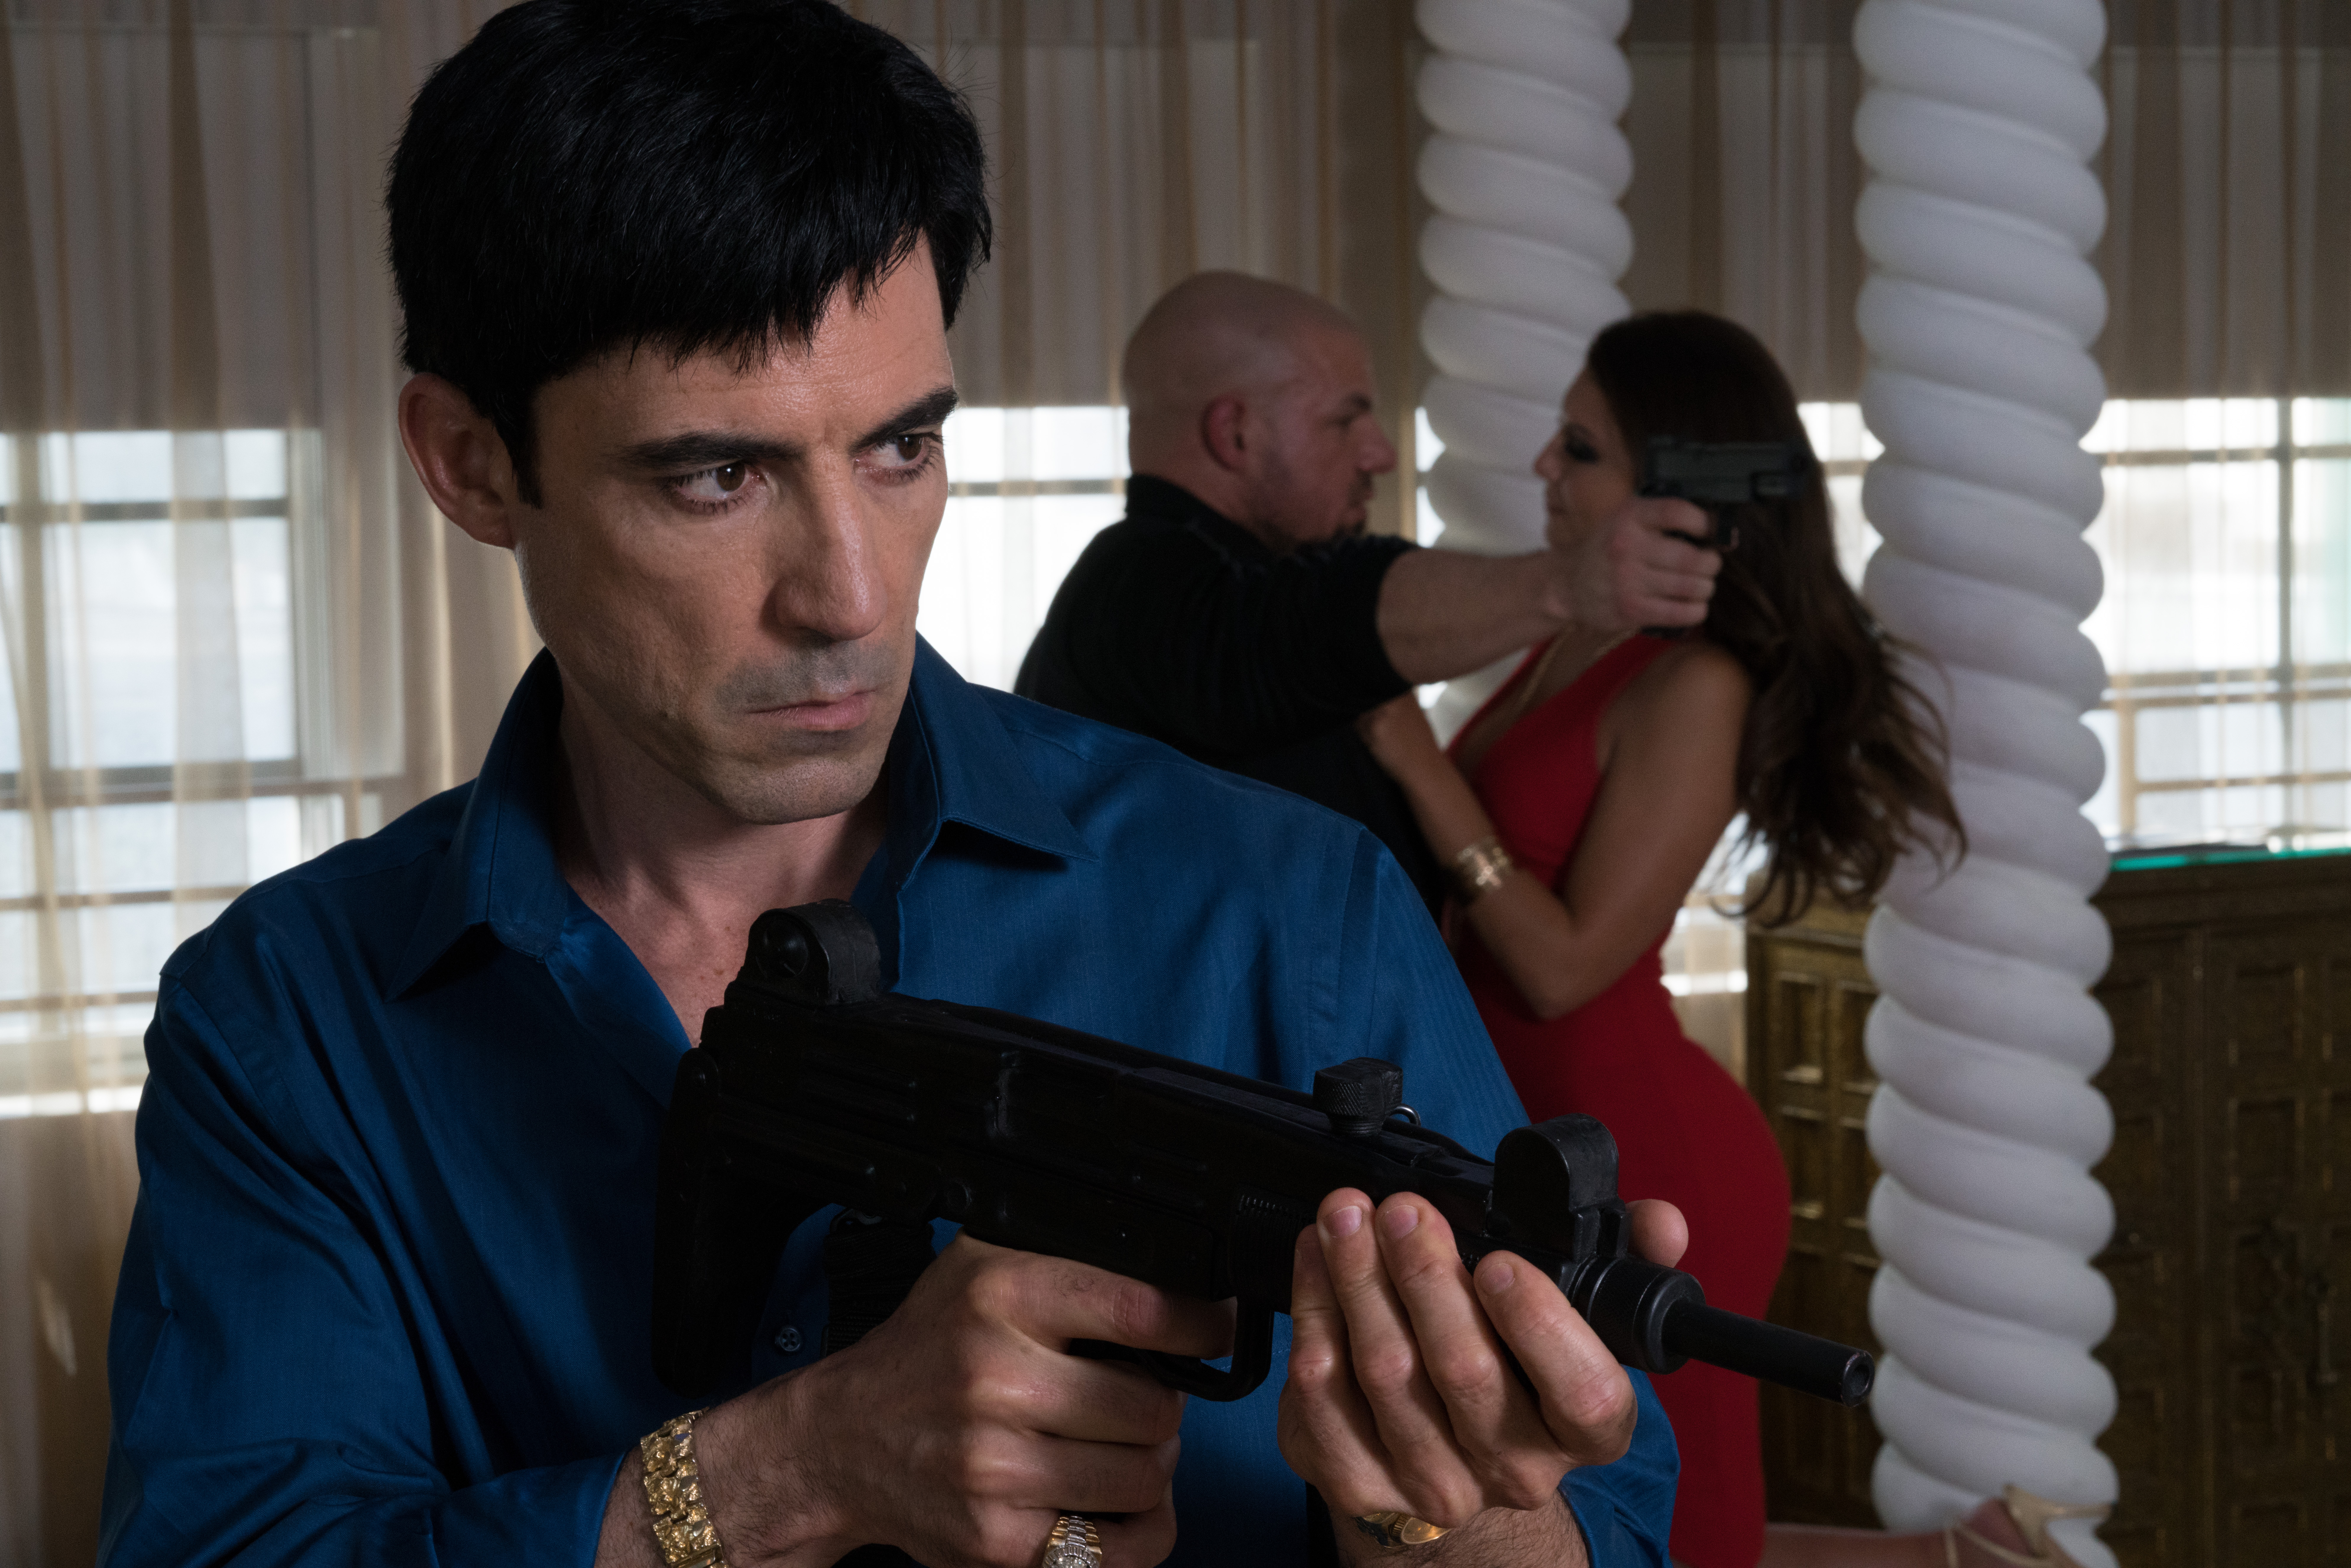
Here are some sample images that Chelsea & I took with the 85mm f/1.4 GM and the Sony a7R II.


Here are example shots at f/1.4, f/9, and f/16:


Should You Buy the Otus or Batis Instead?
Here’s a summary of the four most popular native 85mm lenses for Sony E-Mount:
- Rokinon 85mm f/1.4 ($270). It’s manual-focus only, but it’s only $270, and the image quality is great. You’ll miss many shots without autofocus, but it’s a great way to determine if you like the focal range. If you have a slower-paced style, it might be the only lens you need.
- Batis 85mm f/1.8 ($1,200). This lens isn’t yet available to us, but from the early reviews I’ve seen, it’s a great lens. It won’t have quite as much background blur as the faster f/1.8 lens, but it’s smaller, cheaper, and lighter. It also lacks that great aperture ring.
- Sony 85mm f/1.4 G-Master ($1,800). If you aren’t phased by the price tag, this is currently my favorite lens in the Sony lineup. It’s expensive, but worth it.
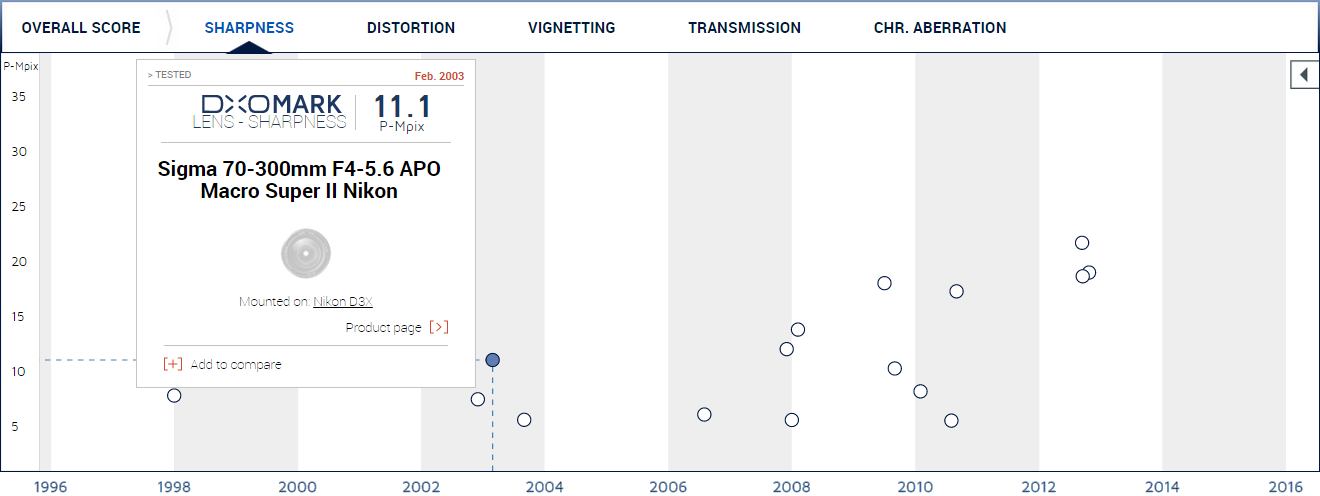
- Zeiss Otus 85mm f/1.4 ($3,750). My friend Matt Granger loves this lens, and DxOMark says it’s one of the sharpest lenses ever made. I wouldn’t use it, however, because it lacks autofocus, and if you even slightly miss focus, all that sharpness is meaningless. Most photographers will get sharper results by autofocusing with the G-Master lens. Also, this lens is extremely heavy, and hand-holding it for longer shoots will tire you out (and possibly introduce more camera shake, further reducing sharpness). It’s a great lens, but it’s not as practical as the G-Master.
Summary
Before this lens existed, Chelsea and I never enjoyed the experience of shooting portraits with a Sony camera. Sure, it was possible, and many people get great results with Sony portraits. But the lack of an autofocusing 85mm f/1.4 and 70-200 f/2.8, our two favorite portrait lenses, meant we just grabbed a Canon or Nikon instead.
Now, I’d happily grab the Sony a7R II and 85mm f/1.4 instead of a Canon or Nikon. It gets the job done and is fun to use. We’re still waiting to review the G-Master 70-200 f/2.8, which will determine whether the Sony lineup is really ready to completely displace Canon and Nikon for traditional professional portraiture. Stay tuned for that review!


