Phew, this project was a lot harder than I expected. So natural framing is shooting through an object or structure to frame your subject. I had an idea of where I wanted to shoot, and one day to wrangle my family to get outside and do it. The whole day was clear and blue, but I wanted to wait until right before sunset to go out and shoot. So, naturally, it suddenly got very cloudy and my plans were dashed, but we went out anyway. We went hiking to a spot I knew had a cave I could shoot out of, and then to a spot with rows of overpasses covered in graffiti.
Most of these shots wound up noisy and I missed focus most of the time. While I like these shots because my family is in them, they certainly aren’t my best.
I use an Olympus E-M10 with a Lumix 14-42mm f/3.5-f/5.6, which has proven to be pretty terrible in low-light. I shot, as usual, in aperture priority with auto-ISO.
Here’s what I came up with:
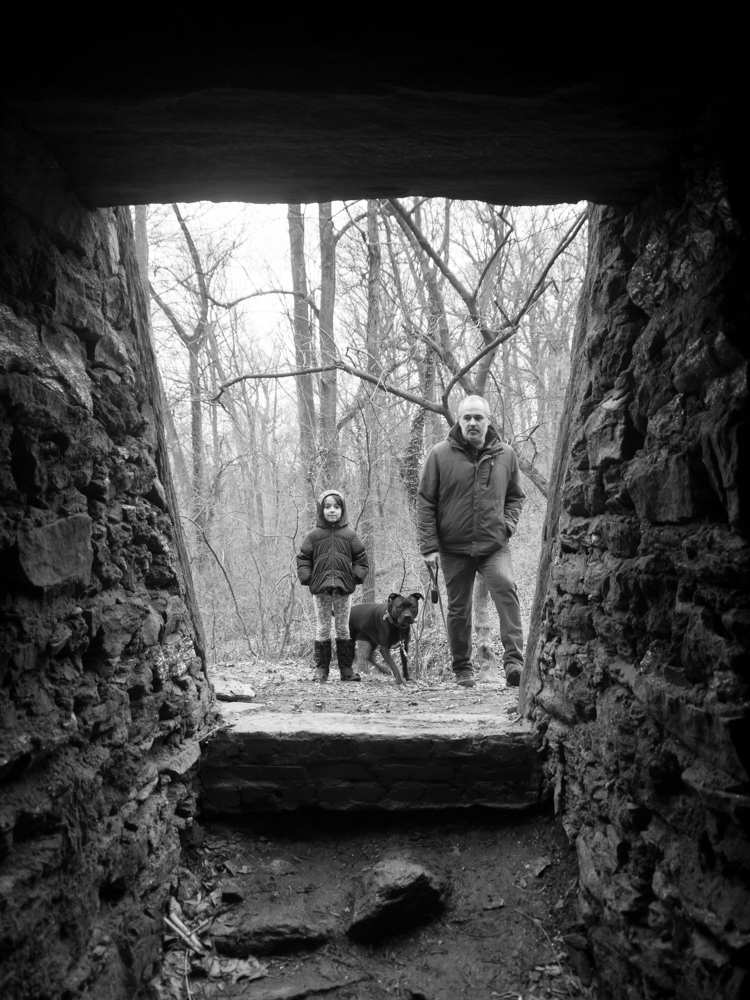
1/80th, f/3.5, ISO 250
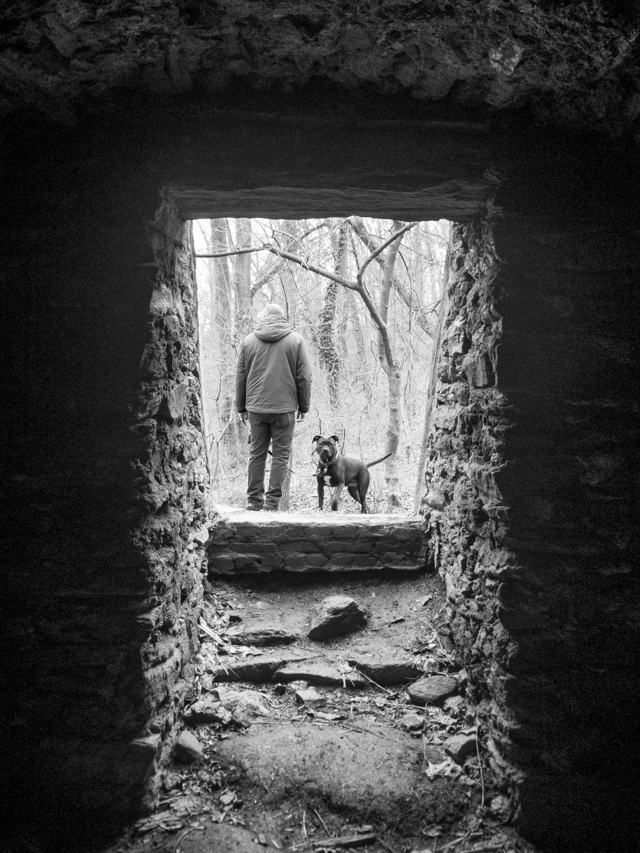 1/60th, f/3.5, ISO 640
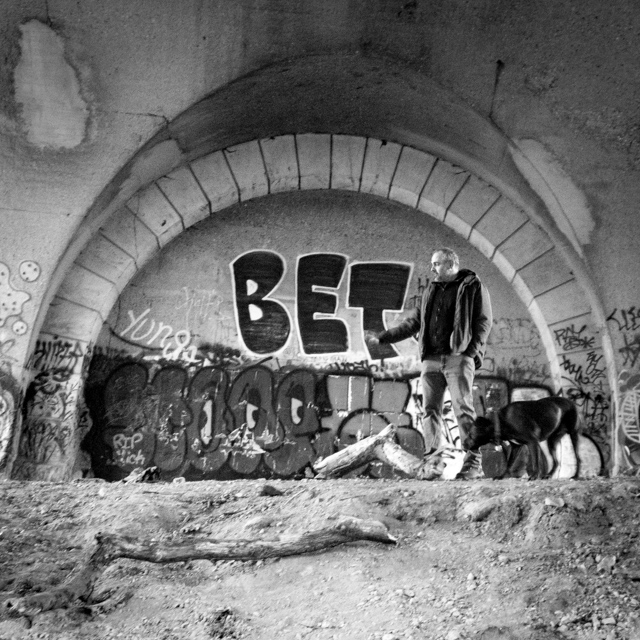
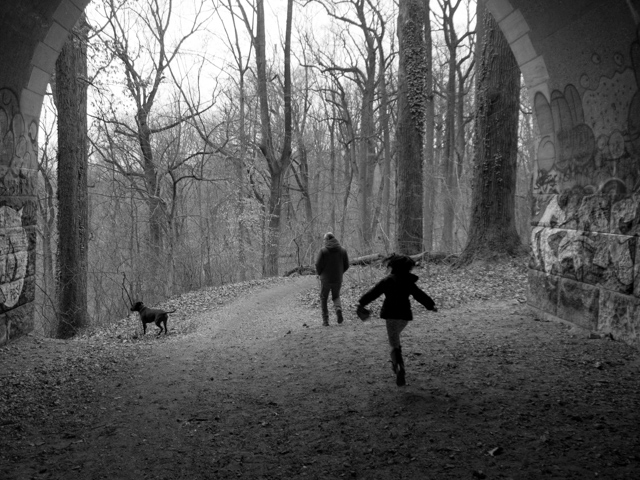
1/13th, f/3.9, ISO 1600
1/80th, f/3.5, ISO 500
I chose to go black and white with all of these shots because the framing was the most important element. I edited following the “top tip” of course:
It was particularly difficult to adjust the exposure on these shots since I was shooting from a dark place into a bright place or vice-versa. I used an adjustment brush to edit the bright areas separate from the darker areas. If you haven’t gotten it already, our Lightroom book is super helpful for all of these editing tips.
So did any of these work for you? What ideas have you come up with for natural framing? I’m excited to see everyone’s attempts this week!