In this video, we show you how to use layers and masks in Adobe Photoshop.
Layers and masks work together to allow you to blend together multiple pictures. You can even blend different versions of a single picture, as I demonstrate in the video above.
 Layers
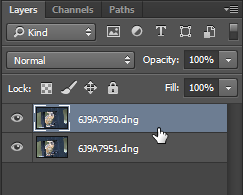
Stack multiple images together. If you don’t see the layers panel, select Windows | Layers or press F7. You can drag-and-drop layers to change the order. Layers on top will always hide layers below. In more complex projects, you might have dozens of different layers. If you’re finding it hard to stay organized, select multiple, related layers by Ctrl-clicking them (or Cmd-clicking). Then, right-click them and select Group from Layers, shown next. 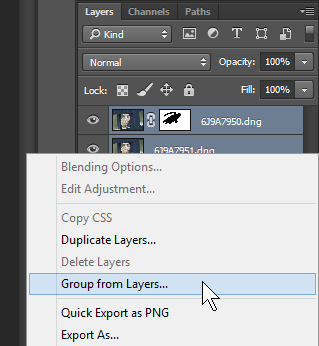 That groups the layers together so you can collapse them and simplify your view of layers. It also helps to rename the layers by double-clicking the layer name.
 Masks
Masks
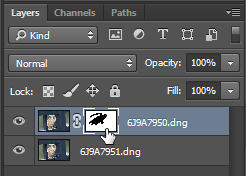
Masks (shown to the right) control which parts of each layer are visible. Applying a mask to a top layer can allow you to see through it to make lower layers visible. Layers don’t have a mask by default. To add a mask, select the layer and then click the Mask button at the bottom of the Layers panel, shown next. 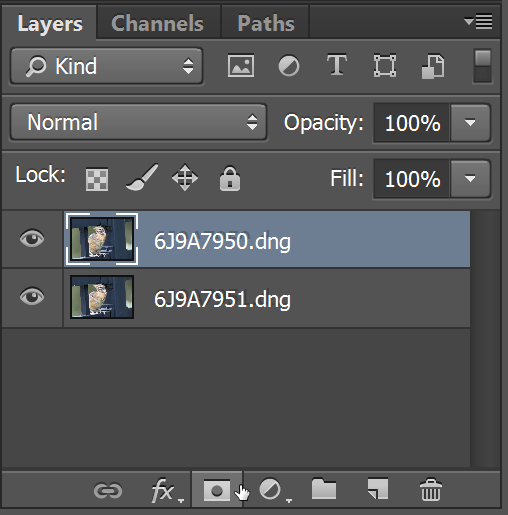 Photoshop creates a solid white mask, which doesn’t change your picture at all. Any white parts of the mask make that part of the layer visible. If you want to hide parts of that layer, paint black. You can use the brush tool to paint black over the layer mask. Make sure you have the layer mask selected, or you’ll paint black over your picture. You don’t have to work with only black and white. Painting grey allows a layer to be partially transparent. As demonstrated in the video, you can use smooth gradients to blend different pictures together.