As photographers, we use our cameras to capture two dimensional images of our three dimensional world. Via aperture, focal length and focus, we manipulate our photos to give them dimension. We do our best to set them apart from casual snapshots.
Another way to create a sense of depth and interest in an image is with the use of reflections. They can support a subject, be the subject, or even link elements of an image together in creative ways, resulting in a photo that rewards the viewer for looking more closely at your shot. It’s these types of engaging images that can set your work apart from a sea of sameness.
But I’m a (Insert Label) Photographer
These techniques aren’t applicable to any one style of photography. Nature shooters can showcase detailed clouds in still water. Architecture near fountains or rain puddles can be turned into an M.C. Escher-like maze of lines. Those interested in street photography but are nervous about it’s sometimes intimate nature can use window reflections, creating compelling slices of life without the subject noticing them. There’s no limit to how you can leverage this creative tool.
Architectural Reflections
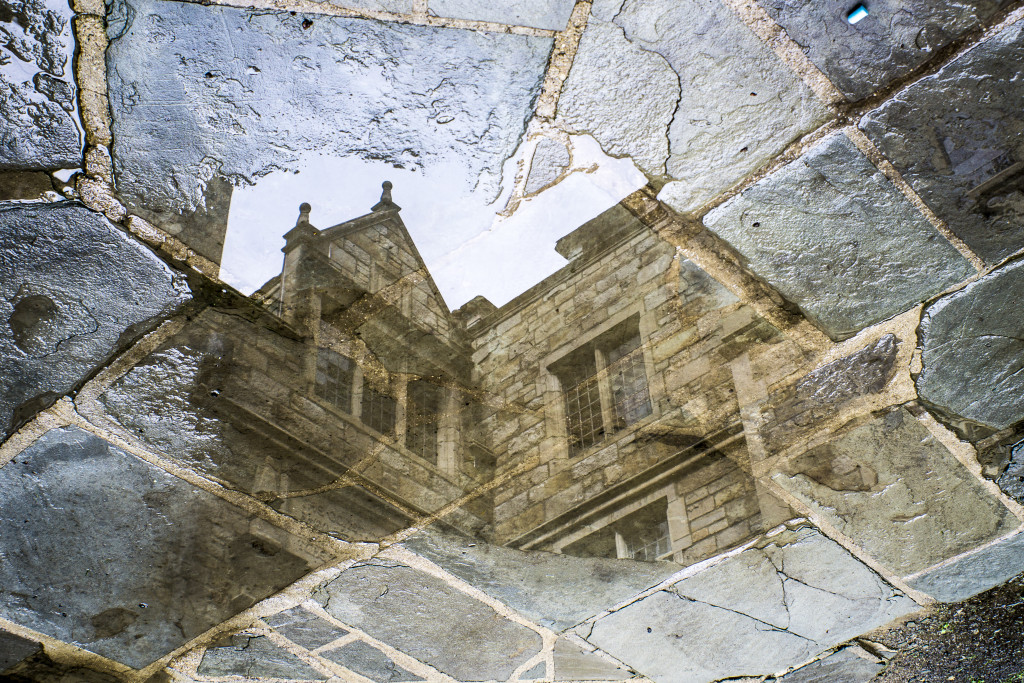
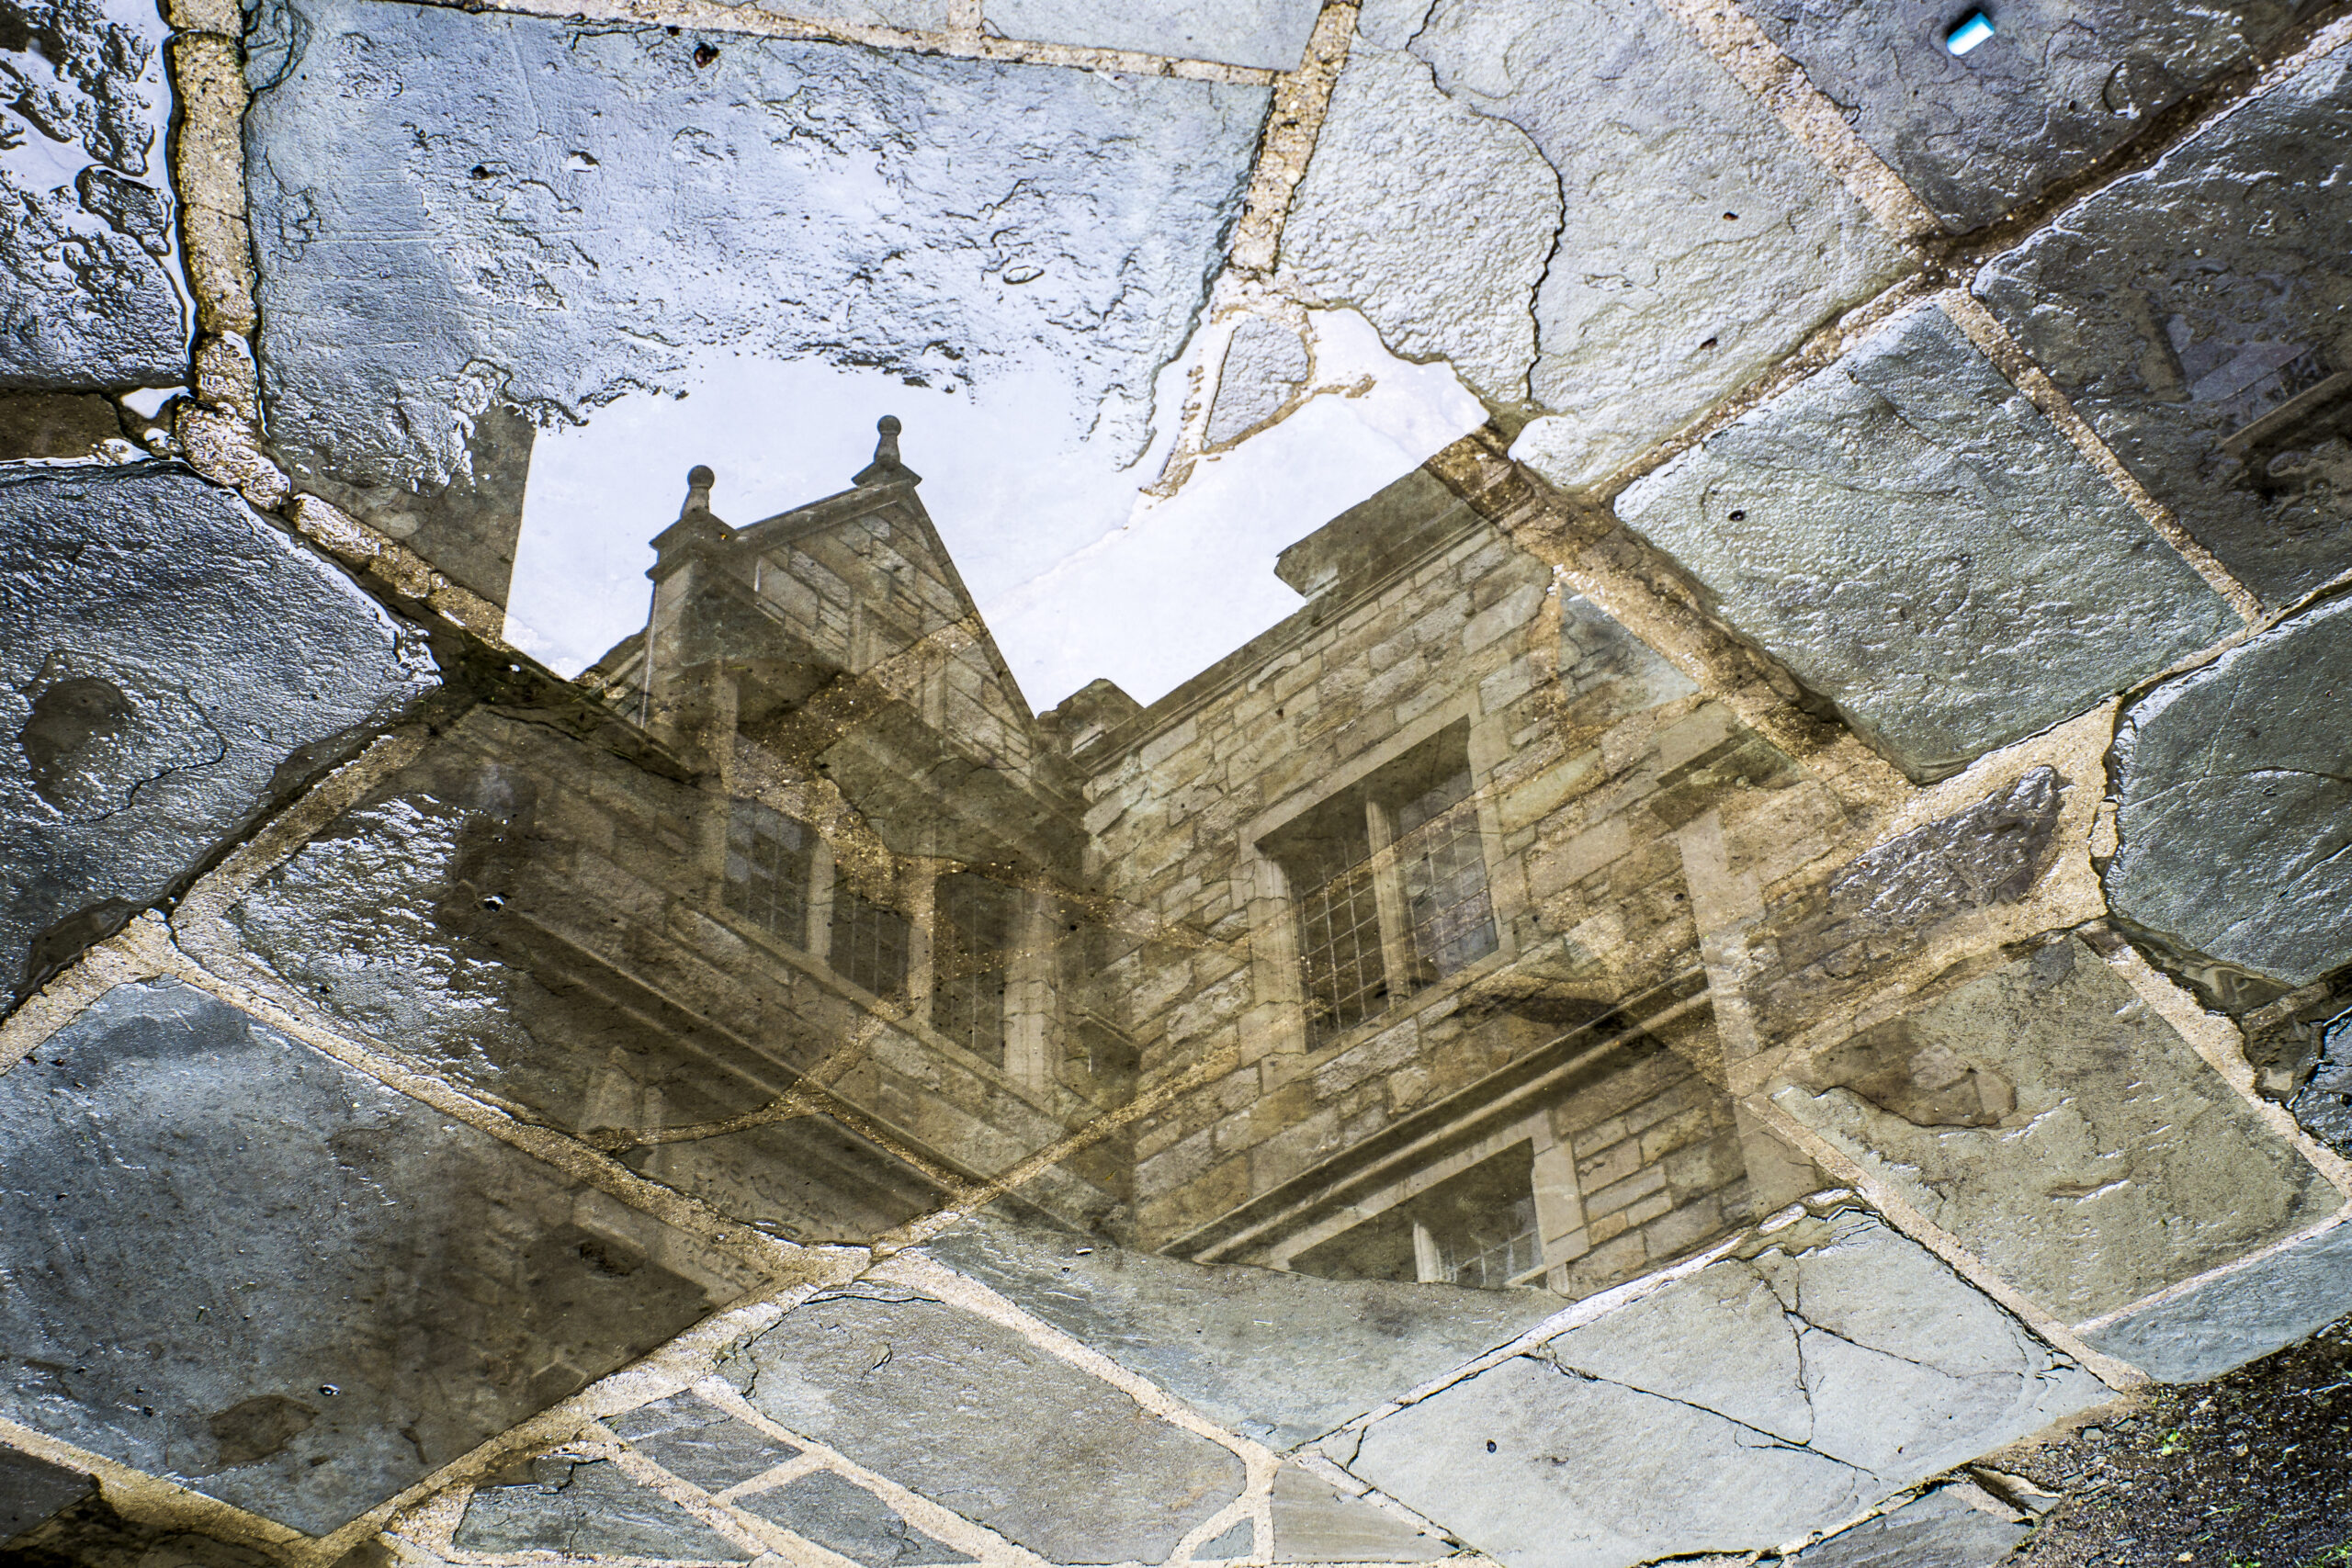
This image features the unique character of the University of Michigan’s Law Quad. I was out shooting after a long day of rain. I started noticing reflections in puddles along the incredible stone walkways. One of the puddles was at a corner of the quad. It presented the Gothic styled building at an inside corner. With my 37mm equivalent lens I focused to infinity and worked the angles until the lines of the grouted stone matched the architectural lines of the structure. This puddle, available for only a short time, allowed for multiple elements of this historic quad to be shot at once.
Reflections in Street Photography

In this street shot we have an example of reflections leveraged as both a storytelling element and a subject. The lines of the sidewalk act as a vision cone. This links the very life-like mannequin on the left to the blurred human form on the right. Here I focused my 60mm equivalent lens through the glass onto the eye of the head and identified the “vision cone”. Once I had those elements in place I simply waited for a person to walk into my frame. I used my camera’s burst mode to get the stepping of the man they way I wanted. A key part of the process here is manual focusing; but more on that later.
Landscape Reflections
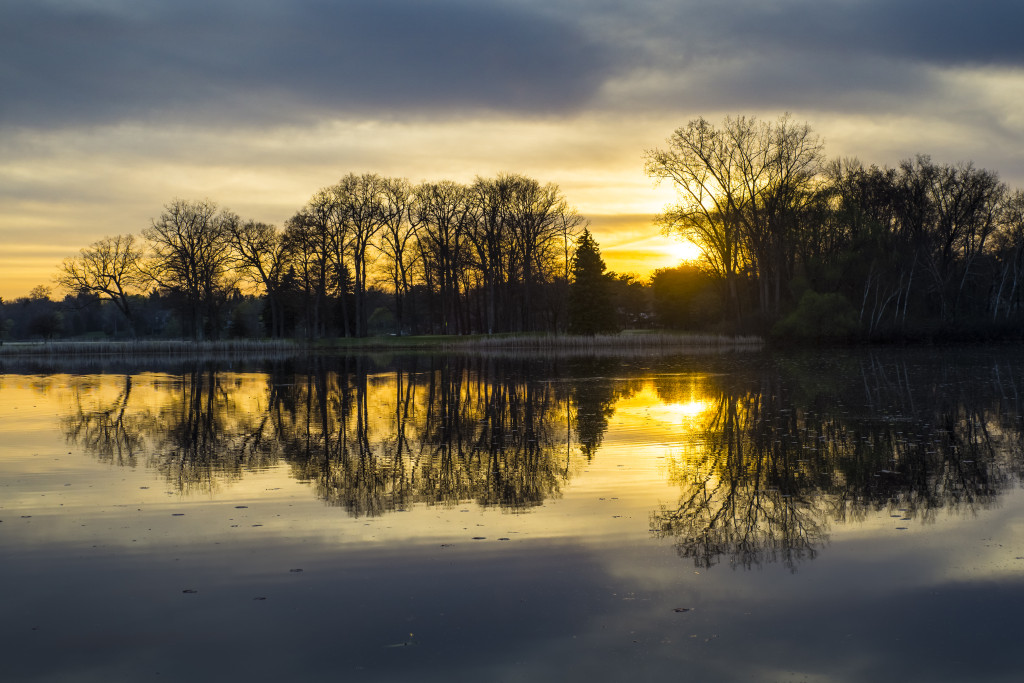
A more traditional use of reflections in photography can be seen in this landscape photo. Here we see the silhouetted treeline as well as the sunrise mirrored in the still water of early morning. While this shot was taken hand-held, you could use a neutral density filter on your lens to extend the exposure length and make the surface of the water appear as smooth as the sky.
Reflected Elements in Portraiture

Environmental portraits give context to what a person is doing. In this last example, we see my daughter playing an arcade game. The reflection tells that story in a way that’s a little outside the norm. I’ve manually focused through two panes of glass and onto our subjects face. The contents of the machine, coins in this case, are then cast across her like a sari stiched from her potential fortune. The gaming theme is further enhanced by the board-game character reflected in her line-of-sight. As my daughter would say, “fun, right?”
Some Reflection Tips to Get You Started
Now that we’ve covered how reflections can be used in different genres of photography, let’s talk about some of the things you’ll need to think about for a successful reflection shot.
- Looking into the Reflection – Reflections are everywhere. You’ll start seeing great results when you better learn to see them. Not unlike a “Magic Eye” poster, seeing details in reflections requires that you de-focus your eyes from the foreground. The idea is to look into the reflection and see the possibilities.
- Manual Focus – Manually focusing reflection shots is a must. This type of shot will endlessly confuse even the most advanced AF systems. When shooting into a puddle, for instance, you’ll likely need to focus your lens to infinity. Be sure to confirm infinity and not just rely on the markings of your lens barrel. Those markings are notoriously unreliable.
- Post Processing – When bringing out the reflected portions of your image, some processing tools are more effective than others. Try zooming in and brushing clarity on to the aspects you’d like to highlight. A touch of additional exposure and saturation can also help the targeted reflections pop.
- Text and Orientation – Don’t hesitate to shoot reflections containing text. Use the “flip horizontal” tool by right-clicking on your image in Adobe’s Lightroom. It’s located as a slide out within the “transform” command. Furthermore, create mind-bending images by flipping an image vertically, making up down, and vice-versa.
- Practice – Here’s a simple exercise that can quickly demonstrate the properties of these types of shots. Try placing a smartphone or tablet, ideally without a screen protector, on a table below a light fixture. Now, find an angle where you can see the fixture reflected in your device. Take your camera and at a distance of about one foot away, using manual focus and a fast aperture, focus on the reflected fixture and take a shot. What you’ll see is the light fixture in sharp focus while the edges of your phone and table are gently blurred; a photographic parlor trick of sorts.
The Challenge
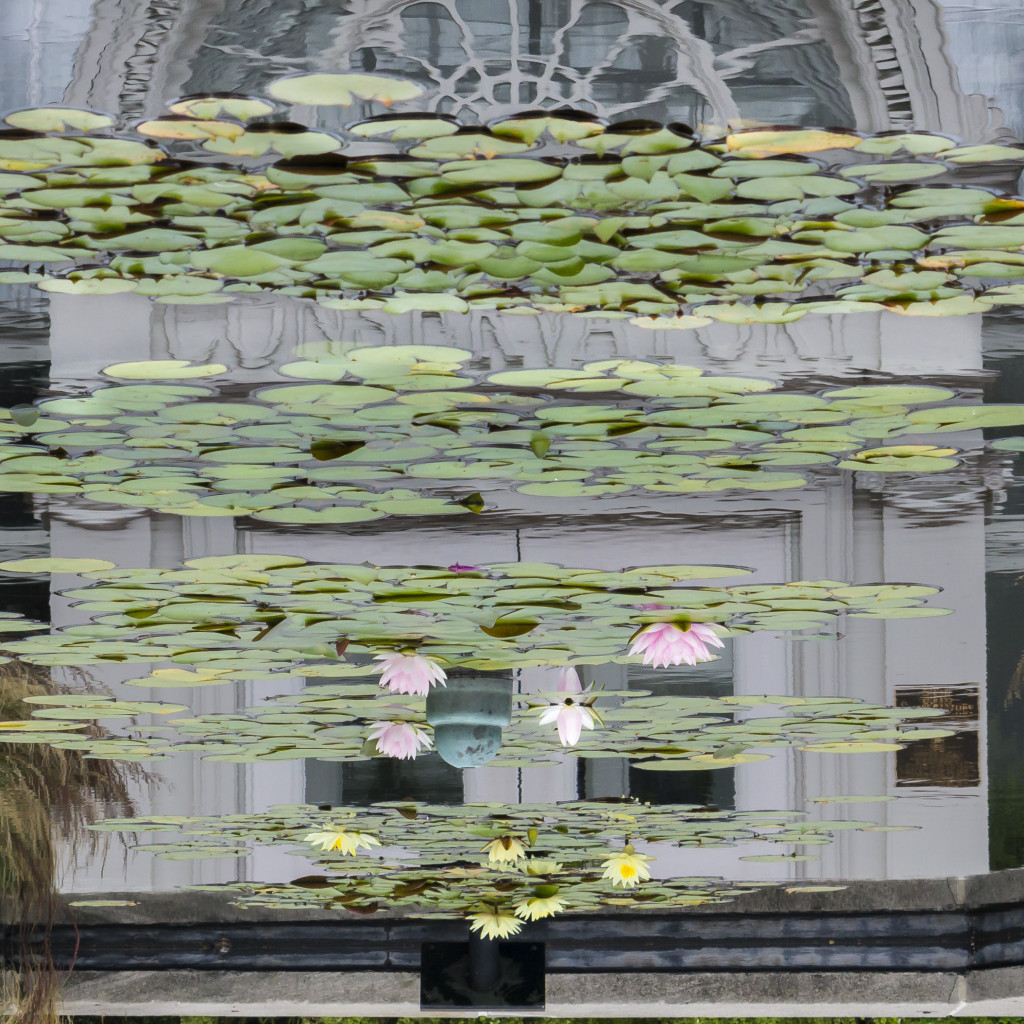
So there you go. Next time you feel like you’ve shot everything in your area, consider trying to capture the world as reflected by the surfaces all around you. If you do, I’d love to see what you come up with, so tag me in your post! I can be reached via my site where my social links are found as well as the Facebook group that’s exclusive to readers of Tony Northrup’s book, How to Create Stunning Digital Photography. If you have any questions on nailing your perfect reflection shot, I hope you’ll drop me a line.




Comments are closed.