

What is vertical distortion?
You’ve seen it before. It’s most obvious when photographing man-made things with straight edges, like buildings. If the thing you’re shooting is taller than you, you tilt your camera back to fit the entire object in the frame. Suddenly, lines that look parallel to your eye seem to converge toward the top of the frame and make what you’re shooting look strange. The wider your angle, the more of this you’ll see.

This is vertical perspective distortion. It happens every time your camera is not pointed at the horizon, and we’re going to talk about a few ways to deal with it, first while shooting, and then when you get the image into Lightroom. Sometimes you might want to keep the effect, but it’s good to know what to do when you don’t.
What to do when composing the shot
First, most buildings are built perfectly level. Your camera should be level too—horizontally, I mean. The software tools we’ll use to fix the distortion cause data loss from the edges of the photo. Minimize how much you give up by not having to level the picture in post. If your camera has a built in electronic level, use it, or use a hot shoe level. You may have to tilt your camera back to aim toward the sky, but make sure it’s level on the other axis.
Second, vertical distortion happens when the plane of your camera’s sensor is not parallel to the plane of the object you’re shooting. The easiest way to prevent the distortion is to keep the two things close to parallel, and this means minimizing camera tilt. If possible, find a high vantage point that lets you shoot while tilting up as little as possible, like a ladder or the bed of a truck. Also try alternate compositions from farther away.
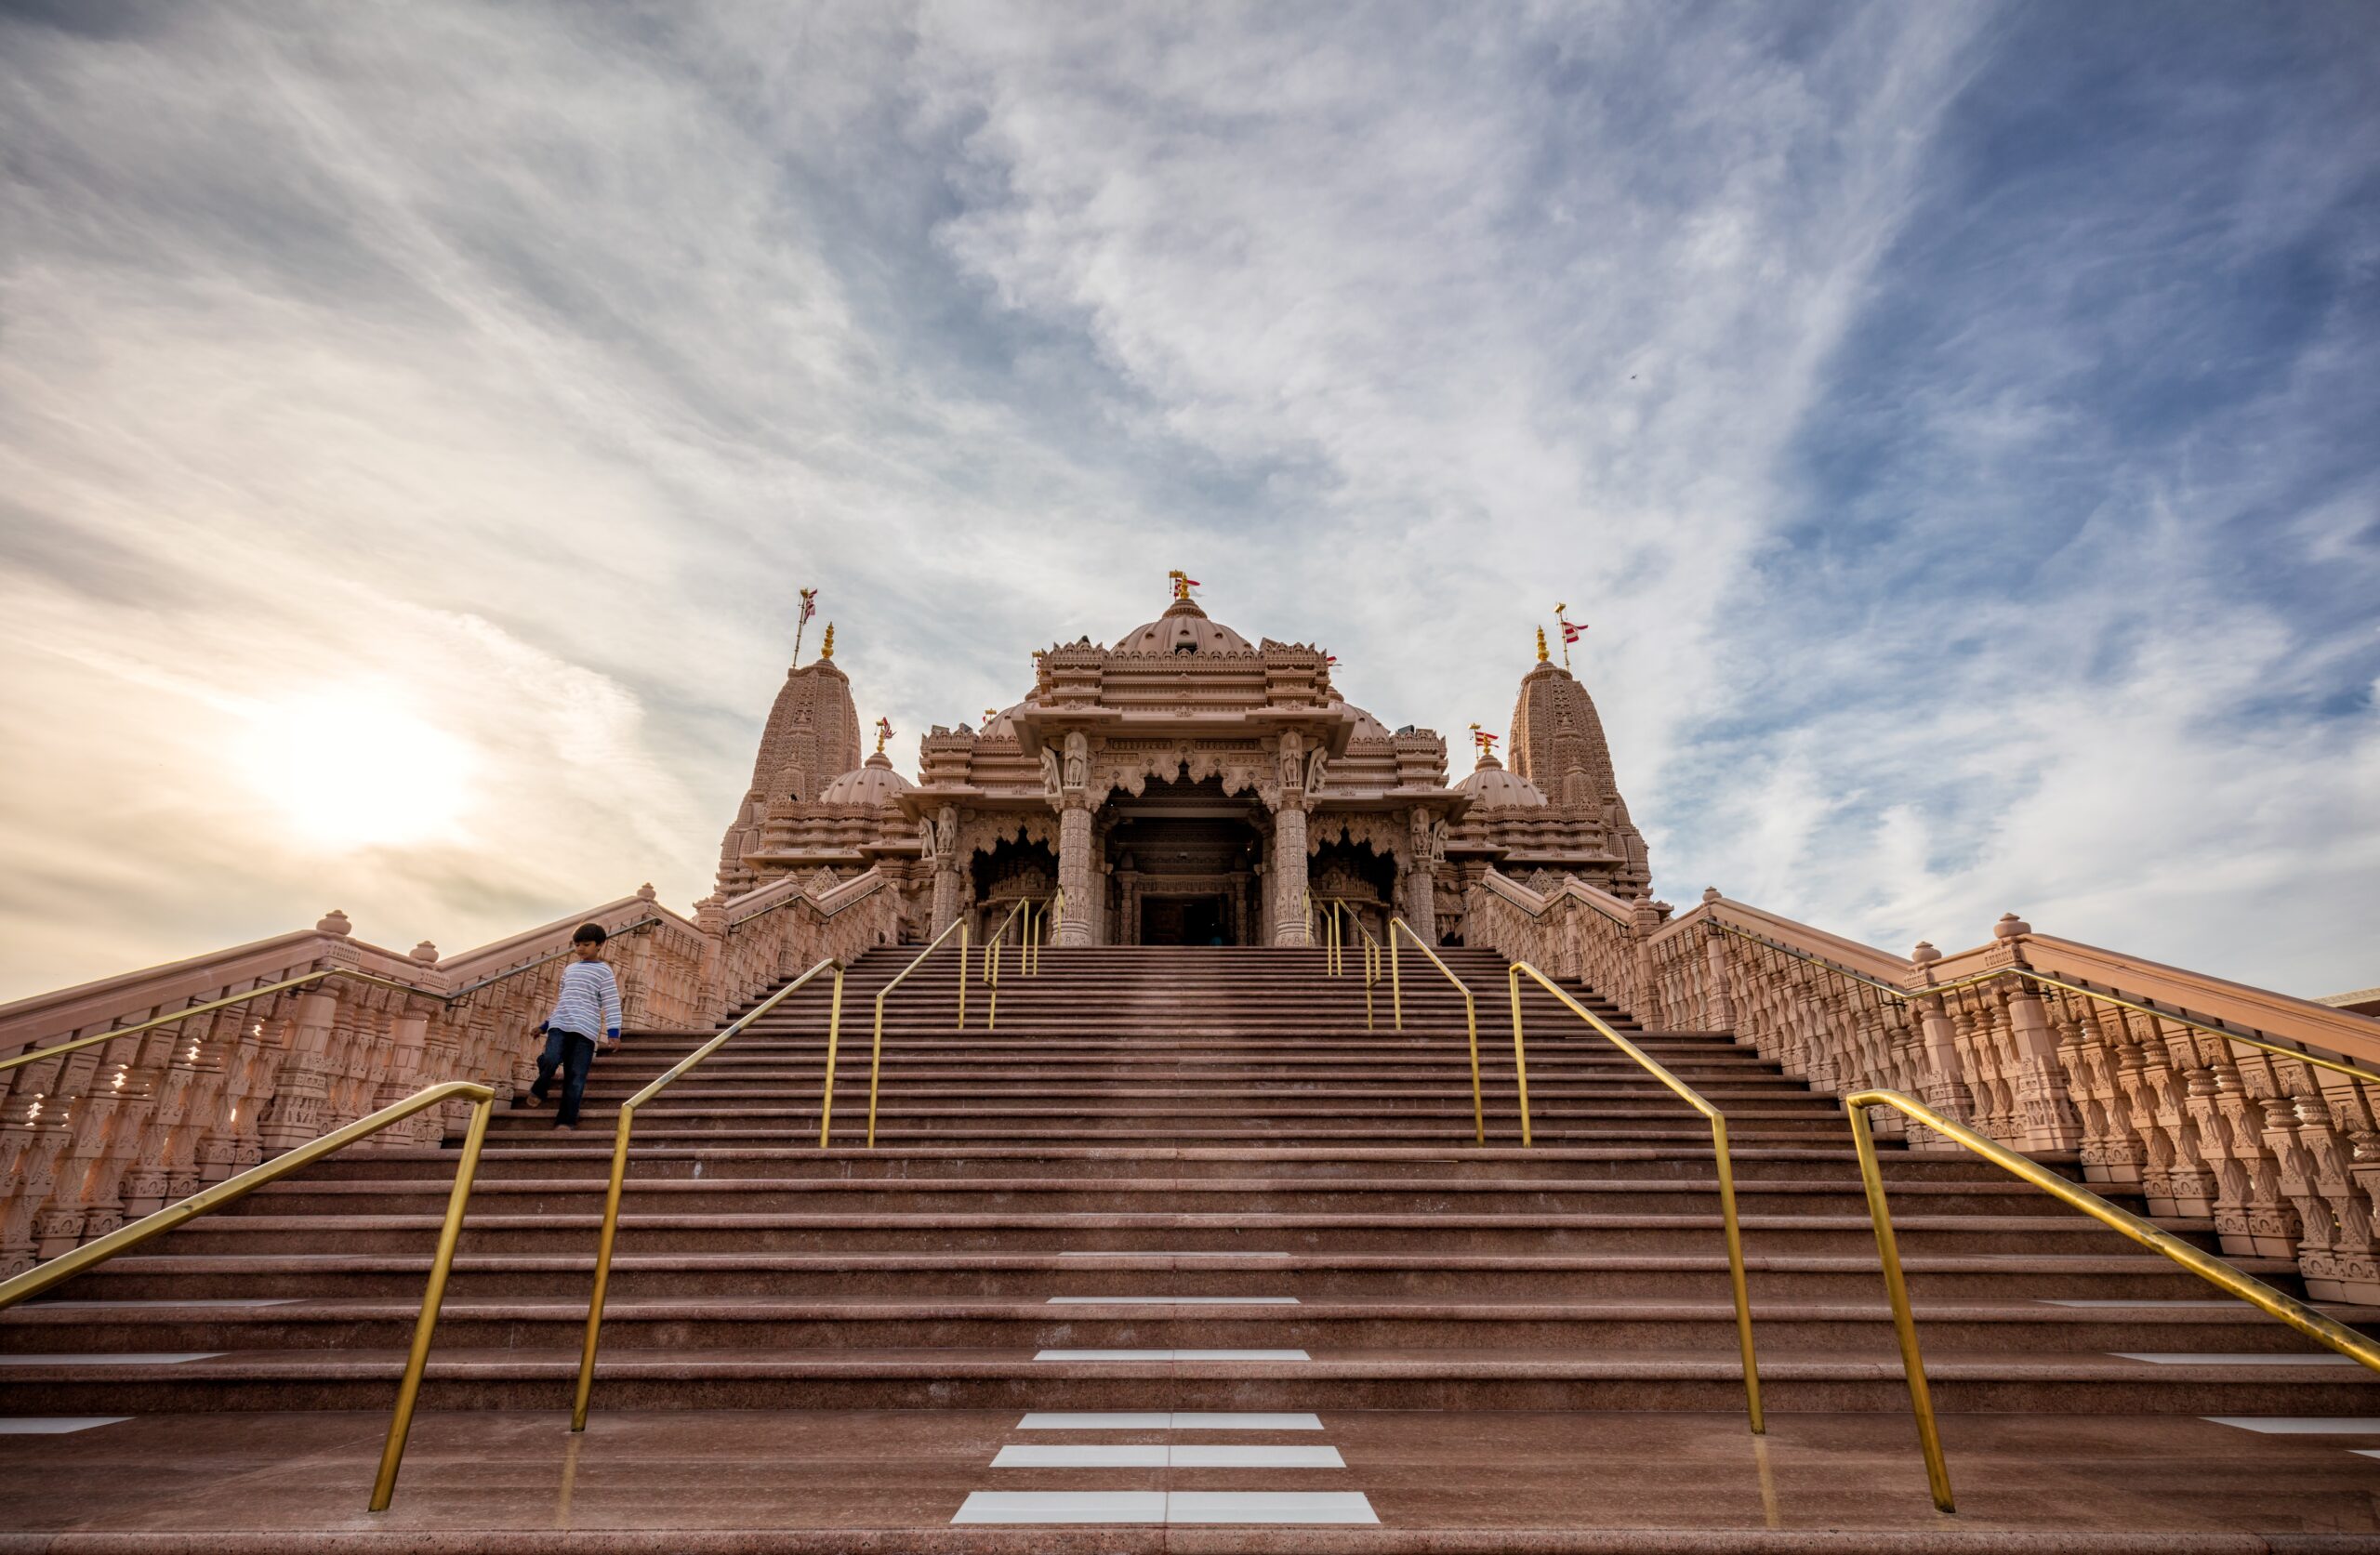
If your building has the appearance of bilateral symmetry, you’ll likely want to shoot from as close to the center of the building as possible and keep the horizontal plane of your sensor parallel to the building, or it will look lopsided (this is called horizontal distortion.) This can be very difficult… you just have to guess. In the first picture in this article (the Hindu temple,) I did everything I could to determine where the exact center for the camera should be, and still the image is a little skewed. The closer you are to the subject, the more apparent this effect will be.
Third, decide if you actually want to keep and use vertical distortion. It can be a tool for conveying a feeling and doing some story telling.

Finally, if you decide you want to minimize distortion, then leave a fair amount of margin around the sides of your subject, because when we correct in Lightroom we’re going to need the room.
What to do in Lightroom
After you import the photo into Lightroom, decide if the distortion is distracting and needs correction. At this point, you should also make sure the photo is level, because applying the corrections is difficult if the photo isn’t level.


In the right hand side of the Lightroom Develop module is a panel called “Lens Corrections.” This is where we do our fixing.
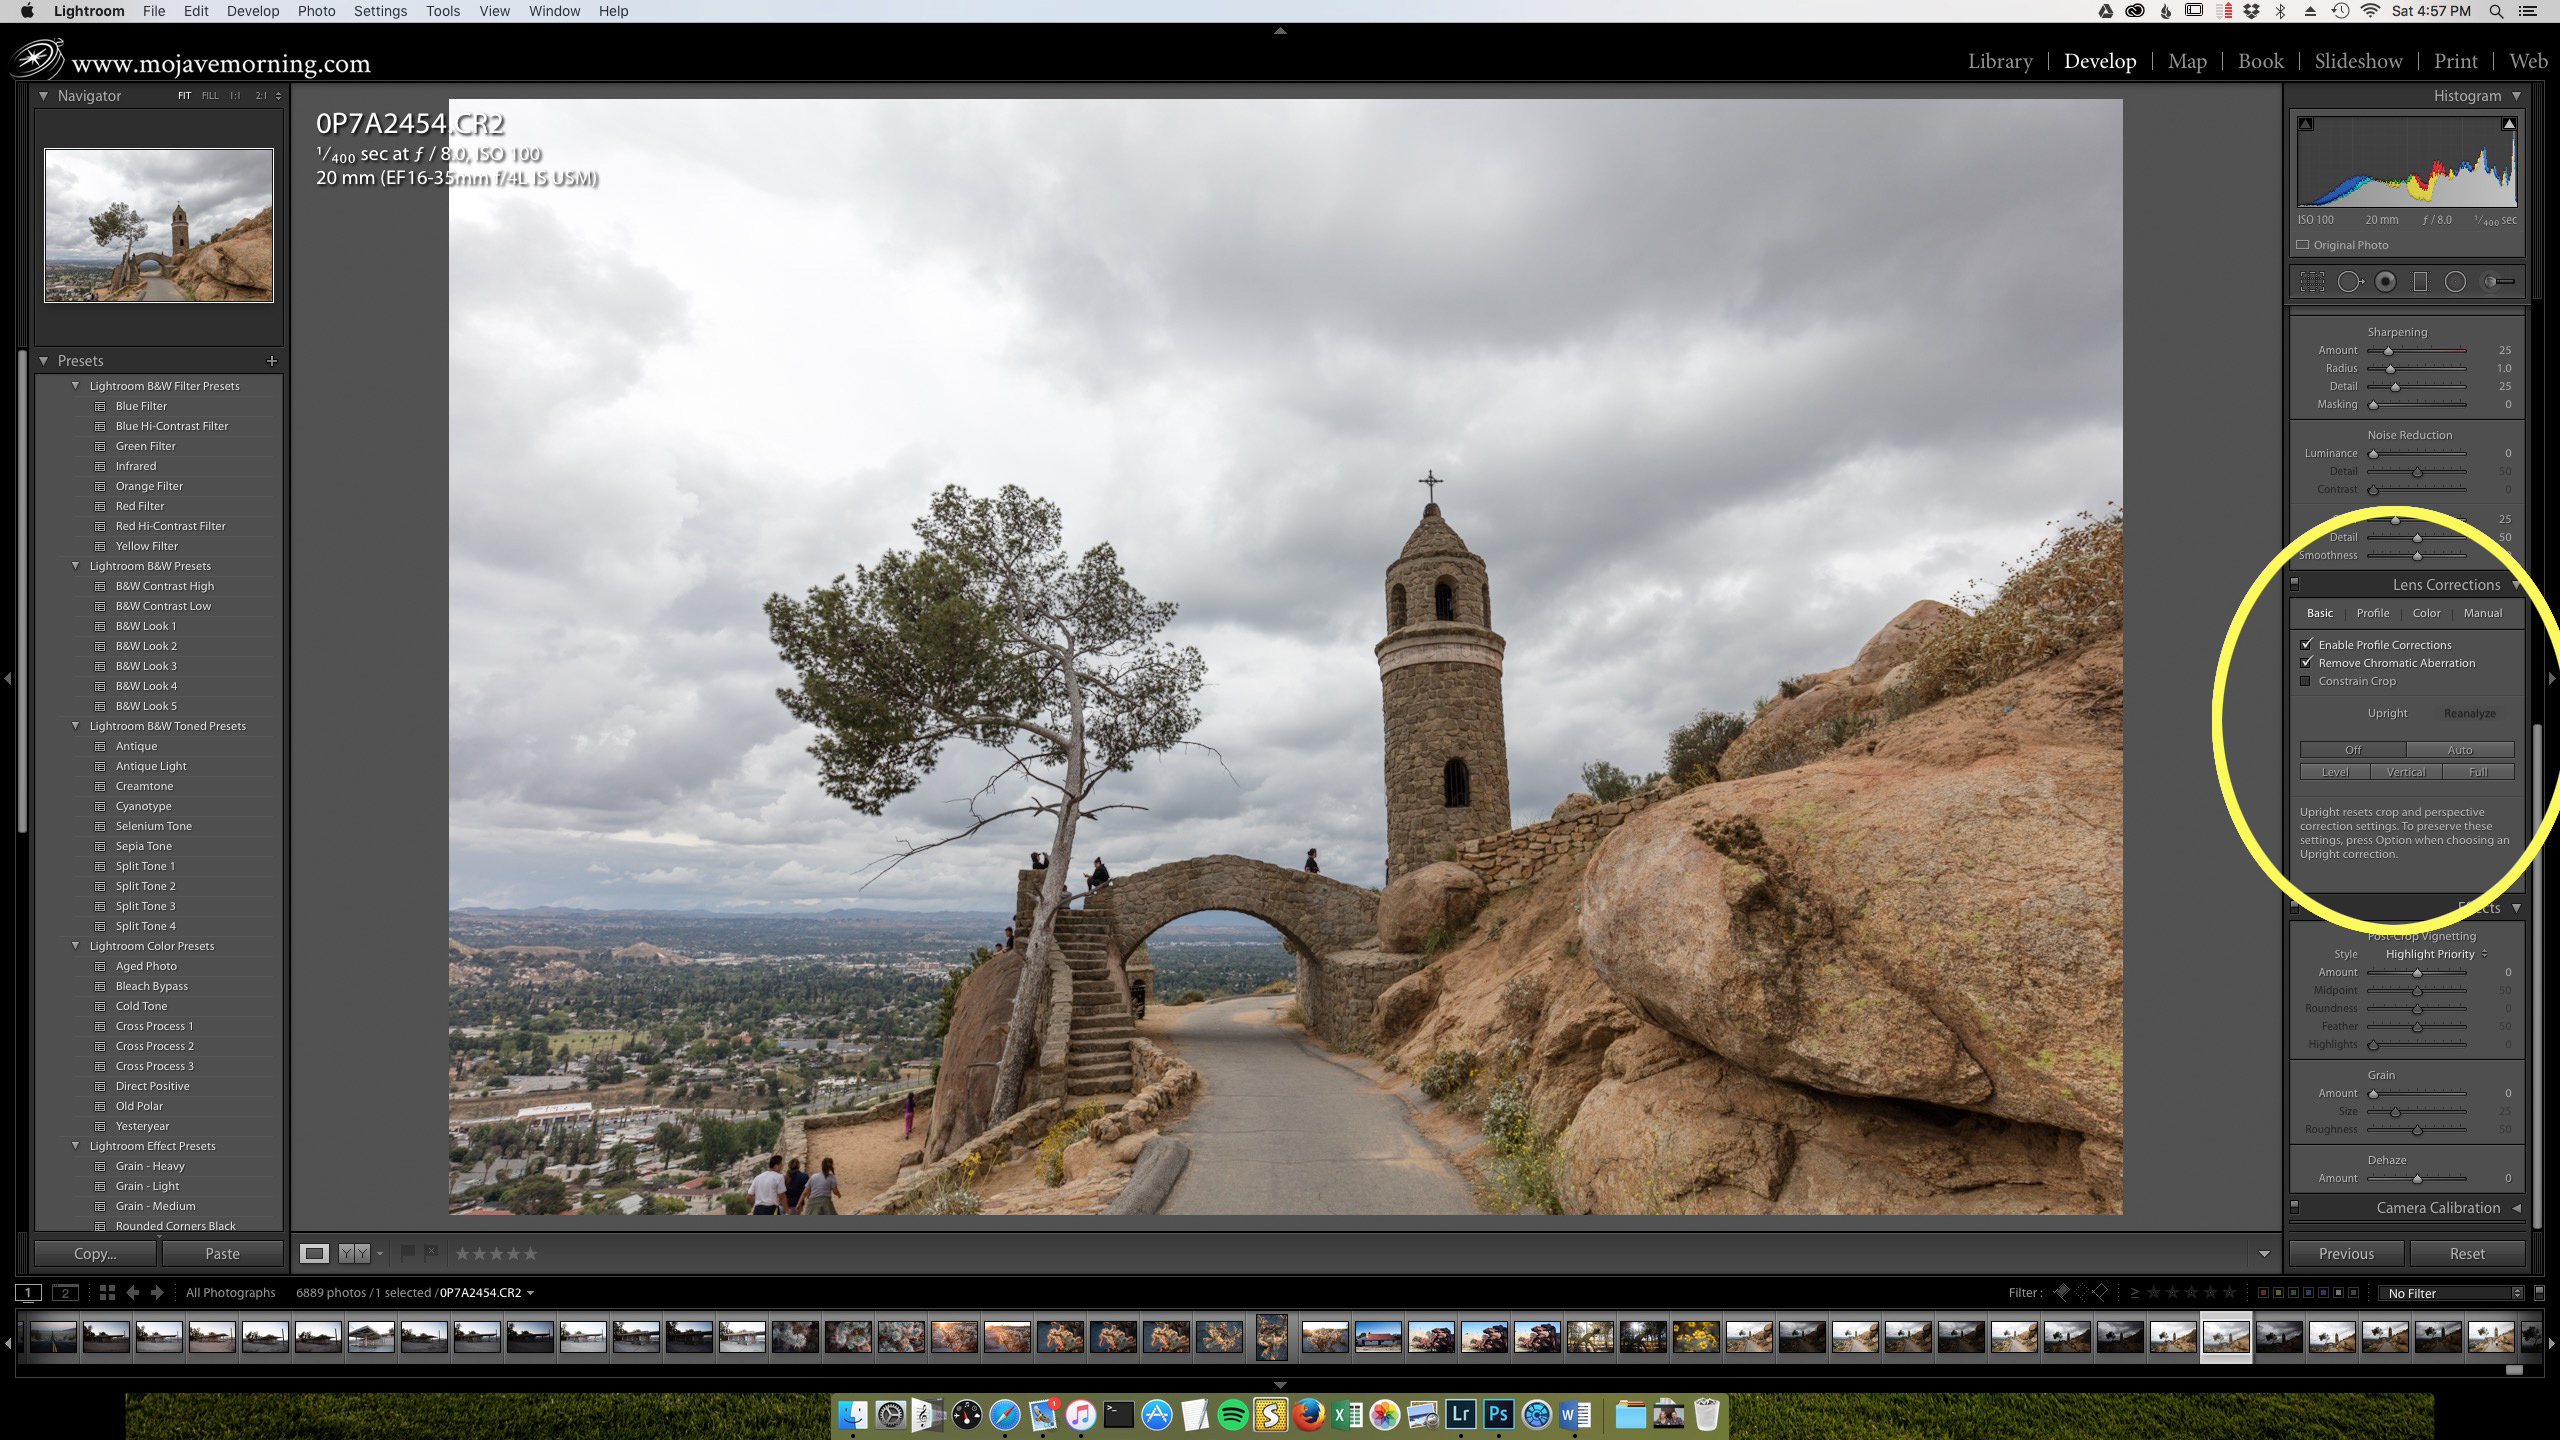
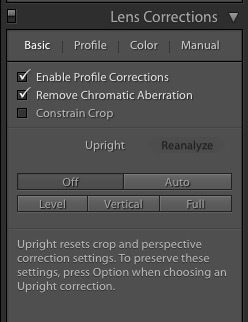
The module has four tabs called “Basic,” “Profile,” “Color,” and “Manual”
The Basic tab works best if your lens is a fairly common one that Lightroom has a profile for. It automatically corrects barrel and pincushion distortion (not vertical distortion, which is only created by how the camera is pointed,) as well as vignetting. Select “Enable Profile Corrections” and “Remove Chromatic Aberration” to get rid of some common distortion and color fringing.
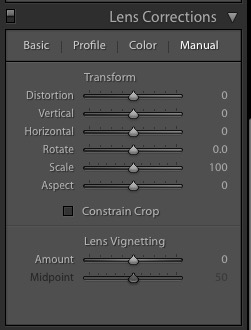
We’re interested in the Manual tab. Click on that; new controls appear.
To address vertical distortion, we’ll use both the “Vertical” slider and the “Scale” slider. Slide the Vertical slider and notice how a grid appears over your photo; the vertical distortion can be adjusted to extremes in either direction.
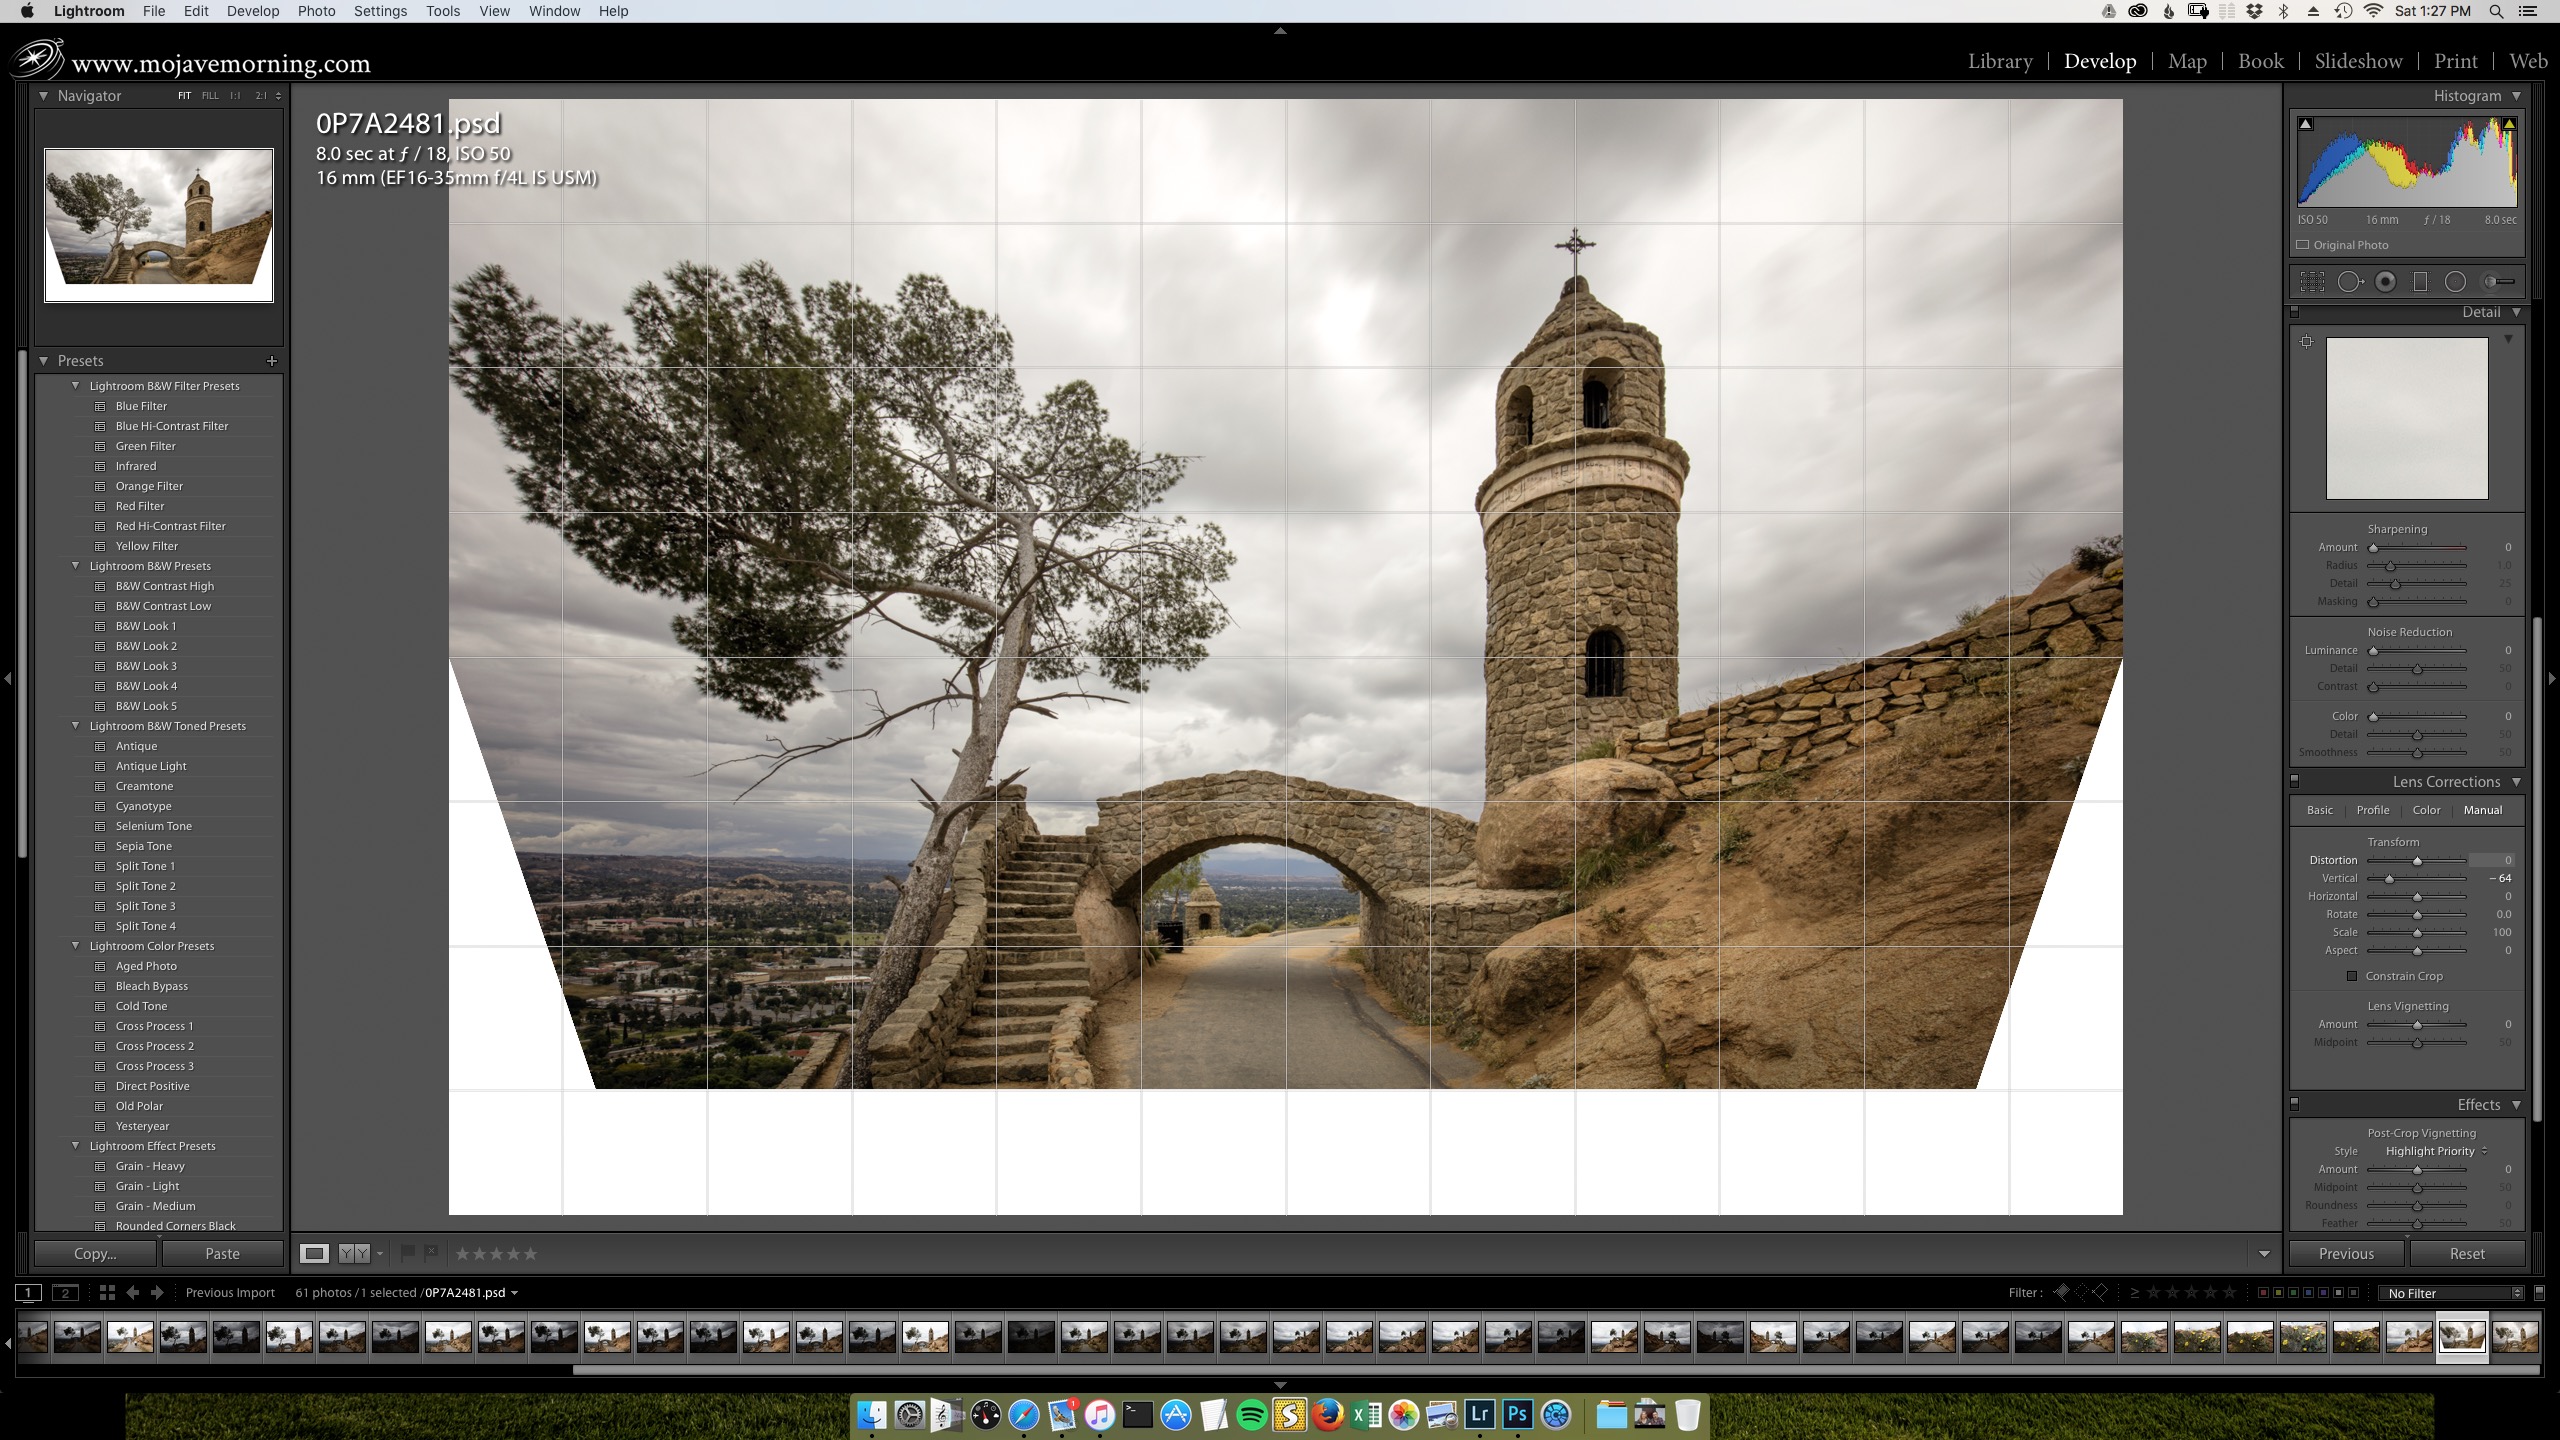
Adjust the “Vertical” slider until vertical elements in your shot look vertical, or until you like the look. Use the gridlines that Lightroom has superimposed on your picture to guide your choices. Notice that a lot of white space has opened at the bottom of the shot where Lightroom has pushed pixels away from the edges in order to fix the distortion.
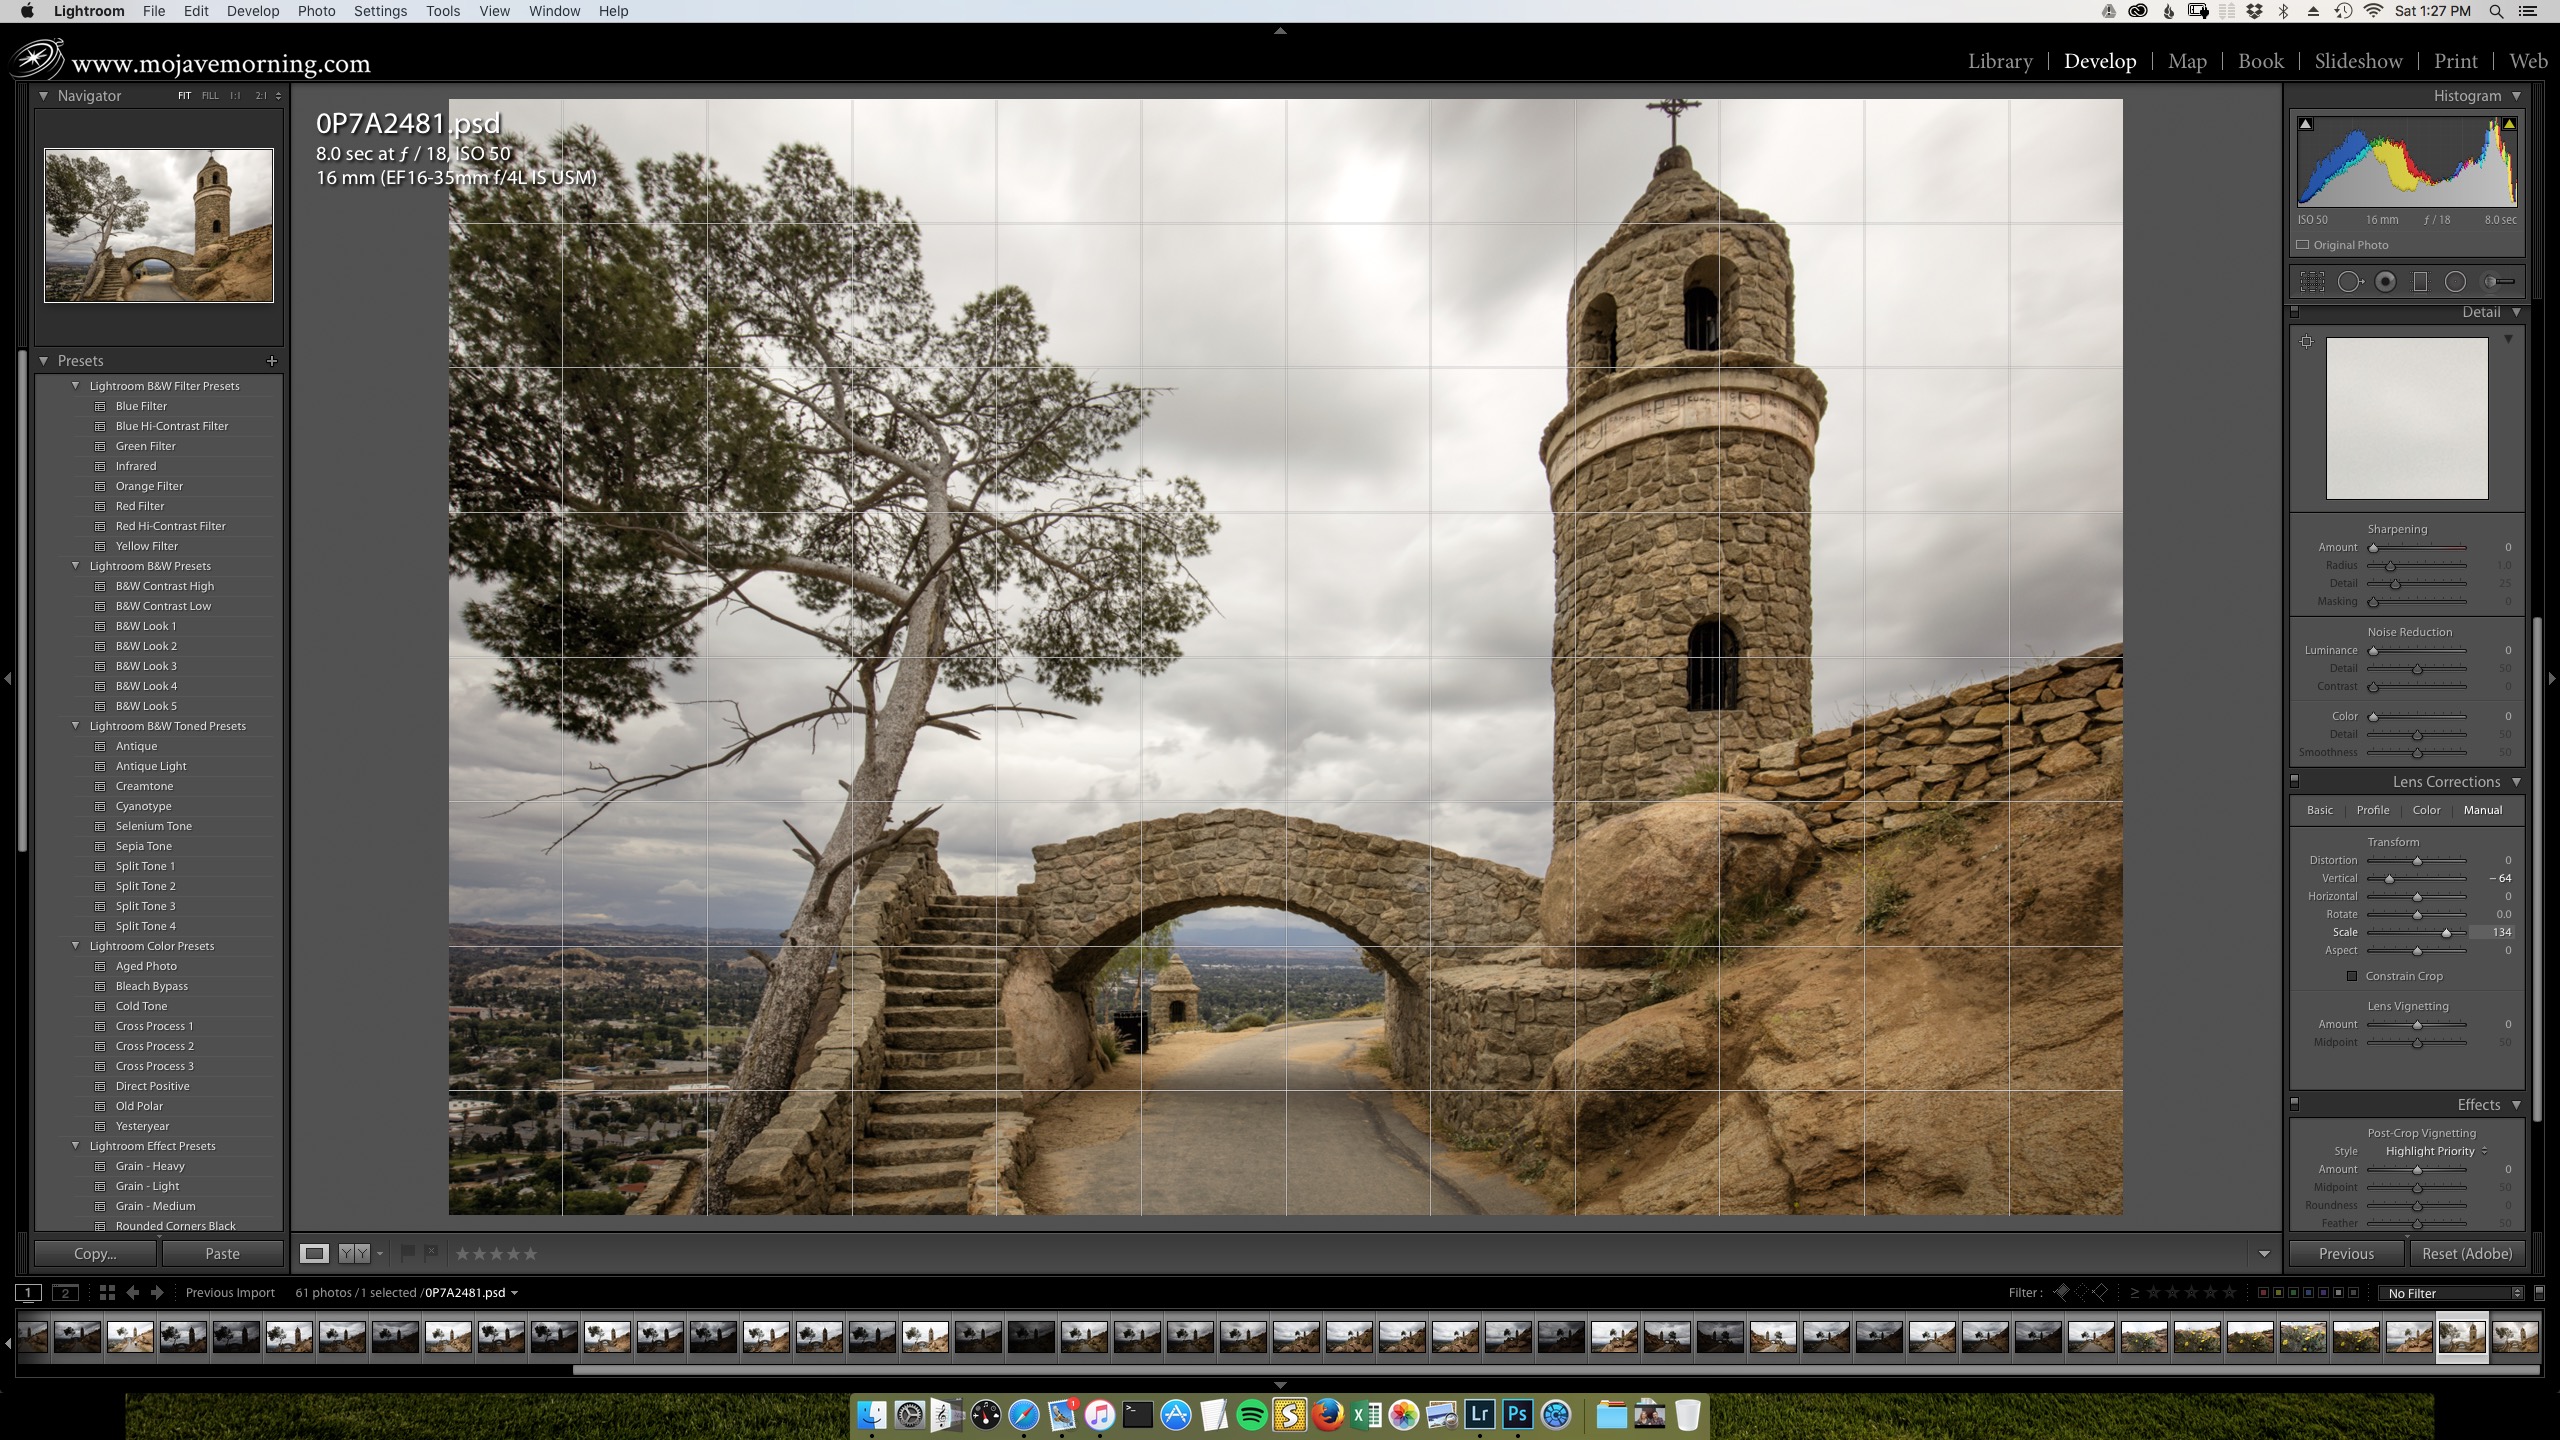
Use the “Scale” slider to enlarge the image until the white space disappears. Alternately, you can address the white space in Photoshop.
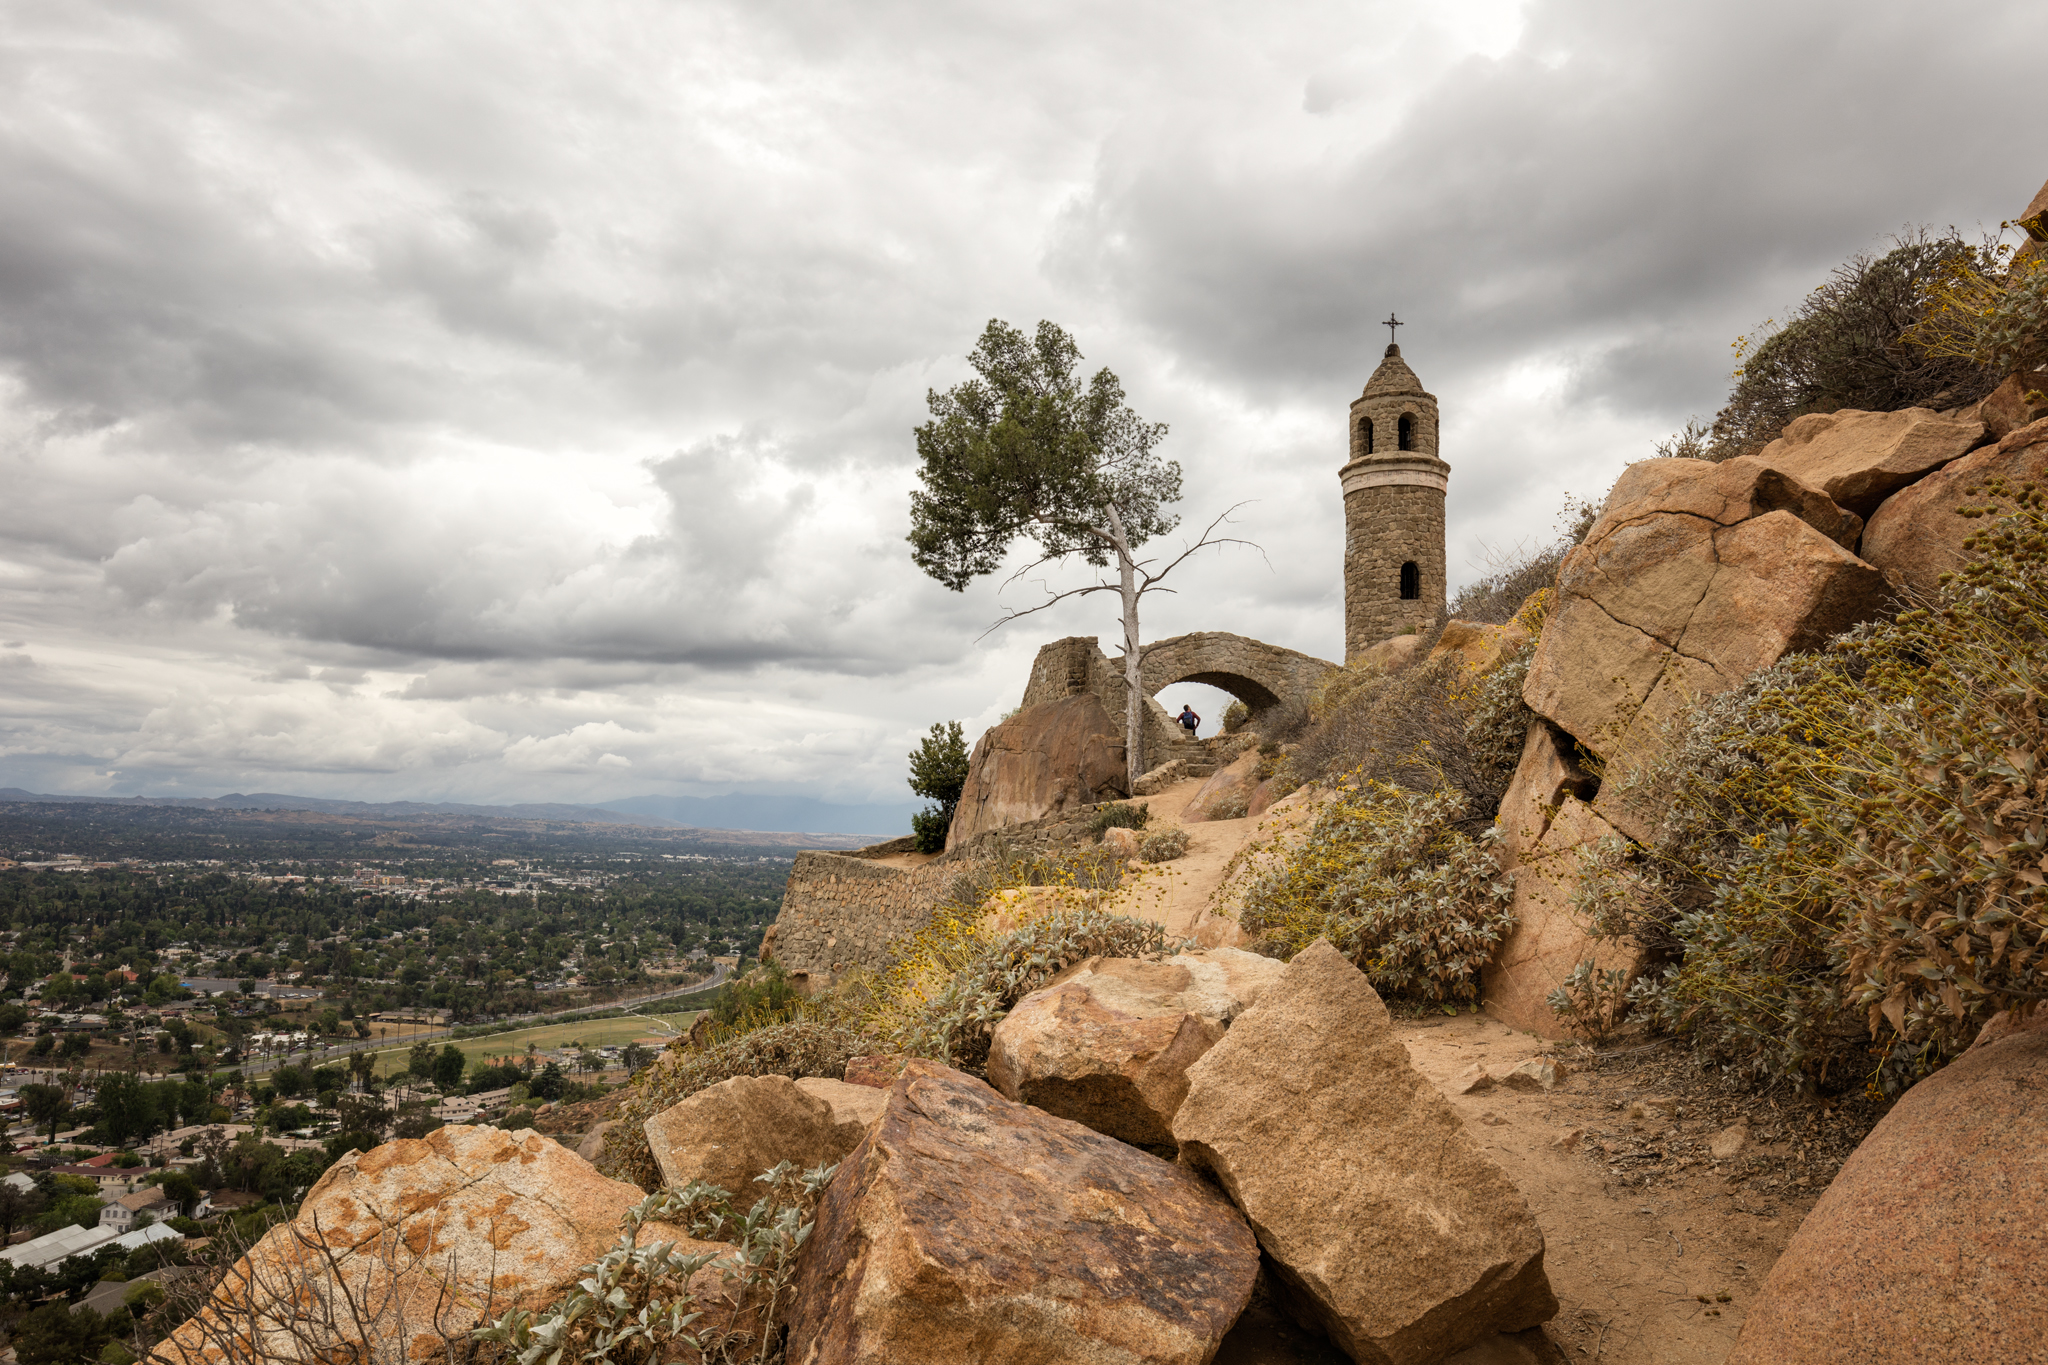
Notice in this shot, I am way too close to the building and the distortion is too extreme to fix. This is why it’s important to think about distortion while composing architectural shots; leave room and don’t get too close or too wide; not everything can be fixed in post.
What if I don’t like the corrected shot?
Sometimes, you’ll find that completely fixing vertical distortion looks wrong.
This picture of a library was shot at the bottom of a hill, camera pointed up, and it needs some correction.

But what happens when we correct it all the way?

It may look like I took the corrections too far, but the verticals actually align with the Lightroom grid. So why does it look too wide at the top?
It’s because the brain expects some amount of perspective clues in a scene like this. It’s obvious that the camera is not on the same level as the building, but is in fact aiming up.
So don’t worry, when it looks wrong, it probably is. Just back it off a bit so that everything looks natural. Like everything else in photography, what you do is your decision, there is no right or wrong. Go with your heart.

The old school way
In the olden times before Photoshop and Lightroom, vertical distortion was controlled using the shift movement of special tilt shift lenses. These lenses are still available and although they are expensive, they allow you to make perspective corrections without losing data from the edges of your image. Keeping all the pixels can be crucial to commercial and architectural photographers, so many people who make a living that includes photographing objects like buildings invest in a couple of these special lenses.
Read more from Eric here. For more instructions on fixing perspective distortion, it is covered in our Lightroom book.


Comments are closed.