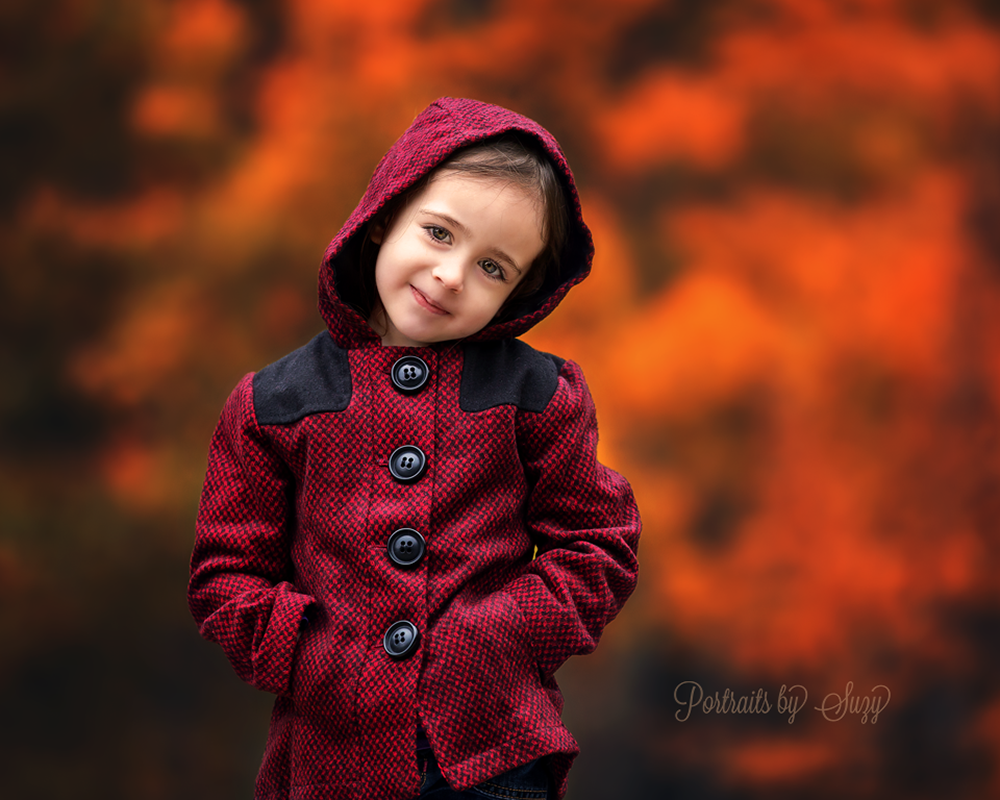
Often times I am asked how I achieve the soft, dreamy bokeh backgrounds in some of my outdoor natural light portraits. I would love to share with you some of my techniques for this look. The majority of this technique is done in camera.

My favorite backdrop for portraits such as these are the leaves of trees. Often times though, my subject is a child and the leaves of the trees are too high up to be behind them! To adjust for this I like to set my subject on top of a picnic table, standing on a boulder, or on the top of a hill. This brings them up to the level of the tree and I let my angle, lens, and focal compression do the rest. When placing a child on top of a table or high surface be sure to have an assistant or your model’s parents right next to them for safety.
A few tips for maximum depth of field, bokeh and soft creamy blur:
- Long focal length. I prefer 100-300mm. Zoom your lens in as far as it can go, this will give you the softest blur. My go-to lenses for these types of portraits are the Canon 70-200 2.8 and the Canon 135mm f/2L. Any long focal length and wide aperture lens can achieve the same look.
- Wide aperture. I prefer 2.8 or wider. This really helps isolate your subject from the background, and will make them pop.
- Distance of background to subject. The farther your background is from your subject the better!
- Distance of subject to your camera. For this I will get the closest to my subject that will allow me to be zoomed all the way in to frame them.
- Angle. Angle your camera to get in as much of the background behind your subject as you can, being careful not to shoot straight up at your subject but to be around their eye level.
Here is an example of Little Cash with his doggy standing on a hill with the background very, very far away.
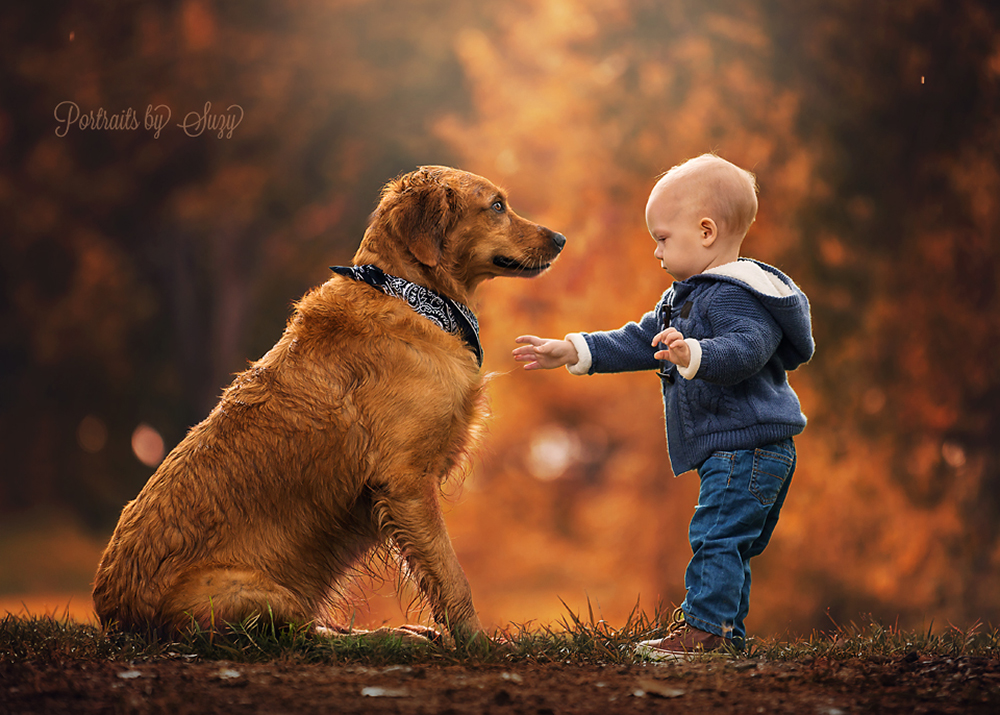
A few tips for great light using only natural light.
I decided to learn to use available light and natural light for the sole purpose of being able to concentrate more on my subject. I find extra gear cumbersome and will even bring just one lens to a shoot. I photograph children and find it easier to work without extra gear.
- Position of the sun. Try to use a location where the sun will be barely peeking through the leaves of the tree behind your subject. This can add rim light to your subject and bokeh in your background.
- Position of your subject. Try to have your subject facing a big open sky, but not facing the sun. A big open sky without trees will let maximum light get to your subject, lighting them up and adding pleasing catch lights to their eyes.
A few tips for child portraiture.
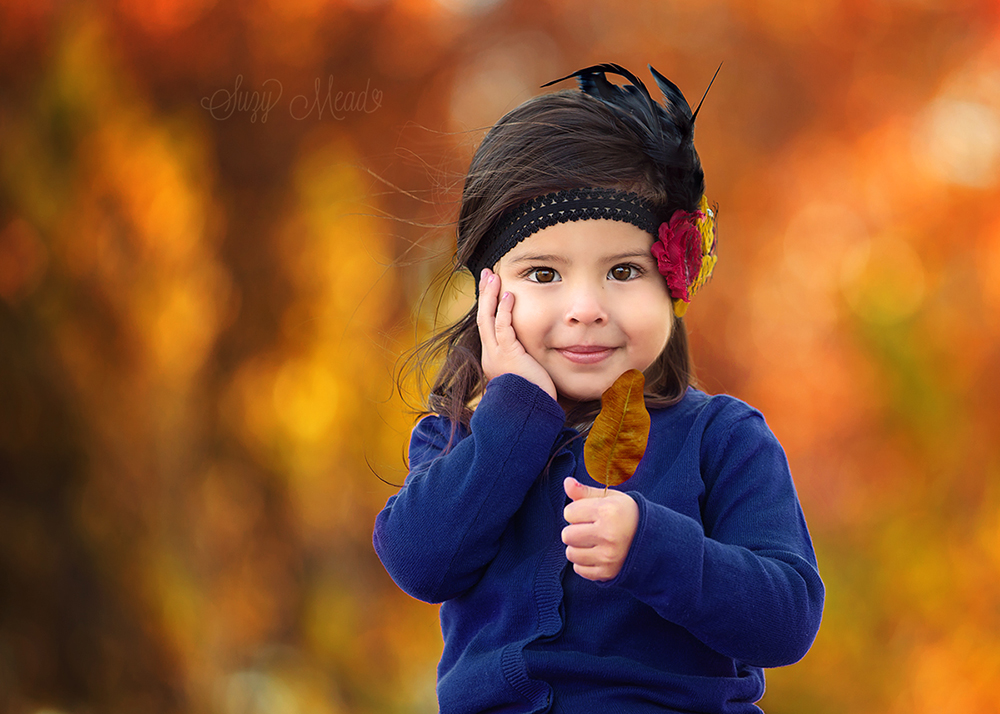
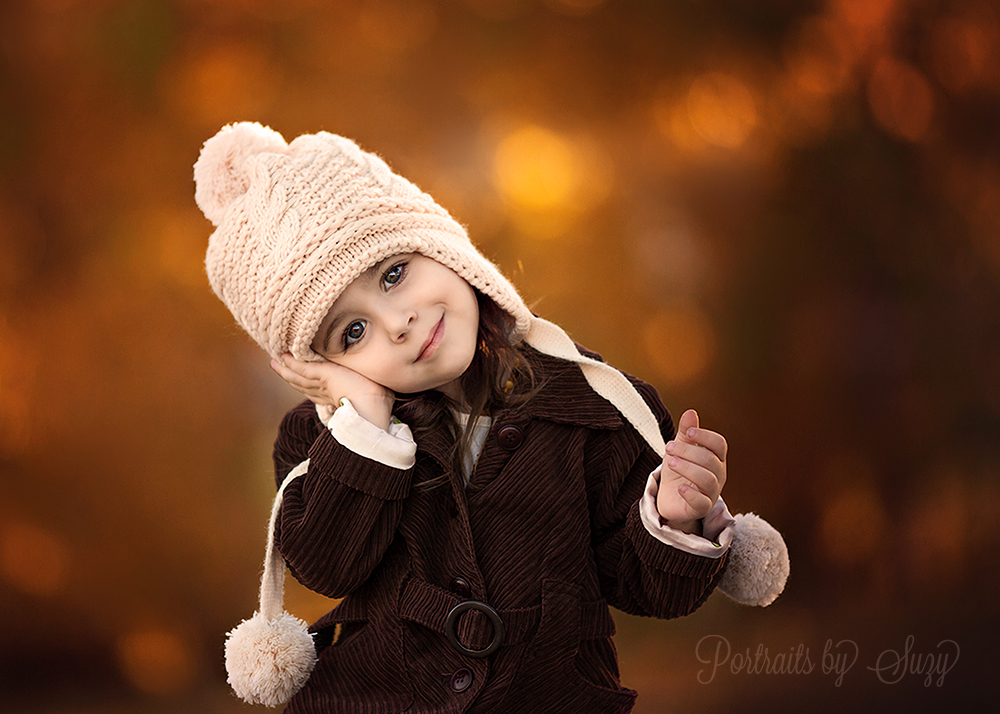
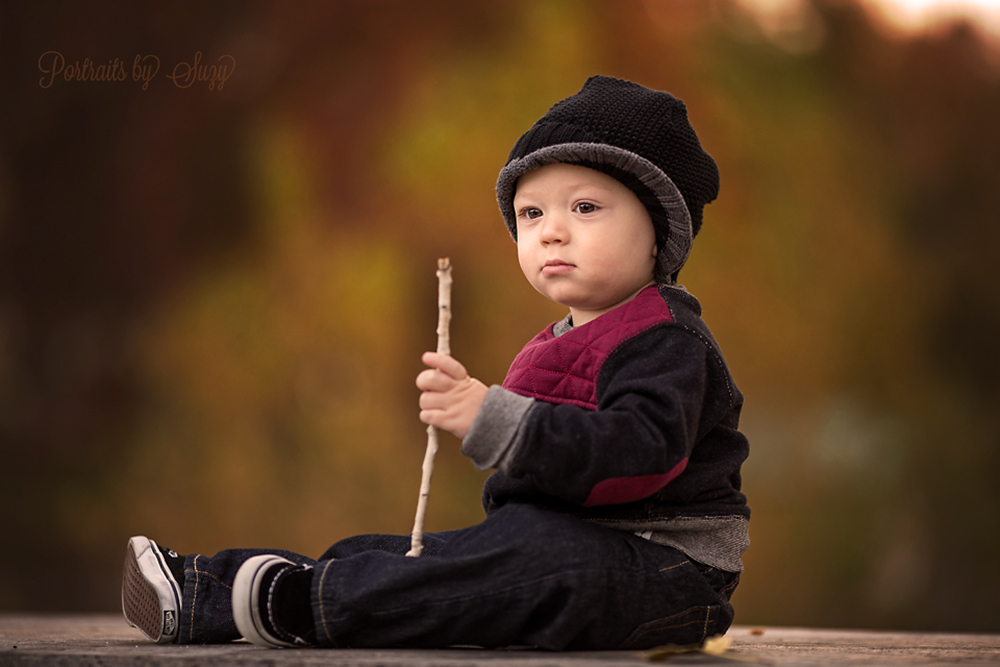
Children feel more secure and relaxed when they are able to hold something. I like to find something outdoors for them to hold. You can use a pine cone, a leaf, a stick or a favorite toy. For very young subjects playing peekaboo behind your camera is a great tactic. Try to ask for a pose, say “can you do this?” And then show them! Sometimes it works, sometimes not but it is worth a try! My favorite is the hand on cheek pose and I’ve been lucky to get it a few times.
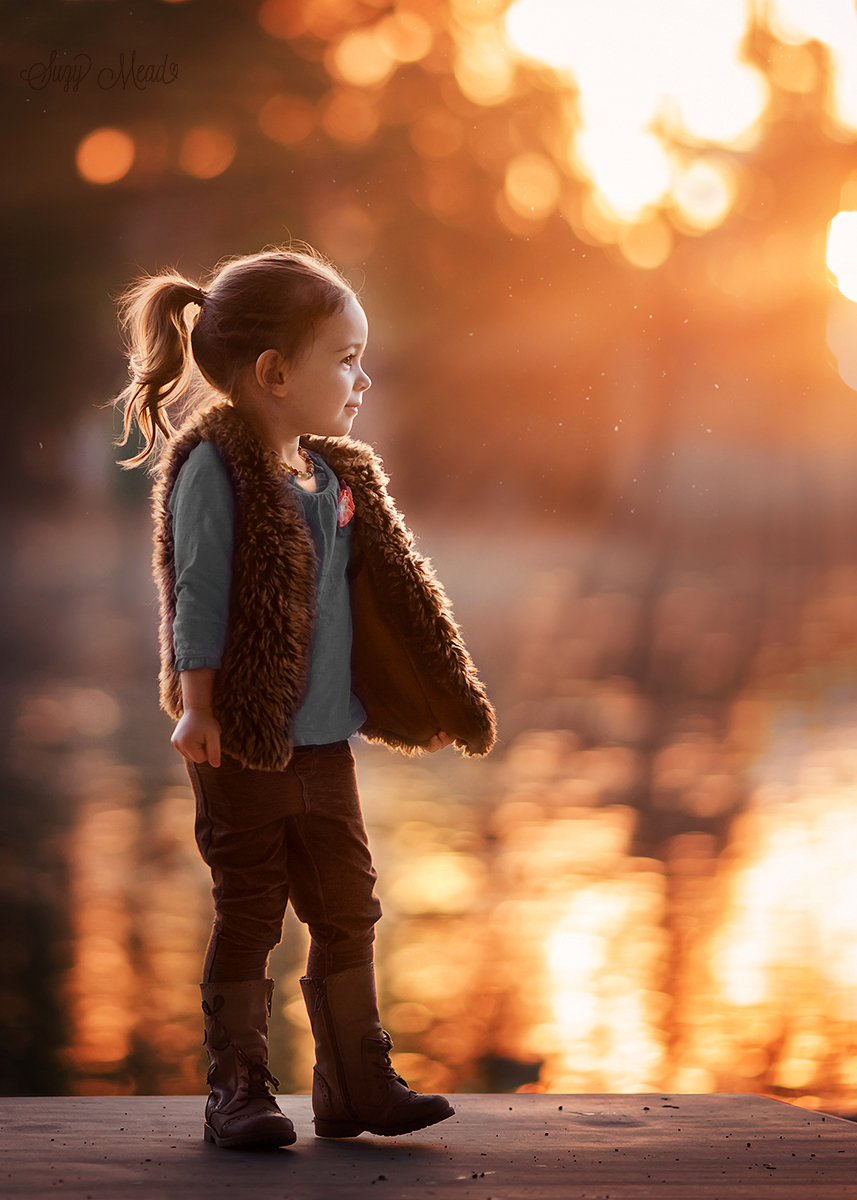
- Fast Shutter speed. Children move very fast and that perfect expression may be so short you will be lucky to capture it. This lucky shot of Norah was literally a fraction of a second long. Don’t be afraid to do some rapid firing when photographing small children. This portrait is also an excellent example of using complimentary colors, orange and blue.
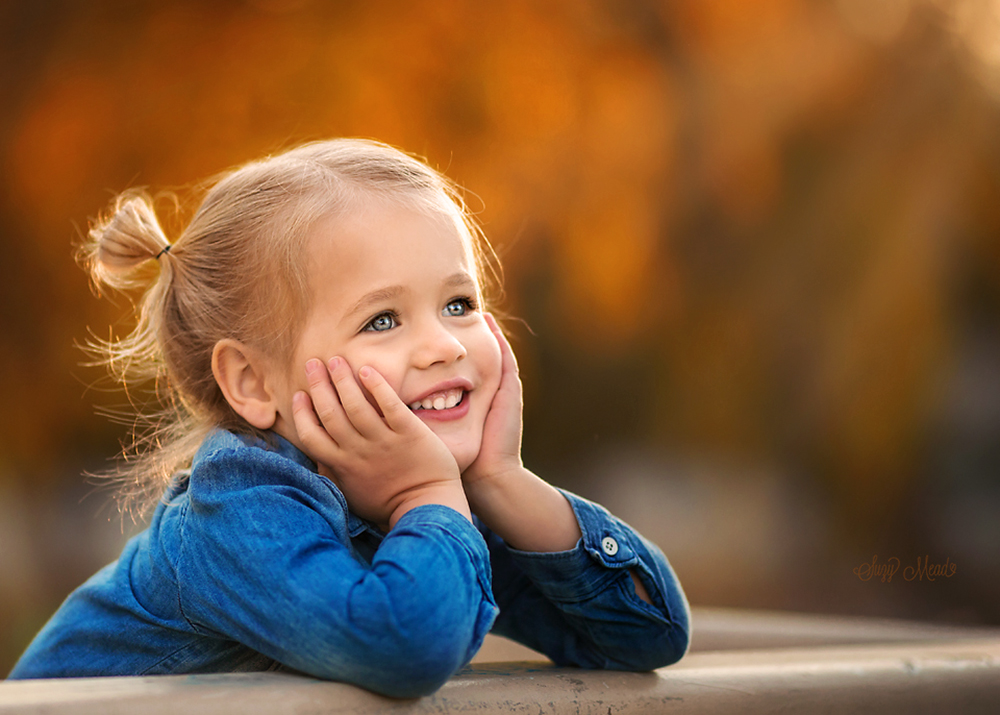
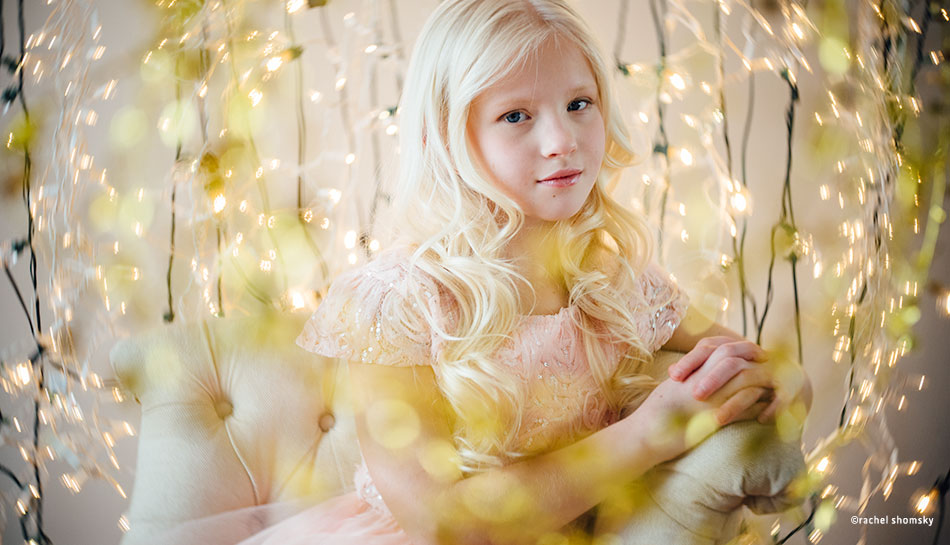
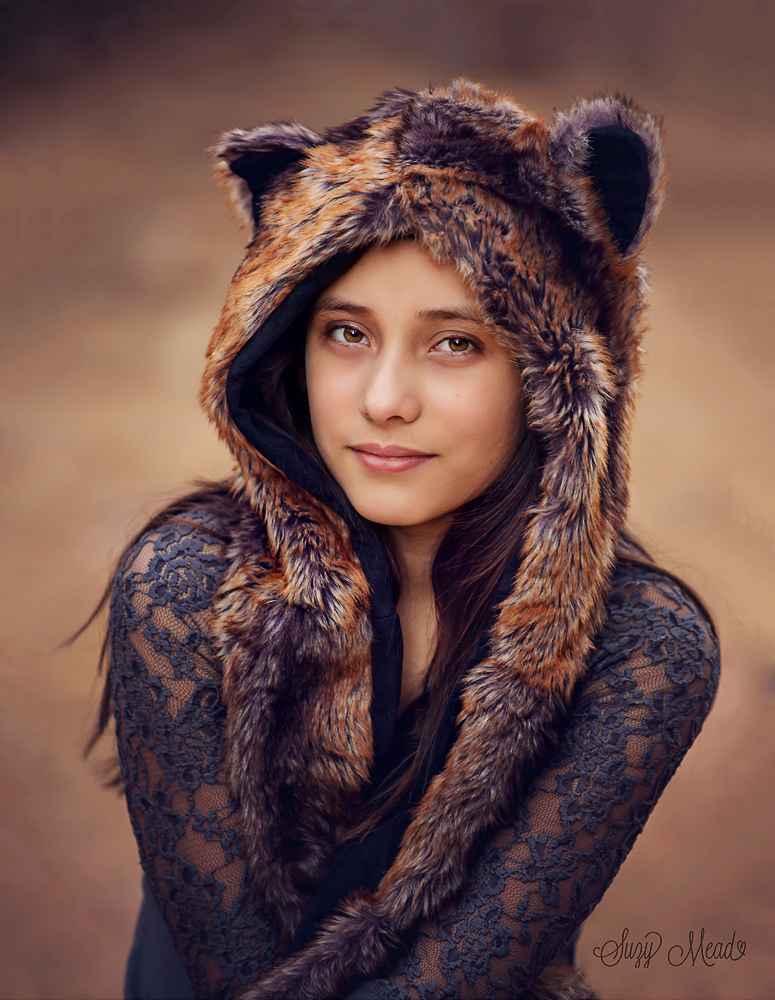
Lastly I would like to talk about wardrobe. Choosing the right outfit, accessories and colors for your subject to wear can make a huge difference in the overall quality of your portrait. Texture in clothing is wonderful for portraits, it adds a sort of 3d quality to your image without being distracting. Think lace, knit, corduroy, fur and embroidery.
Colors are important as well. Think about the background you will be using, will the tree be green? Will it be fall colored? Orange, red, green or yellow? Then use a color wheel to find a contrasting, complimentary or monochrome color to coordinate, or choose a neutral color like brown or cream. Solid colors are best; prints, stripes and plaid can all distract from your subject. I tend to stay away from white as it is so bright and can distract from your subject.
A simple sweater, or textured shirt is great and can stand the test of time, when you view the portrait years from now will it look dated? This is something to consider.
Here is an example of Mia wearing textured neutral clothing and doing the hand on cheek pose.
A few more examples of texture in portraits:
by Suzy Mead at http://www.portraitsbysuzy.com/
Catch up on our other photography tips here!

